Hi everyone, it’s Adrienne from @studio80design and I want to share a fun tutorial with you! Fall is almost here and I love all the fun fall crafts that come out! Every fall my kids and I like to make an art project that shows our gratitude during the season. This season we are making a “Thankful Branch” to display our watercolor leaves listing all the things we are grateful for. This is also a fun activity to do with your kids!
Materials you’ll need:
- Watercolor Paper
- Tombow MONO Drawing Pencil
- Tombow Dual Brush Pens
- Tombow Fudenosuke Hard Tip Brush Pen
- Paintbrush and water
- Sharp object (like a corner of card stock paper or a ruler)
- Scissors
- String
- Small Stick
- Hole Punch

Step 1
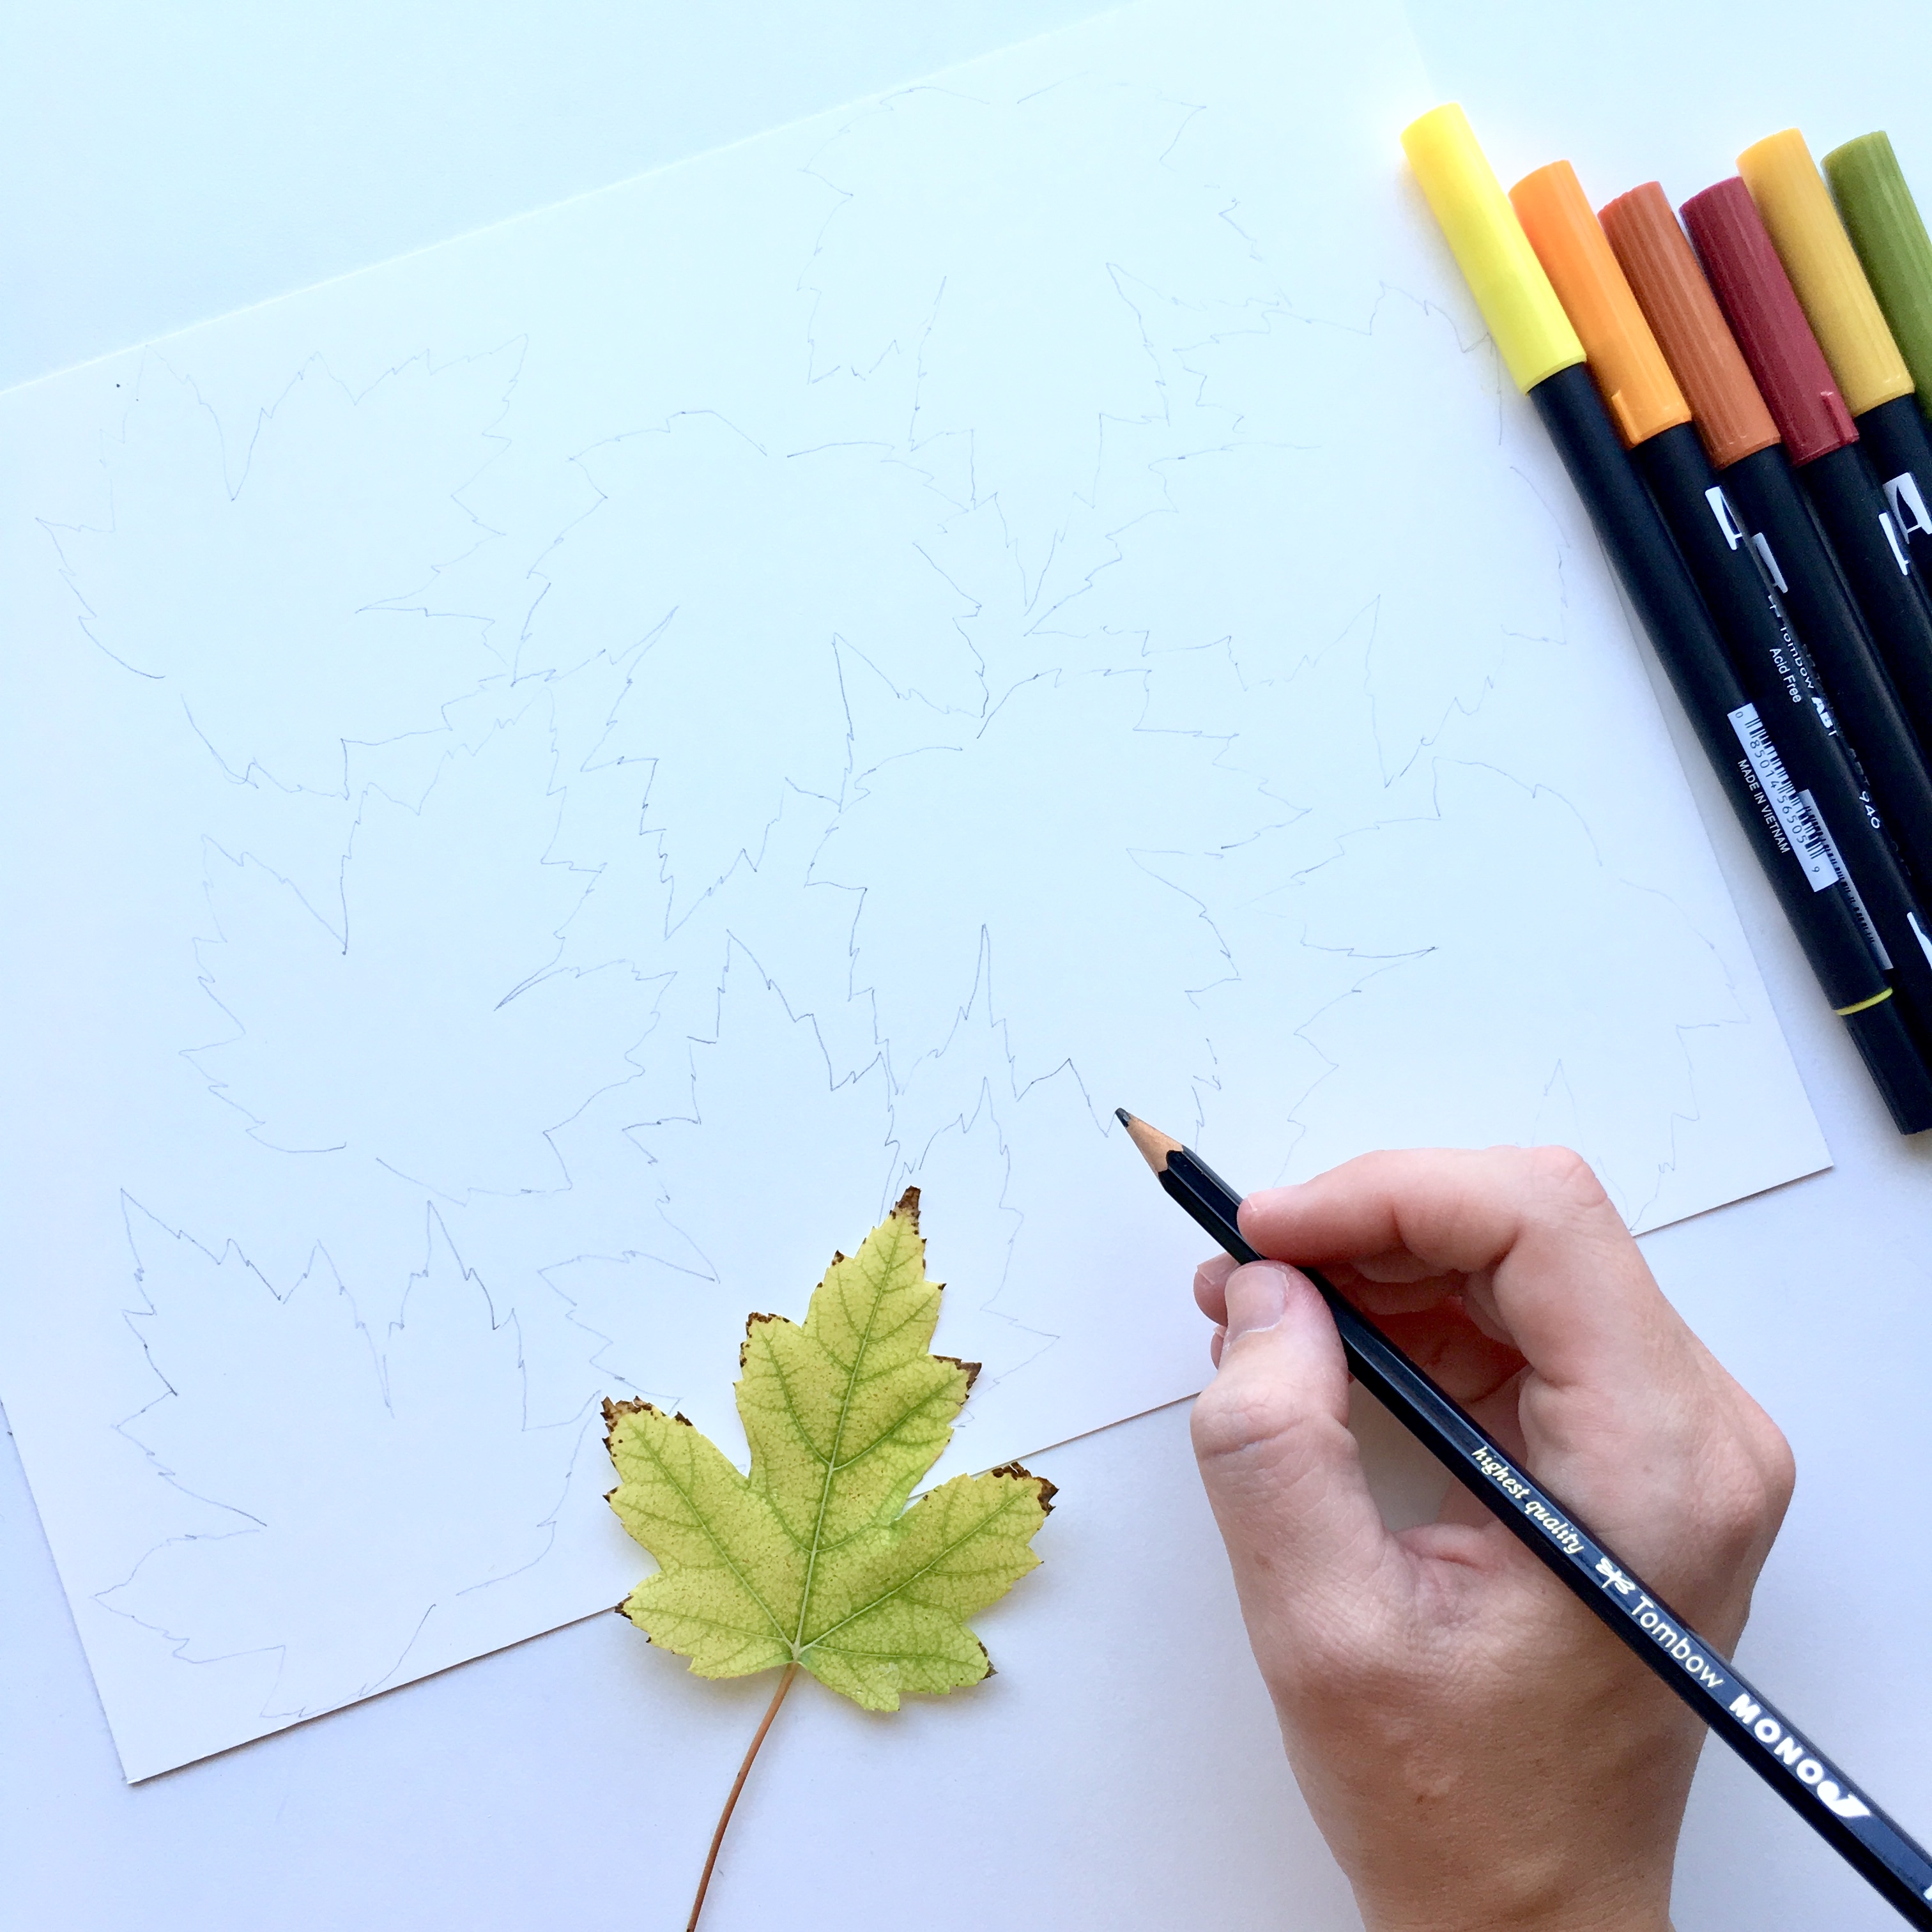
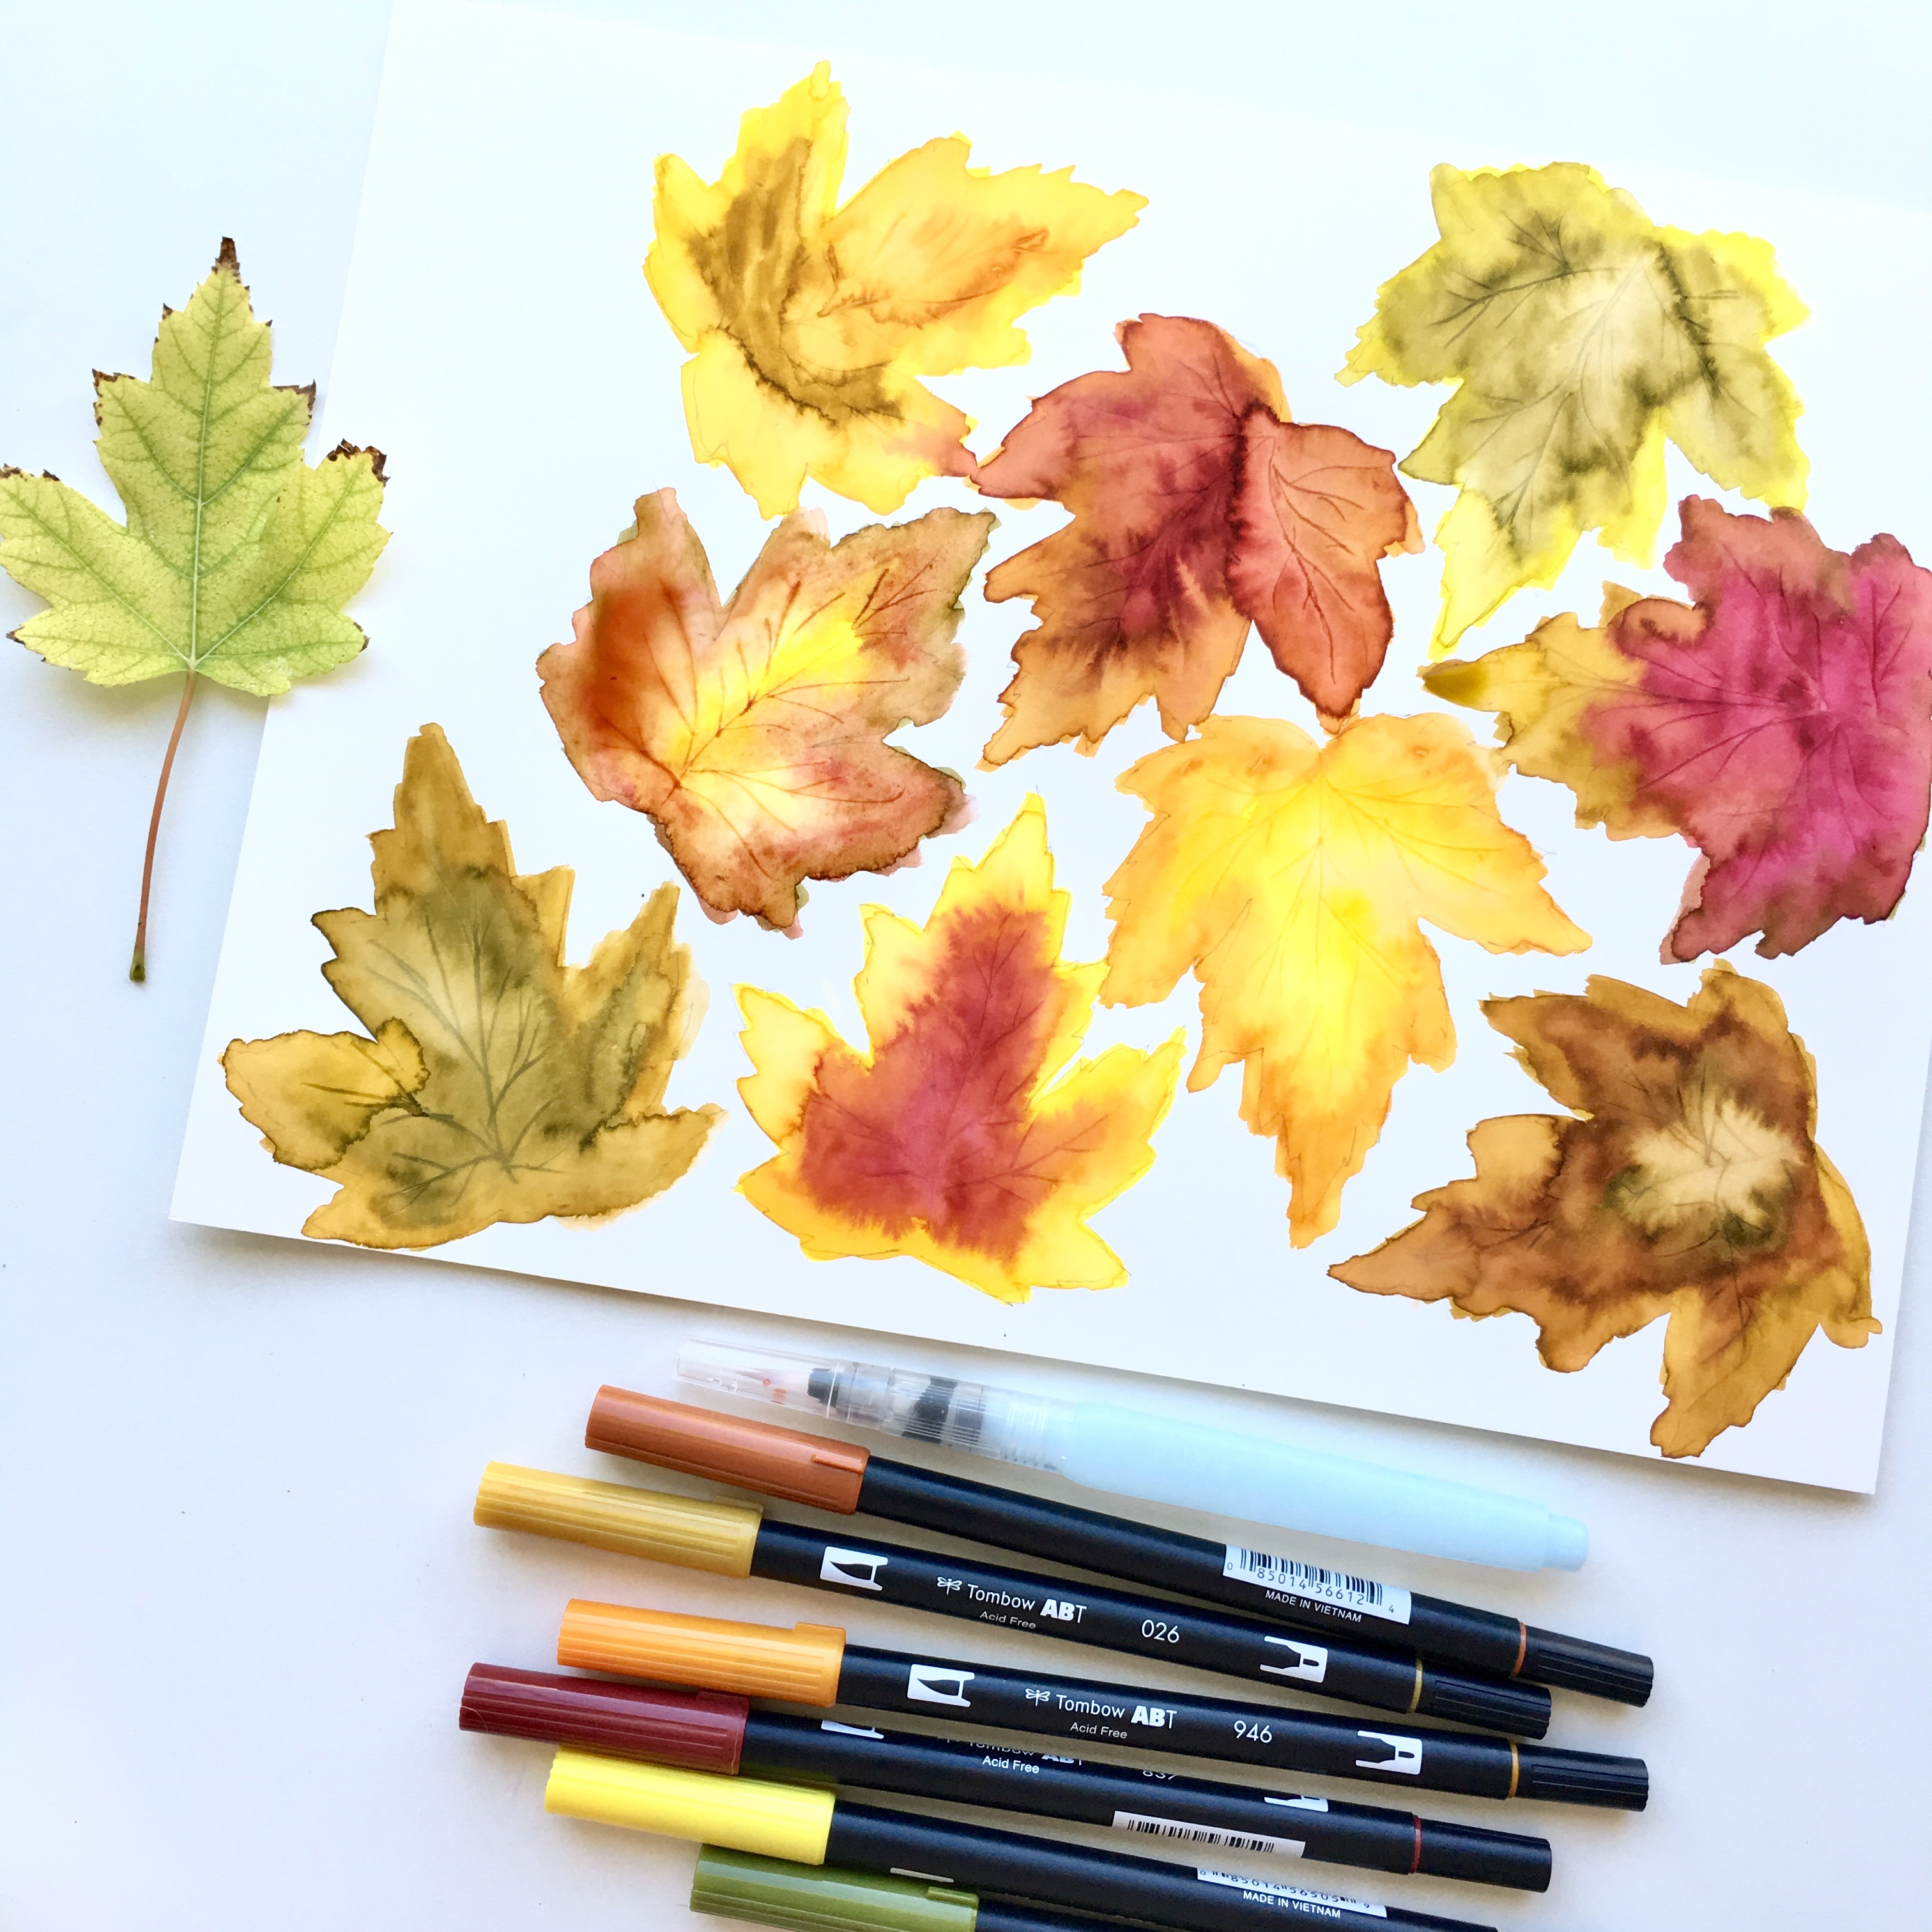
Lightly sketch out leaves on your watercolor paper with your pencil. I have a lot of trees in my backyard so I grabbed a leaf to trace. I put as many leaves on the page as I could fit, I got nine!
Step 2
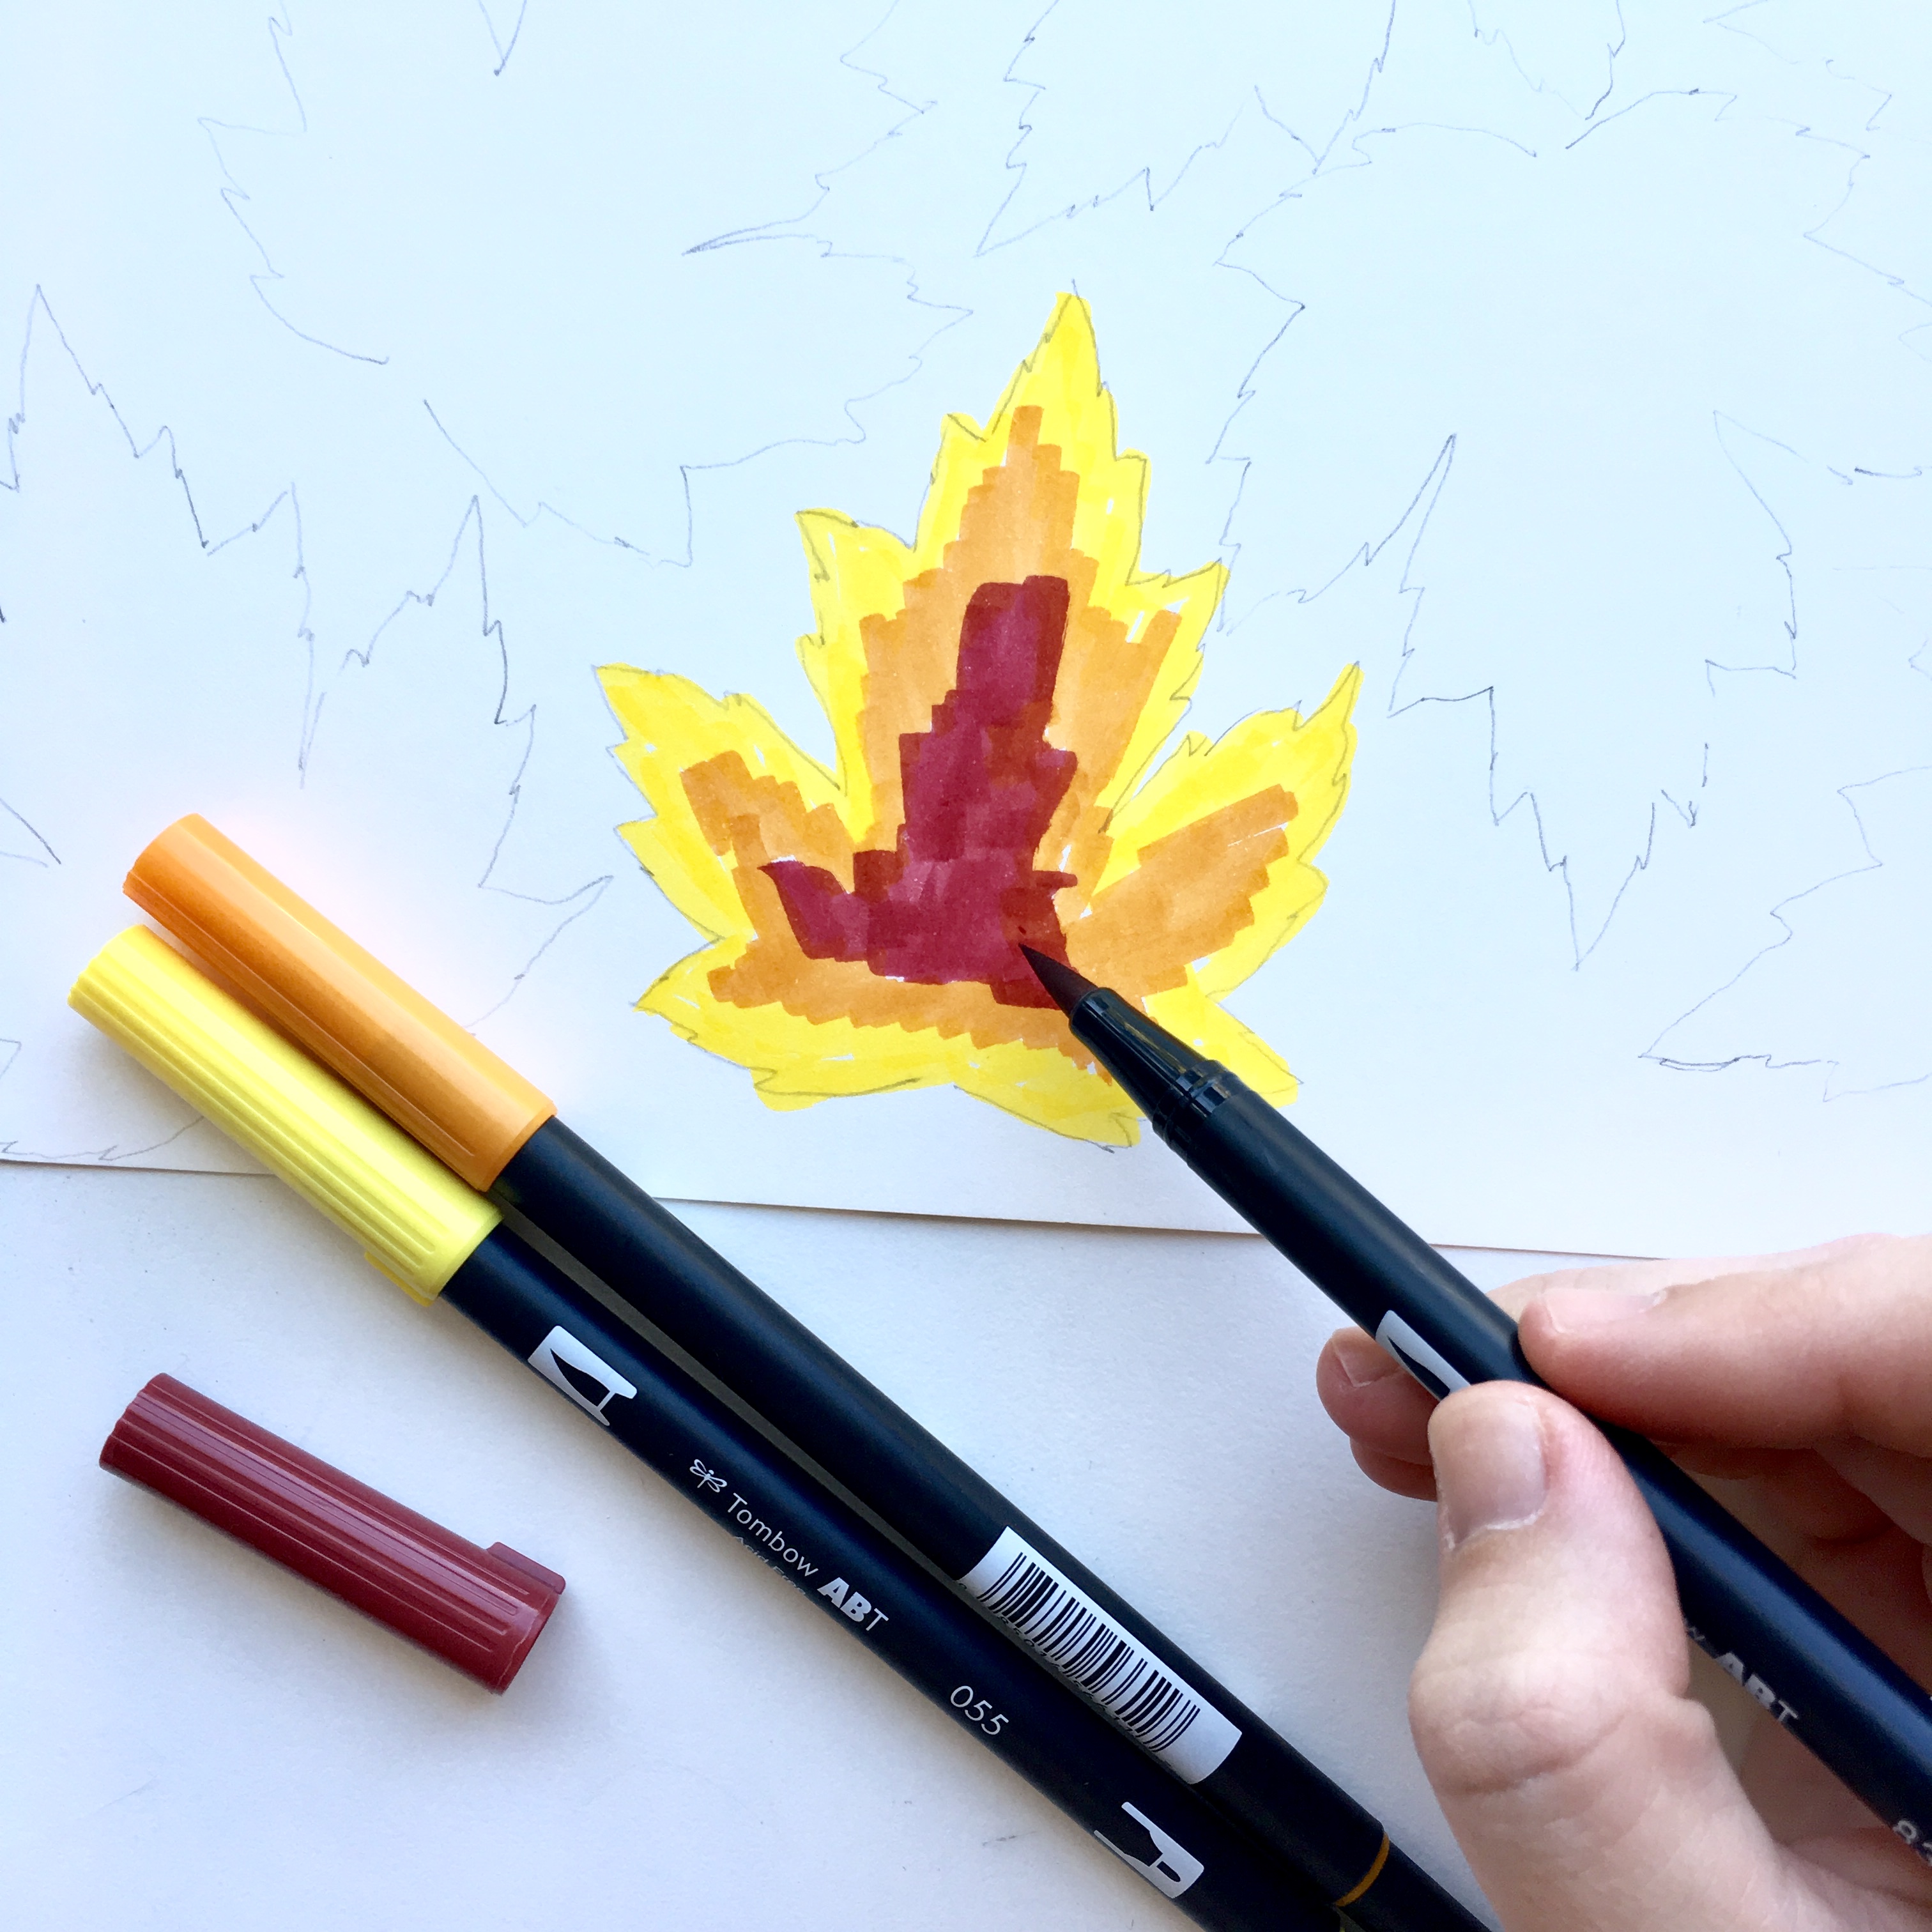
Now it’s time to color your leaves! Use your Dual Brush Pens to color in a leaf. I recommend taking it one leaf at a time, otherwise the ink will be too dry to get a good blend when you add the water.
Step 3
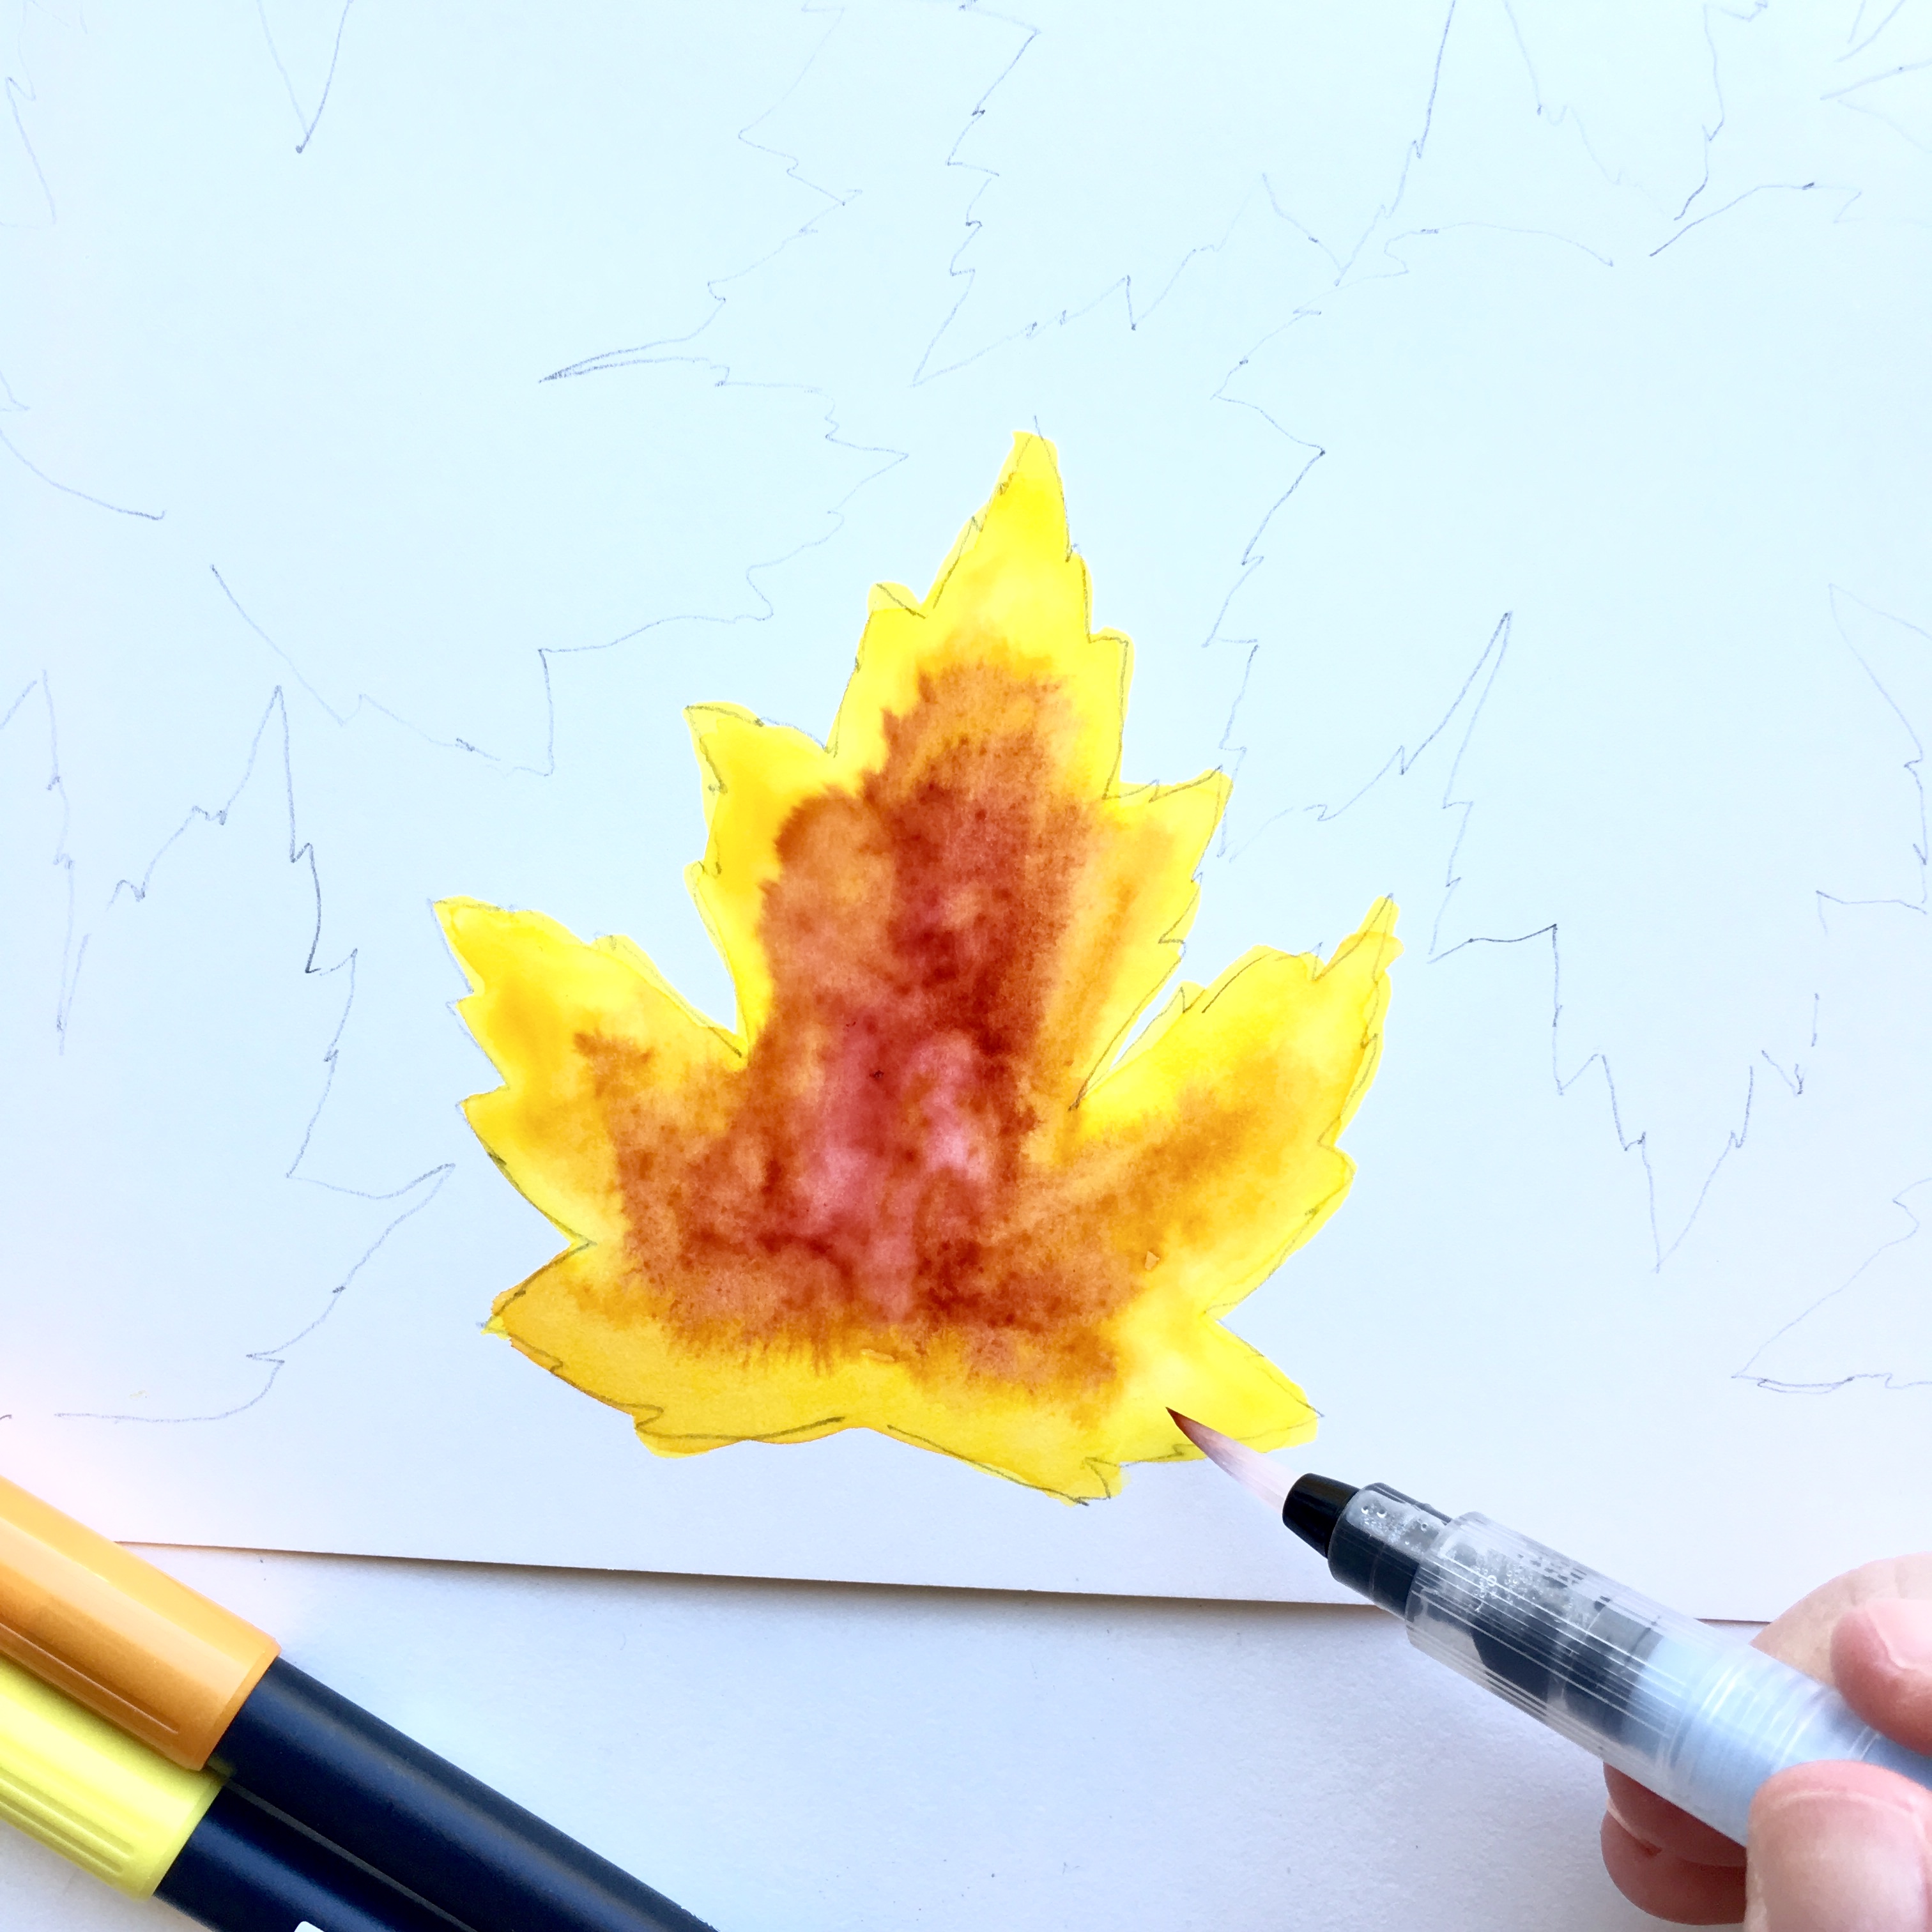
Once your leaf is completely colored in, blend the colors together with your paintbrush and water. Here’s a tip: start with the lightest color and blend to the darkest to let the water do most of the blending for you. Don’t worry about being too precise with the edges since we’ll be cutting these out later!
Step 4
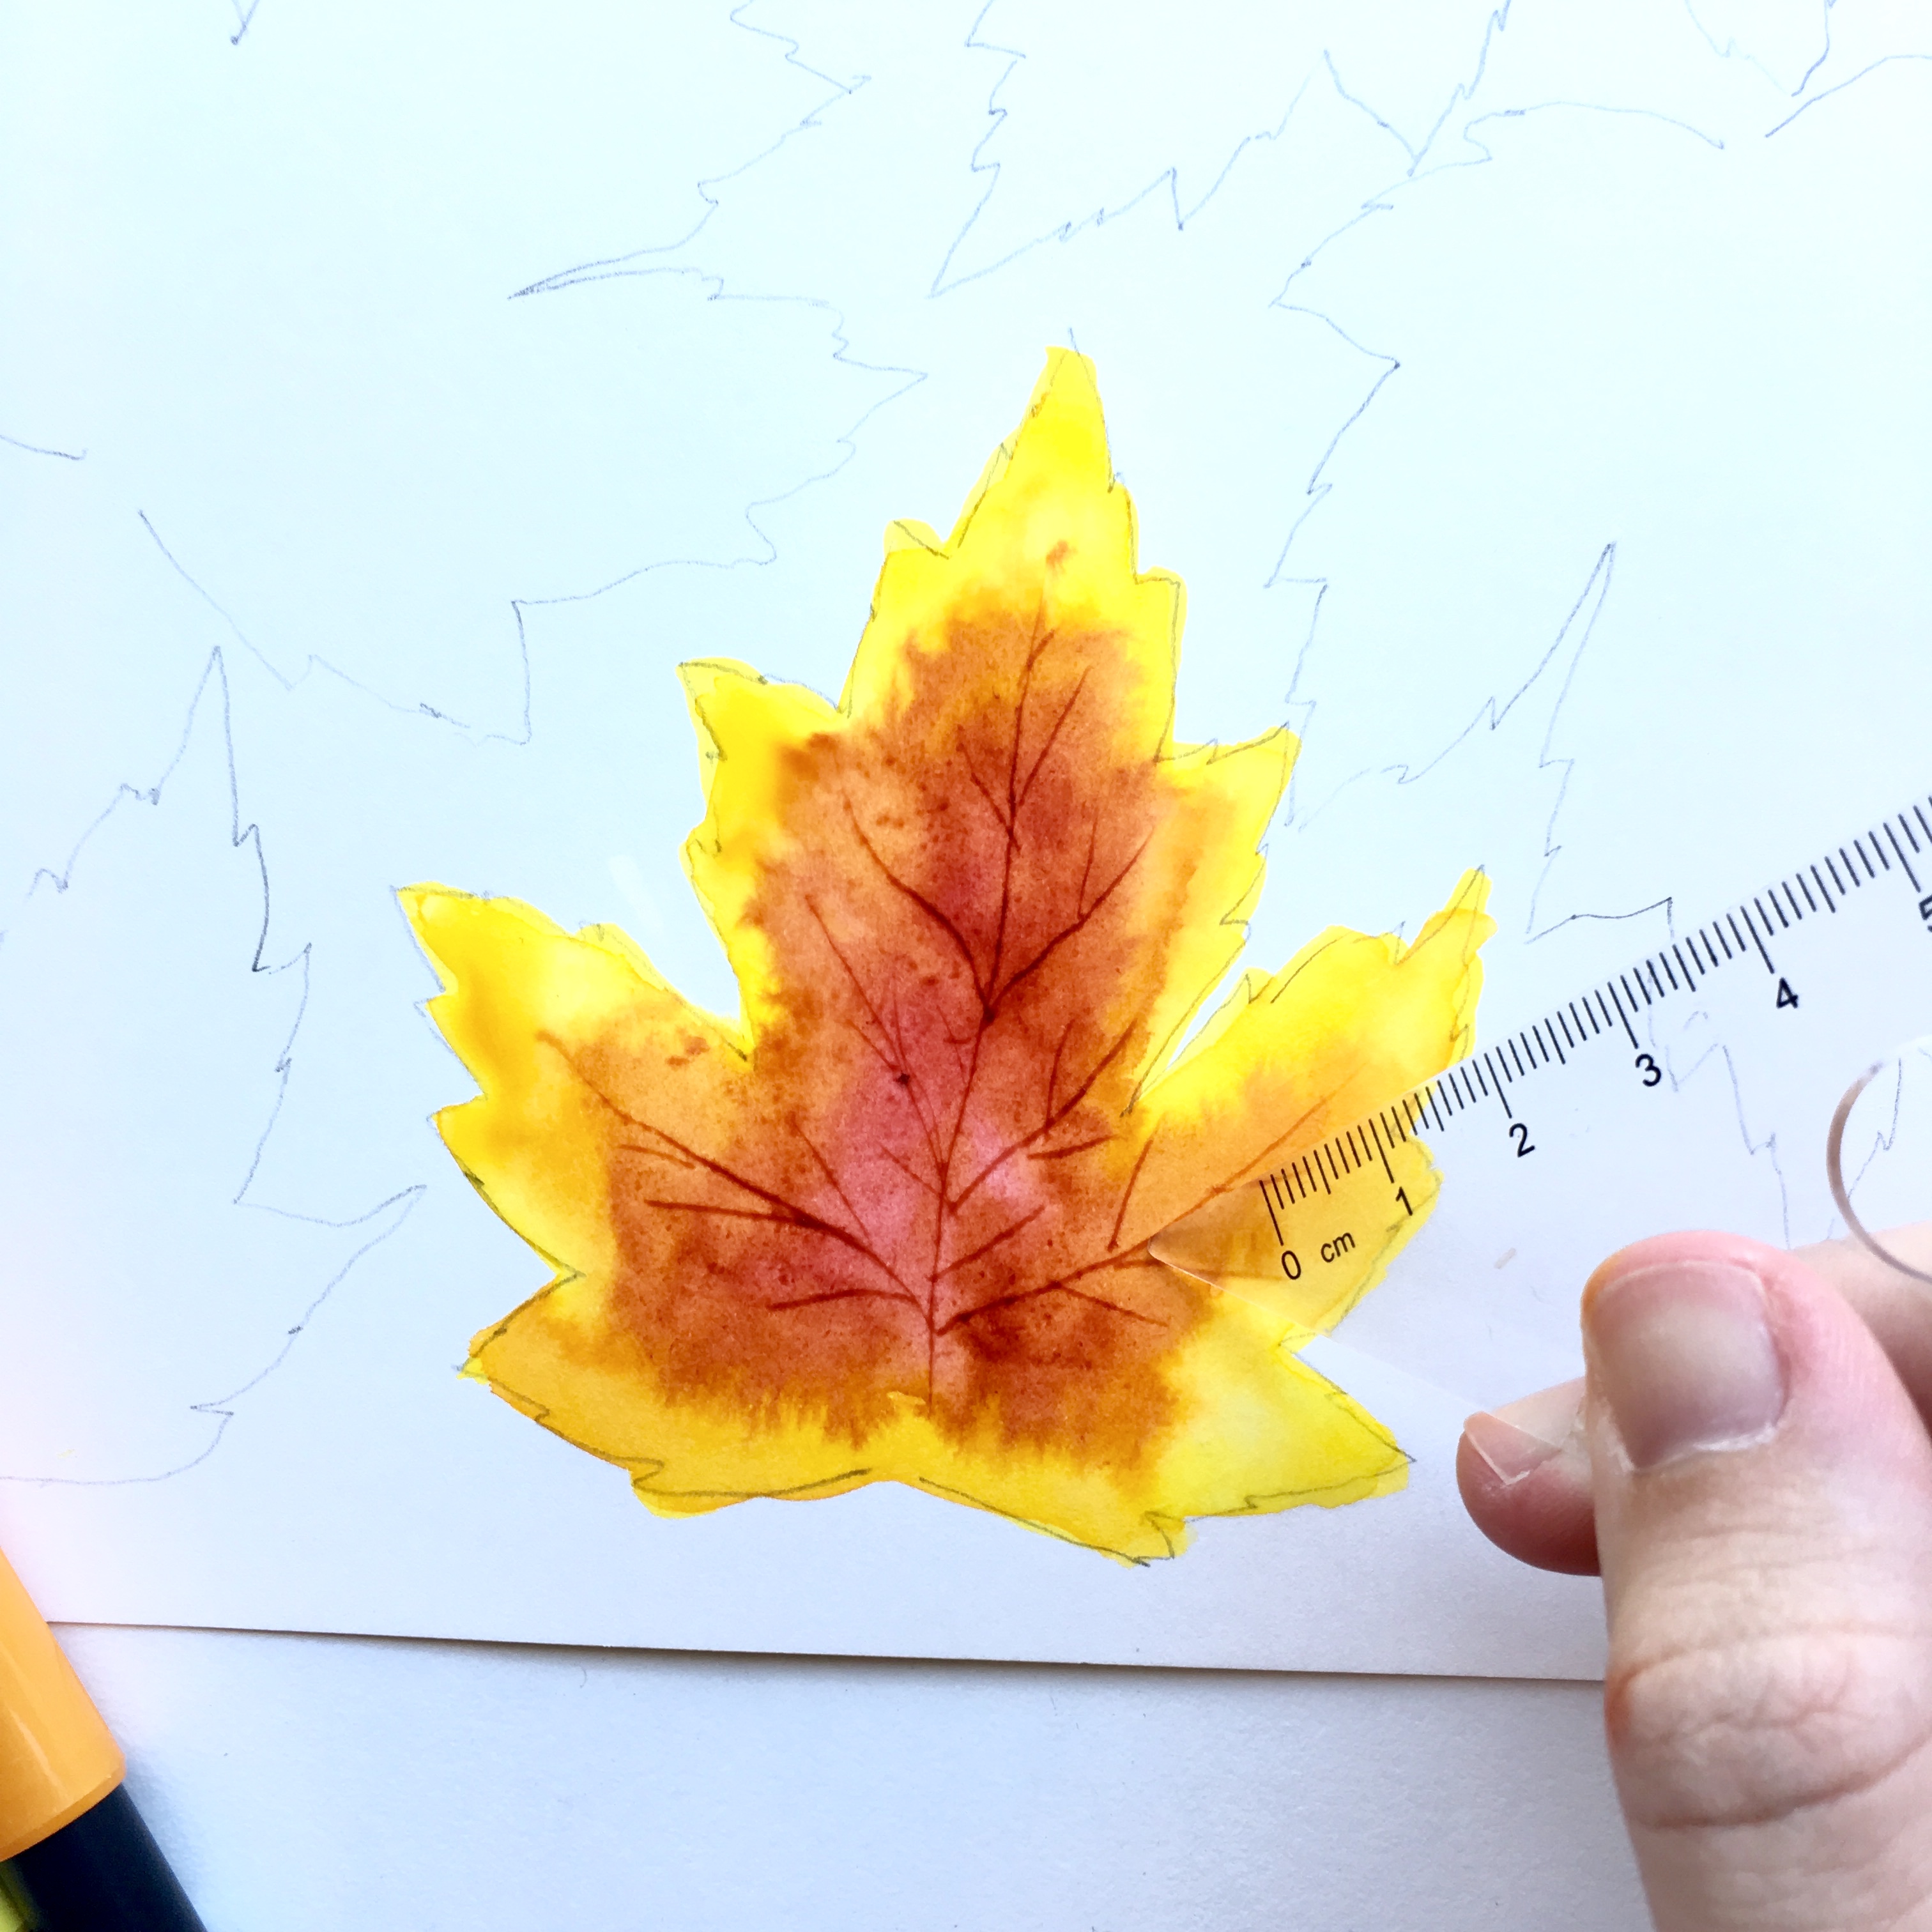
Use your sharp object, like the corner of a paper or a ruler, to scratch in lines on your leaf while it’s still damp. The color will fall into these creases and this will create the “veins” on your leaf!
Step 5
Continue to color, blend, and scratch in the rest of your leaves!
Step 6
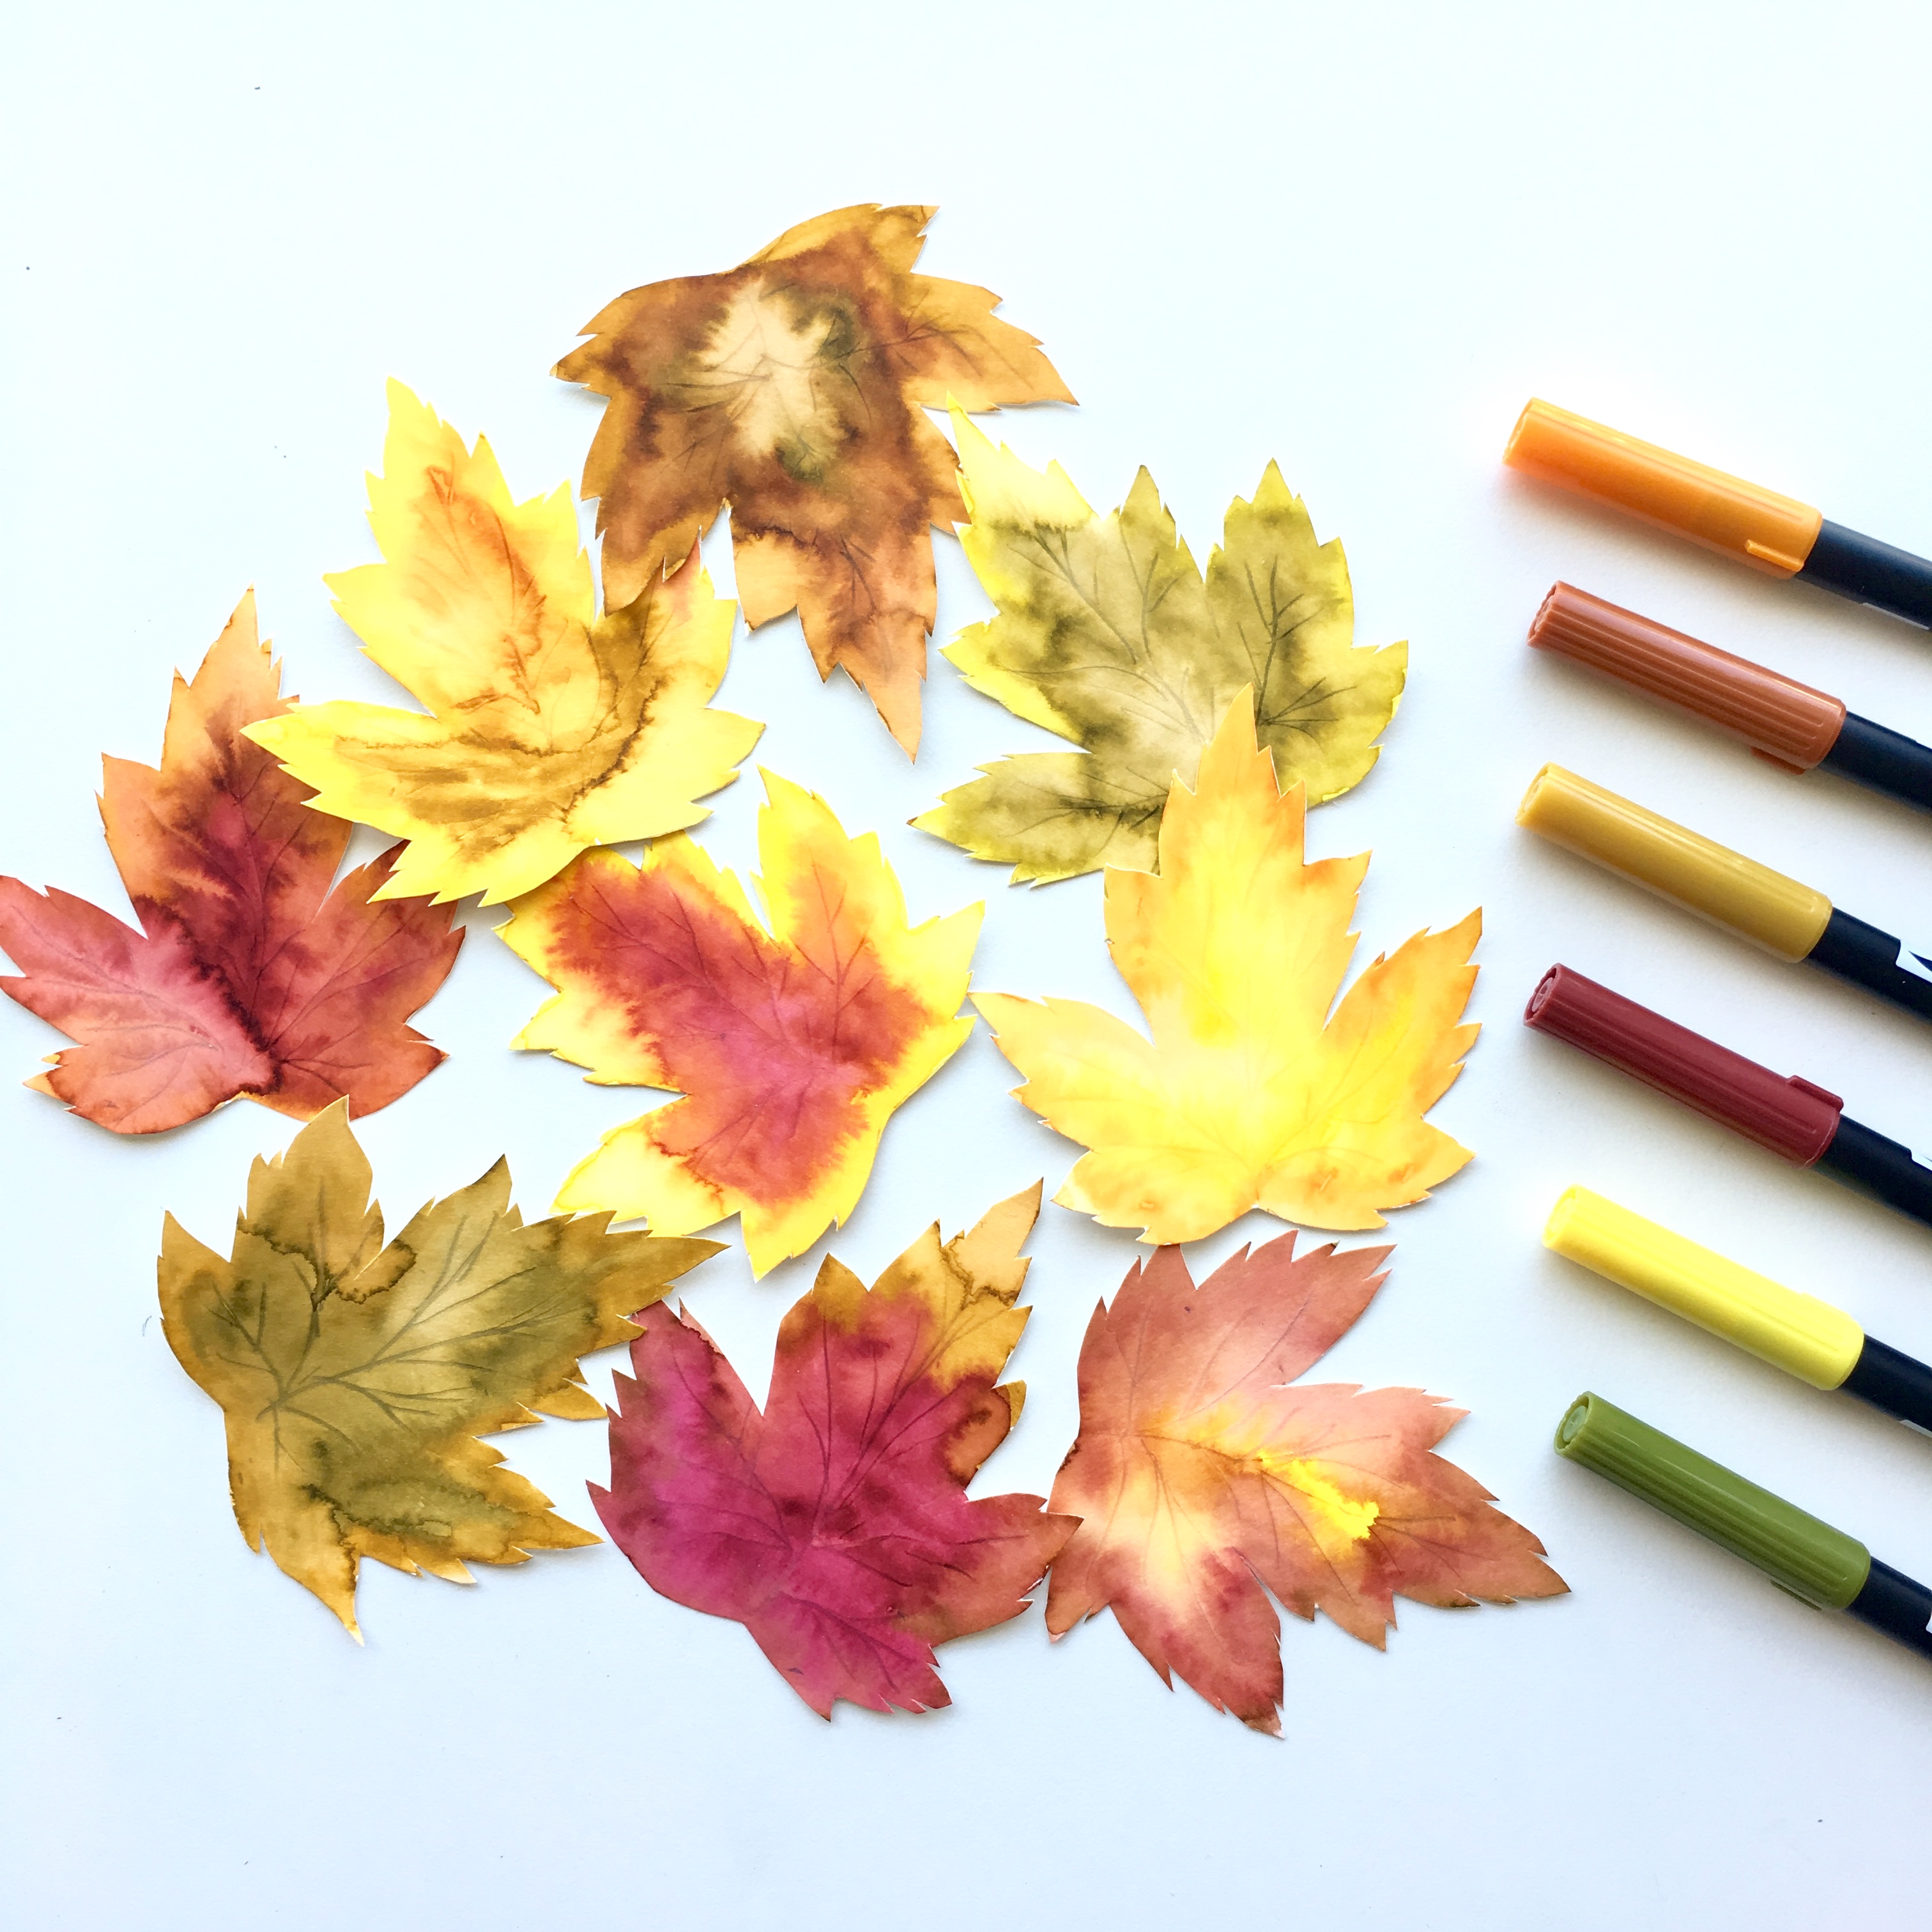
After all your leaves are dry, cut them out with your scissors. I’m loving how these leaves turned out! The colors came out so bright and vibrant!
Step 7
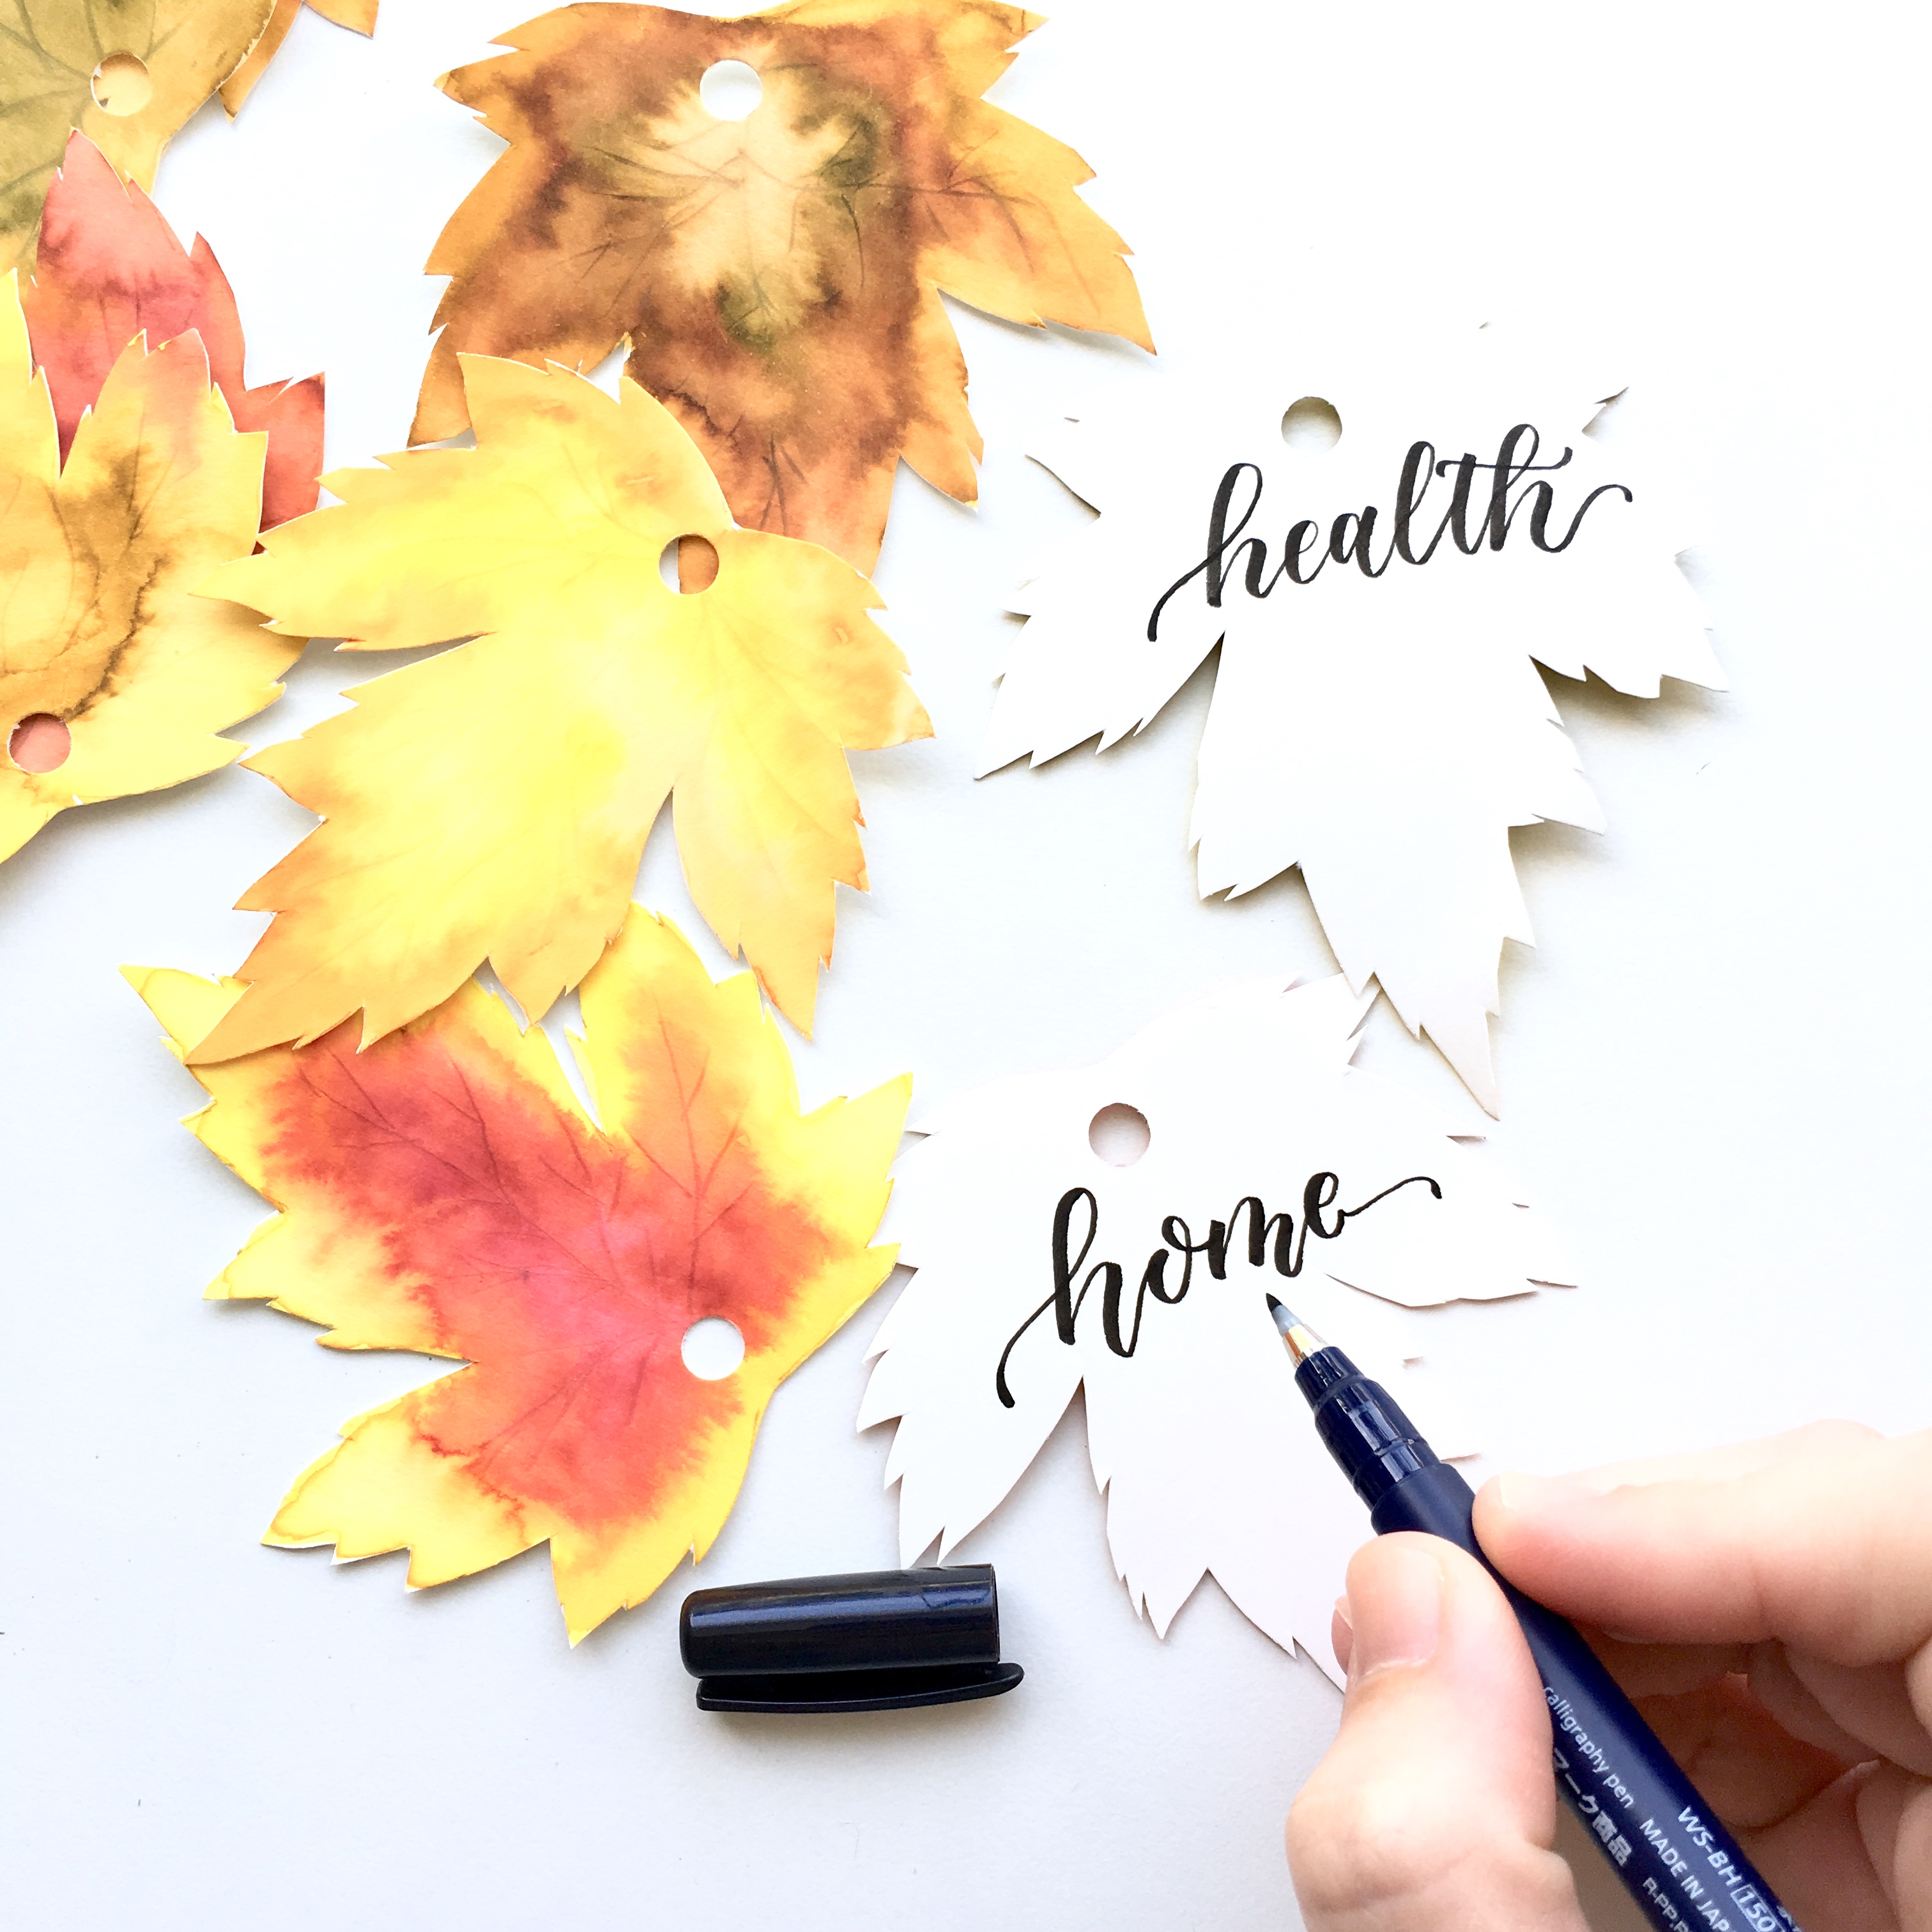
Use a hole punch to make a hole at the base of your leaves. Then write what you’re thankful for on the back of each leaf with your Fudenosuke Brush Pen.
Step 8
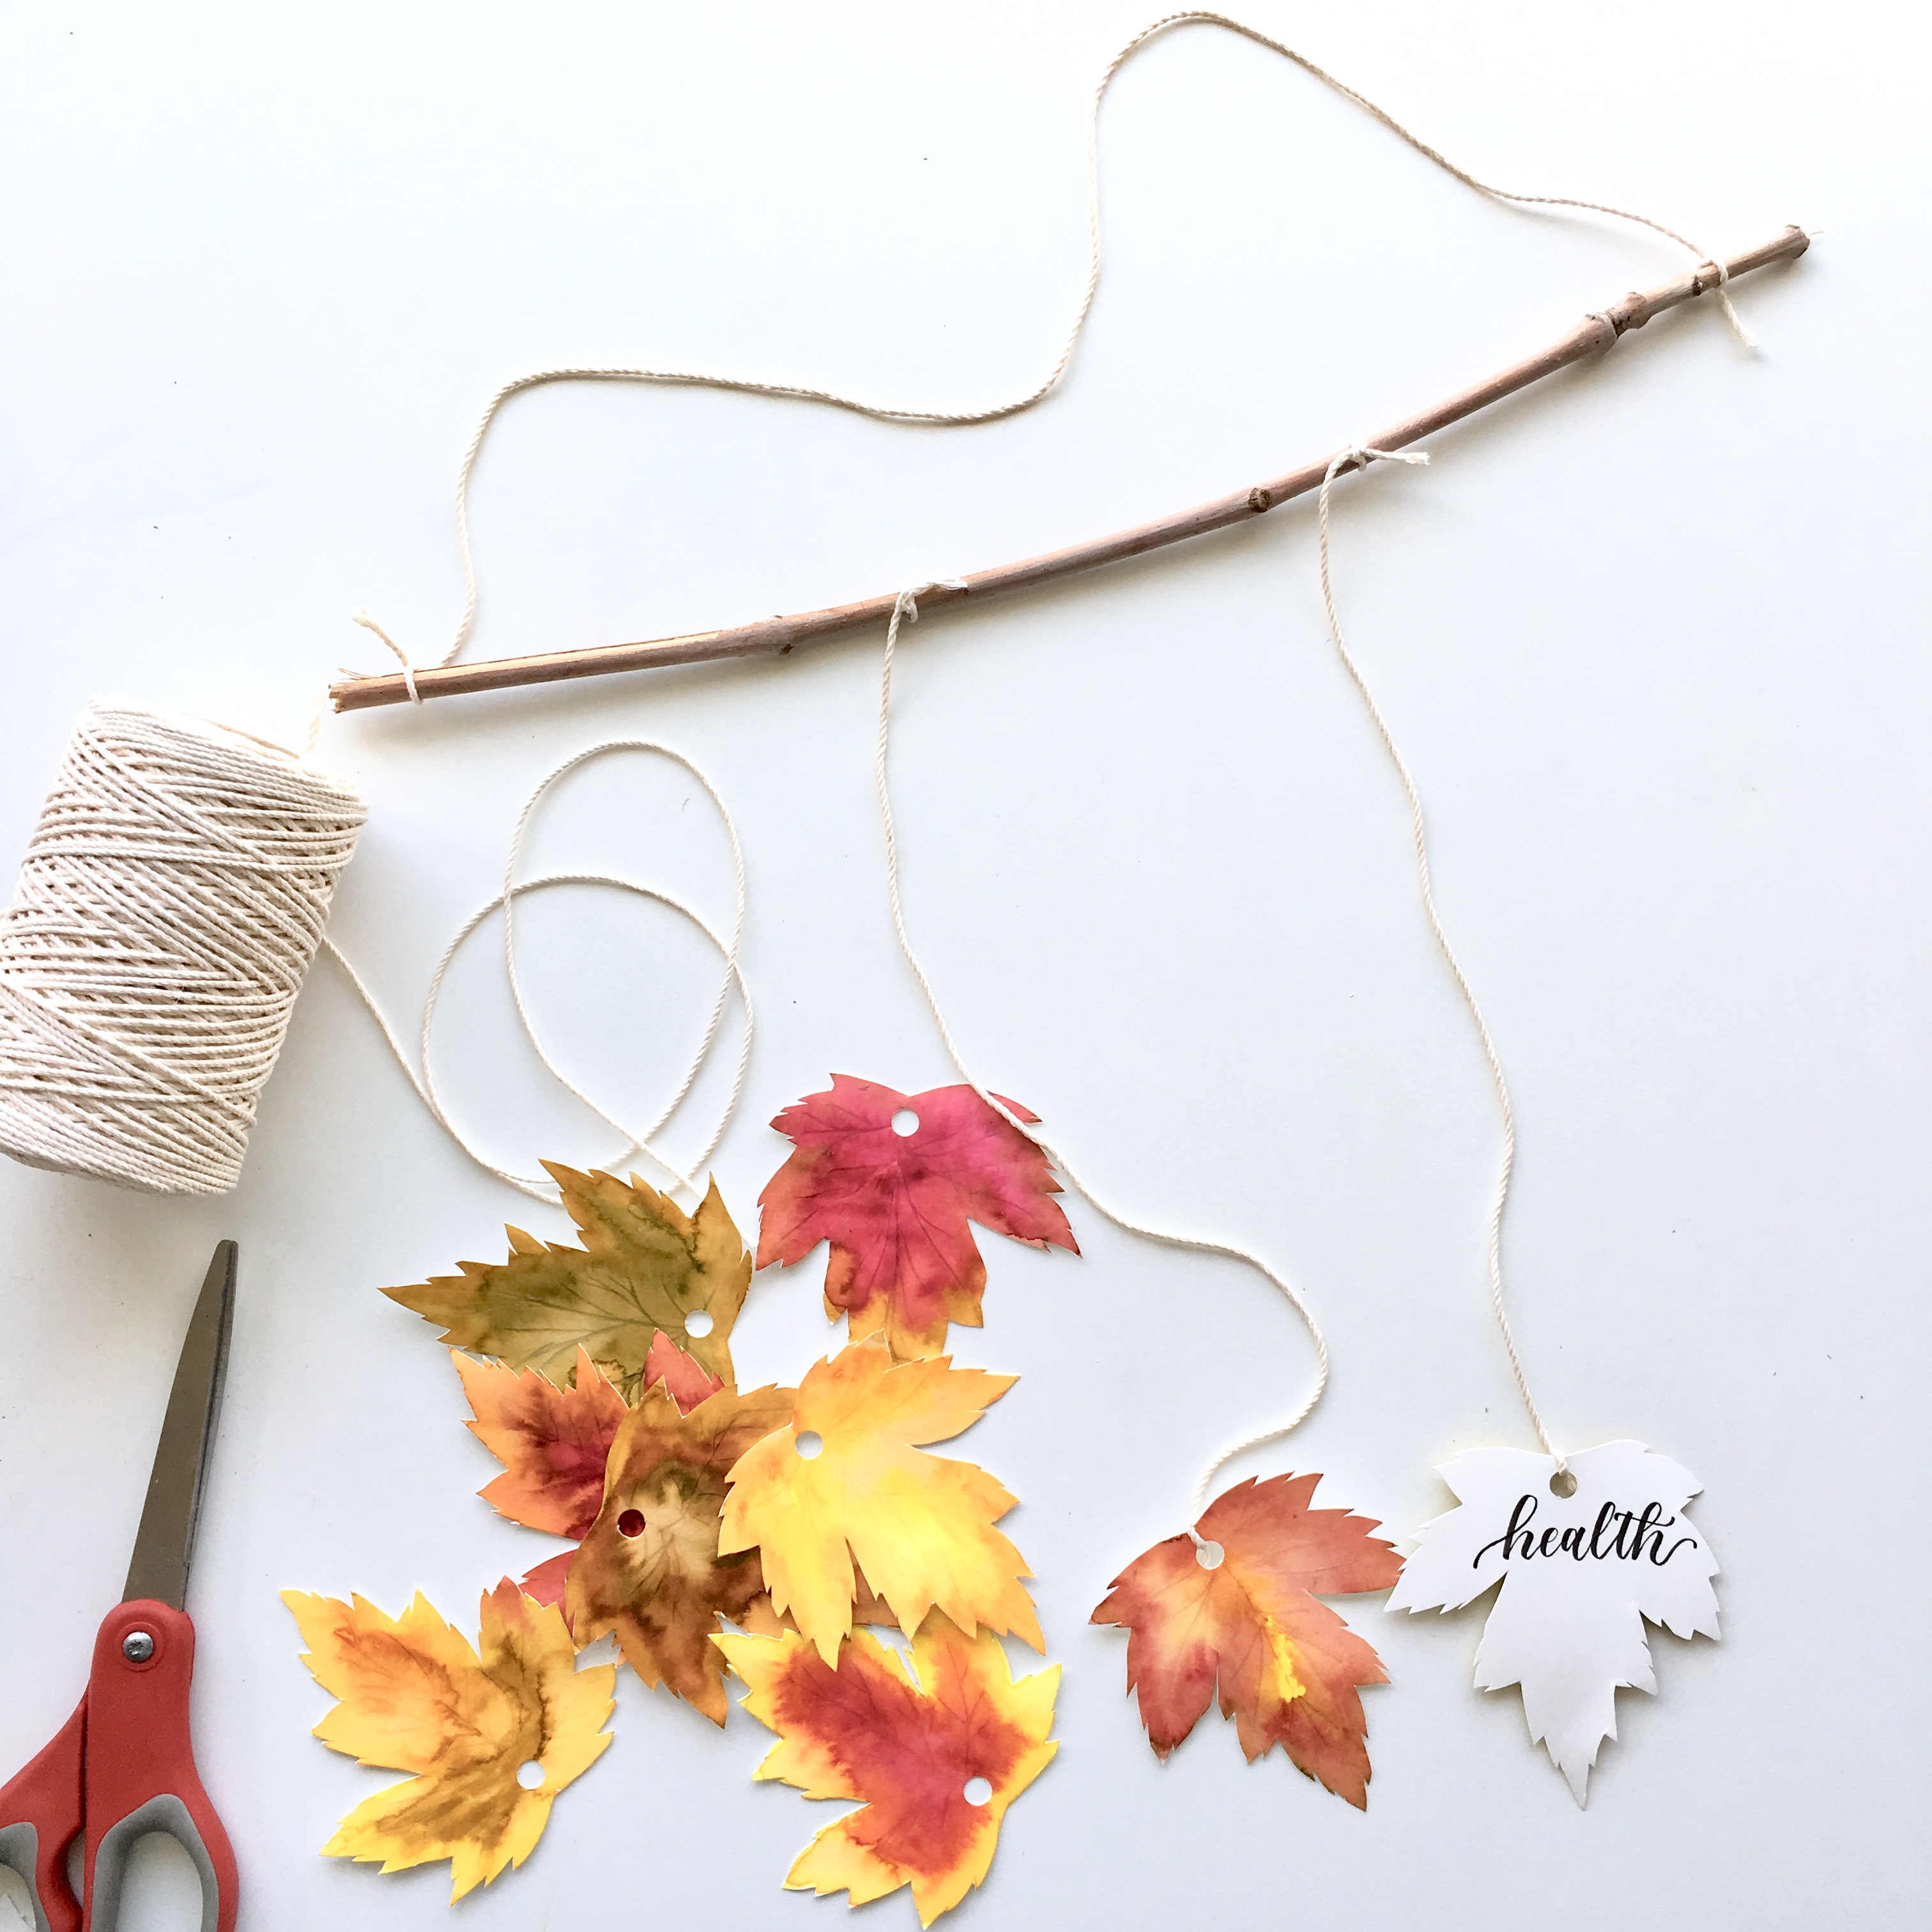
Tie a string to both ends of your stick to hang on your wall. When it’s time to add your leaves to your branch, cut a string about 12 inches long. Tie one end to your leaf and the other leaf onto your branch.
Step 9
Continue adding your thankful leaves to your branch as the days go by, and pretty soon your branch will be full! Such a fun way to display what we are thankful for this season!
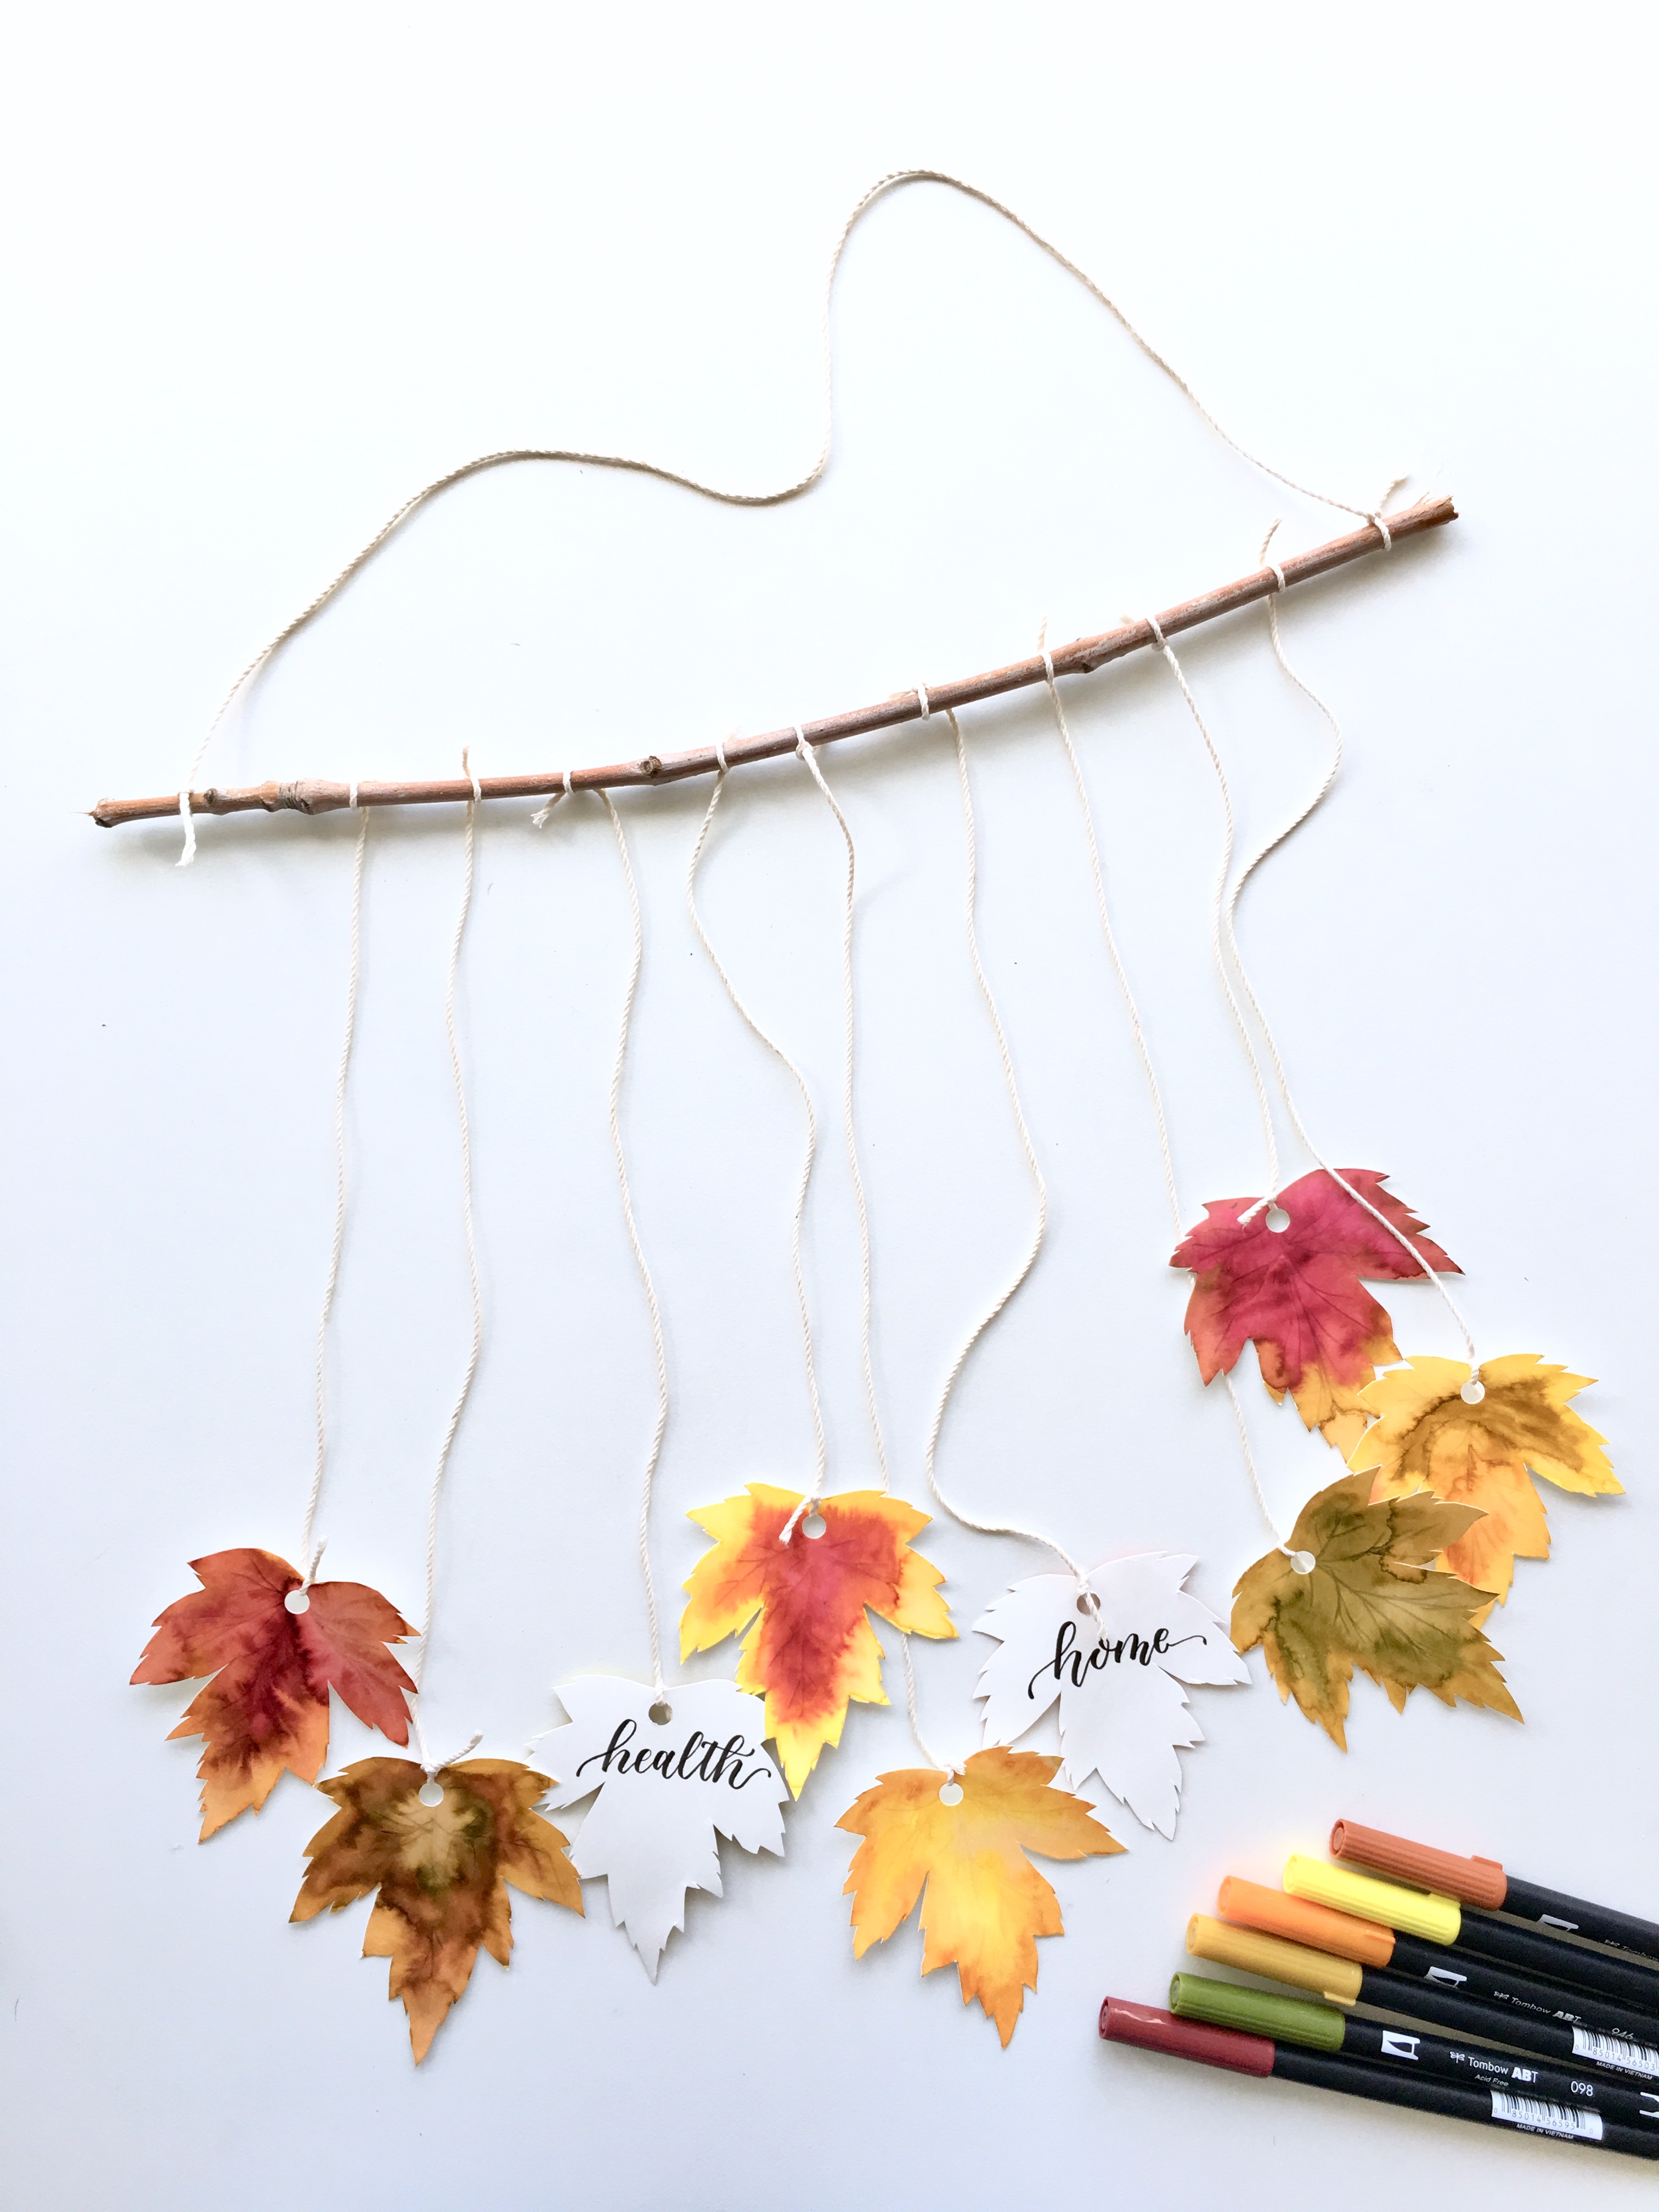
I hope you loved this fall craft project! For more inspiration, follow me at @studio80design!
Adrienne
Amazing!
Pingback: Thanksgiving Journal Page Tutorial - Tombow USA Blog
Pingback: Hand Letter a Fall Print With Three Dual Brush Pens - Tombow USA Blog