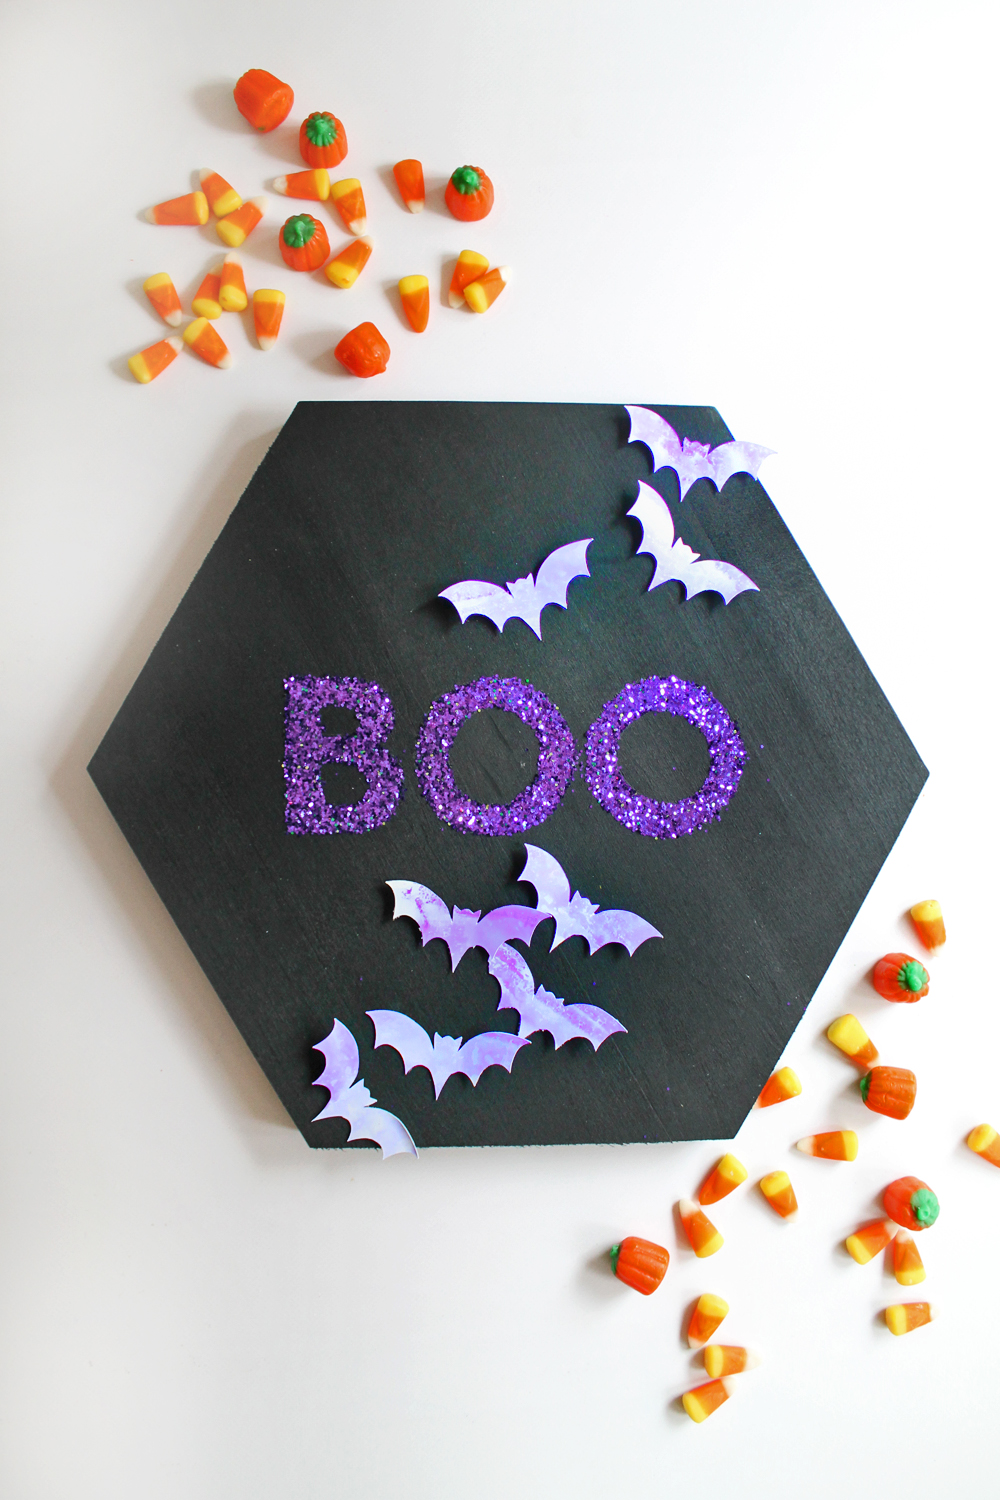
Hey everyone, it’s Katie here and today I’m showing you how to make an easy Halloween plaque you can make!
Supplies:
- Wooden Hexagon Plaque (the one I used is by Walnut Hollow!)
- Tombow MONO Aqua Liquid Glue
- Tombow Adhesive Dots
- Black Acrylic Paint and Paintbrush
- Glossy Photo Paper
- Tombow Dual Brush Pens
- Tombow XL Blending Palette
- Glitter
- Letter Masks/Stencils (I used masks by Hazel & Ruby)
Step one:
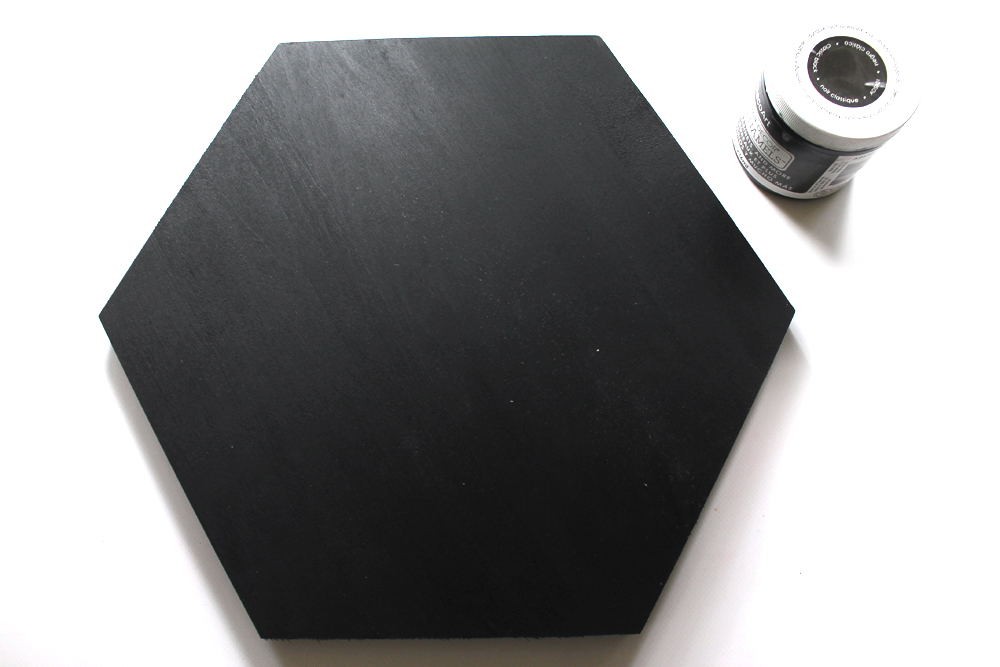
Start by painting your plaque black with acrylic paint!
Step two:
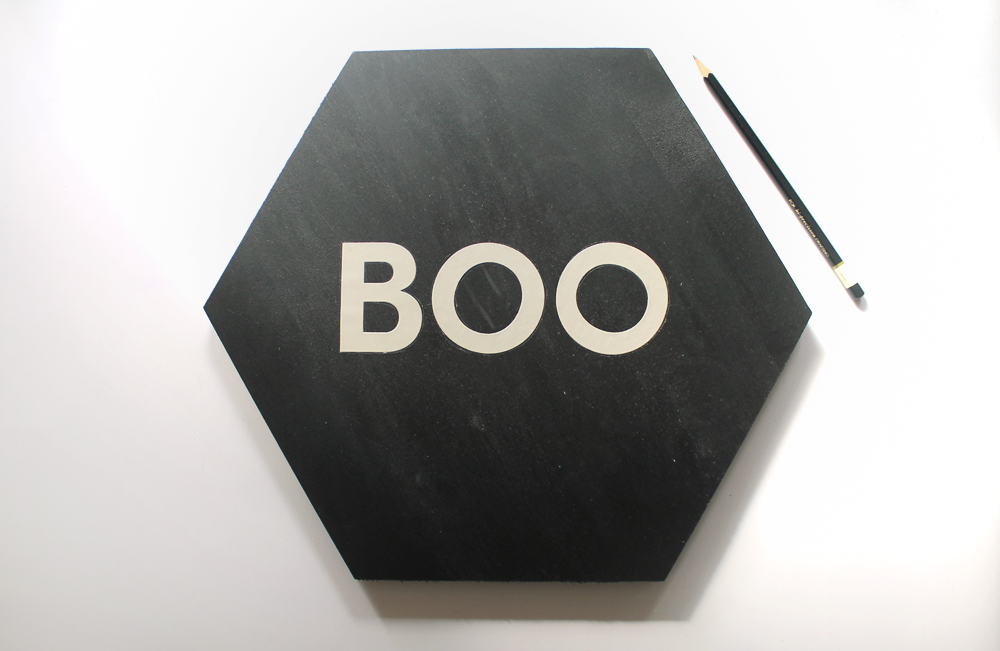
Next, use the letter masks and trace around them using a MONO Drawing Pencil to get the outlines onto your plaque.
Step three:
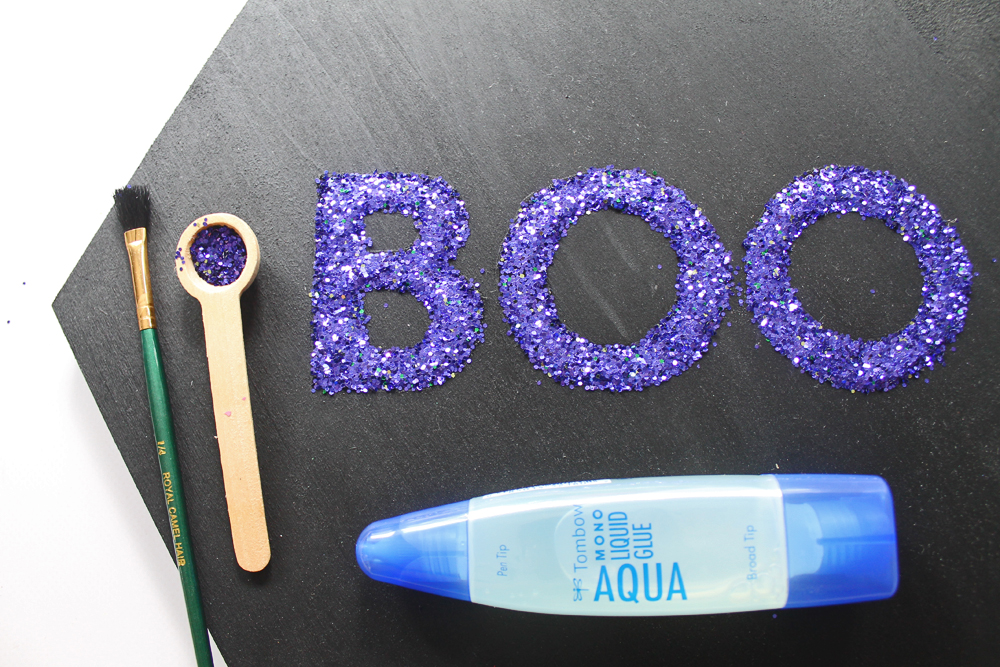
Fill in each letter with MONO Aqua Liquid Glue, and sprinkle glitter over top! Yay glitter! 😉 Knock off the excess glitter onto a piece of scrap paper (to pour back into the glitter container), and use a dry paintbrush to carefully remove any glitter that stuck where you didn’t want it.
Let the glue dry.
Step four:
Okay, while the glue is drying, let’s work on our bats!
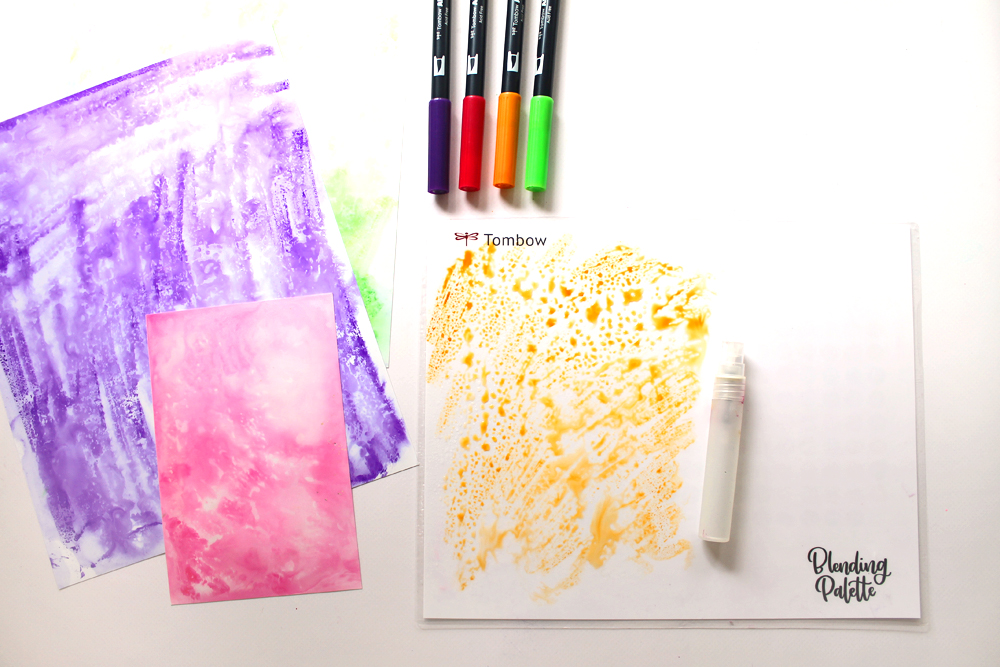
Using the Tombow Dual Brush Pens, scribble your color on to the XL Blending Palette. Then you’ll want to spritz with water, and place a piece of glossy photo paper face down on top. Swirl it around to transfer the ink, and then pick up the paper to reveal your print!
I printed a few bright colors, but I ended up only using the purple for this project. The others will be saved for future use!
Step five:
Now we’ll be cutting bat shapes out of the colored paper! I loaded my papers into my Cricut Explore Air 2, and cut out a few bats to use!
Step six:
To adhere the bats, place a Tombow Adhesive Dot onto the back of each one and place onto your Halloween plaque!
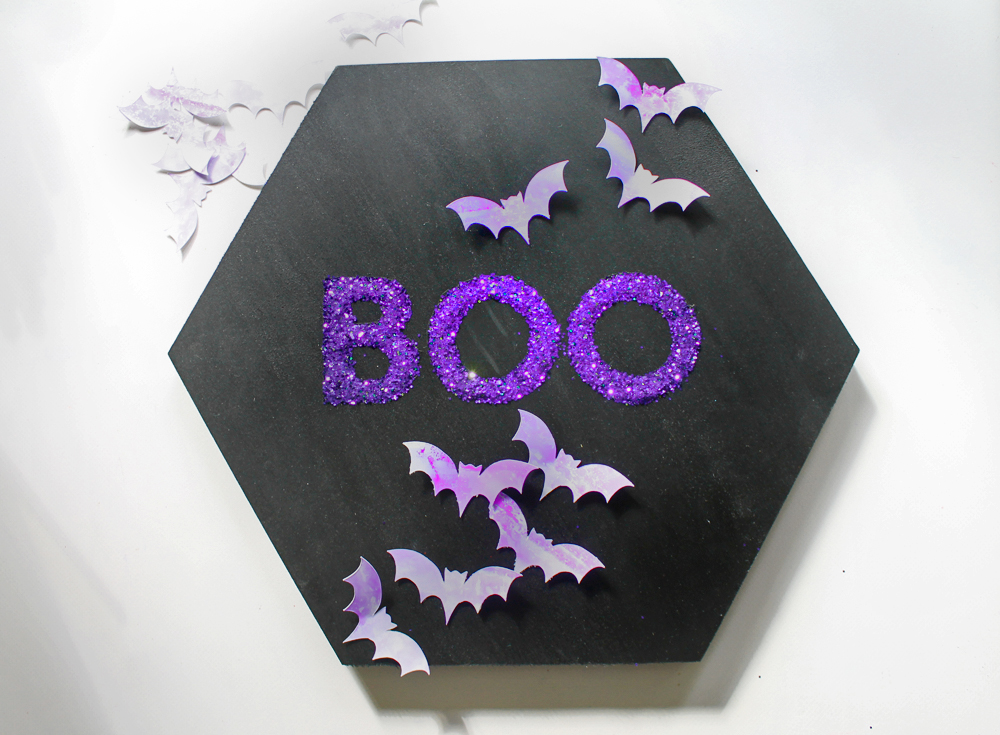
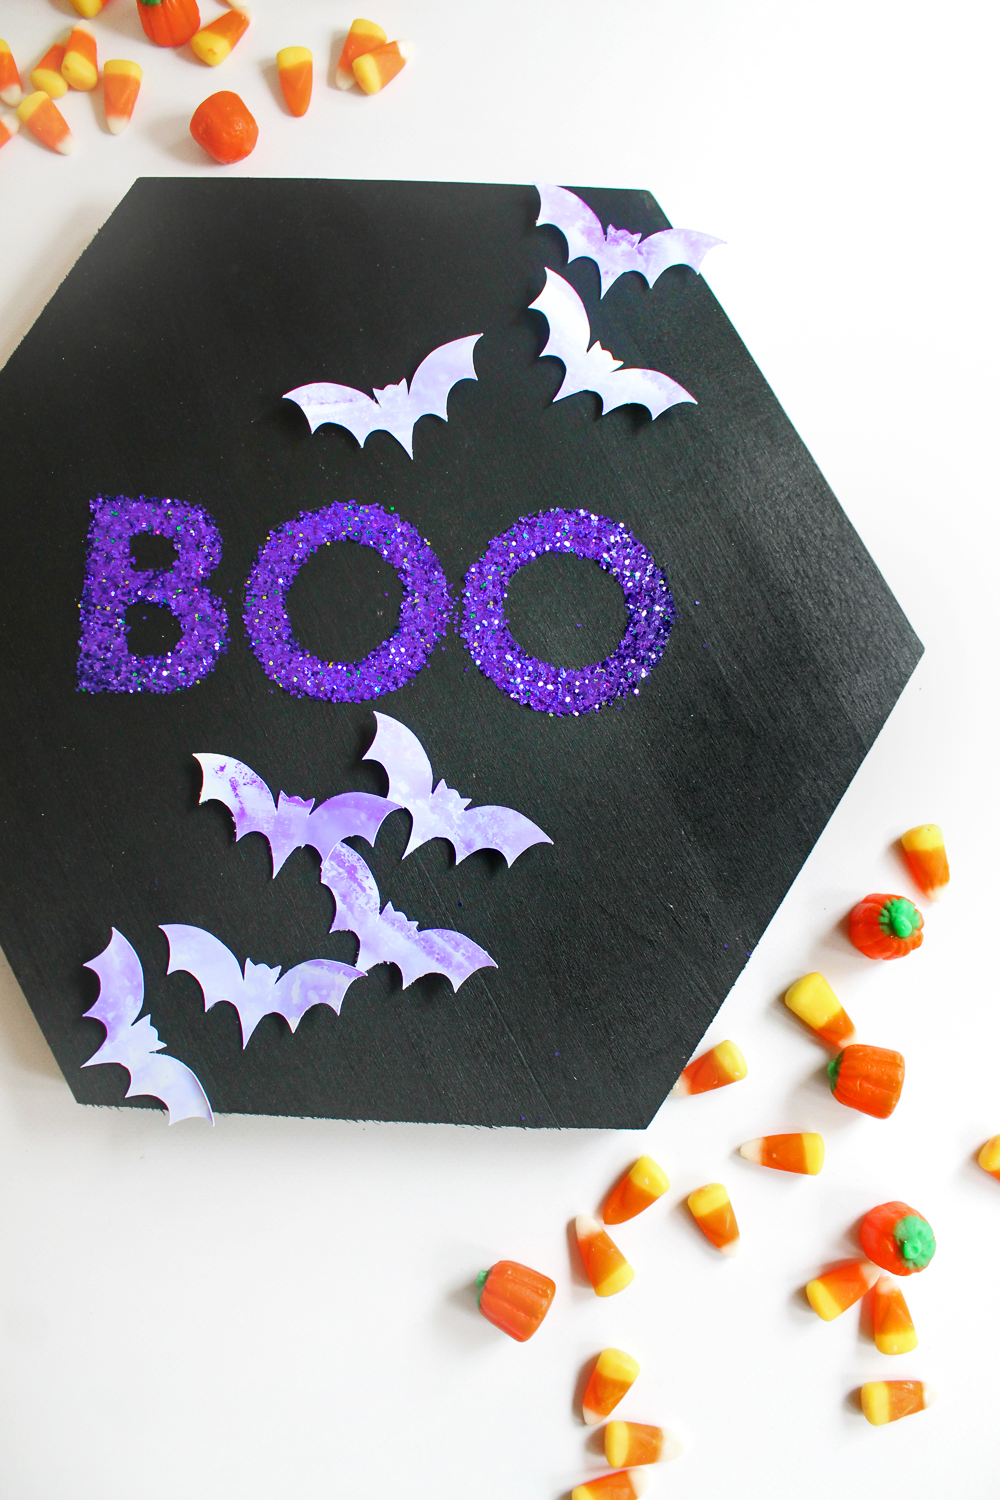
And you are finished! I love how my little Halloween plaque turned out – I think the splash technique adds a really fun effect to the bats.
For more fun Halloween projects, be sure to check out the archives on our blog, and the Tombow Instagram page!