Hey, y’all! It’s Grace from Grace Anne Studio. In my family, we’re card people. I love browsing the card section and finding the perfect one for a special person, but in the last few years, I ran into a problem. I kept buying the same cards! A big “oops” for someone that saves cards! February has a plethora of celebrations for us, so this year, I’m making my own!
Supplies
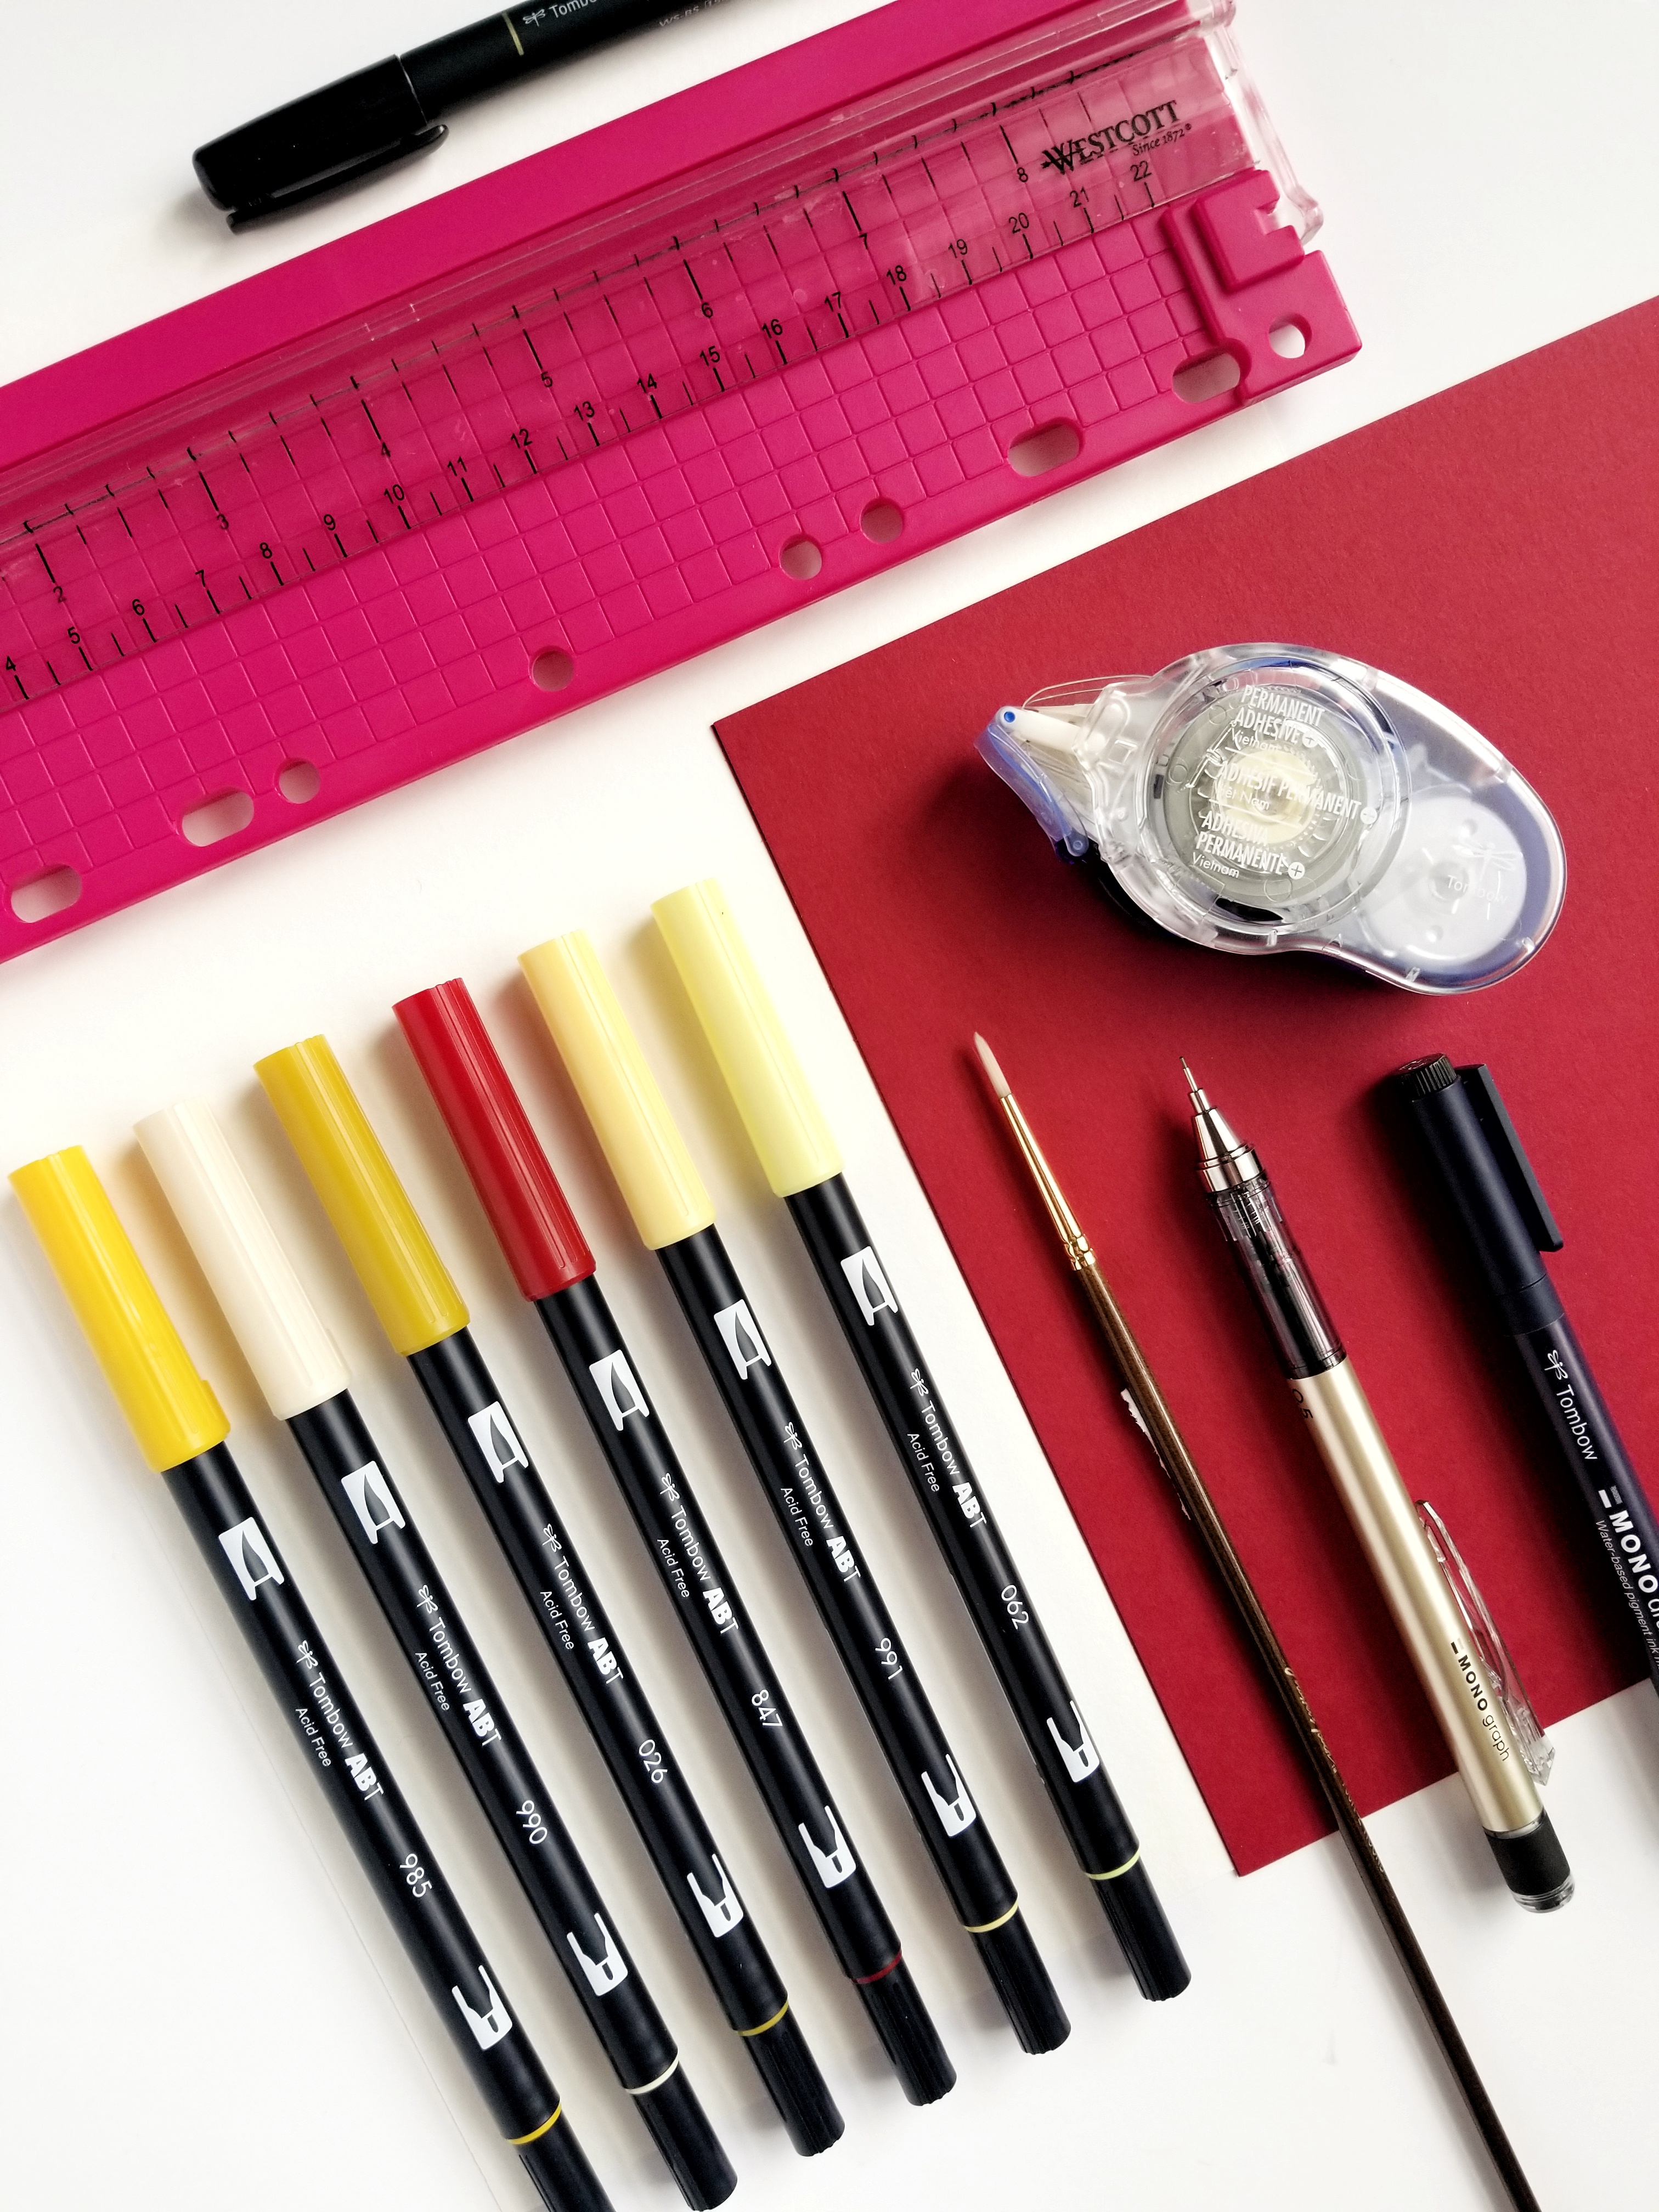
- Tombow MONO Adhesive+ Permanent
- Tombow Dual Brush Pens
- Tombow Fudenosuke Soft Tip
- Tombow MONO Drawing Pen, 05
- Tombow MONO Graph Mechanical Pencil
- Watercolor Paper
- Card stock
- Scissors or a paper cutter
- A small paintbrush
- A small water dish
Step 1: Theme + Embellishments
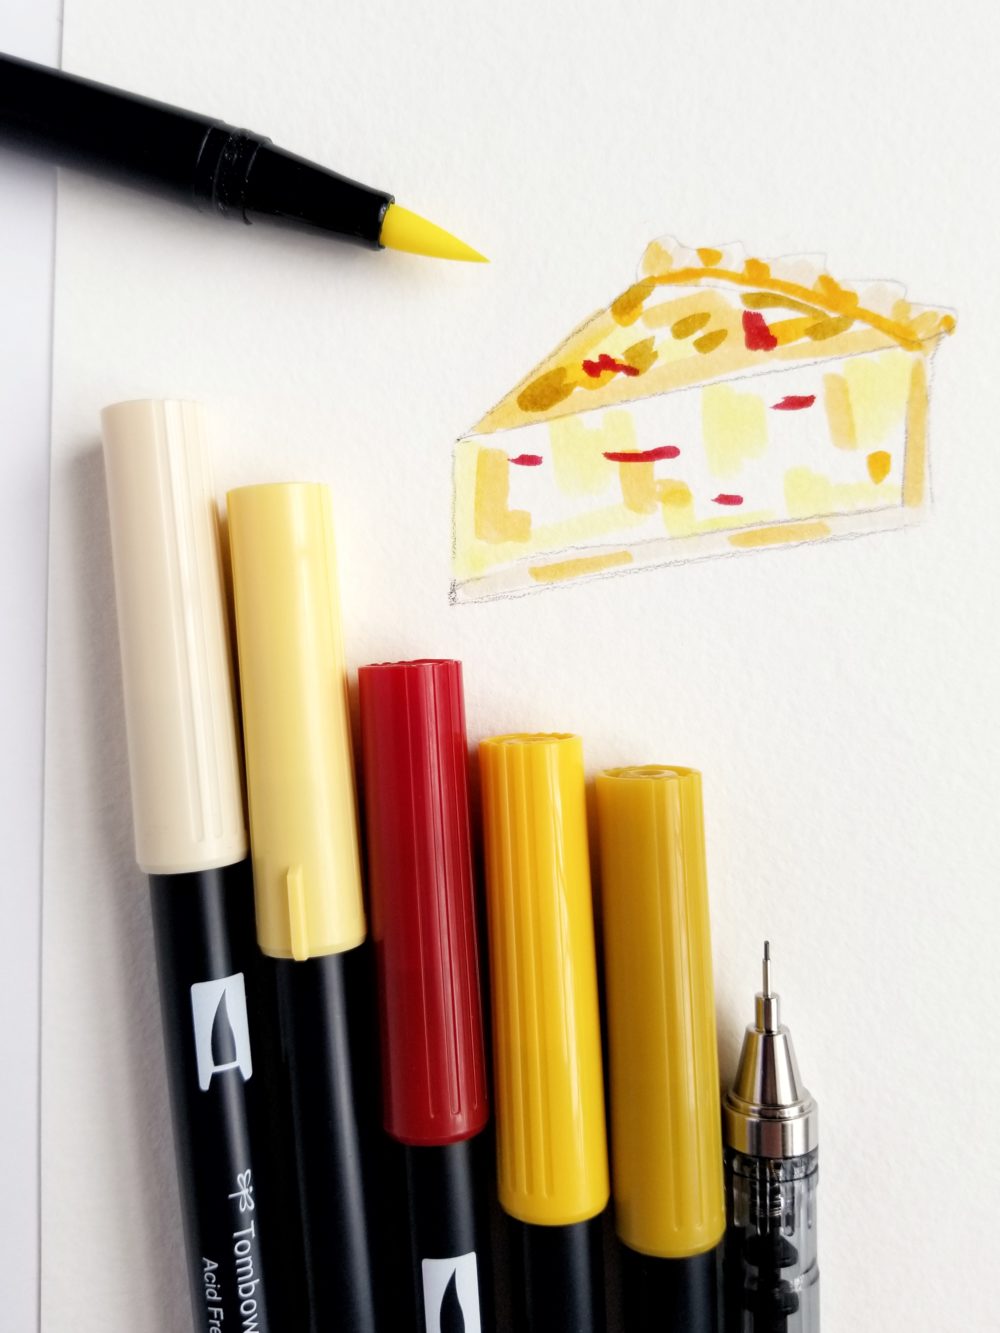
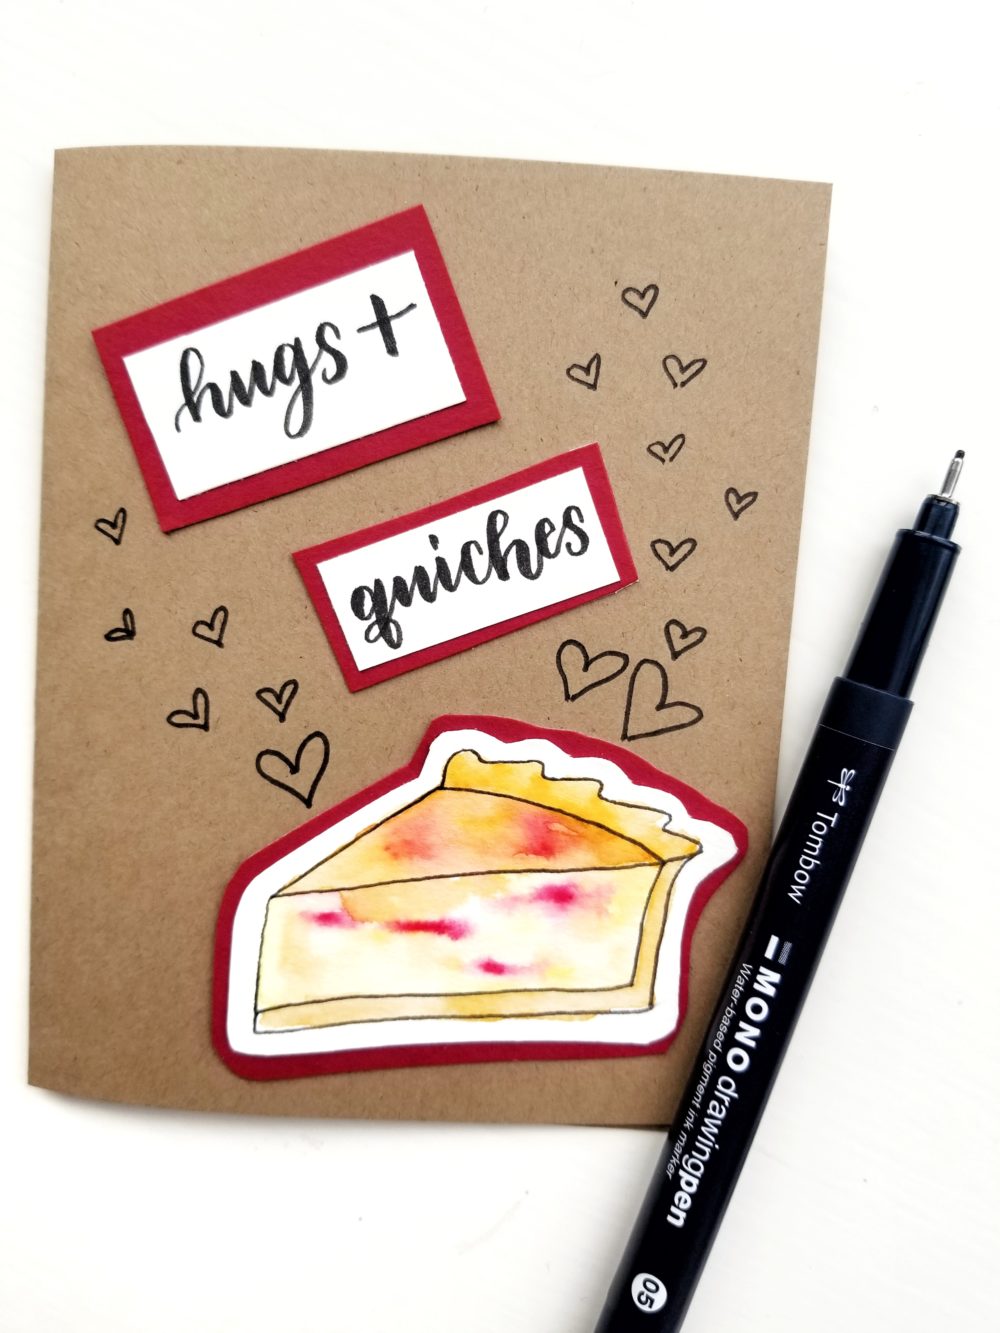
The first thing you’ll need to do is decide on a theme or fun quote for your card and make some embellishments. I’m making a Valentine’s Day card, so I went with “Hugs and quiches.” To make a really unique card, I made a watercolor quiche embellishment.
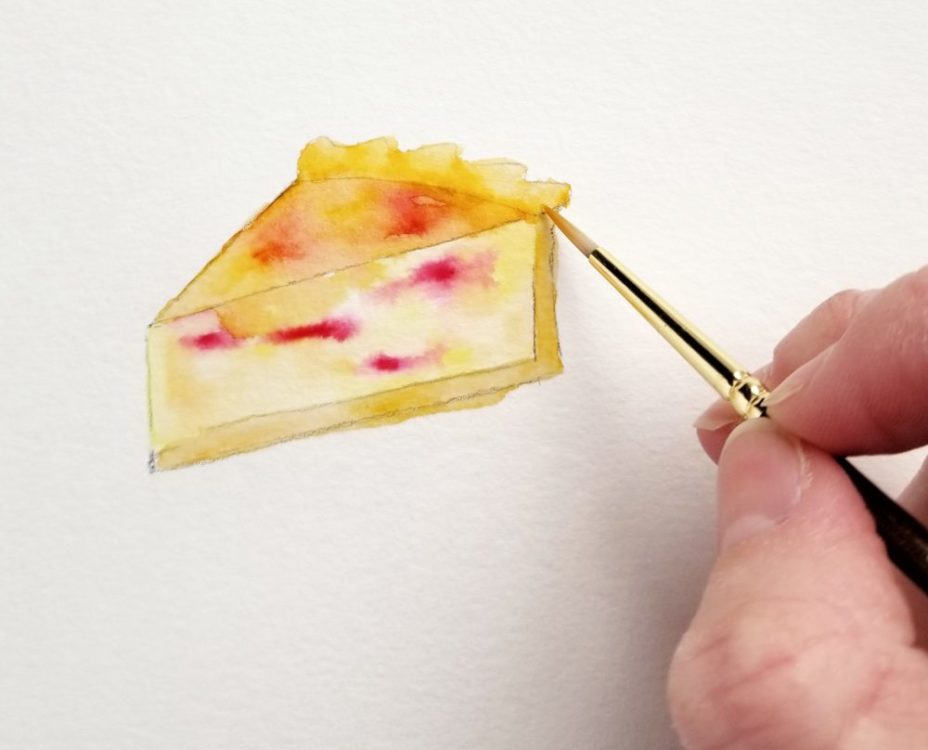
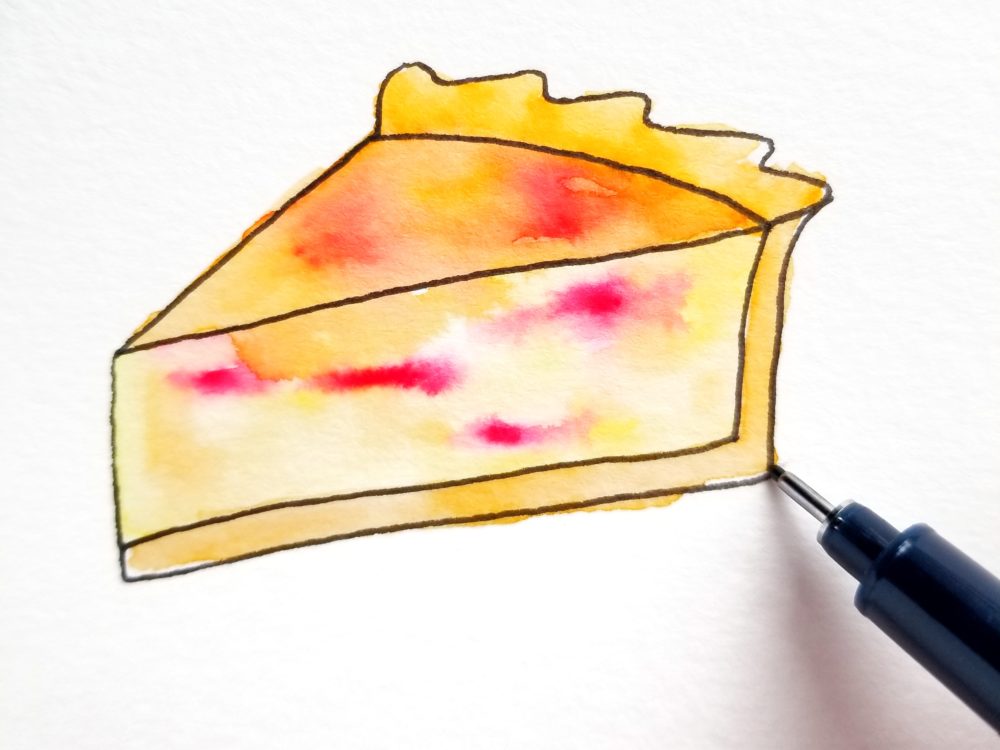
First, using my MONO Graph Mechanical Pencil, I sketched an outline on watercolor paper. Next, I used Dual Brush Pen numbers 985, 990, 991, 026, 062, and 847 to add a few flicks of color to the quiche and make it look like Quiche Lorraine. (YUM!) Then, working from light to dark, I added water to the drawing. You should add water fairly quickly after coloring the quiche, since the longer the Dual Brush Pen colors are on the paper the more the color soaks in. Finally, once the watercolor is dry, I erased the pencil marks and outlined the quiche with my MONO Drawing Pen, 05.
At this point, I also used my Fudenosuke soft tip to write the words “hugs + quiches” on watercolor paper.
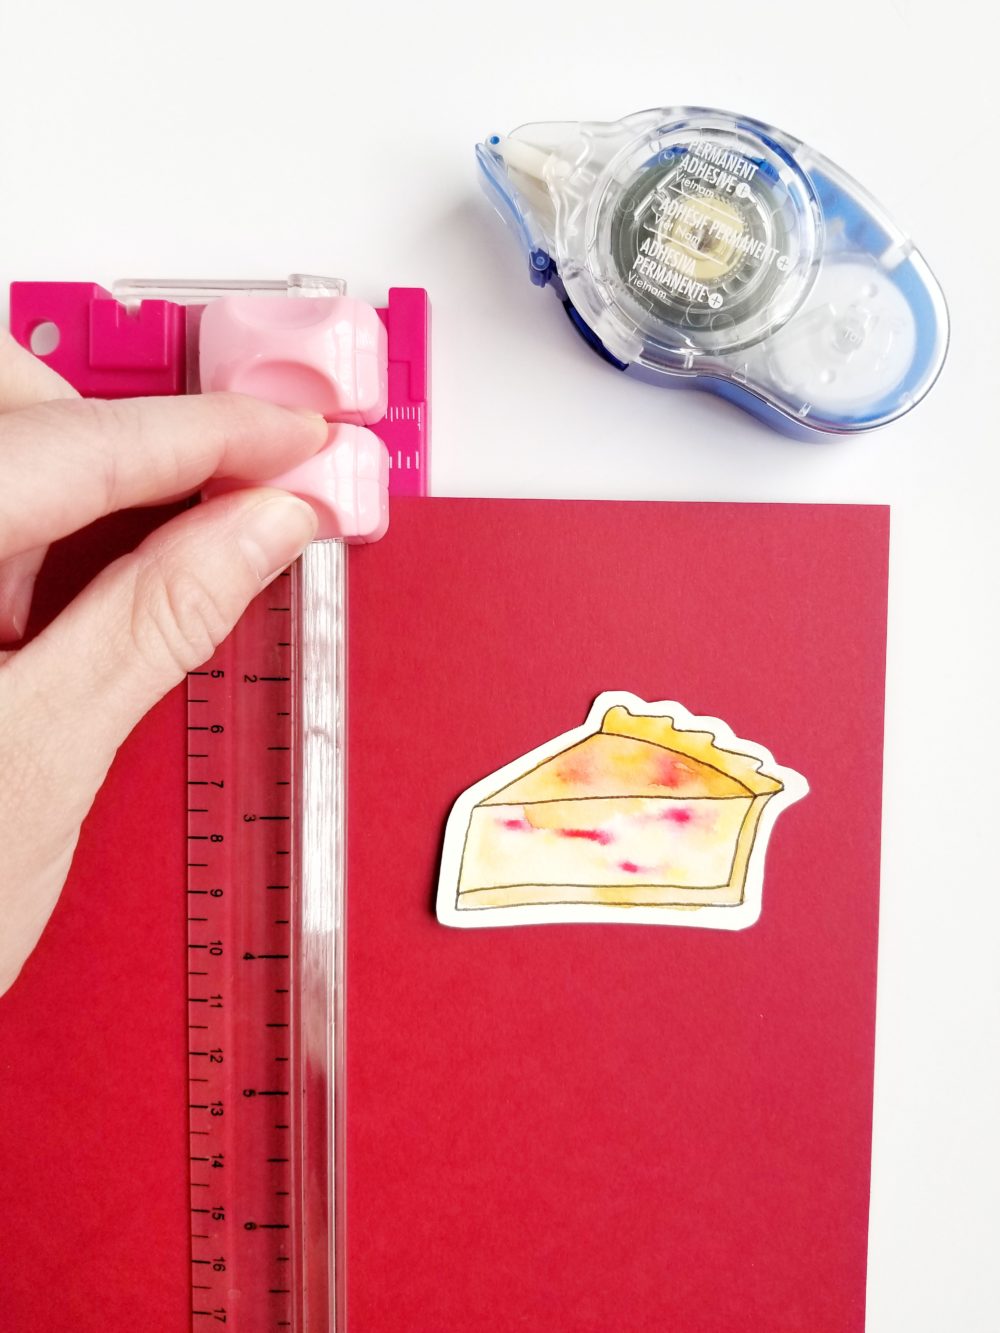
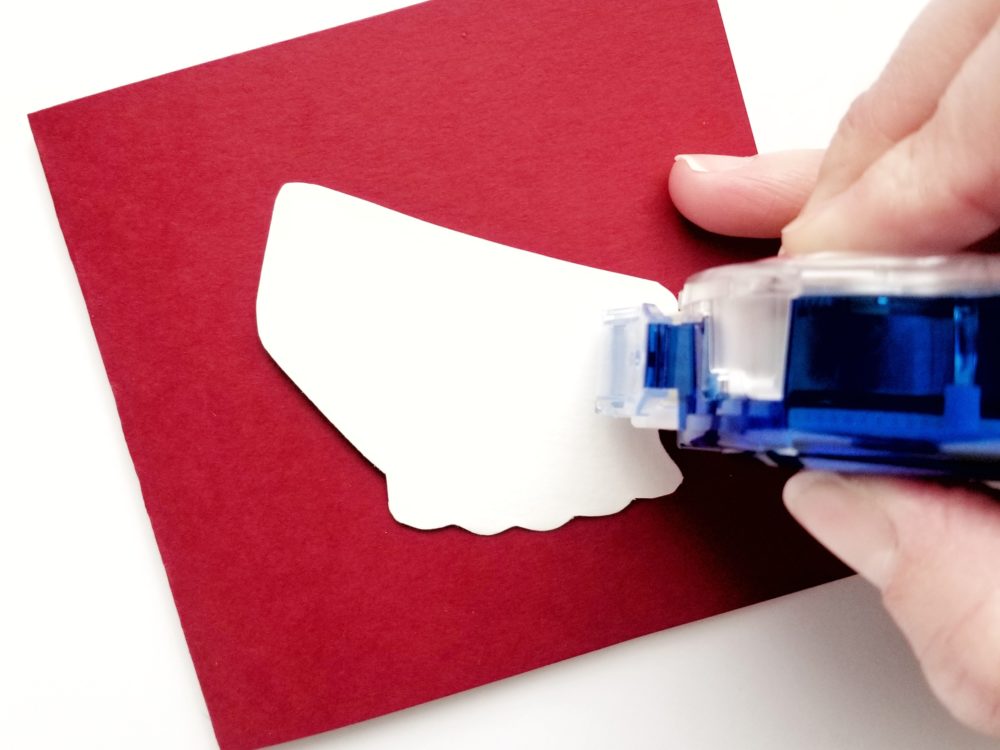
Step 2: Cut + Paste
Next, we’ll create some layers for our card. I cut out my quiche, “hugs +”, and “quiches”, and I left a little space around each to give it a border. Then, I used MONO Adhesive+ to glue the quiche and my words to red cardstock. Then, I cut them out again to give a red border for each embellishment on the card cover.
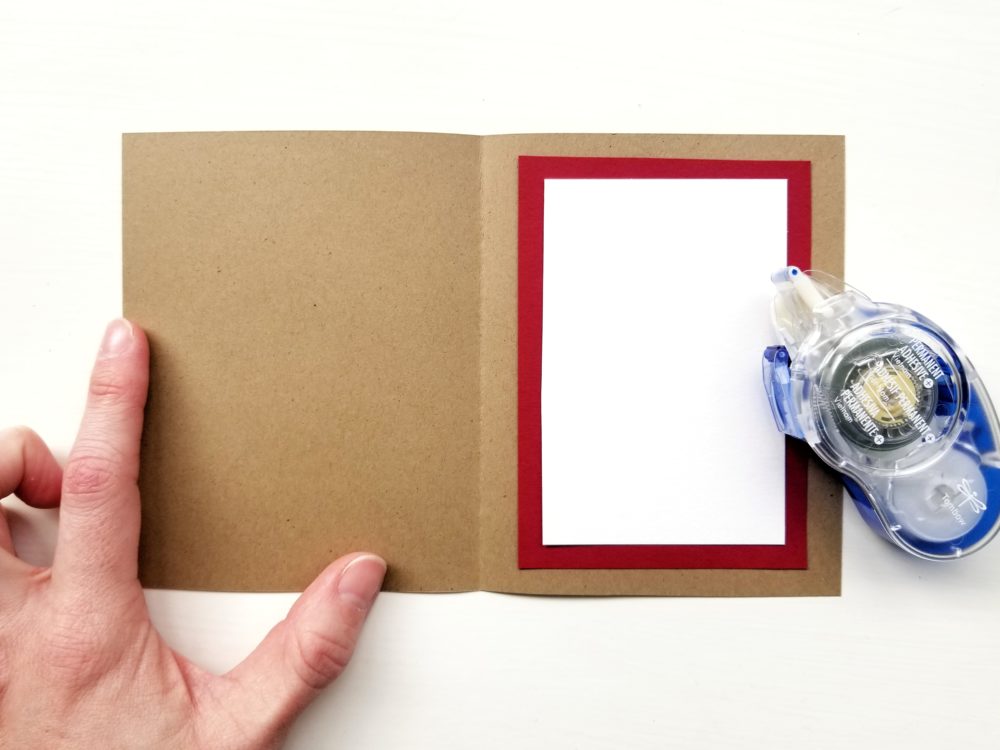
Step 3: Build the card
Once the embellishments are ready to go, I made the base of my card. Using the quiche and my paper cutter to determine the size of the card, I cut the base of the card out of kraft card stock, a red border for the inside of the card, and a white rectangle for the inside fold of the card. Then, I used MONO Adhesive+ to assemble the card. Using borders and layers of paper and other embellishments really helps to make a DIY card feel more substantial. Add as many as you’d like!
Step 4: Personality
What’s a DIY card without a little personality? I used my MONO Drawing Pen, 05 to add some hearts to the front and to letter a greeting on the inside fold. And of course, as a card saver, I had to add the year!
And that’s all there is to it! For more cardmaking tips, check out Simple Cardmaking Tips For Beginners with Jennie or for more watercolor cards check out DIY Watercolor Postcard with Tombow TwinTones with Brittany. Be sure to tag @Tombowusa and @graceannestudio if you share your card!

What are some other pens that I can use besides MONO drawing pen. Thx!
Hi, Leah! You could also try the Tombow MONO Twin Permanent Marker or the TwinTone markers. The dual tip on the permanent marker would be great for added contrast!
Pingback: Self-Love Task Journal Spread - Tombow USA Blog