Hi Tombow friends! This is Jennie! I want to share a really easy tutorial for handmade embellishments. I was inspired by this image by Alice Wilks. However, I added my own twist with a splash technique.
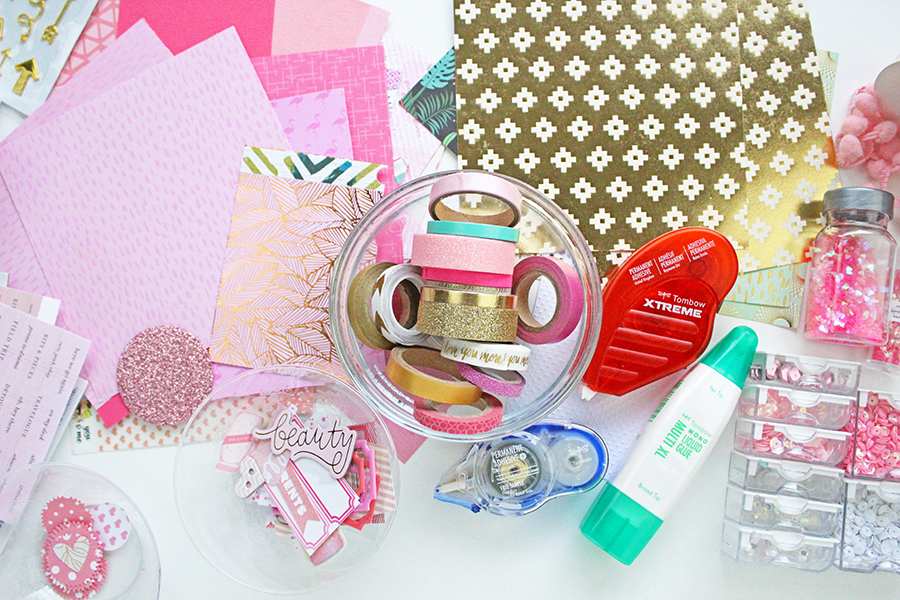
Supplies:
- Tombow Xtreme Adhesive
- Paper Scraps
- Tombow MONO Multi XL Liquid Glue
- Sequins
- Tombow Dual Brush Pens
- Photo Paper
- Circle Dies or Punches
- Embellishments
- Tulle
- Trim
Step One:
Gather paper scraps. I was determined to use the color pink. However, I also found gold pieces that complemented the pink quite well. A neutral like black or white also works.
Step Two:
I also made backgrounds with photo paper and the Tombow Dual Brush Pens. To make them, scribble your Tombow Dual Brush Pen onto a Blending Palette, spray water, and pick up the color with the photo paper. By doing different patterns while you scribble, the background will be different every time. 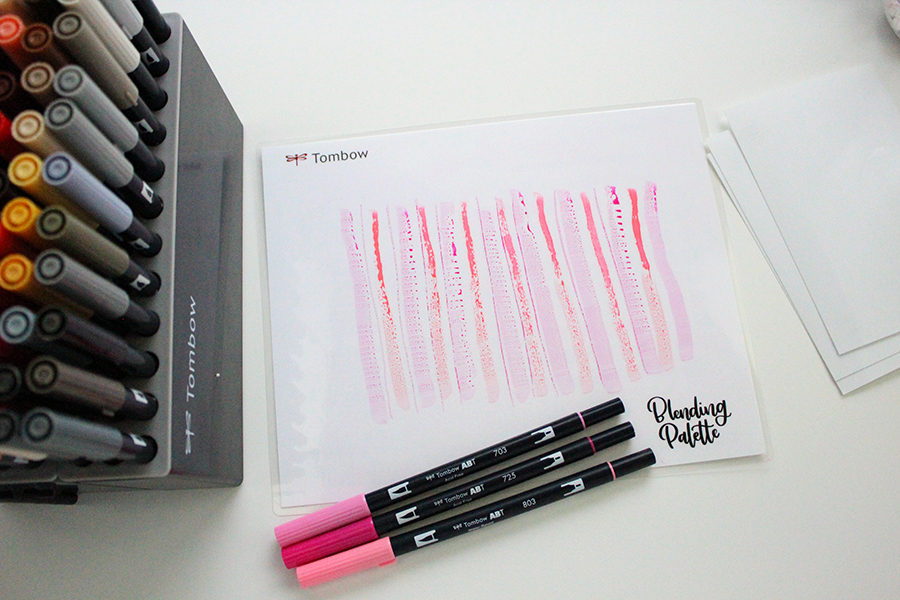
Step Three:
Use a circle die or punch for the base of your embellishment. Cut a few of them in half. You could also try other simple shapes like hearts, squares, or hexagons.
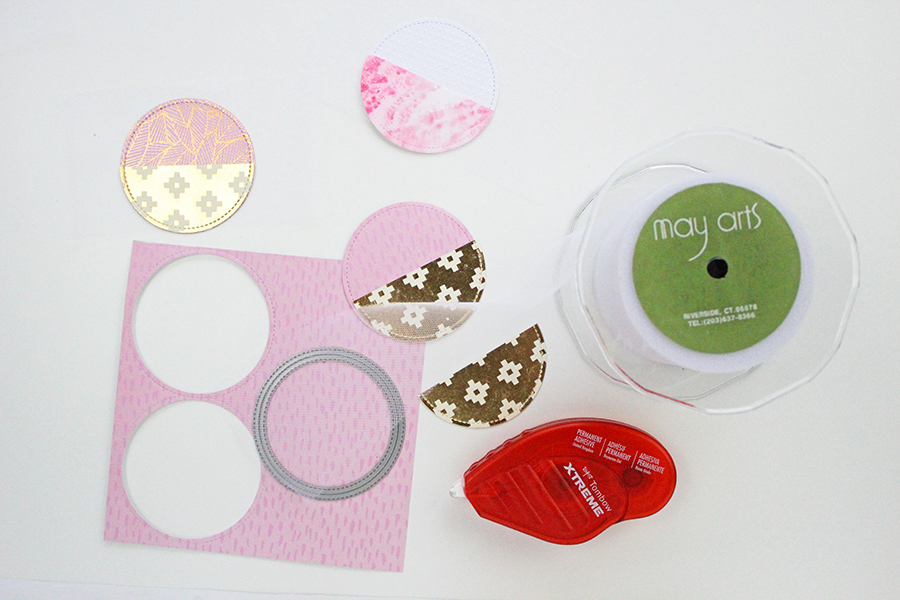
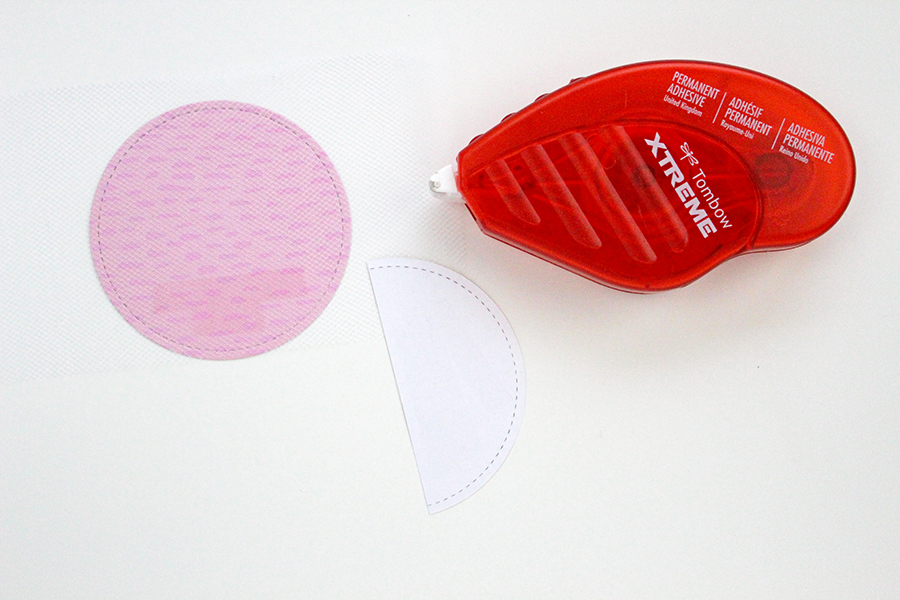
Step Four:
Cut a piece of tulle that will cover the circle. Use the Tombow Xtreme Adhesive at the bottom of the circle. Put the tulle on top. Apply adhesive to the semicircle and put it at the bottom of the circle.
Step Five:
Carefully lift the top of the tulle and add a few sequins. 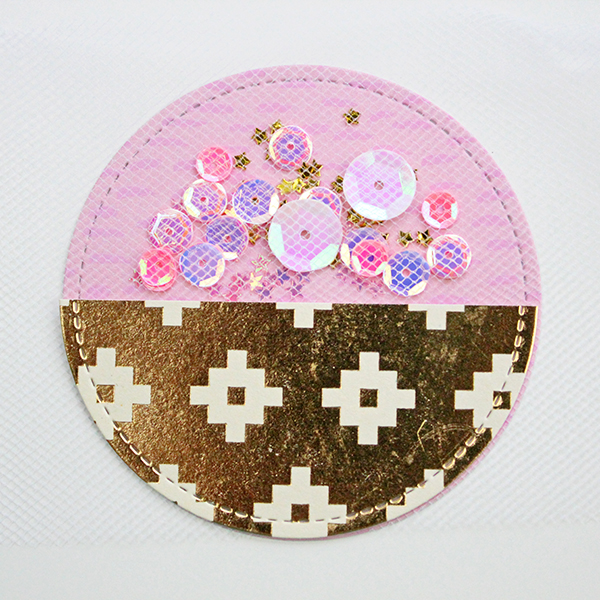
Step Six:
Sew around the circle slowly, so the sequins don’t come out. I went around the circle twice.
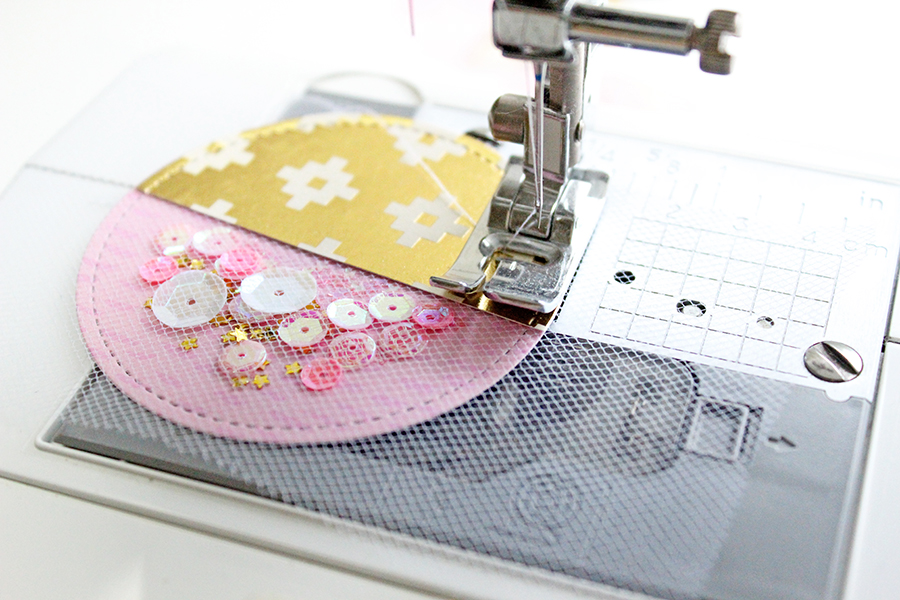
I prefer to use the Tombow Xtreme Adhesive for this kind of project because it’s the strongest. That way, the handmade embellishment can be handled without breaking apart.
Step Seven:
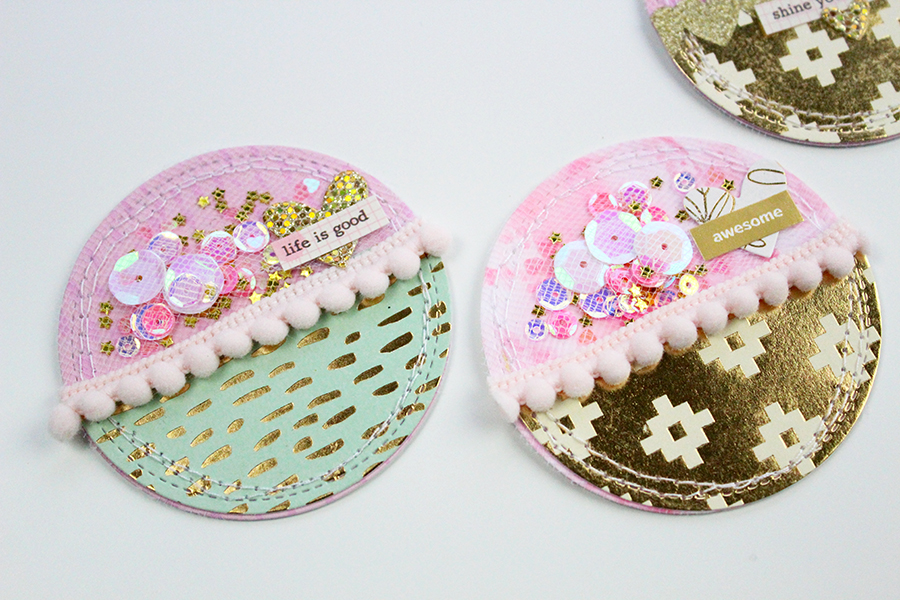
Embellish your handmade embellishments with trim, tiny phrase, and other embellishments. To add the trim, I used the Tombow MONO Multi XL Liquid Glue. 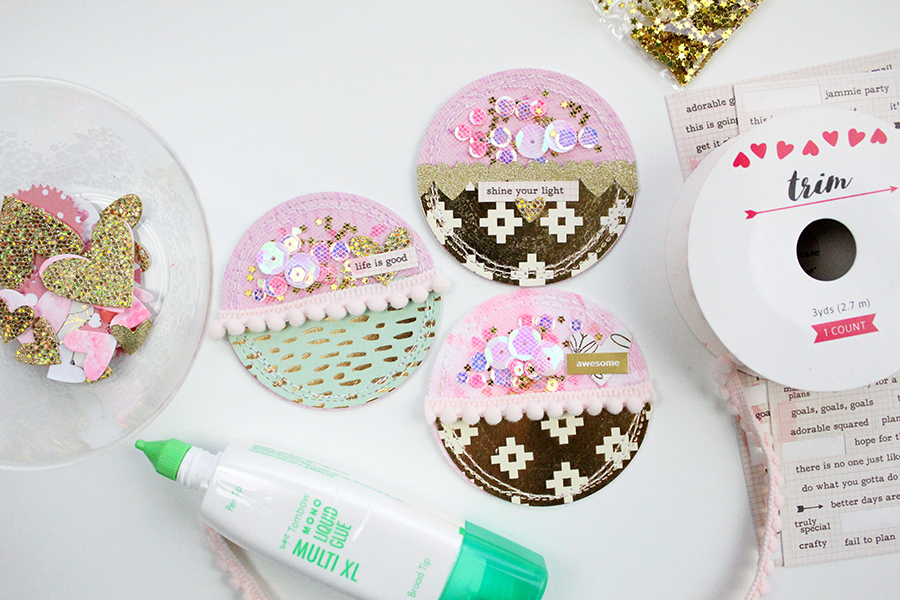
These are perfect to swap or send in happy mail!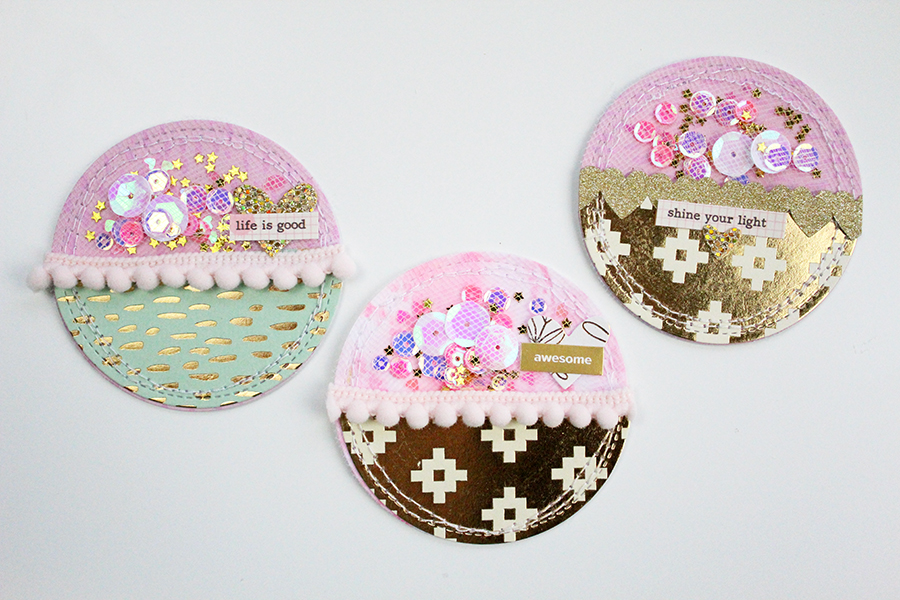
In this post, I’ve highlighted the color pink. However, I wanted you to see some other colors that complement pink as well!
I hope you enjoyed this quick and easy tutorial! Take care!

I love your embellishments. They inspire me!