Hello friends, Adrienne from @studio80design here today to share a fun tutorial on how to create a rainbow pumpkin pattern in your dot grid notebook! Halloween is this week and to celebrate I wanted to create a fun rainbow pumpkin pattern in my notebook! I love creating rainbow pattern pages, and the dot grid notebook makes it super easy to separate my patterns on the page! Let’s get started!
Materials you’ll need:
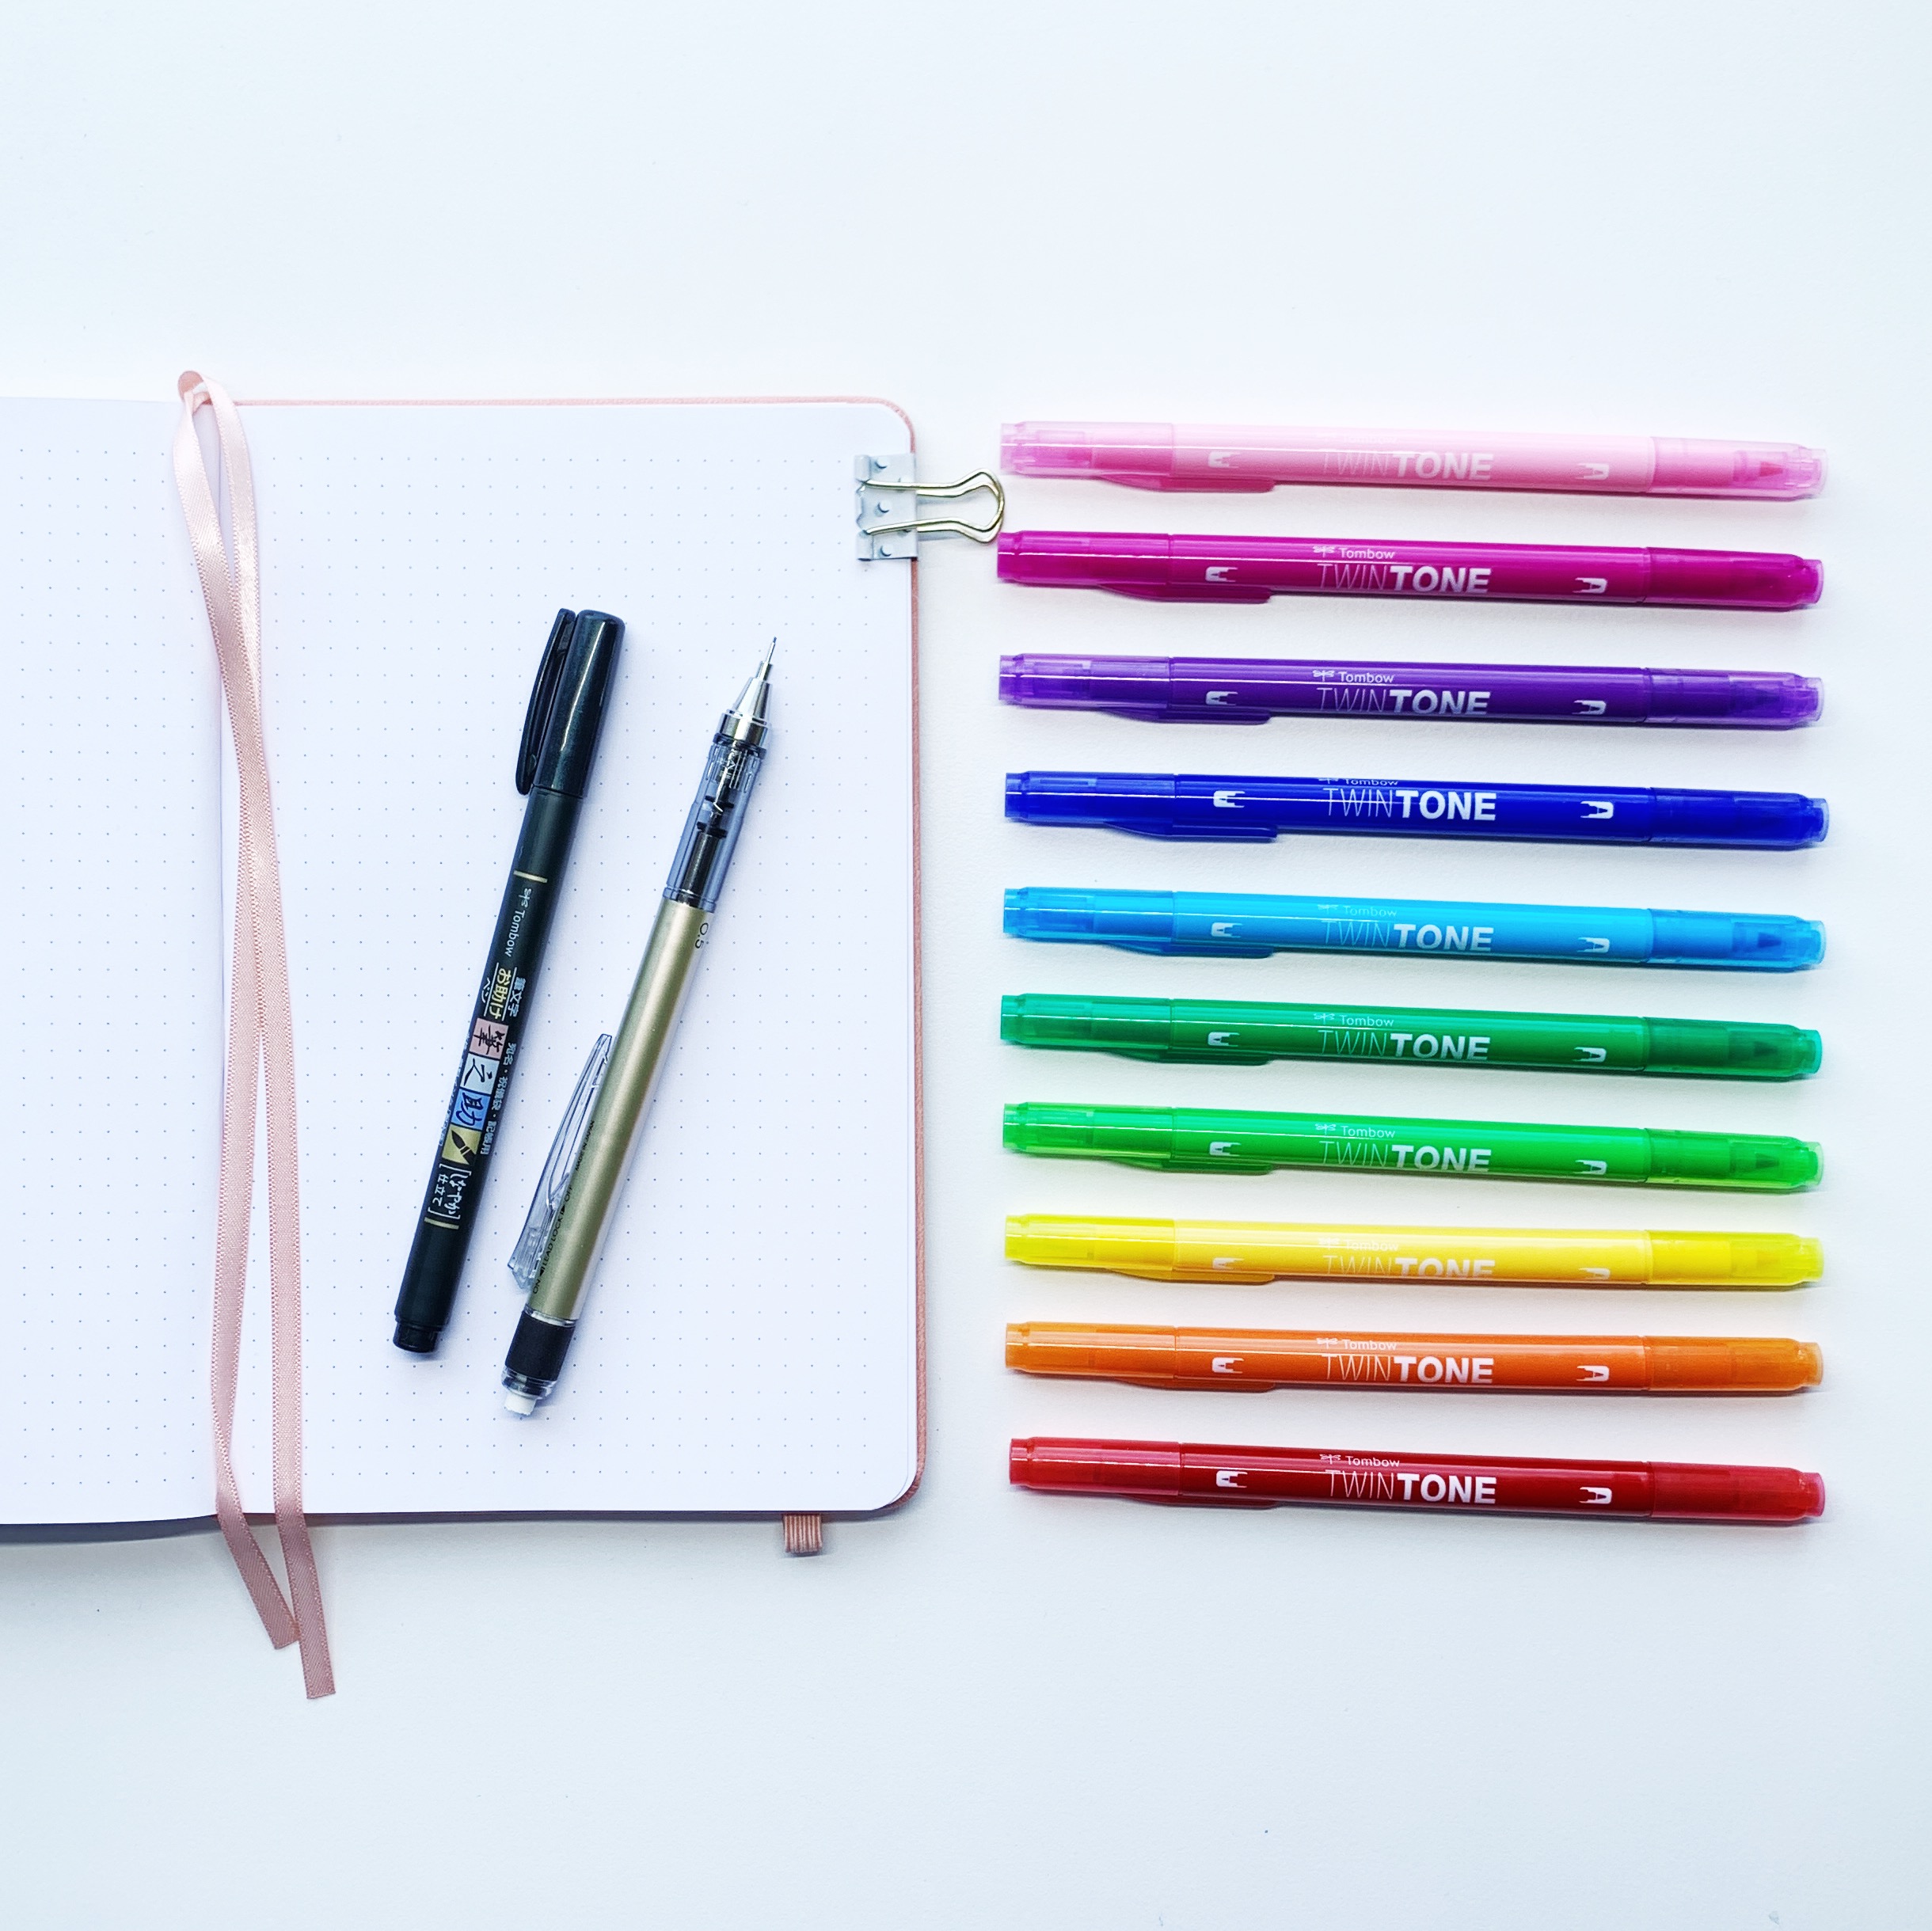
- Archer and Olive A5 signature dot grid notebook
- Tombow MONO Graph Mechanical Pencil
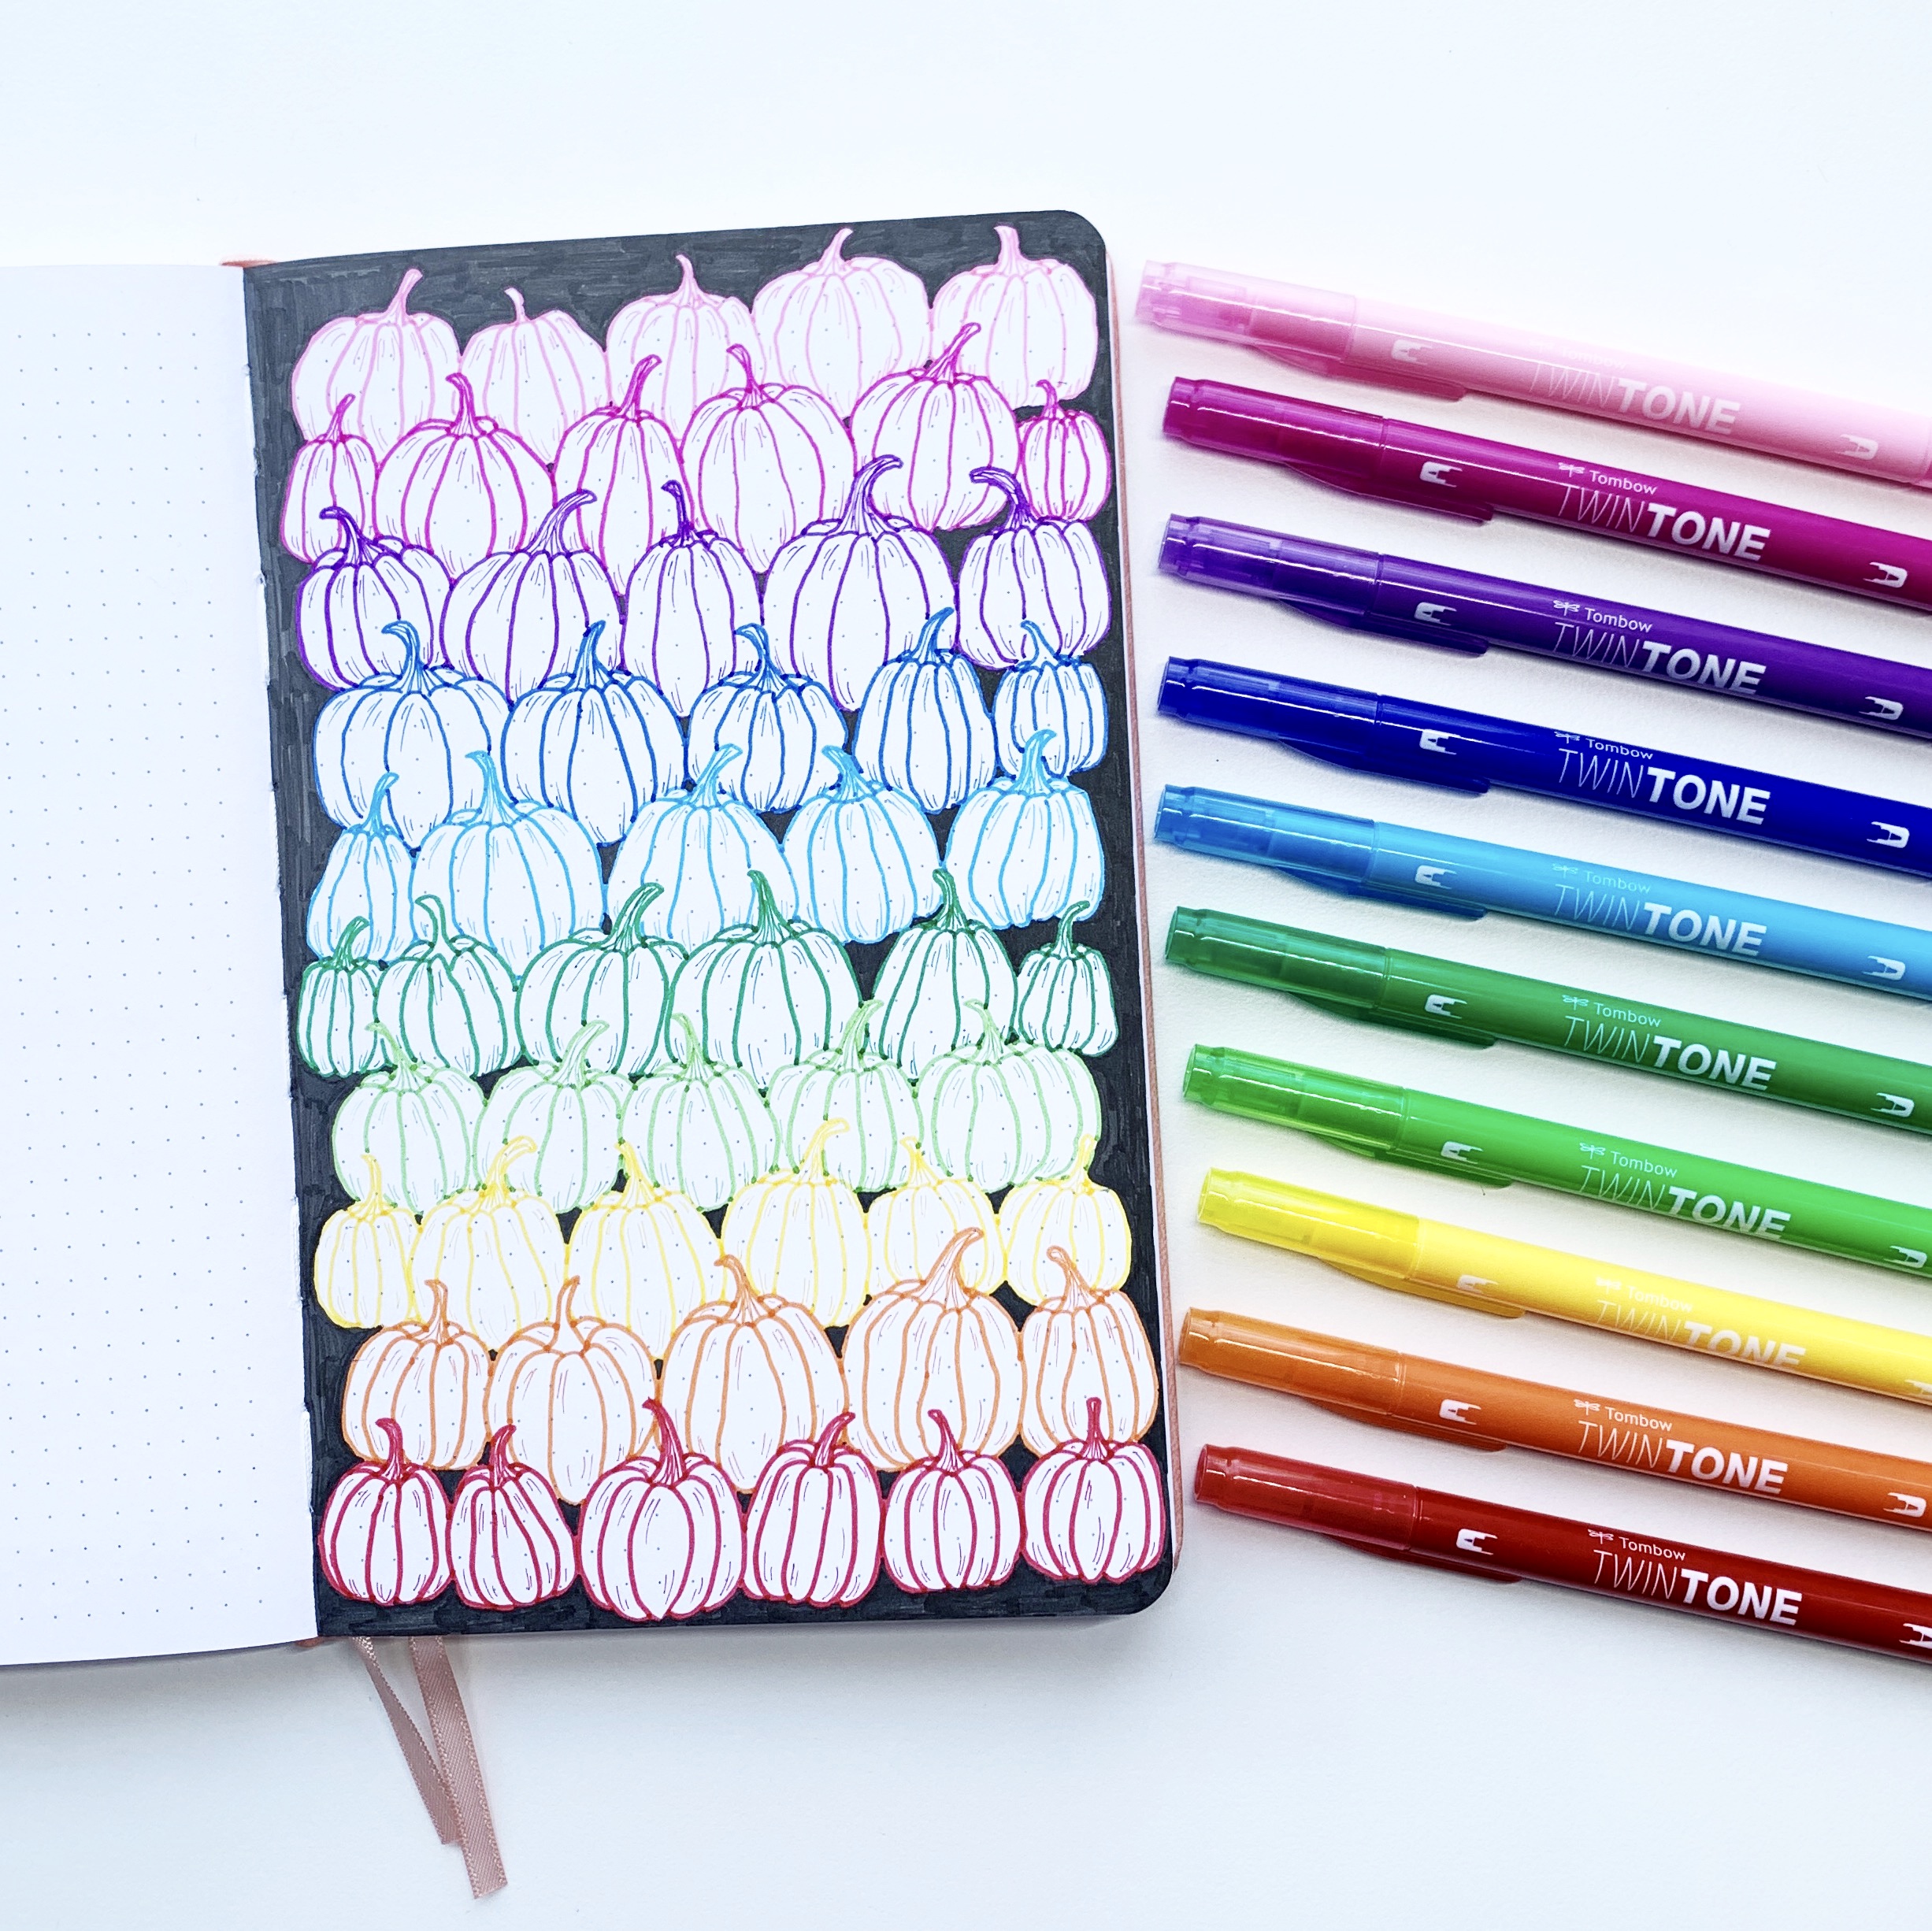
- Tombow TwinTone Marker Set, 12-Pack Rainbow
- Tombow Fudenosuke Brush Pen, Soft Tip
Step 1
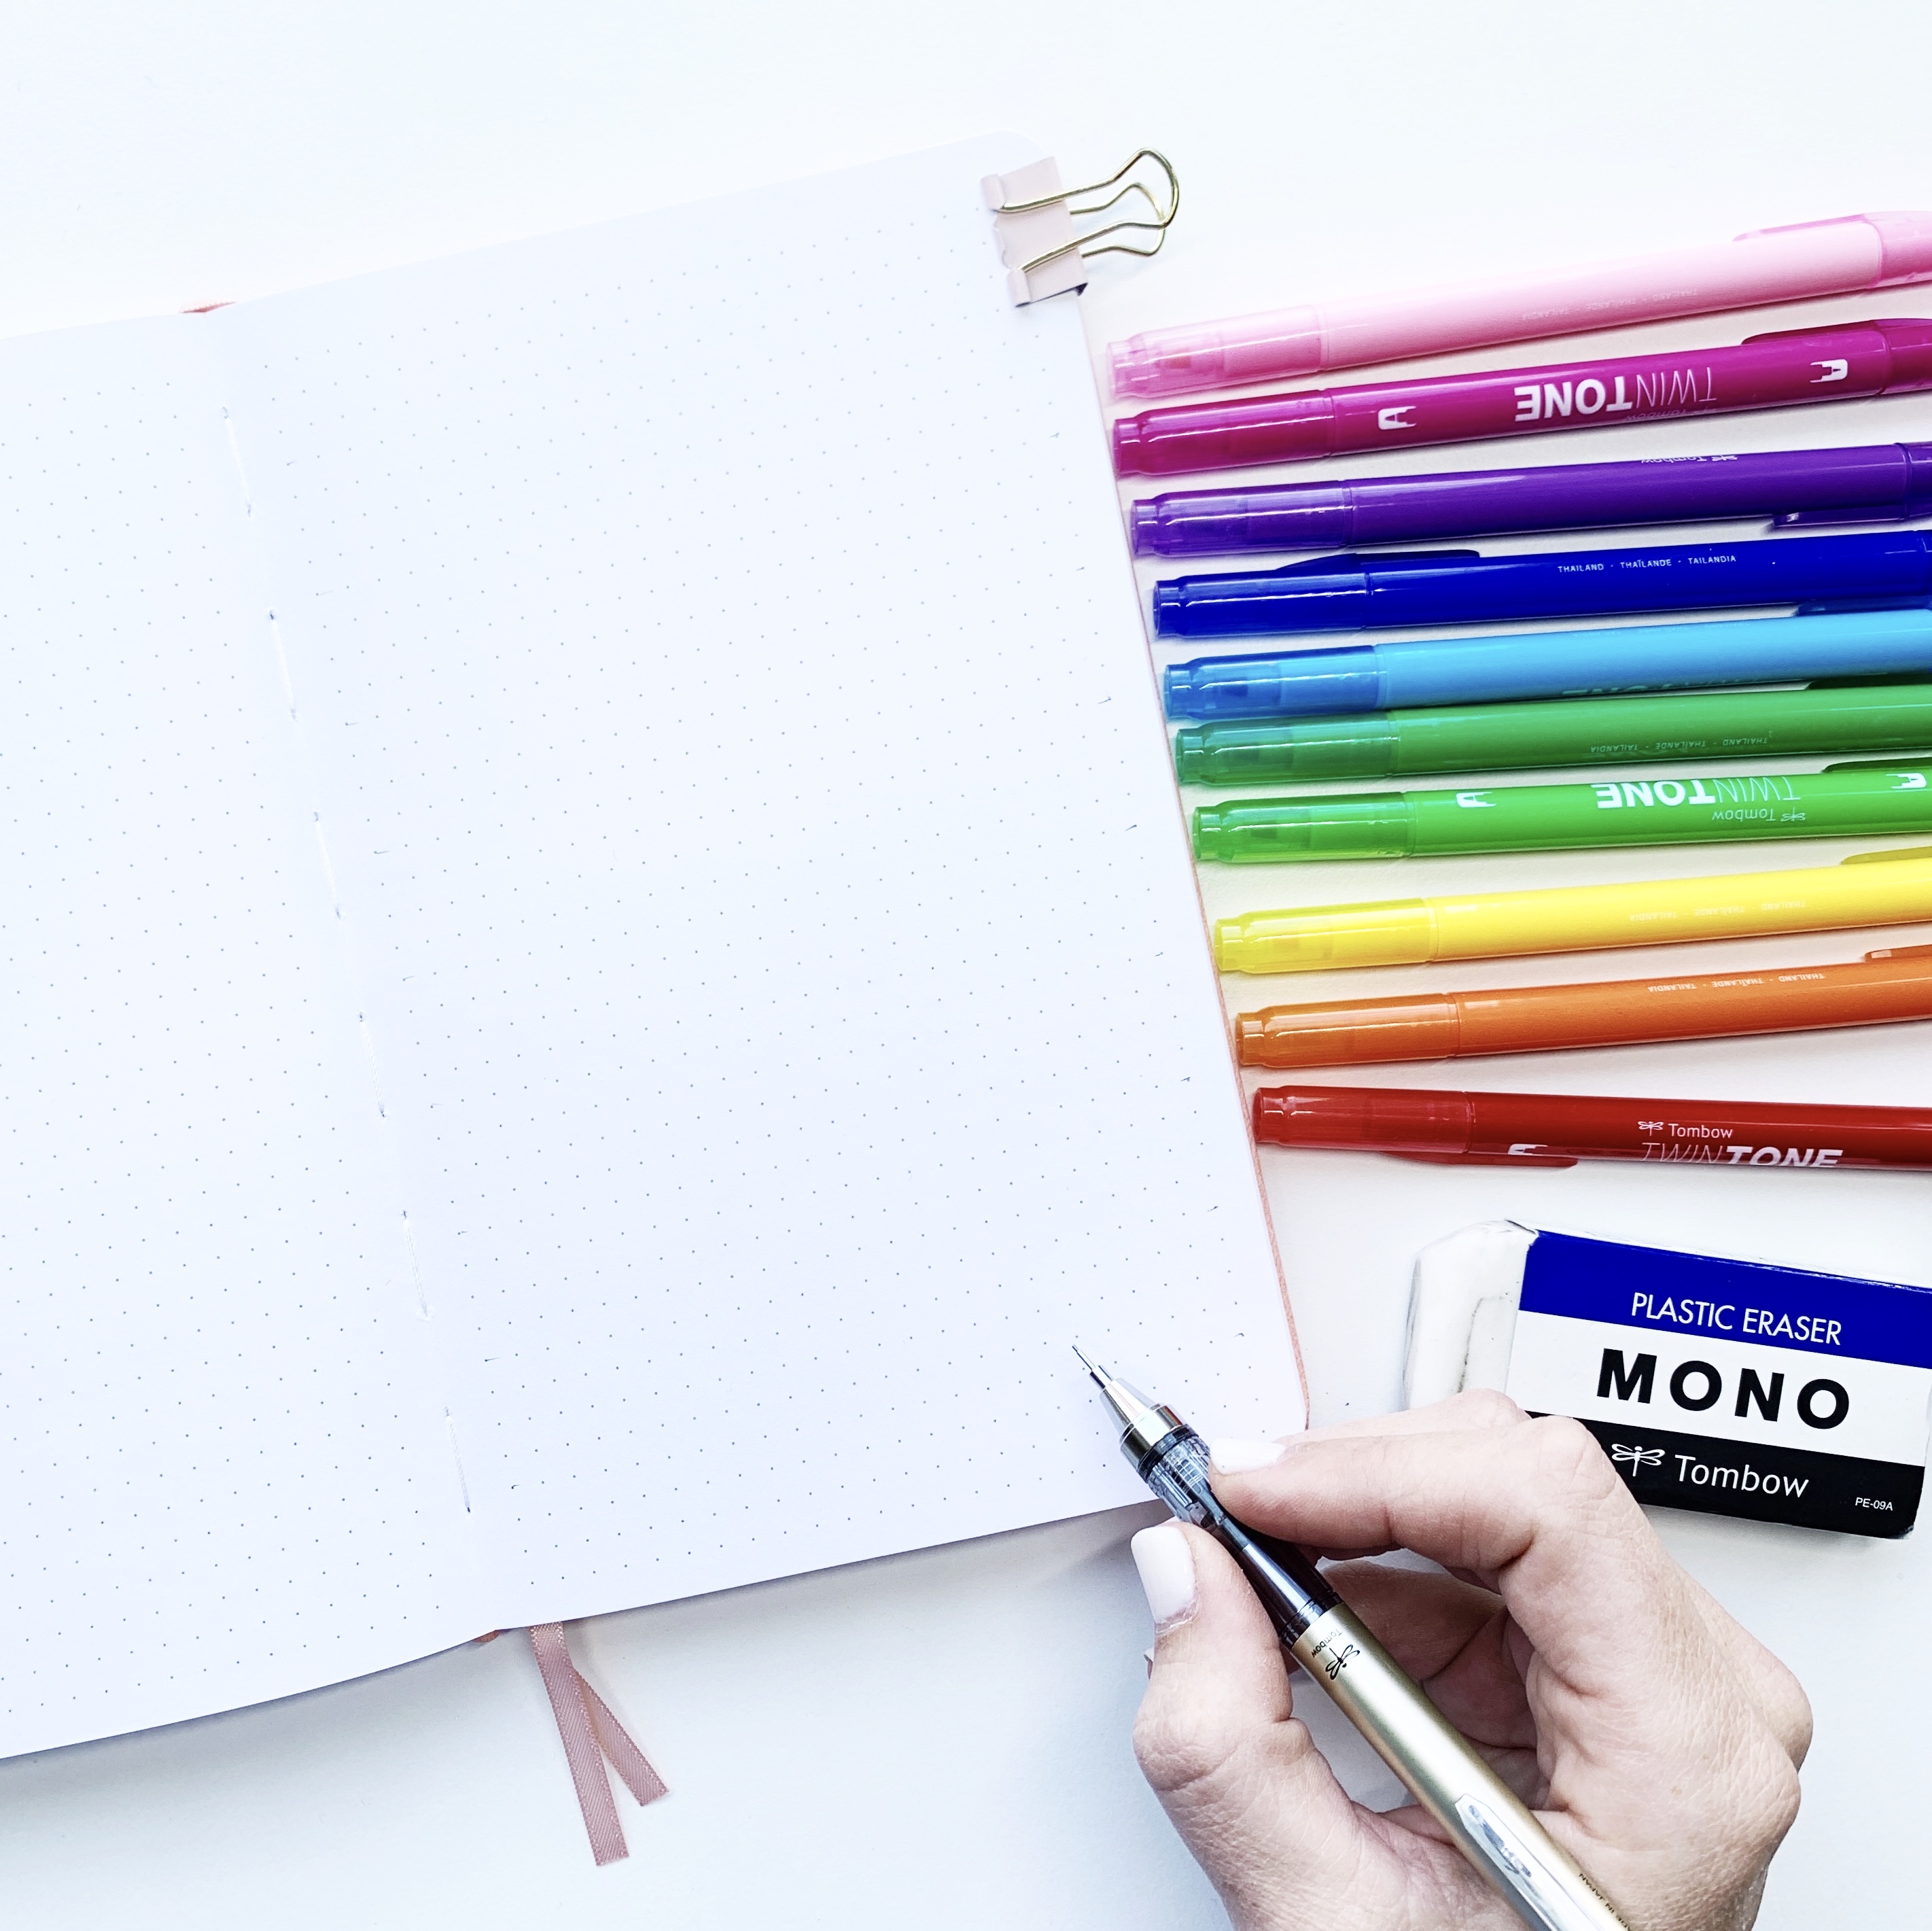
The first step to creating this rainbow pumpkin pattern page is to decide how many colors you’ll be using and divide your page up evenly according to that number. I like to use my MONO Graph Mechanical Pencil to make light marks showing where each of my twelve rows will go in my notebook.
Step 2
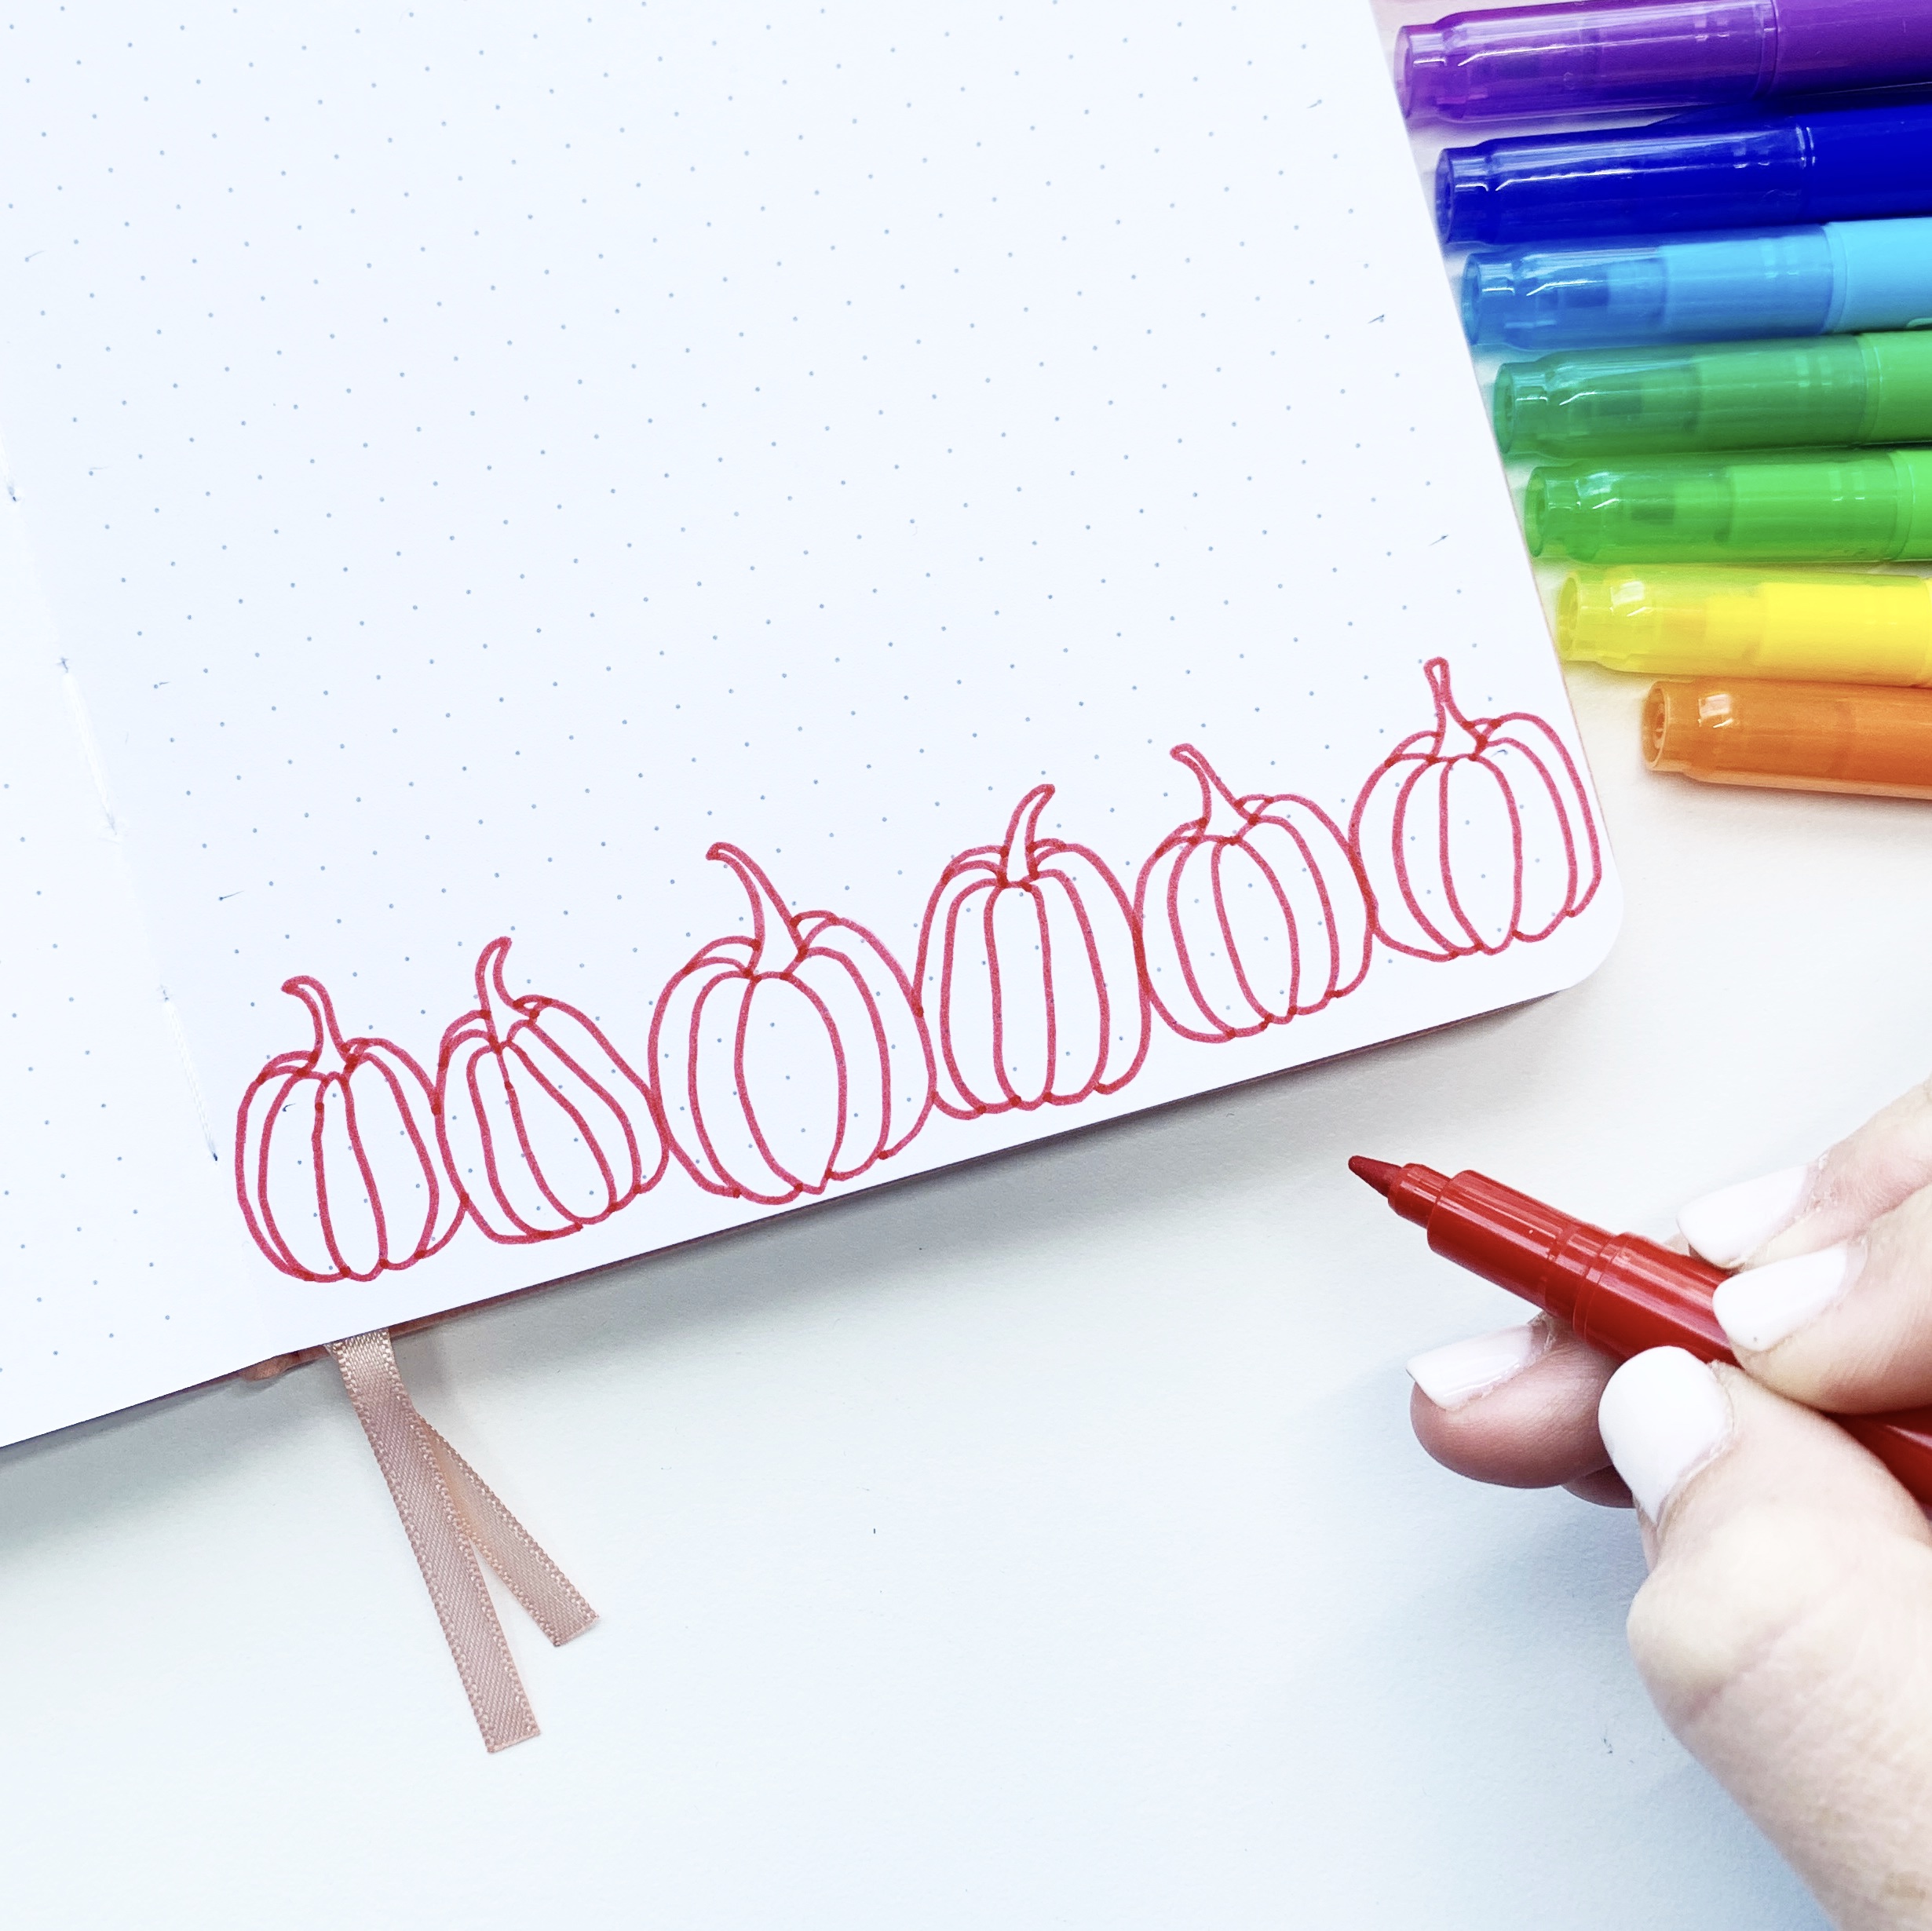
Next, start with your red marker from the Rainbow TwinTone Marker Set and draw a pumpkin in the middle of your bottom row using the larger tip of the marker. Then, fill out the row with more pumpkins until it’s filled in. Overlap the pumpkins so there is no empty space between each pumpkin. I love drawing with the TwinTone Markers! They have two marker tips, one on each end. It makes drawing with them so fun!
Step 3
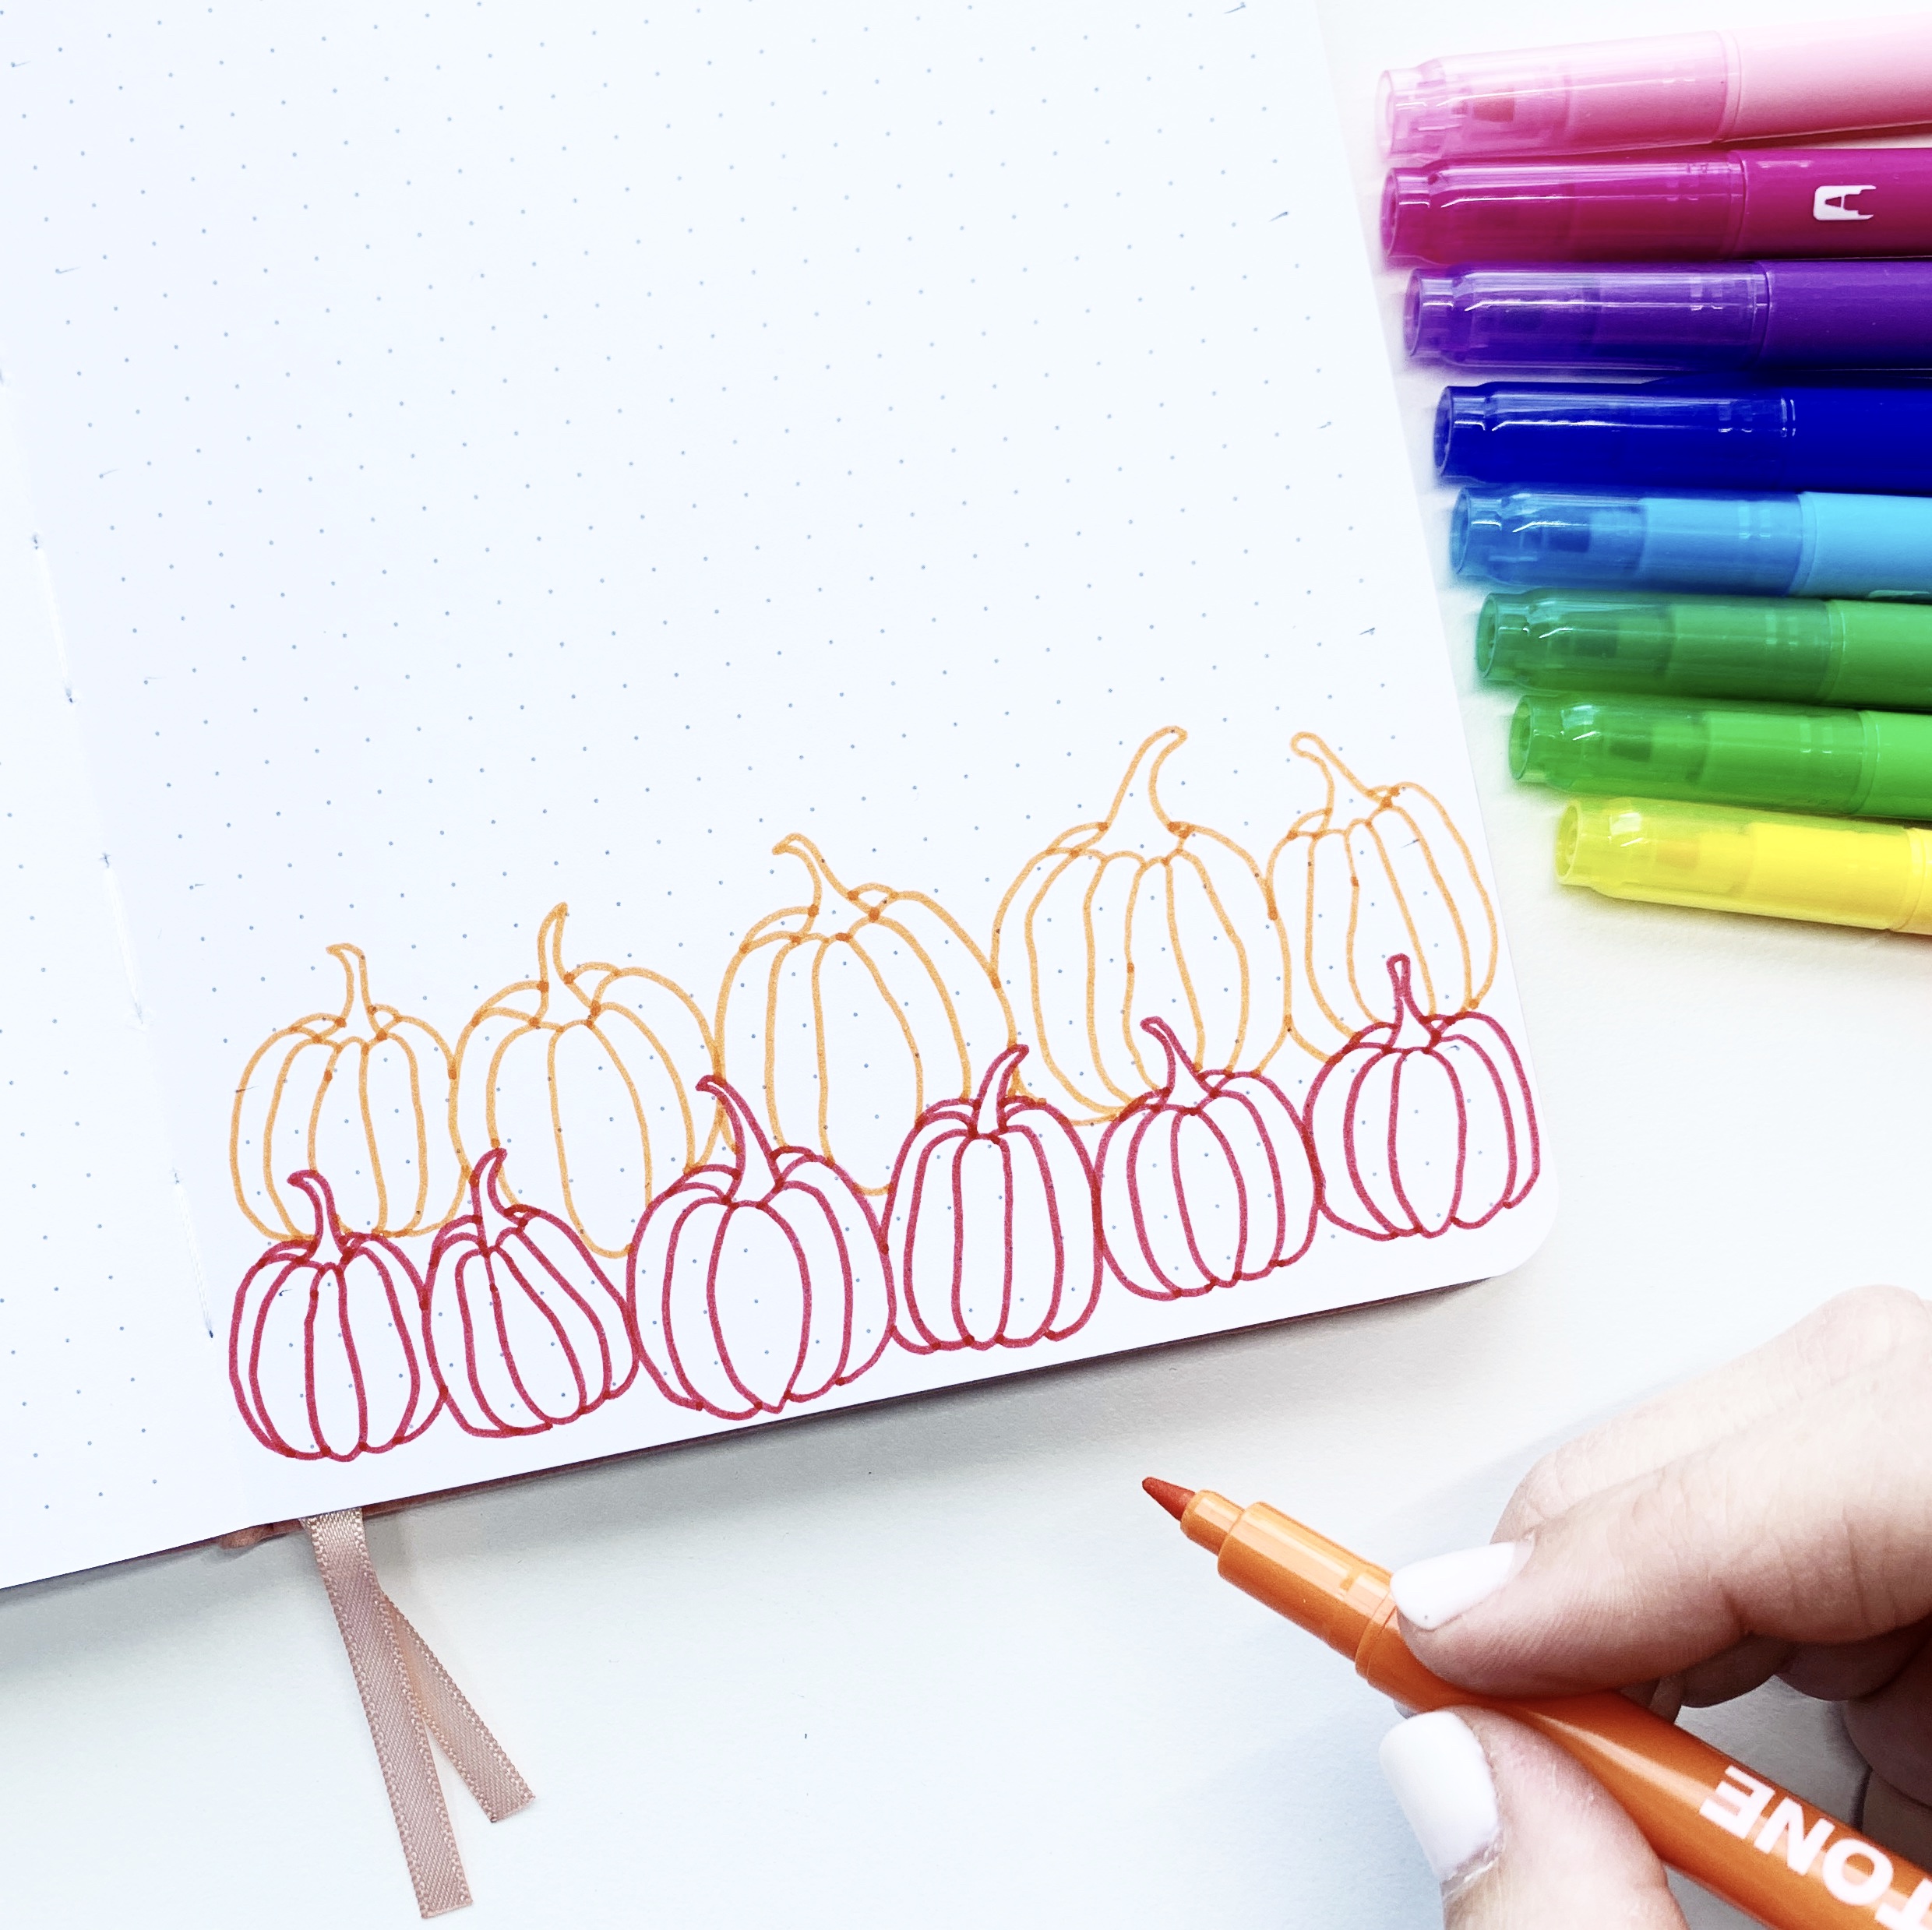
Then, take the next color in your TwinTone Rainbow Palette and draw a pumpkin in the middle of your next row. Draw each pumpkin in this row so it’s behind the previous row. Be careful not to overlap the red pumpkins. Fill out the entire row with the pumpkins.
Step 4
Continue to make your way through your rainbow palette as you draw your rows of pumpkins. Each row should be drawn behind the previous row.

Step 5
Take your Fudenosuke Soft Tip Brush Pen and color in all the empty white spaces around the pumpkins. This will include any white space in between each pumpkin. The Fudenosuke Brush Pen is not only great for calligraphy, but I love using it in my illustrations because the ink is so dark. You can get a wide variety of lines in your work!
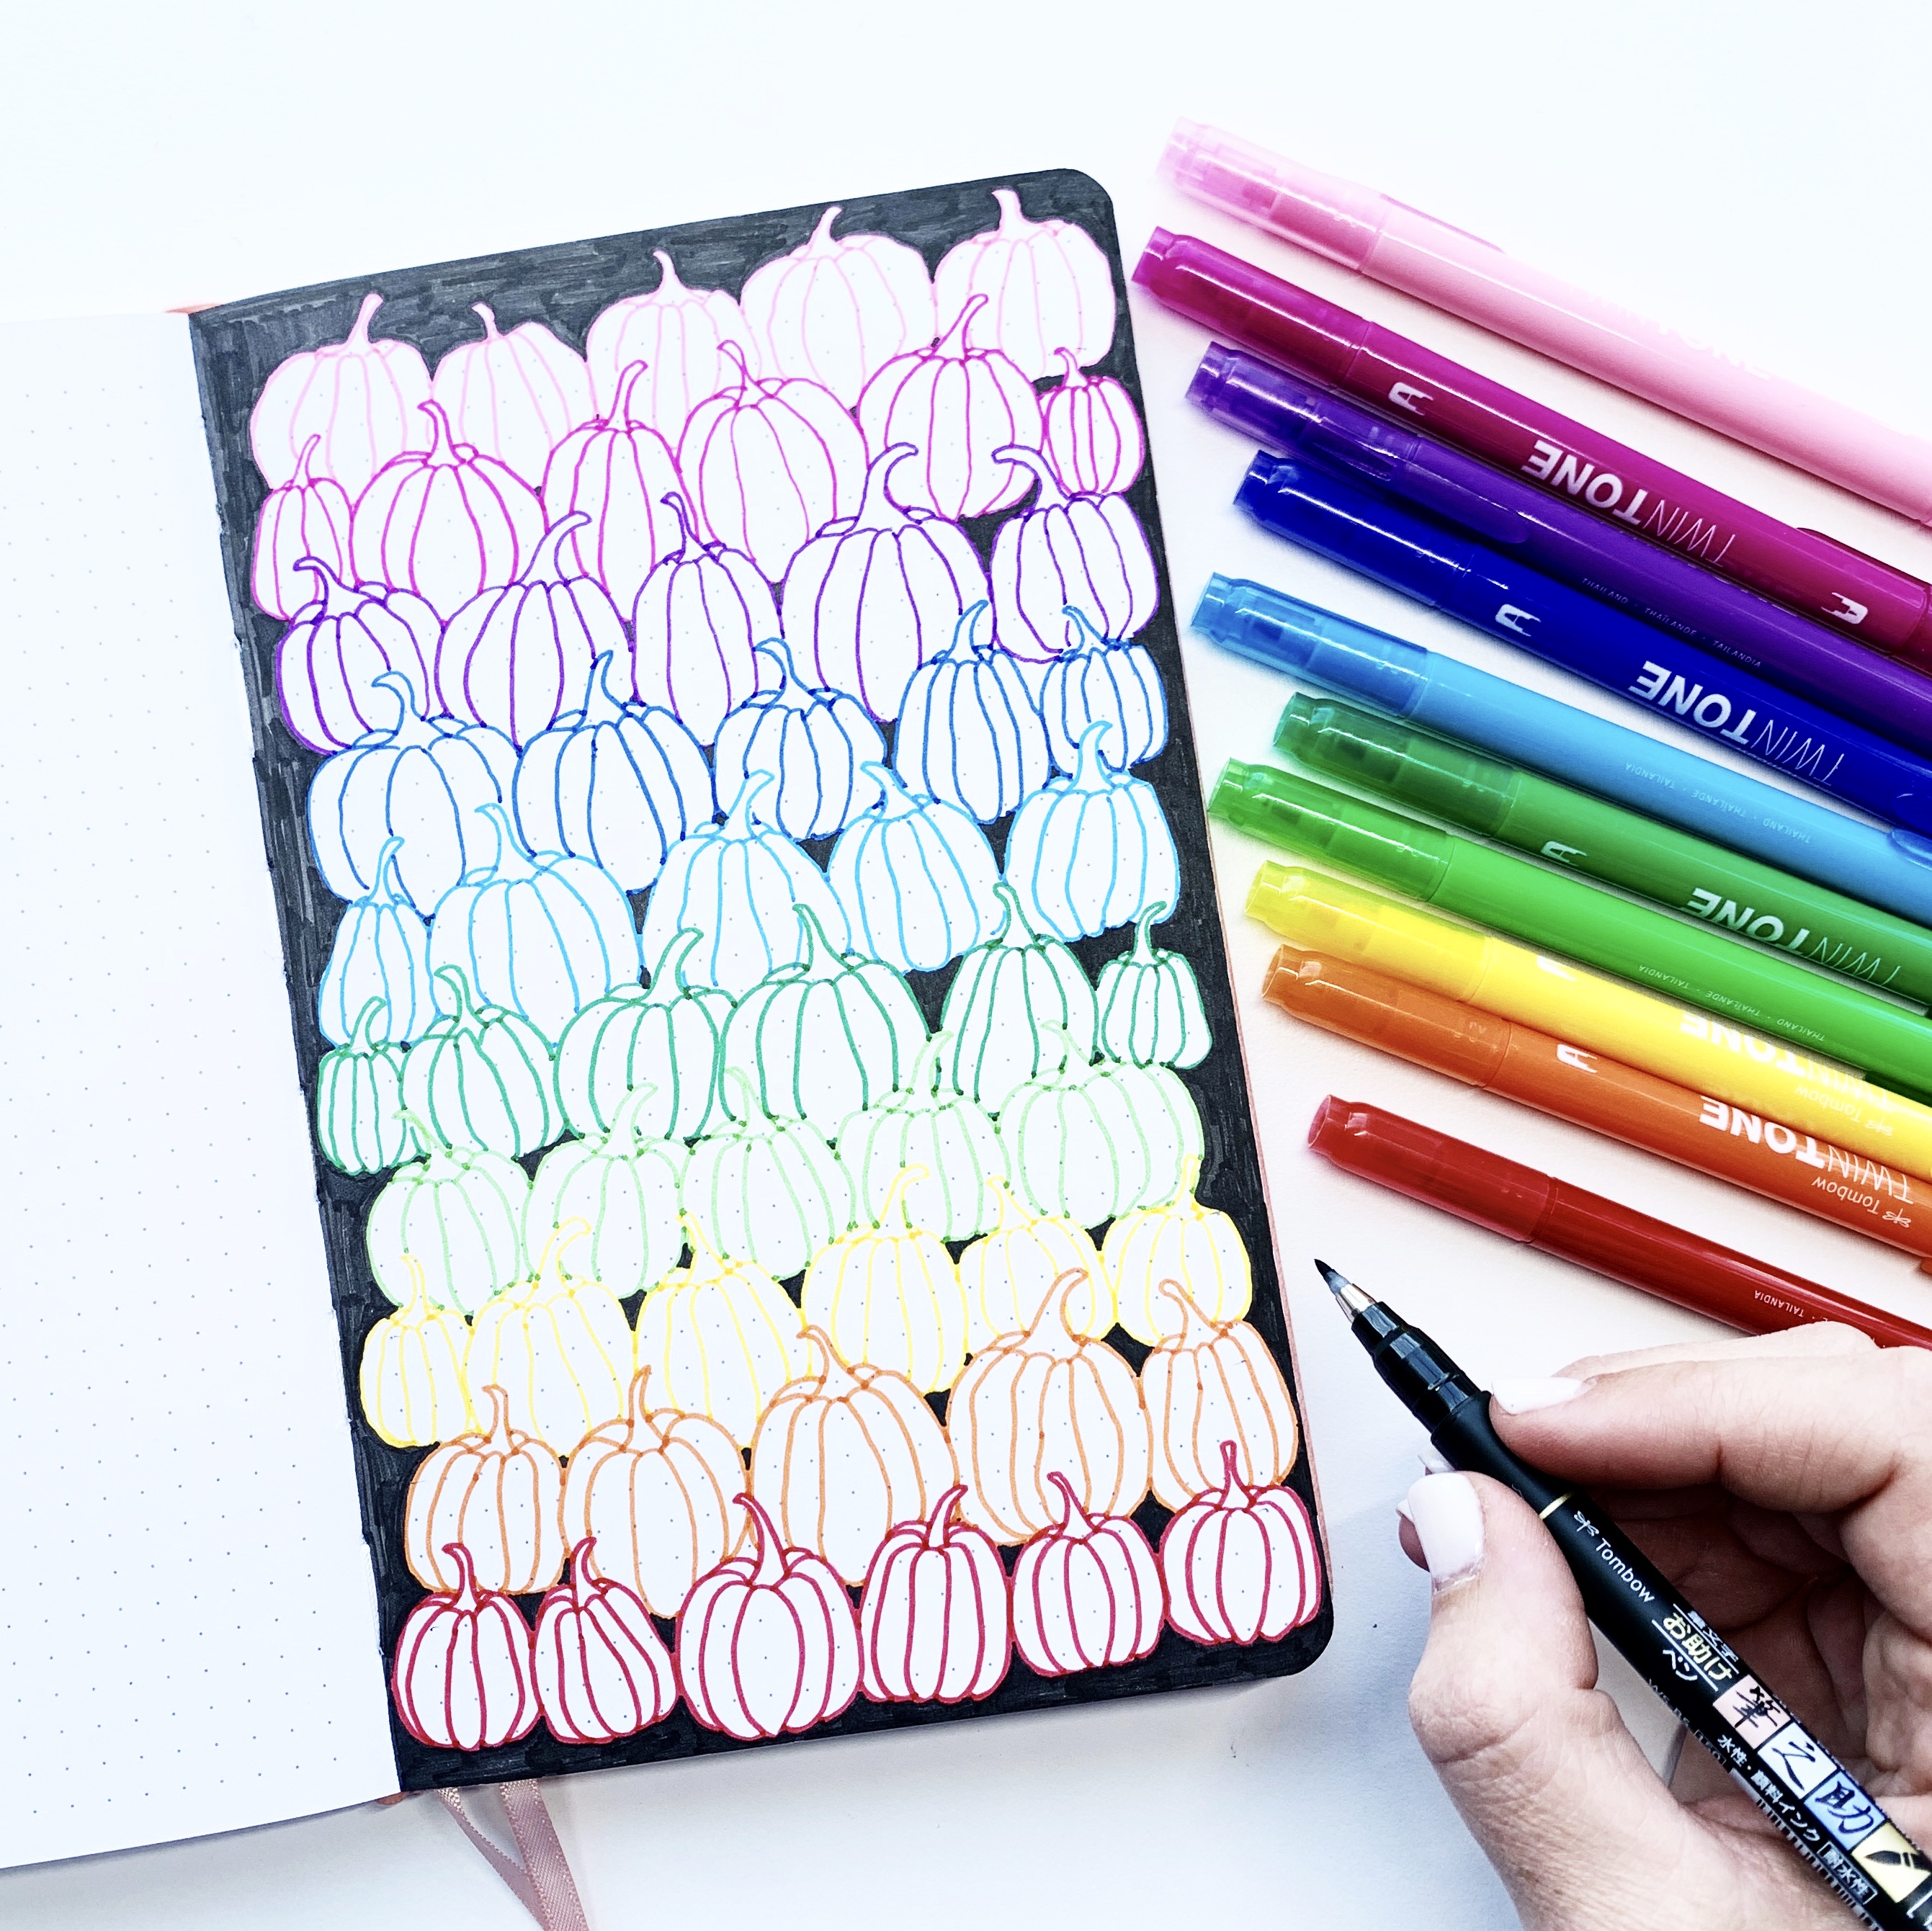
Step 6
The last step is to use the other side of your TwinTone Markers (the small tip) and draw in small details and lines for each of the rows of pumpkins. This will add more dimension to your rainbow pumpkin pattern page!
That’s it! I hope you found this tutorial on how to create a rainbow pumpkin pattern helpful! Hope you all have a fun and safe Halloween! For more tips and inspiration like this, make sure to follow me @studio80design!
For more tutorials using the Tombow TwinTone Rainbow Marker Set, make sure to check out these awesome tutorials:
- Create a Floral Swatch Pattern for Tombow’s TwinTone Markers
- Three Envelope Designs with TwinTone Palettes
- DIY Faux String Art With TwinTone Markers