Hello friends, Adrienne from @studio80design here to share a Christmas tree watercolor illustration tutorial with you! I’ll be using a few of my favorite new products from Tombow that were just released this year. I’ll also be telling you why I love them! Let’s get started!
Materials you’ll need:
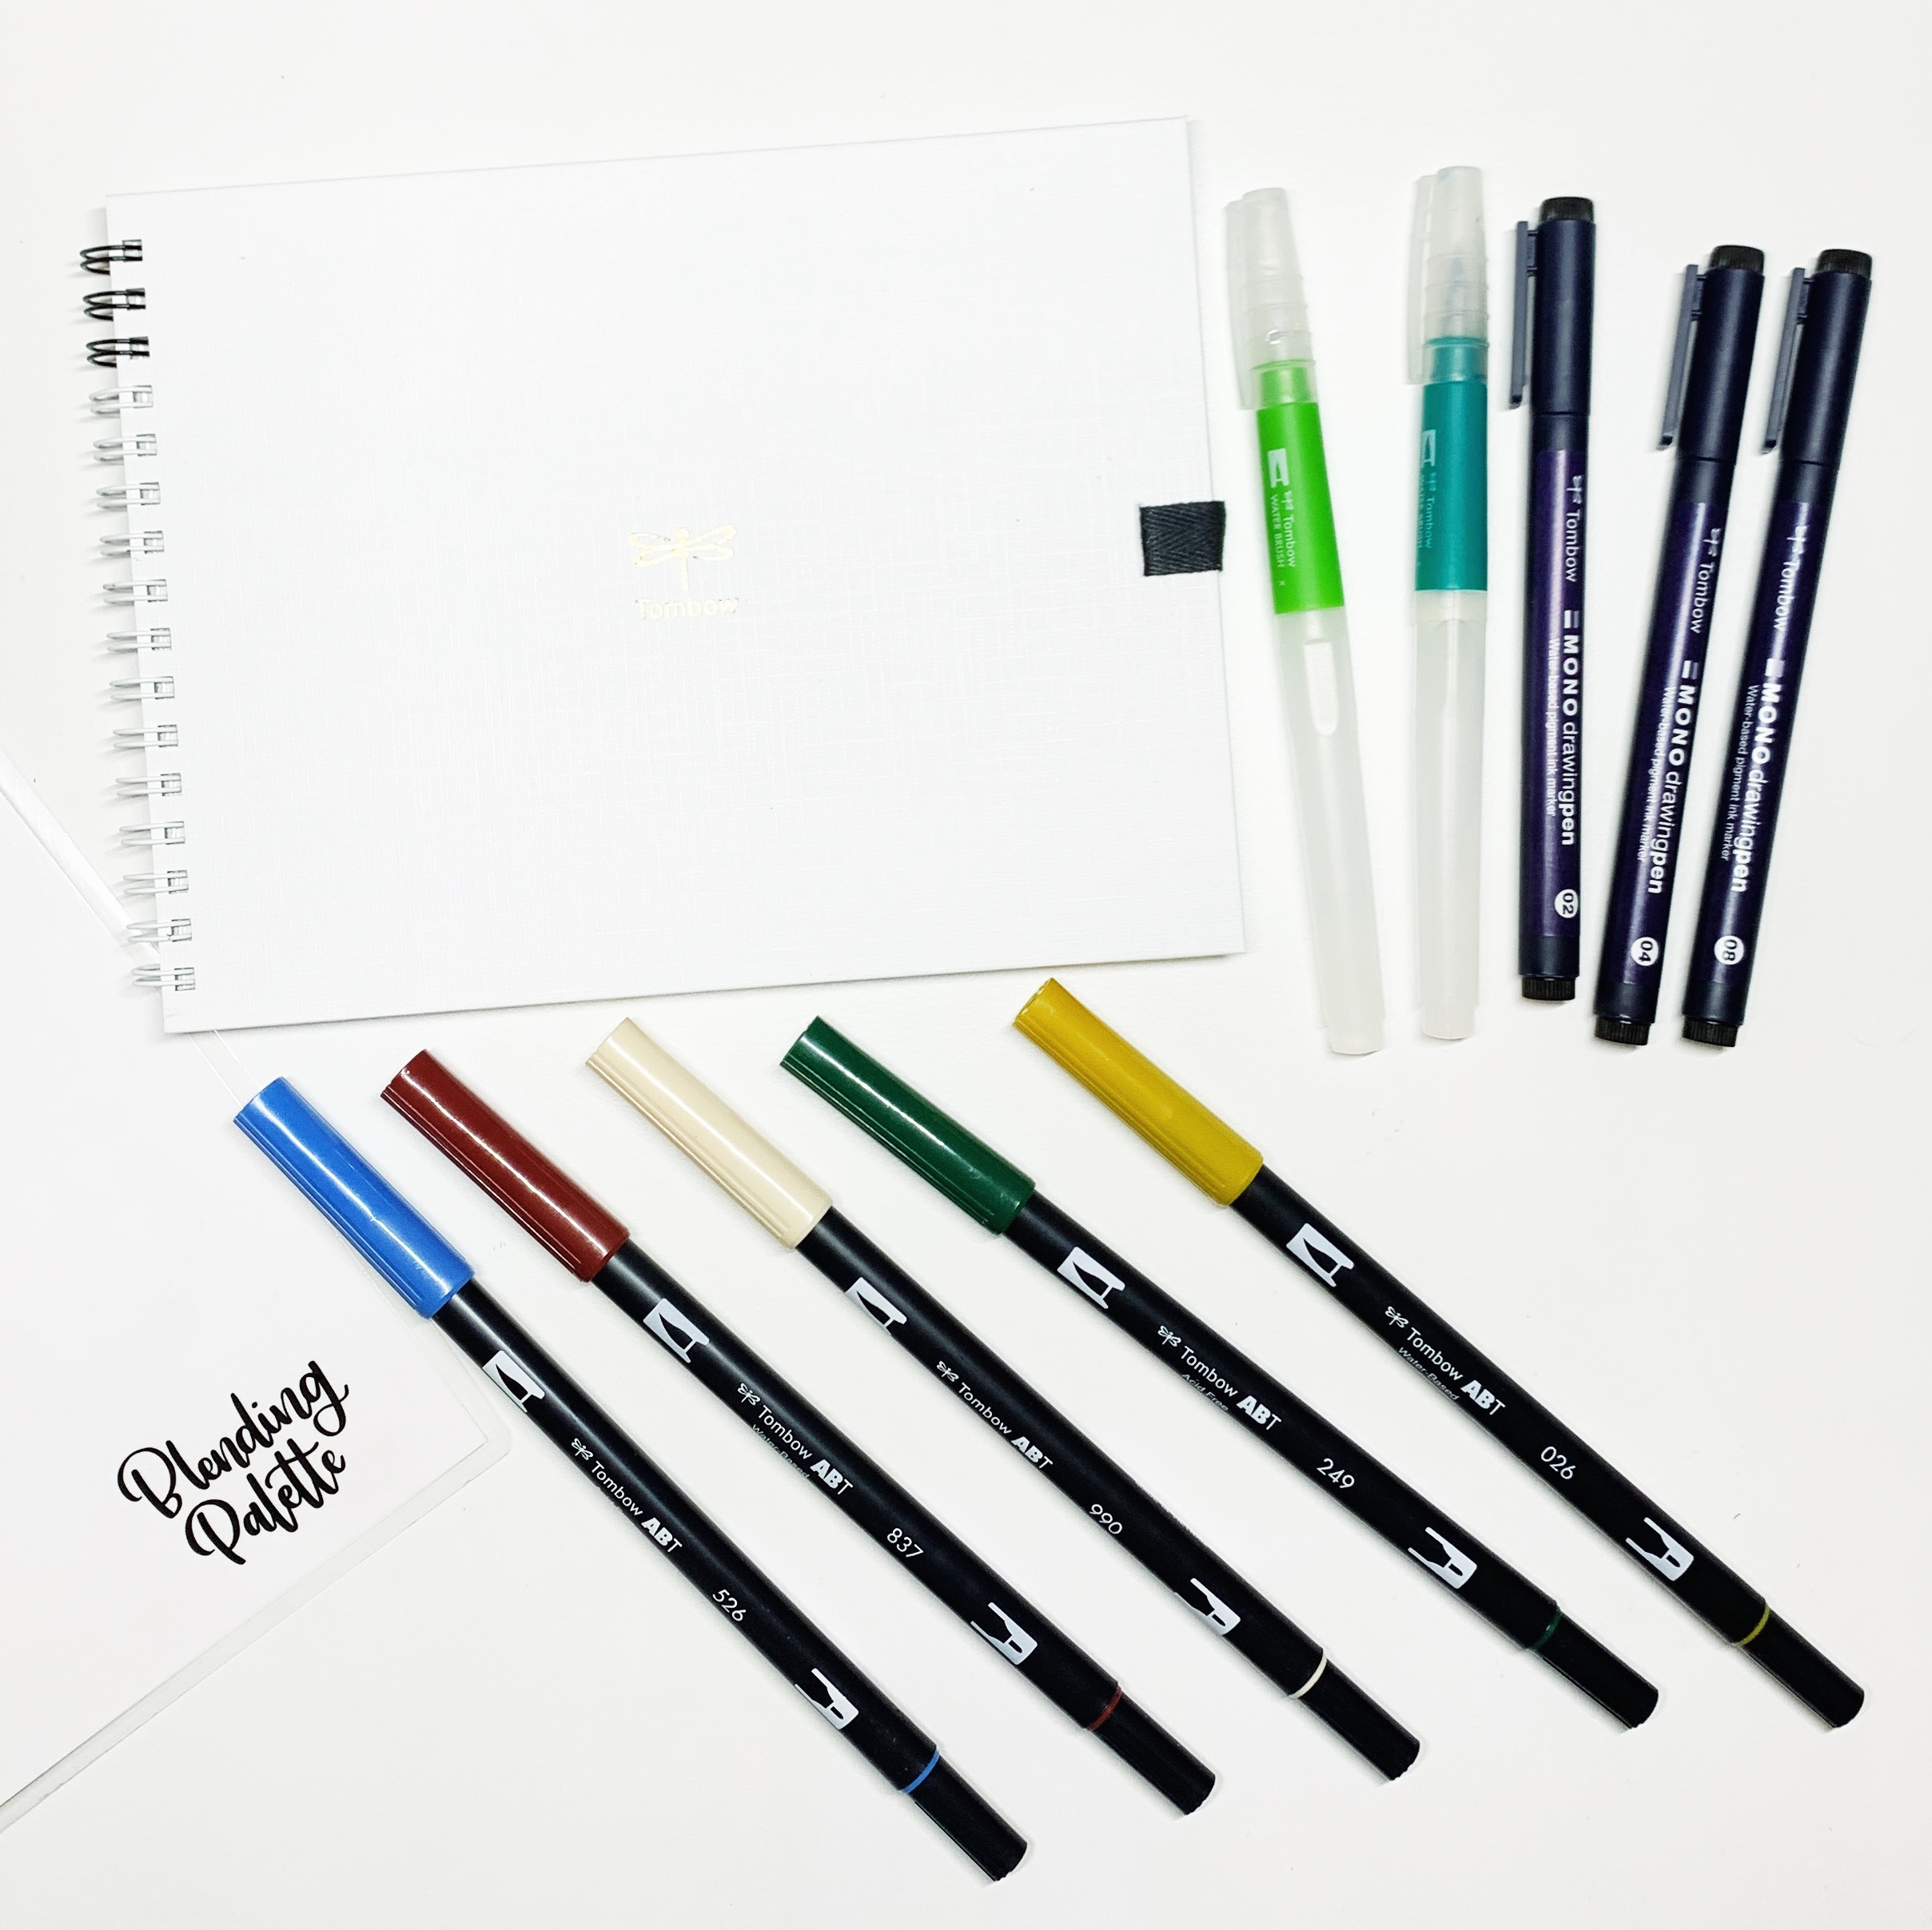
- Watercolor paper
- Tombow Limited Edition Dual Brush Pen Markers, Holiday Edition
- Tombow Blending Palette
- Tombow Water Brushes
- Tombow MONO Drawing Pens 02, 04, 08
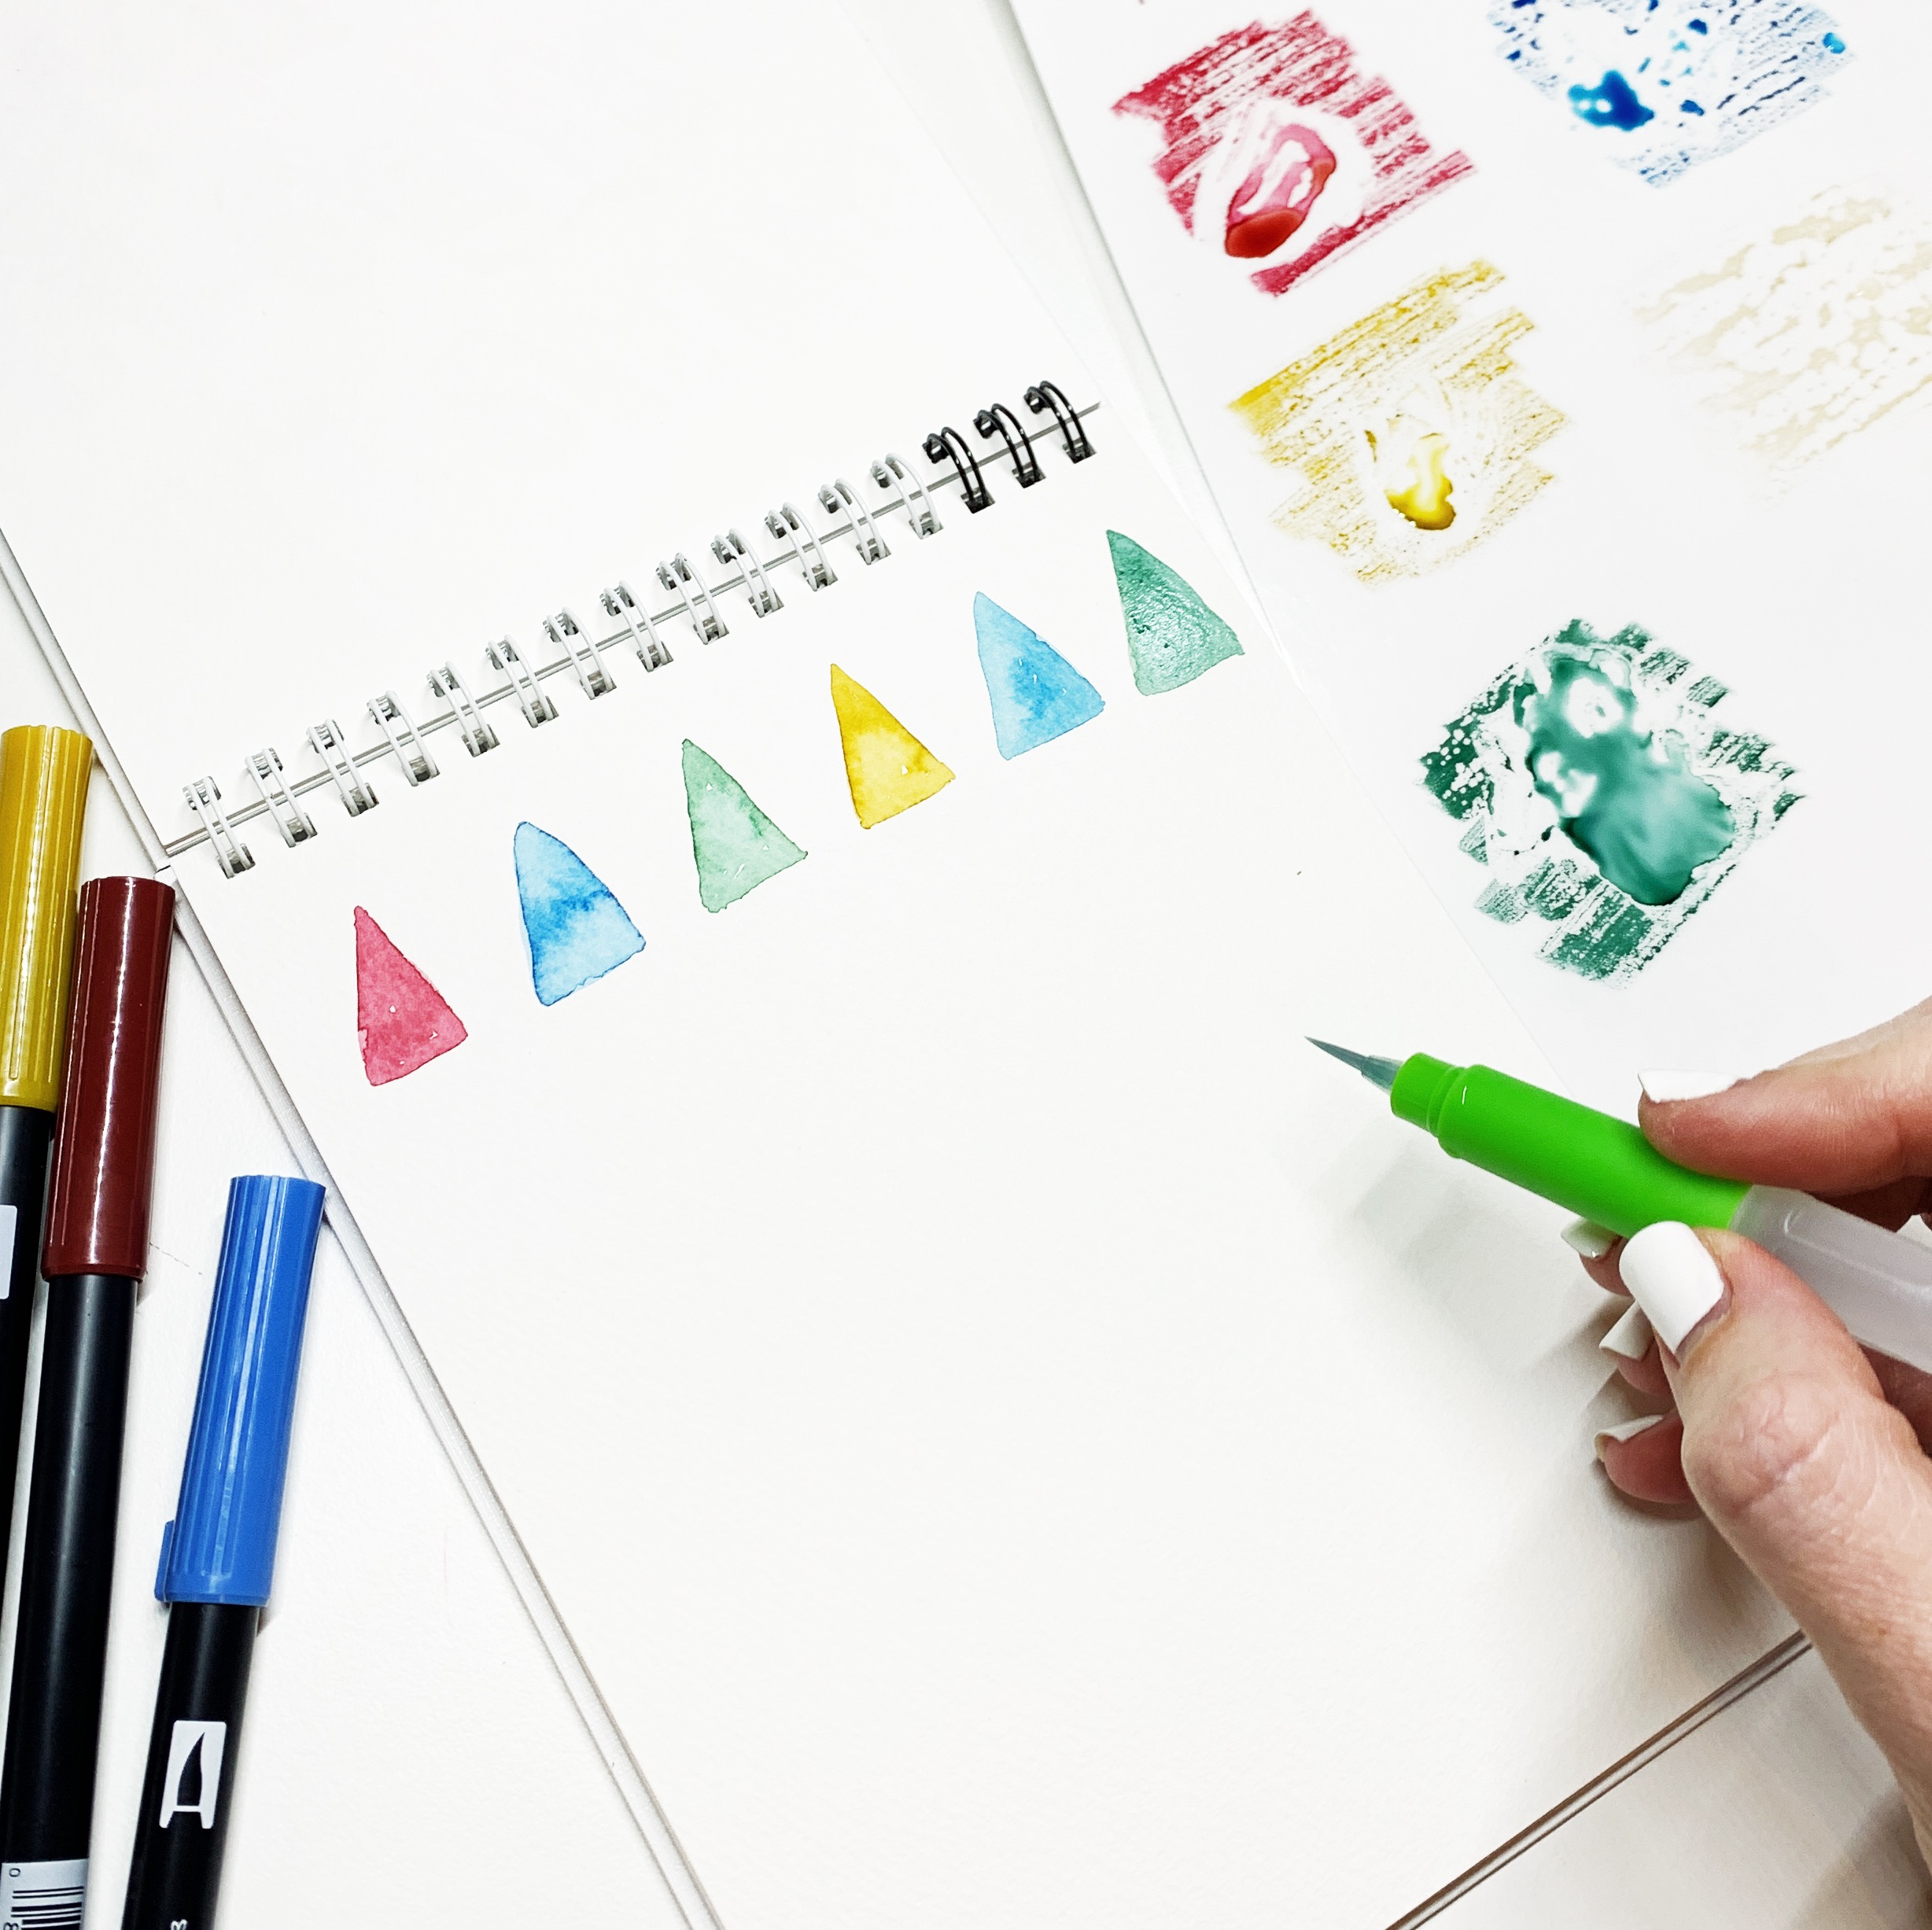
Step 1
The first step is to pick out colors from the Tombow Holiday Edition Dual Brush Pen Markers that you want to use for your Christmas trees. I used 526, 837, 990, 249 and 026 and scribbled them onto my Blending Palette. Then use the Small Water Brush to pick up a color and paint a small triangle at the top left of the page. I had enough room to paint six triangles at the top of my page, alternating colors as I went to make them vary. The Water Brushes are a new product this year from Tombow. I am so happy to have them in my art kit. They make watercoloring super easy, especially with the water-based Dual Brush Pens!
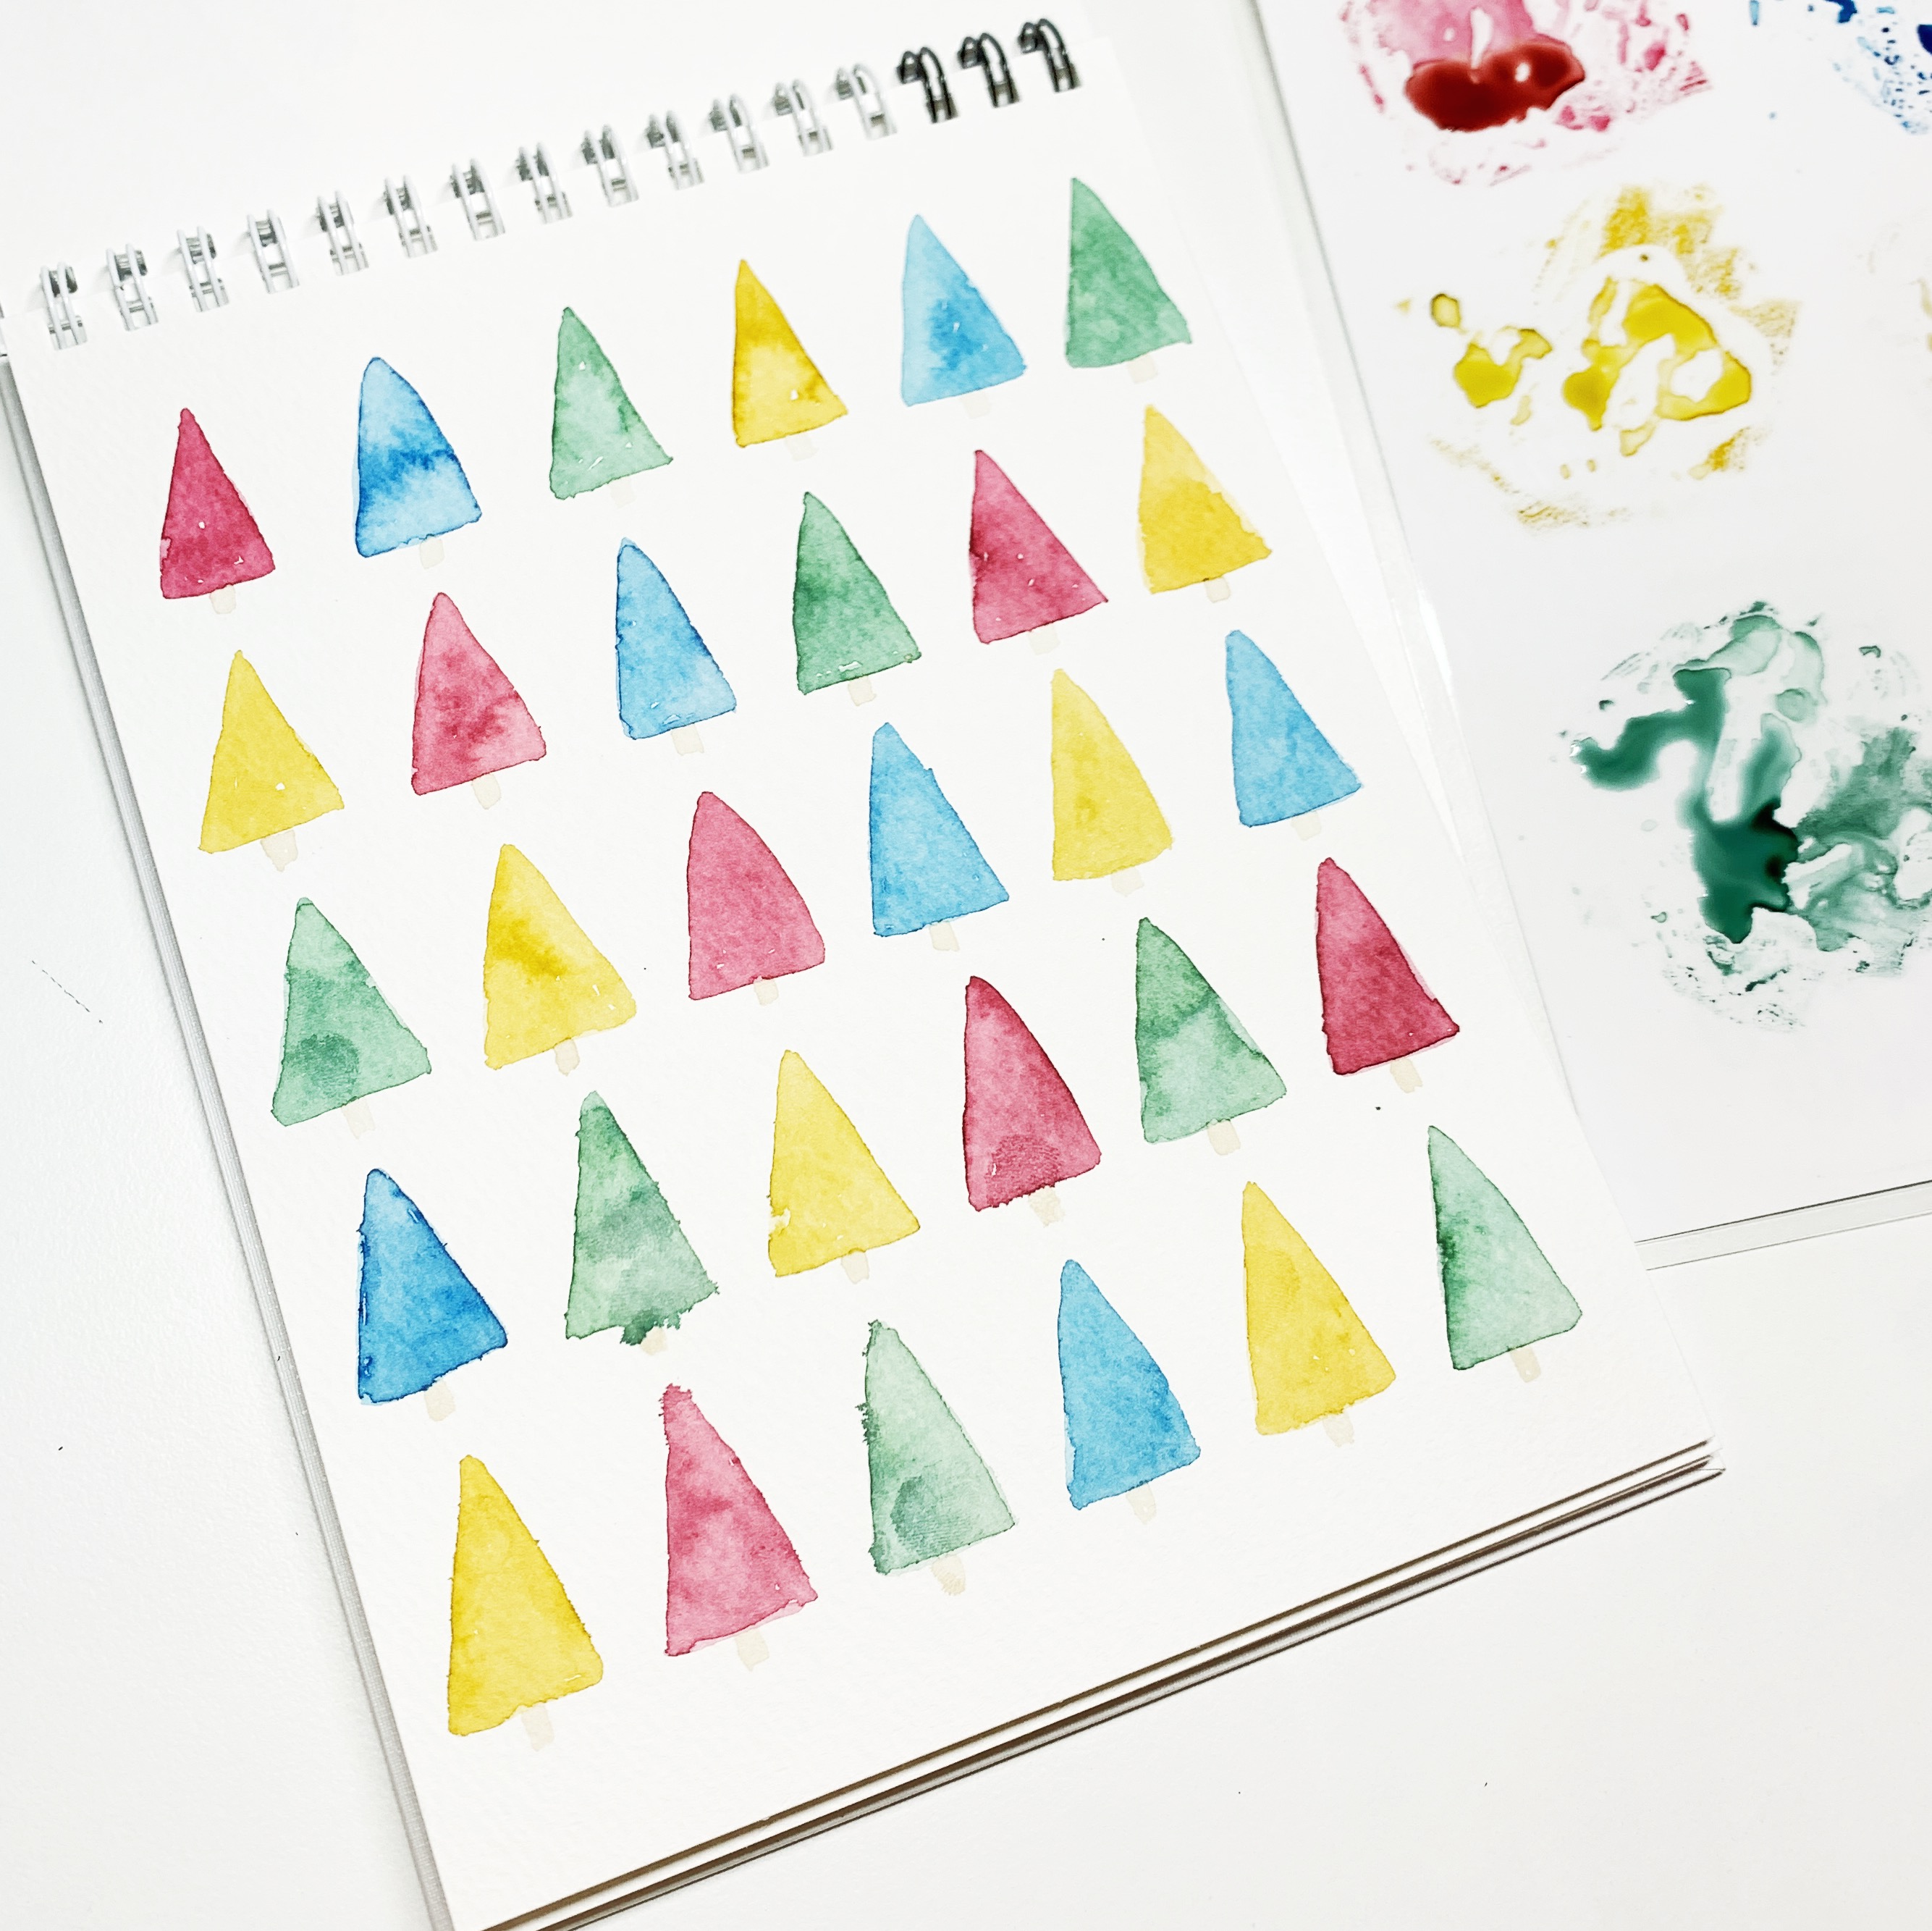
Step 2
Next, fill in the entire page with colorful triangles like we did in step one. Make sure to vary the colors as you go down the page!

Step 3
Then, I used the tan Dual Brush Pen to paint in stumps for each of the Christmas trees. Wait for the watercolor to dry before you do this. Otherwise, the color will bleed into the stumps.
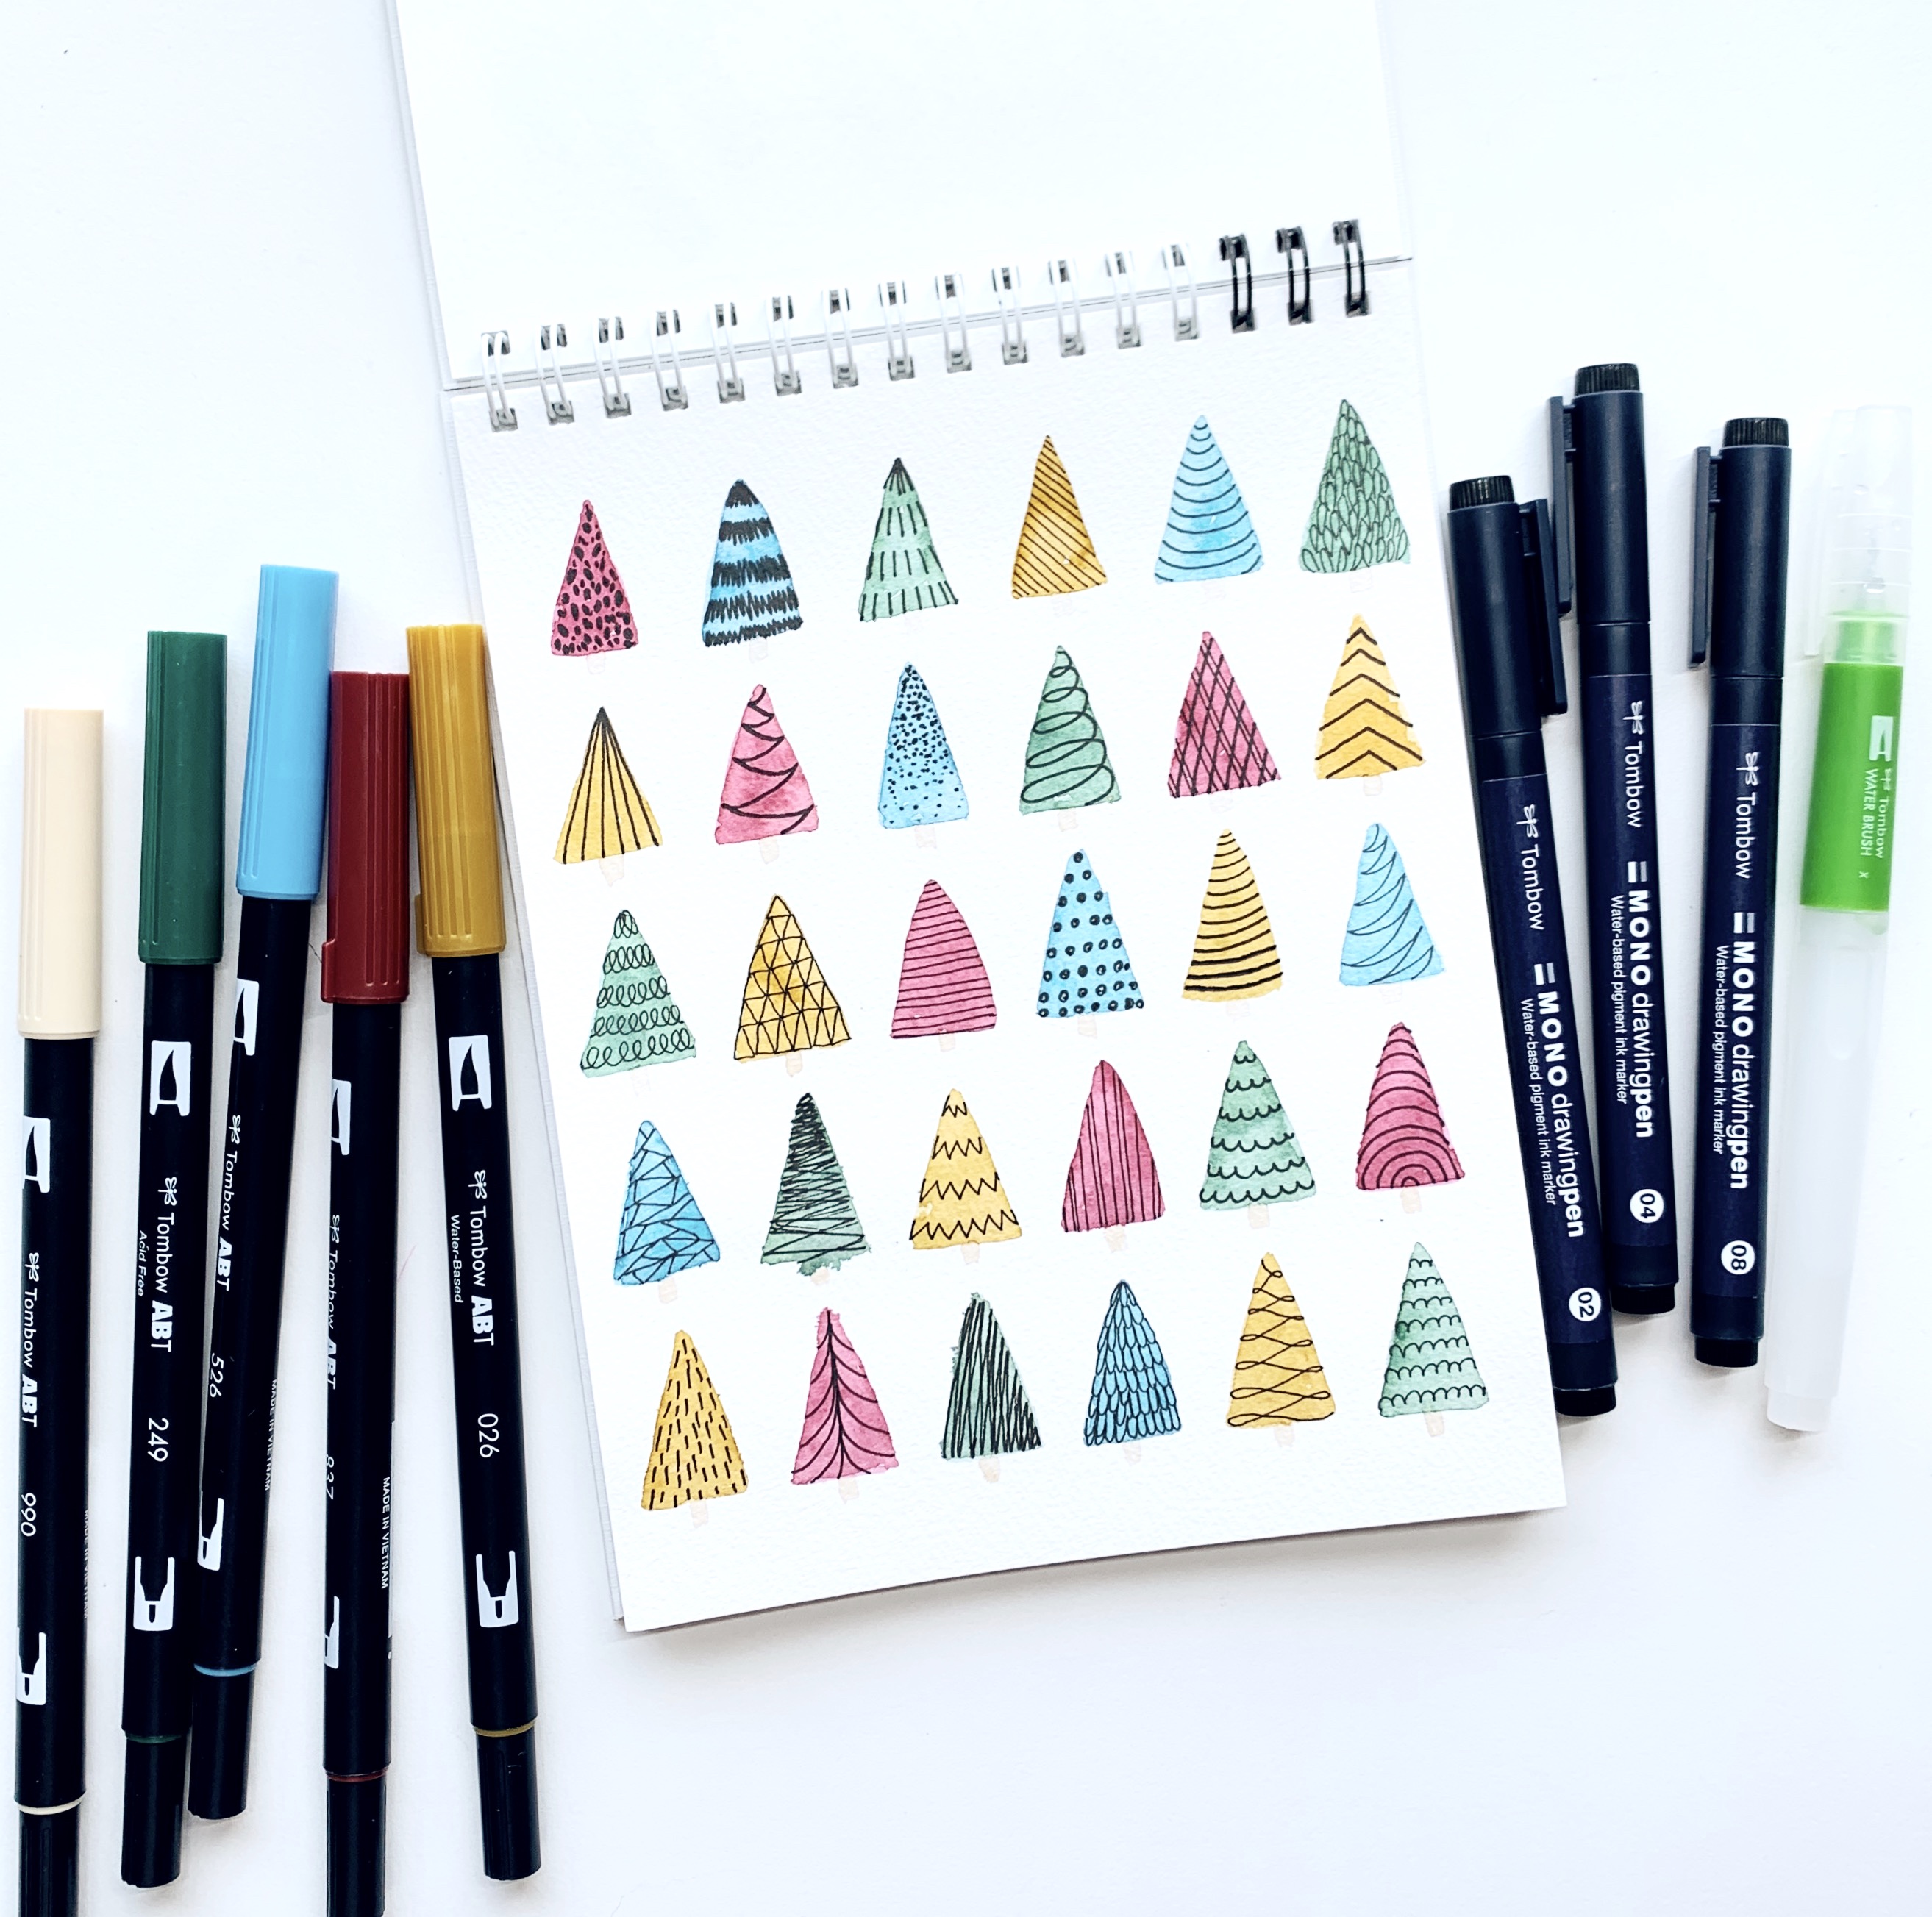
Step 4
The last step is to use the MONO Drawing Pens to draw in ink details on each Christmas tree. I used a different design on each of the trees to make them all individual and unique! There were three new MONO Drawing Pen sizes added to the collection this year (02, 04, and 08). Using a different pen size gives you a different design and allows for a variety of line detail work in your pieces!
Thank you so much for visiting! I hope you found this tutorial helpful. For more inspiration like this, make sure to follow @studio80design!
For more holiday tutorials, check out these posts:
- DIY Holiday Wood Slice Ornaments And Tags
- Holiday Bucket List Journal Layout
- DIY Hand Painted Holiday Cards