Hey y’all, I’m Katie! This week at Tombow, we’re focusing on adhesives in honor of National Craft Month. So, today I want to show you a unique technique that you can create using the MONO Multi XL Liquid Glue: Gold Foiling!
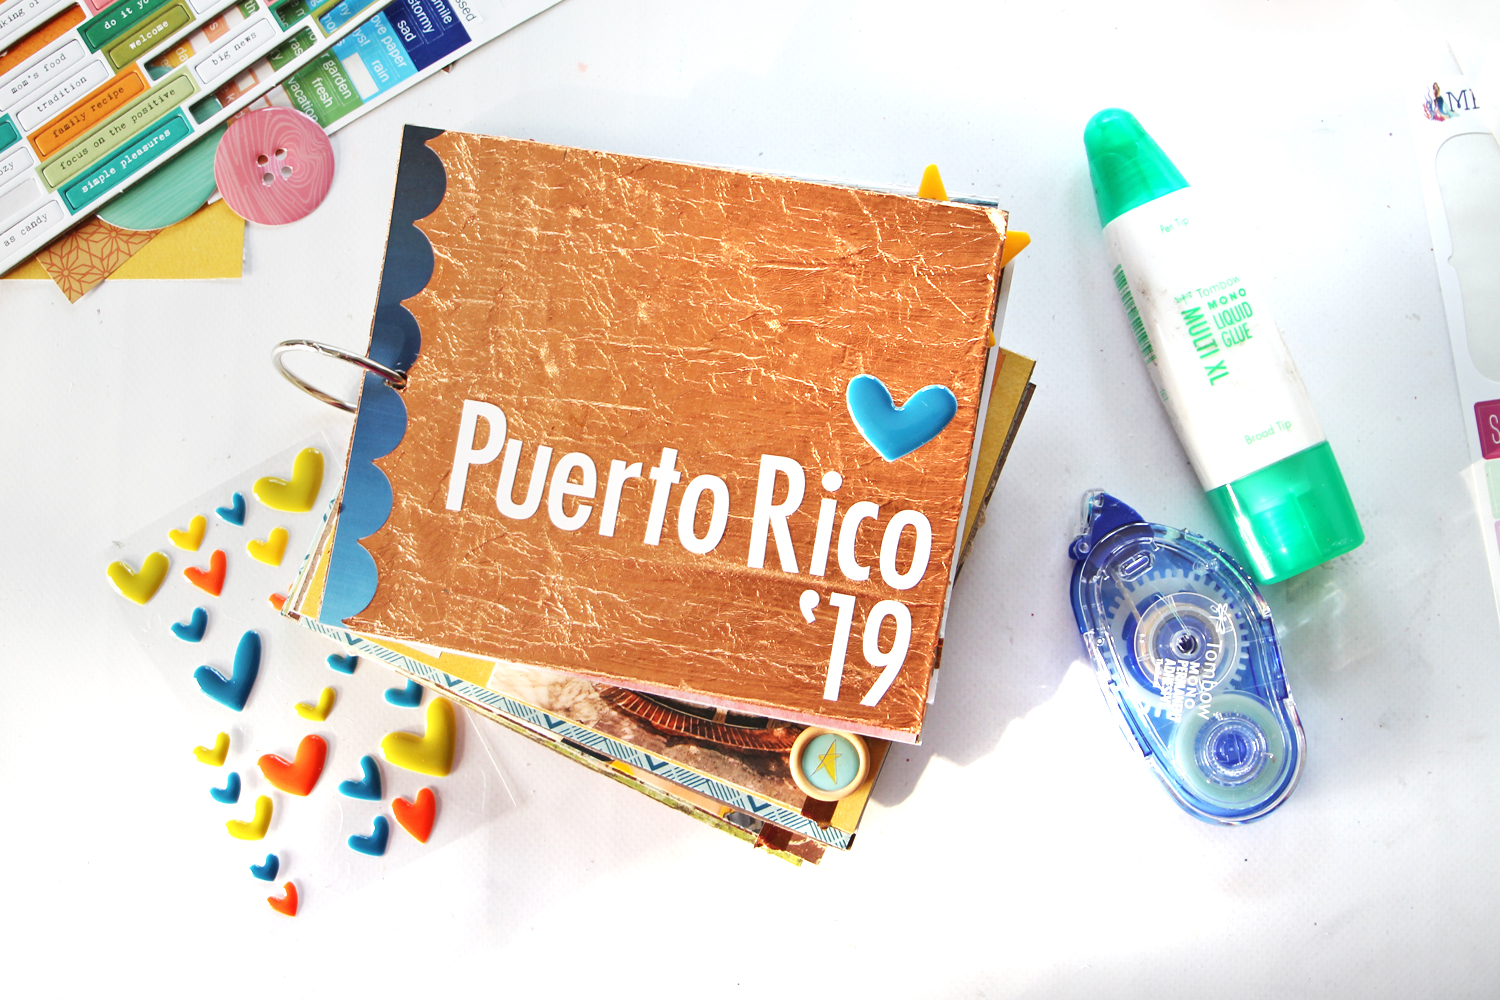
In this project, I’m using this technique to add foiling to a mini album. You can use the MONO Multi XL Liquid Glue to add foiling to any surface.
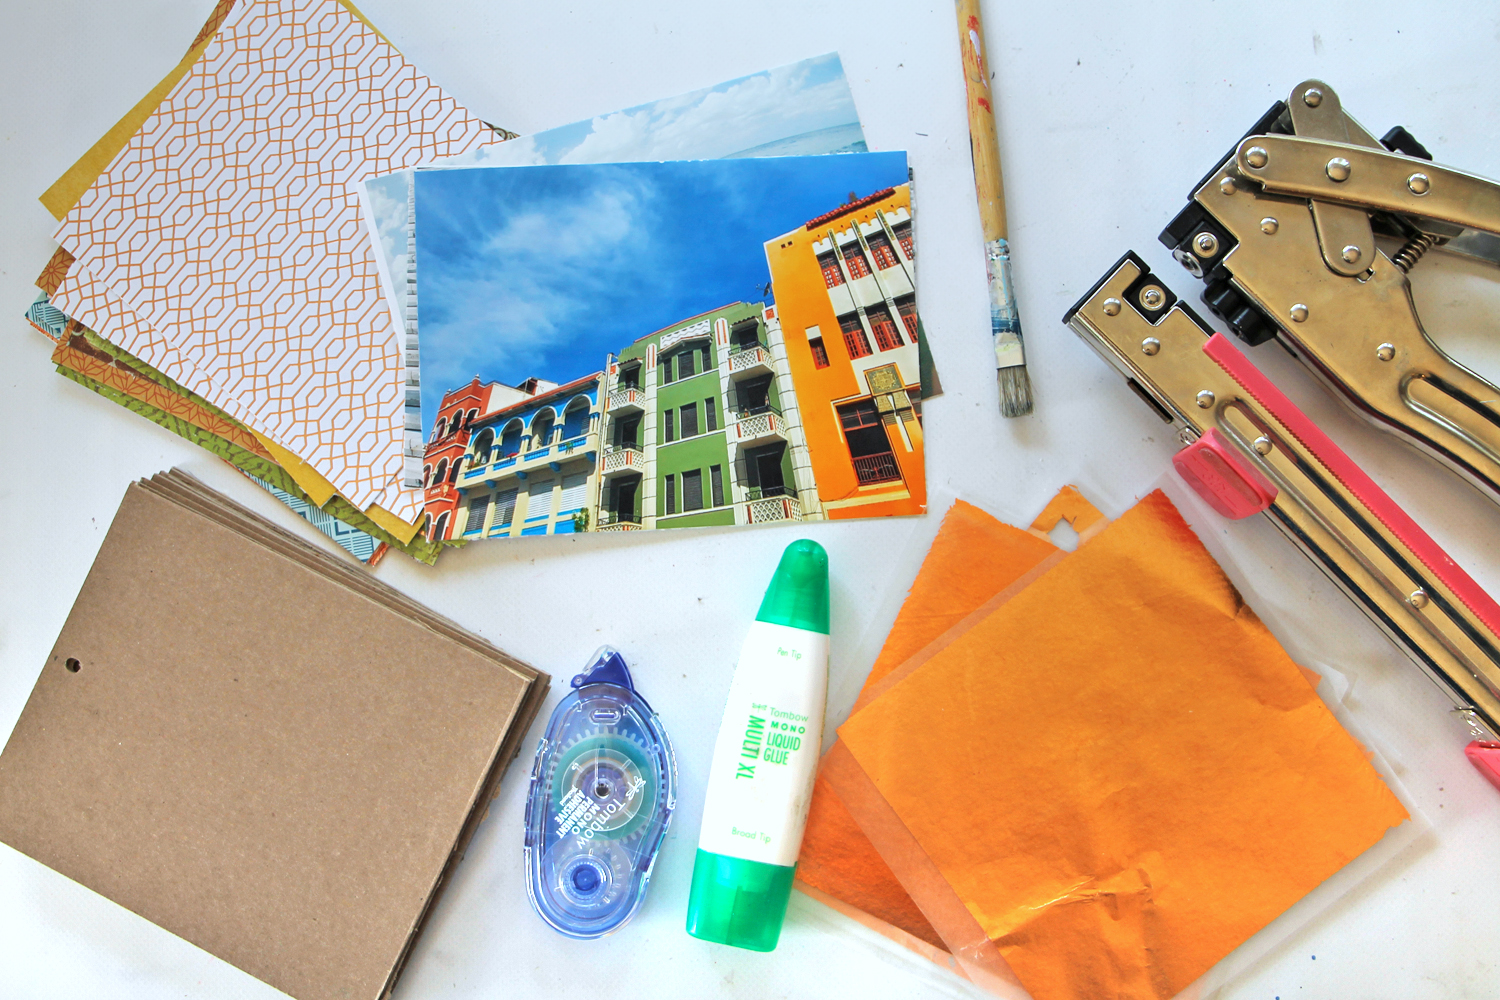
Supplies:
- Tombow MONO Multi XL Liquid Glue
- Chipboard/surface to foil
- Paintbrush
- (imitation) Gold leafing sheets -I’m using copper leafing.
Step one:
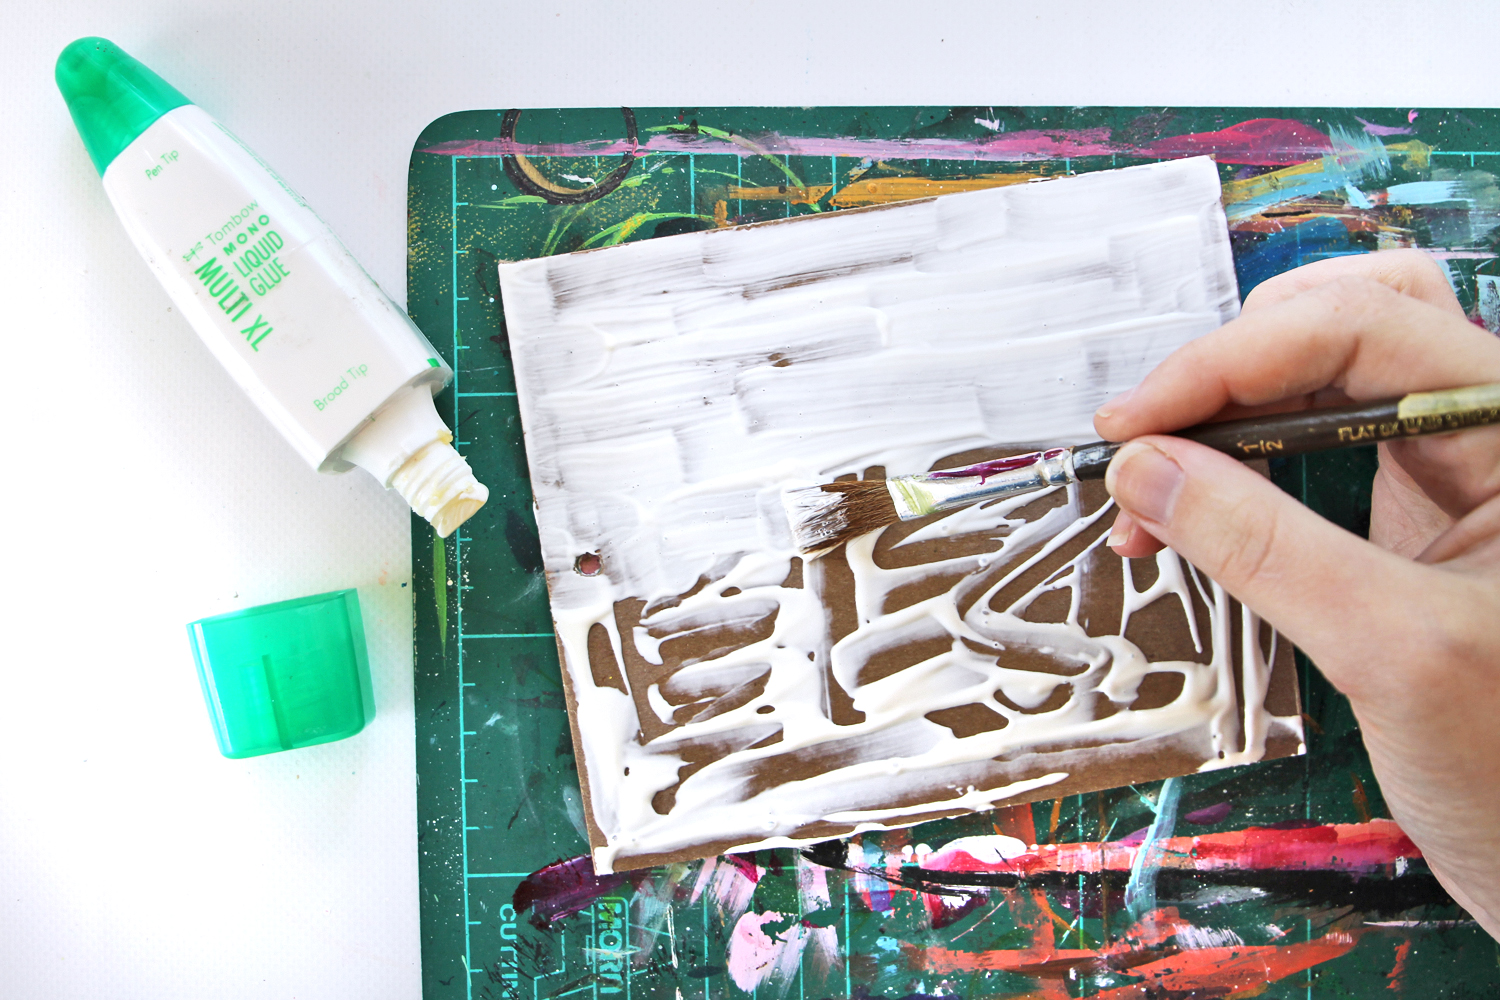
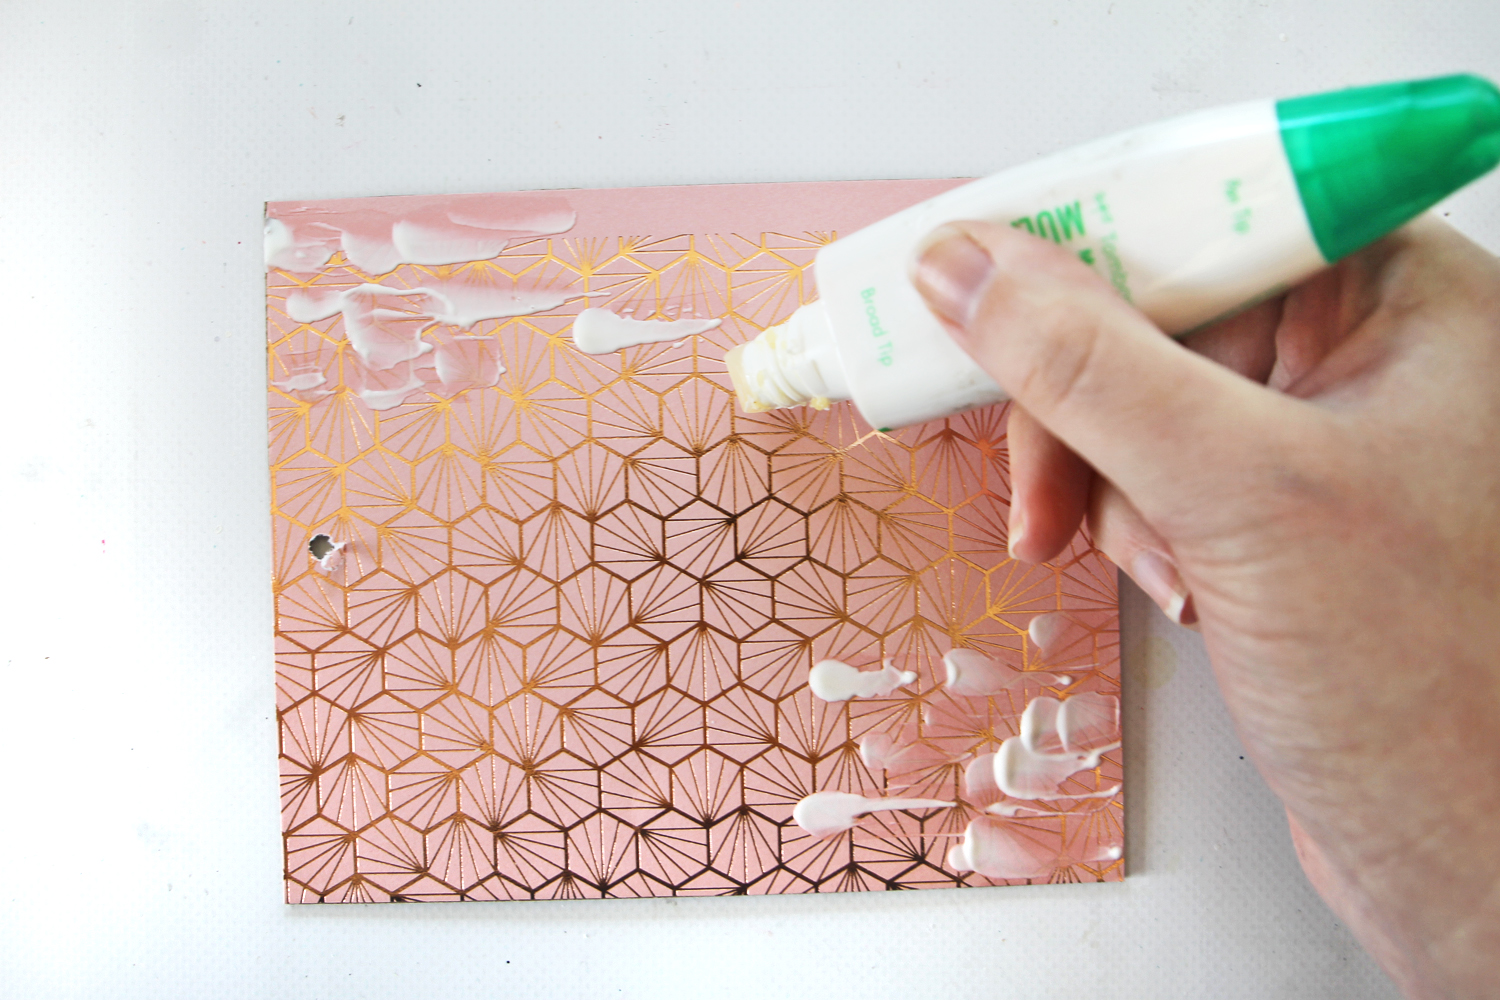
Cover your surface with MONO Multi XL Liquid Glue. This bottle has two tips: a pen tip and a broad tip. Use the broad tip for large areas.
You can also use a paintbrush to smooth out the glue. I intentionally left a bit of texture in my strokes, so my cover would have a bit of depth.
I recommend either washing the paintbrush with soapy water immediately after use or using an older paintbrush you won’t mind trashing later.
Let dry. (The glue is white when wet, but will turn clear once dry although it will remain tacky.)
Step two:
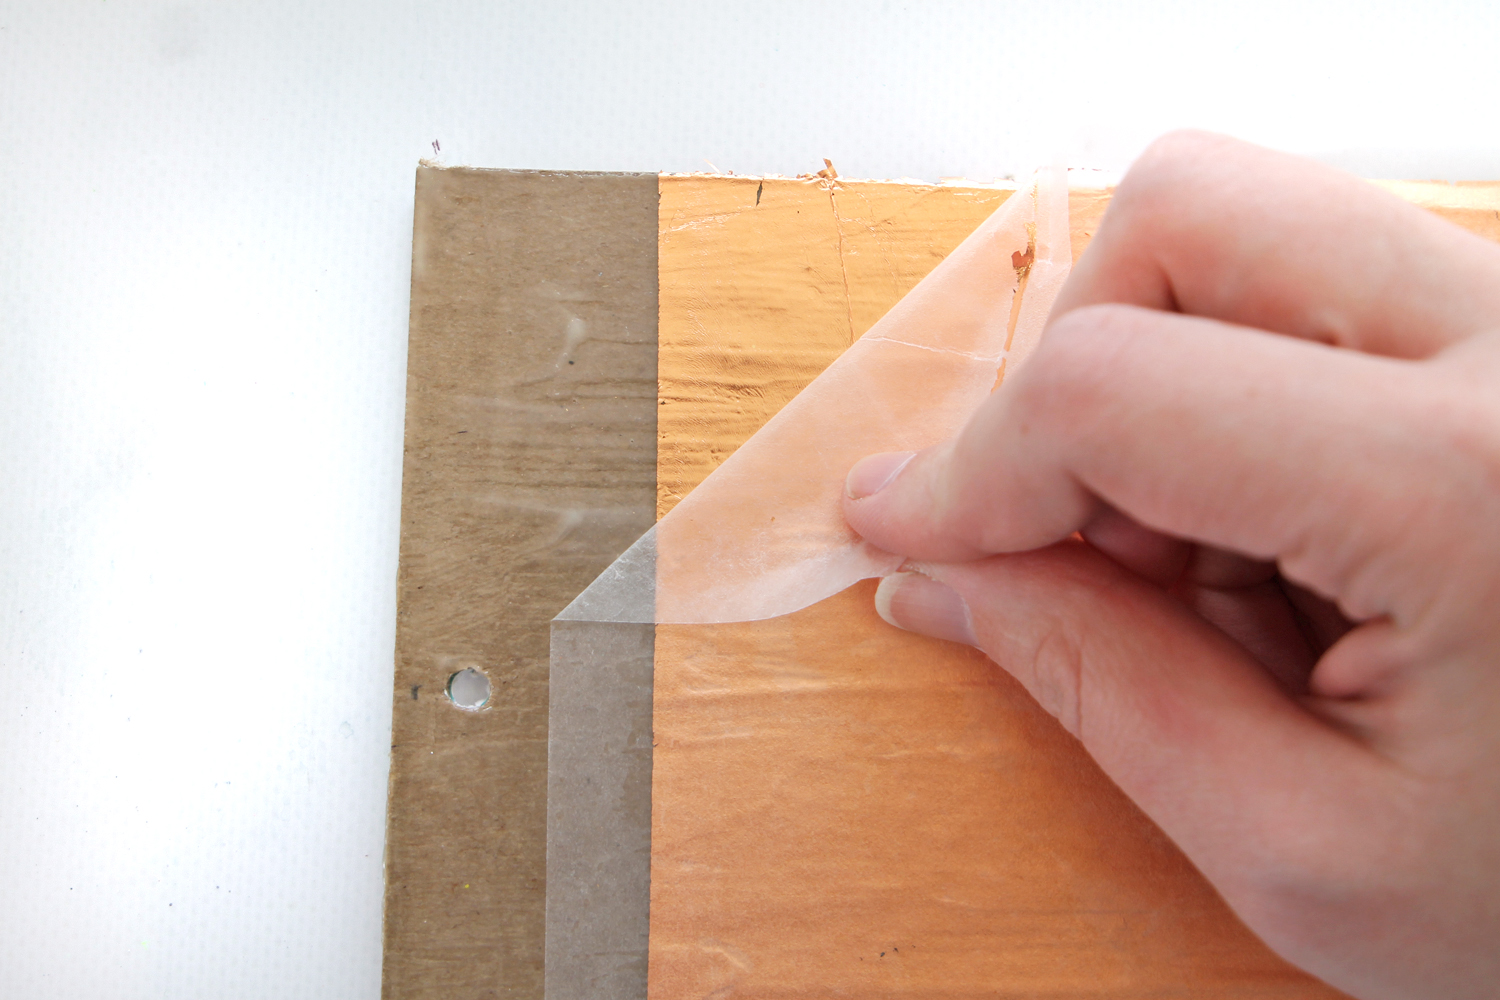
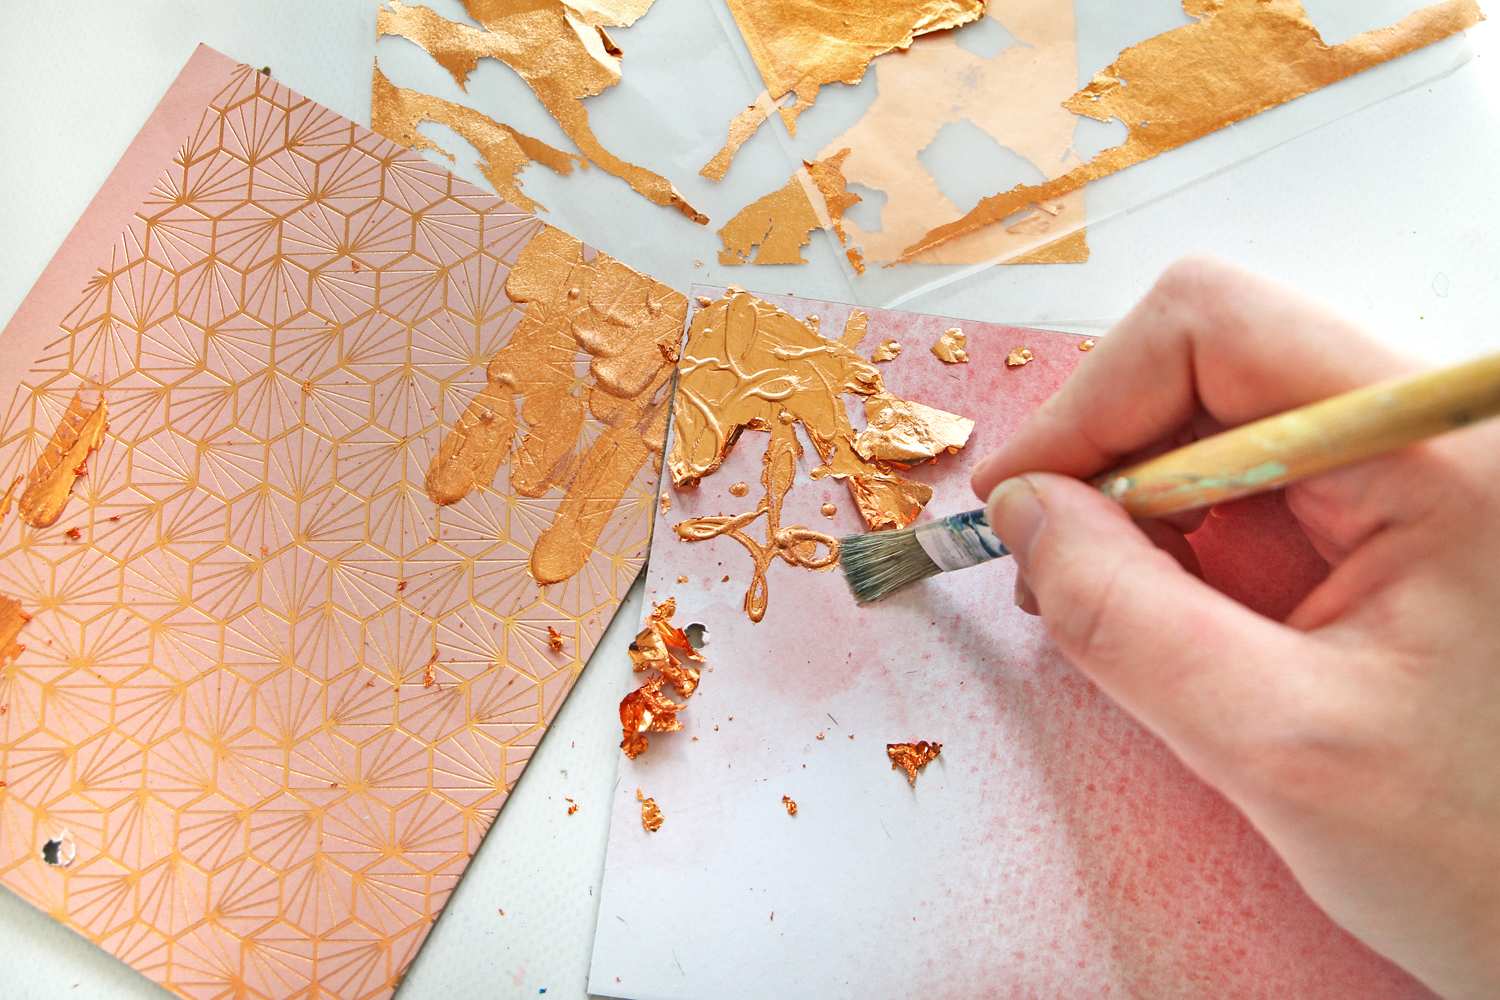
Press your leafing sheet down on top of the adhesive. Peel back transfer sheet, leaving the foil stuck to the glue. Repeat to cover surface.
Since the MONO Multi XL Liquid Glue dries tacky, it makes it perfect for gold foiling.
Other idea:
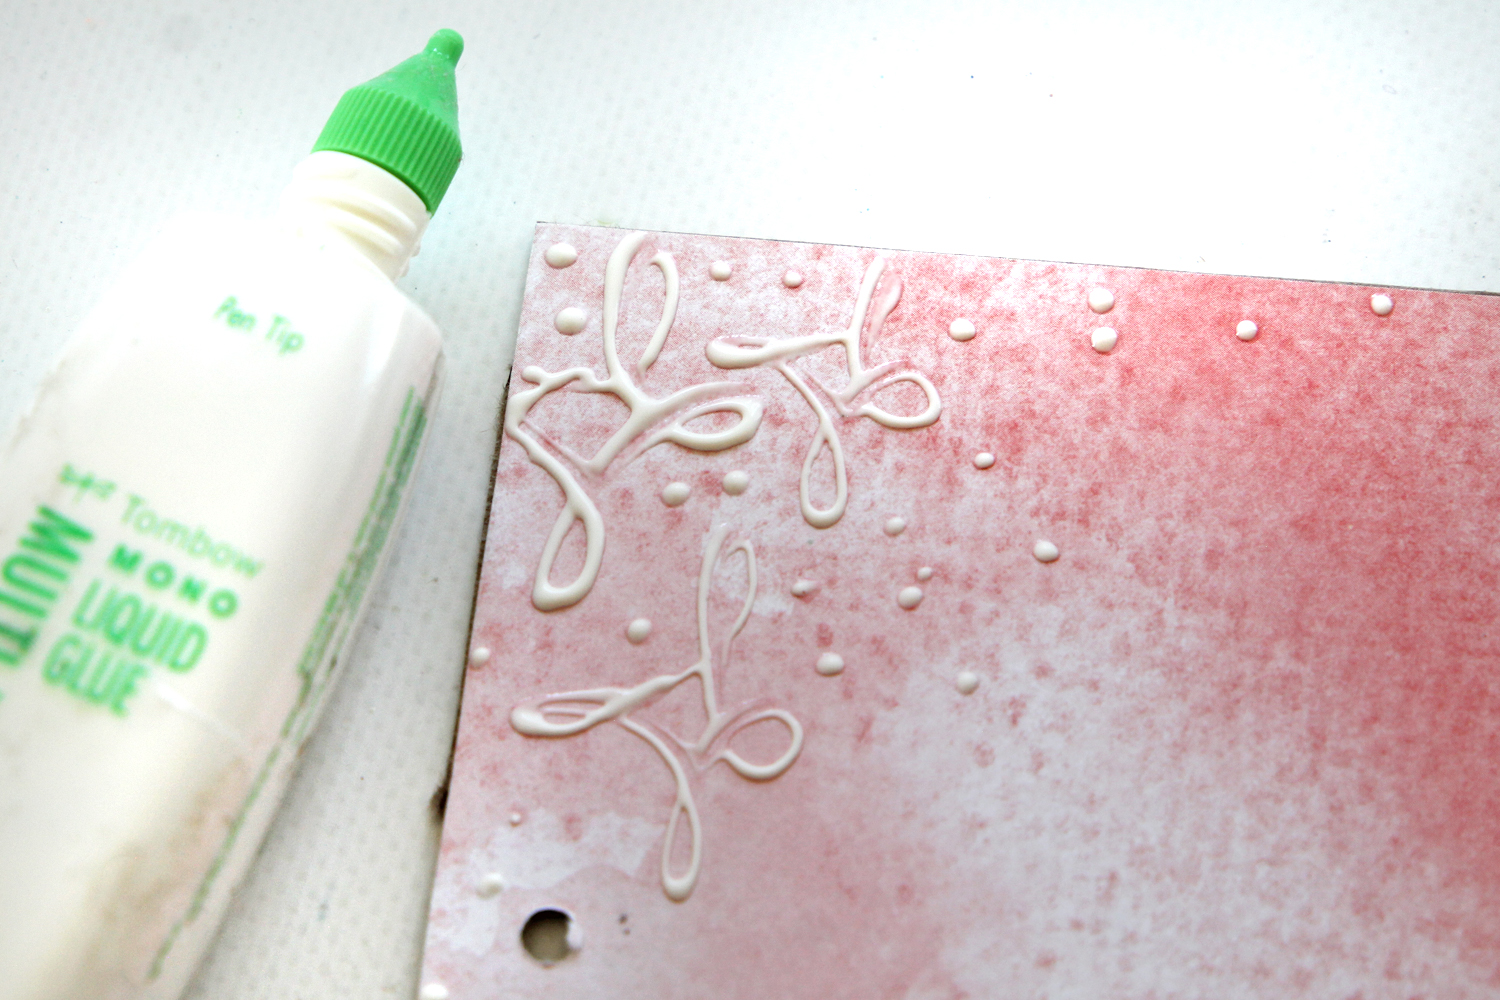
Try creating designs with the pen tip or making “brush strokes” with the broad tip.
Step three:
Use a stiff dry paintbrush to brush off any excess gold foiling that may be sticking around your design.
That’s it! You can use this technique in so many different crafts: home decor, card making, mixed media, lettering, etc! How would you use it?
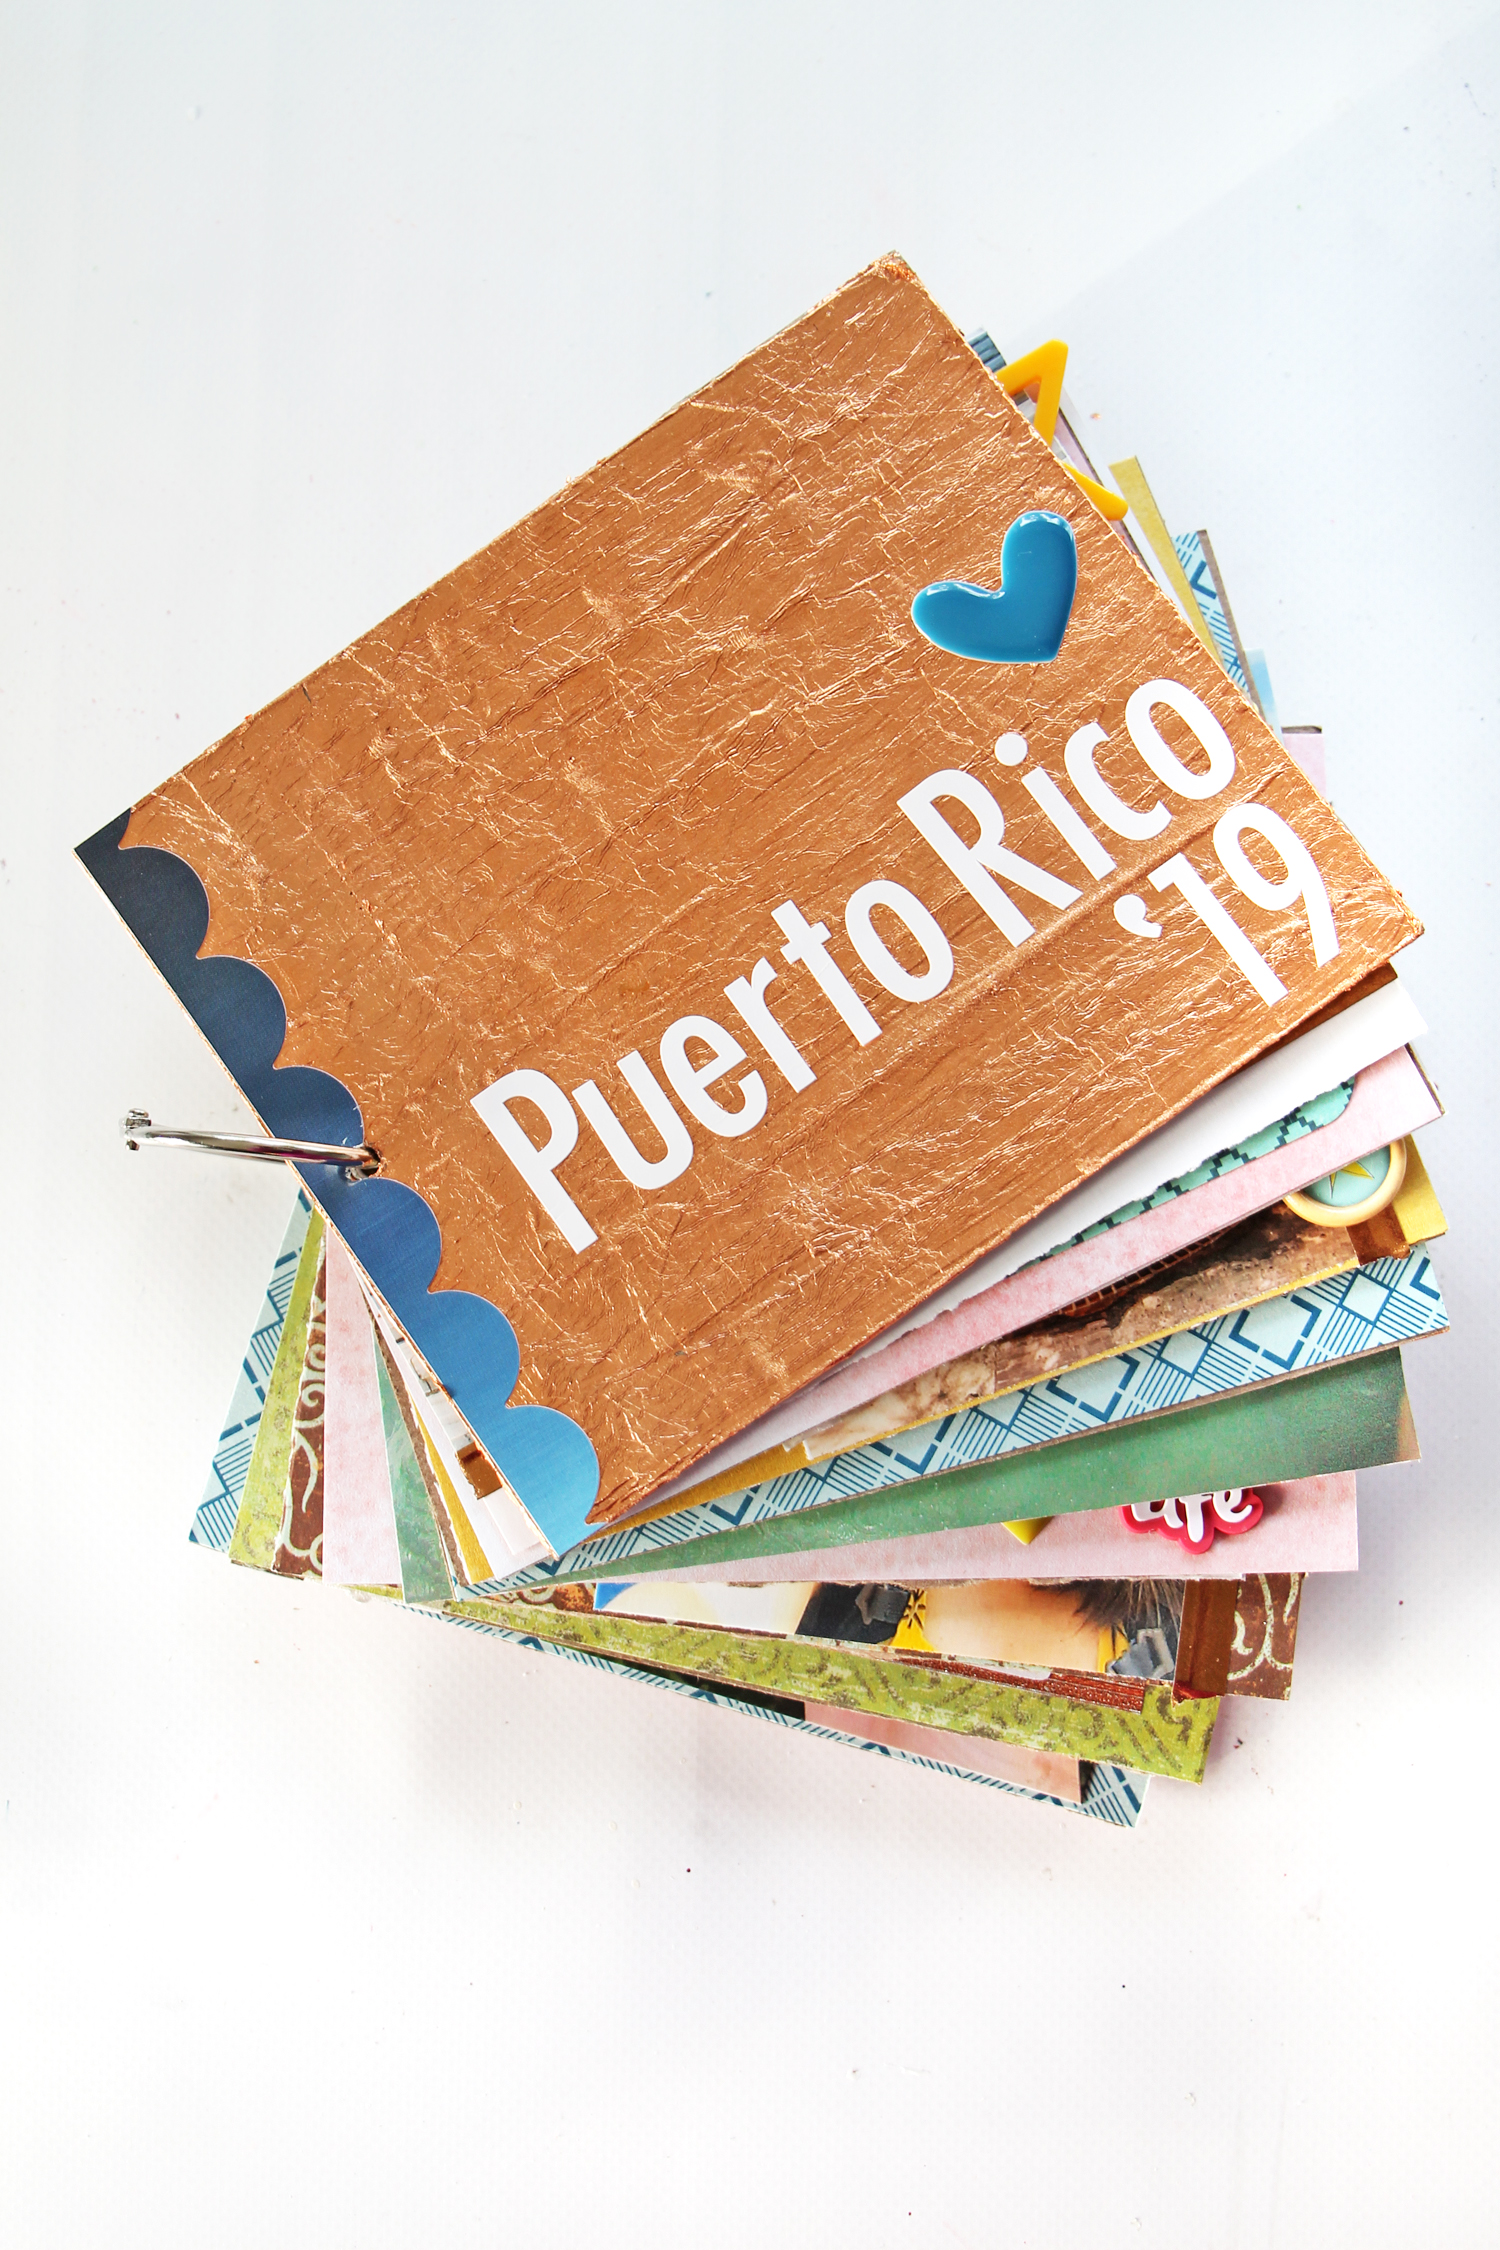
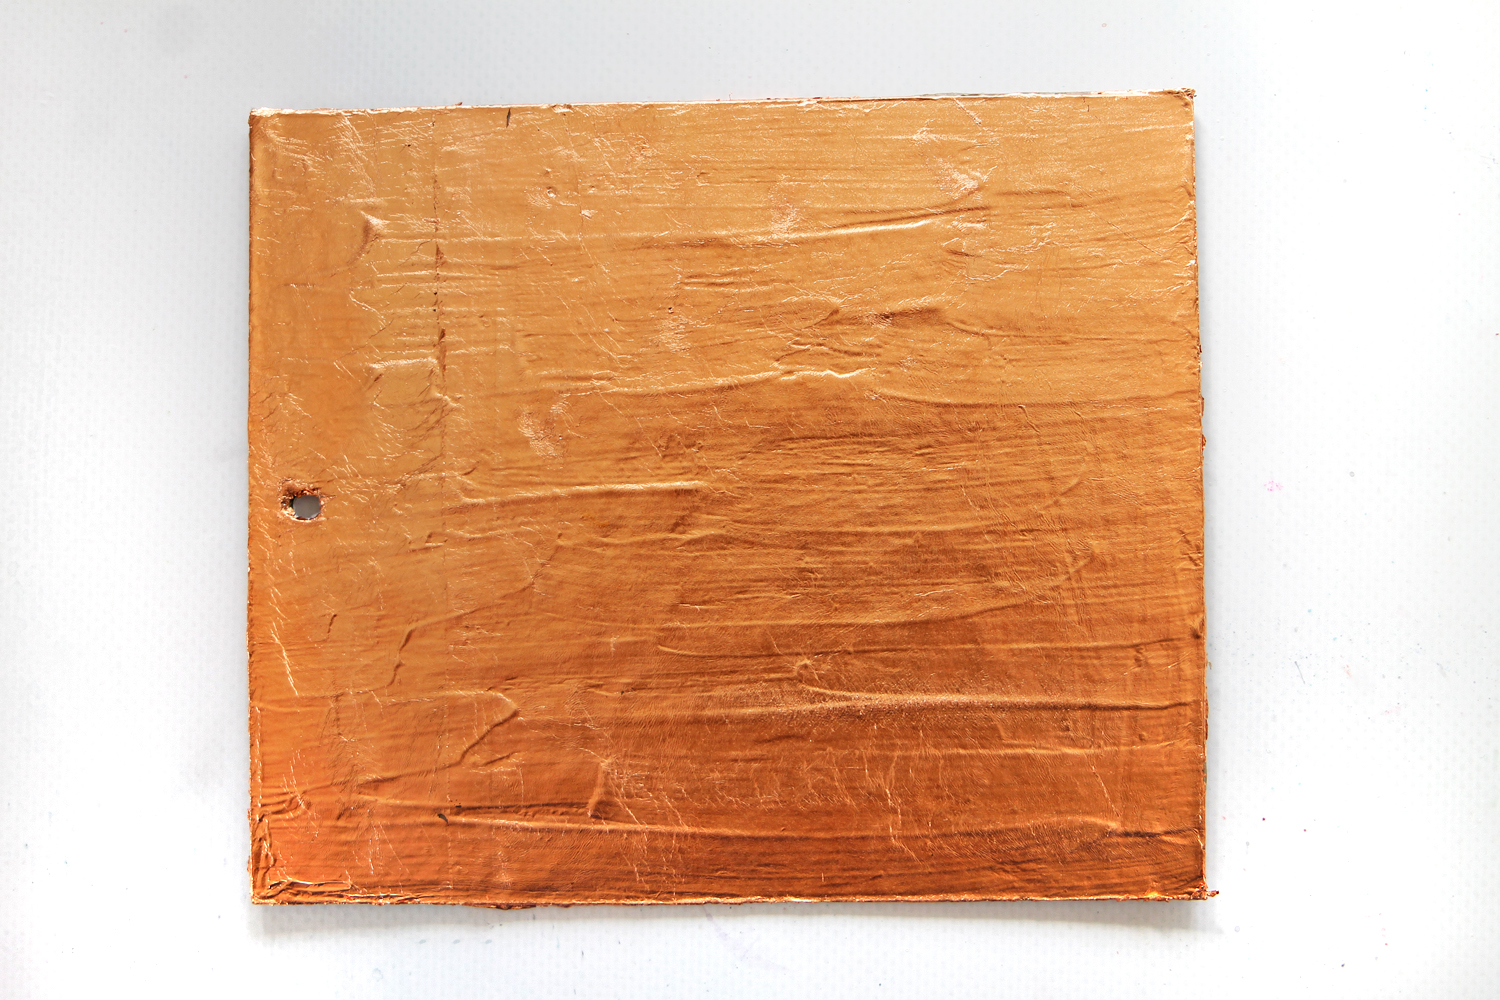
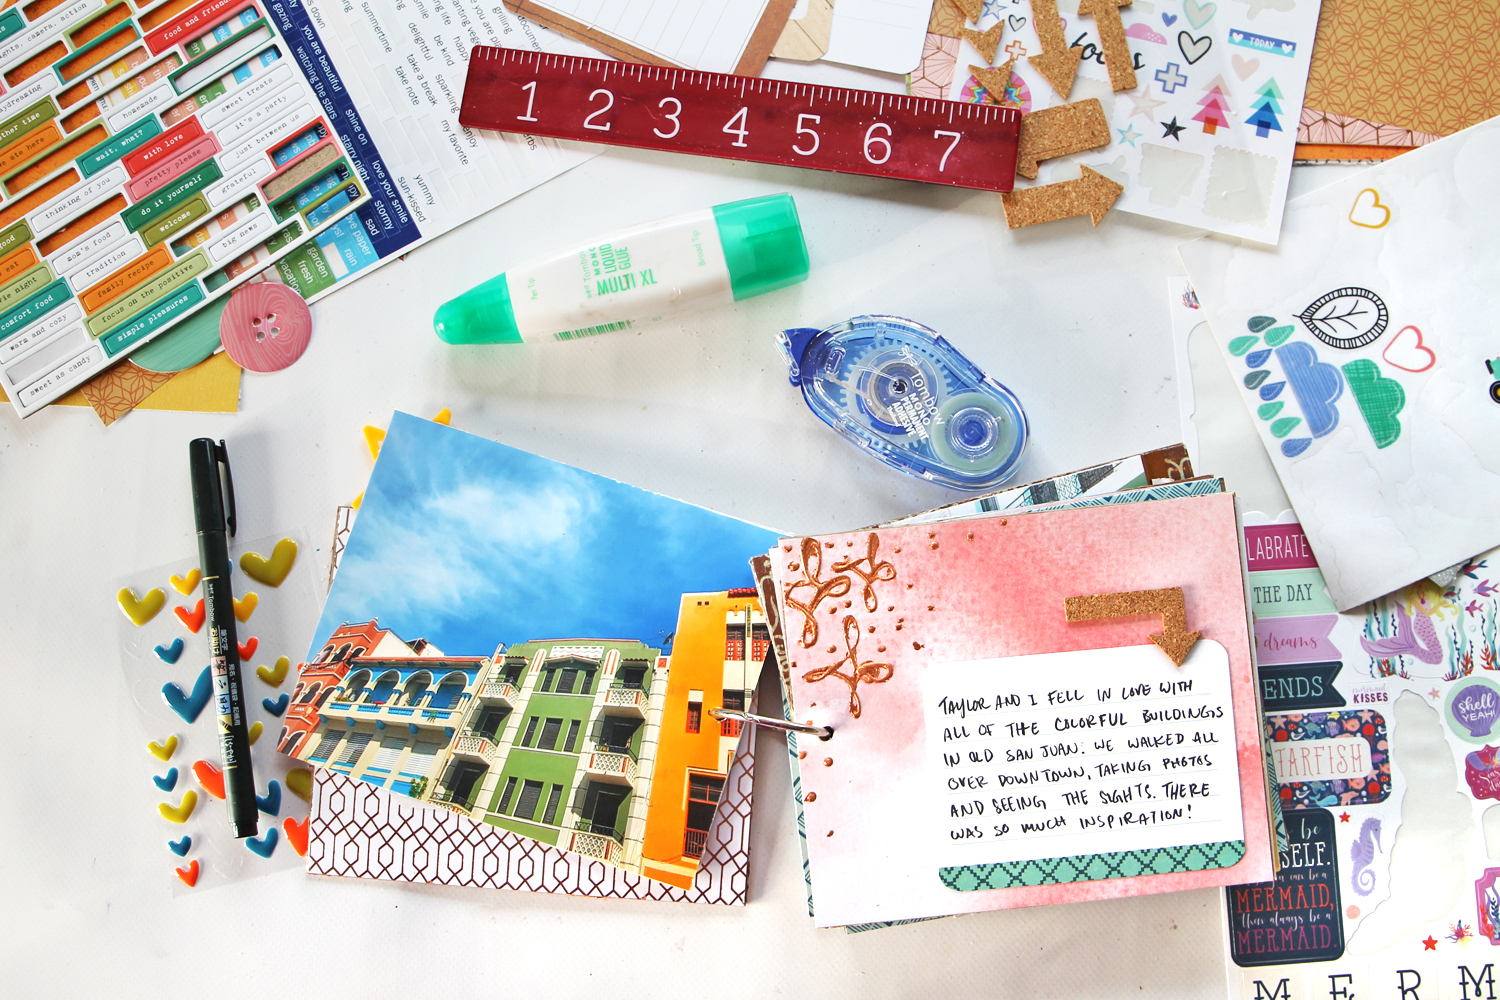
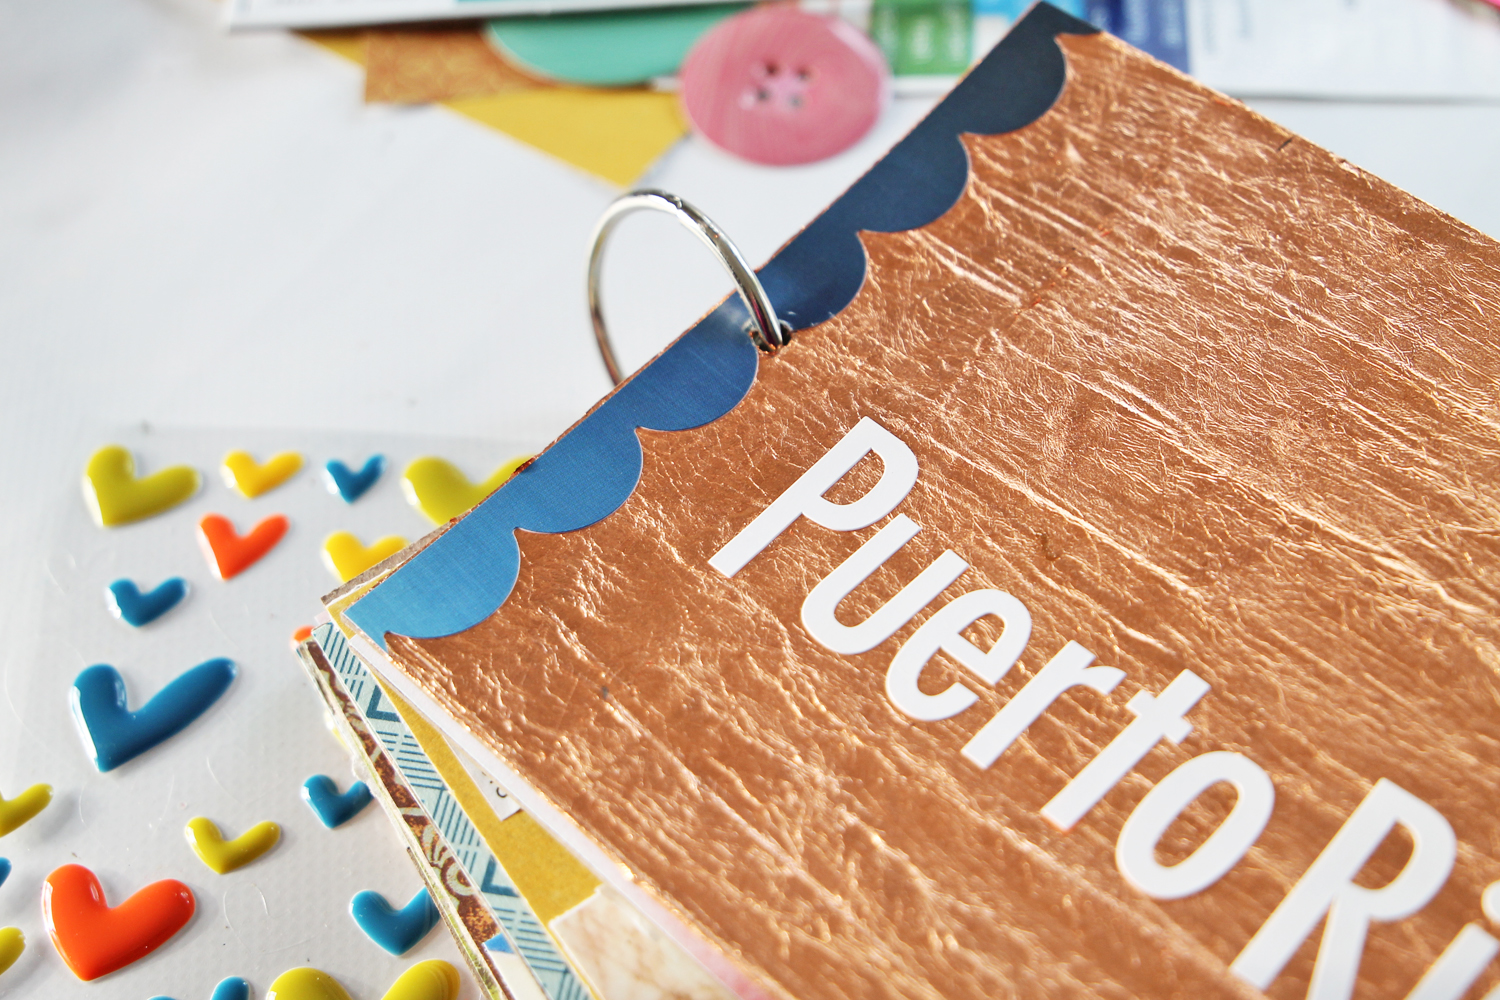
I used it on chipboard for pages in this scrapbook I’m working on.
Looking for another fun project? Learn how to create Home Decor with Scrapbook Supplies here.
A very nice idea but I don’t know with my clumsy I can perfect my product.
I hope to see more great posts from you
Use a stiff dry paintbrush to brush off any excess gold foiling that may be sticking around your design.