Hello friends, it’s Smitha! I am taking an old handlettering piece of mine and trying to recreate it today! Let’s see how my lettering style has changed/improved over the years.
Material list:
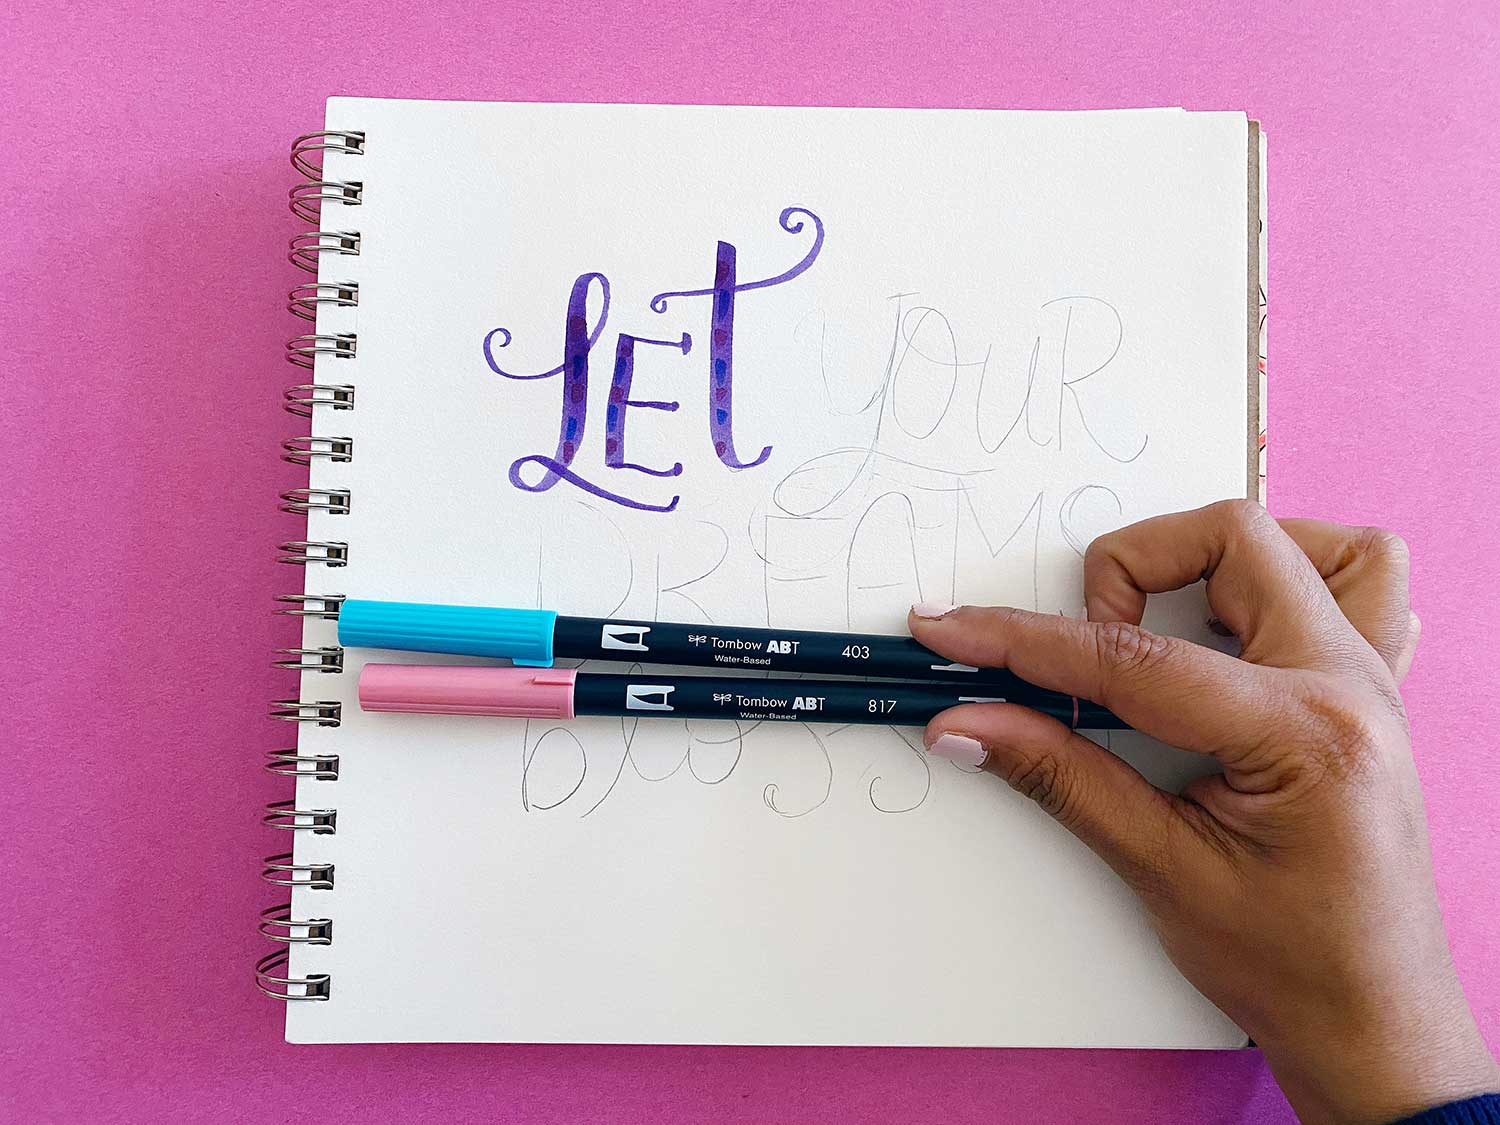
- Tombow Dual Brush Pens
- MONO Graph Mechanical Pencil
- Mixed media sketchbook
Step 1:
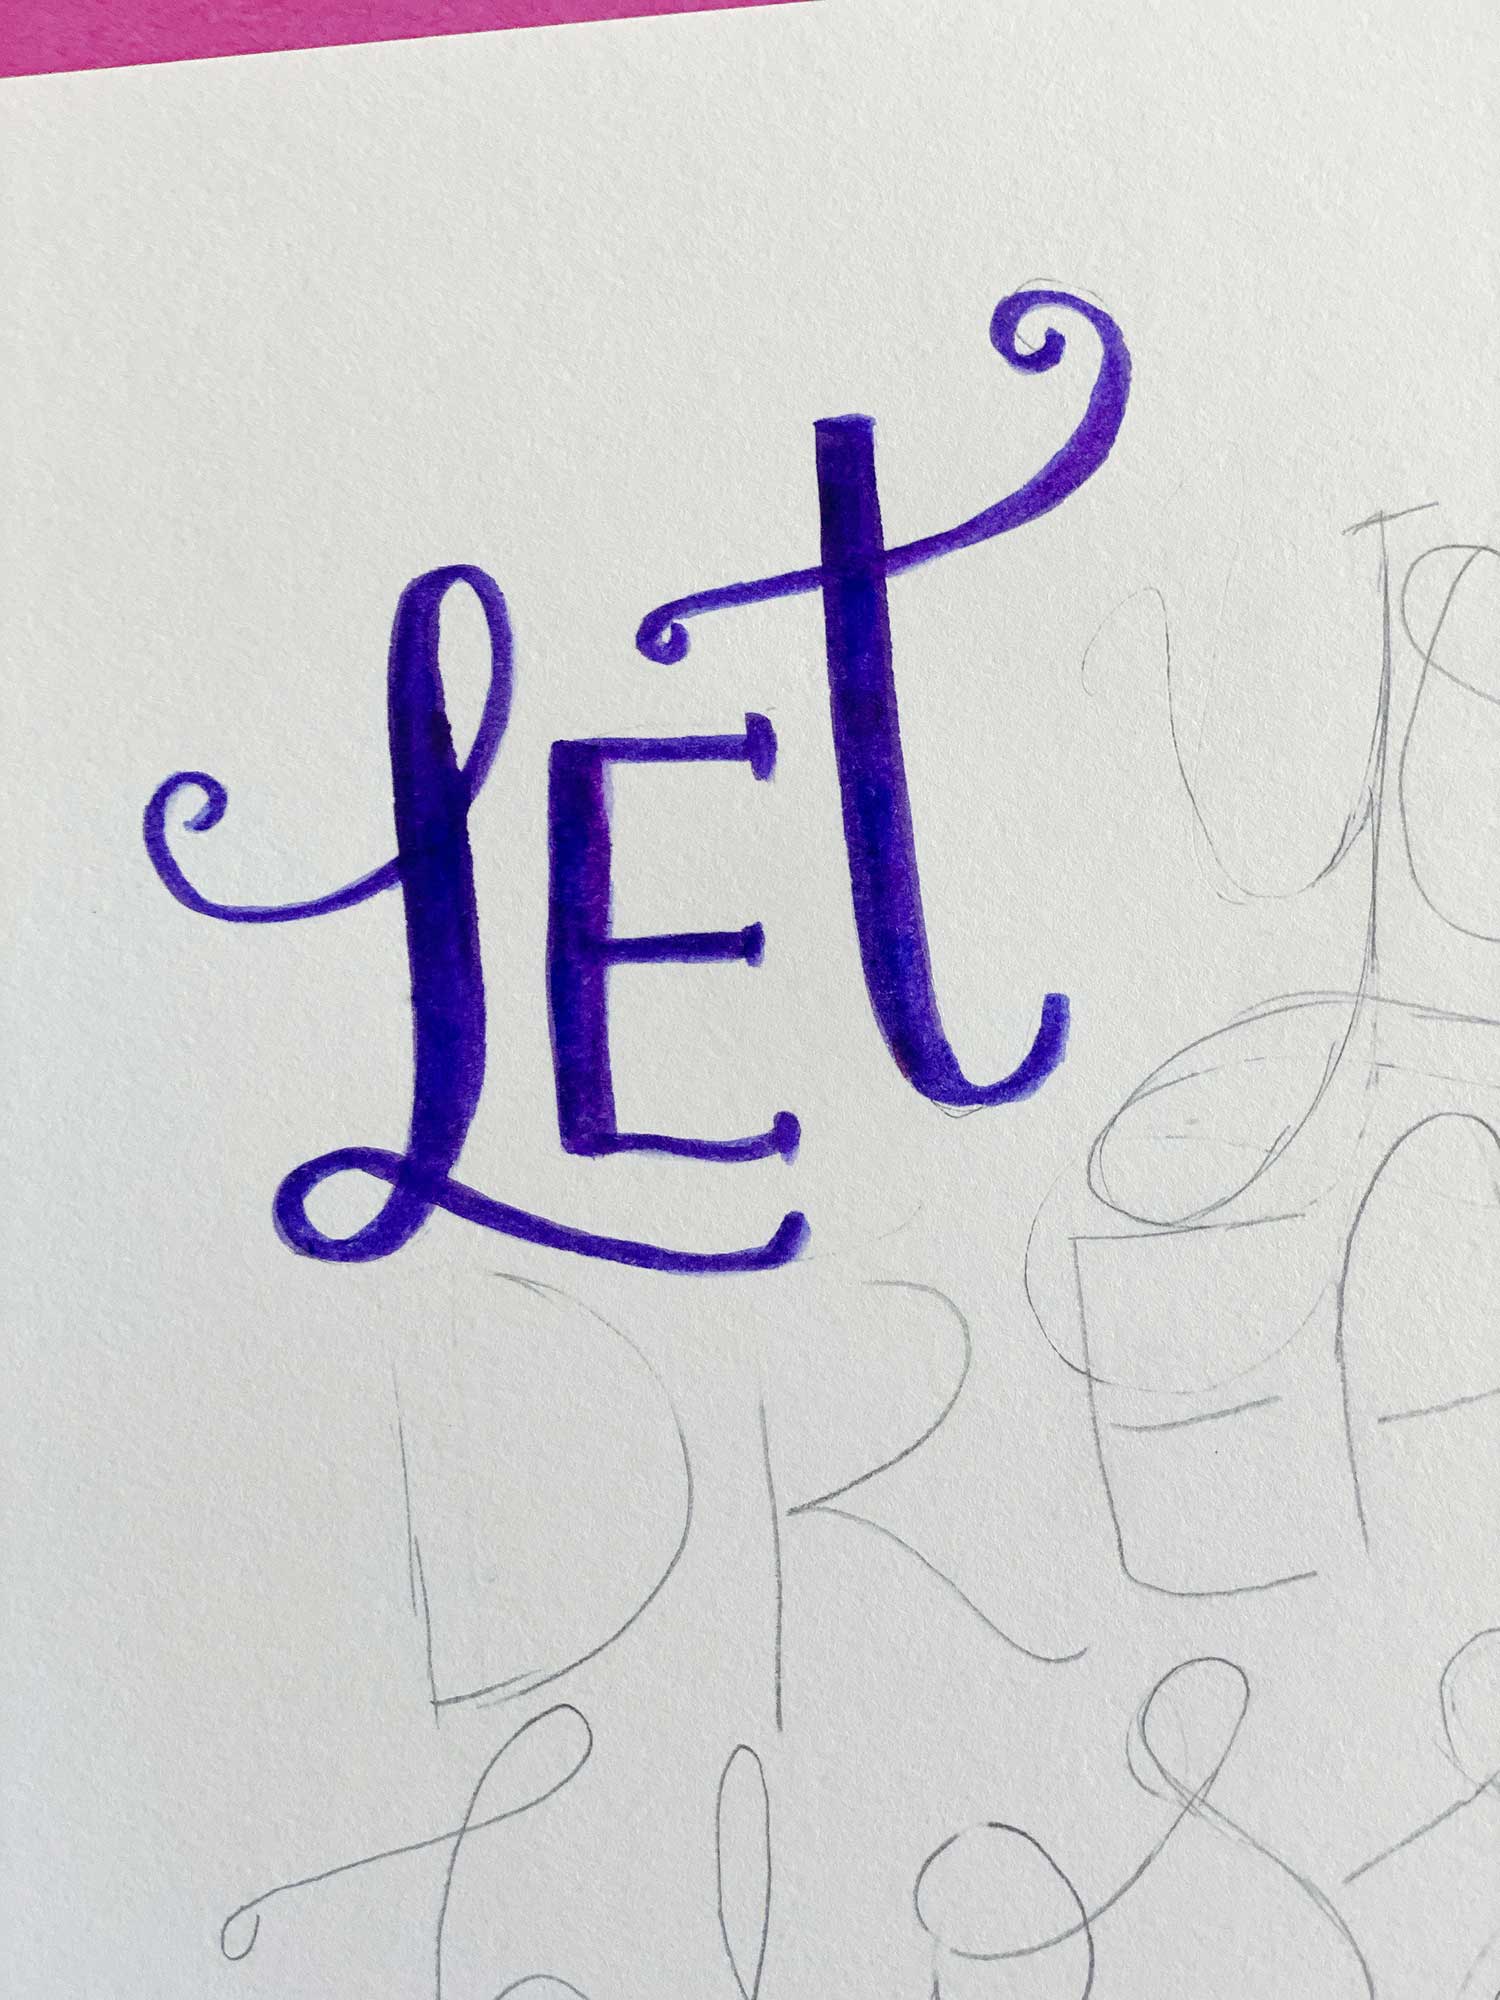
I am re-lettering the phrase “Let your Dreams Blossom.” First step, pencil in your sketch. Take this step to center your design, align your letters and add in your swashes. Use the MONO Graph Mechanical Pencil to get thin lines that you can erase easily at the end.

Step 2:
Using Dual Brush Pen 636, trace over your pencil lines in a brush lettering style. Apply pressure to your pen on the down strokes to create thicker lines.

Step 3:
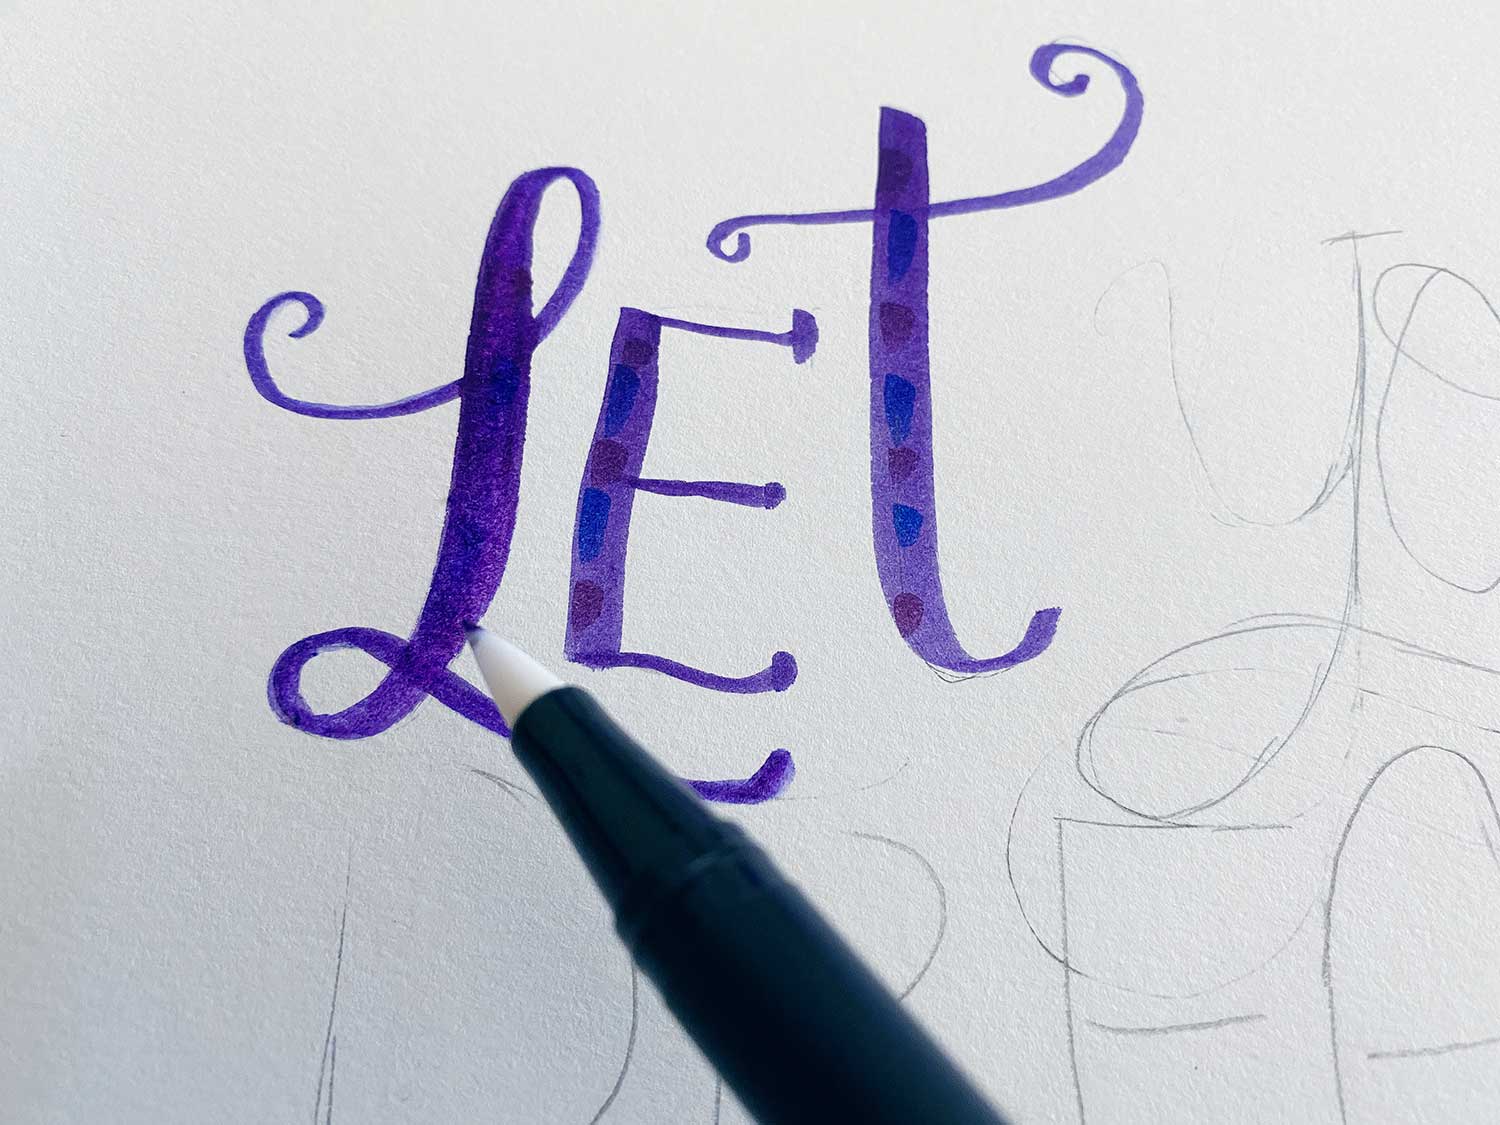
To enhance the color and make your lettering dramatic, let’s add more color to the letter. Using Dual Brush Pens 403 and 817, add dashes of color onto the downstroke areas. Work the color in using the Colorless Blender N00. Blend until you have created a smooth even color. Using a mixed media sketchbook is the best for this technique.
Step 4:
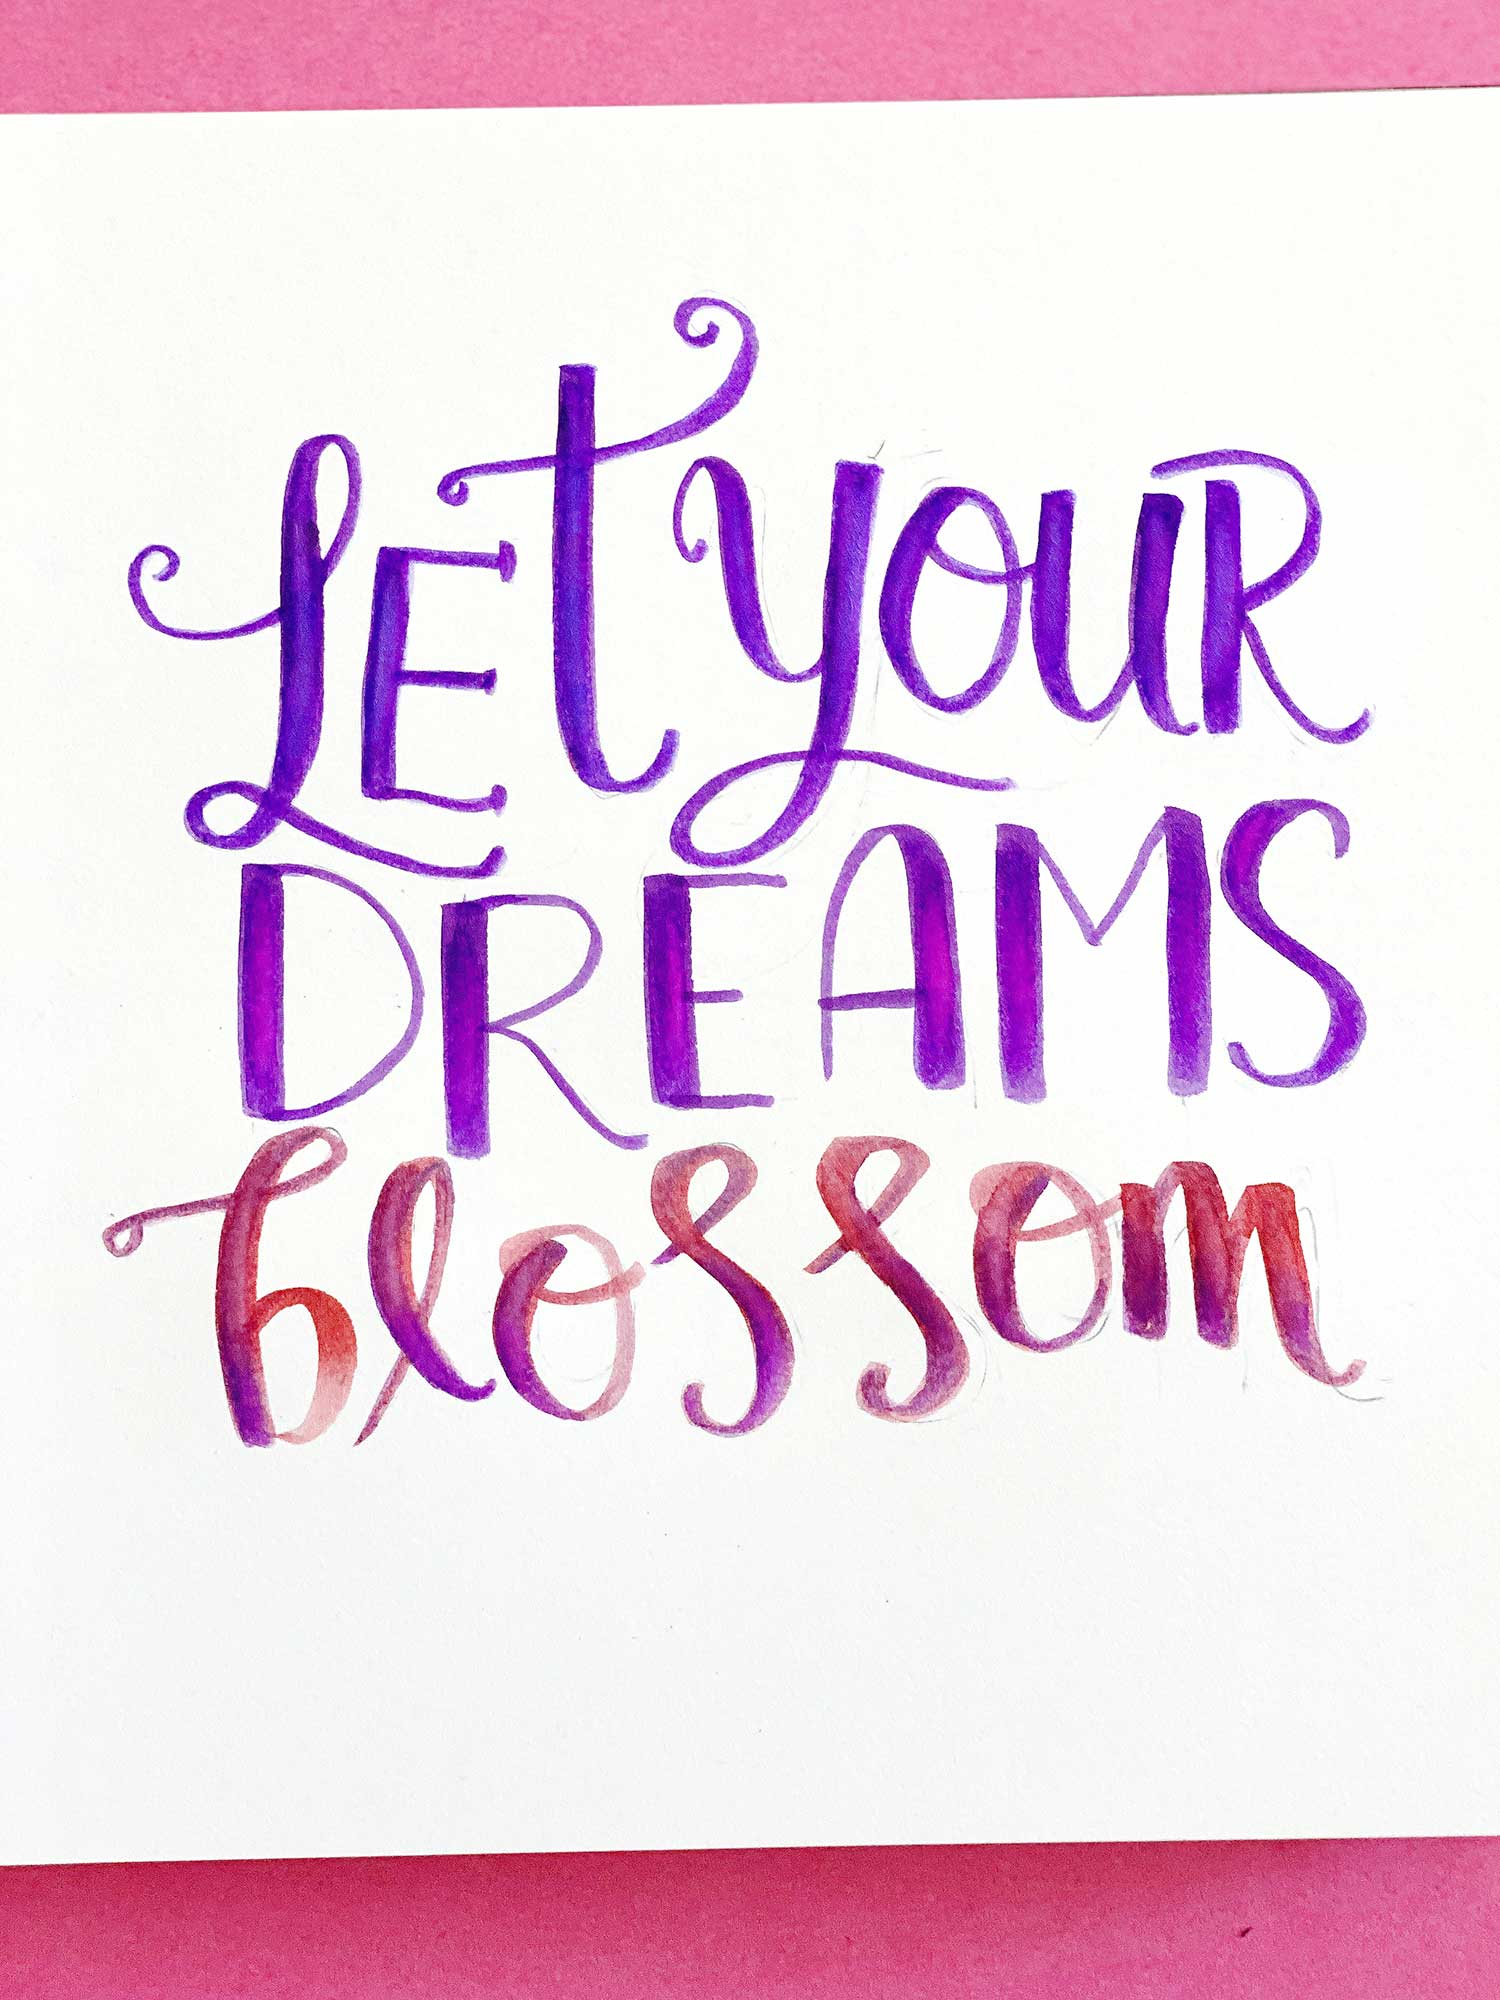
I repeated step 3 and colored in all of my words here. For the word “blossom”, I started with Dual Brush Pen 403 and added Dual Brush Pen 636 on top. By changing the color on just this one word, you draw more attention to the positive vibe of the word.

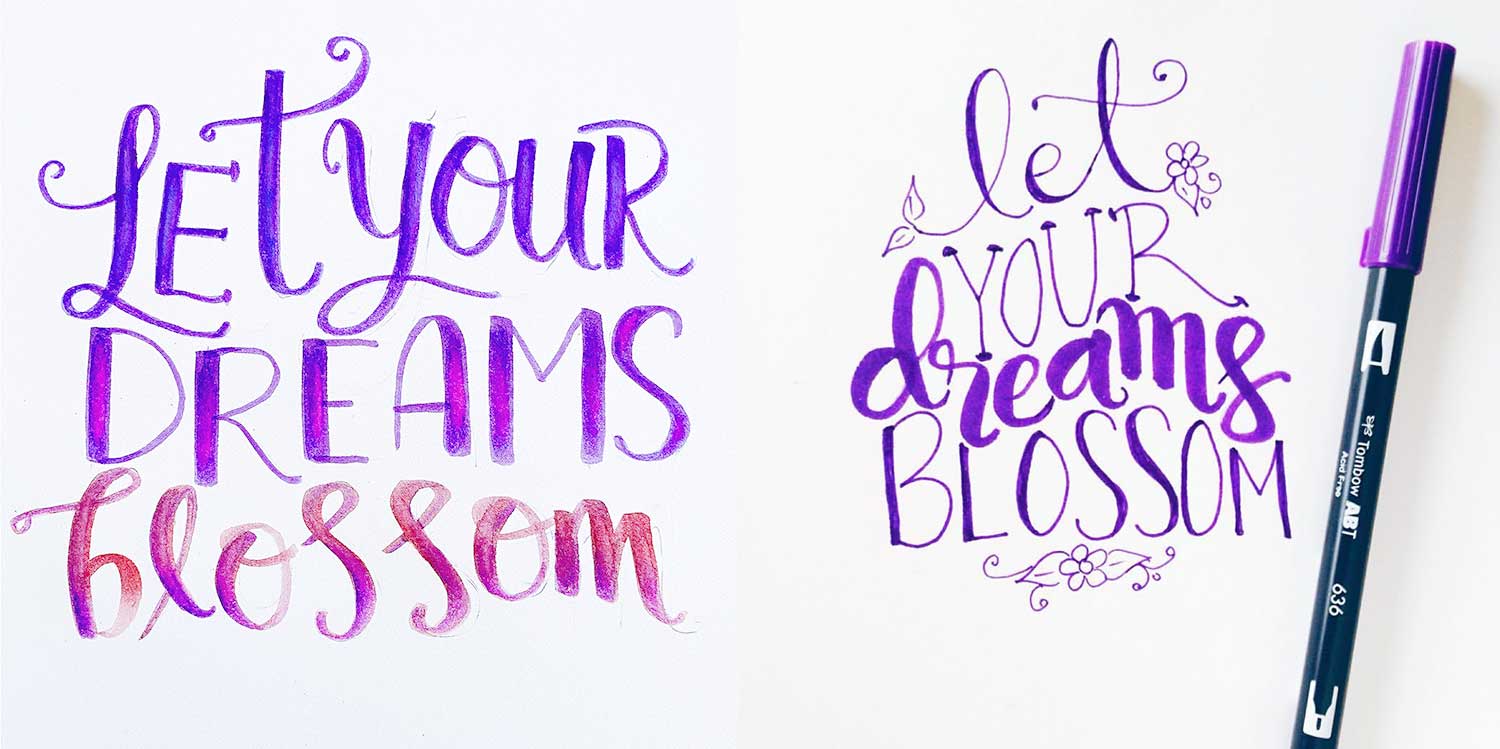
Here is a comparison of my previous lettering (taken two years ago) and the one I just did. I honestly am not sure which one I like more! Leave a comment below letting me know what you think friends.
Hope you enjoyed this tutorial! Happy crafting!
Smitha
Find me on instagram: @theshinynest
Great idea