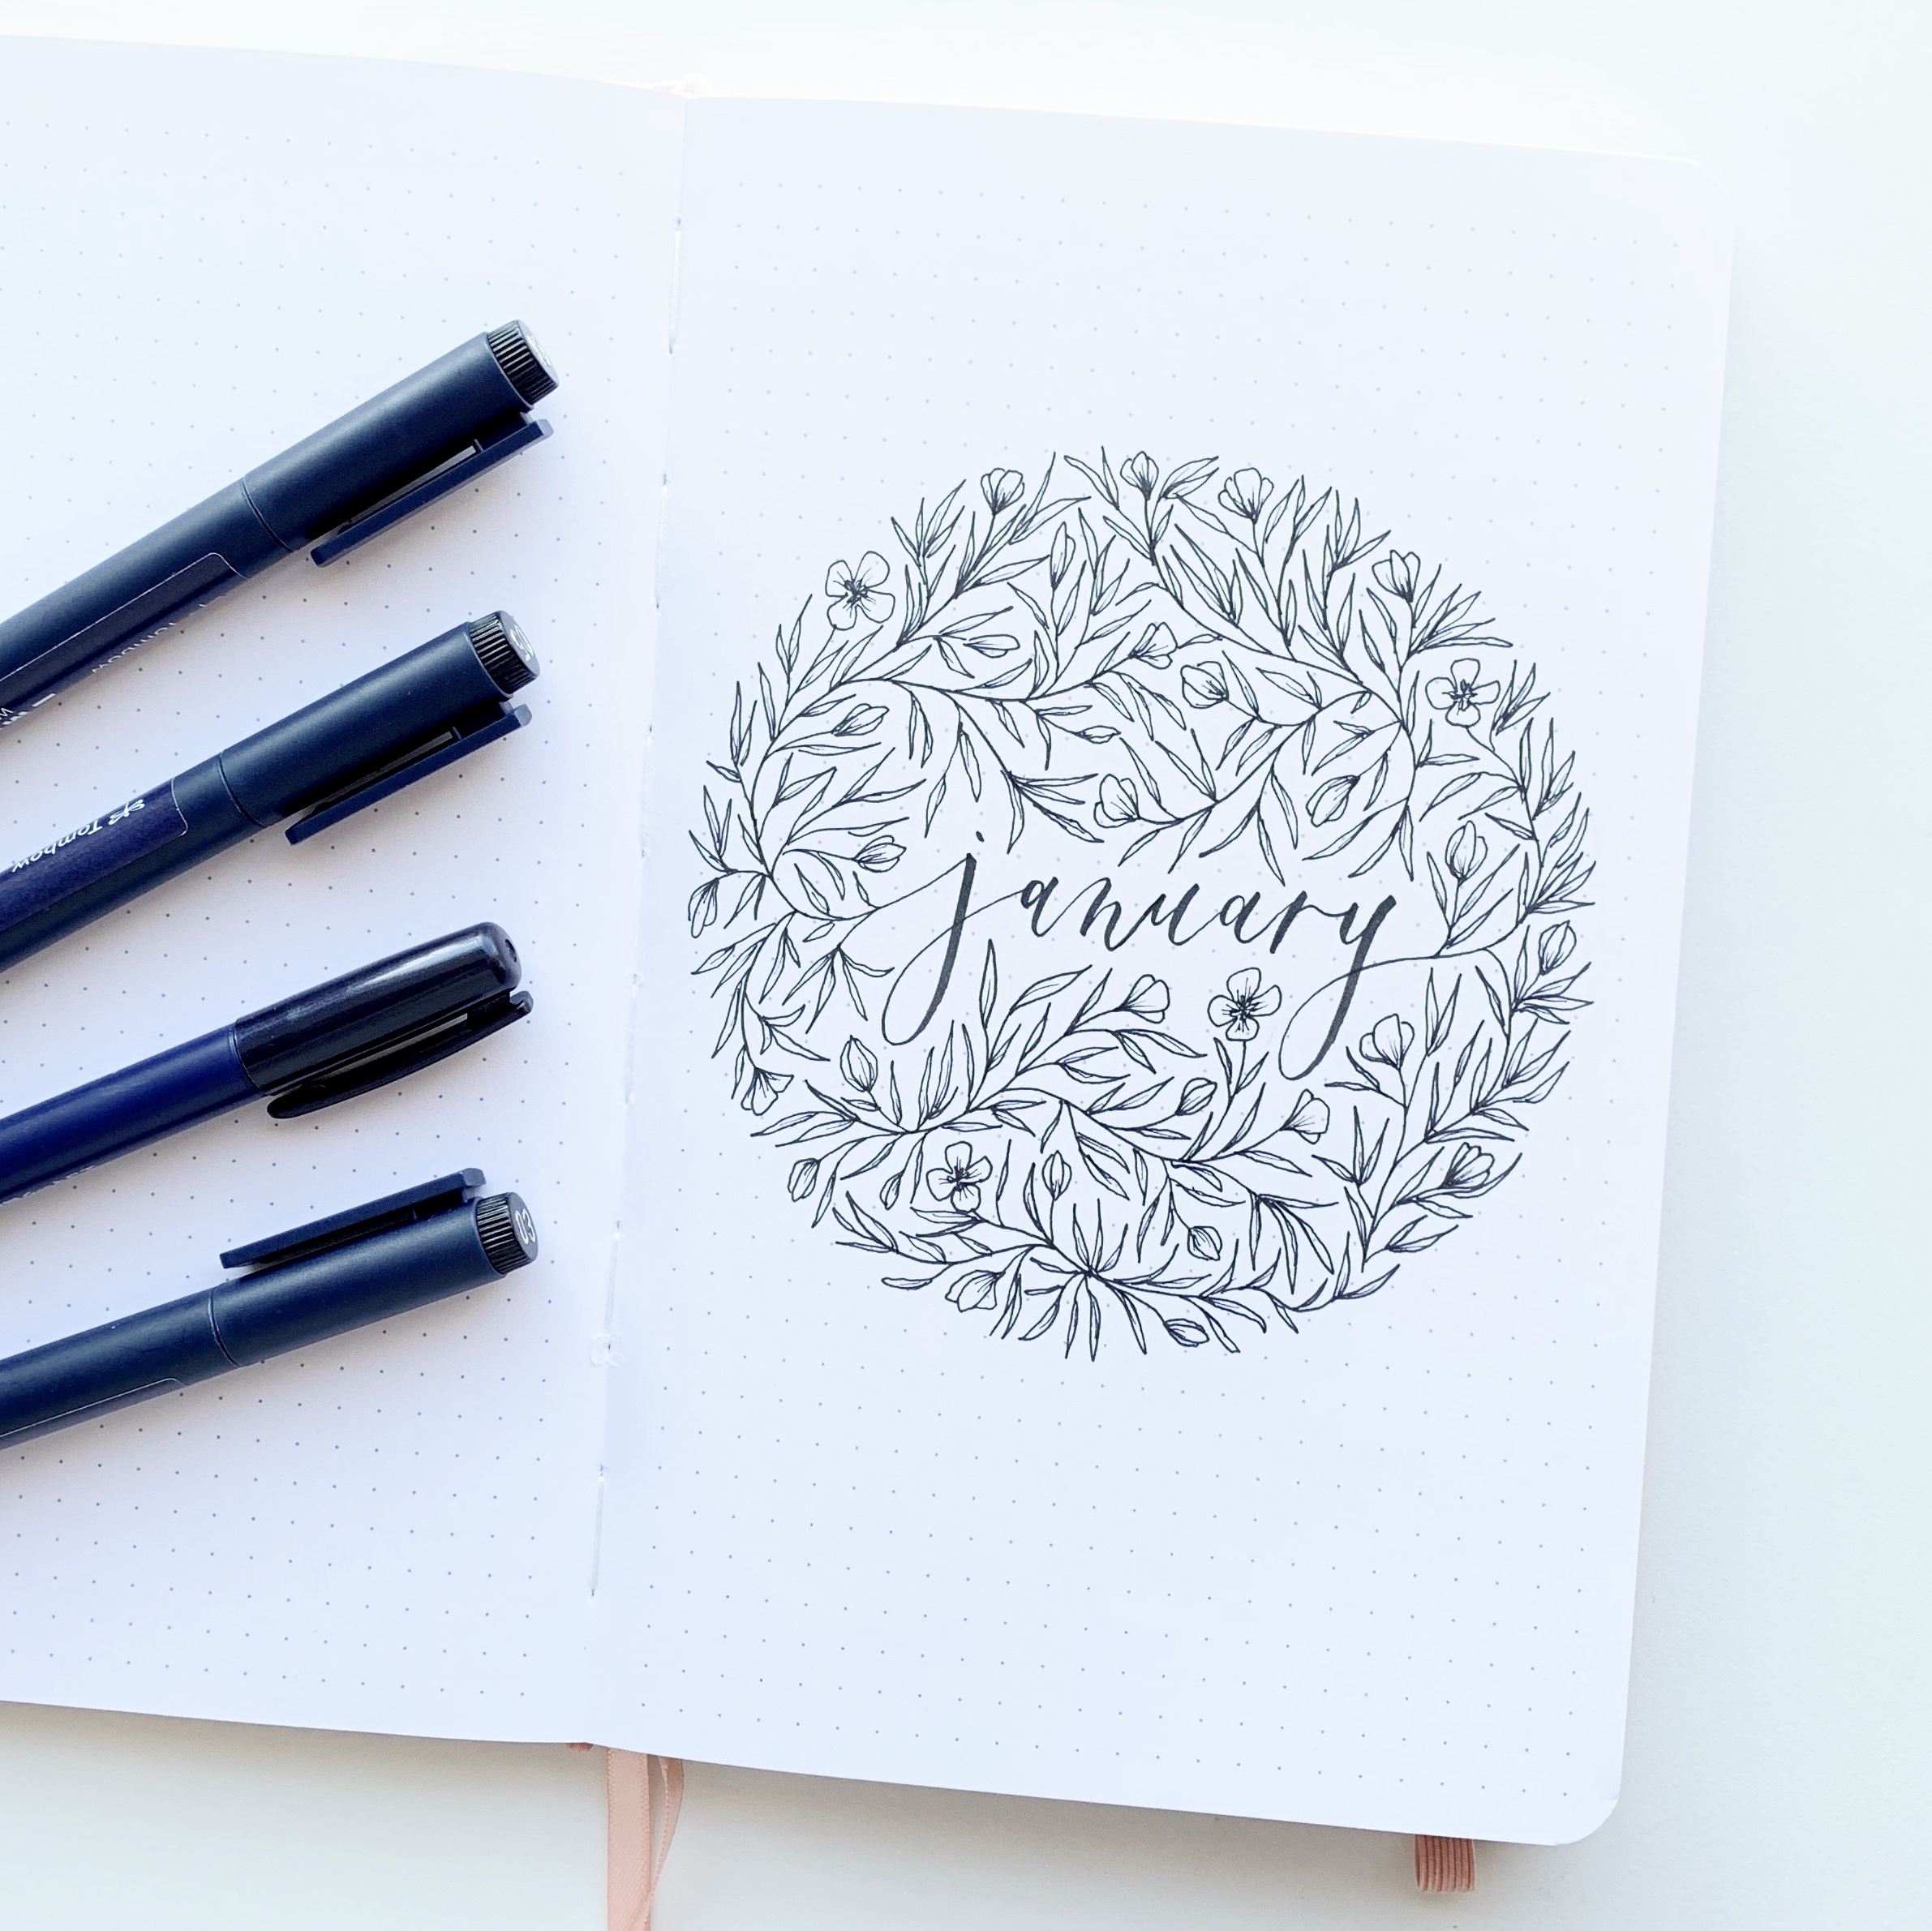
Hello Tombow friends, Adrienne from @studio80design here to share how I re-made a past floral project with a negative twist! I did this floral circle a little over a year ago, but I wanted to re-do it focusing on the negative space!
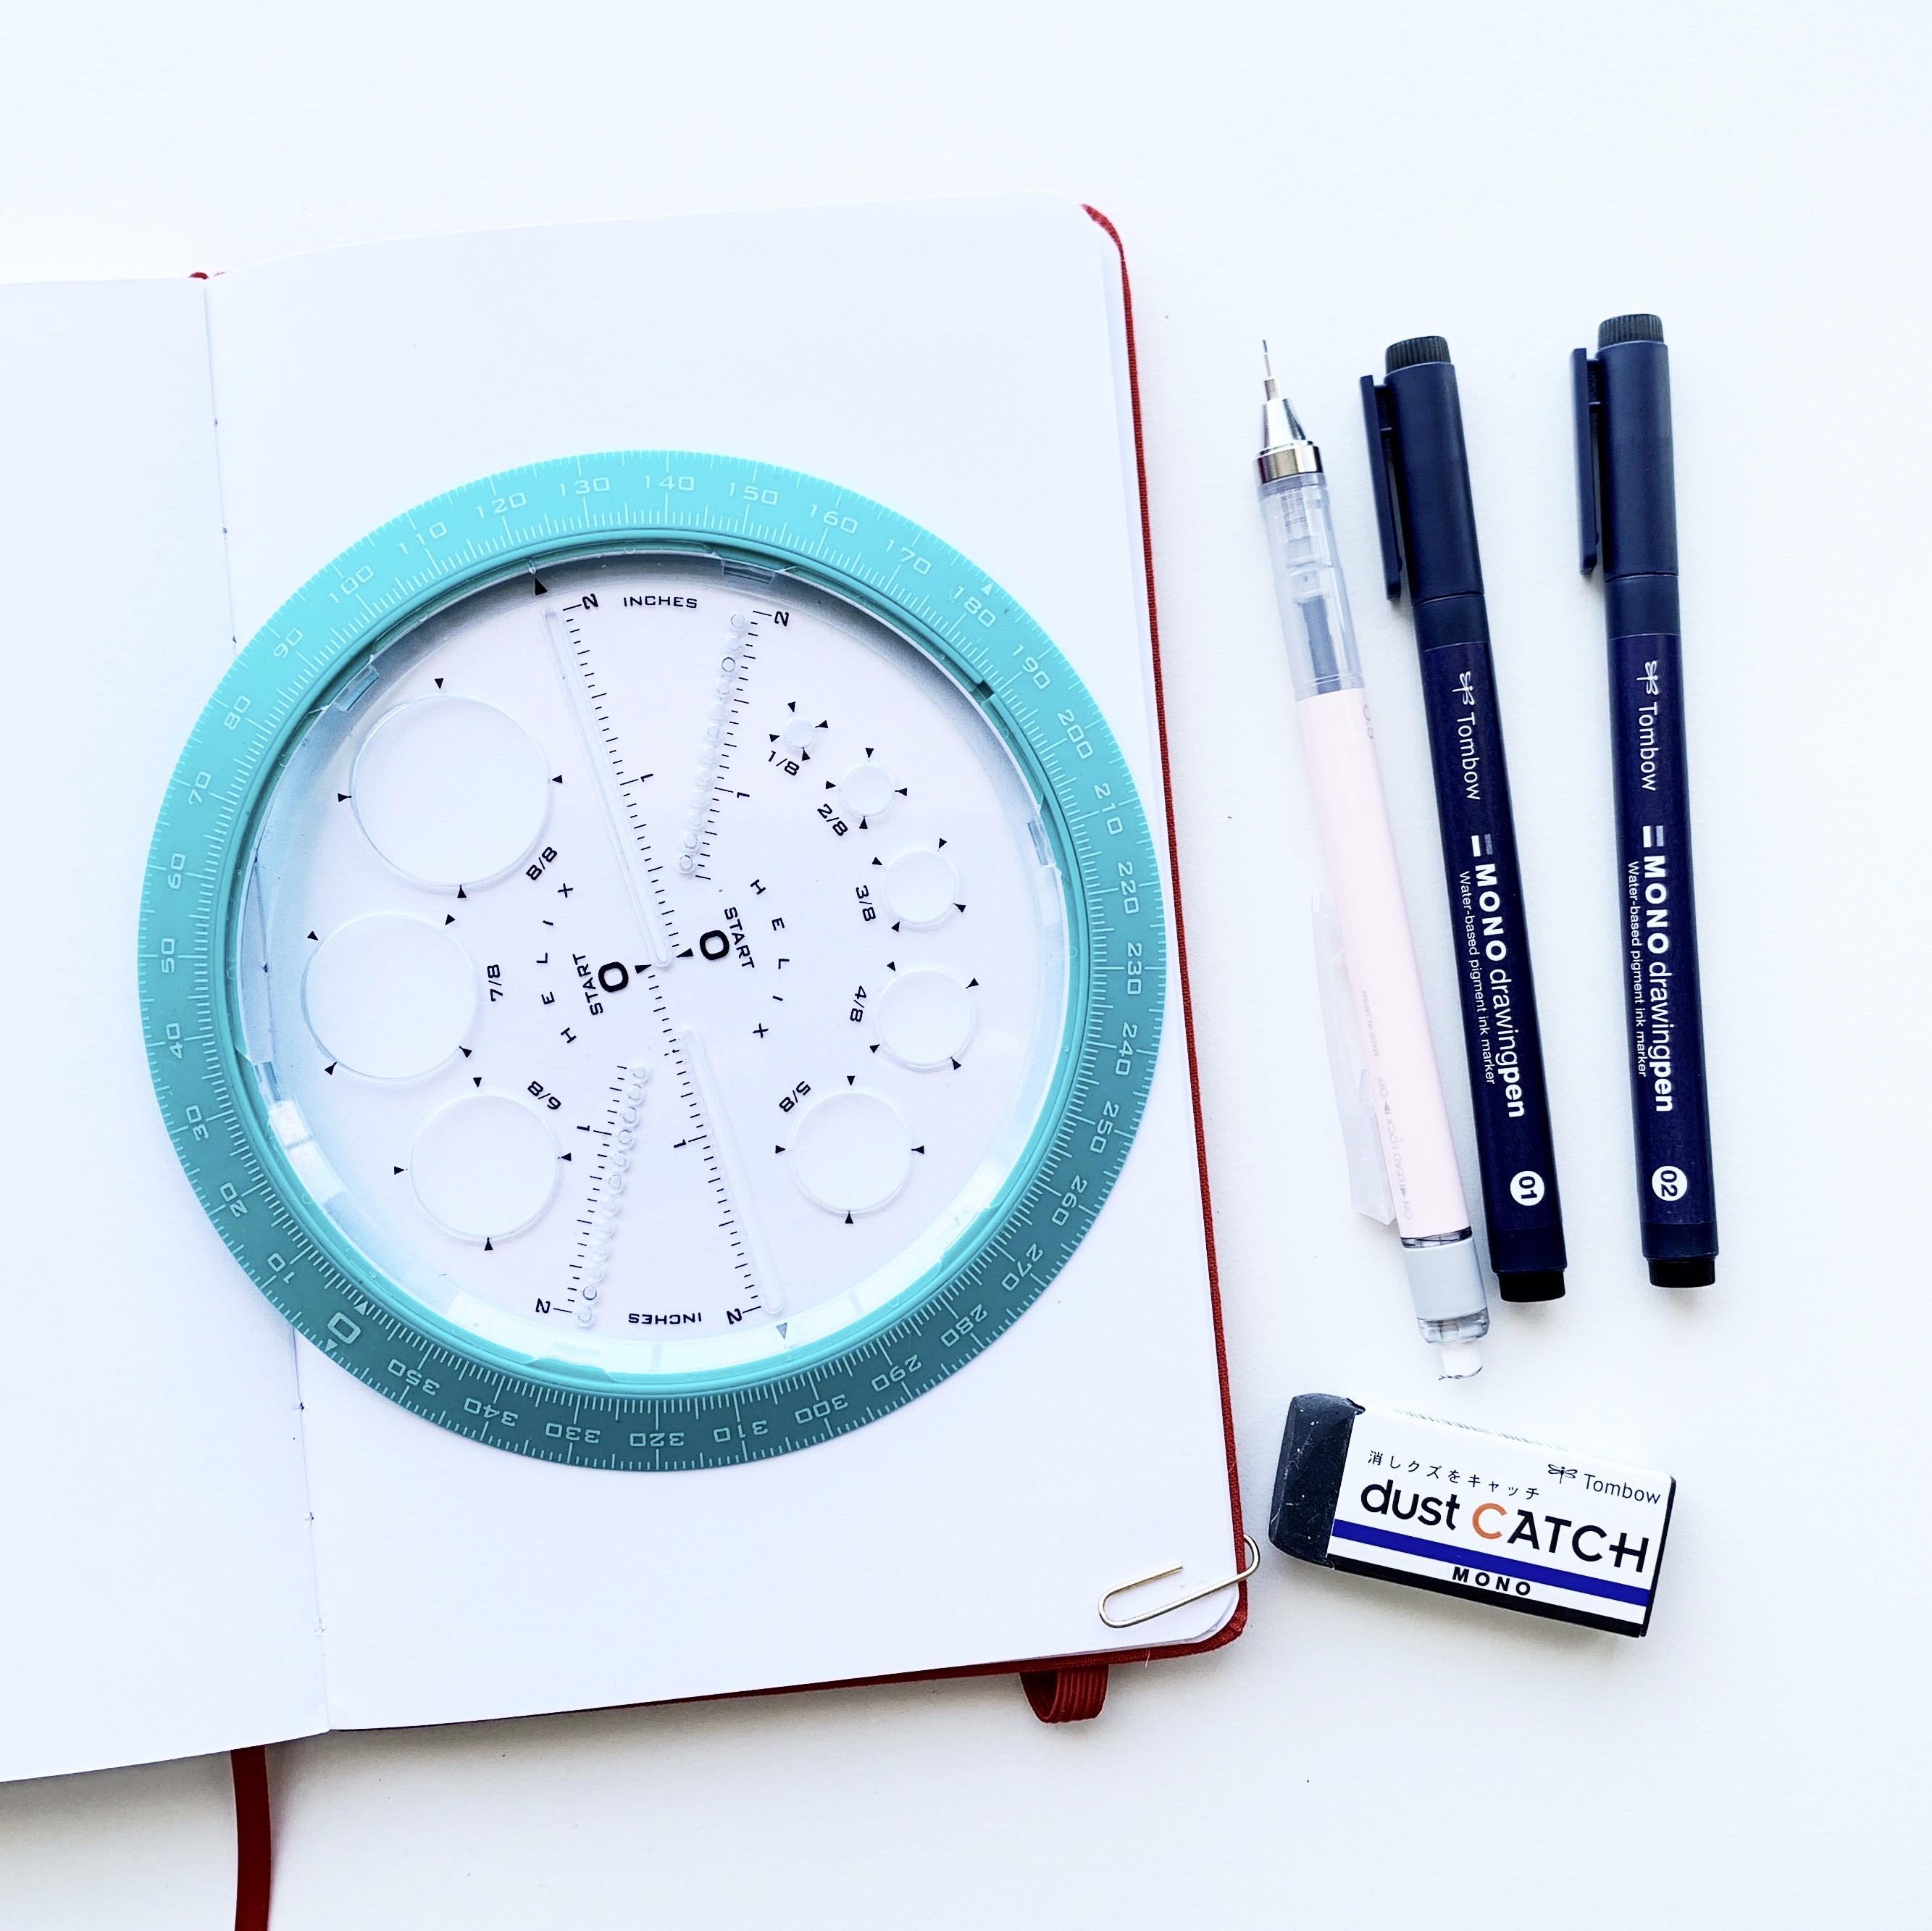
Materials you’ll need:
- Archer and Olive A5 Signature Sketchbook
- Tombow MONO Graph Mechanical Pencil
- Helix 360 Degree Angle and Circle Maker
- Tombow MONO Drawing Pens 01 & 02
- Tombow Dust Catch Eraser
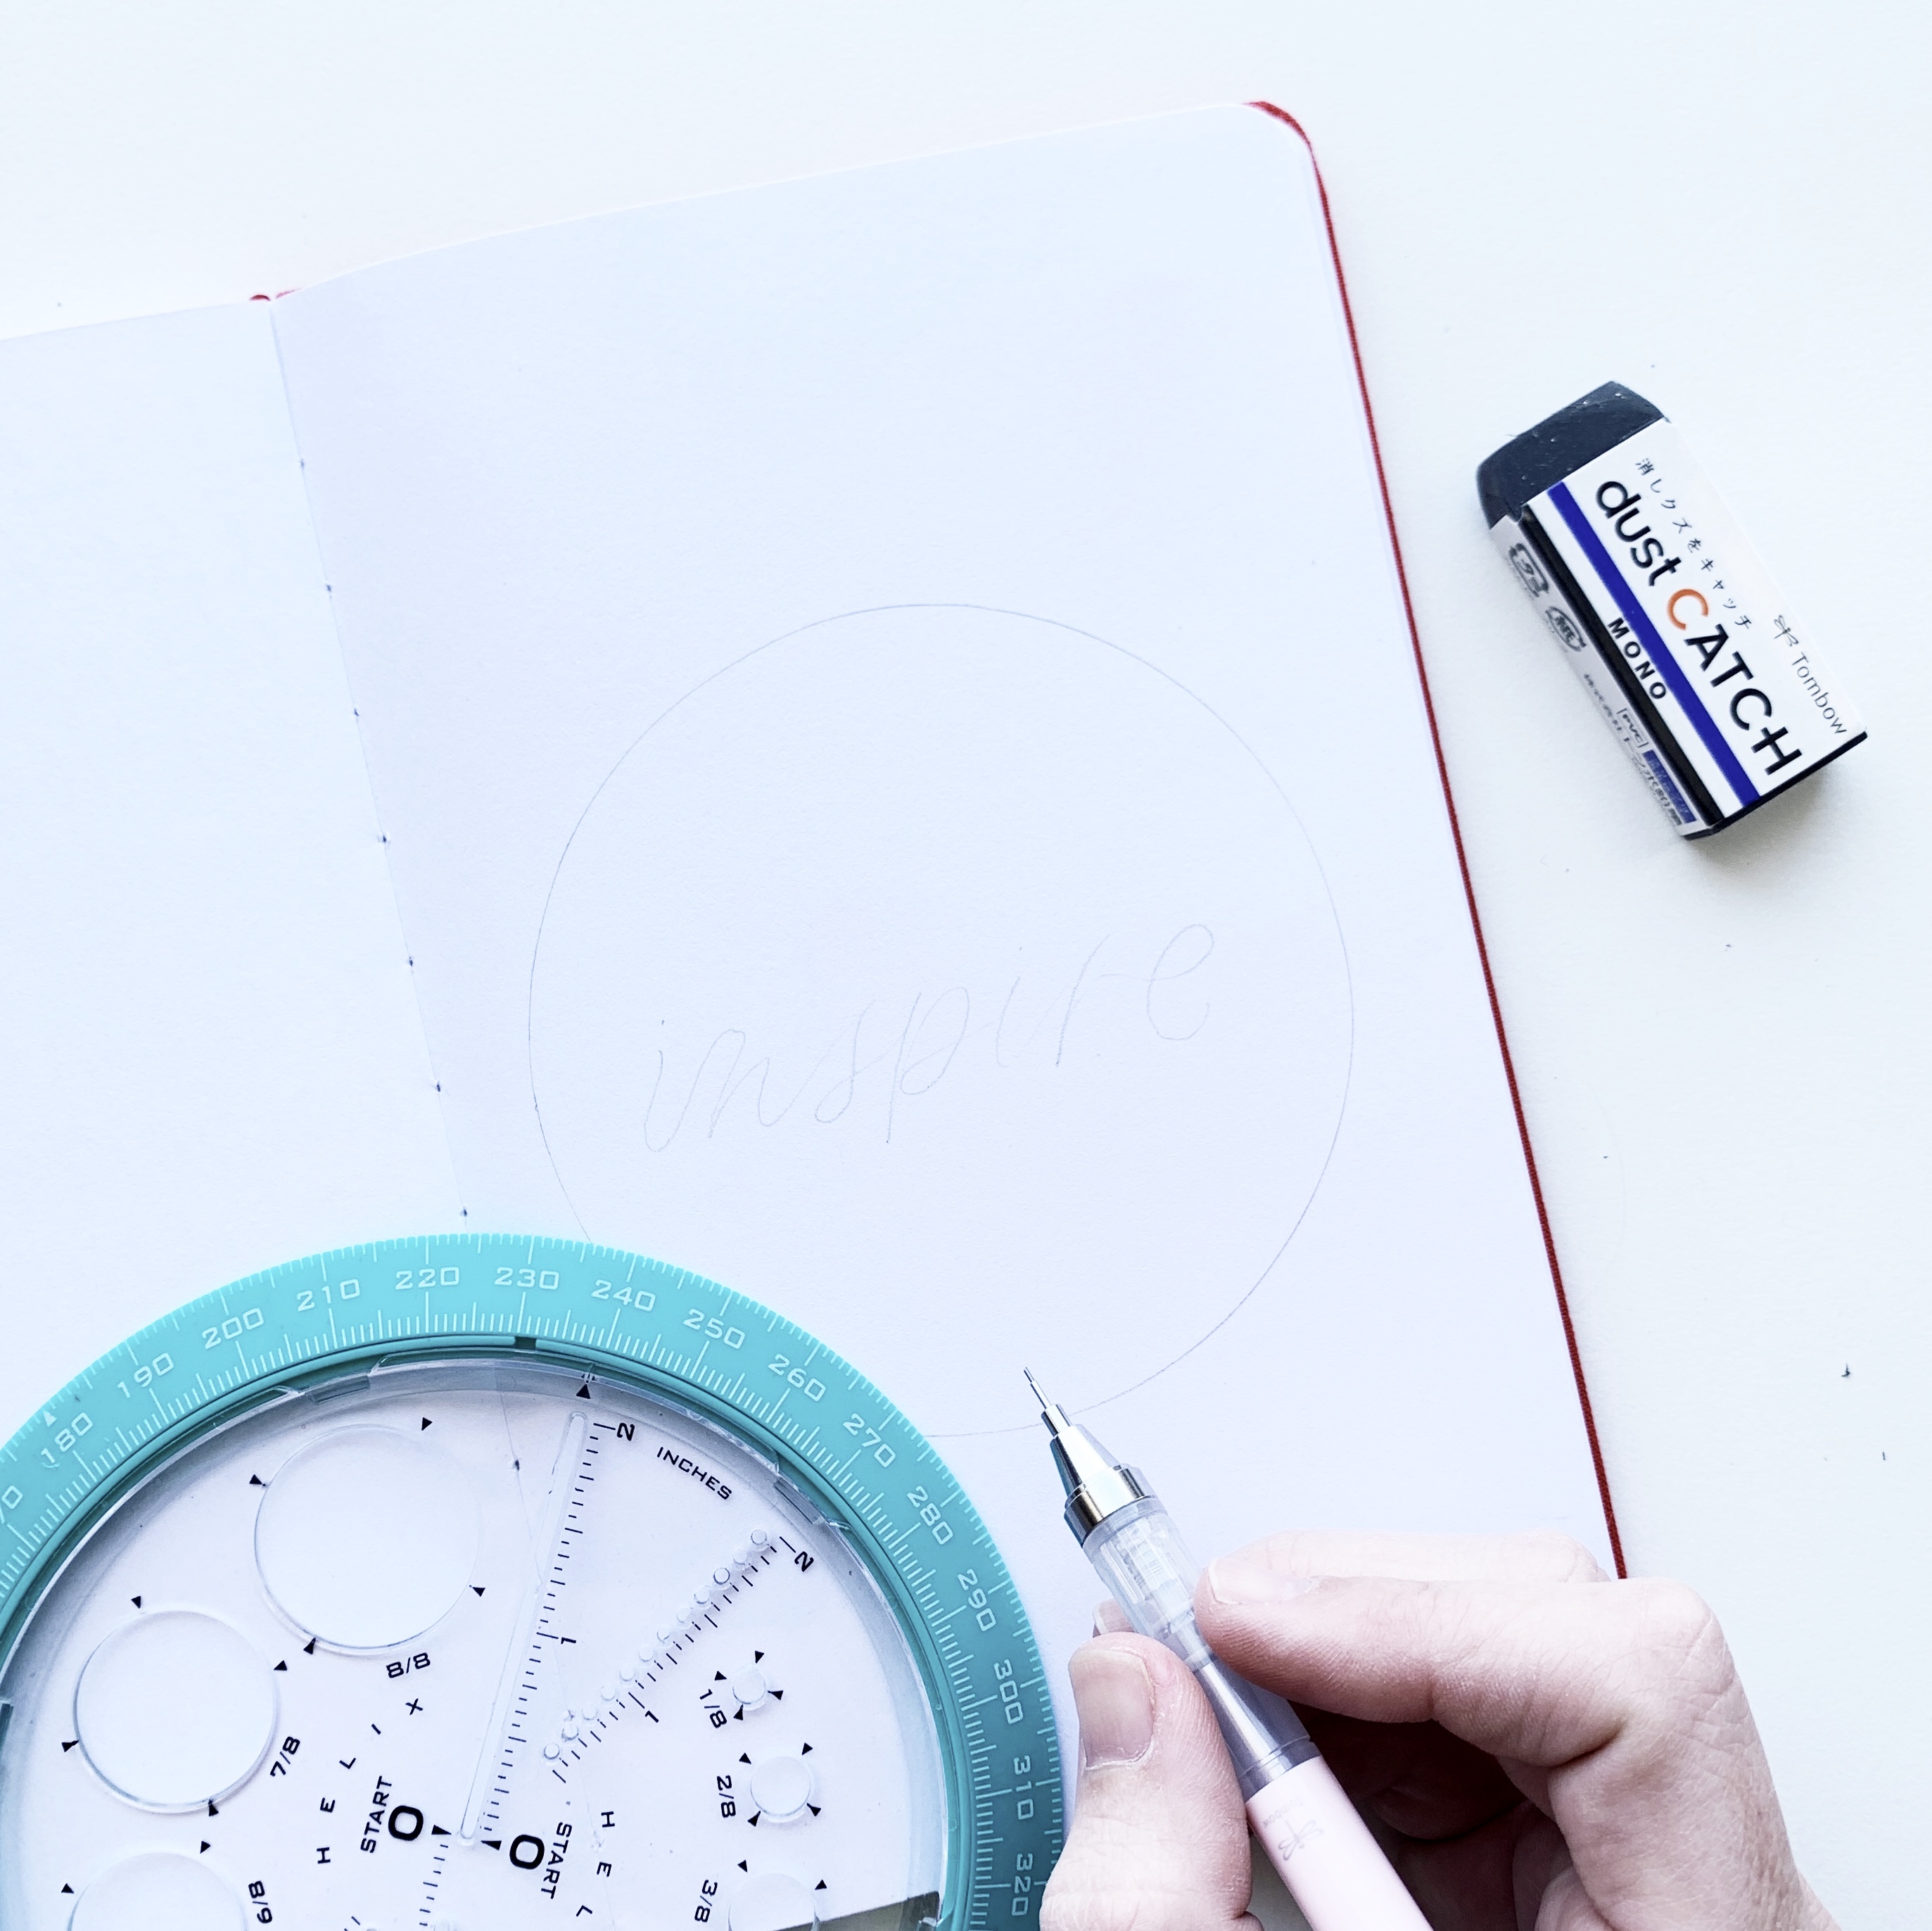
Step 1
The first step is to use the Tombow MONO Graph Mechanical Pencil and Helix 360 Angle and Circle Maker to draw a circle in your Archer and Olive Sketchbook. Then lightly write out a word in the middle of your circle. I wrote “inspire.”
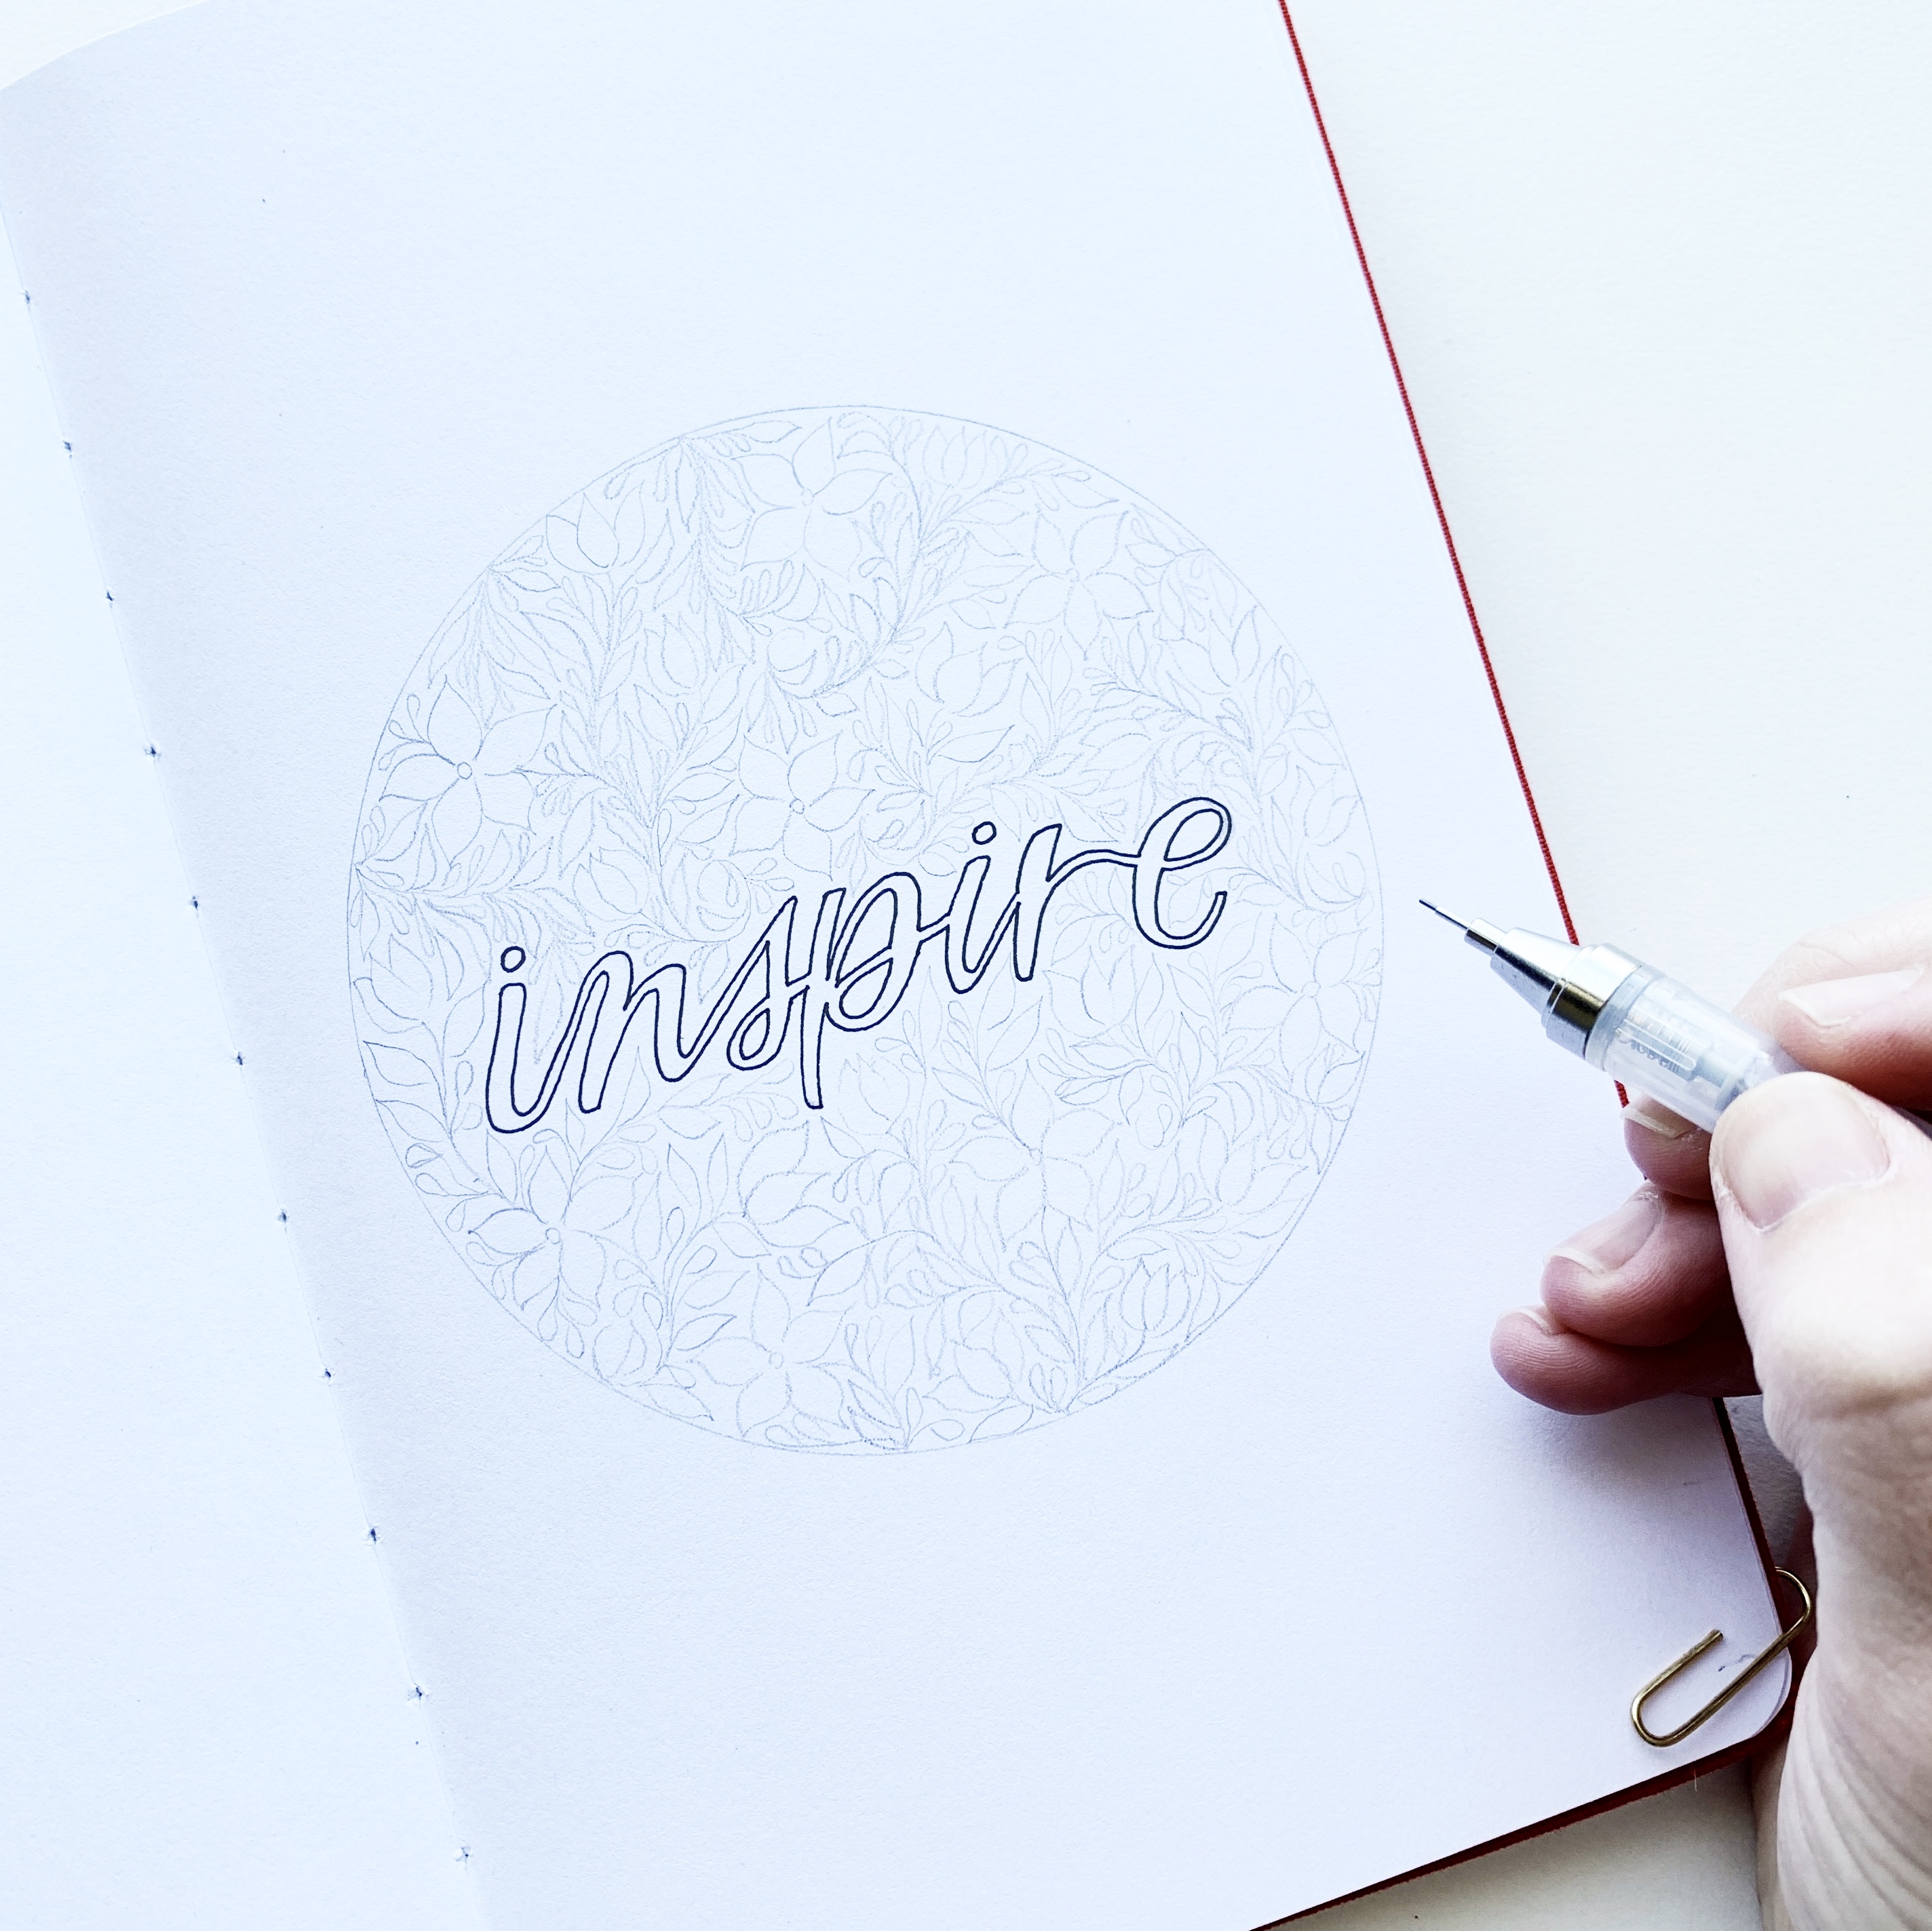
Step 2
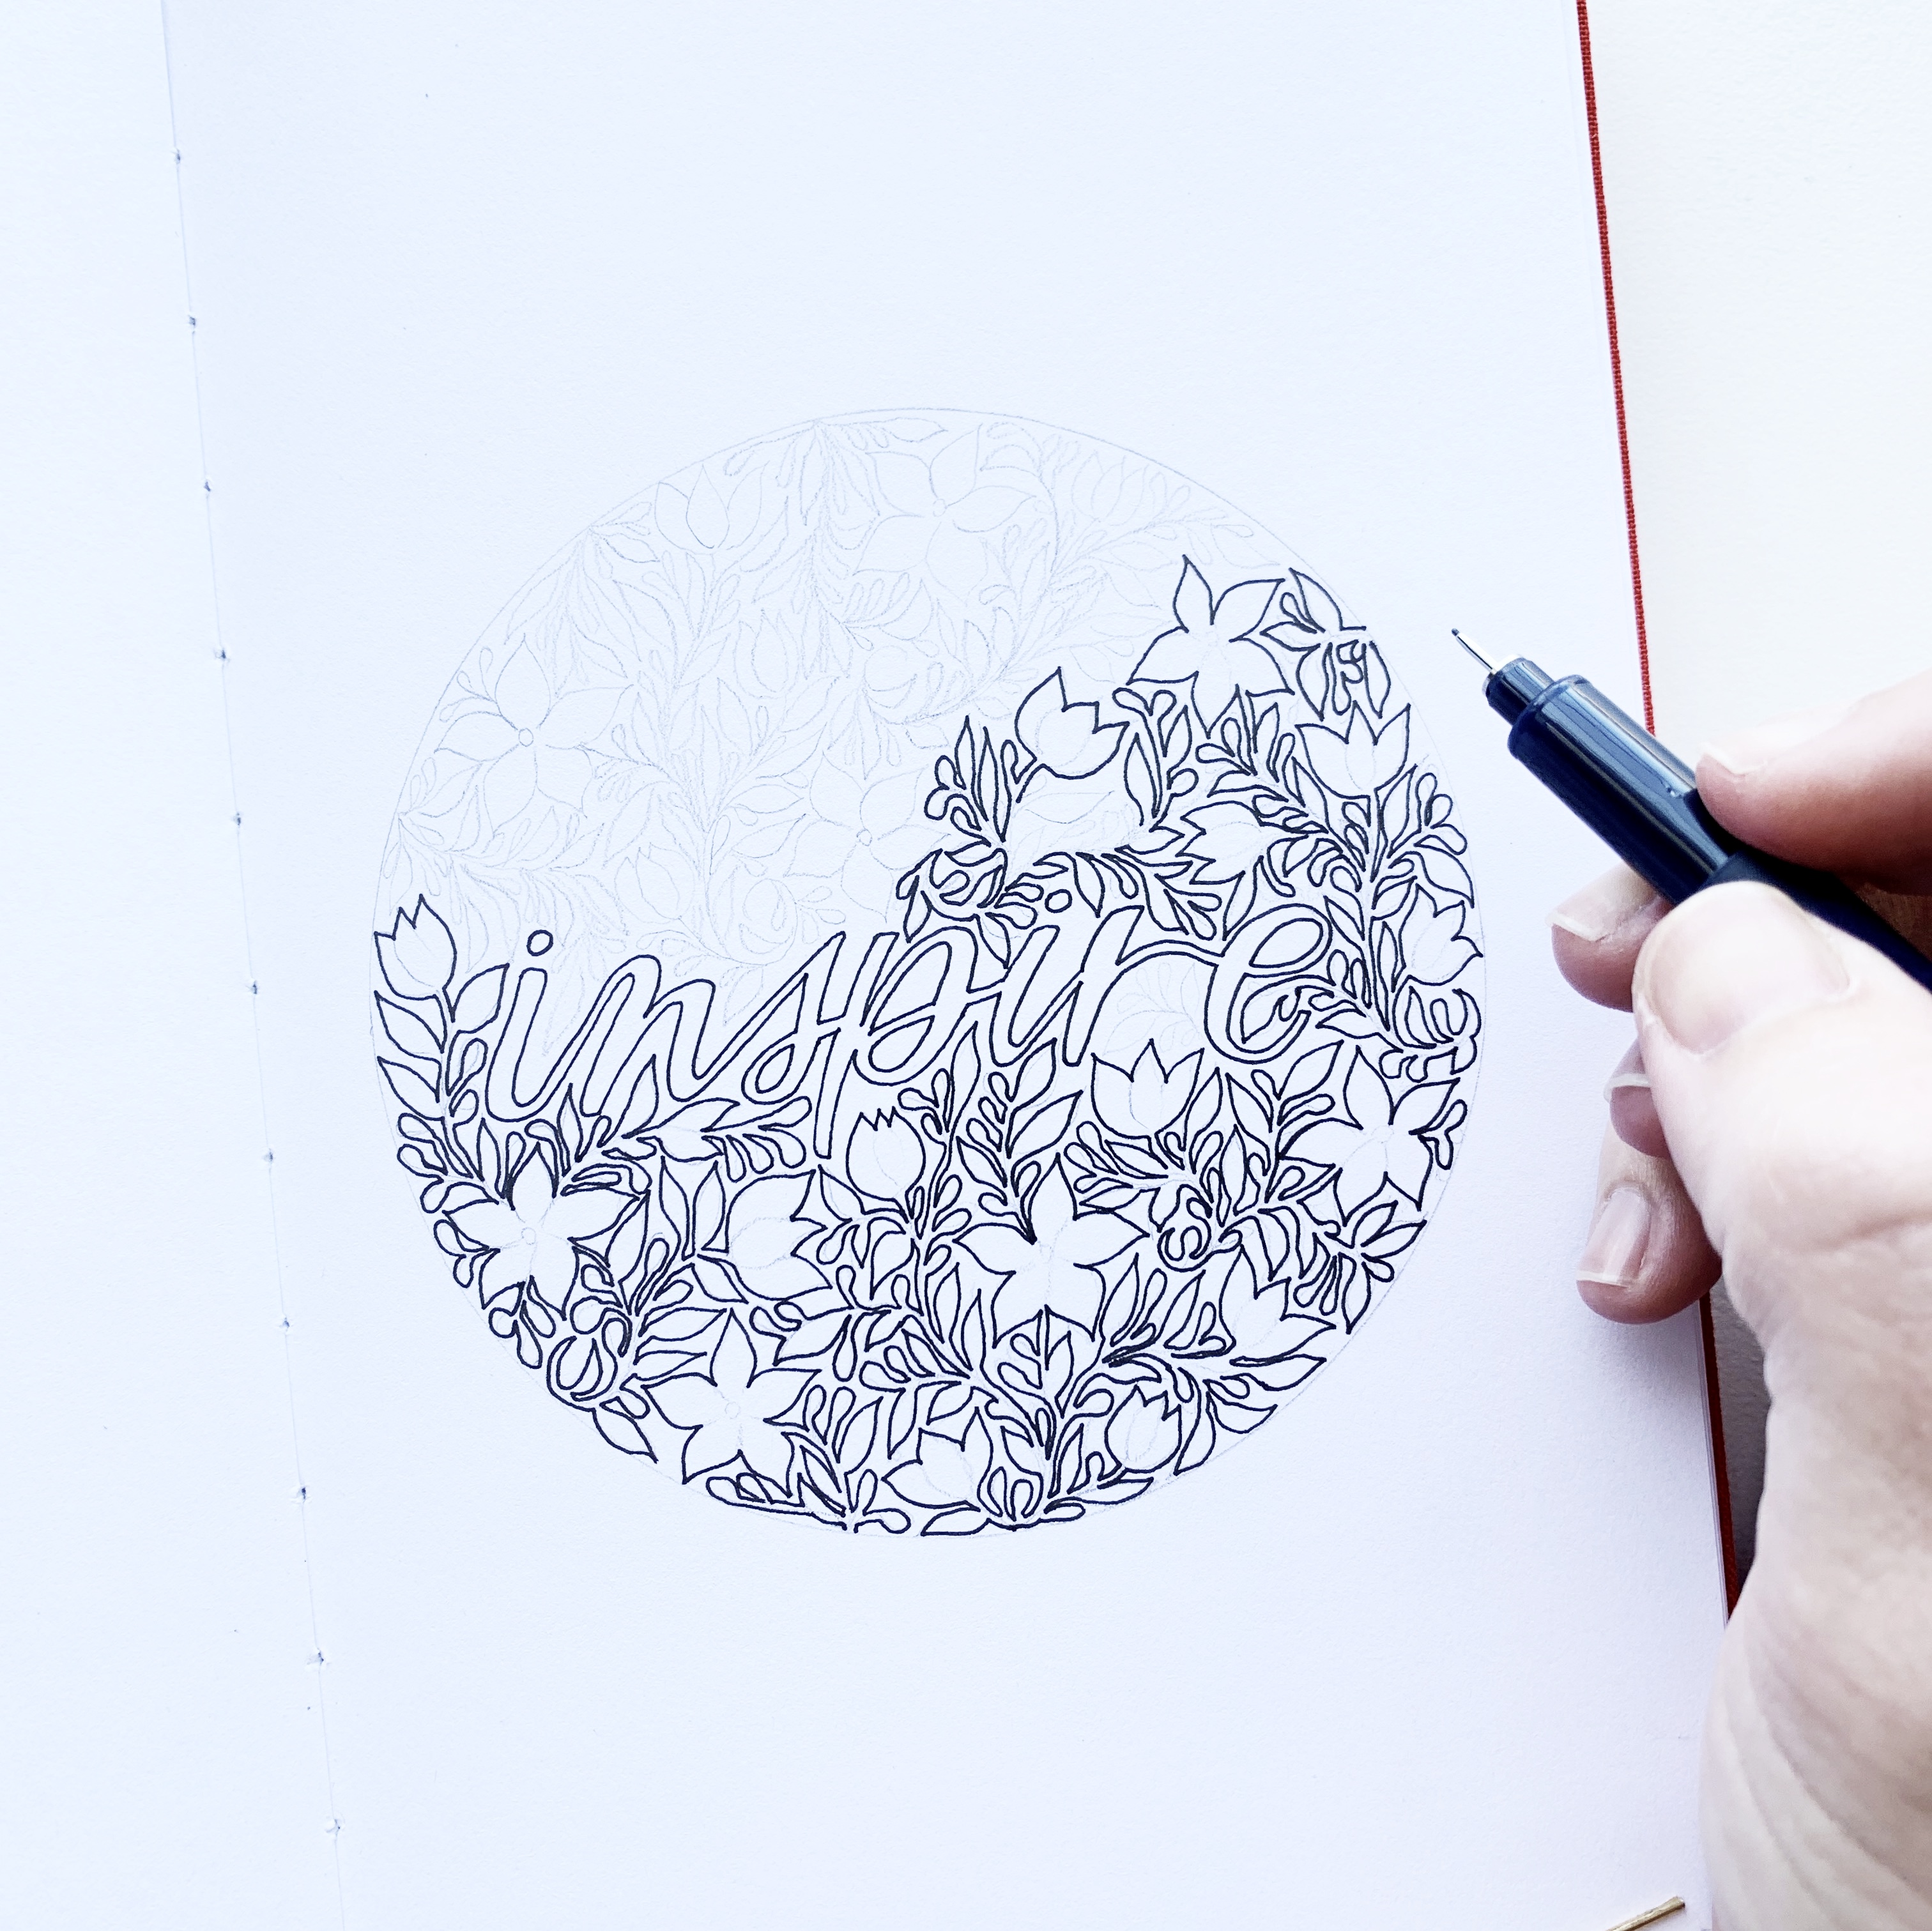
Next, use your pencil to trace around your word and do a little faux calligraphy to add weight to the downstrokes of the word. Use MONO Drawing Pen 01 to trace around the word in ink.
Then draw flowers inside your circle, facing different directions. I like to draw the flowers first so they’re evenly spaced throughout the circle.

Step 3
The third step is to sketch out vines, leaves and berries inside the circle to fill it out and fill in any empty spaces. Make sure none of the florals overlap each other!
Step 4
Now it’s time to outline all those florals using MONO Drawing Pen 01 again. Trace around all the lines, including the vines. At the end we want all the original pencil florals and vines to remain white. In my original project I drew the florals in the positive space of the circle. For this new project, I’ll be drawing in the negative space on the paper!
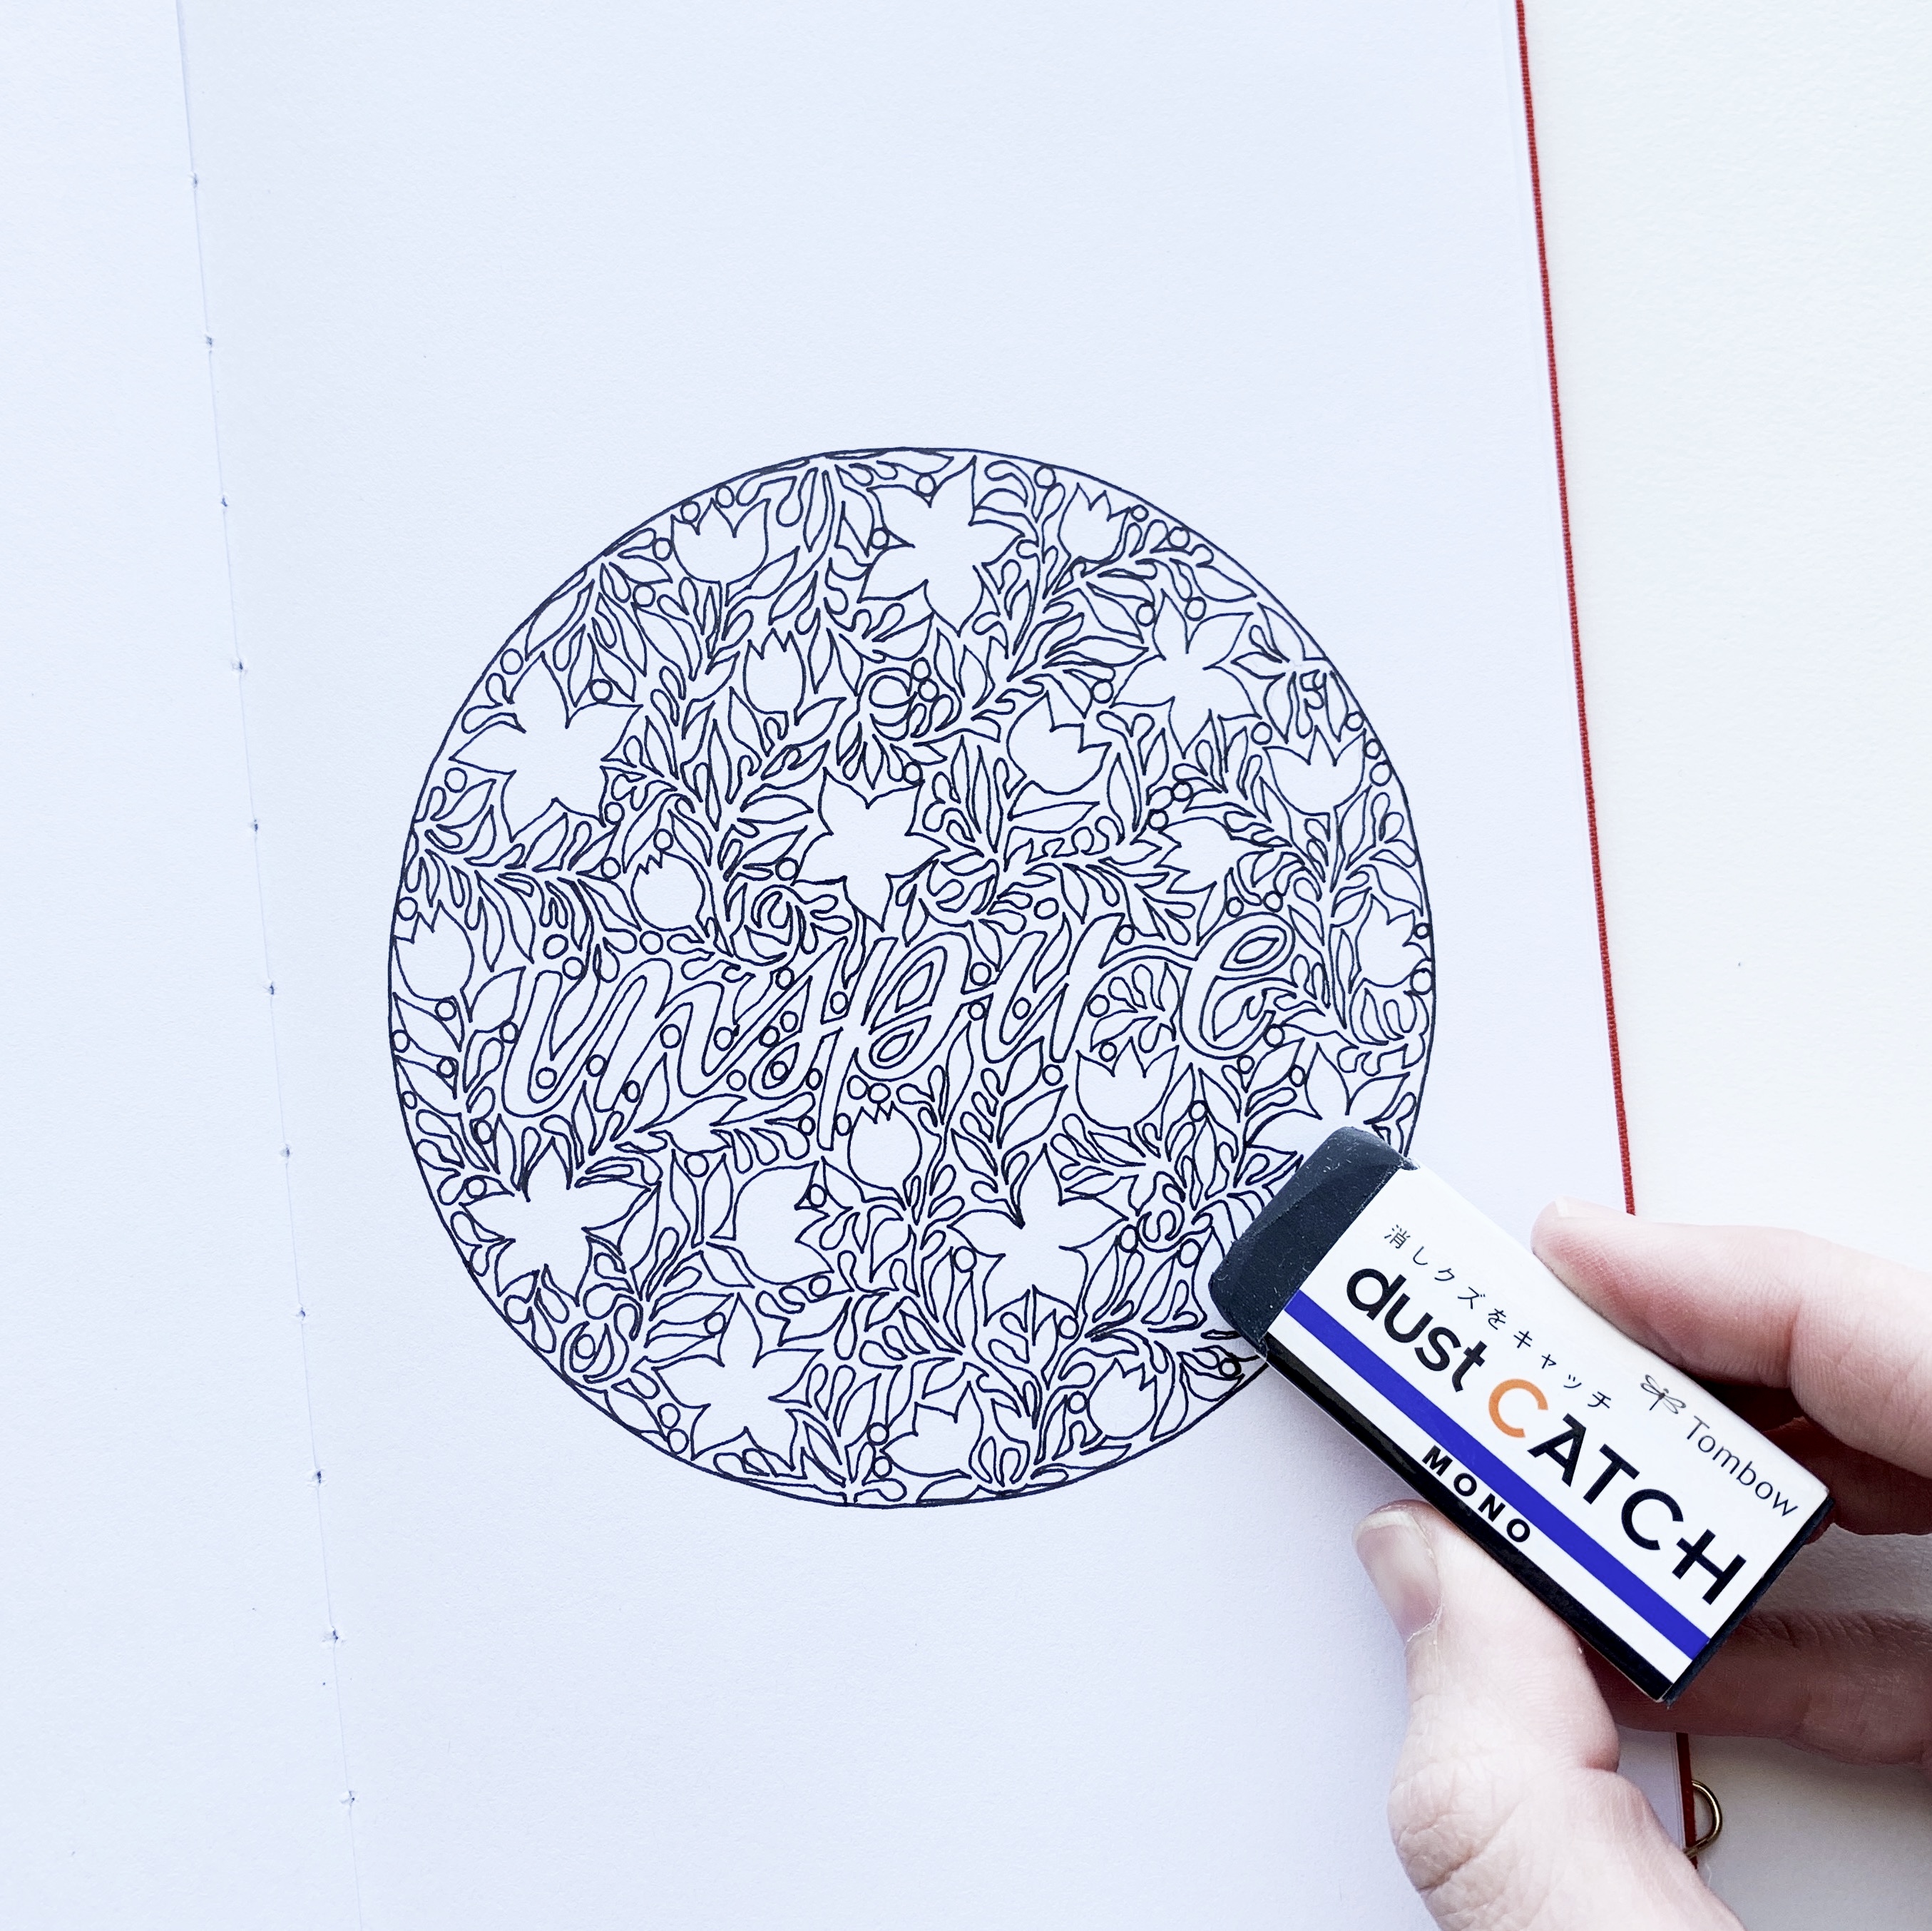
Step 5
After you’ve finished outlining all the flowers, vines, berries and the circle itself, erase all the pencil marks with the Tombow Dust Catch Eraser. This is a great eraser because it leaves minimal shavings behind!
Step 6
The last step is to color in all the negative space behind the florals we just outlined. I used MONO Drawing Pen 02 for this because the nib is slightly larger but still small enough to fit in those tight areas. This is by far the longest step and requires the most patience. However, if you like to color it’s very satisfying! Color in all the negative space inside the circle but make sure not to color inside any of the florals, the word we outlined or outside the circle. It’s so amazing to see it all come together!
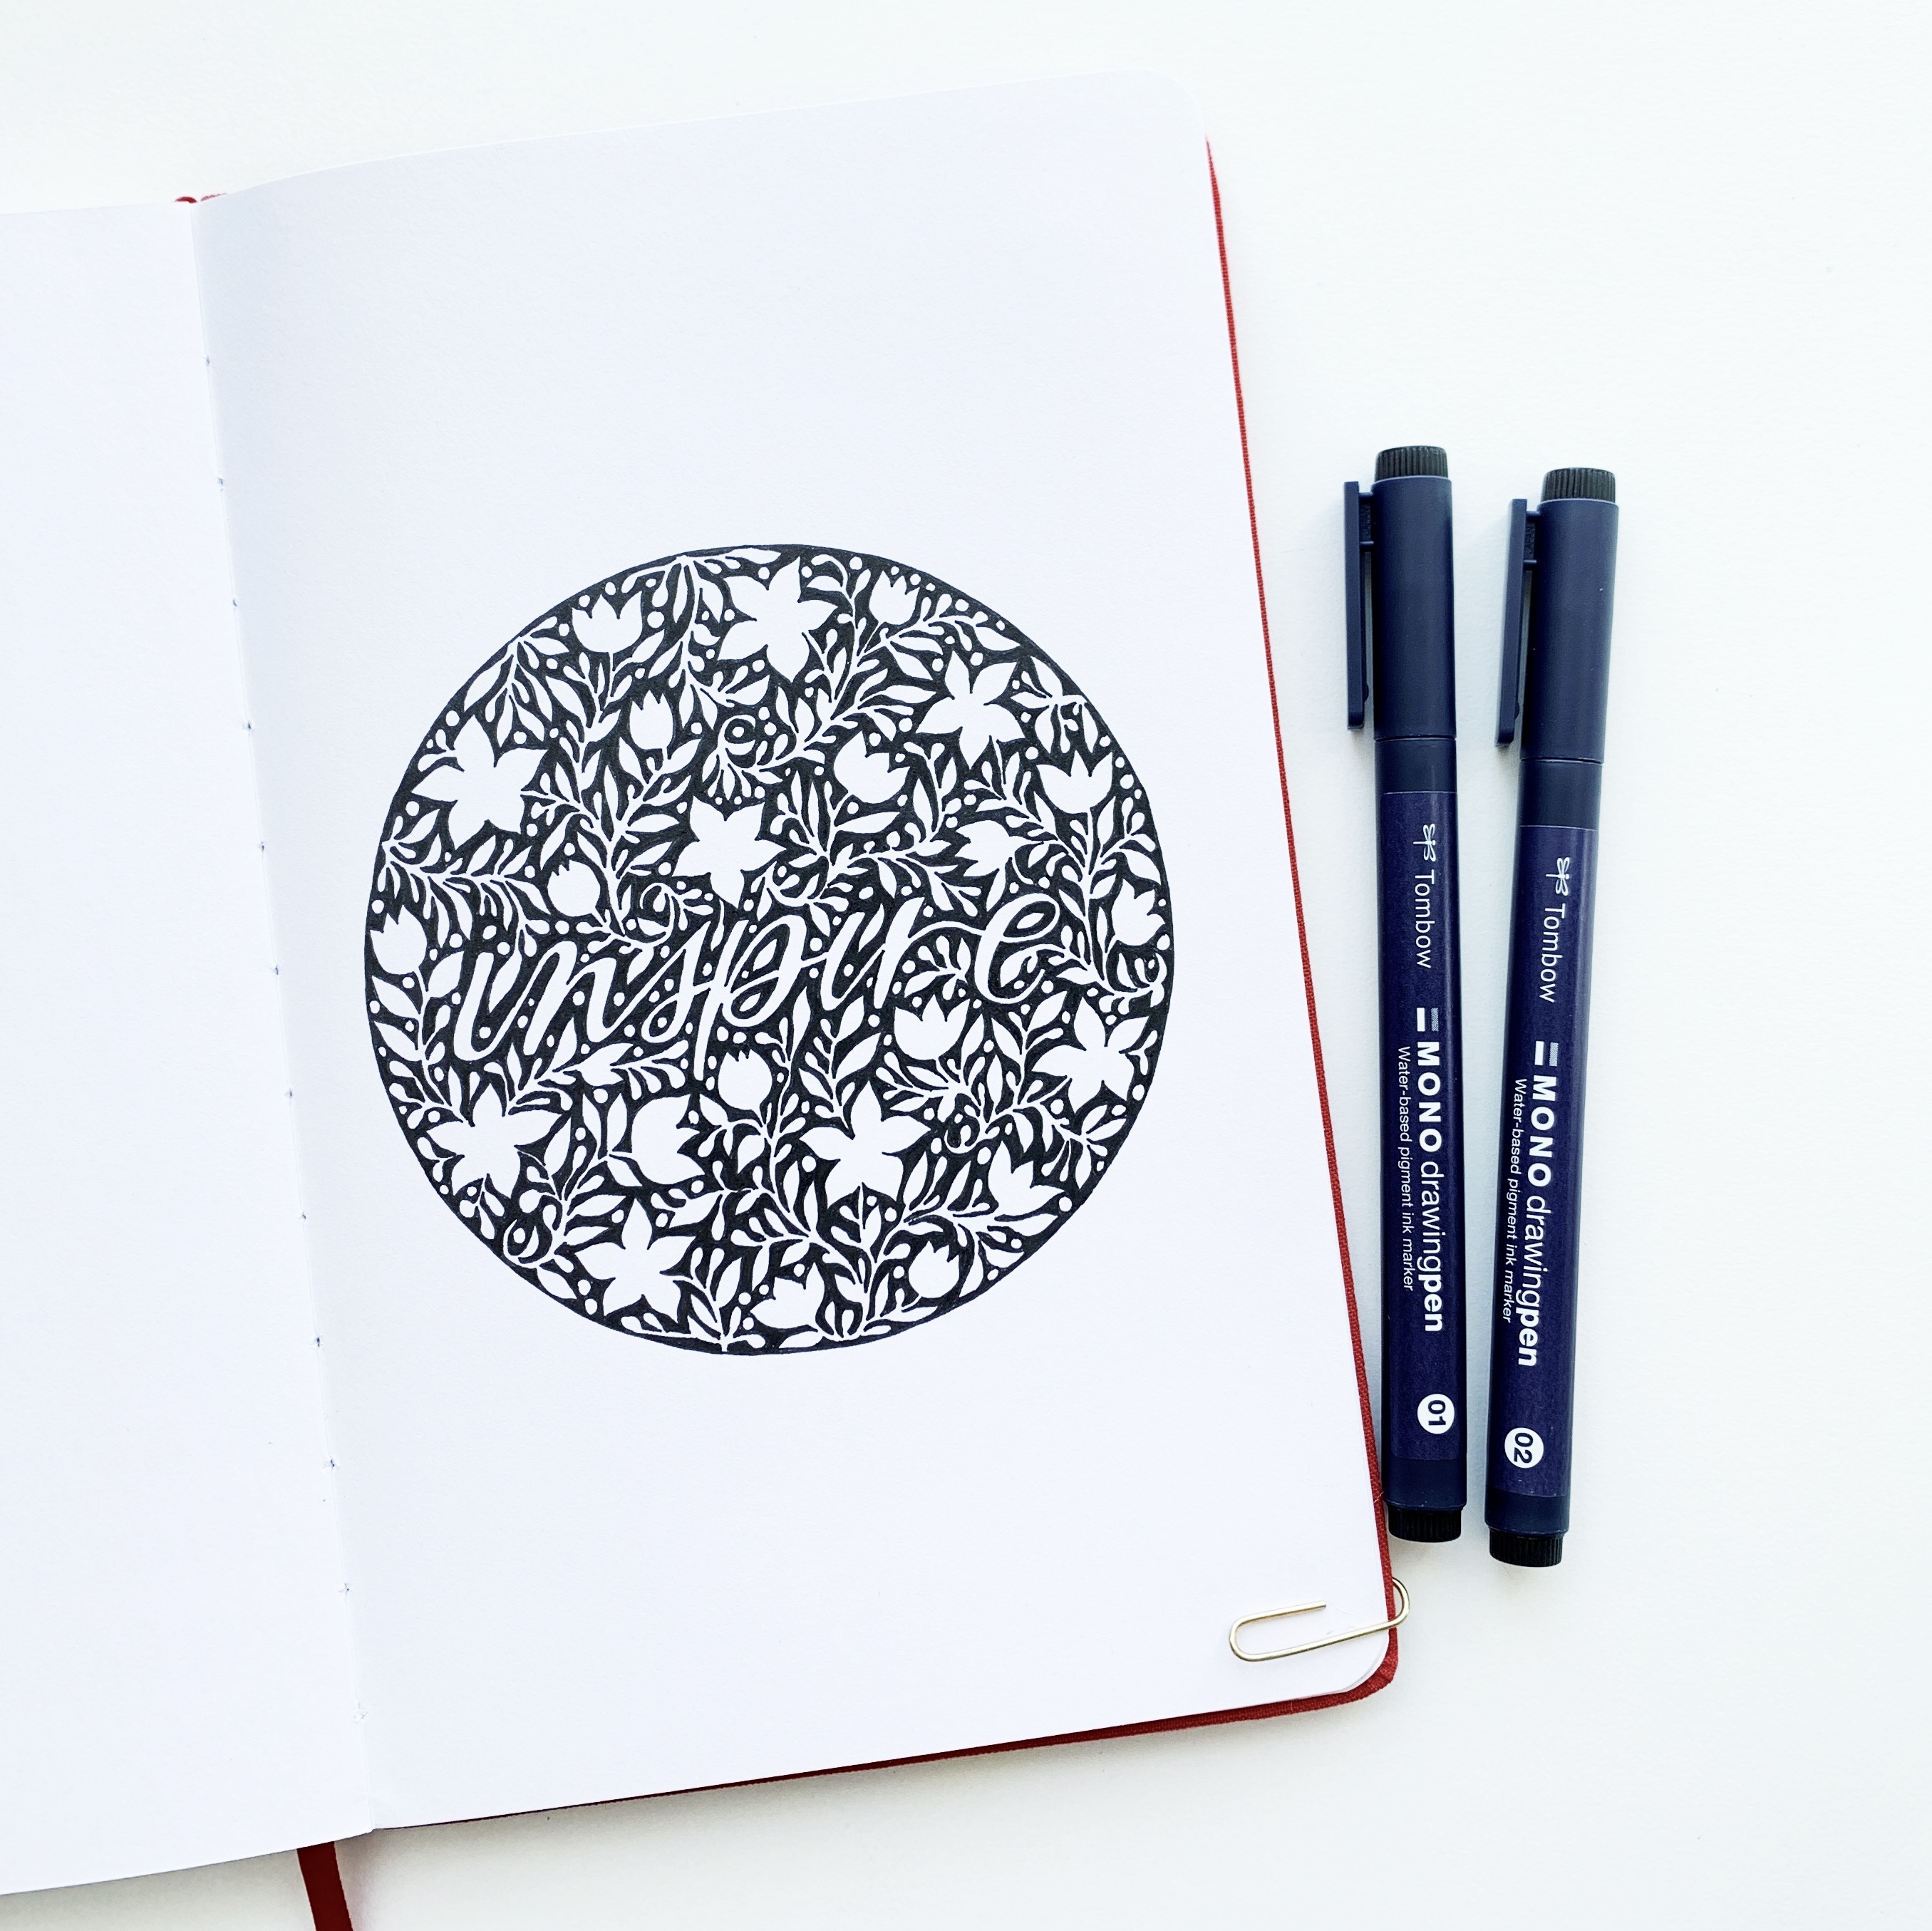
I love how this re-make of my project from a little over a year ago with a negative twist turned out! It has the same concept, only I focused on the negative space this time around! Thank you for following along this tutorial today. I hope you loved it! For more inspiration like this, make sure to follow me at @studio80design!
For more flower illustration inspiration like this, check out these awesome posts:
- Poppy Flower Tutorial With MONO Drawing Pens
- Spring Flower Tutorial Using ABT PRO Markers
- How To Create Easy Watercolor Flowers