Hi, Jessica from BrownPaperBunny here to show you how to make your own whiteboard. Let’s face it, whiteboards are super useful but they’re fairly unattractive. Here’s a homemade hack to make yourself a prettier version! Here’s what you’ll need to get started.
Supplies:
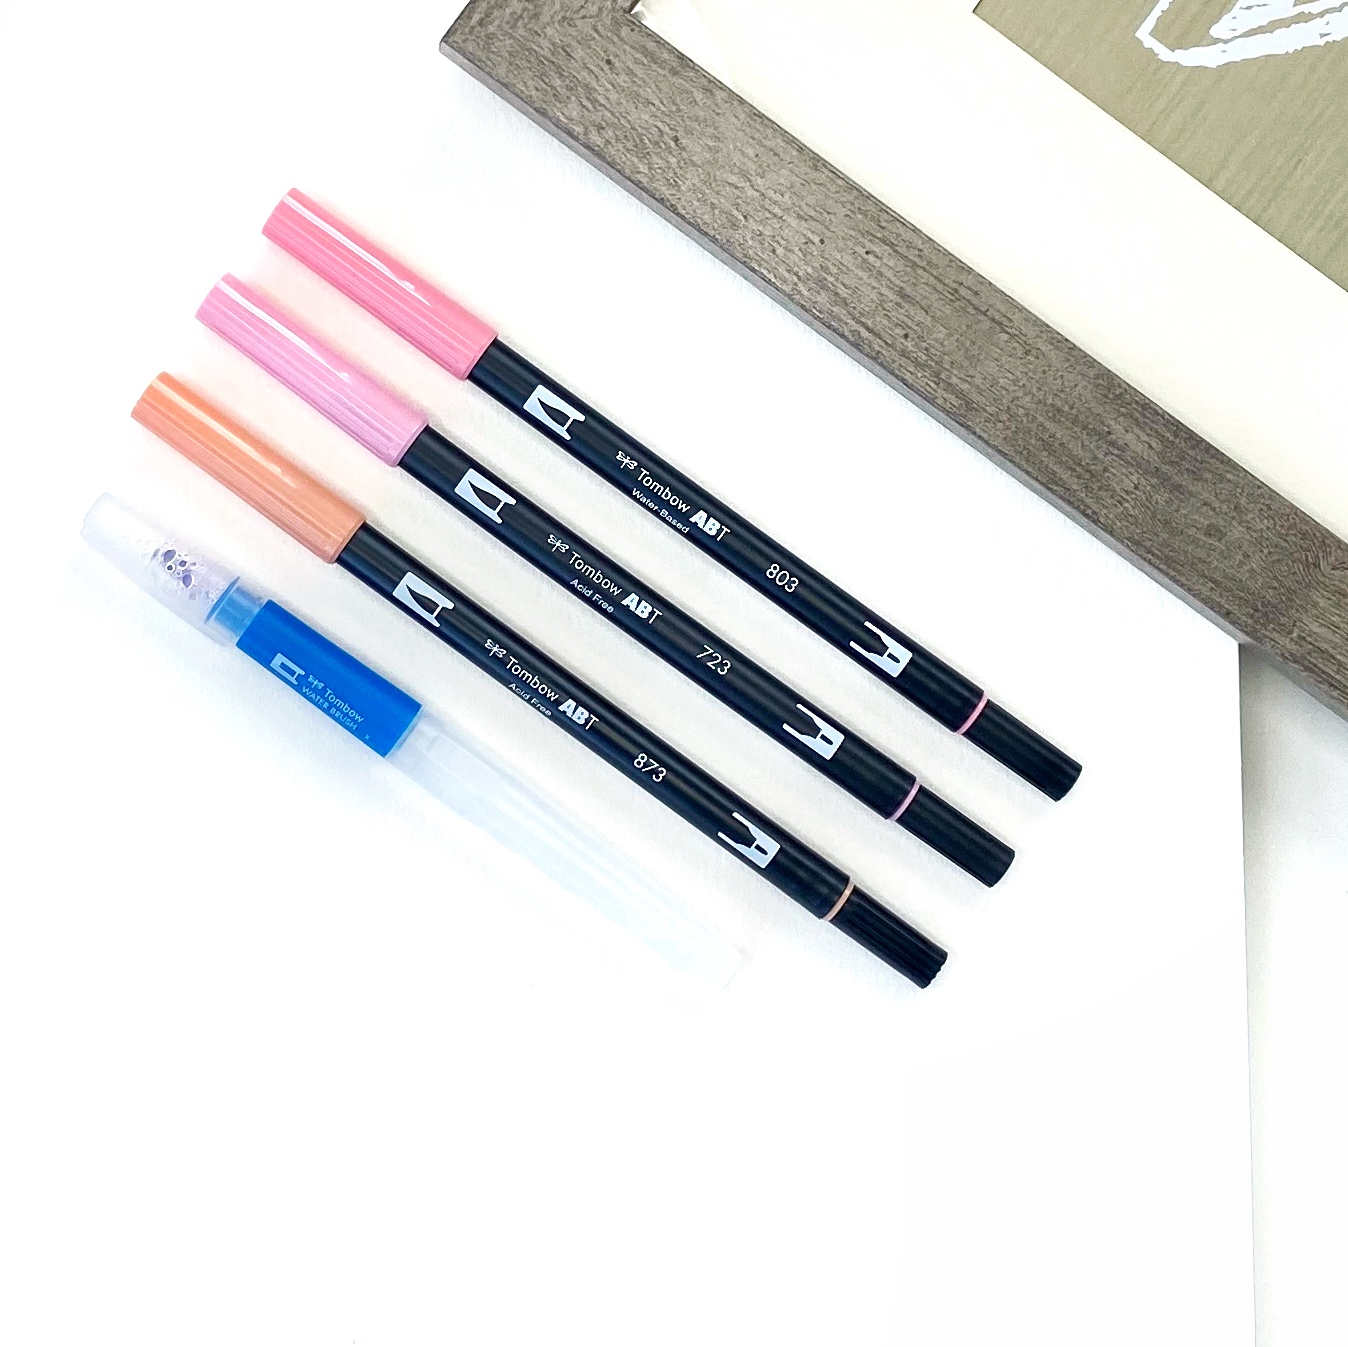
- Tombow Dual Brush Pens (in your favorite colors)
- Photo frame (with glass inlay)
- Watercolor paper (big enough to fill your frame)
- Tombow Water Brush (large)
- Whiteboard markers
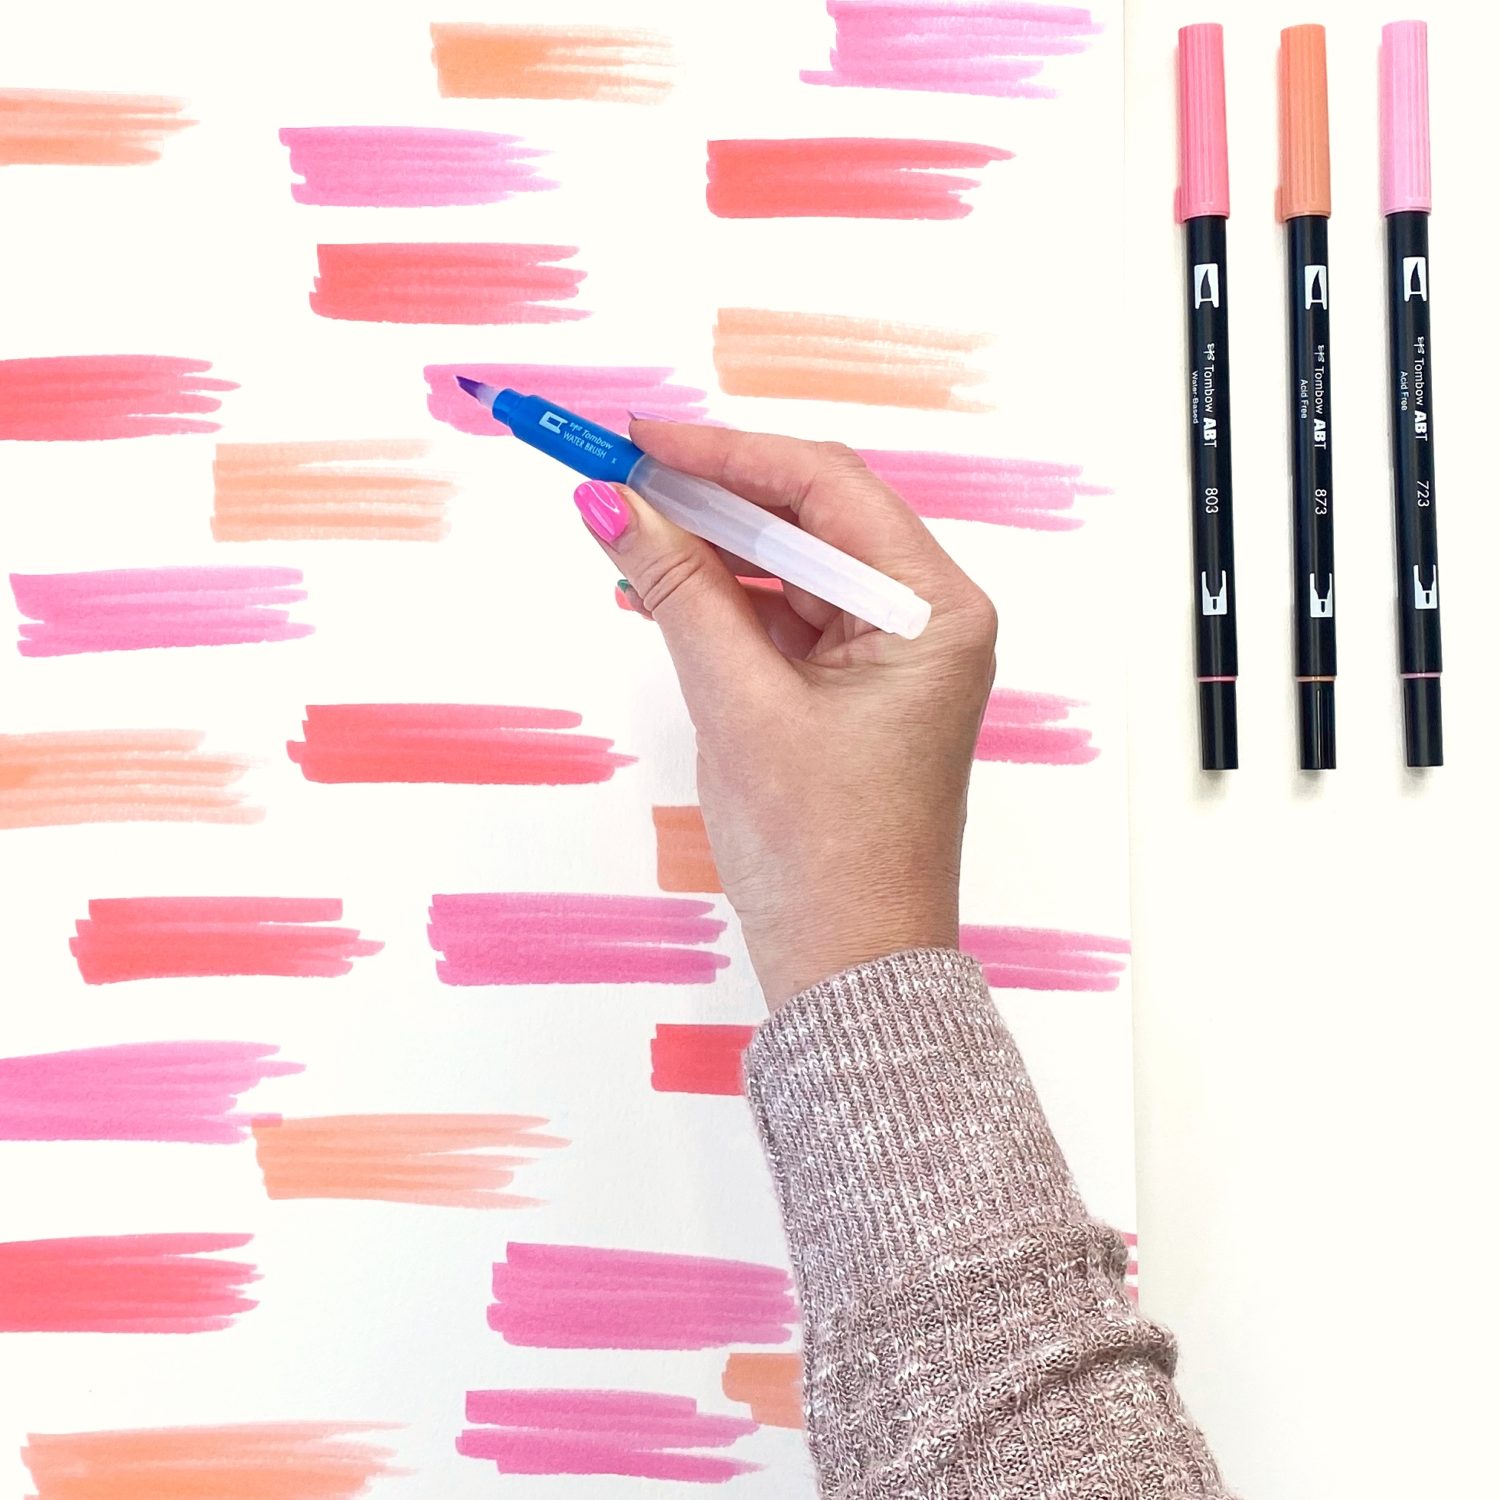
Step 1: Add Color to Your Paper
Choose Dual Brush Pens in your favorite colors or find the ones that best match your existing home decor. Using your Dual Brush Pens, make rough rectangles all over your watercolor paper. You can leave as much or as little white space showing through as you’d like. Try to alternate the colors.

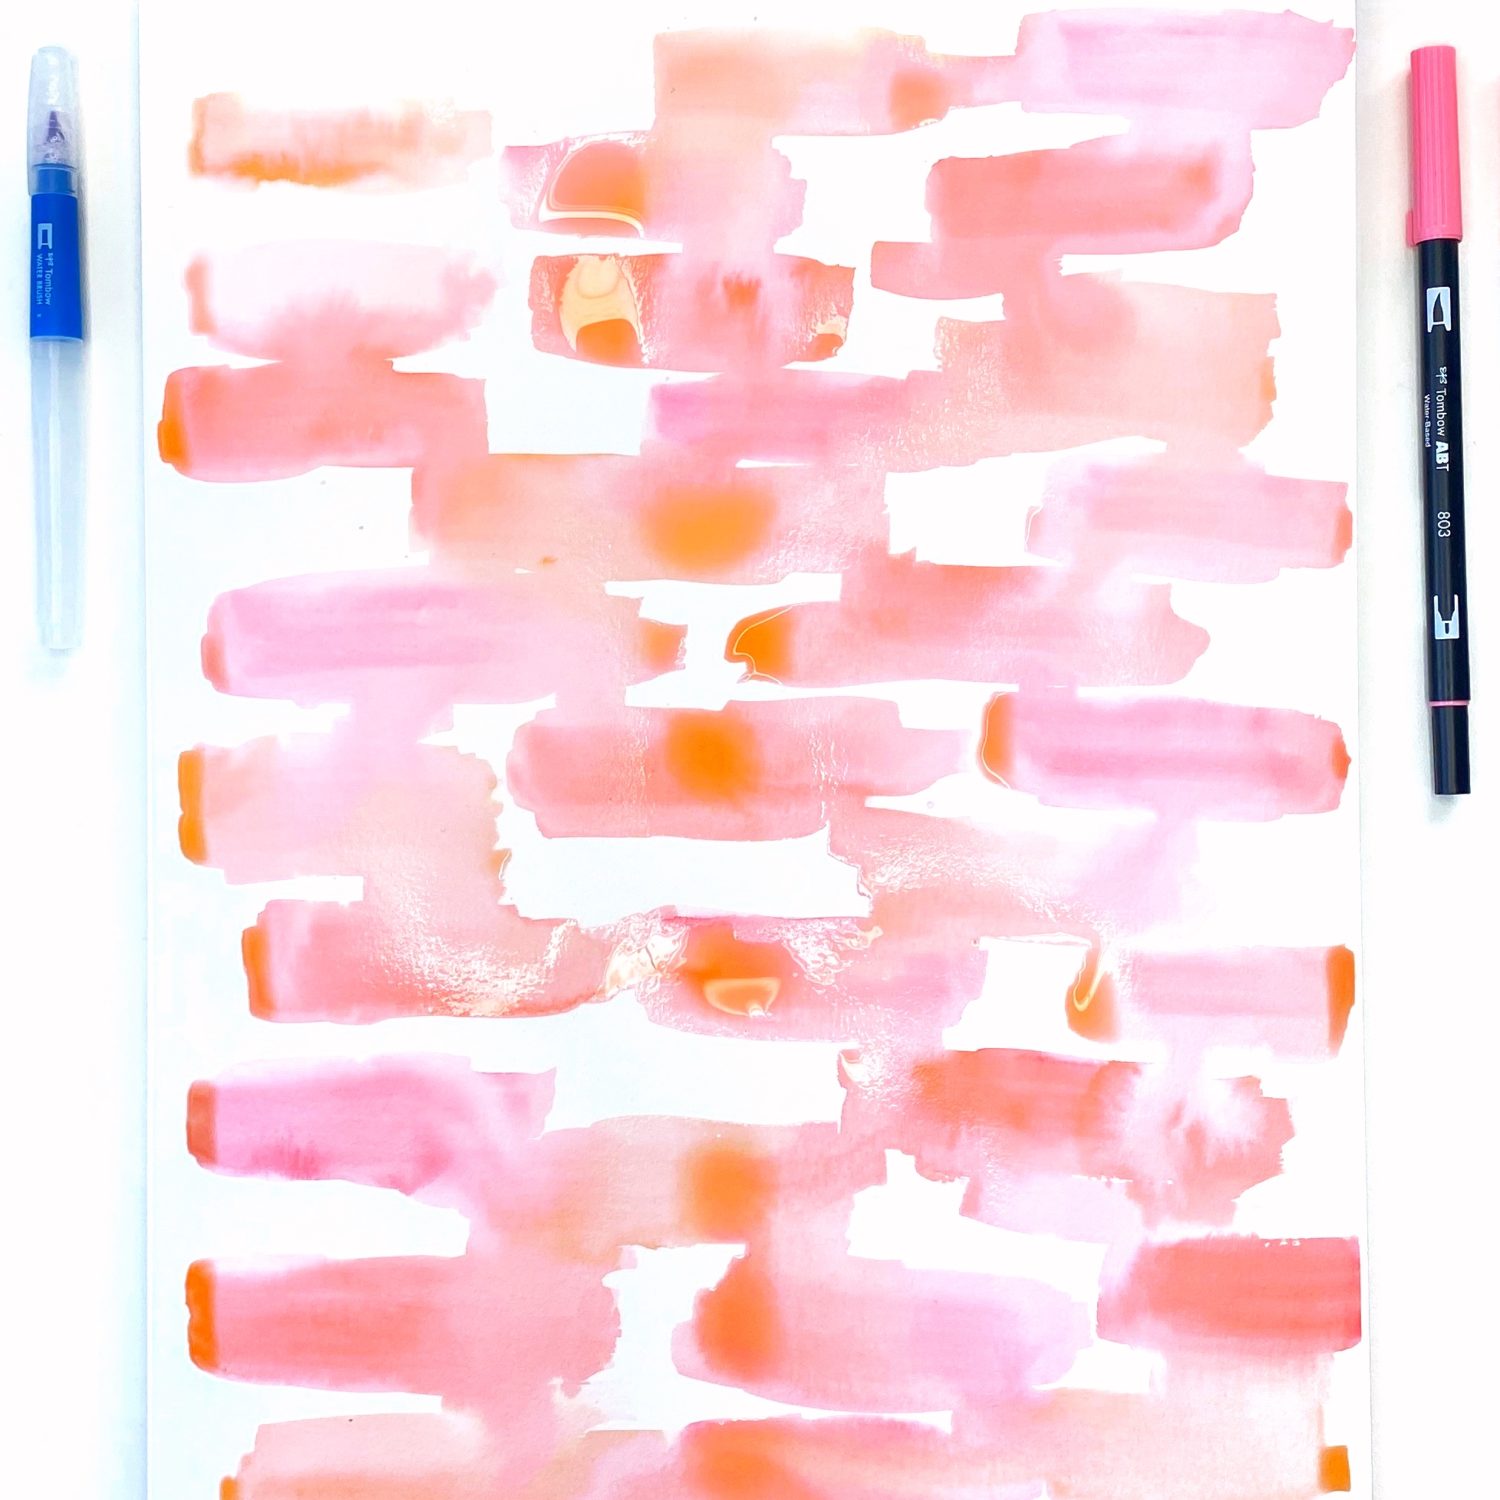
Step 2: Blend the Ink
Using your large Water Brush, start at the top and blend each rectangle of ink, allowing it to touch the one next to or below it and bleed together a little bit.
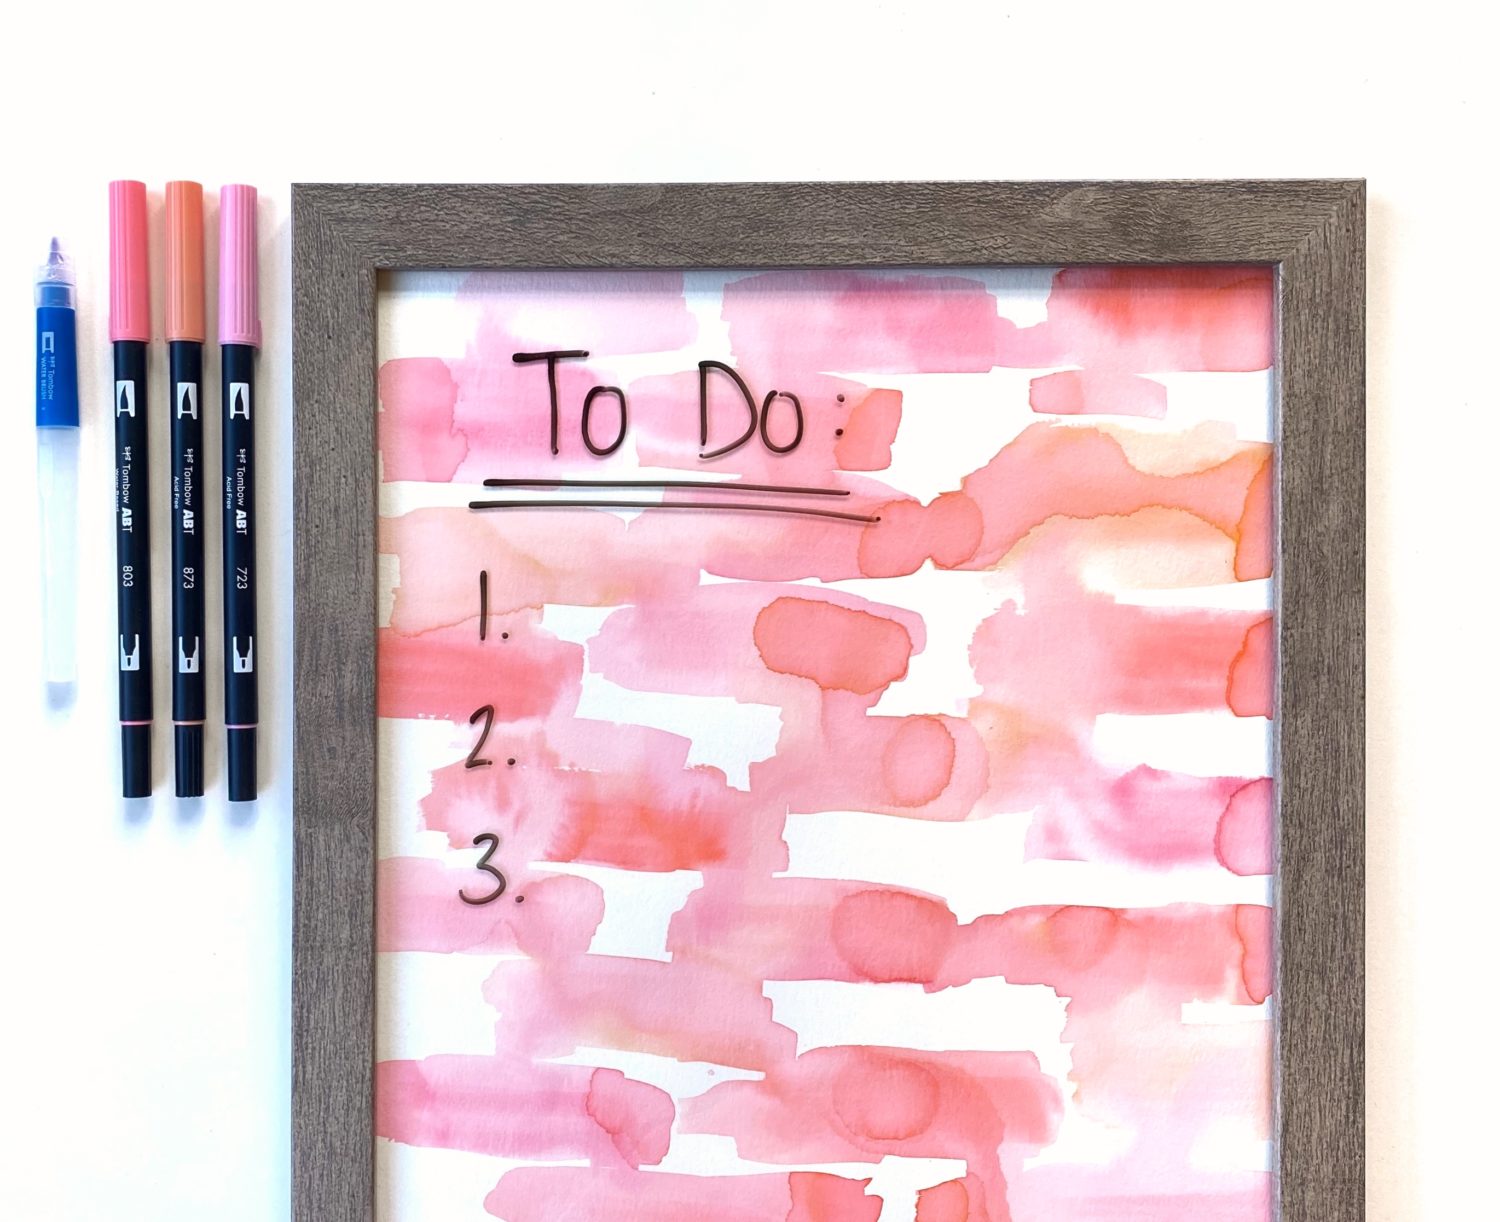
Step 3: Insert Into Frame
Once your painted paper is completely dry, fit it into your photo frame. Trim it a little if you need to. Voila, you’ve got a pretty whiteboard you can write on with whiteboard markers!
Looking for more fun, home decor projects? Check out this Monogram Embroidery Hoop Art tutorial.