Hey everyone, Ali LePere here! Today, I want to show you not one, but TWO ways I make watercolor clouds on my outgoing happy mail! Both versions of the watercolor clouds are very easy to recreate and add a nice touch for anyone receiving some snail mail!
Materials
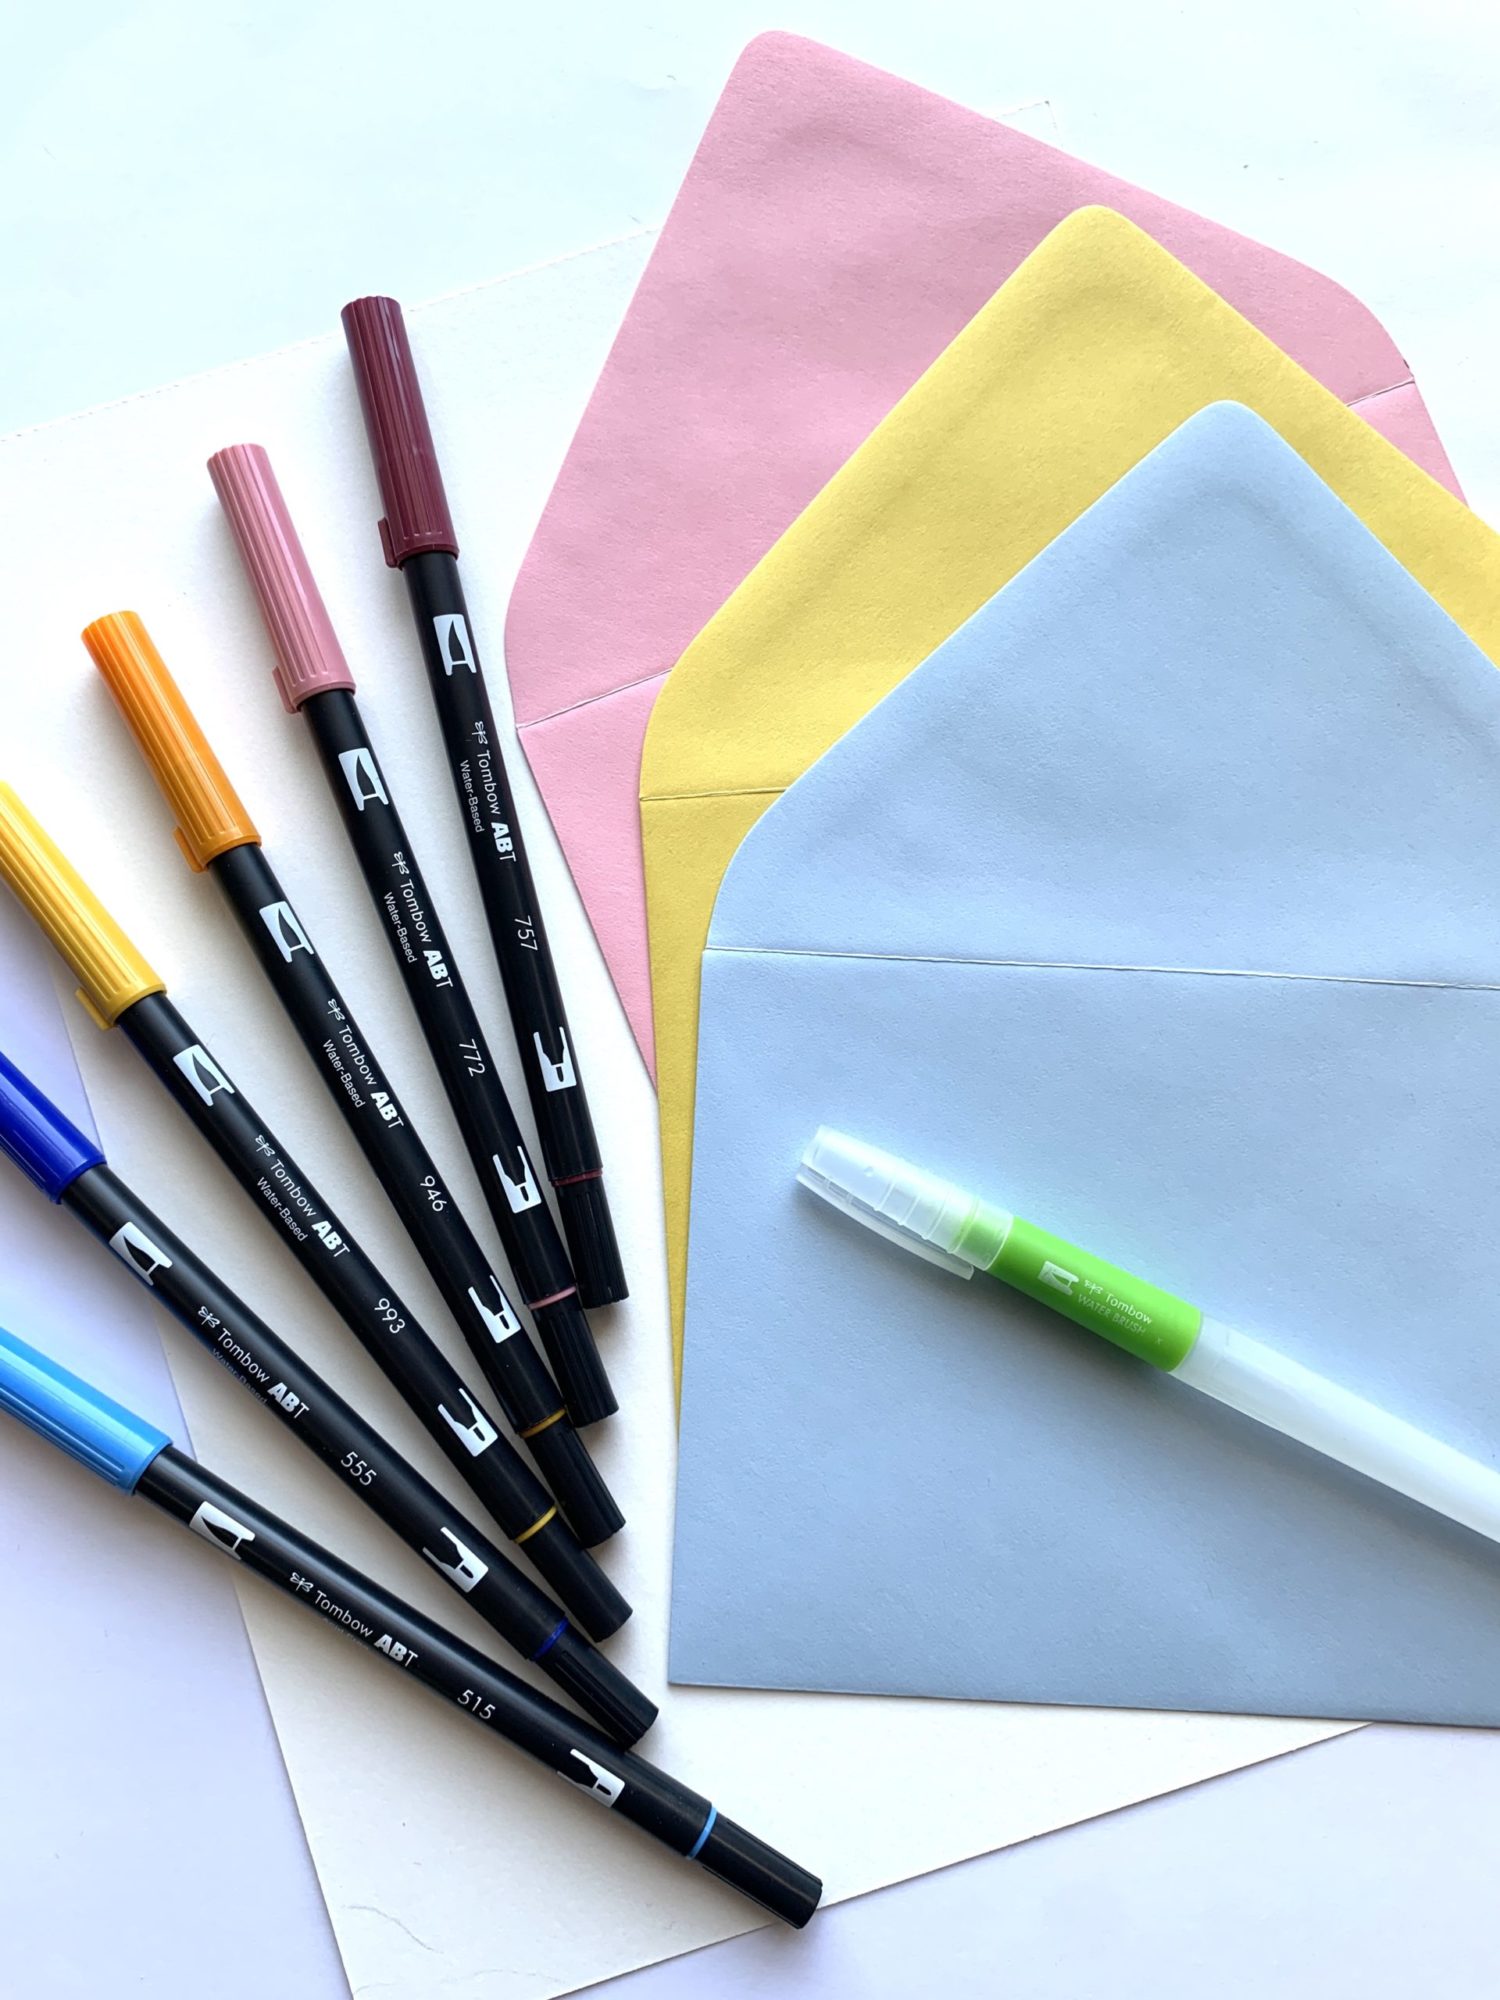
- Small Tombow Water Brush
- Tombow Dual Brush Pens: 757, 772, 946, 993, 555 and 515.I used a light or medium shade and a dark shade for each envelope I had. The light or medium shade was for the clouds and the dark shade was for the address.
- A single piece of watercolor or mixed media paper
- Envelopes
Step 1: Colored in Clouds
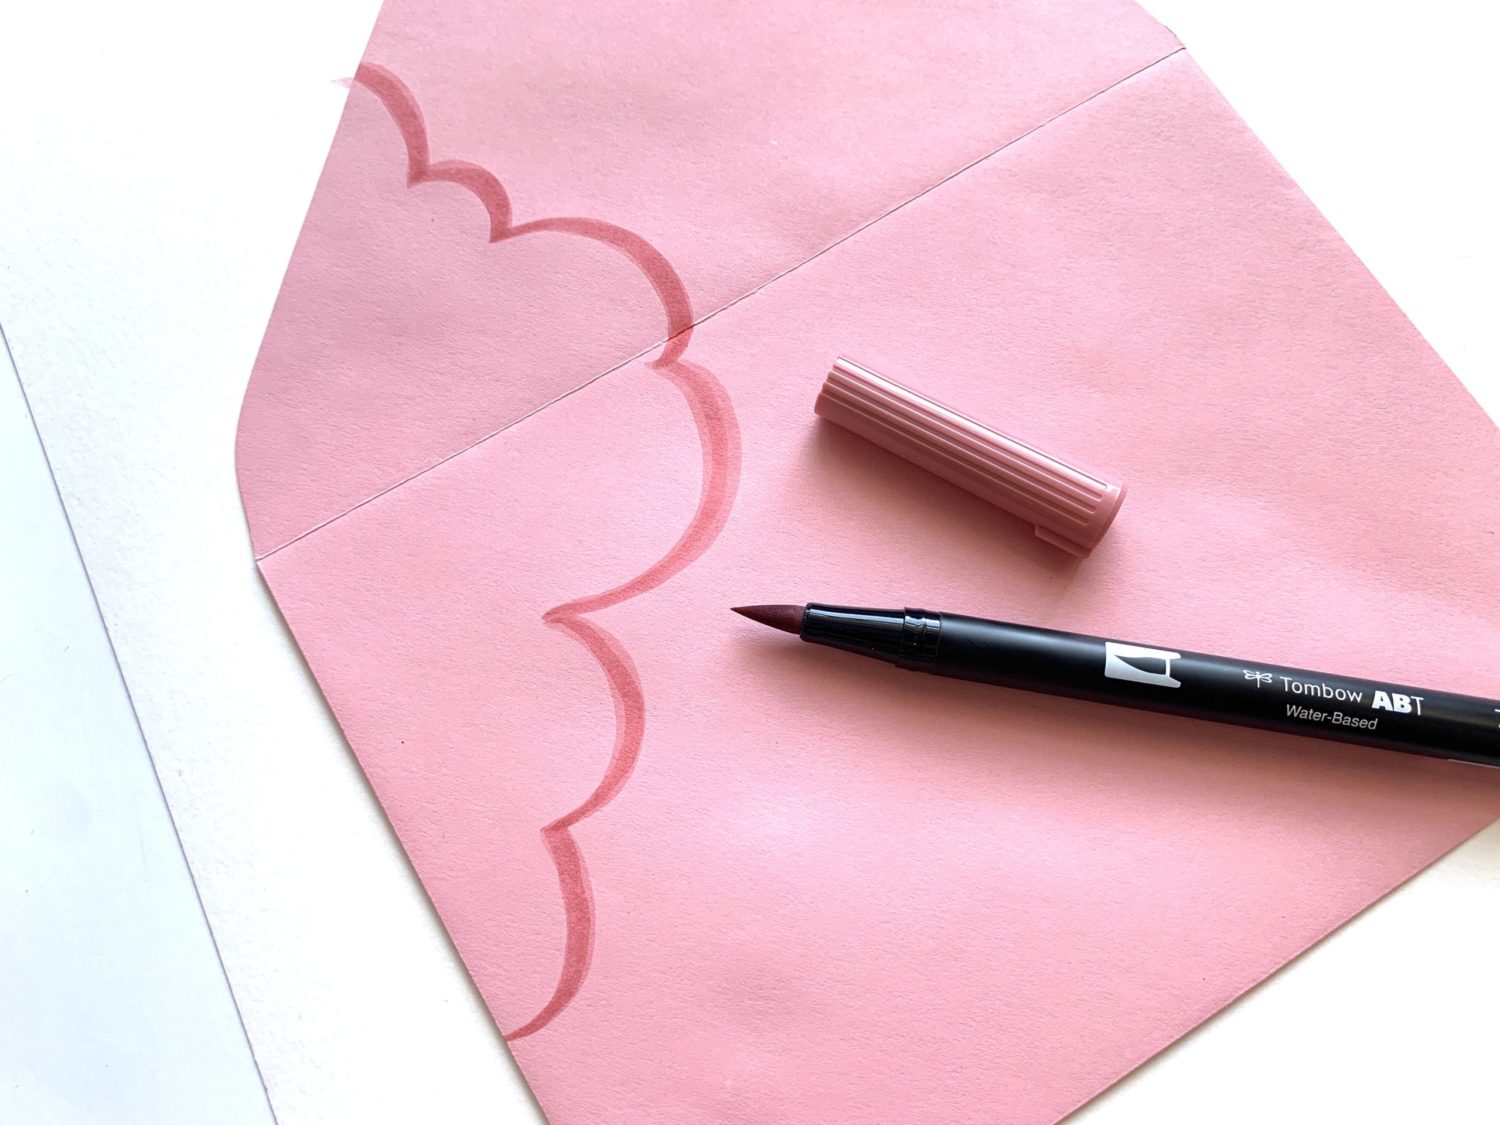
I laid the piece of mixed media paper down to protect my desk from any ink or water. Then, I drew a very simple and puffy cloud shape. I drew it on the left side of my envelope with the brush tip of Dual Brush Pen 772. Since I knew I’d have to add the address later, I tried to be strategic with my placement of the clouds. I also made sure my envelope was open so I could draw on the flap.
Step 2
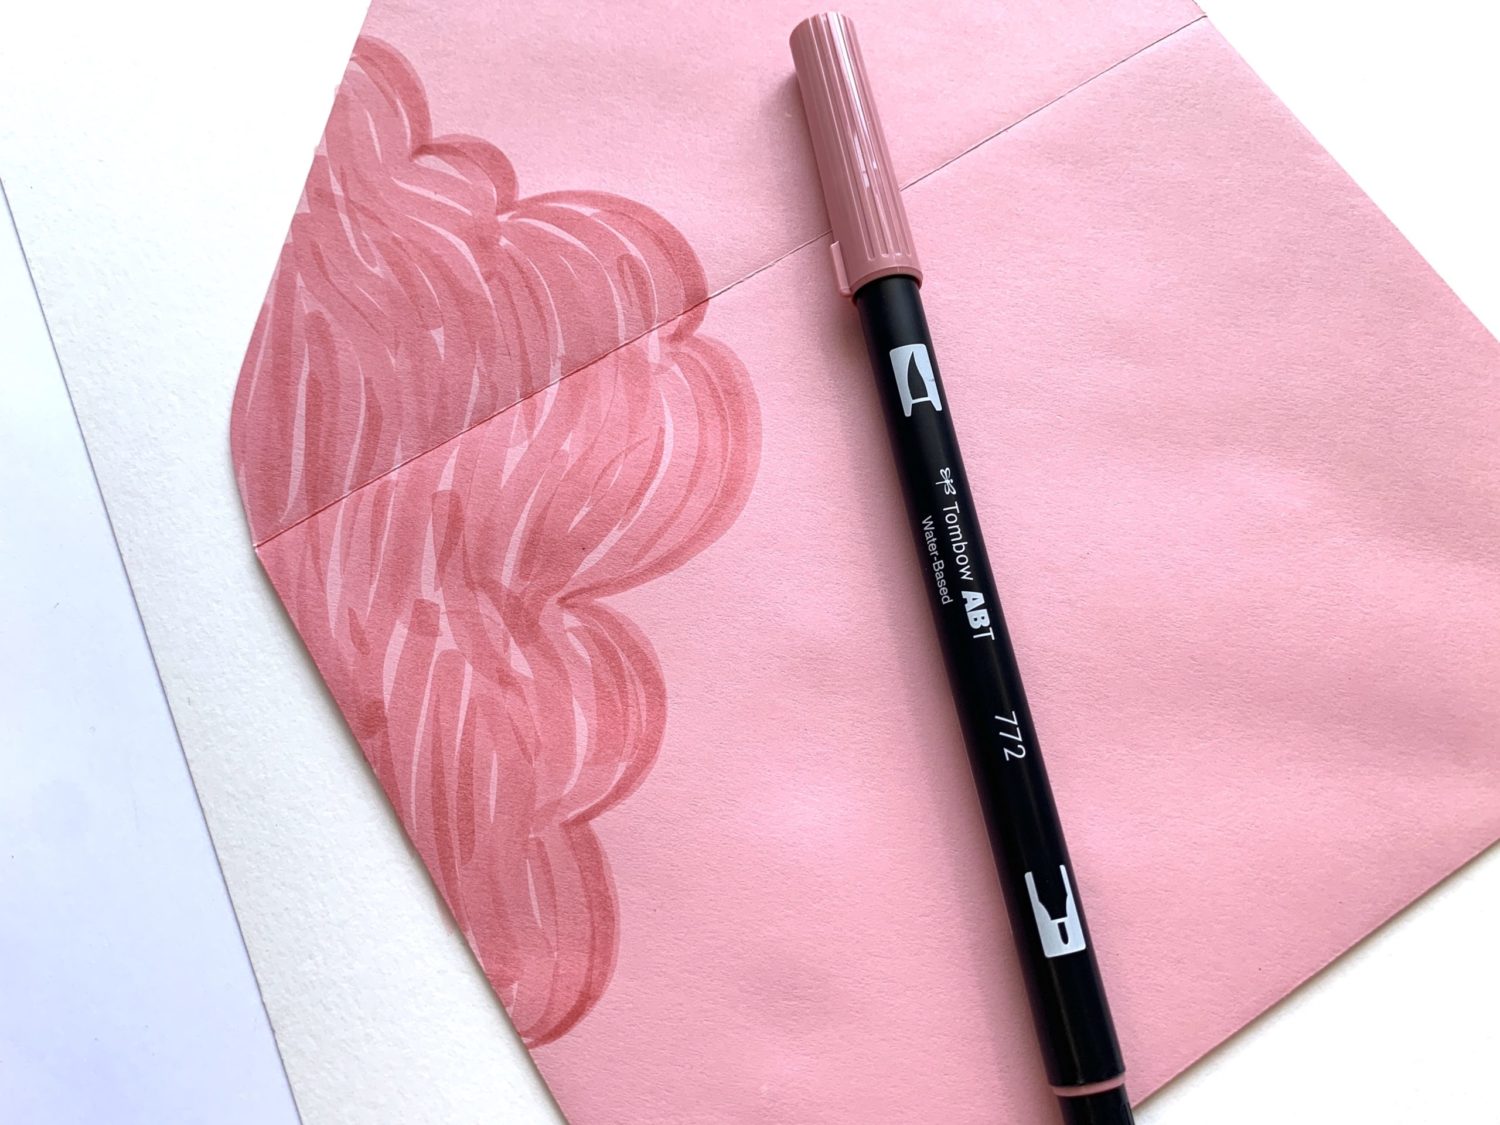
Next, I filled in the entire cloud shape using the brush tip of the same marker. I wasn’t neat, but I was pretty light with my marker strokes. These envelopes, like most, were not made with thick paper. The lighter the brush strokes, the less ink will sink into the paper.
Step 3
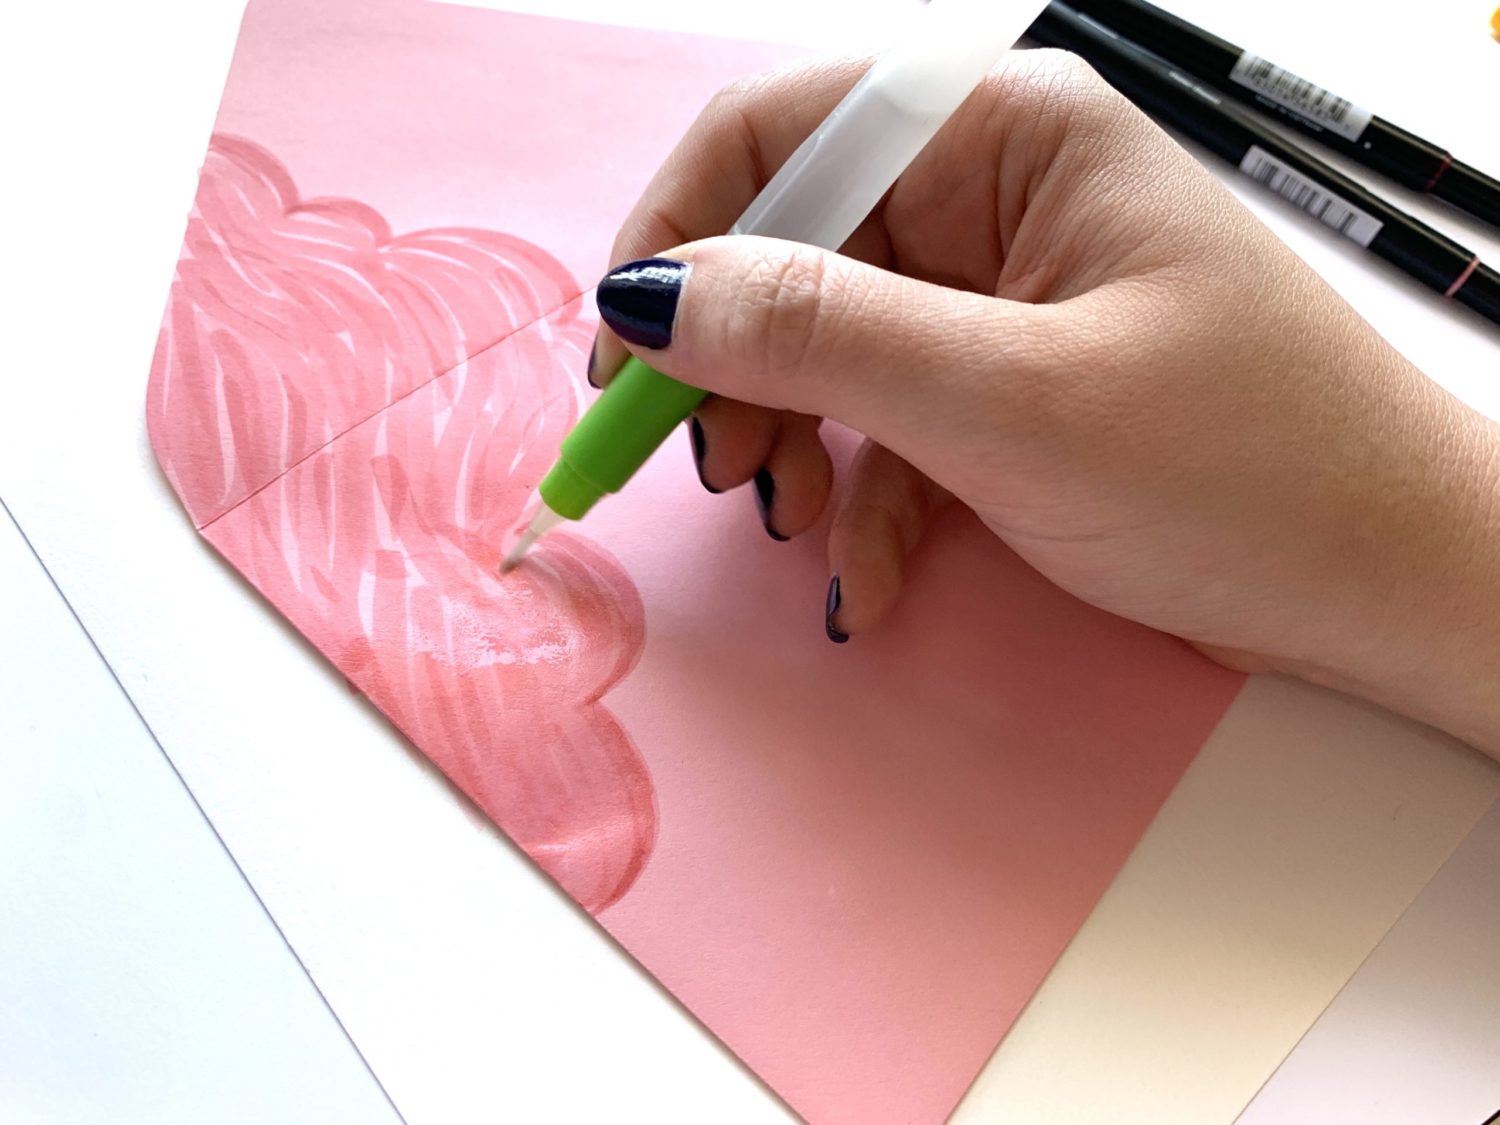
Using the Small Water Brush, I brushed water on top of the ink. Even though this is a sizable area, I chose the smallest Water Brush for this step. I did this because the water came out in smaller amounts, making it easier to control the flow.
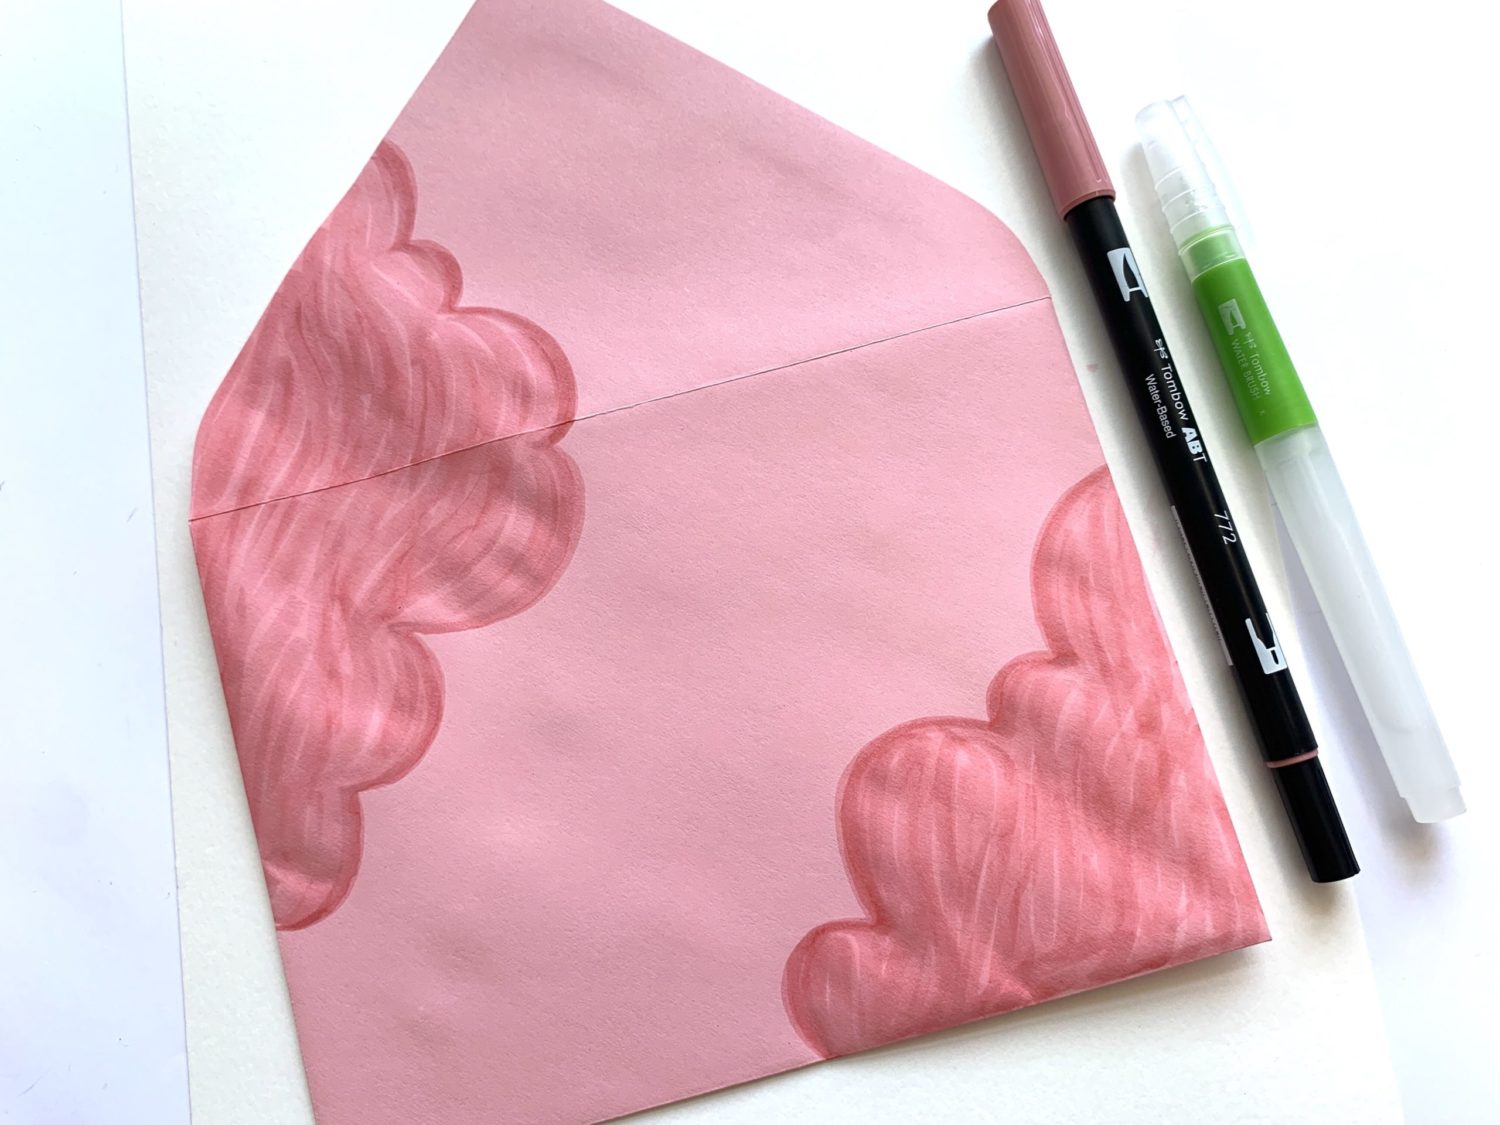
The paper expanded and bubbled out when it was wet but flattened once the water had dried. To leave plenty of room for the address, I placed the other cloud in the right bottom corner.
Step 1: Blended Clouds
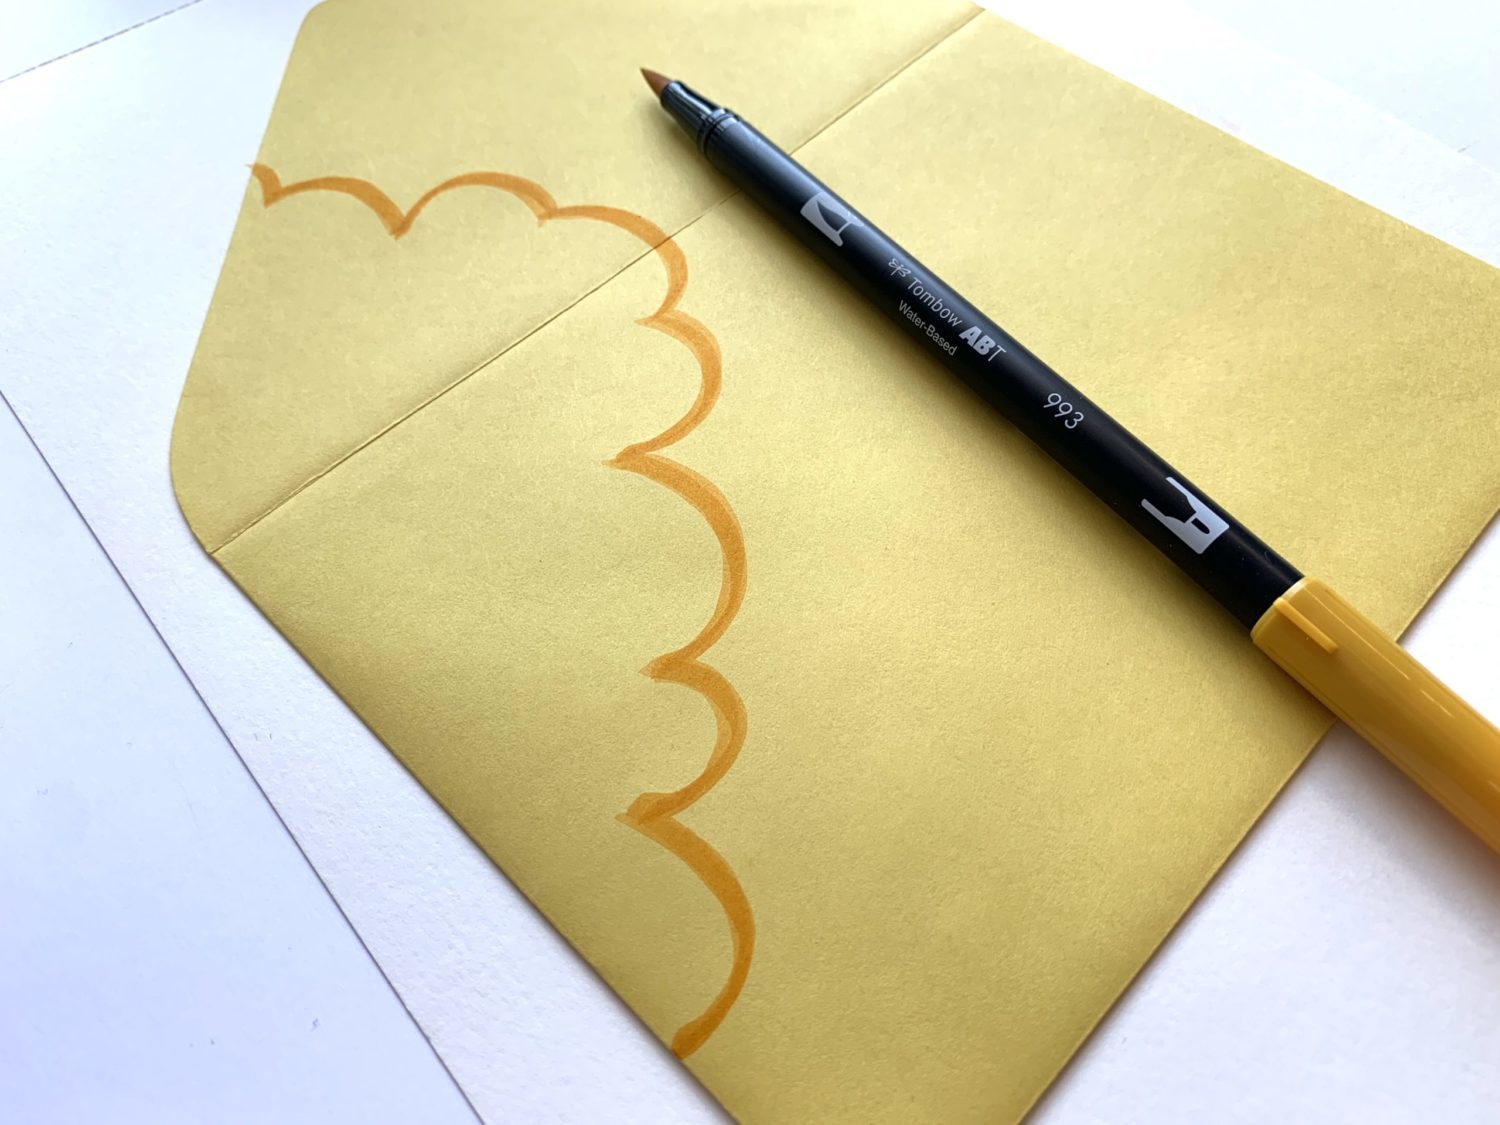
Just like in the first version, I started out by drawing a simple and puffy cloud shape. This time, I did so using the brush tip of Dual Brush Pen 993. I decided to put it on the left side of the envelope again.
Step 2
Starting on the inside border of the cloud shape, I used light and feathery brush strokes to color toward the inside of the cloud. I only picked a small area because the ink needed to be a little less dry in order to achieve a gradual blend in the next step.
Step 3
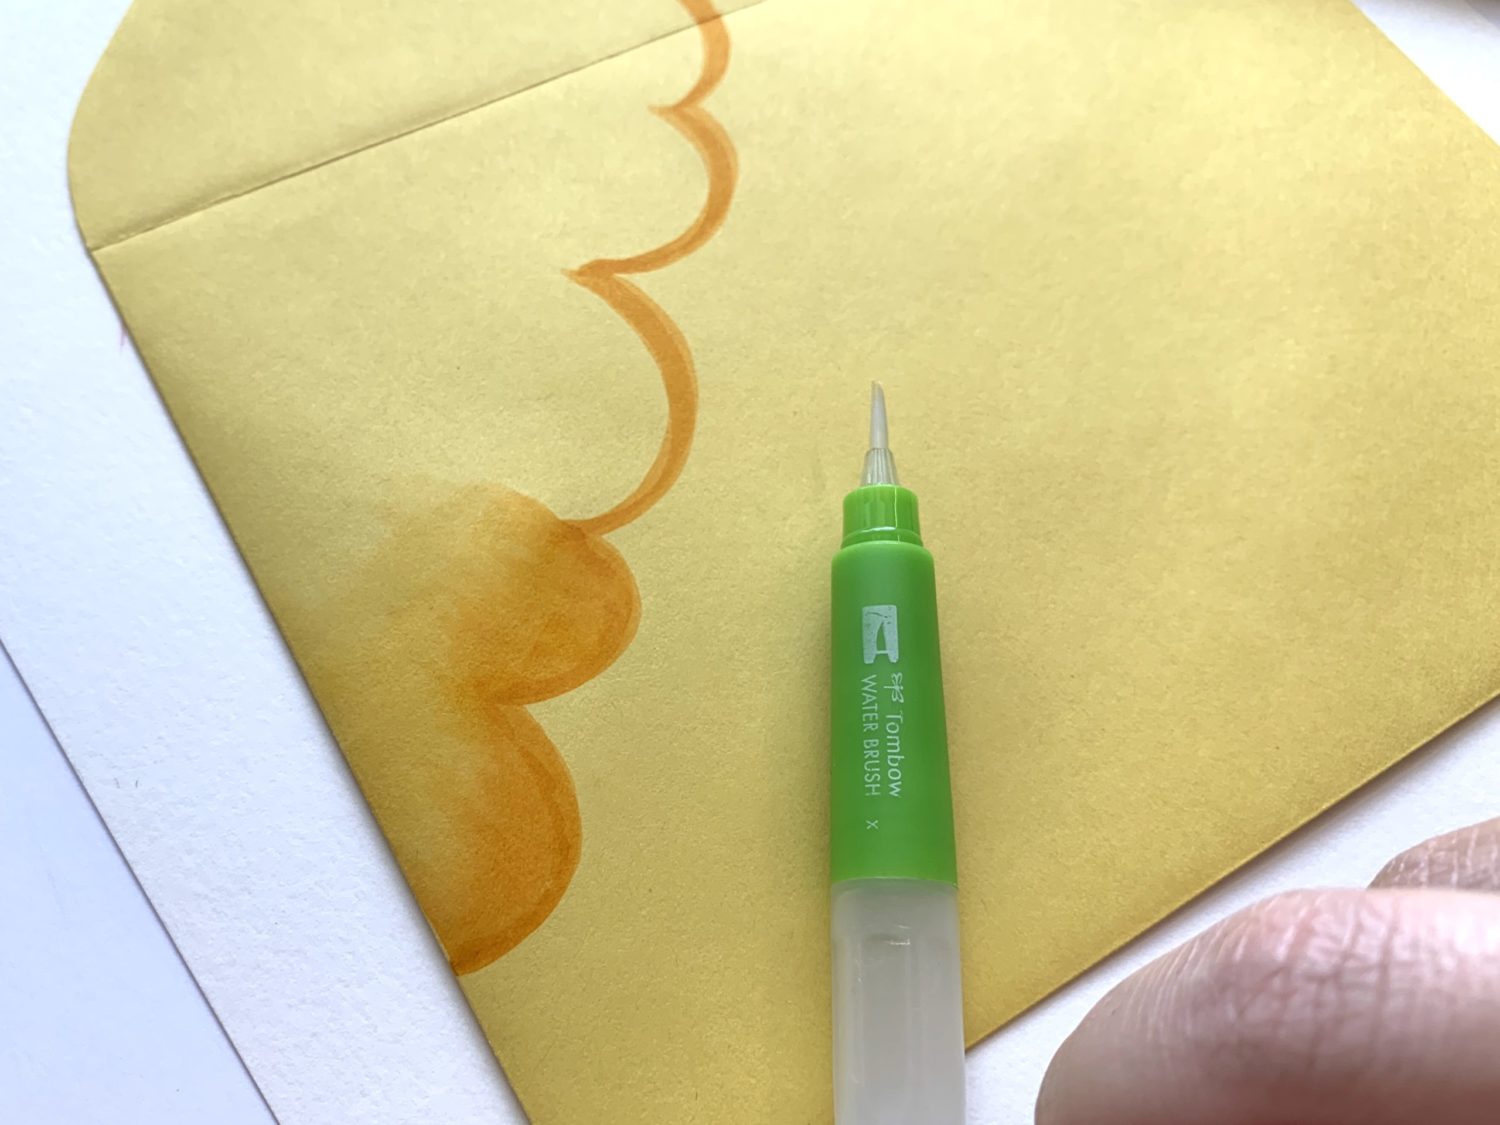
Using the Small Water Brush, I brushed water over the ink toward the inside of the cloud shape. I did this until the water ran clear.
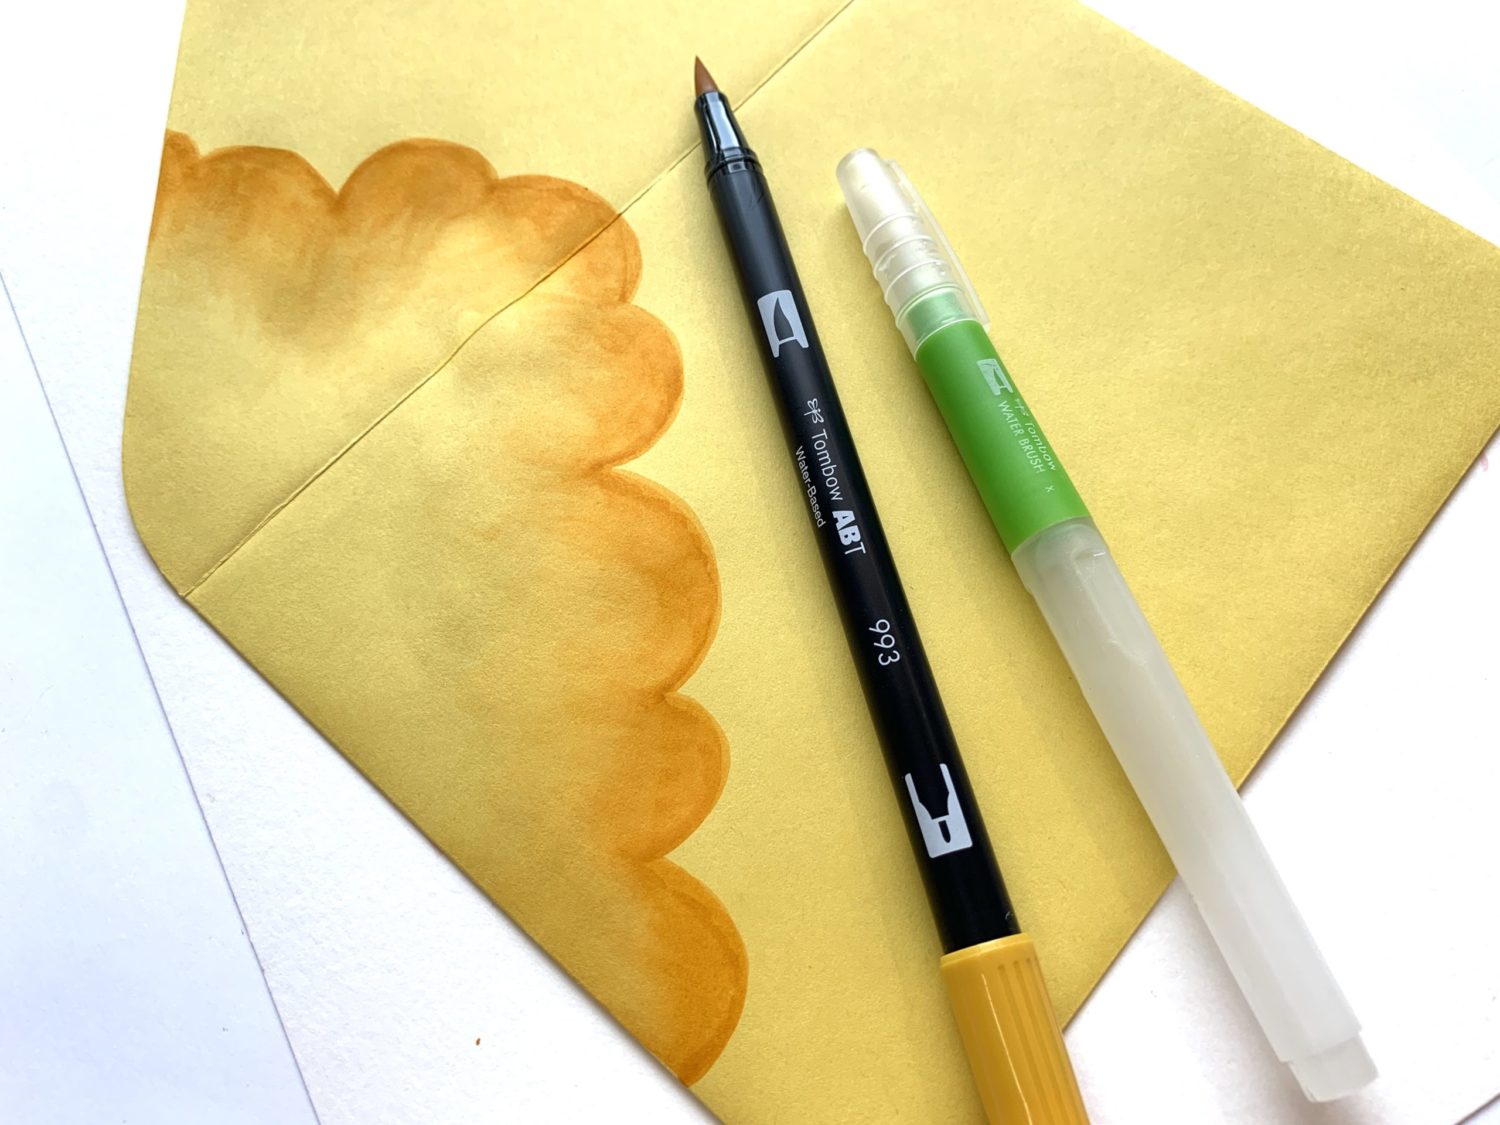
I did those steps over and over until the cloud edge was filled. As previously mentioned, the Small Water Brush made it easy to control the water flow and helped me avoid over saturated paper.
Writing the Address
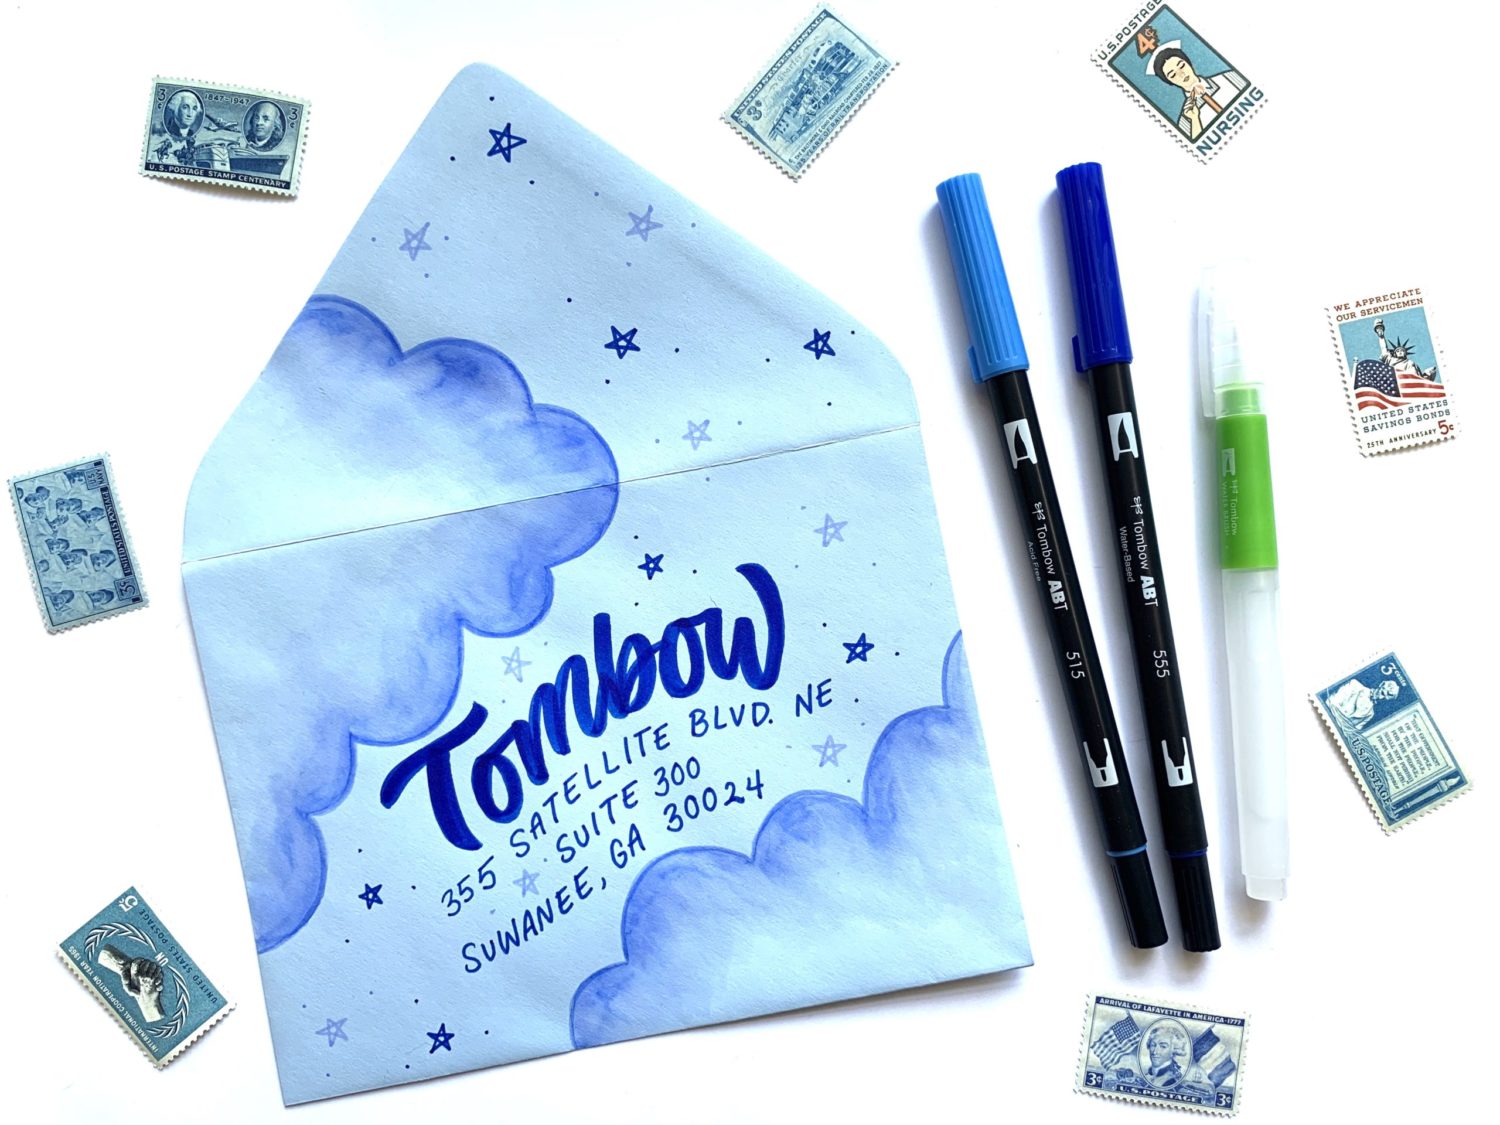
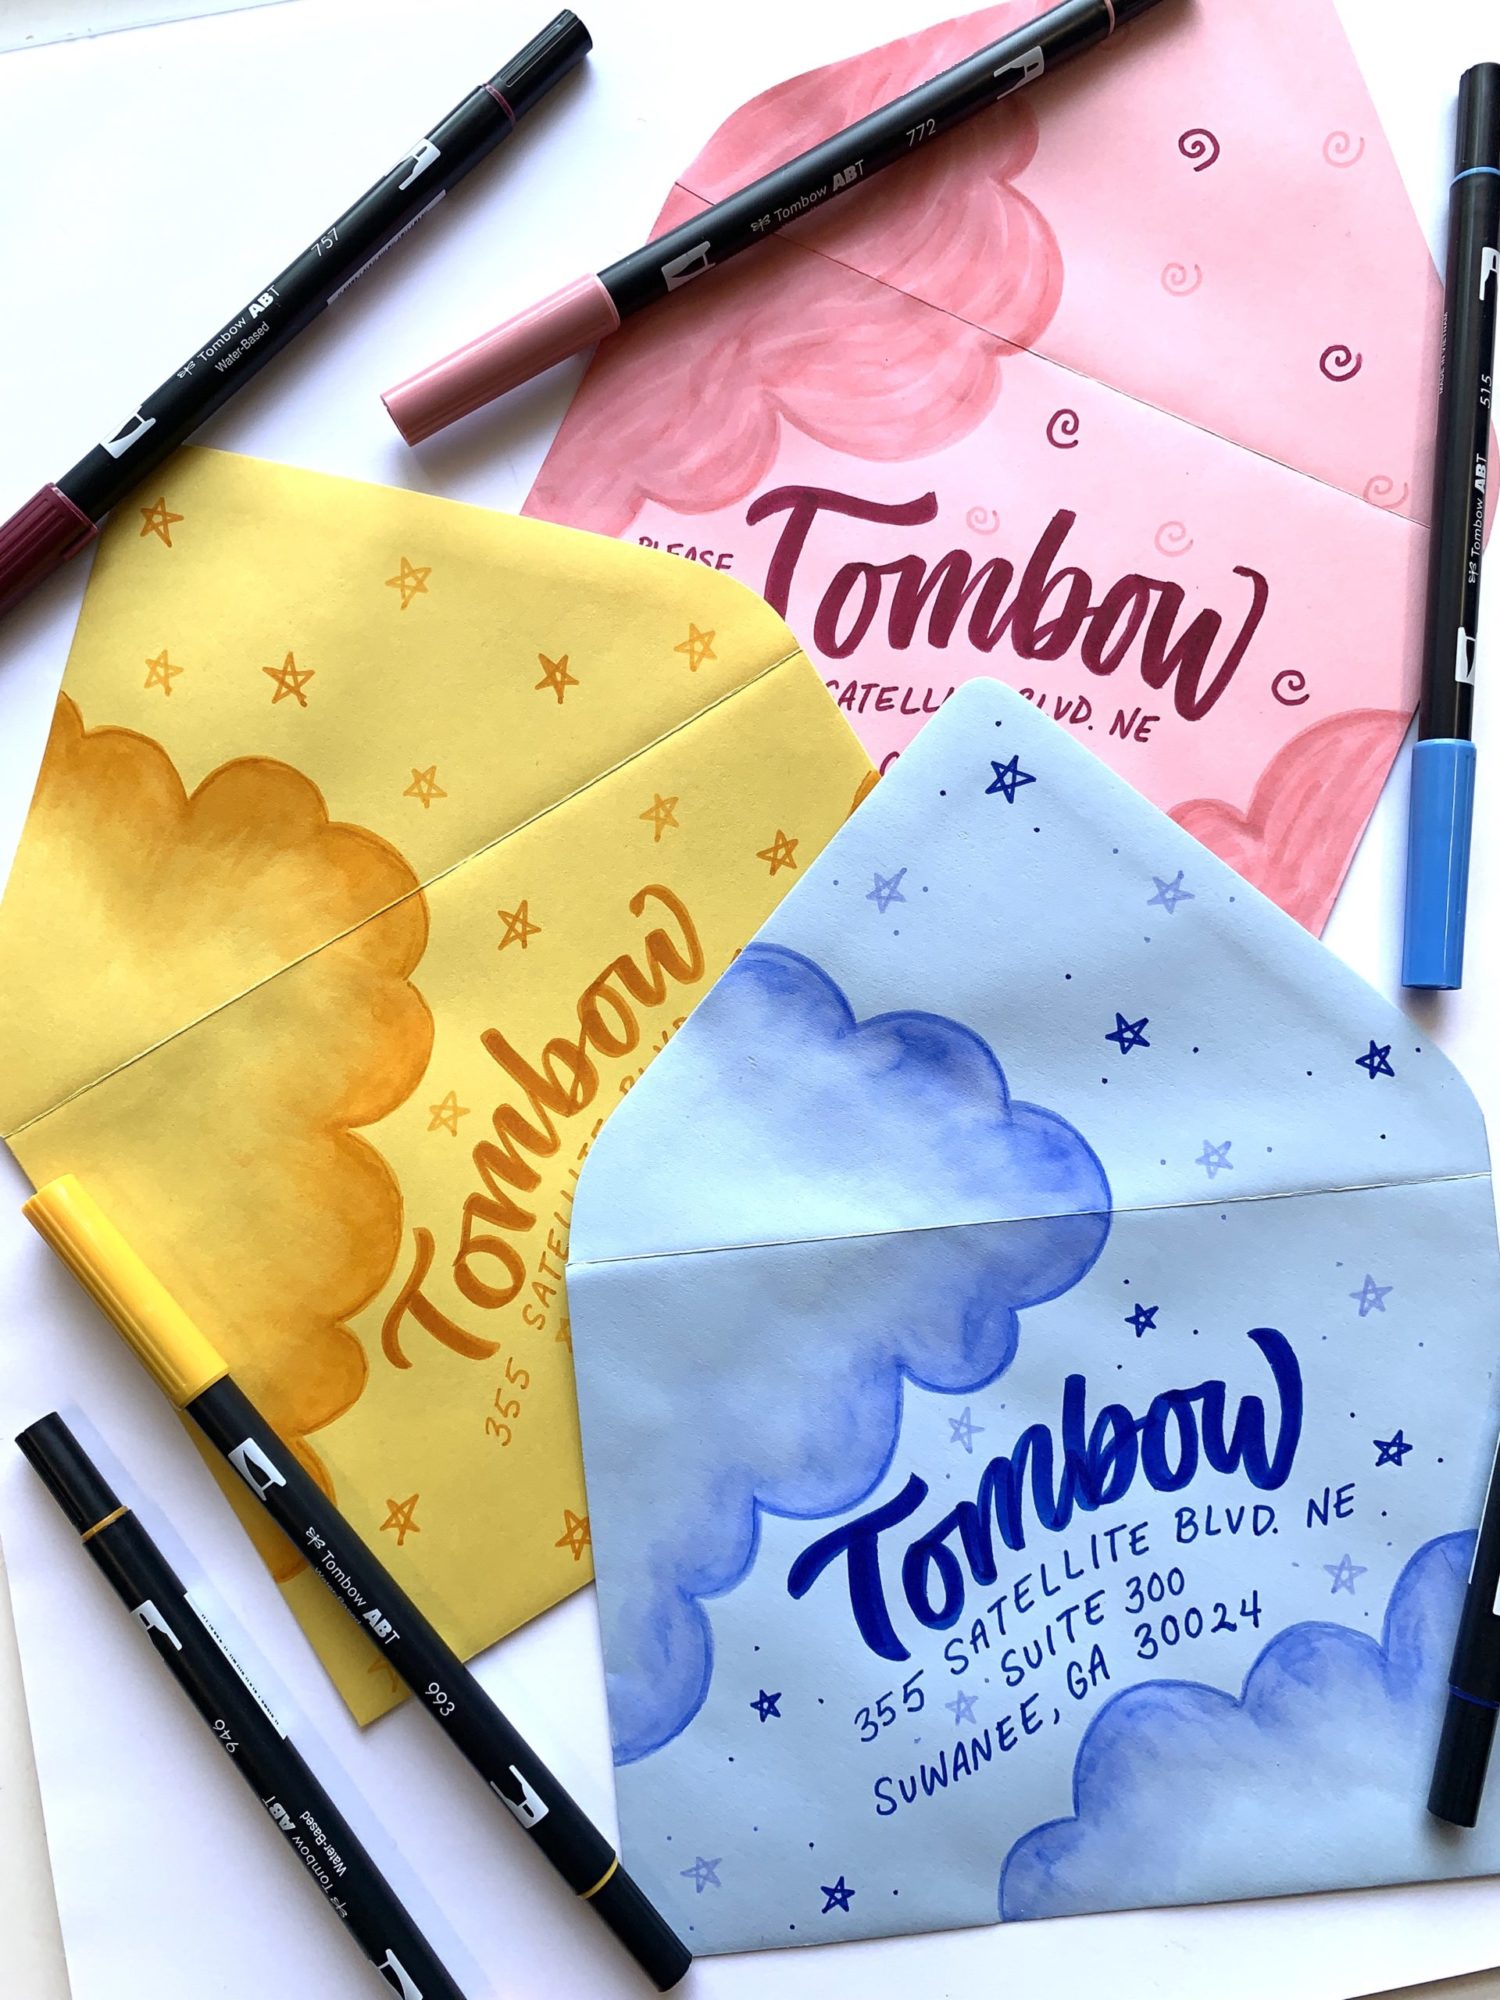
Using a darker shade than I used for the clouds, I lettered the address on the envelope. For this blue envelope, I used the brush tip of Dual Brush Pen 555 for the recipient name and the actual address. Then, I used Dual Brush Pen 515 (that I used for the clouds on this example) and Dual Brush Pen 555 to draw some simple stars on the rest of the envelope.
For the pink envelope from the first version, I used the Dual Brush Pen 757 to letter the address. I used Dual Brush Pen 946 for the yellow envelope from the second version.
Didn’t I tell you it was simple?! I hope you enjoyed this tutorial and you make your own cloudy happy mail!
For more snail mail inspiration, check out Fun Ways to Create Happy Mail Envelopes by Smitha Katti or the 5 Ways to Letter Happy Mail Addresses post by Grace Myhre!
Also, make sure to tag Tombow if you decide to make your own happy mail!