Hello Tombow fans, Serena from @SerenaBeeCreative here! This week, the Tombow Design Team is focusing on guilty pleasures! One of my not so guilty pleasures is tarot readings and pick a card readings on YouTube! I find them so much fun to watch and see what connects and resonates with my life.
In this tutorial, we will be making a watercolor crystal ball. Let’s get started!
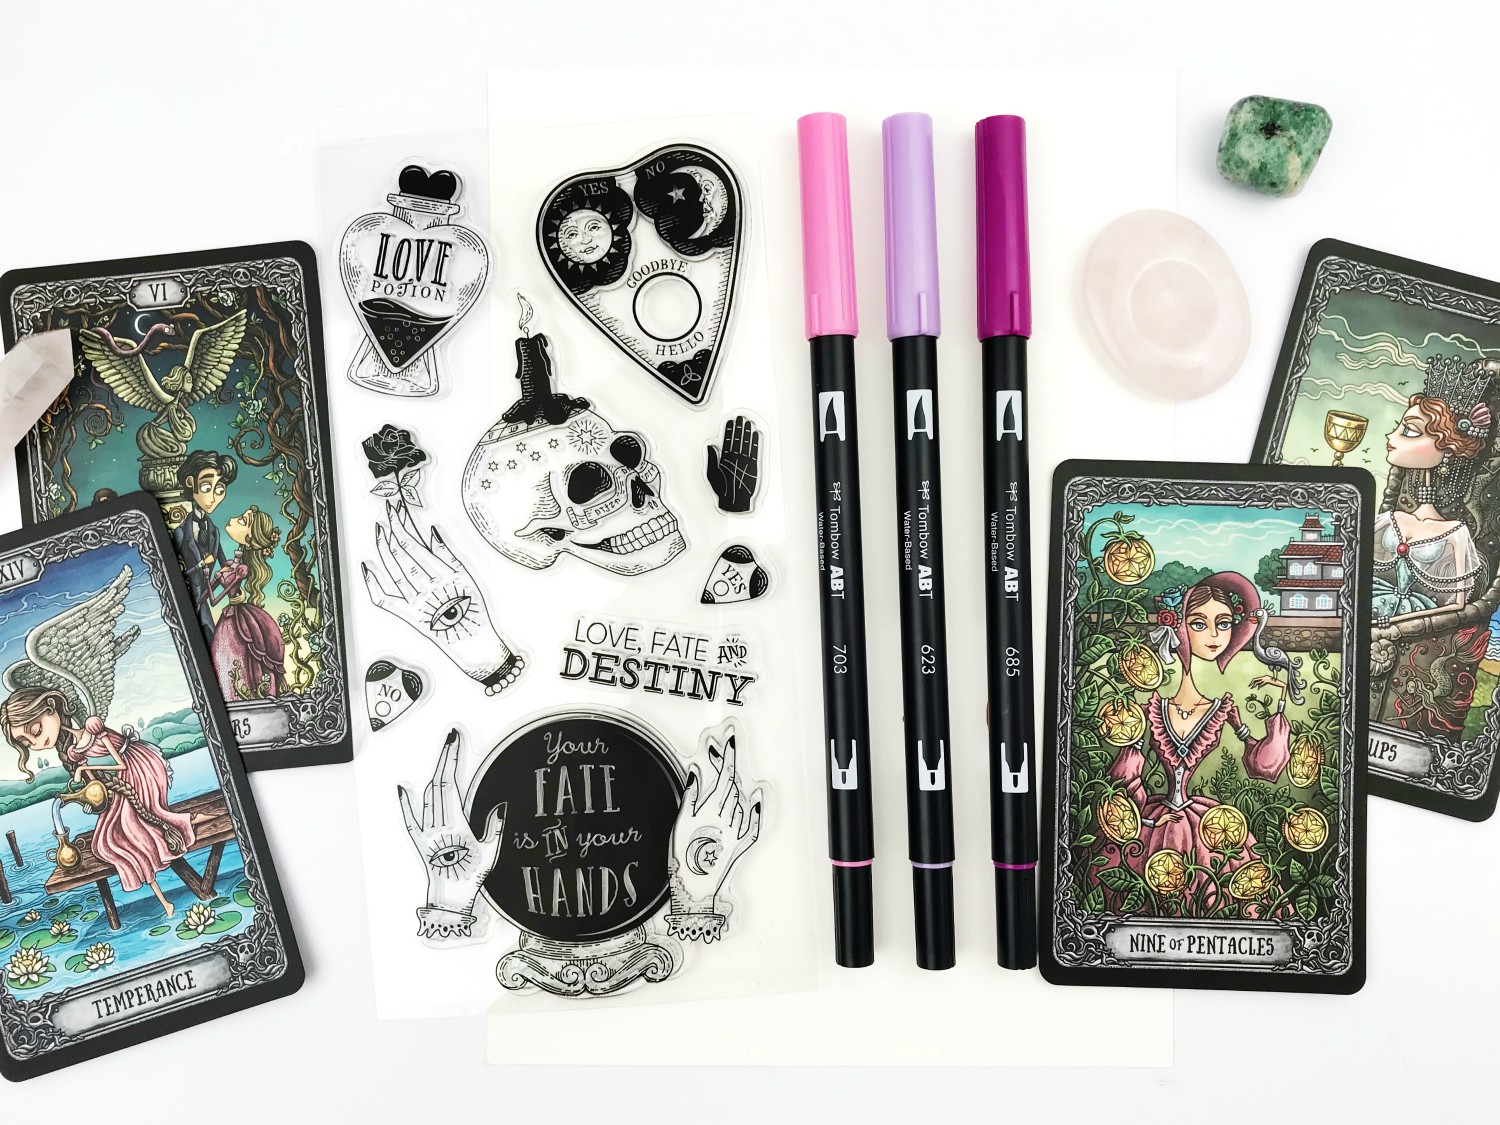
Supplies:
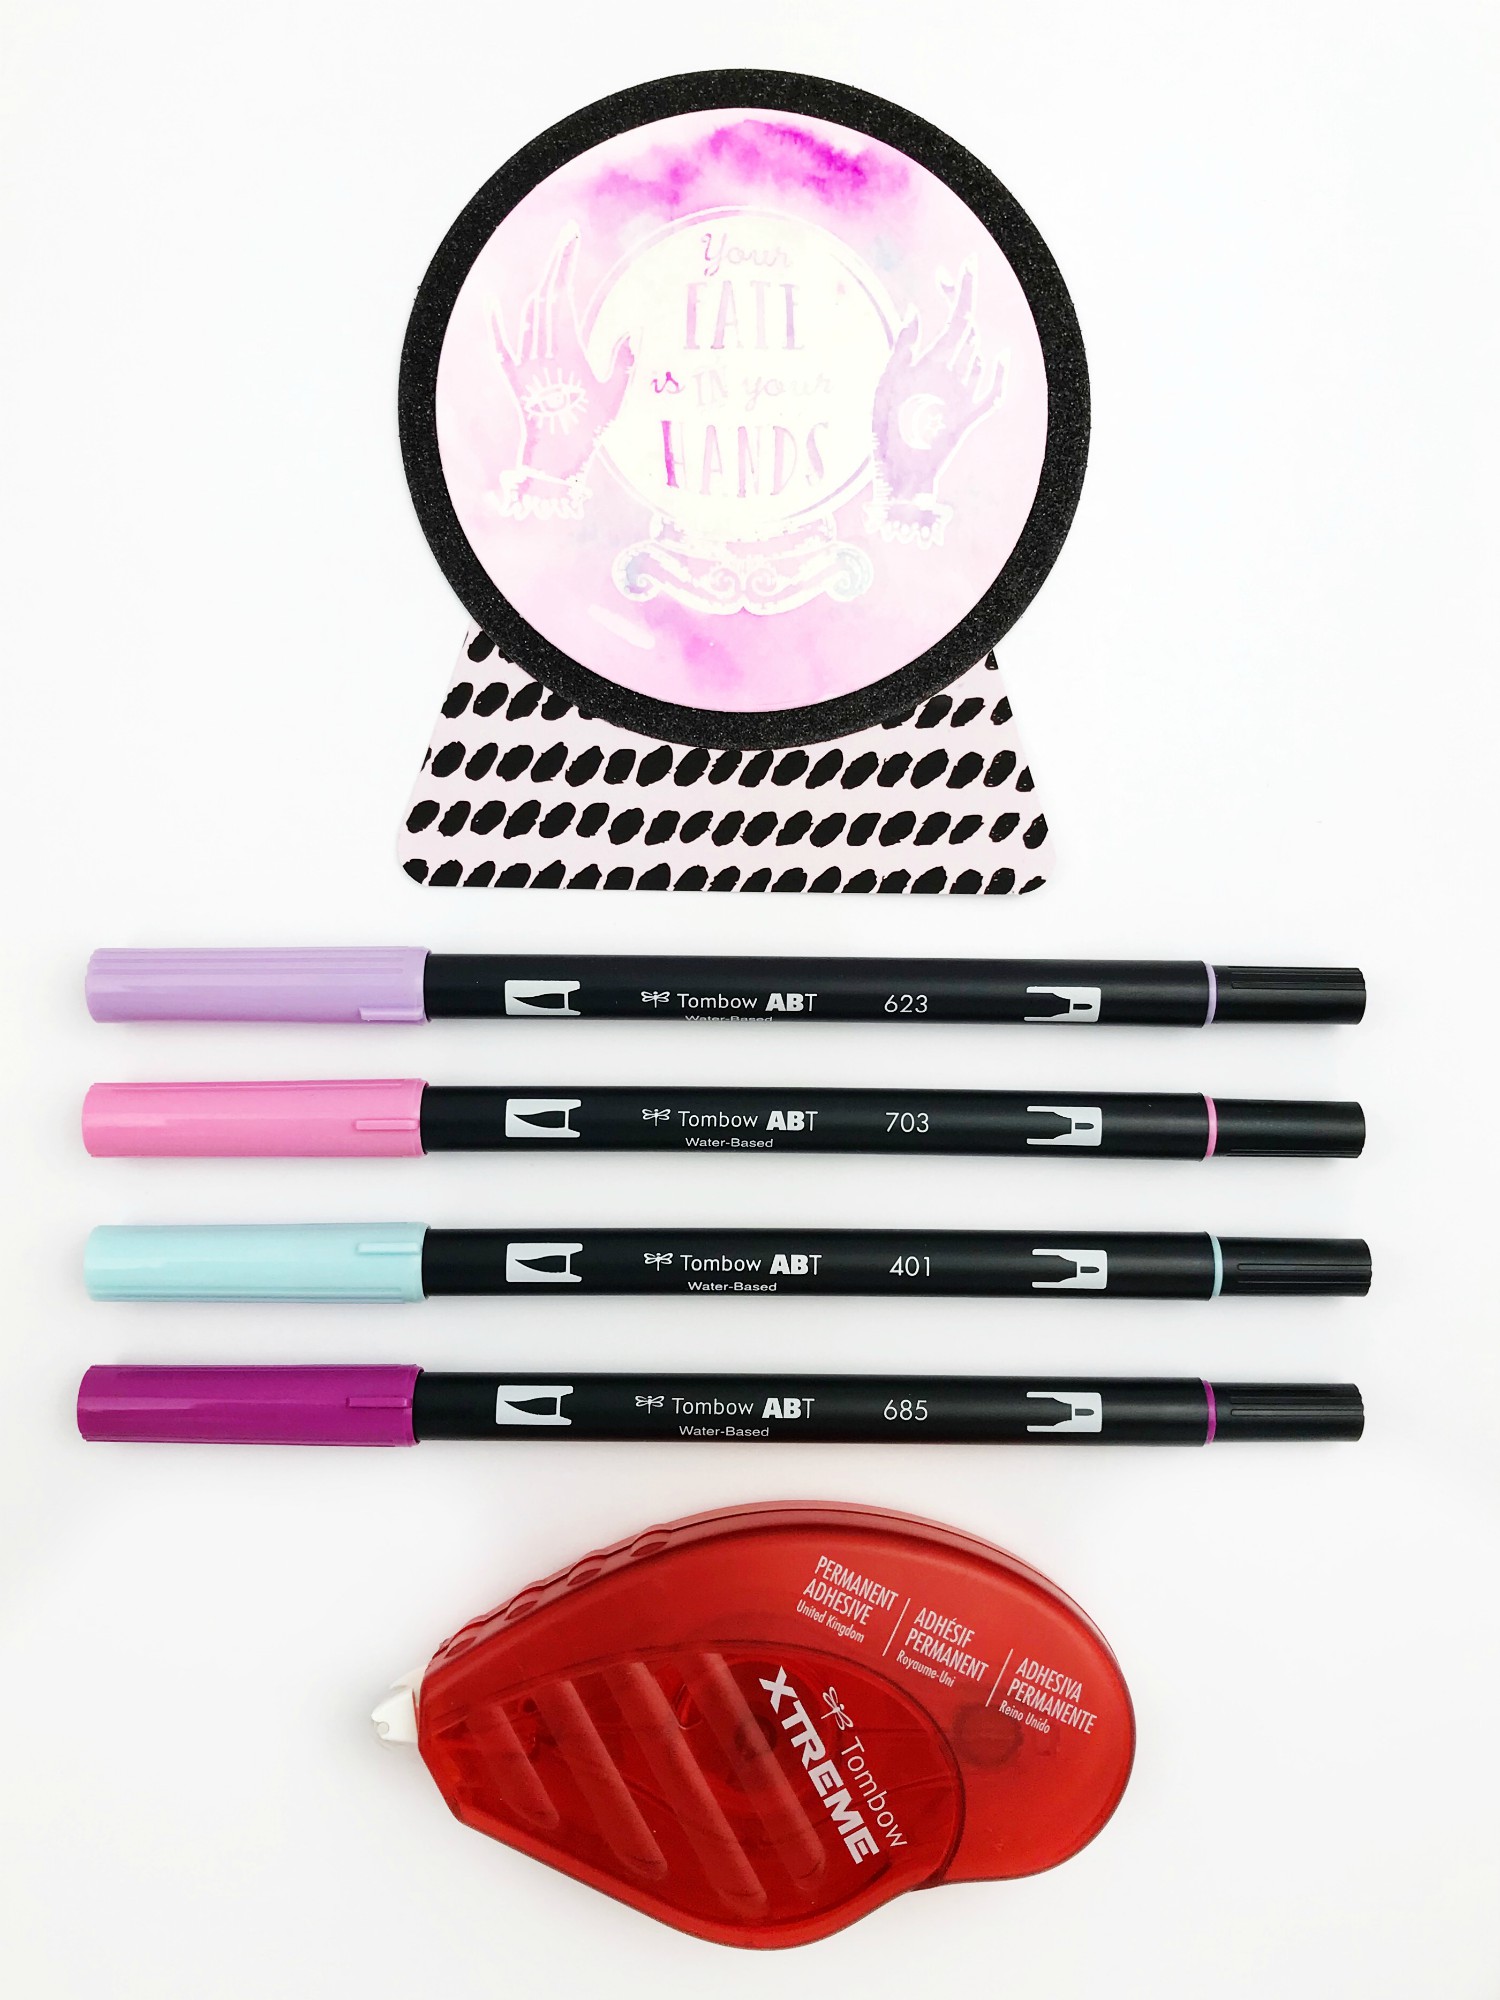
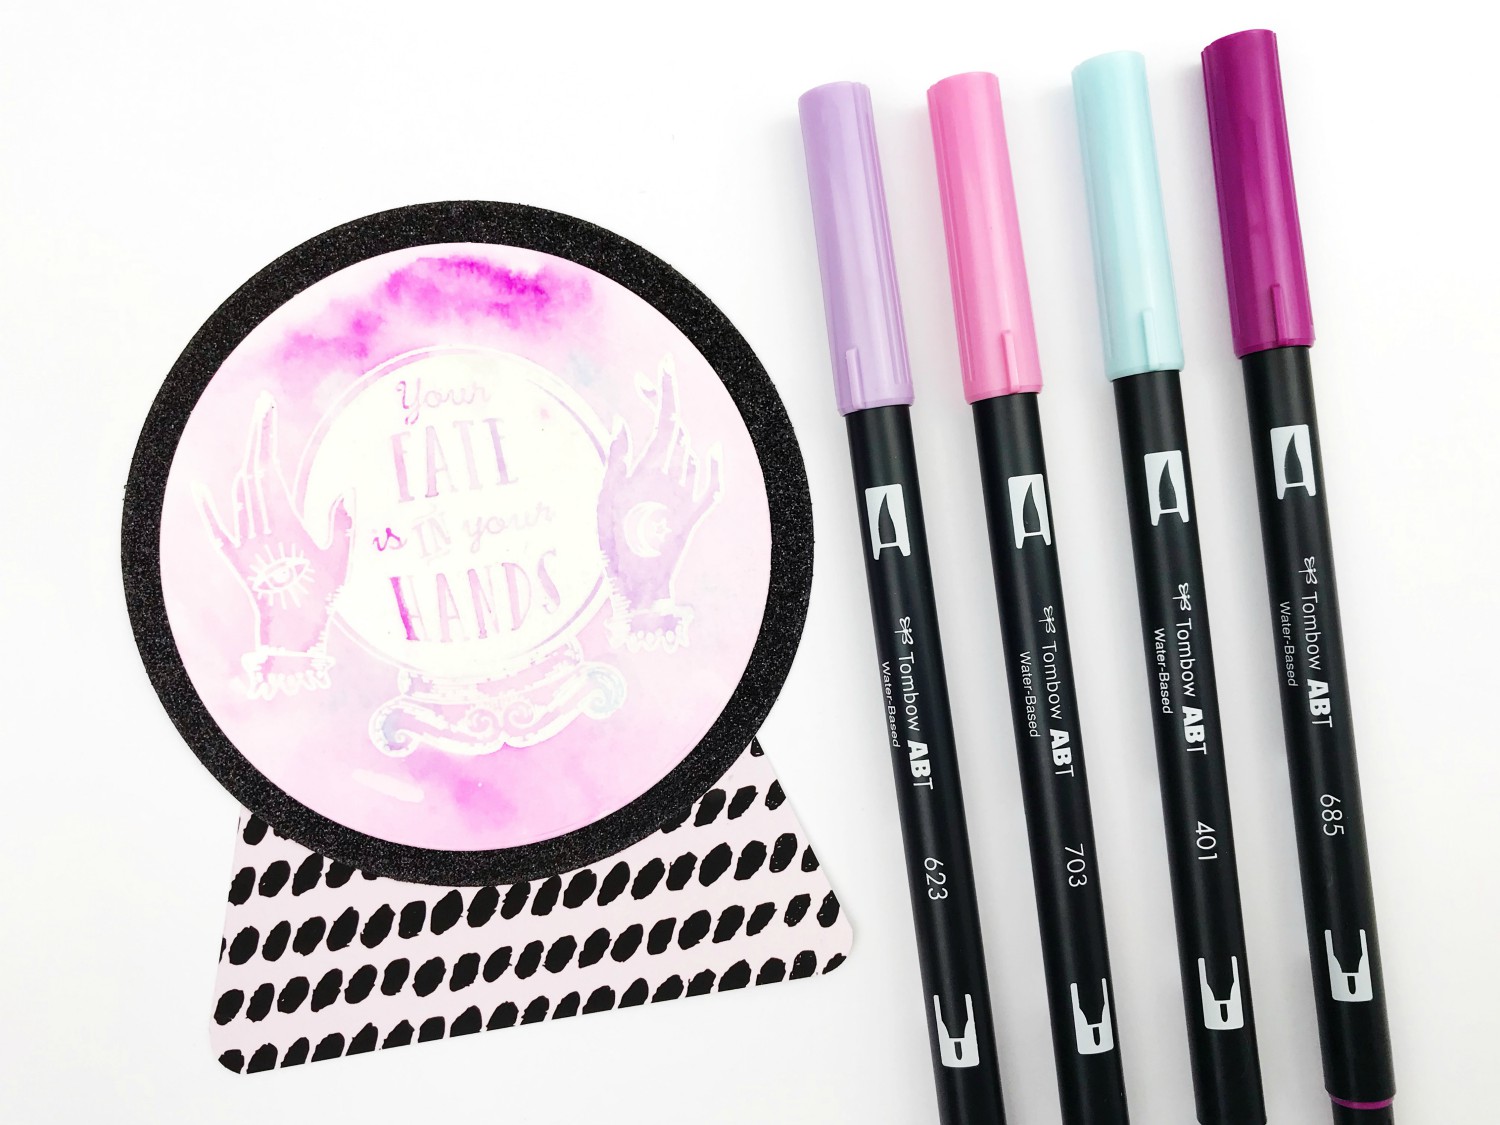
- Dual Brush Pens (401, 623, 685, 703)
- Xtreme Adhesive
- Flat Water Brush
- MONO Graph Mechanical Pencil
- Embossing powder
- Heat tool
- Clear embossing powder
- Versamark ink
- Embossing buddy
- Watercolor paper
- Decorative cardstock/glitter paper
- Crystal ball stamp
STEP ONE:
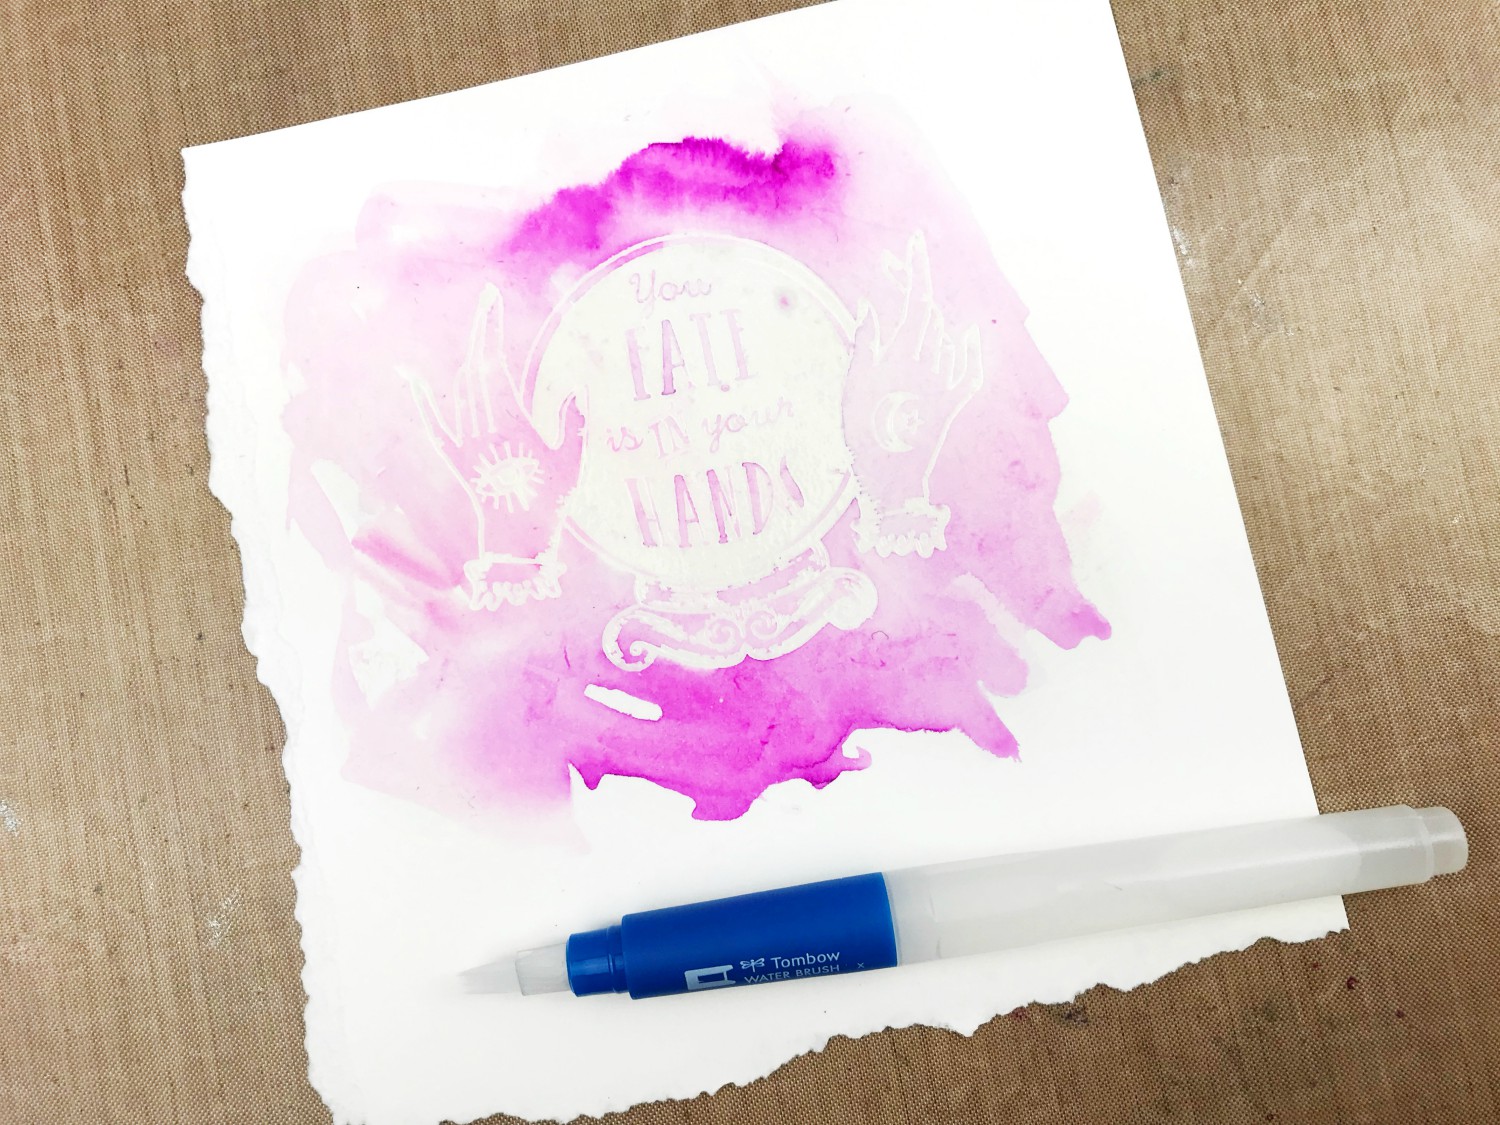
The first step is to prep your paper for heat embossing. I use an embossing buddy to remove the static cling from my paper. Next, stamp your image using versamark ink directly on your watercolor paper.
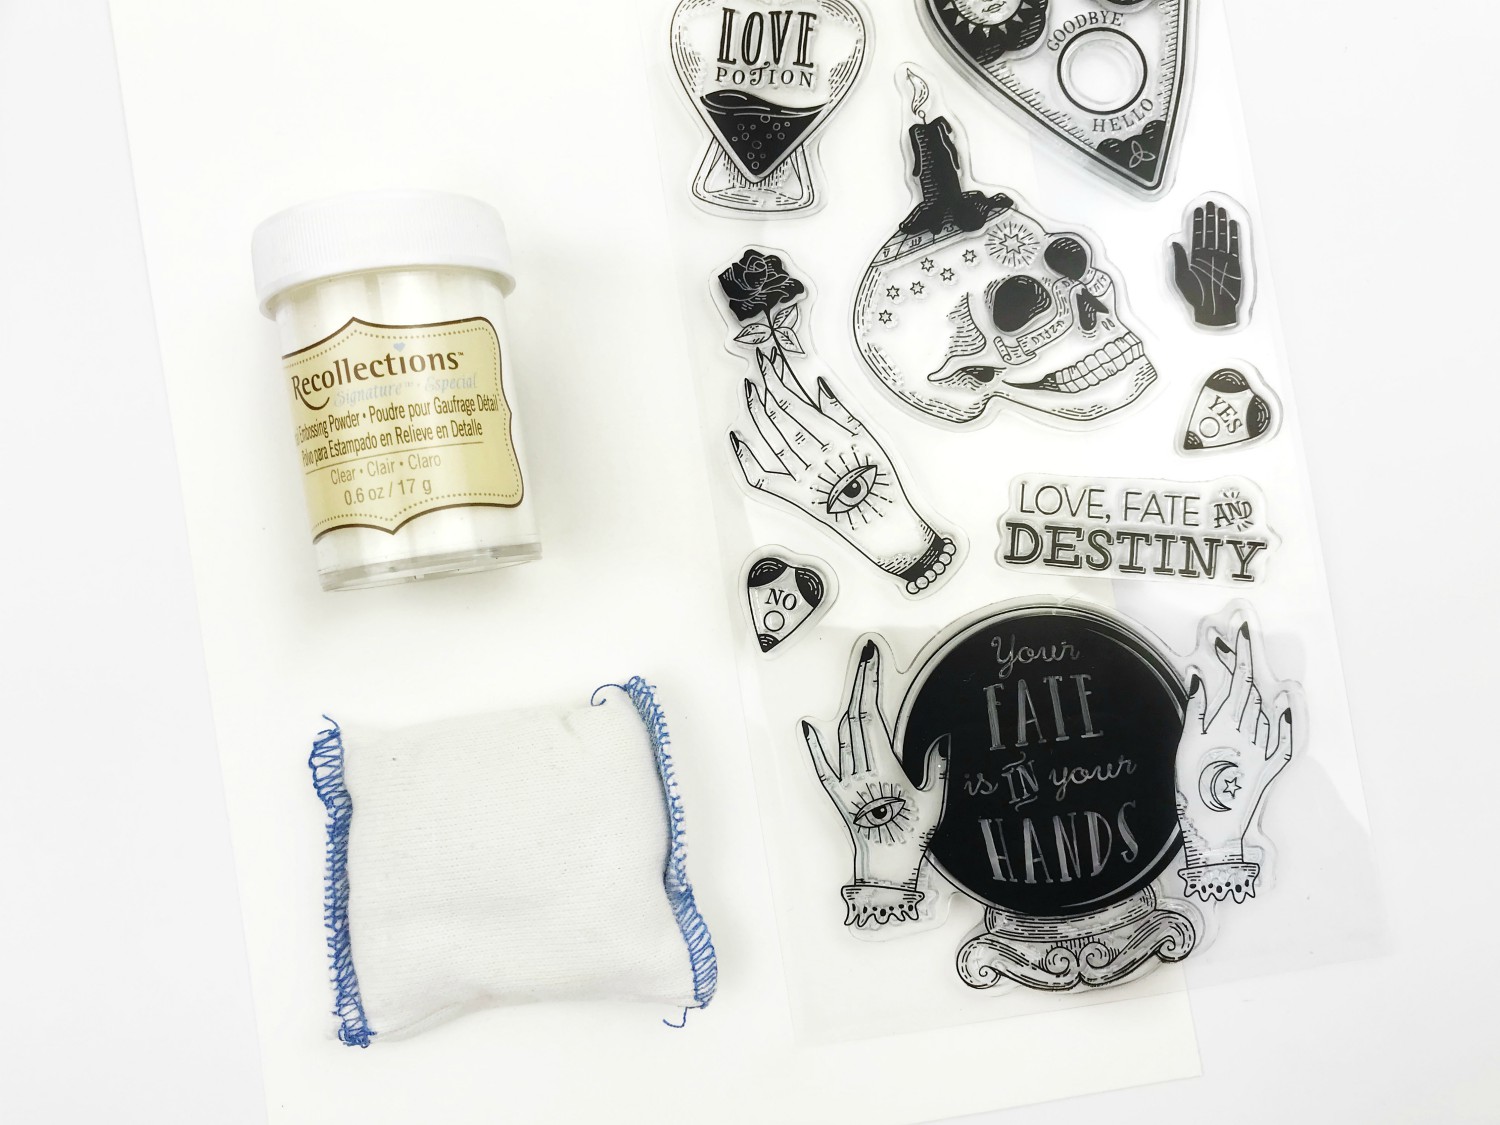
Now, it is time to pour your clear embossing powder all over your stamped image. Make sure to evenly cover the full surface of your stamped image. Next, use your heating tool to melt the embossing powder.
STEP TWO:
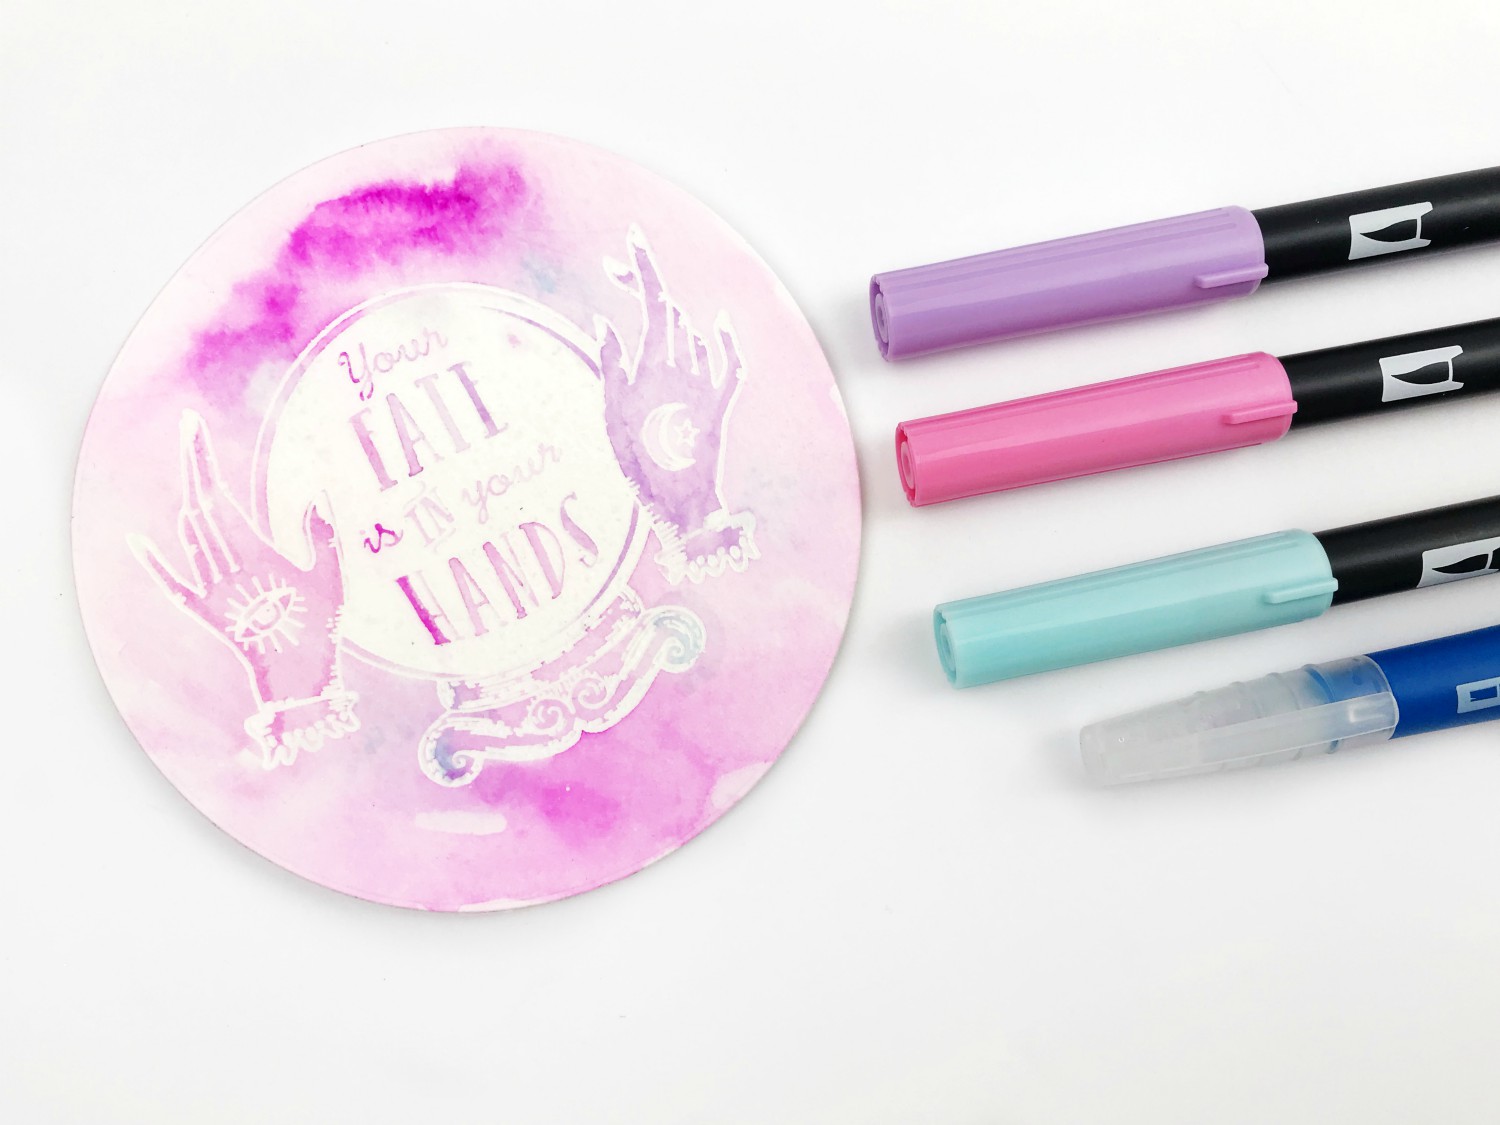
Once you have your stamped image embossed, it is time to do some watercoloring. Chose 3-4 Dual Brush Pen colors you want to work with. I’m using Dual Brush Pen 401, 623, 685 and 703.
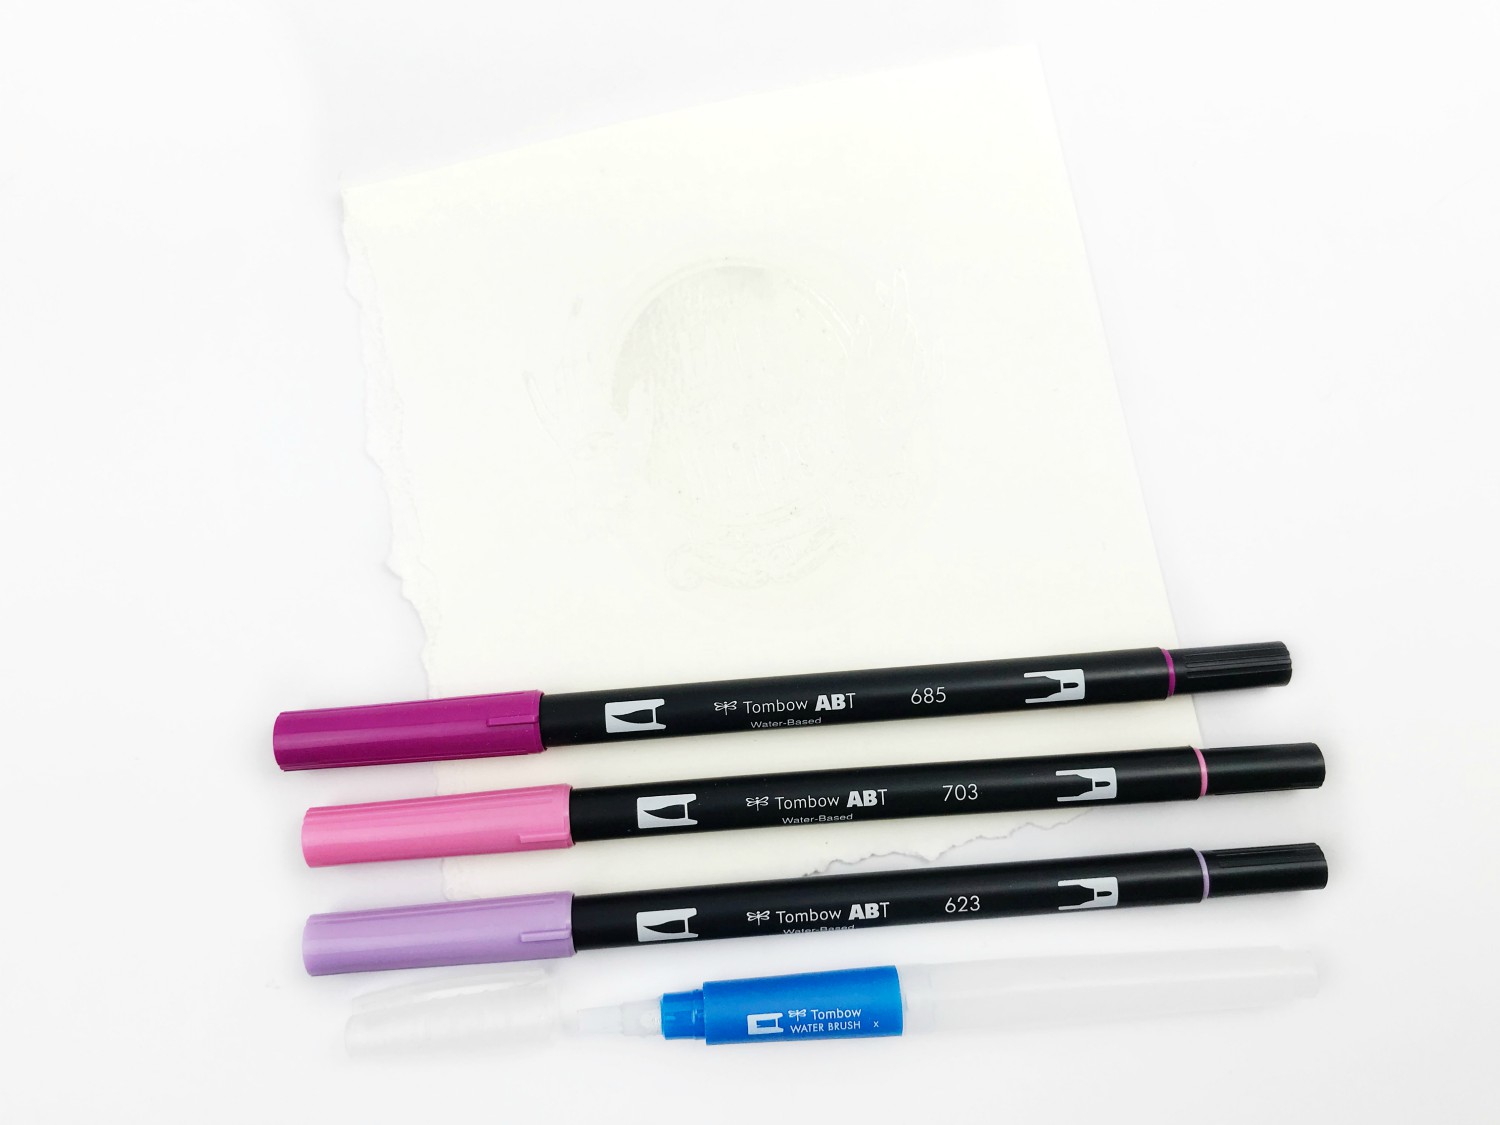
Using your Flat Water Brush, apply some water directly over your embossed image. Using one of your Dual Brush Pens, lay on some color directly on the water.
Alternatively, you can directly add the Dual Brush Pen color first on your watercolor paper and then go over with the Water Brush to blend it out.
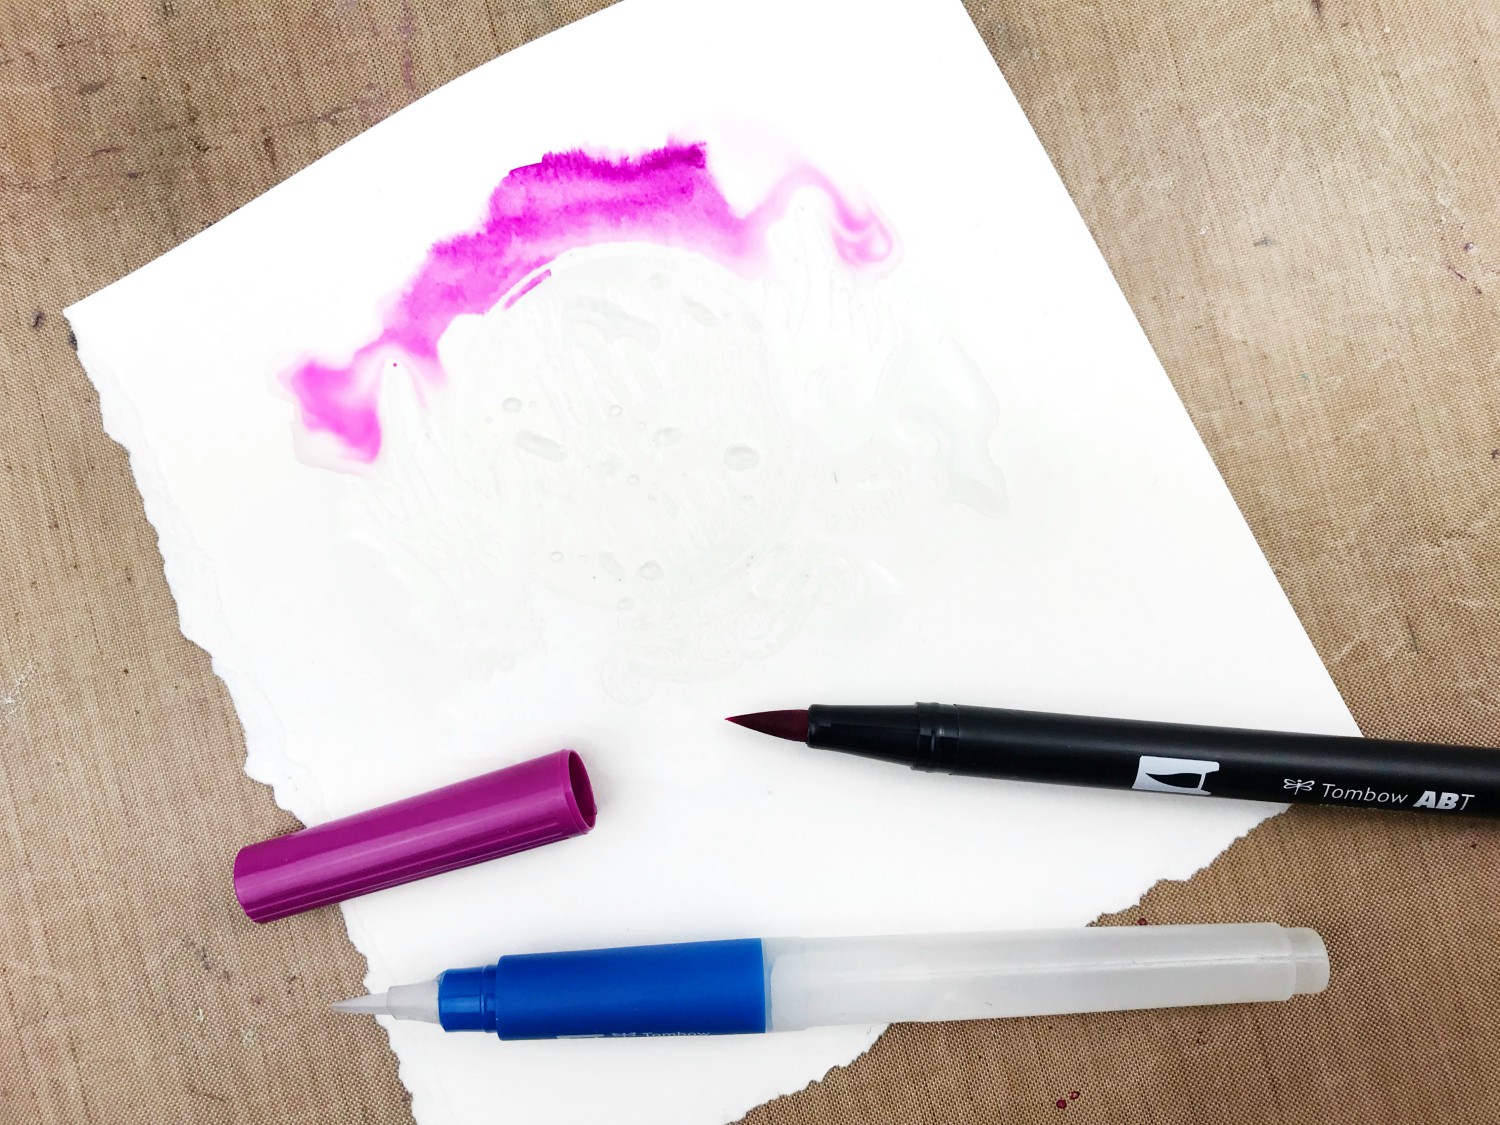
Continue to add and build up your background with the Dual Brush Pen colors you chose. Then, put it aside to dry.
STEP THREE:
Once your watercolor background is dry, it’s time to add more detail. I like to go in directly with the Dual Brush Pen color and add some extra detail by highlighting or enhancing part of my embossed image. For instance, I went in with my light pink Dual Brush Pen (703) and added some shadowing around the left hand as well as added more color to the words inside the crystal ball.
STEP FOUR:
Now that we are done with the crystal ball, it is time to assemble everything together. I used my circle die to cut out the embossed image and background we created. I also used a circle die one size larger to cut out a circle with black glitter paper.
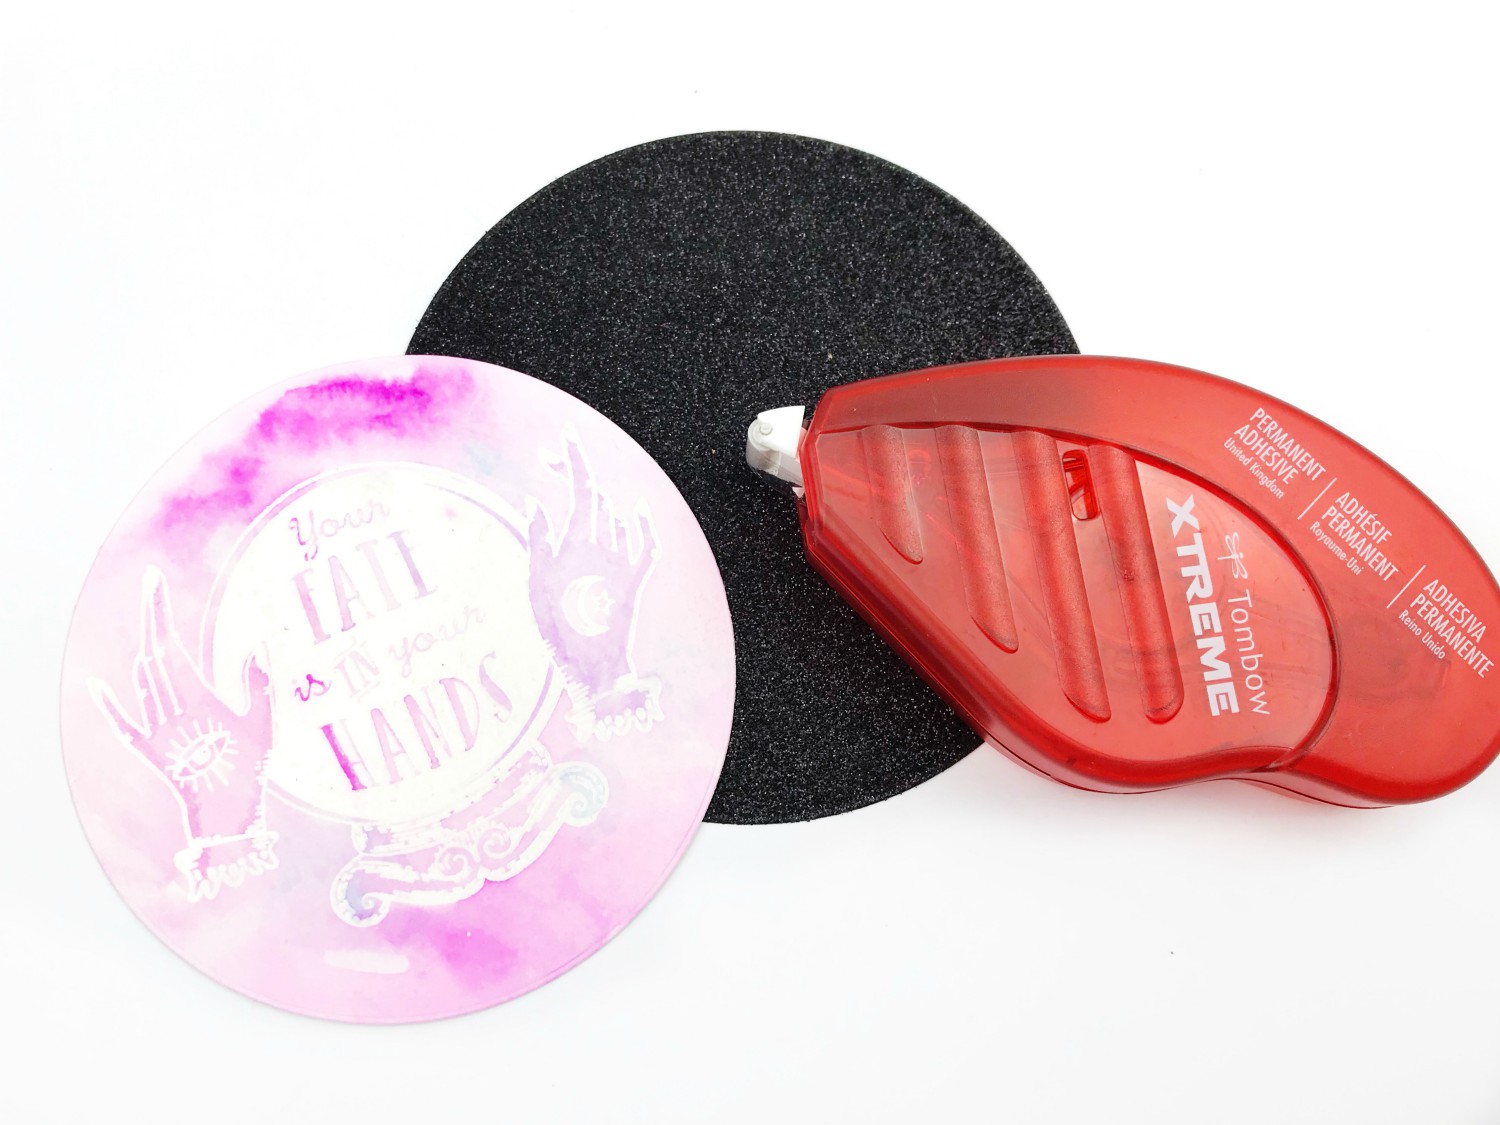
I’m using the Tombow Xtreme Adhesive to put the pieces together because I have found it to be the strongest dry adhesive for glitter paper.
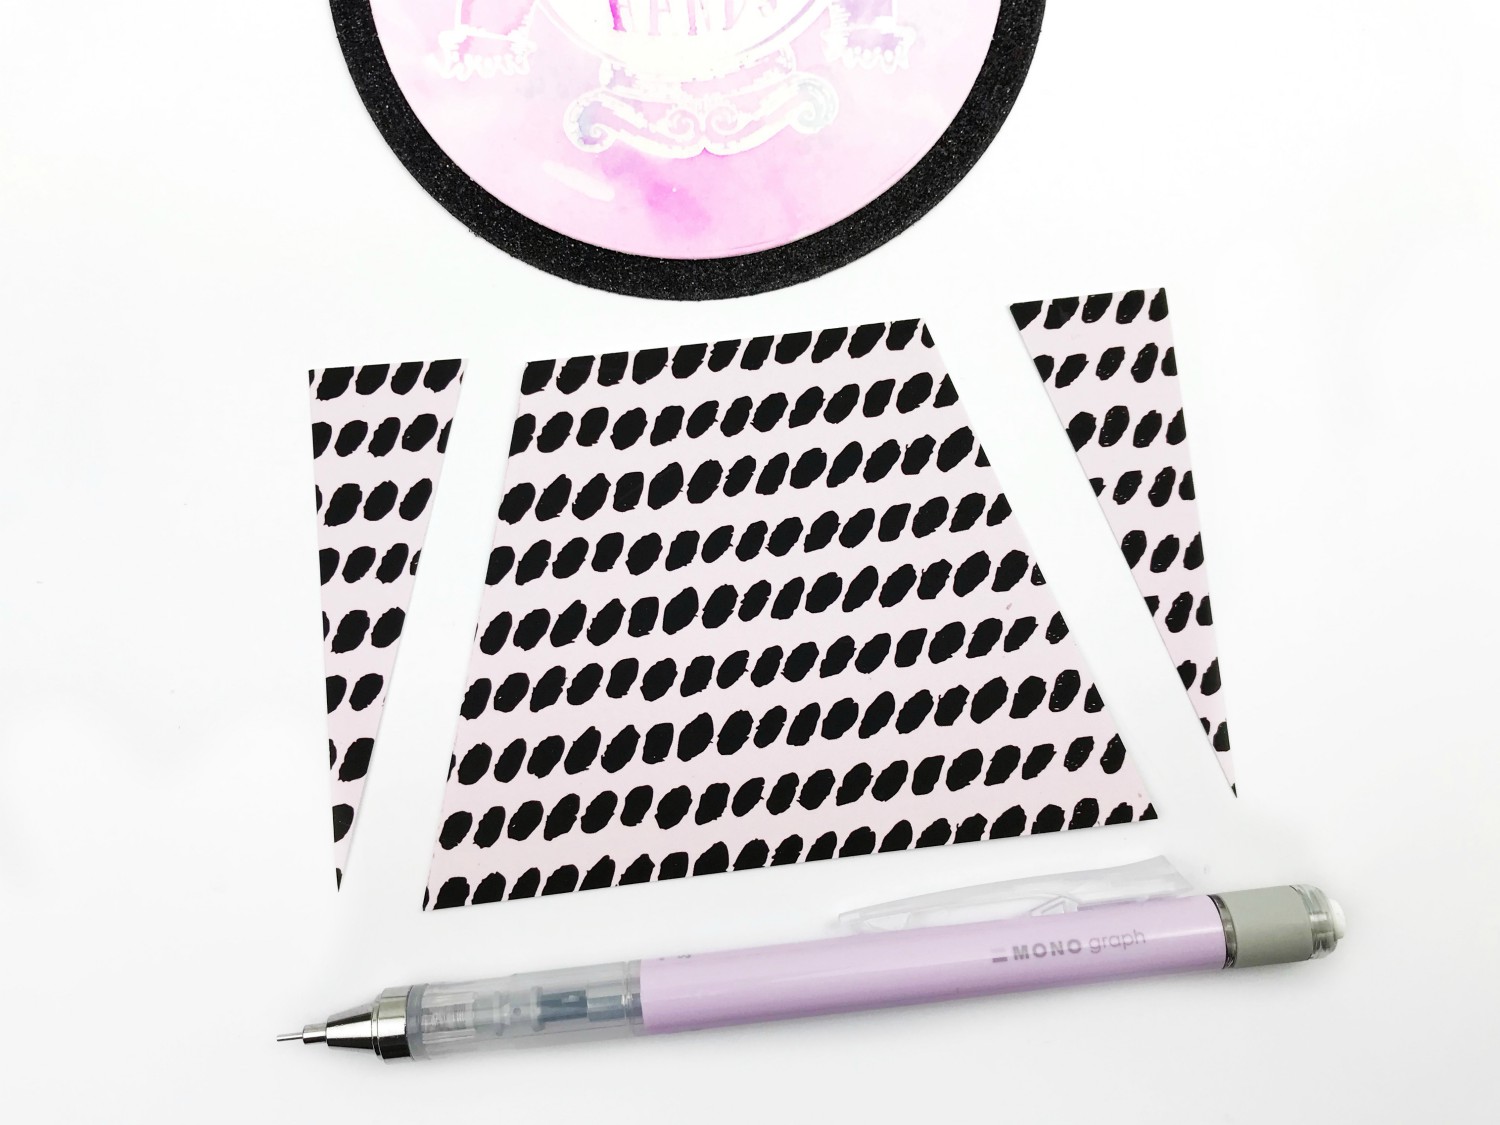
To create the base of the crystal ball, I am using pattern paper from one of my Papercakes Collections.
I used the MONO Graph Mechanical Pencil and a ruler to figure out how much to remove from both sides. Once I cut one side, I simply mirrored it on the other side and traced it with with the MONO Graph Pencil.
To finish off your crystal ball, simply adhere the two pieces together using the Tombow Xtreme Adhesive.
FINAL LOOK:
There you have your cute watercolored crystal ball! You can use it to decorate your office space, put it on a card, or turn it into a tag!
I hope you enjoyed this tutorial! If you give this a try, make sure to tag @serenabeecreative and @tombowusa so we can see!
If you’d like to see more from me, check out my Youtube channel or join my Crafty Rebelles Community!
Much love,
Serena Bee