Hi y’all, it’s Grace from Grace Anne Studio. I am all about messy art projects with my kids. However I have to admit, carving pumpkins is not my favorite. To satisfy their jack-o’-lantern requests this year, I made a no-carve jack-o’-lantern with Tombow ABT PRO Markers! Let’s walk through exactly how to do that.

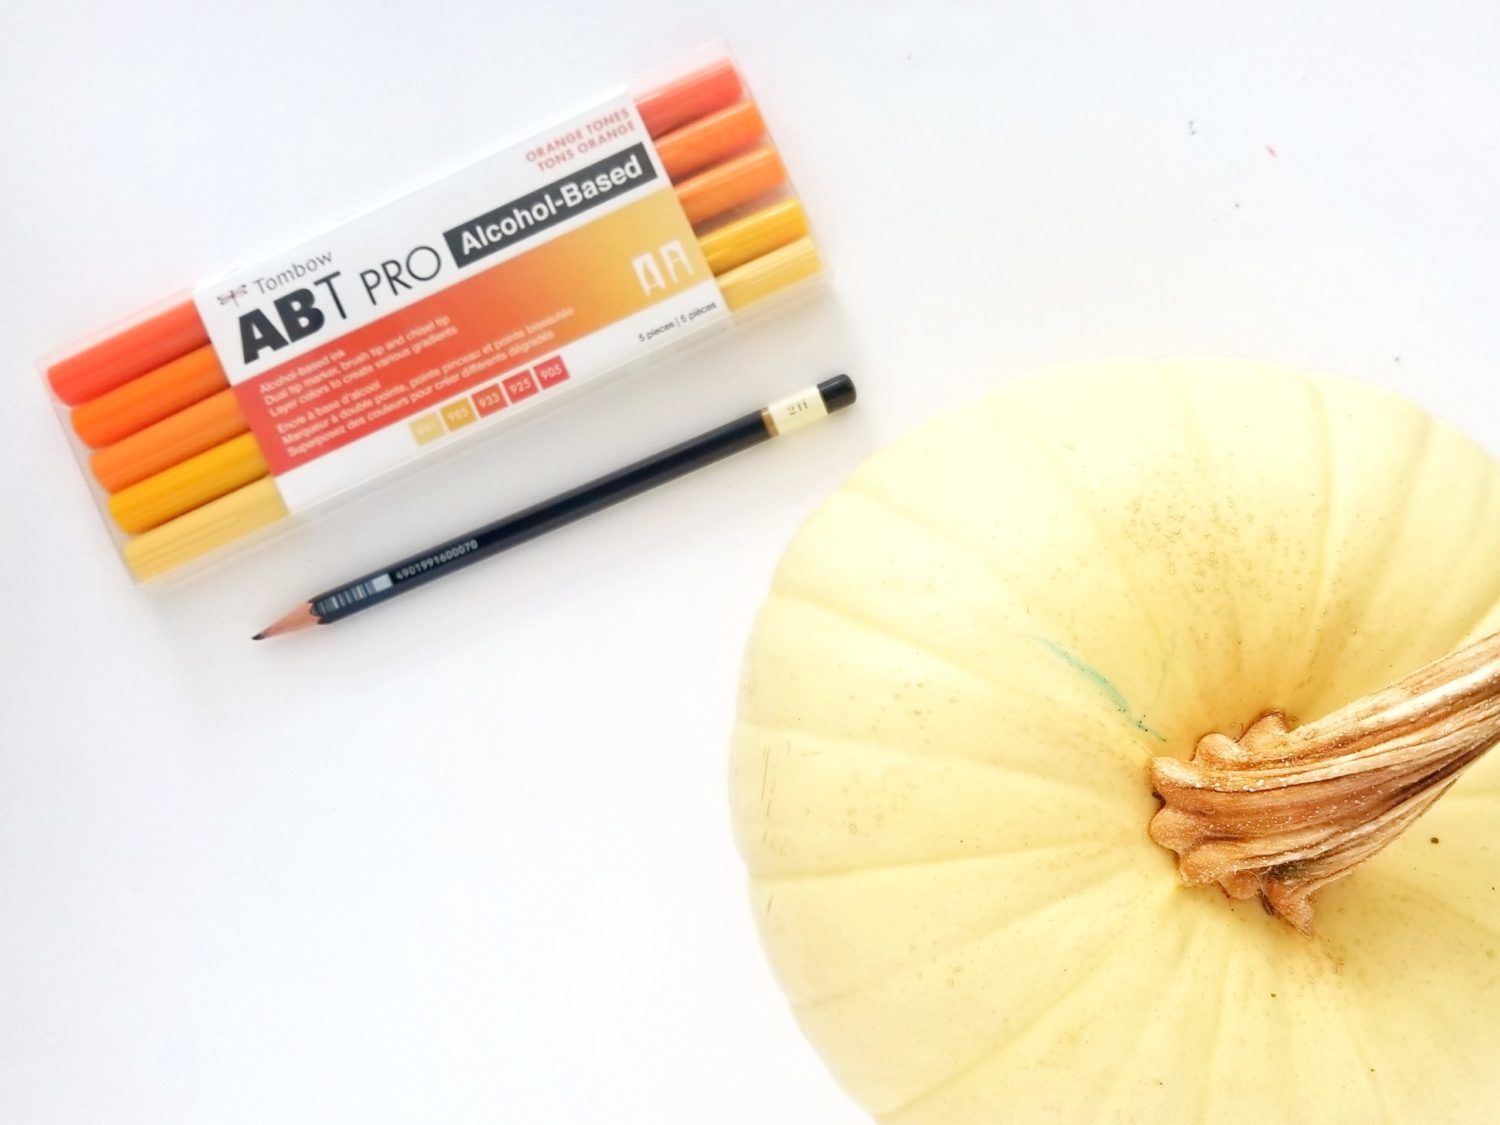
Supplies
Step 1: Pencil a Face
First, use the MONO Drawing Pencil to lightly sketch or trace a face on your pumpkin. My kids are still young, so I went with a cute pumpkin face. The pencil marks won’t show up incredibly dark and that’s ok! It’s the indention that you’re looking for, so keep a light hand until you have the final configuration down.
Step 2: ABT PRO Blending 101
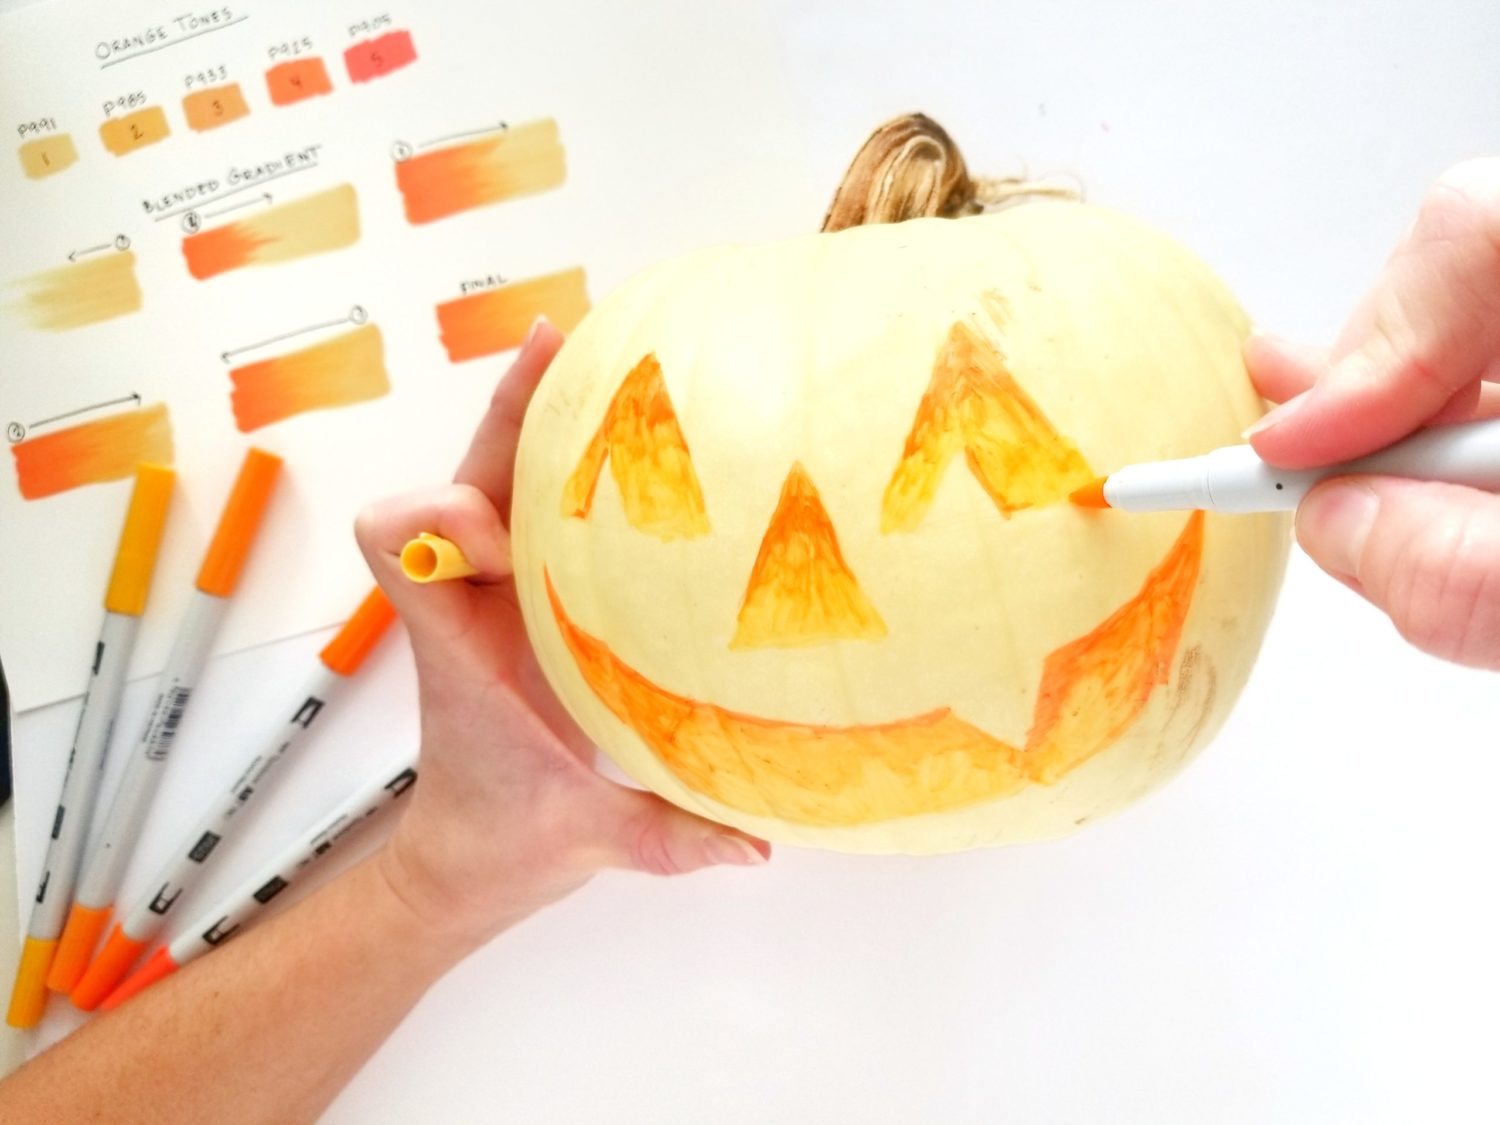
Before we jump right into blending on a non-paper surface, let’s walk through creating a gradient on paper. Alcohol-based markers do not mix ink to blend. So when you hear blending, think layering instead. As you layer the color, they lay down layers of pigment. That pigment either darkens lighter colors or slightly mutes darker colors. The more layers you have, the smoother the blends.
Start with your lightest color to lay down a base layer using a flicking or feathering motion. Then, move to the darkest color and flick the marker in the opposite direction. Next, move to your second darkest color and flick the color over the darkest color. Pull the color out slightly past the darkest color to begin blending with layers. Then, use the second lightest color and flick the marker over the two darker colors. Again, pull the color out slightly past the second darkest color to continue blending with layers. Finally, use the lightest color to add another layer or two to the top to smooth out the blend. Now, let’s try on a pumpkin!

Step 3: Base Layer
Next, use the chisel tip of the lightest color to lay down a base layer of color. I completely filled in the face to mark all of the edges. When you’re working with the ABT PRO Markers on non-paper surfaces, always use the chisel tip! It’s made of a more durable material and won’t fray quite as easily as the brush tip will.

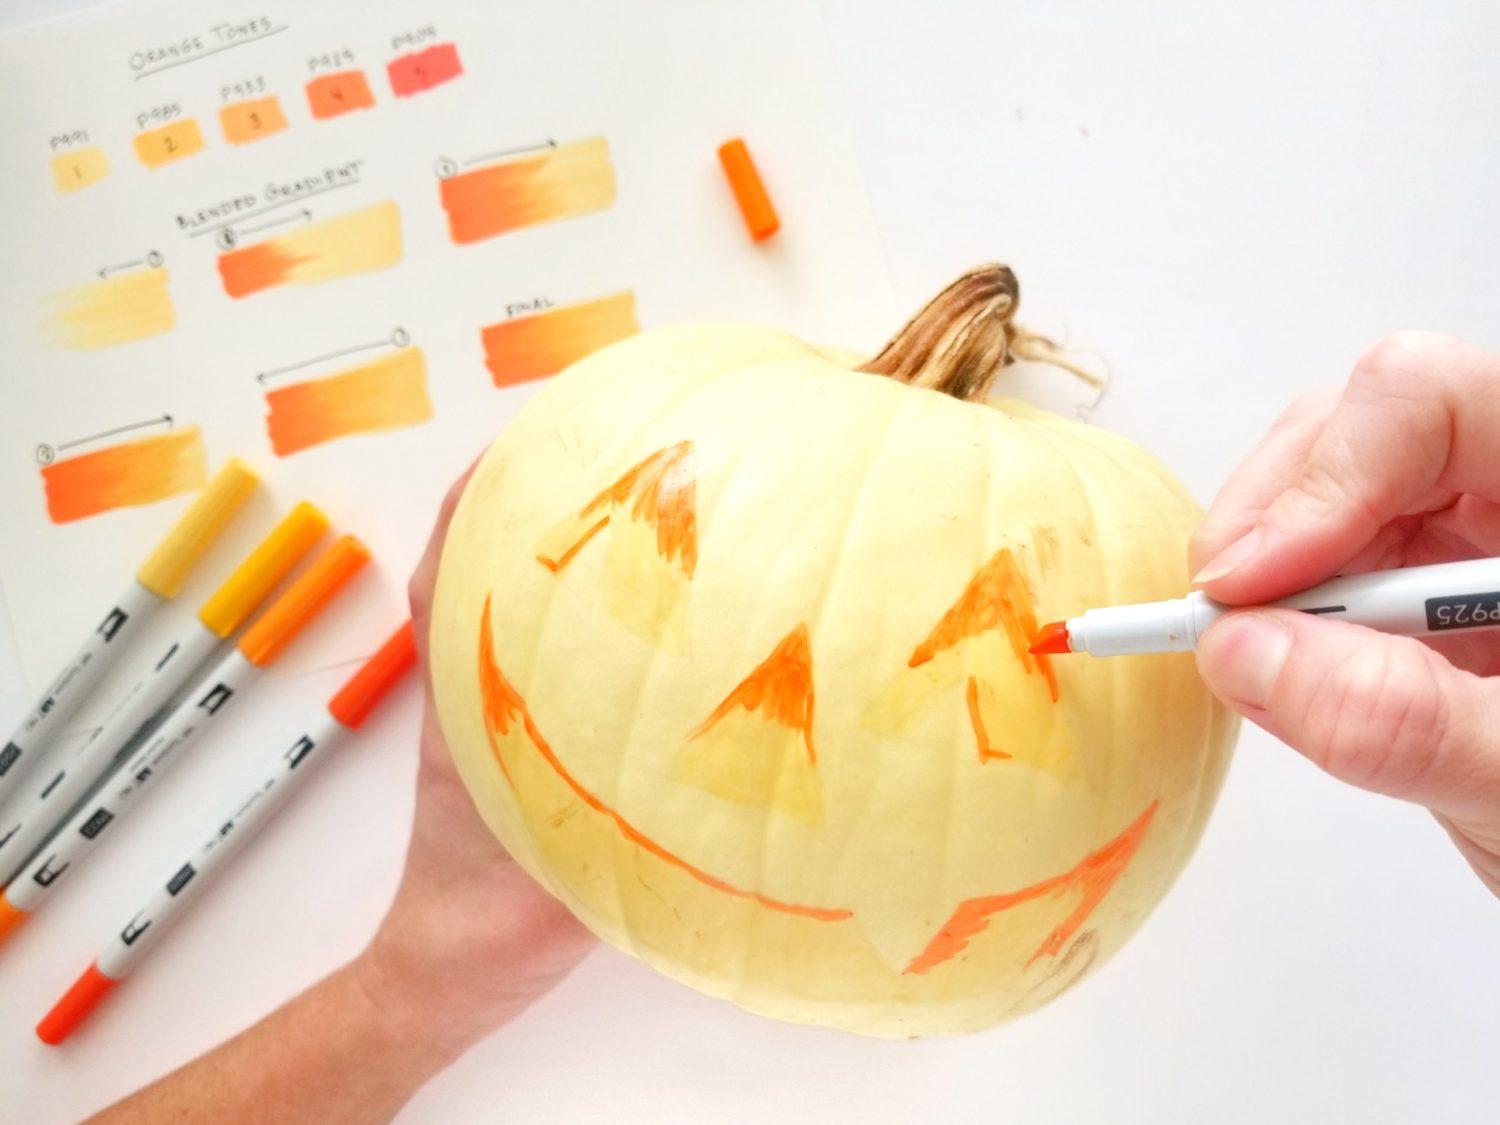
Step 4: Apply Darkest Layer
Then, use the chisel tip of the darkest color in your palette to flick some color in areas for shadows. I’m using ABT PRO Marker P925 as my darkest color, but you could always go with P905 also. Remember this is a jack-o’-lantern, so the light source is the candle at the bottom of the pumpkin. Apply your shadows according to the light source.
You’ll notice at this point that layering colors on a pumpkin is very different than on paper. The pumpkin feels more like a shiny photo paper and the ink interacts differently. When you layer the ink, it almost pulls up the color below it. For that reason, coloring a pumpkin is almost like painting. Instead of flicking each layer completely over the darkest color, blend it back into the darker color just enough to blend. You can always add more layers later also!
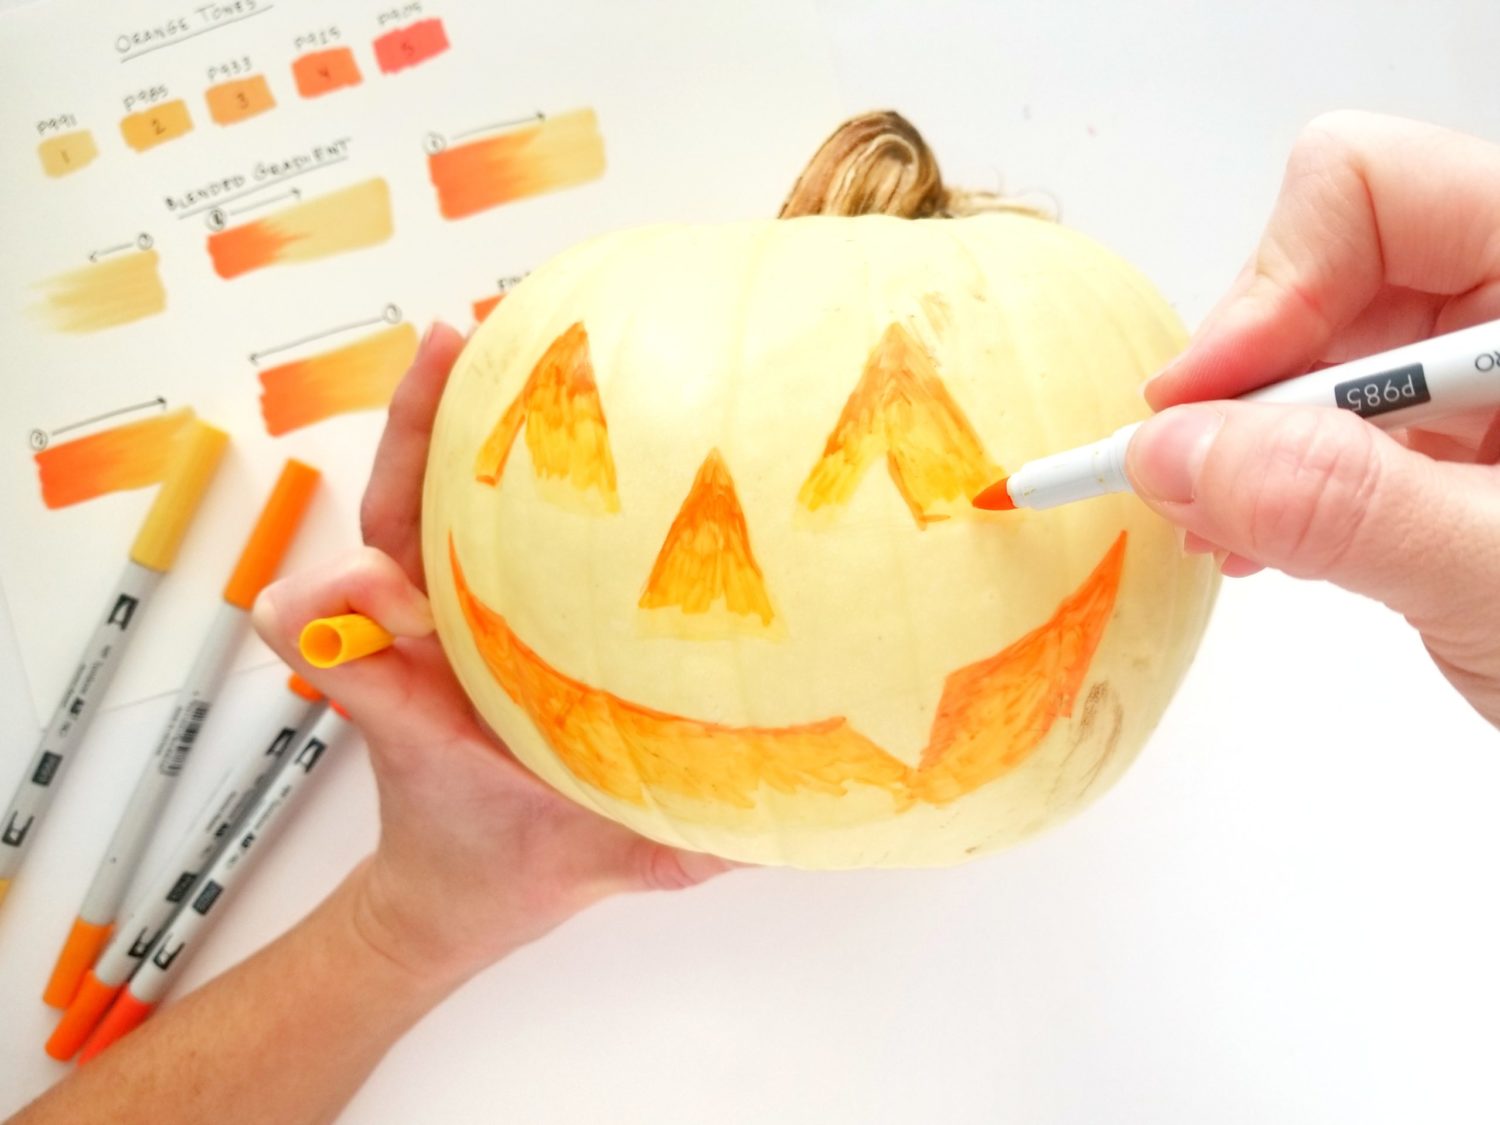
Step 5: Apply Mid-Tone Layers
Next, use the second darkest and second lightest colors and blend them back into the previous color. You’re creating a small gradient to the light source, so remember to leave plenty of room for the lightest color!
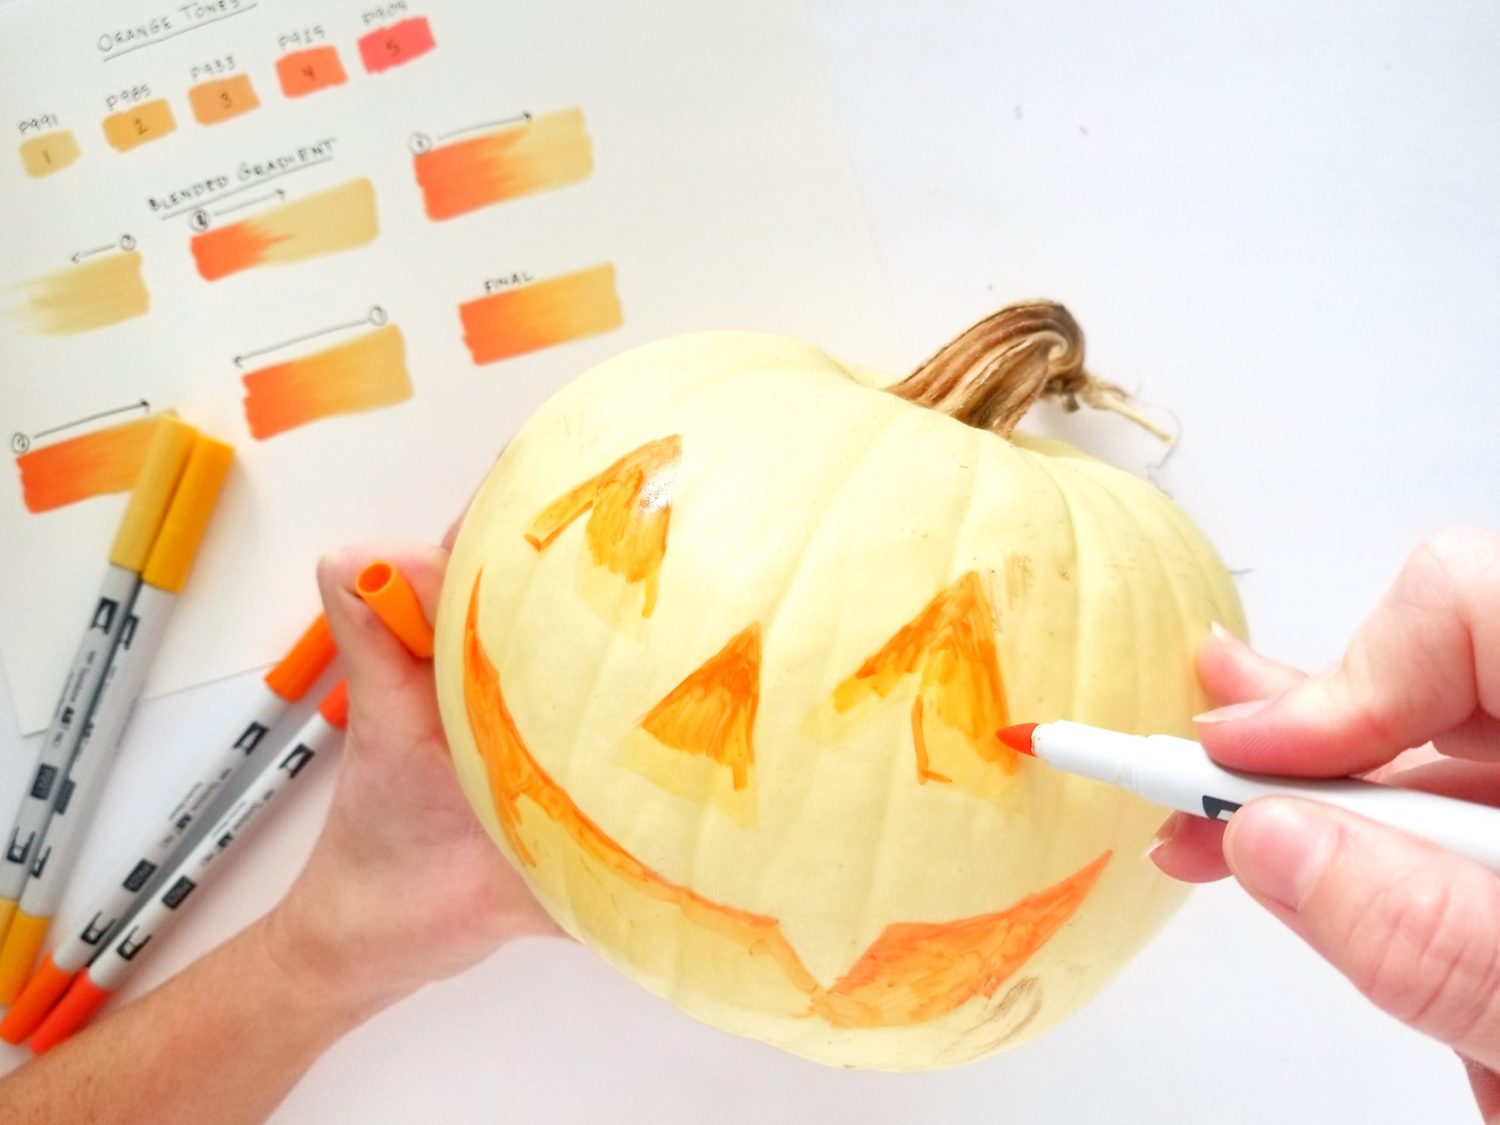
Step 6: Re-Apply Lightest Layer
Finally, finish the jack-o’-lantern by using the lightest color to add a final layer of color where it’s needed. Then, display it! The ABT PRO Markers are permanent ink, so a covered porch would be a great spot! I also like mine on my kitchen table!
Thanks for following along! If you use this tutorial to create your own no-carve jack-o’-lantern with the Tombow ABT PRO Markers, be sure to tag @tombowusa and @graceannestudio on social media so we can cheer you on!
Happy crafting!