Hey everyone, it’s Ali LePere here! Being at home more in 2020 meant more time tackling creative projects. I grew a ton as an artist over the last year, especially when it came to drawing. That’s why I want to walk you through my drawing process! Let’s get started!
Materials:
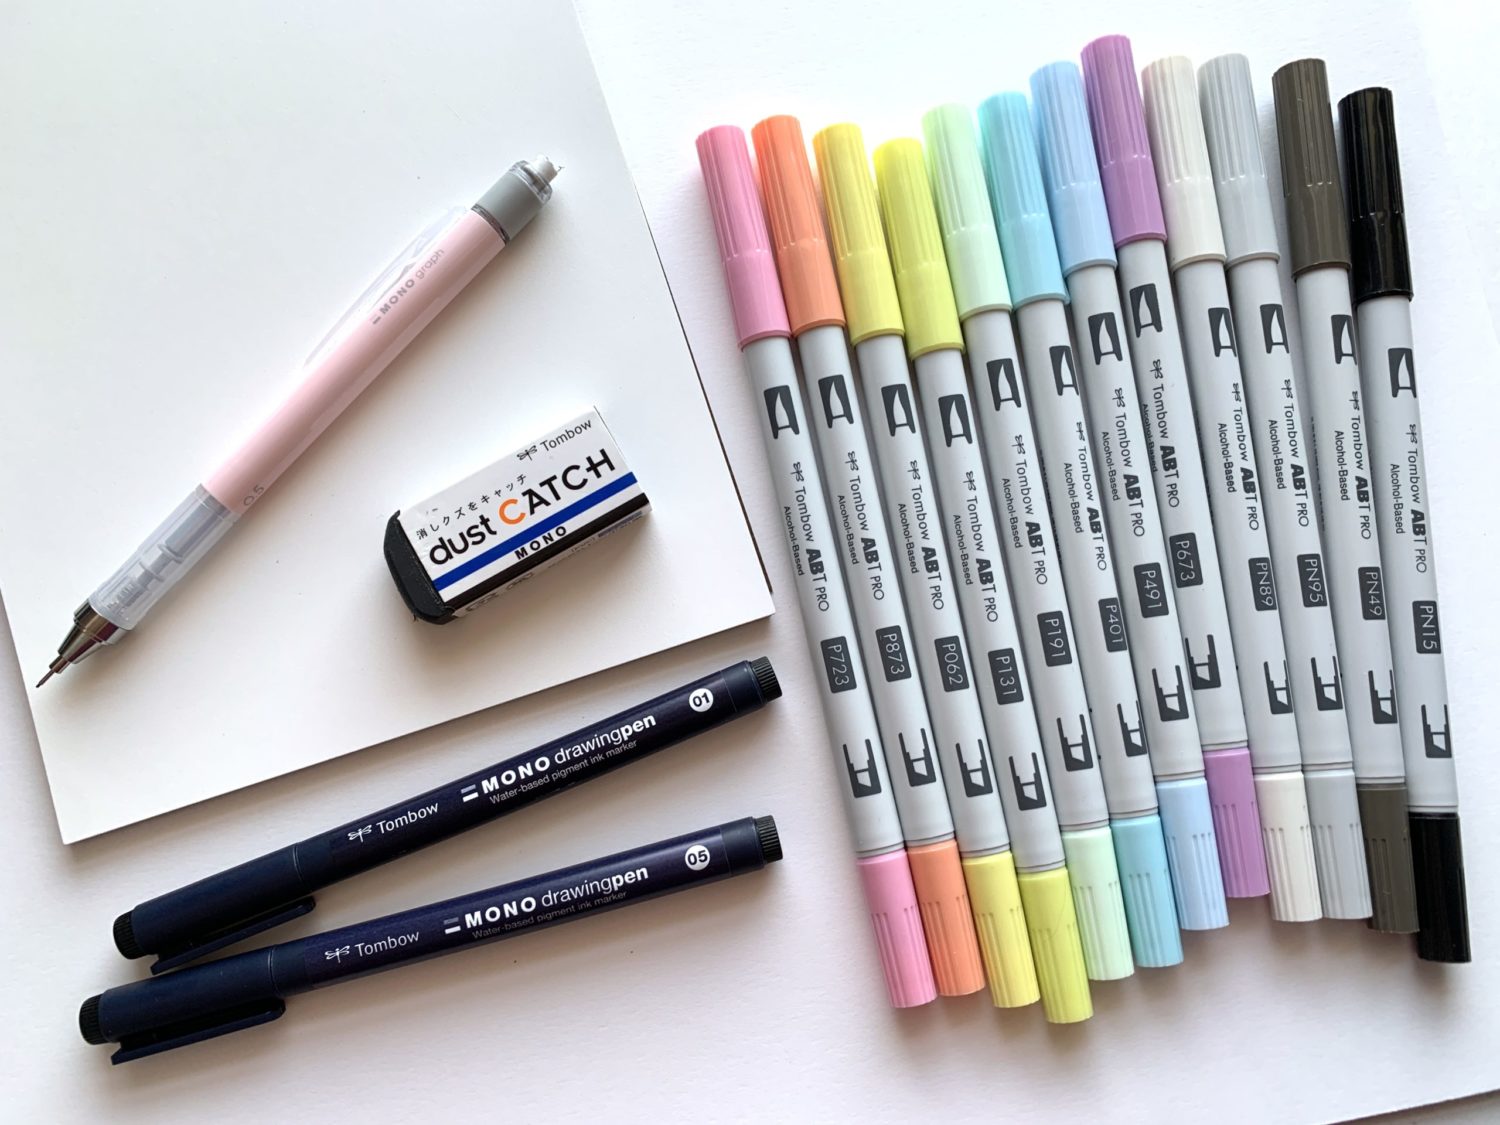
- Tombow MONO Graph Mechanical Pencil
- Tombow MONO Drawing Pens – 01 and 05
- Mixed media or marker paper
- Tombow MONO Dust Catch Eraser
- Tombow ABT PRO Alcohol-Based Markers
Step 1
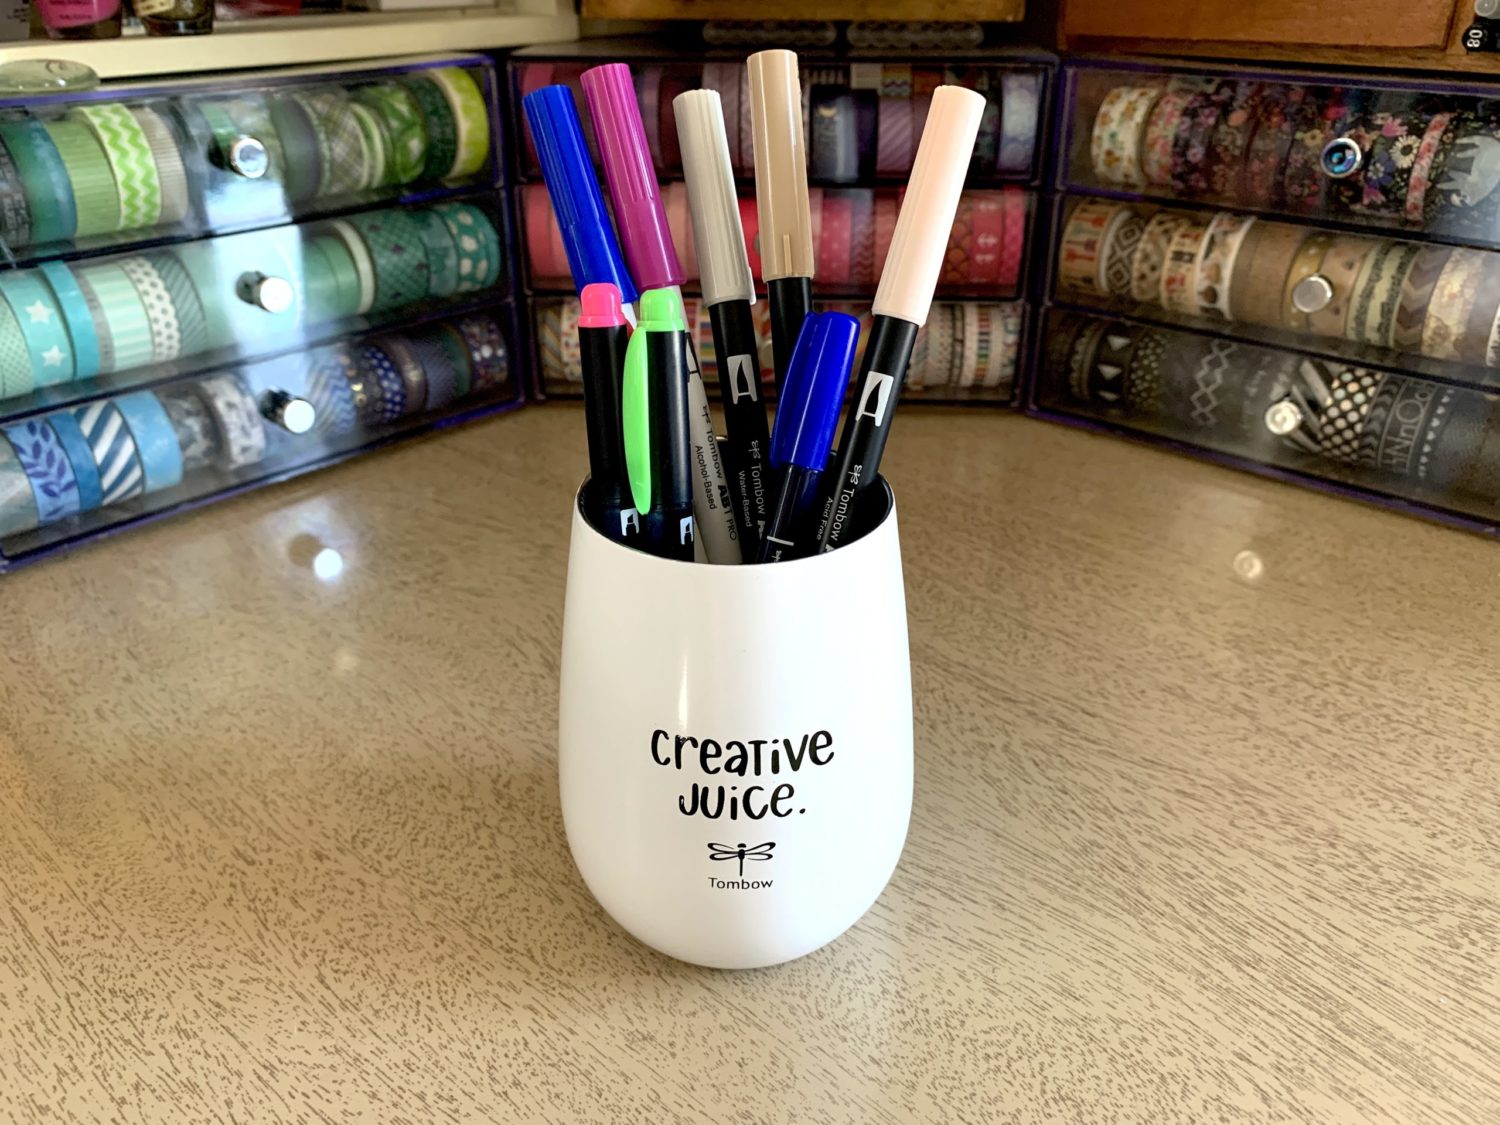
The first thing I did was find my subject. Believe it or not, this is usually the hardest part of my process! For this walkthrough, I chose something somewhat simple – a cup full of markers. This picture is the one I used as a reference for my drawing.
Step 2
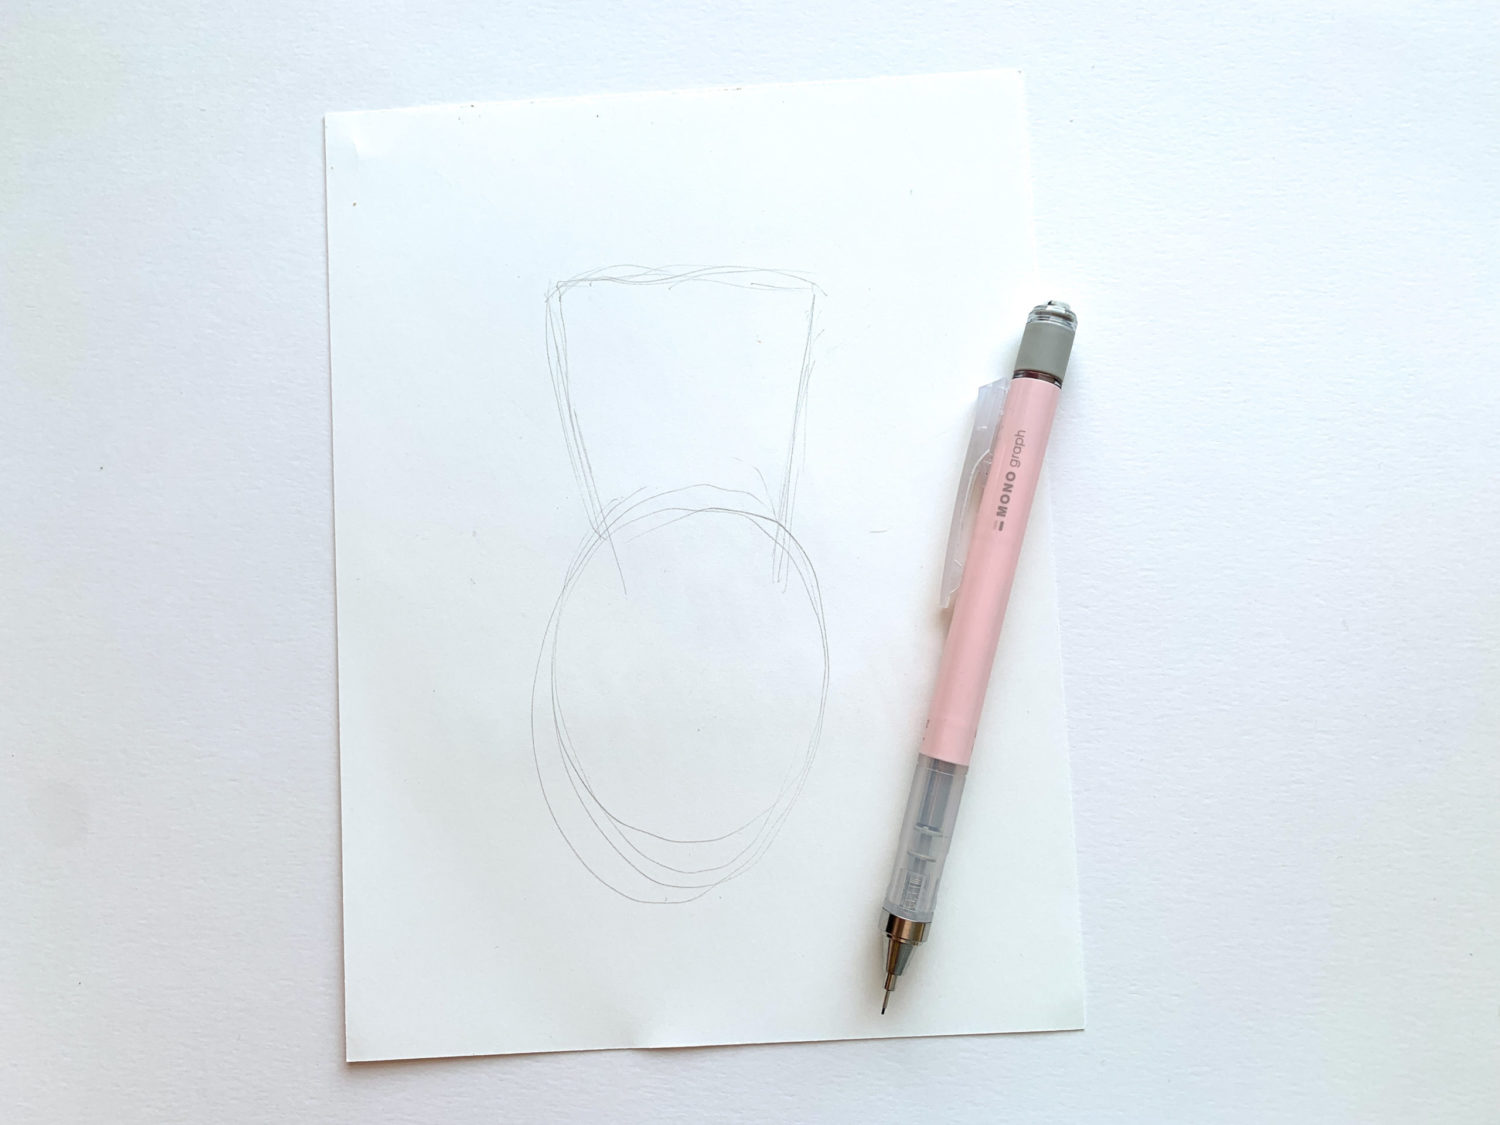
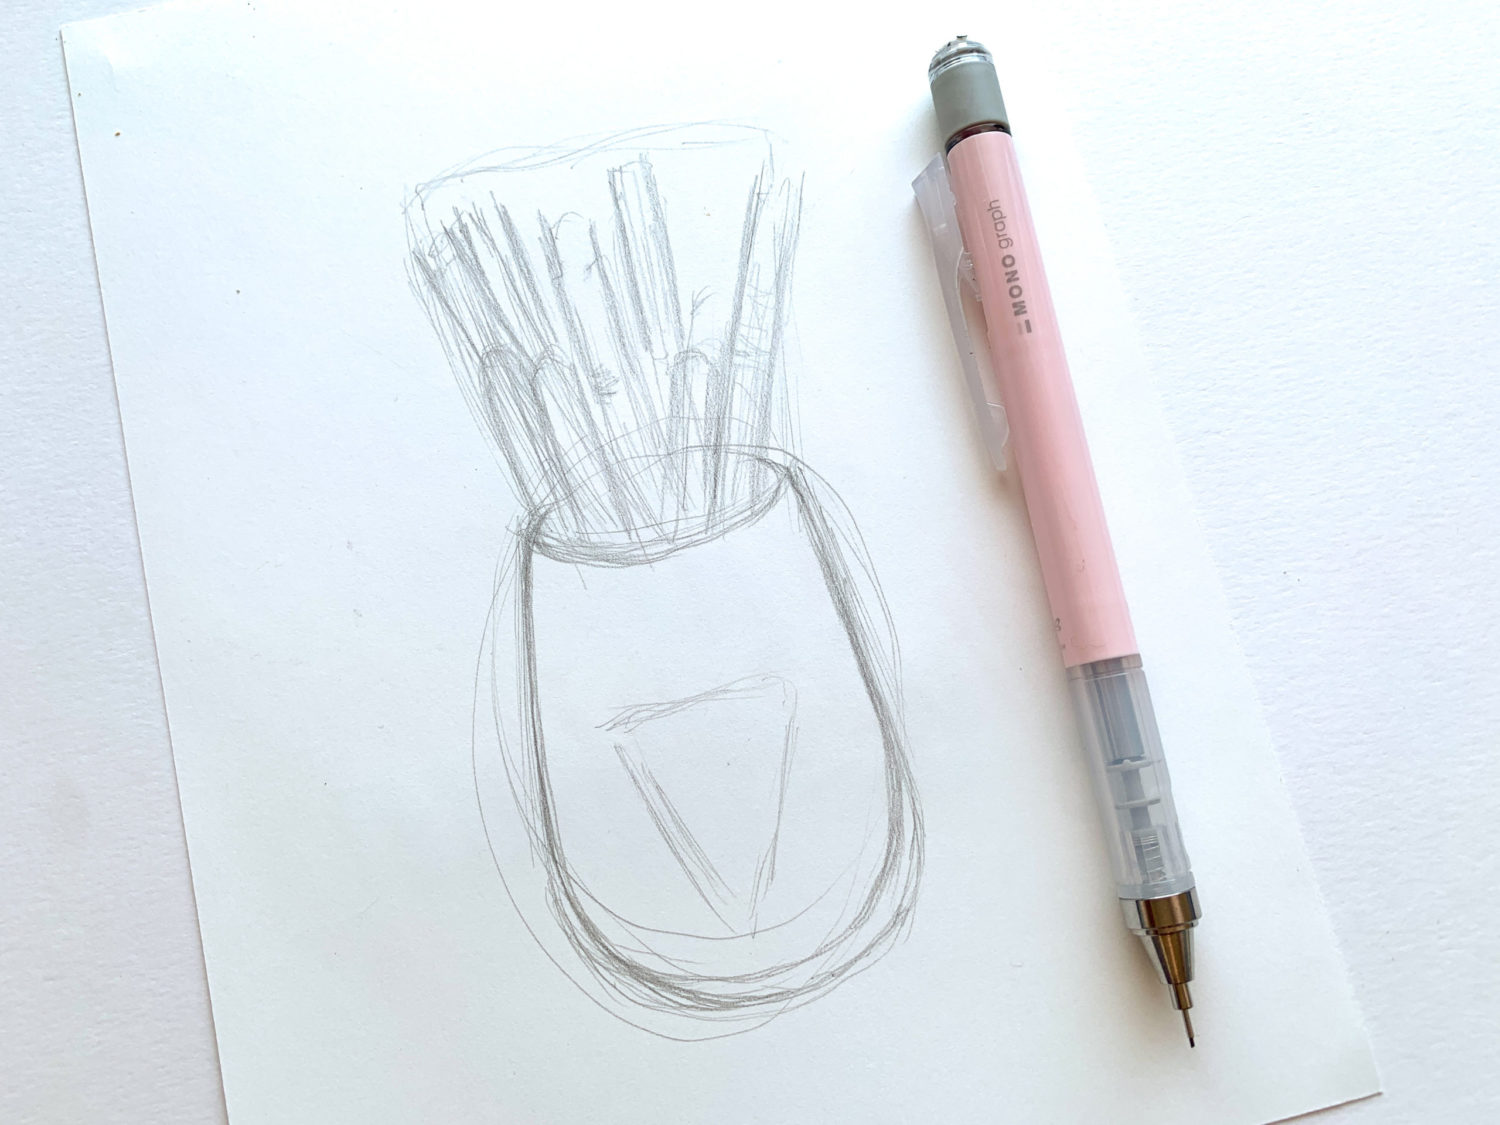
After I decided upon the subject, I used the MONO Graph Mechanical Pencil to lightly sketch out the most basic components of the subject. I started with a loose sketch of the most simple shapes I saw. In this case it was an oval for the cup and a trapezoid for the markers. These light sketches aren’t supposed to be perfect representations of the subject. They’re used to help me see the big picture instead of focusing on the details.
Step 3
After my initial shapes were sketched, I started to give them more definition. I gave the cup flatter sides and a wider bottom and added the opening.
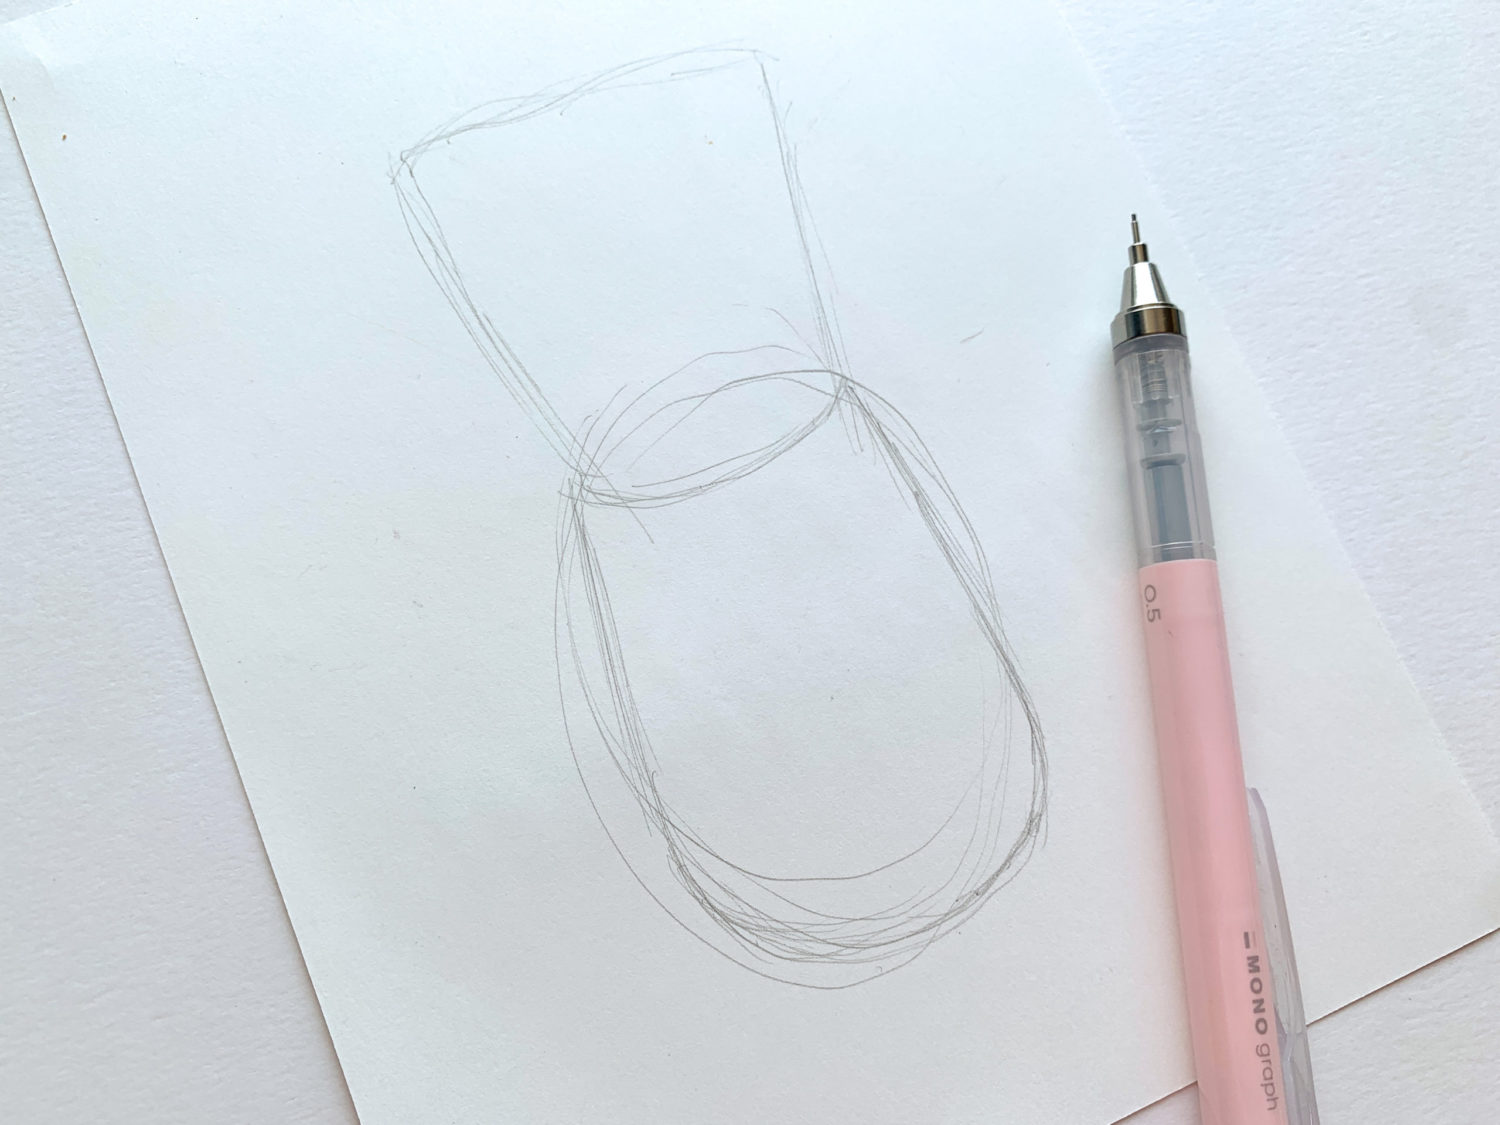
I also began drawing some lines to represent the markers.

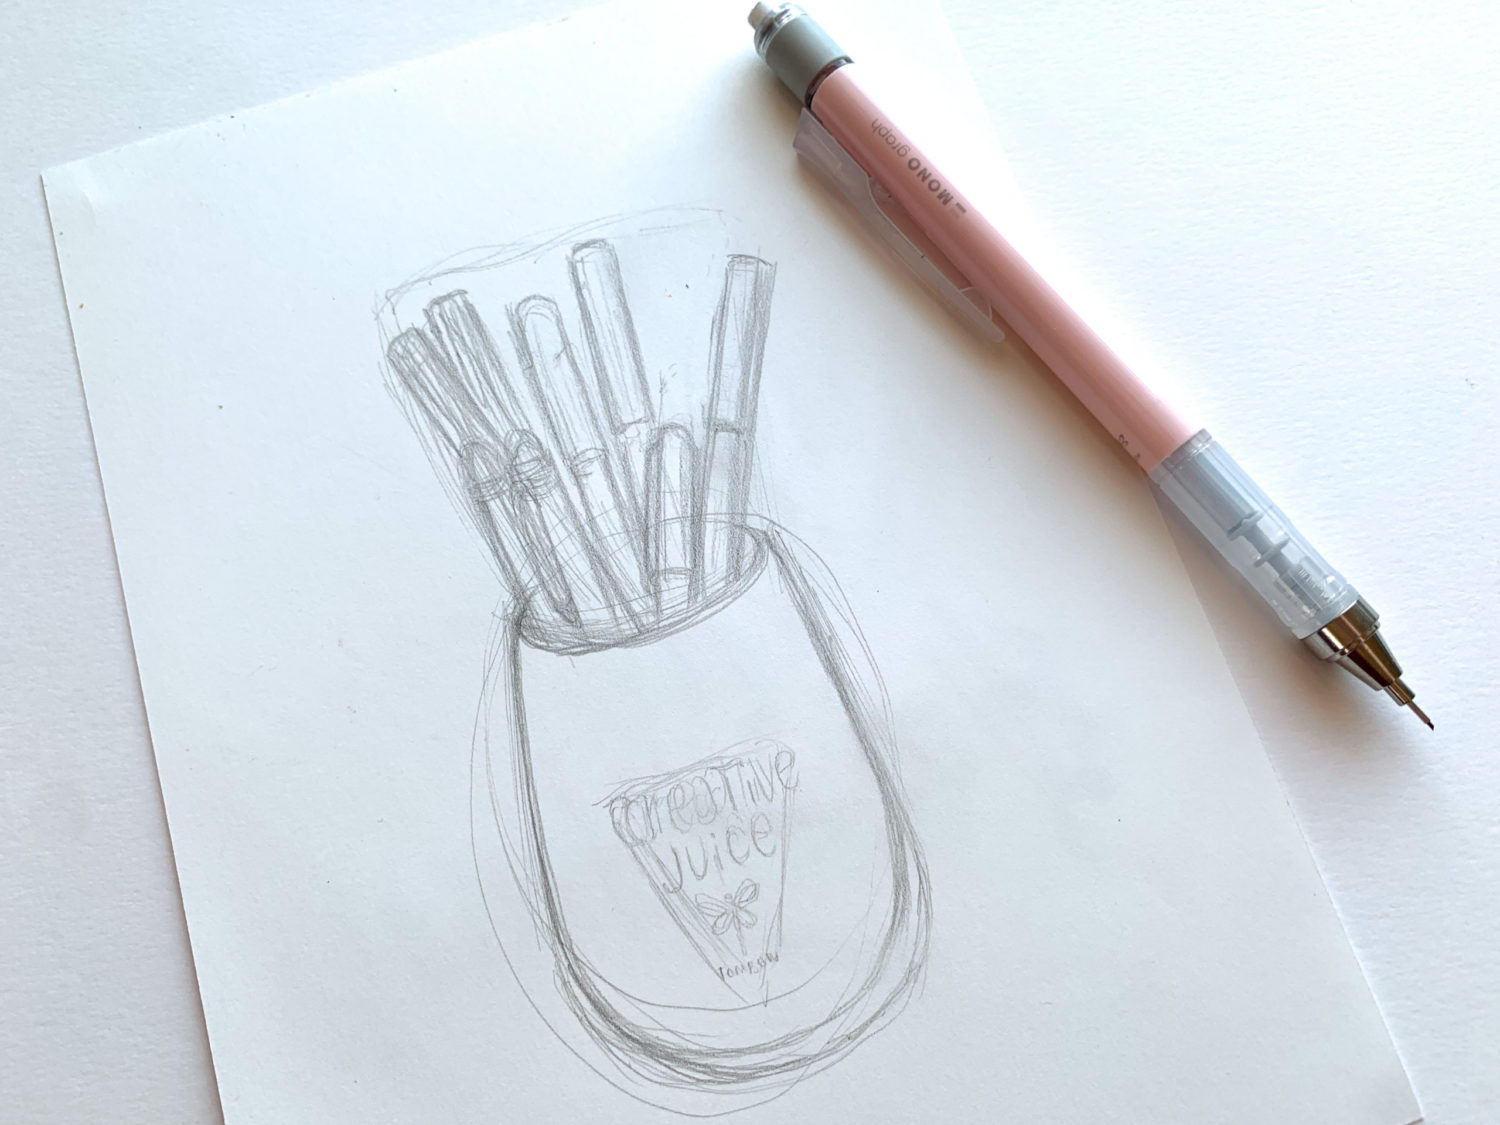
The more light sketches I layered, the more the details come into focus. I was able to start adding in more shapes like a triangle for the lettering on the cup and loose rectangles for the marker caps and barrels.
Remember: The sketches should always be light enough to erase easily. During the sketching process, I often find myself having to move parts of my drawing around. Sketching in light layers like this will help your drawing be more accurate and help you avoid having thick or heavy pencil lines to erase later.
Step 4
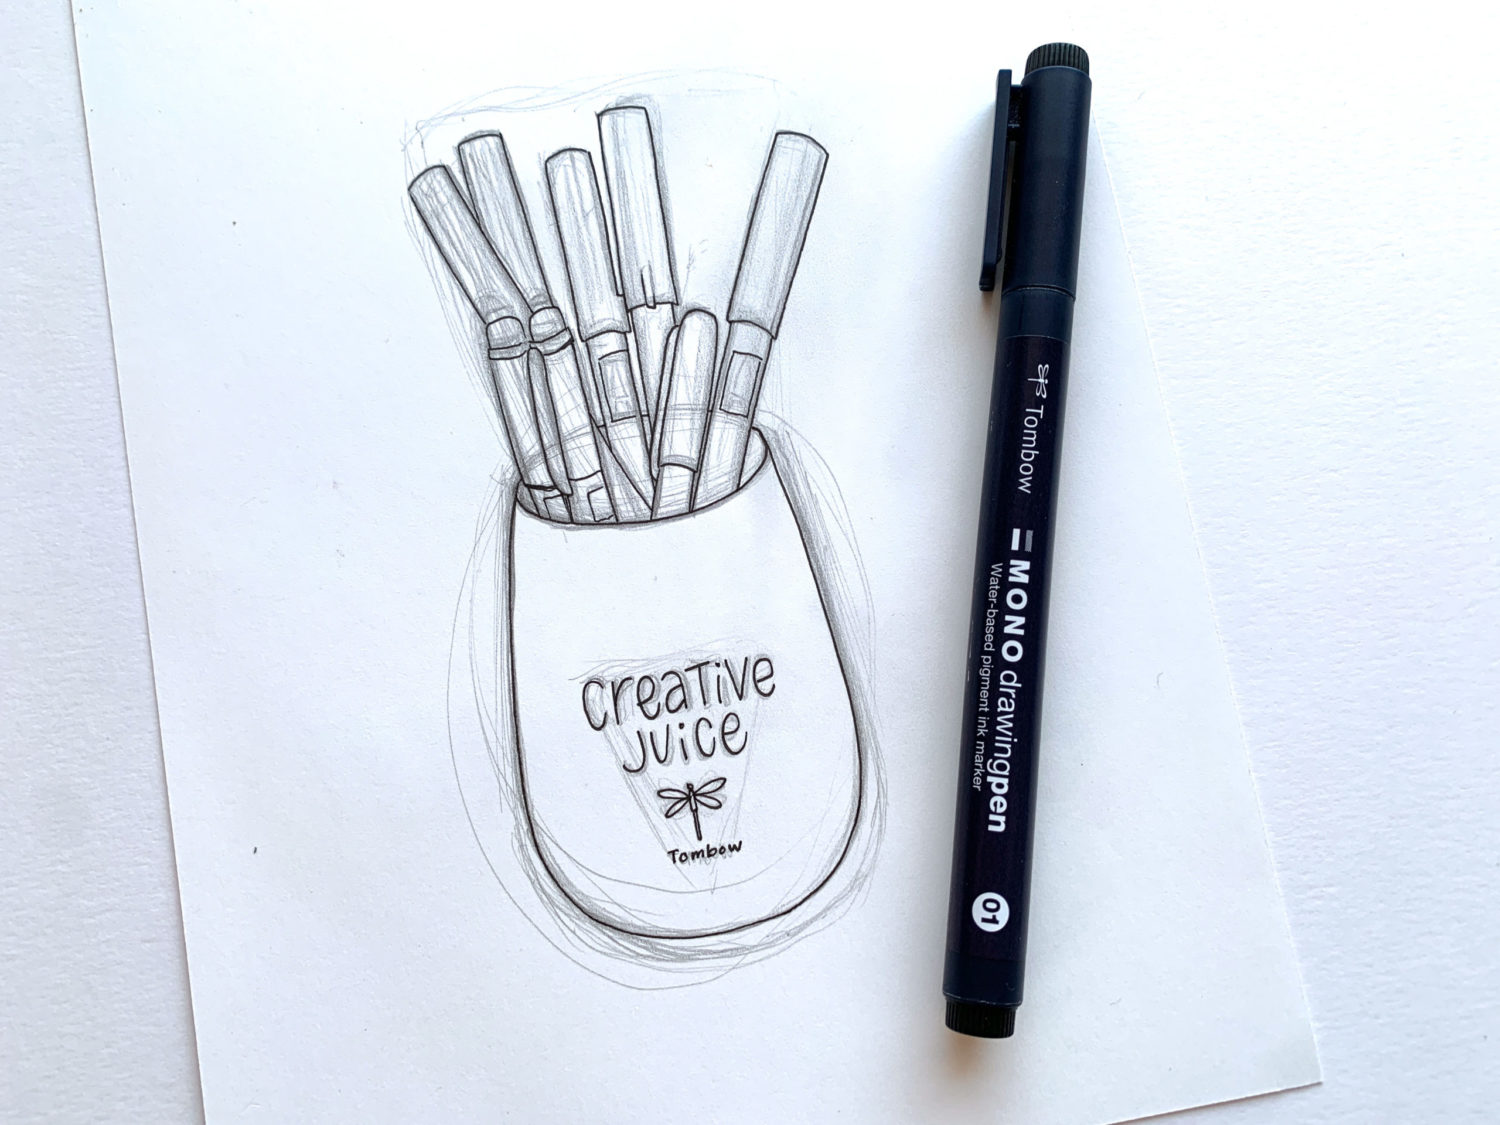
Next, I started to sketch out the actual shapes. Because of all those light and loose sketches built a firm foundation, the markers are spaced and sized accurately! These pencil lines were darker and would ultimately be the lines I would ink over in the next step.
Step 5
With MONO Drawing Pen 01, I carefully inked over the slightly darker and more detailed pencil lines from the previous step. Since MONO Drawing Pen 01 has a small tip, my ink lines were as thin as I could make them.
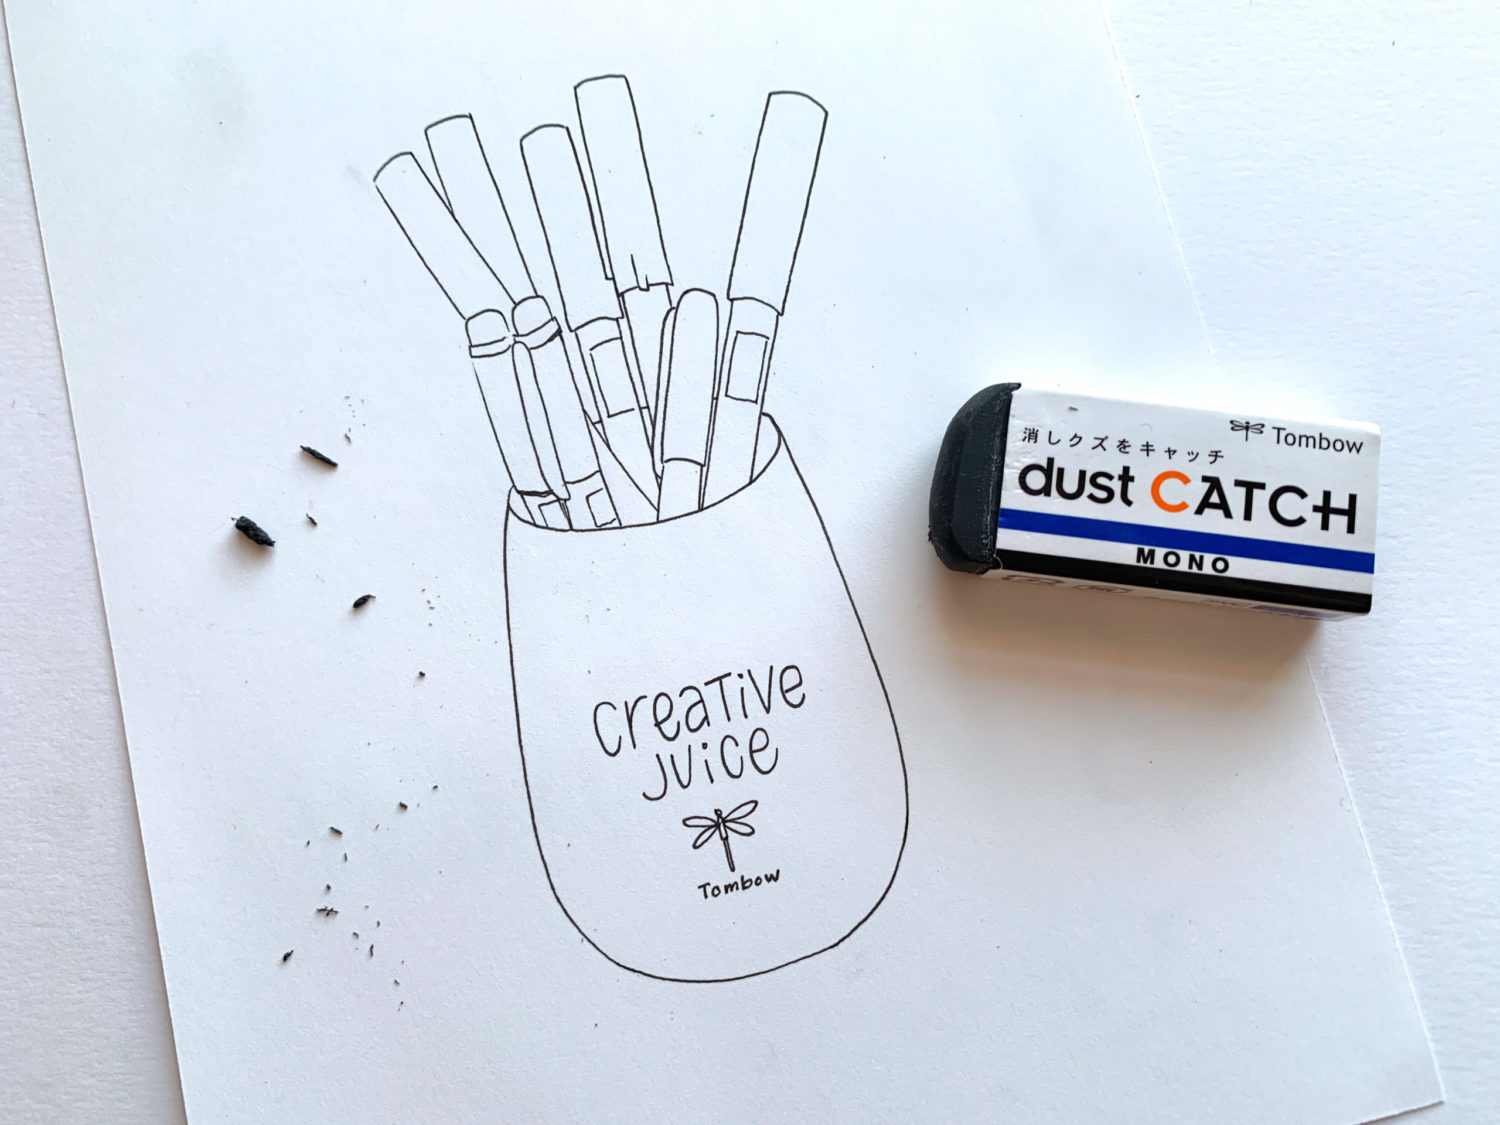
Sometimes the drawing looks great at this step. However when the pencil marks are erased, you usually see all of the imperfections that were hiding behind the sketch lines. By using the thinnest tipped pen, I gave myself a chance to add weight and potentially alter the drawing later. Adding weight to lines is easy, but it’s much harder to decrease the weight of a line!
Step 6
After the ink was completely dry, I erased the pencil sketches with the MONO Dust Catch Eraser.
Step 7
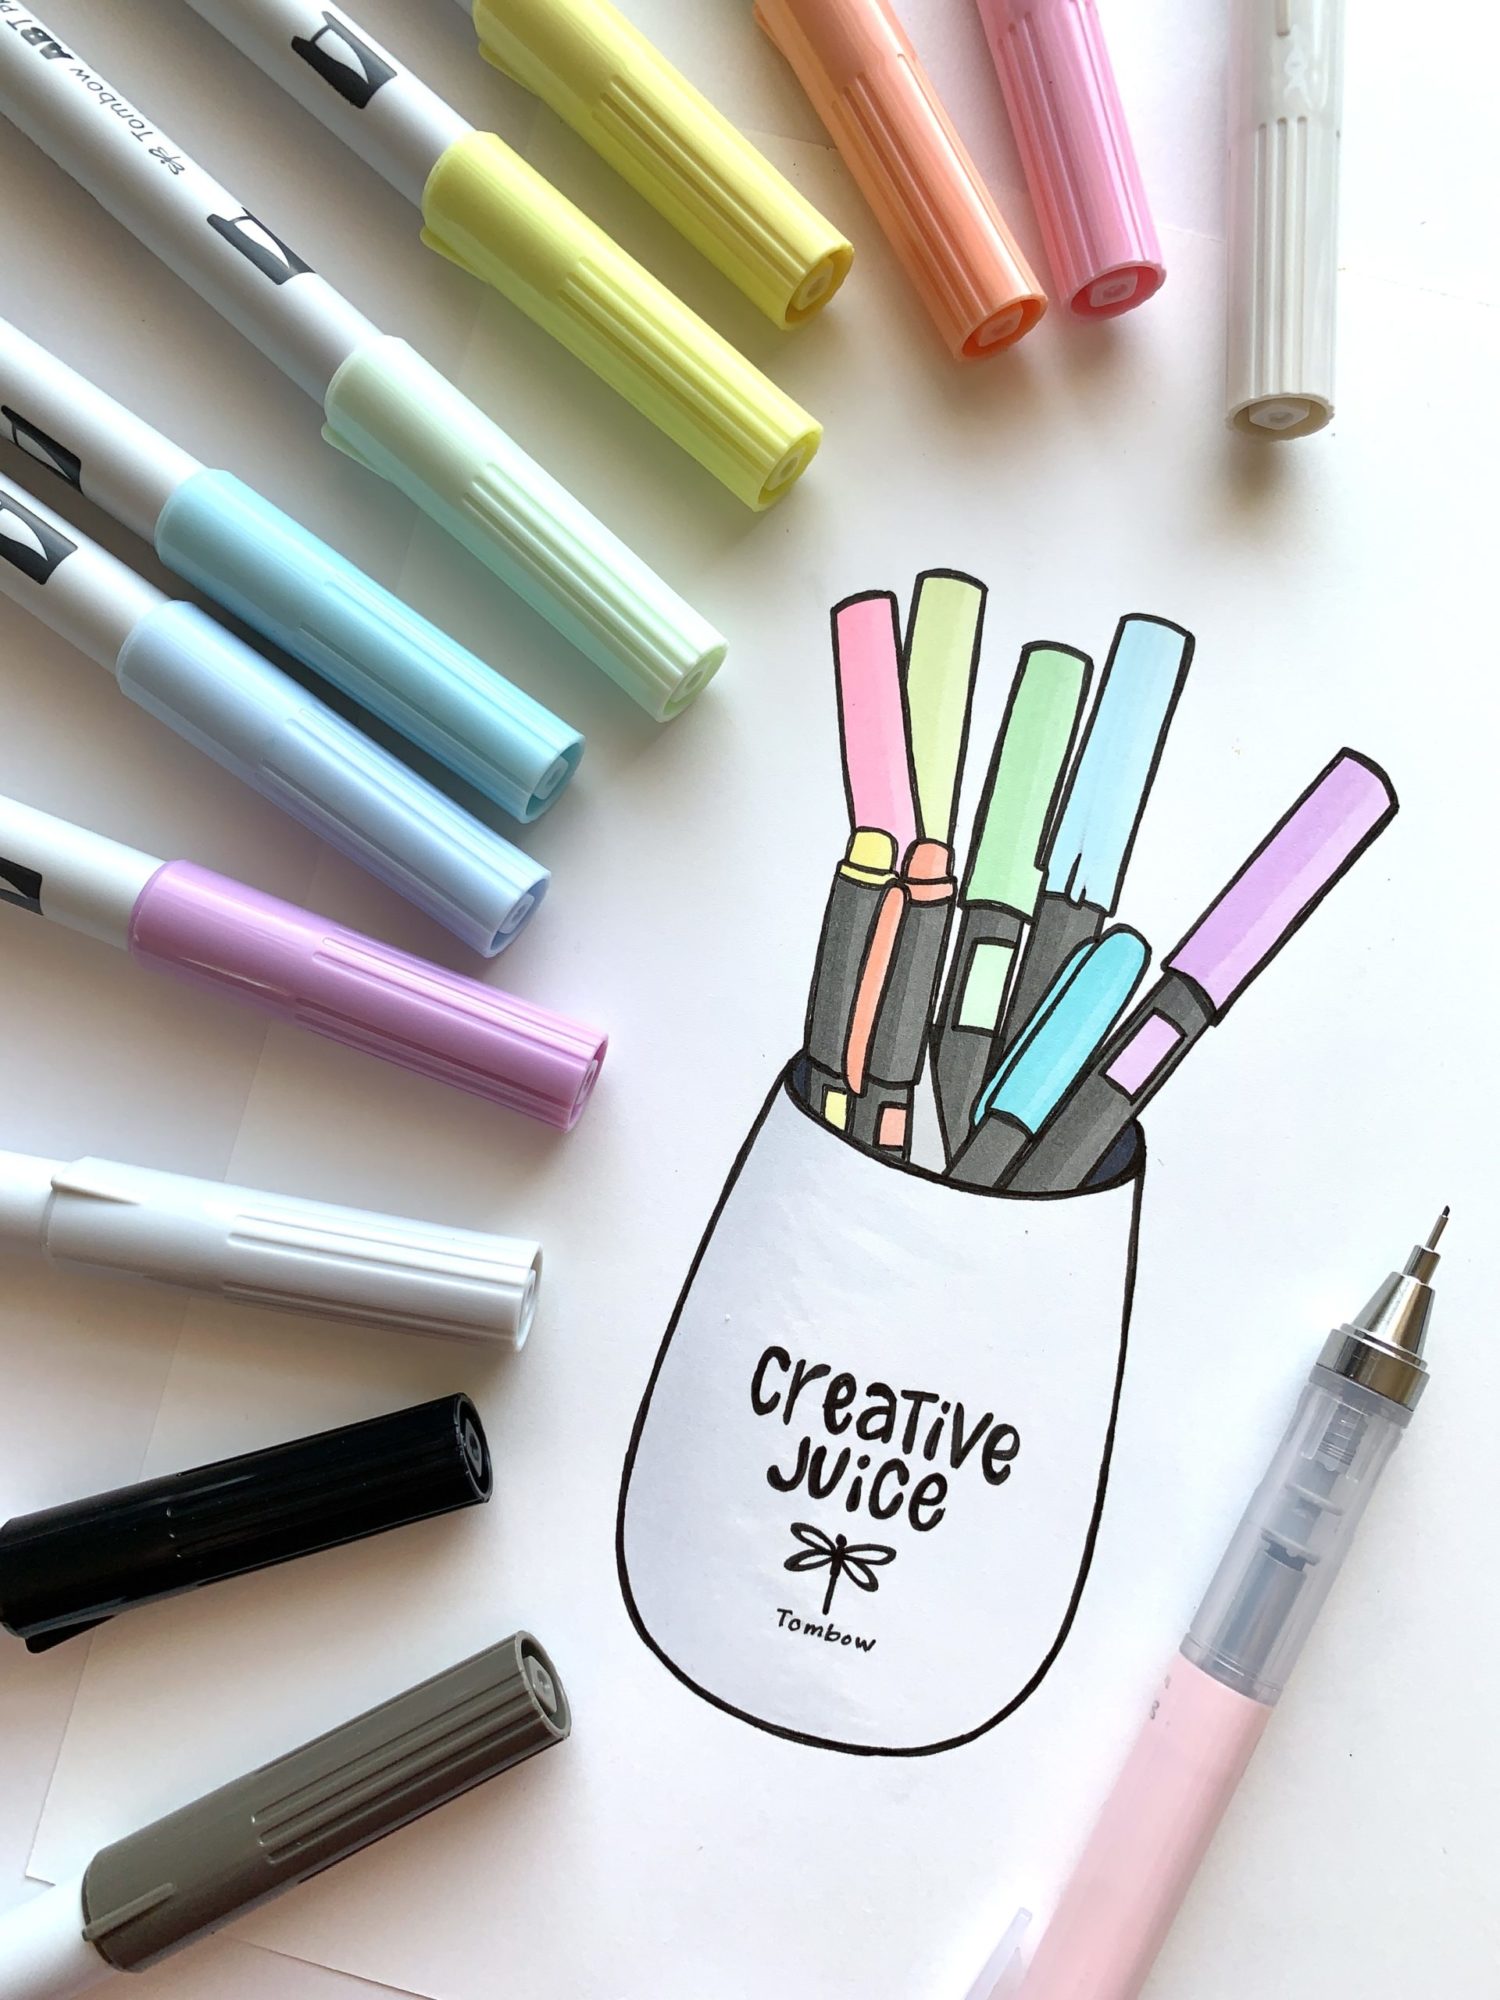
I picked out a few ABT PRO Alcohol-Based Markers to color in the drawing. I didn’t put much thought into the marker colors when I put them in the cup, so I decided a pastel rainbow would look better and less random!
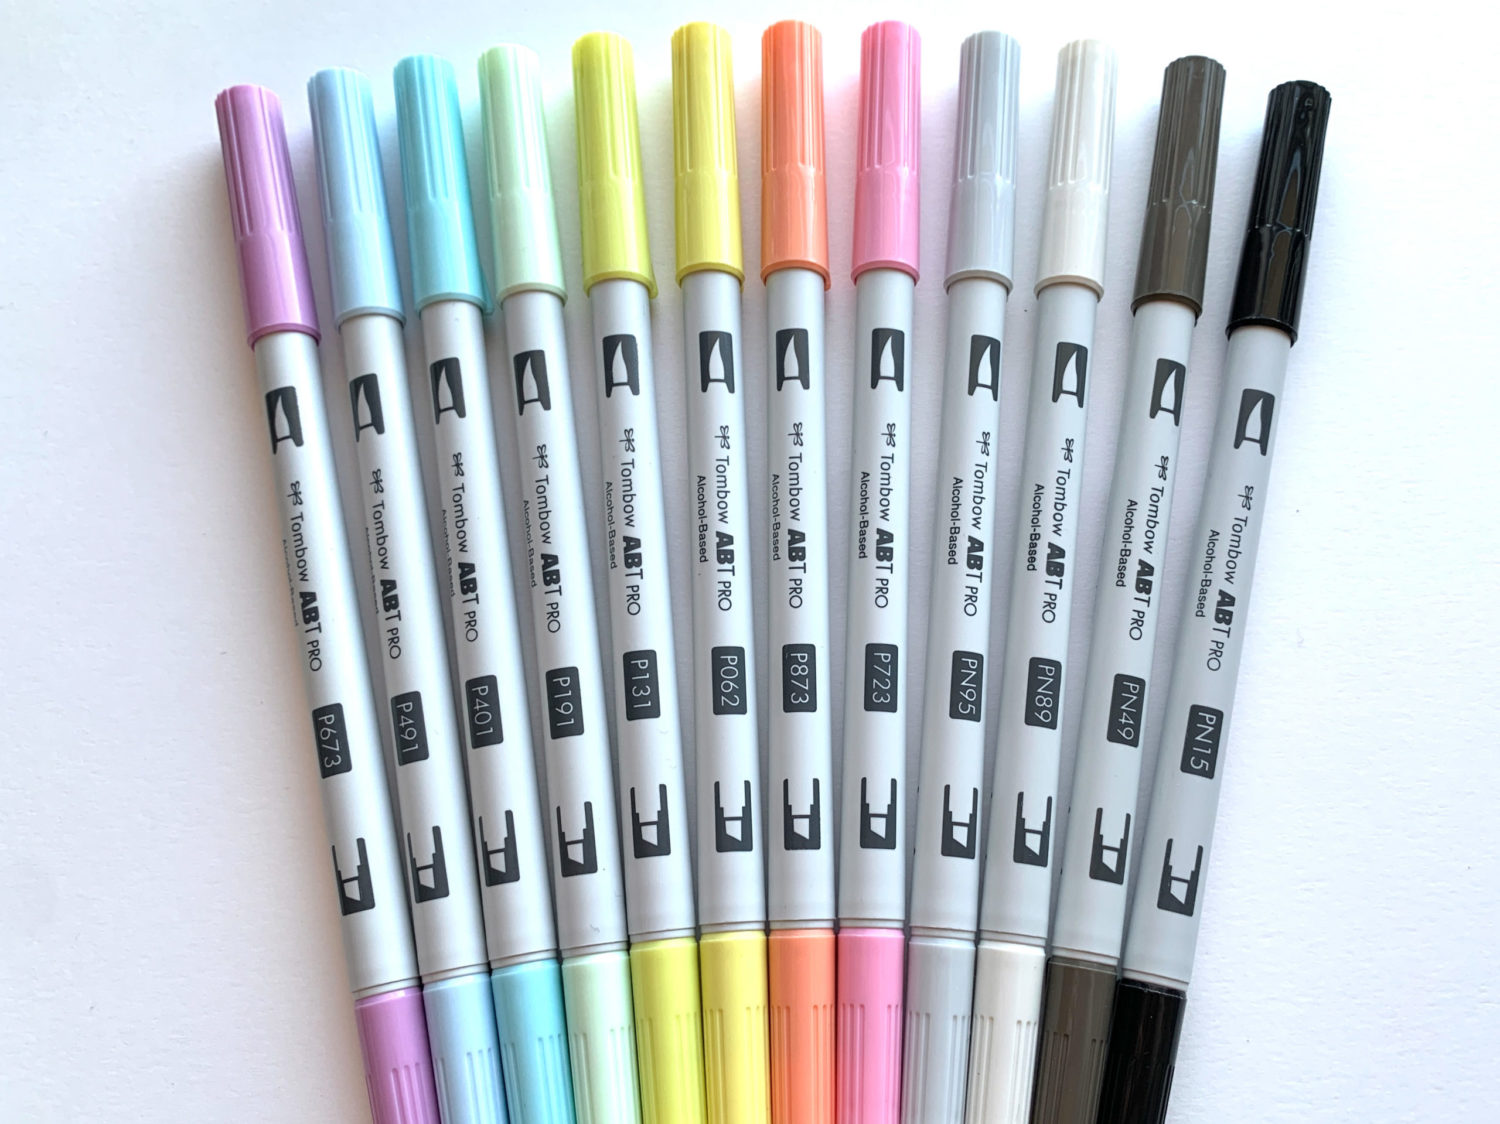
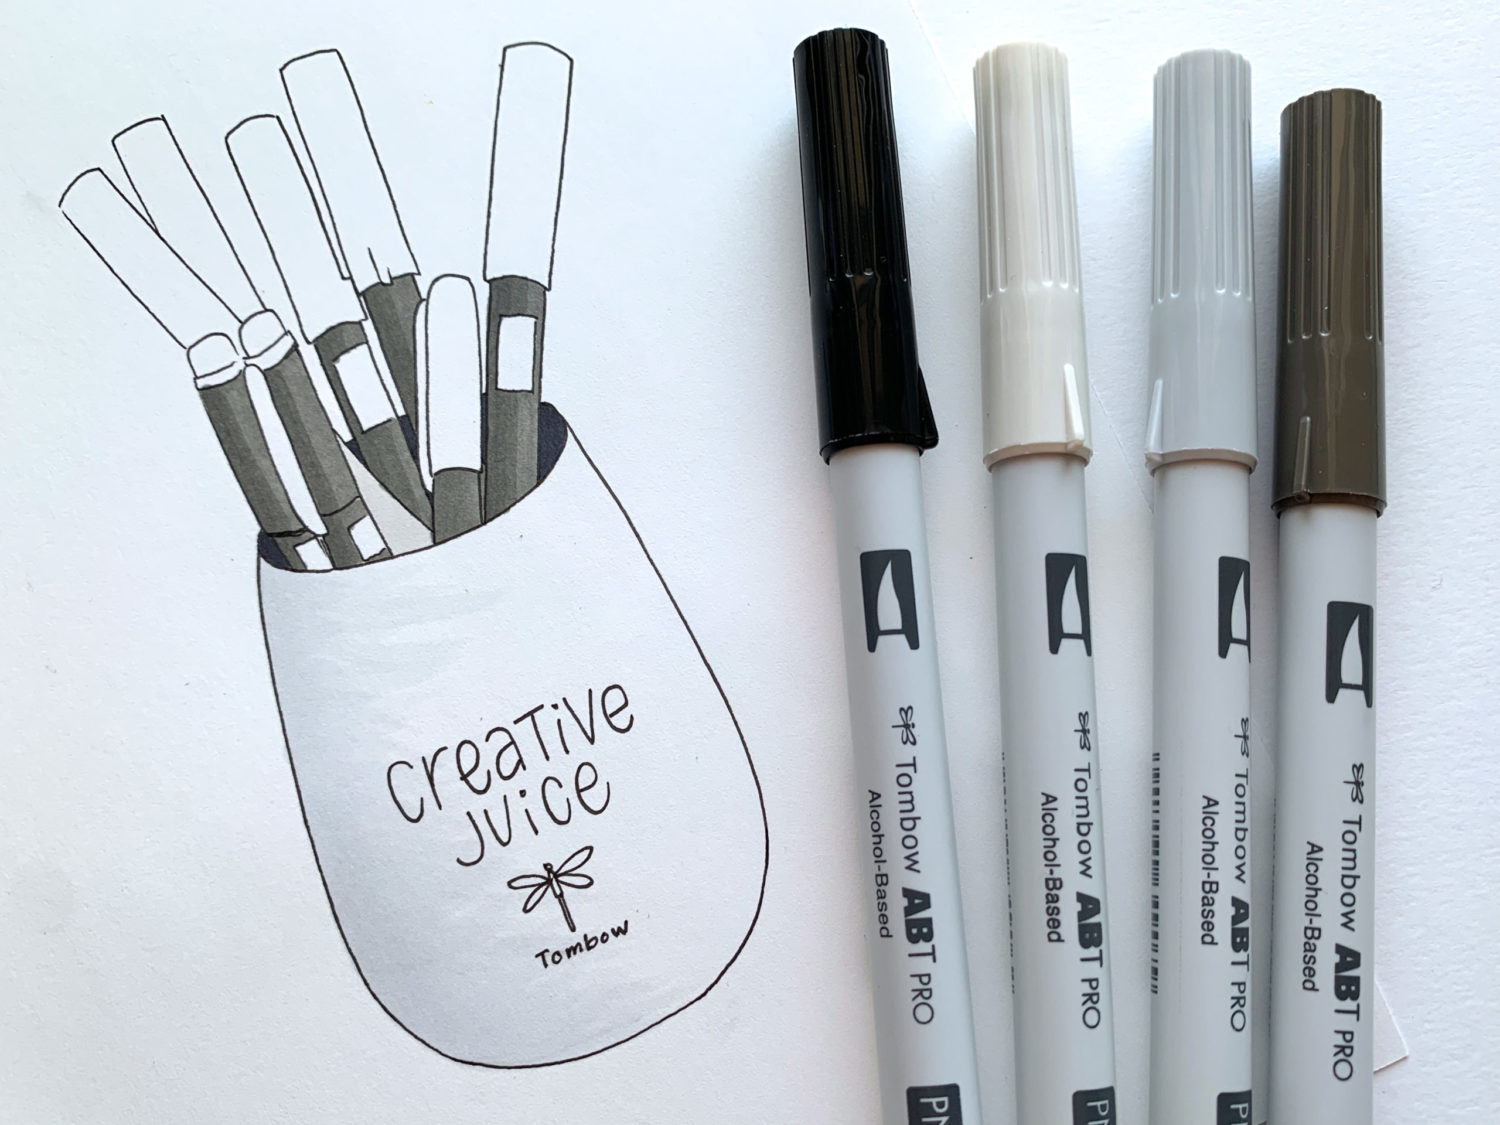
The grayscale colors (PN15, PN49, PN89, and PN95) were for the cup and the marker barrels.
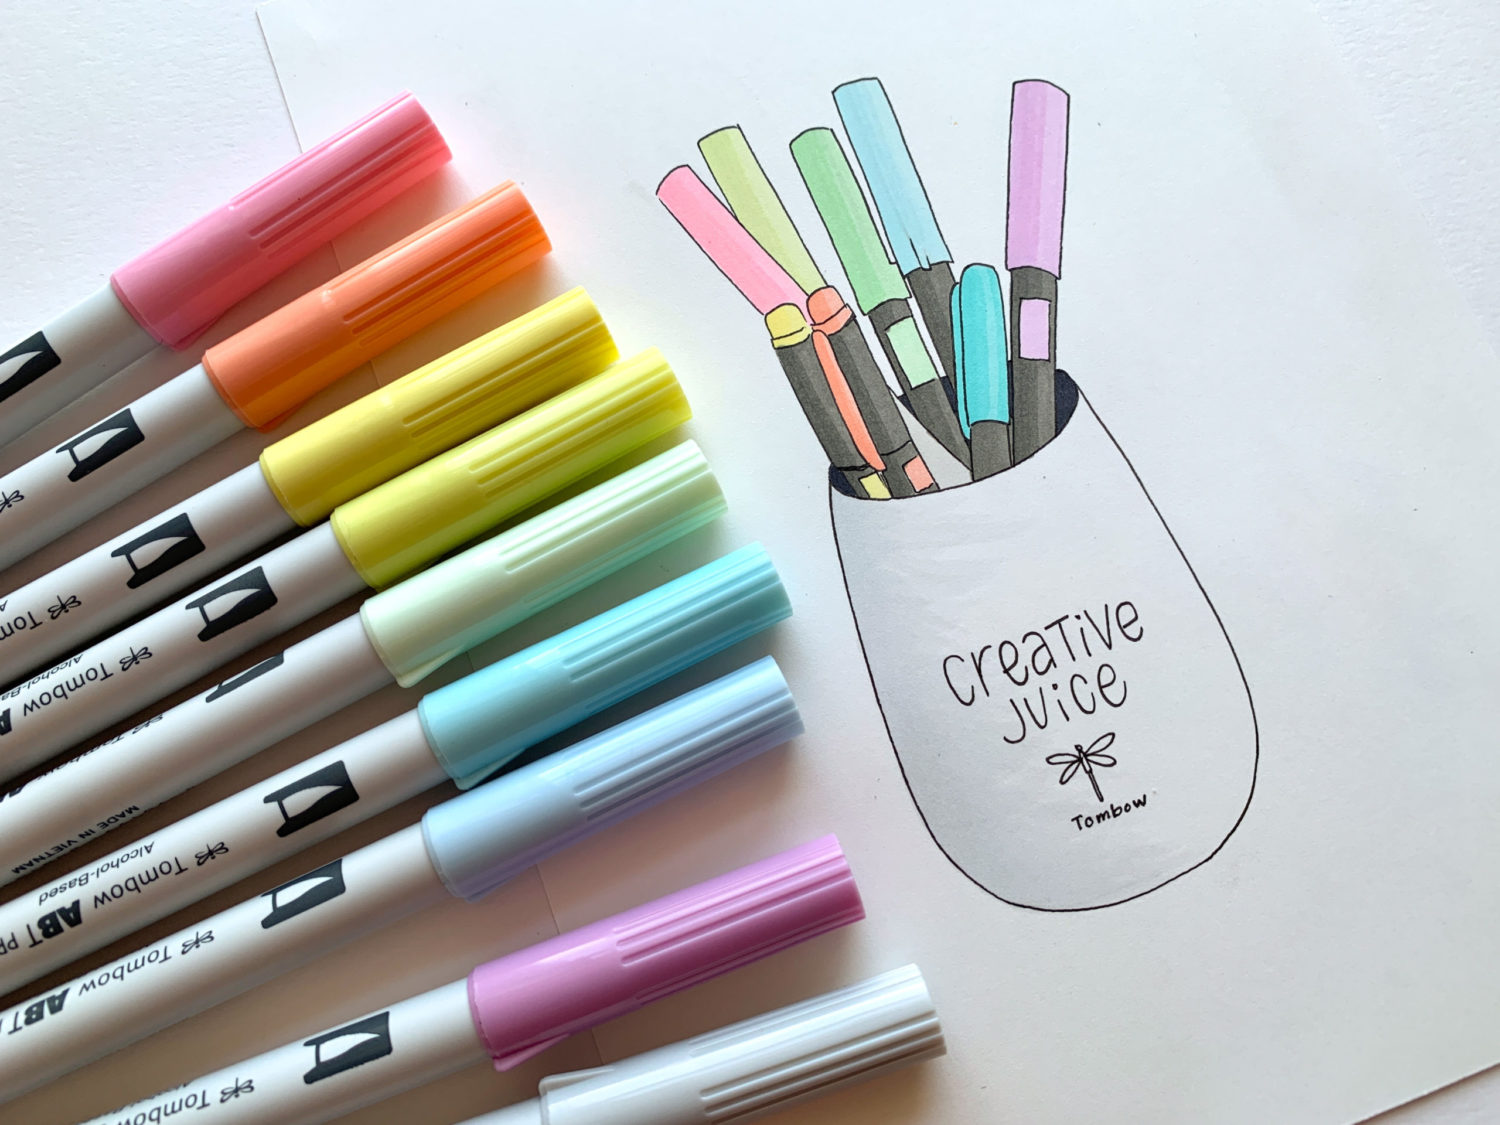
Then, I used the pastel rainbow colors (P723, P873, P062, P131, P191, P401, P491, P673) for the caps and barrel details.
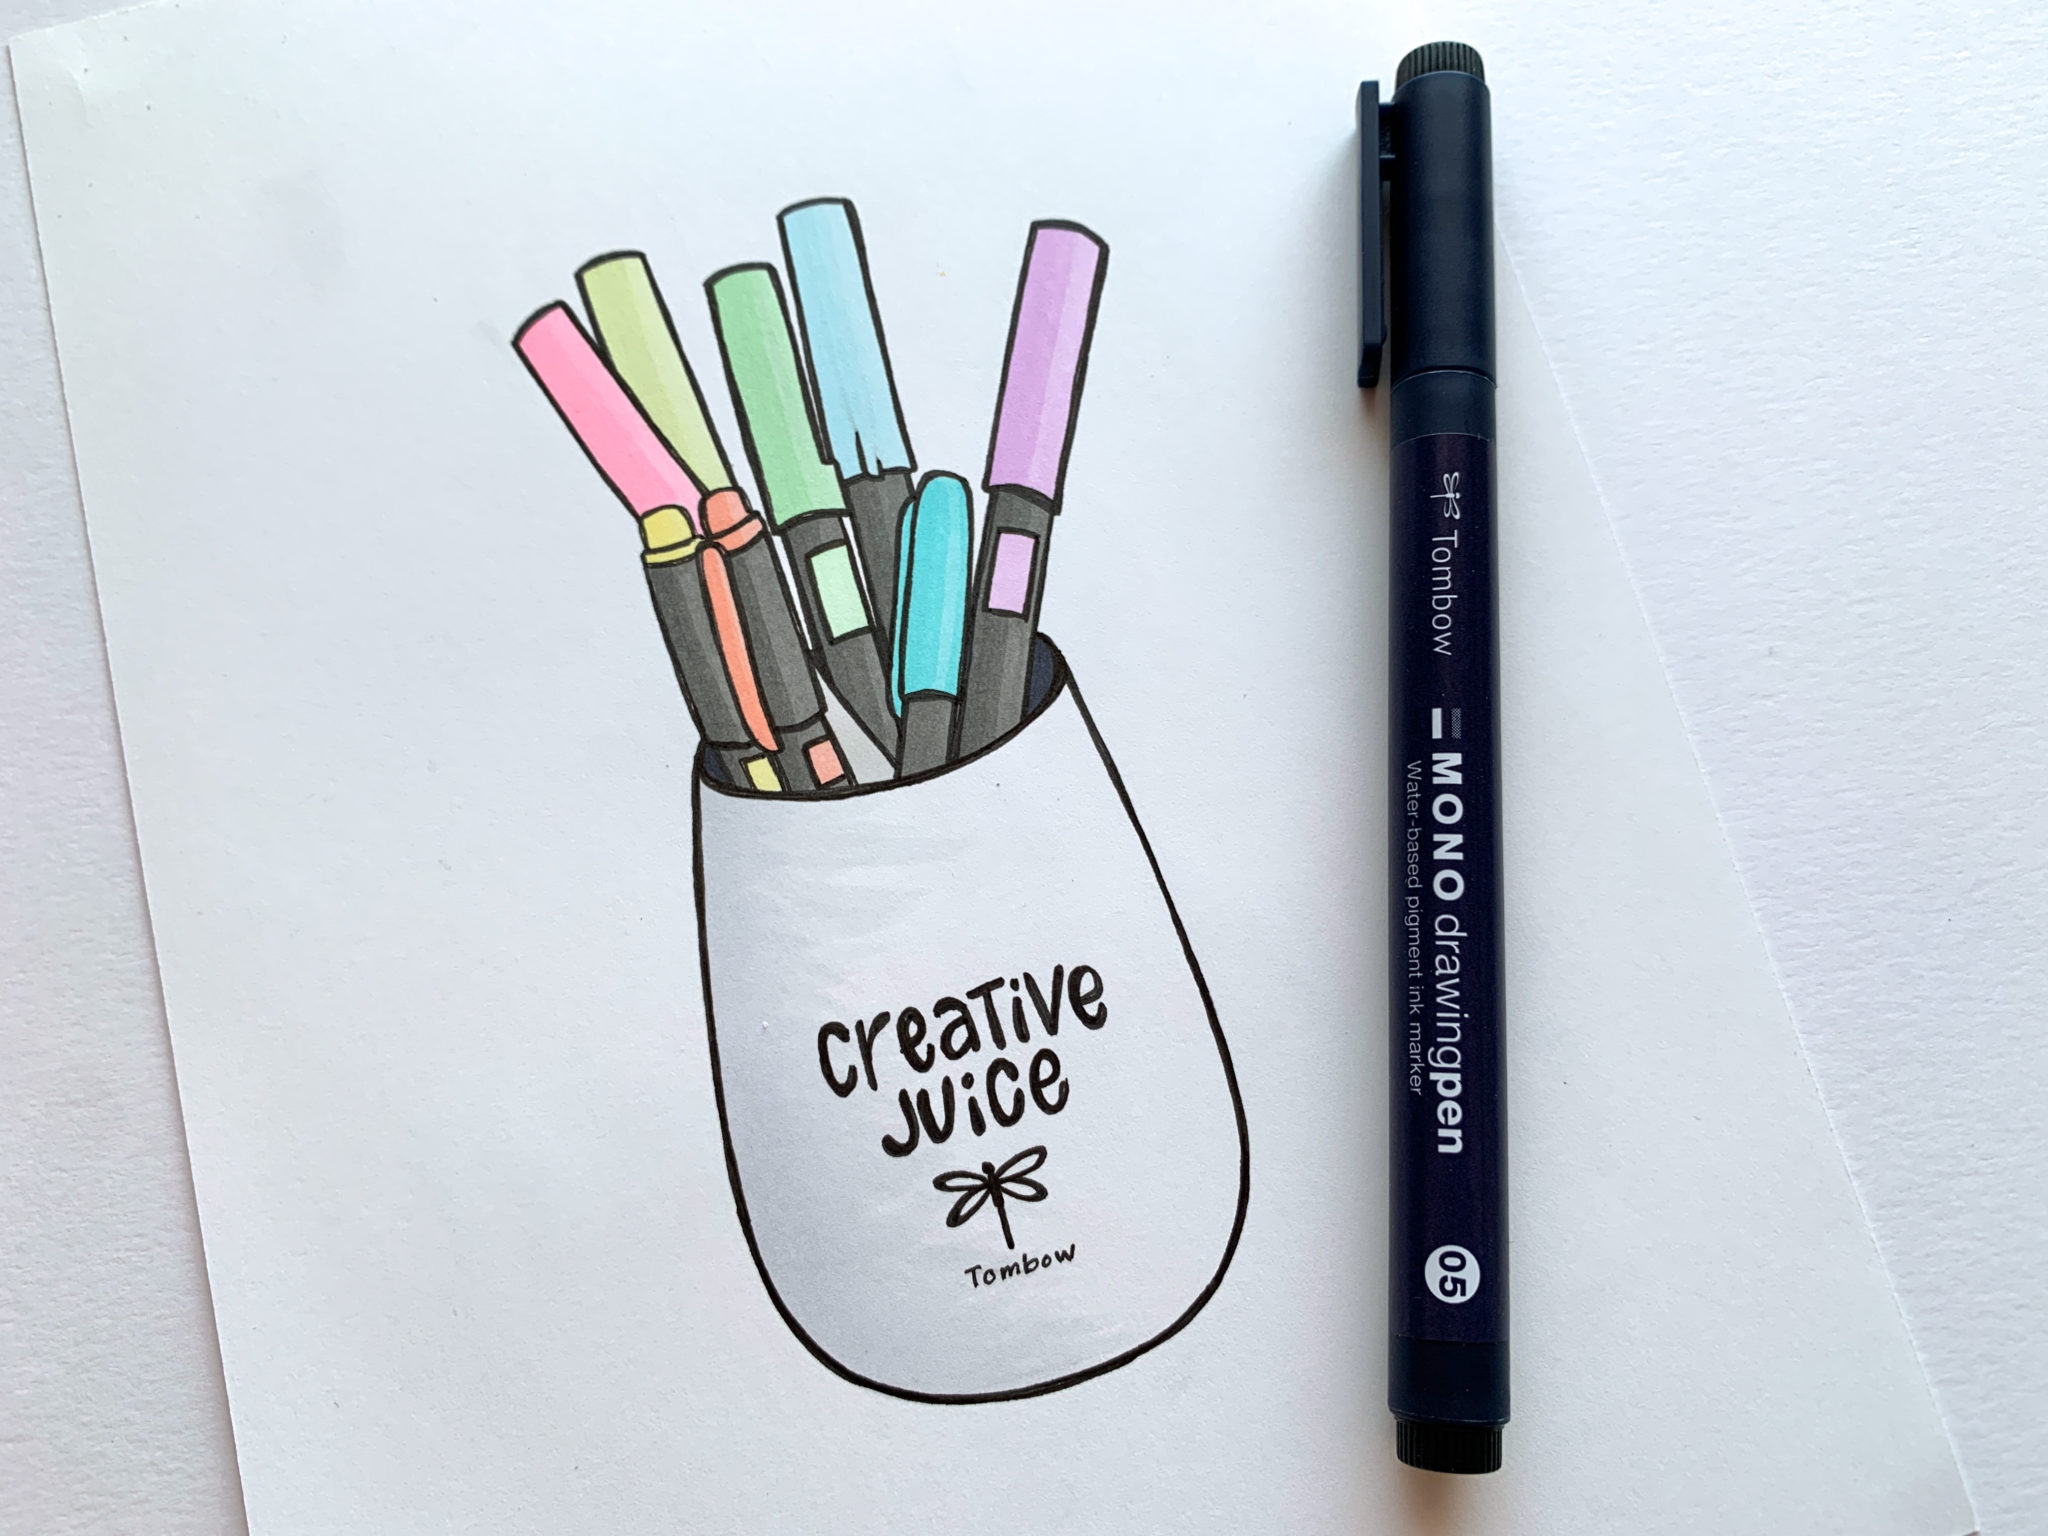
Step 8
Once I was done coloring, I used MONO Drawing Pen 05 to give the lines a little more weight. Even though I thought the drawing looked okay after I erased the sketch lines, I decided thicker lines would help the drawing look a little cleaner.
That’s how I draw! I hope that you were able to take something away from this walkthrough of my drawing process! Remember that your drawing doesn’t have to look perfect or hyper-realistic. You are exactly at the skill level you need to be at to make something great today. Just go for it and always keep practicing!
There are tons of resources here on the blog and endless posts over on the Tombow Instagram account. If you want to learn more about drawing, check out the Poppy Flower Tutorial With MONO Drawing Pens post by Adrienne Castleton! If you follow along with any of these tutorials, tag us so we can cheer you on!
Follow the process and the result will be amazing! That’s what I understood. Thanks for the post!
Pingback: How to Draw a Peony - Tombow USA Blog