Did you know that you can use doodles for way more than just cards and paper projects? You can actually use them to create one-of-a-kind home decor projects, too! I’m Amy from Amy Latta Creations, and today, we’re going to learn how to make a Cottage Core Jar Lantern together. Take a look!
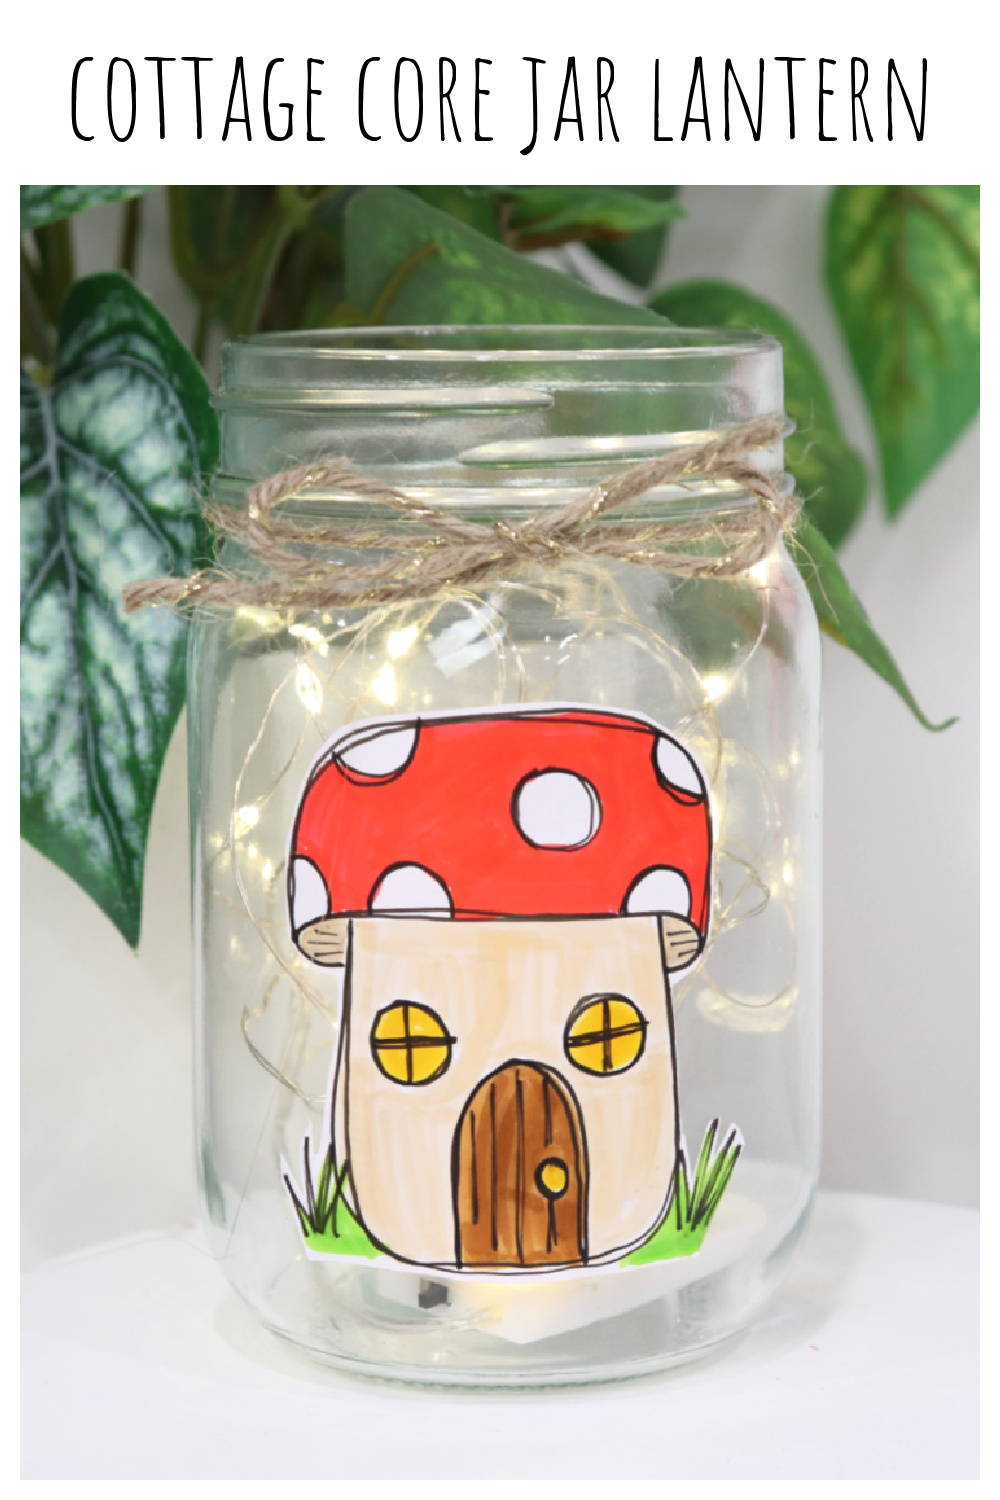
How to Make a Cottage Core Jar Lantern
This project has two main components. First, we’re going to turn some simple cottage core doodles into stickers. Then, we’re going to use those stickers to transform a mason jar into a decorative lantern. Ready to craft with me? Grab the supplies below, and let’s get started!
Materials
- printable vinyl (mine is from Cricut)
- Tombow MONO Drawing Pens
- Tombow Dual Brush Pens
- scissors
- clear glass jar
- twine
- fairy lights
Instructions
Step 1: Choose and practice your favorite cottage core doodles.
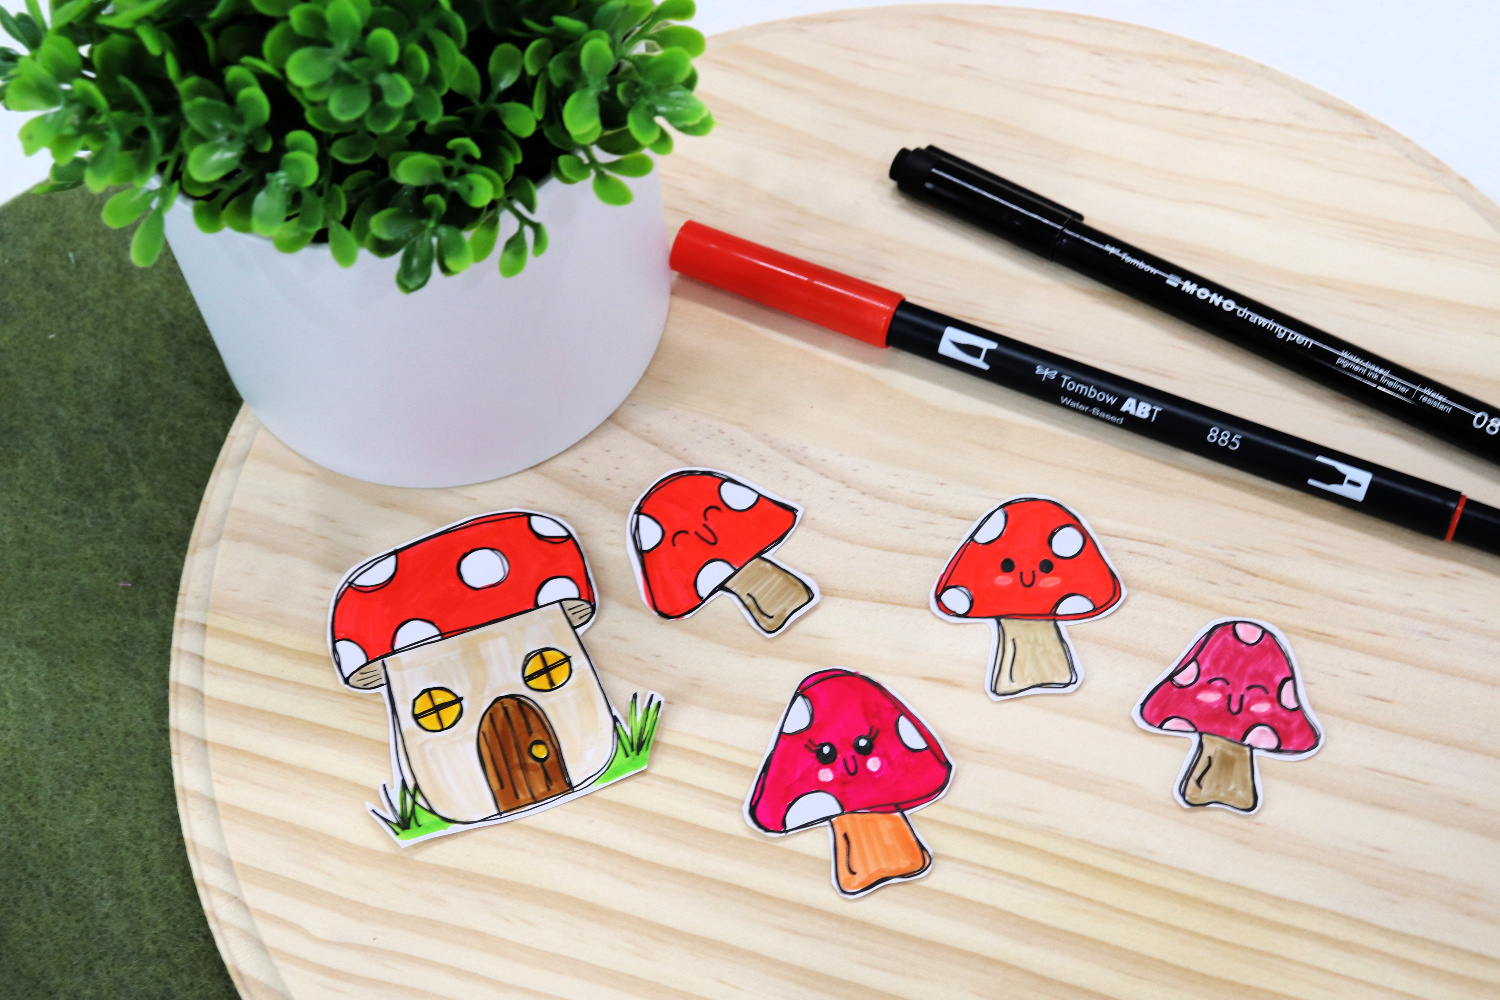
There are tons of fun doodles you can make in this style, including flowers, fairies, trees, elves, gnomes, and all kinds of other things you’d find in an enchanted forest. Personally, I love drawing whimsical toadstools as well as cute little toadstool houses where a gnome might live! Below, I’ve included a quick step-by-step tutorial for each of those two doodles to get you started. Practice a few times on scrap paper until you’re feeling confident and ready to create your stickers.
PRO TIP: If you loosely re-trace each of your lines, it creates a purposefully imperfect effect, which helps to cover up mistakes and give your drawings a whimsical feel.
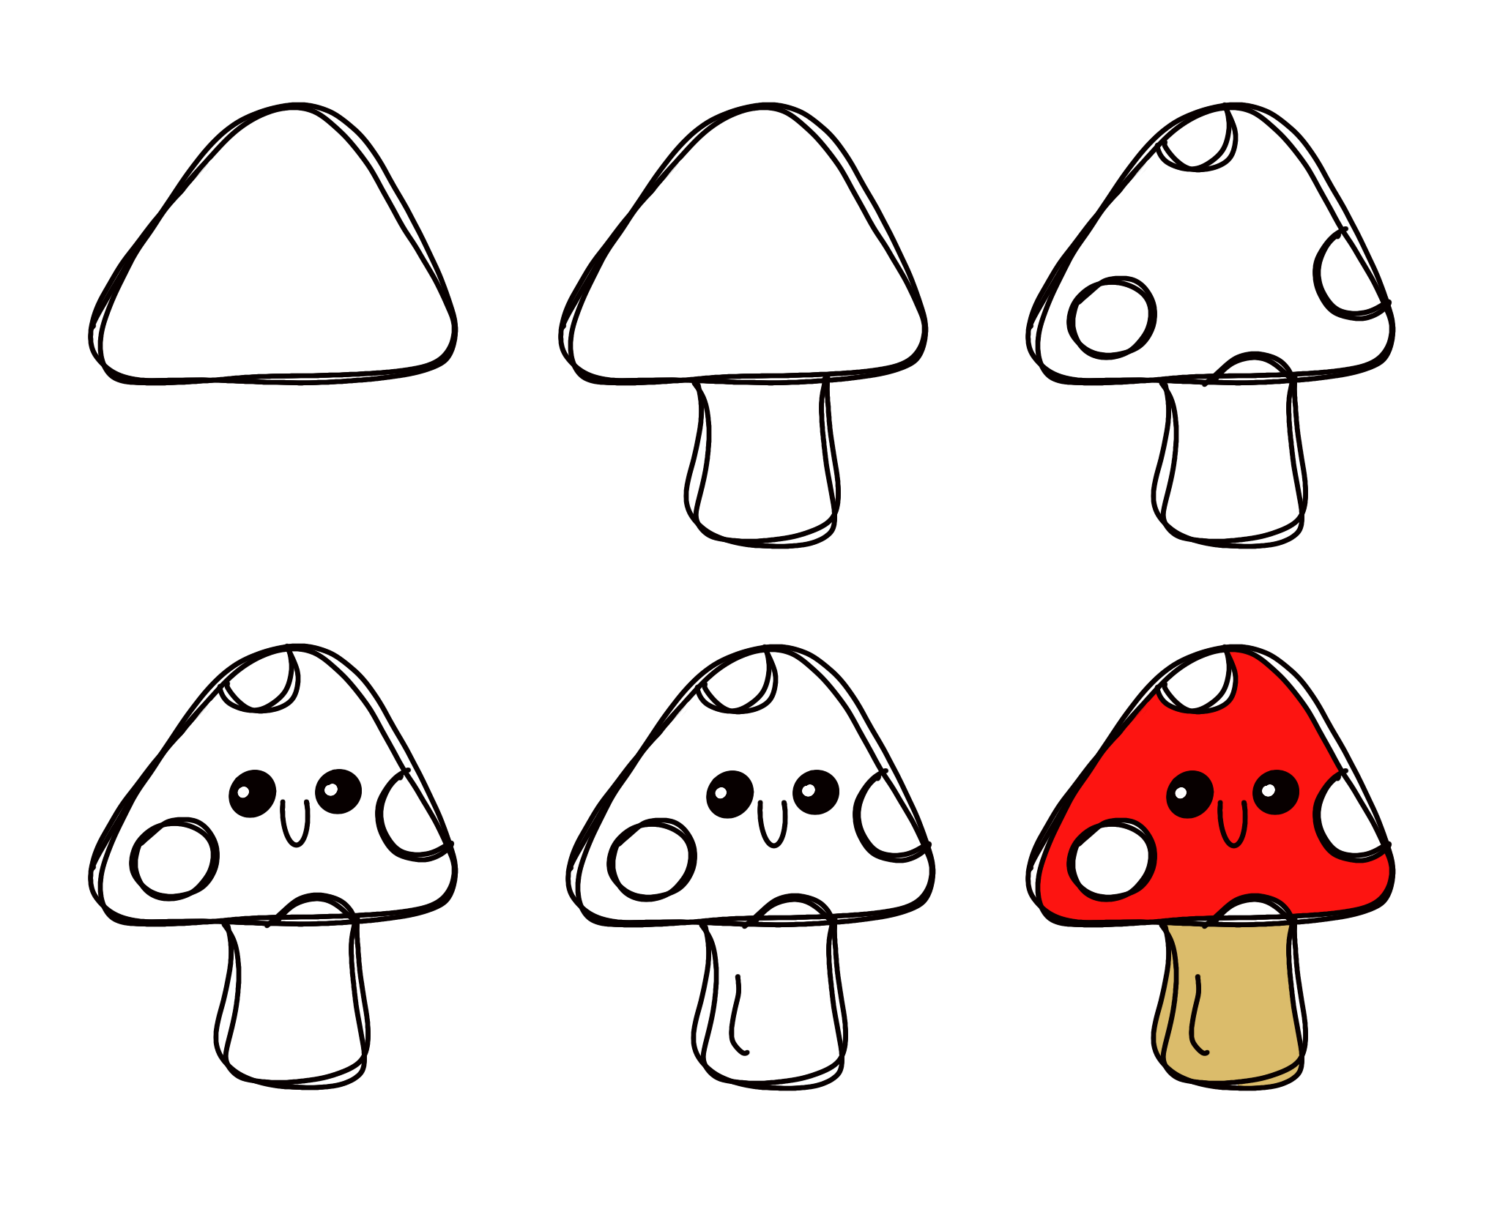
Toadstool
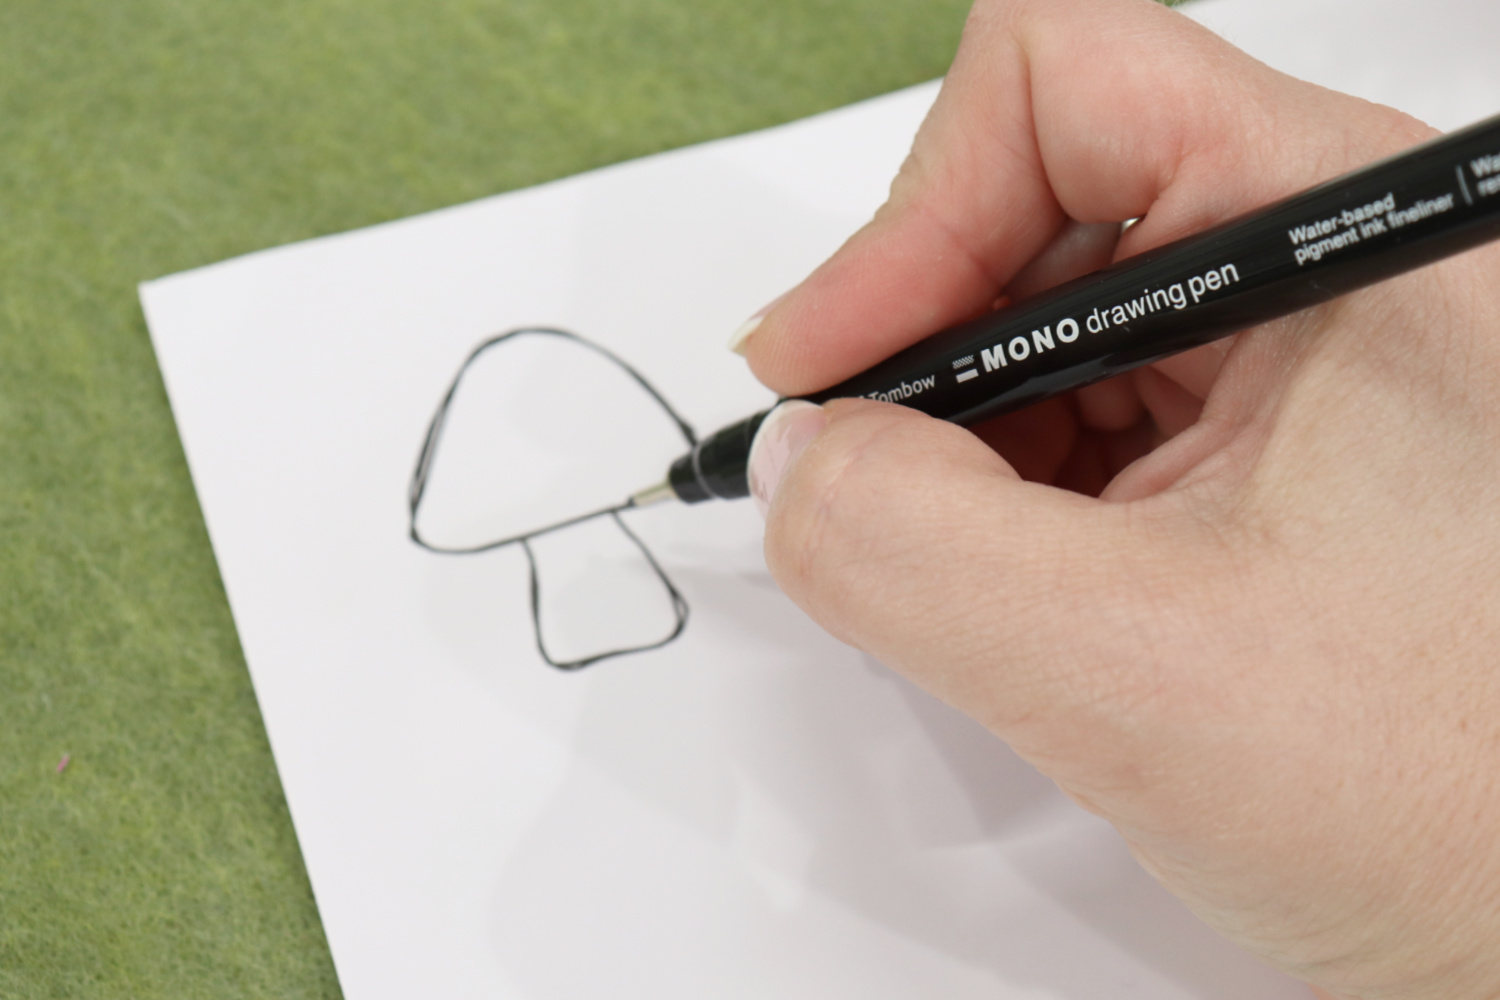
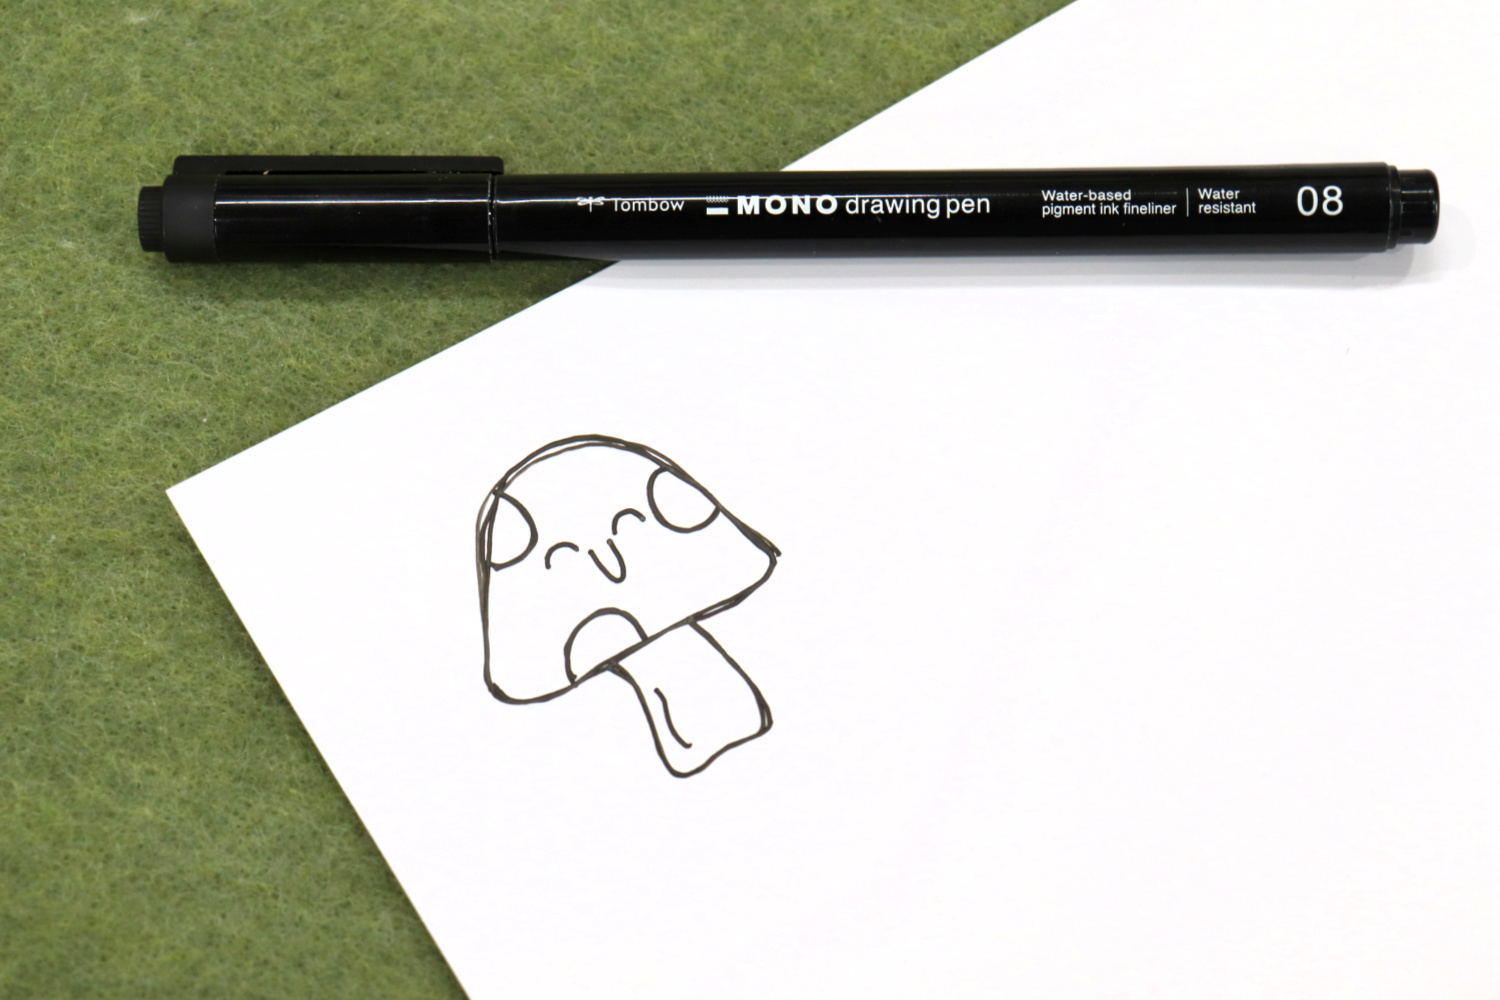
Start by sketching a rounded triangle for the cap of the toadstool. Then, add a rounded rectangle for the stem. Draw several dots around the outside edges of the cap, leaving a blank space in the center. Add a cheerful face made of simple round or arch shaped eyes and a smile, then draw a detail line on the stem.
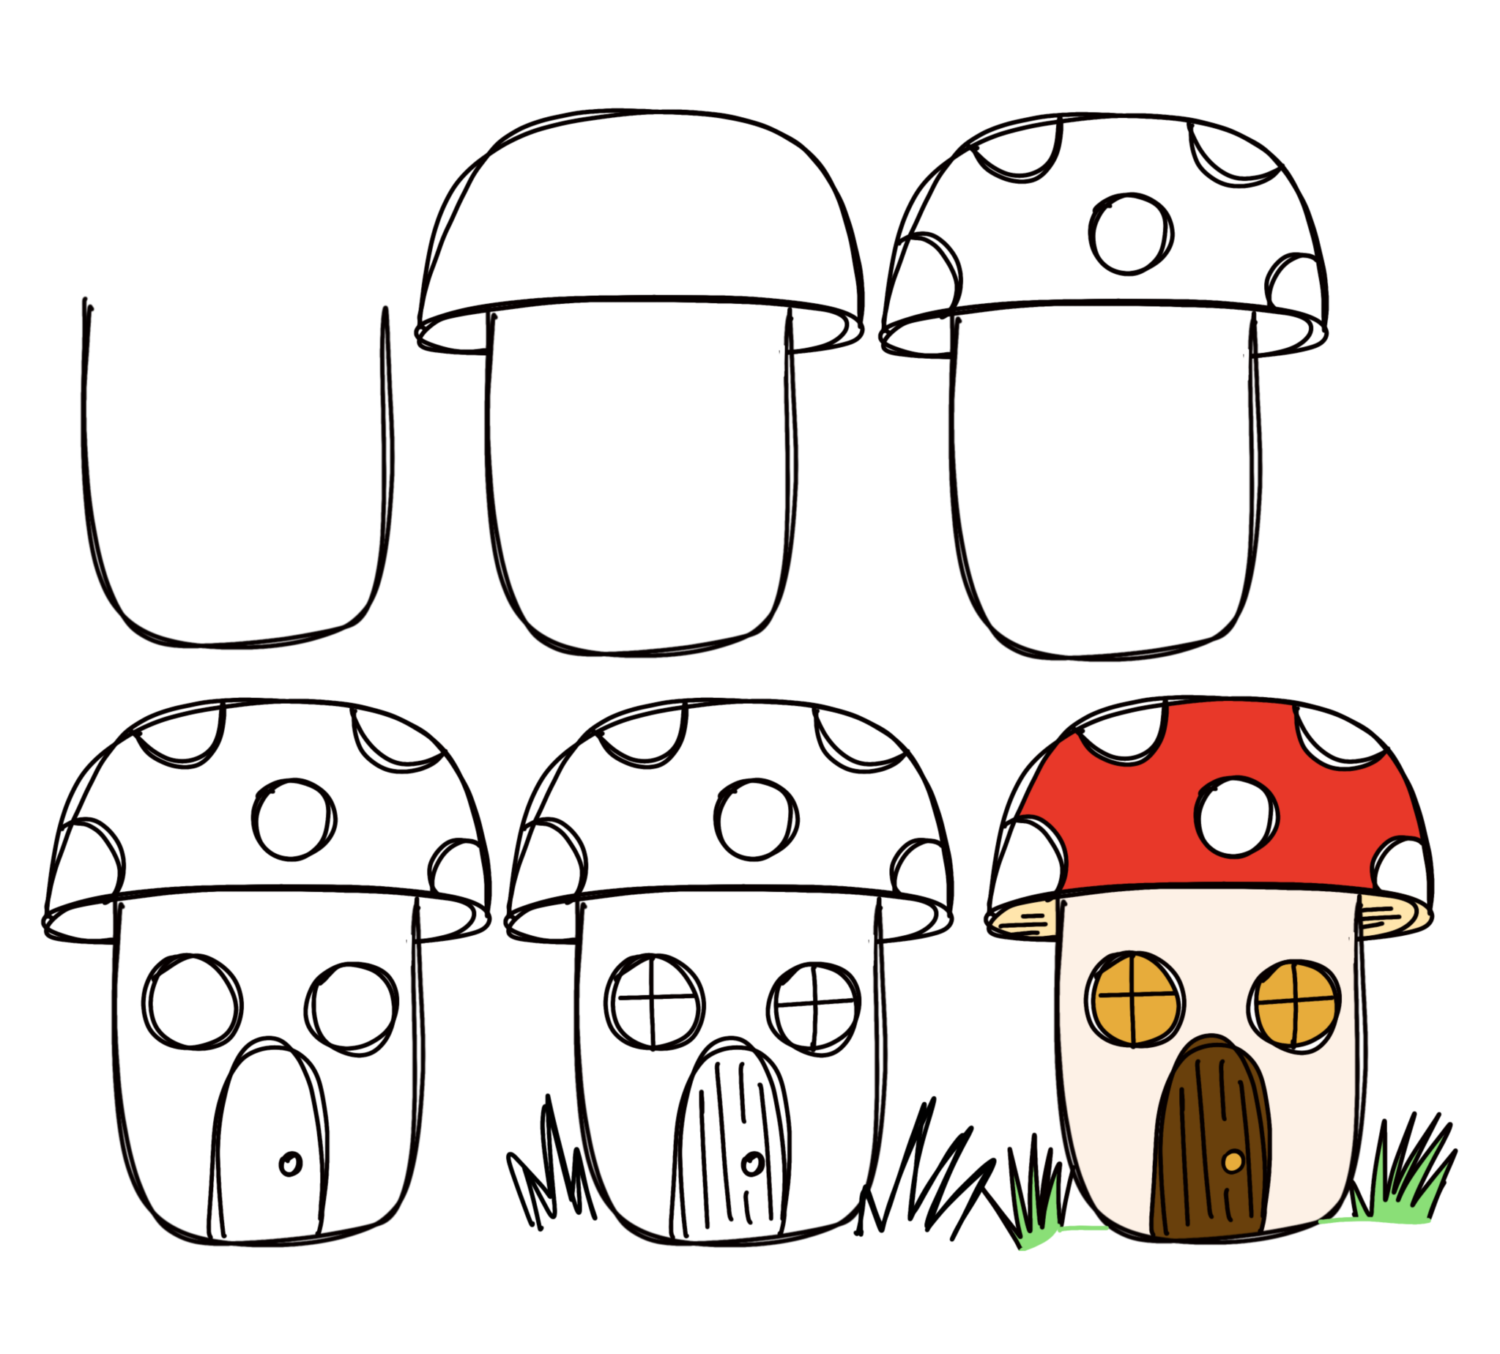
Toadstool House
Sketch a rounded “u”-shape for the base. Draw a sideways “c”-shape across the top, then add an arch to create the upper section of the house. Add dots inside the cap, then draw a door and two round windows. Doodle details like texture lines on the door, intersecting lines through the windows, and grass.
Step 2: Use a MONO Drawing Pen to create the outline of your doodle on a sheet of printable vinyl.
MONO Drawing Pens are the perfect tool for this project, because they dry instantly with no smudging, and there are seven different tip sizes to choose from, ranging from the tiny 005 to the larger 08. Personally, I chose to use the 08 for my stickers, but feel free to use whatever thickness is your favorite.
After you draw your basic outline, add the details like a face, texture lines, and more.
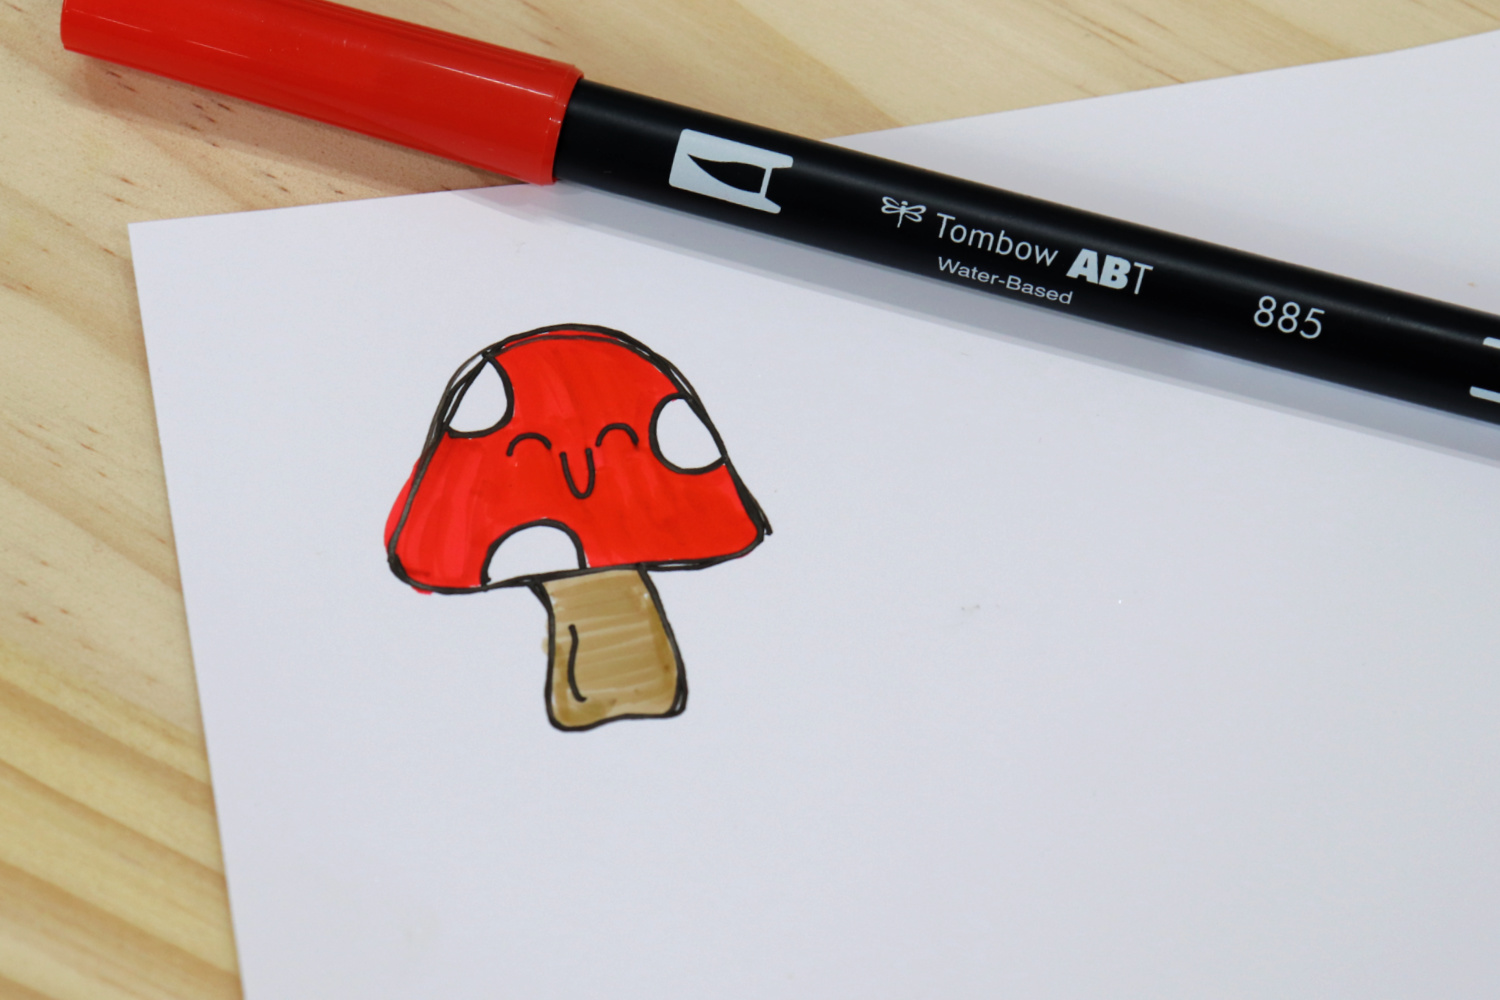
Step 3: Add color.
Use Tombow Dual Brush Pens to color your doodles. They’re available in 108 colors, so it’s easy to find the perfect shades for every drawing. These markers have a wide brush tip on one end that’s perfect for coloring large spaces, and a bullet tip on the other, which is great for filling in tiny detail areas.
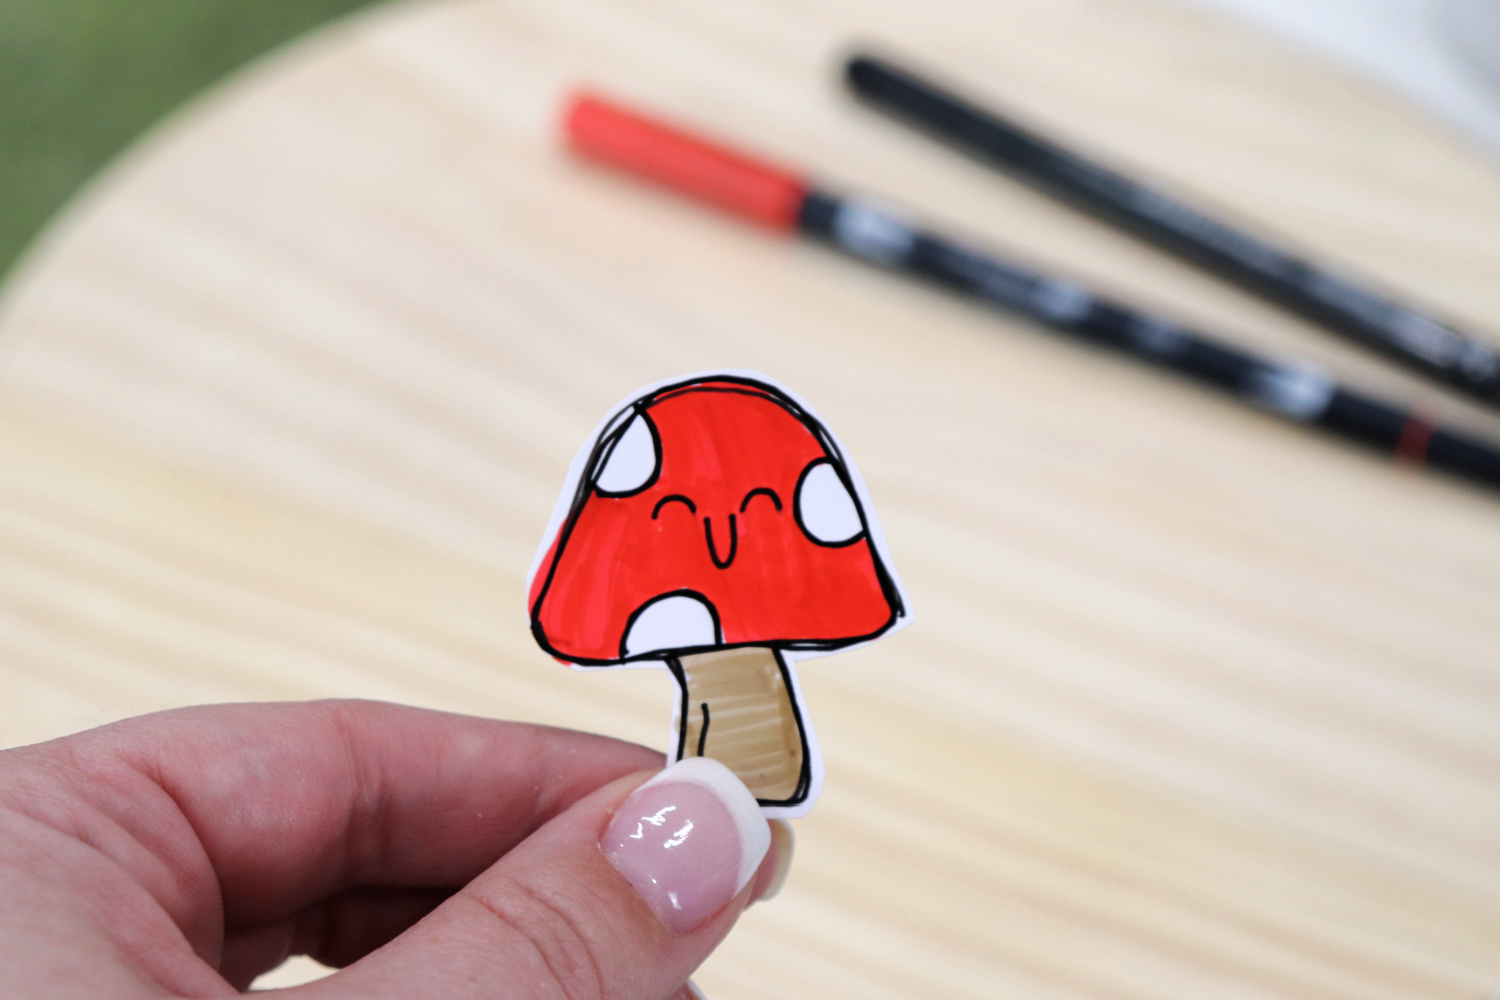
Step 4: Cut out your stickers.
I like to trim my stickers close to the outline shape, leaving just a bit of white around the outer edges. However, if you prefer, you can cut right on the black lines.
Create as many or as few stickers as you like. The printable vinyl I used is made by Cricut, and it came in a pack of ten 8 1/2” x 11” sheets, which meant I could fit plenty of stickers on each one. Feel free to experiment with other cottage core doodles too, for even more variety and personalization.
Bonus: You can use any extra stickers to decorate your laptop, tablet, notebooks, journals, planners, and more!
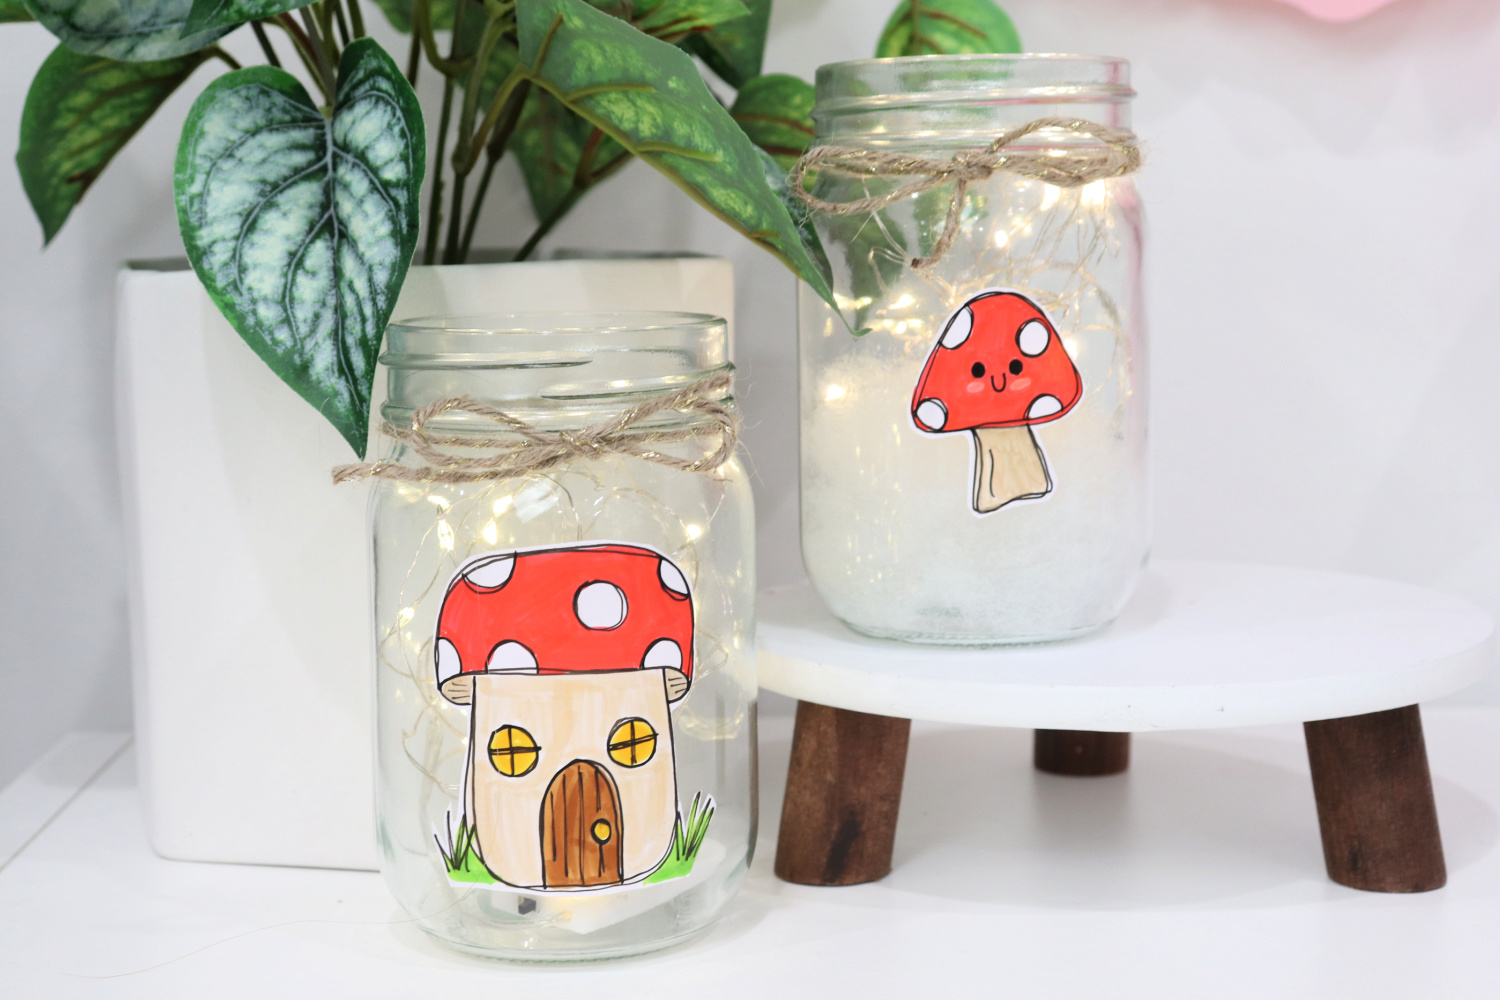
Step 5: Apply your sticker to a clear glass jar.
Peel off the backing, then position your sticker wherever you want it on a clean, dry, jar. You can use one large central sticker like I did, or scatter multiple stickers all over the jar.
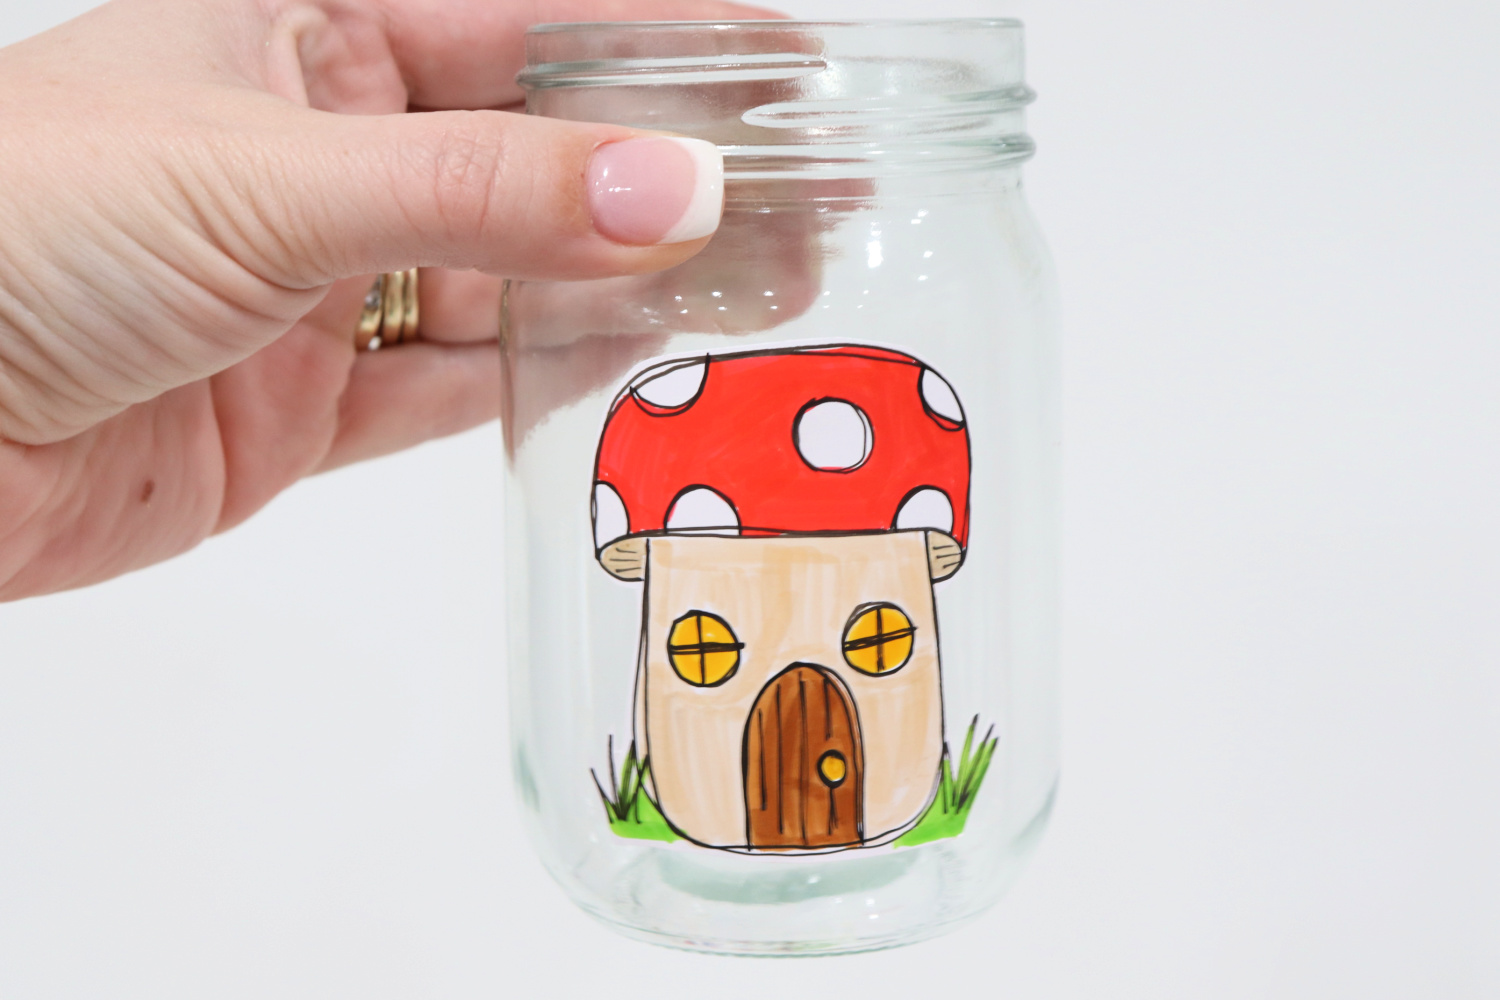
Step 6: Add twine and fairy lights.
Tie a piece of twine around the mouth of the jar. Then, tuck a battery-operated pack of fairy lights inside to get that twinkly glow!

If you like, you can add a bit of Poly-Fil to the bottom of the jar to hide the battery pack.
That’s all there is to it! Your lantern is ready to light up a mantel, a shelf, an end table, or any other space in your home. Although the printable vinyl is durable and tear-resistant, it is not waterproof, so these lanterns should not be used outdoors or in other areas where they might come in contact with water. Otherwise, feel free to enjoy them anywhere!
If you try making your own lantern, we’d love to see it! Make sure to tag @tombowusa and @amylattacreations in your project photos on social media so we can all be inspired by each other. Can’t wait to see what you create!
Before you go, make sure to check out these other doodle-inspired project ideas from the Tombow blog:
Whimsical Doodles with Tombow MONO Drawing Pens
How to Fill a Page with Easy Doodles
Happy creating!
Pingback: Cottage Core Jar Lantern - Amy Latta Creations