Hi Tombow friends! Summer is around the corner, and we are getting ready for the season!
This is Jennie and one of my family’s Summer traditions is to go to the library to sign up for the Summer Reading Challenge! We hit some Spring book sales at the libraries so our to be read pile is ready for Summer!
Supplies:
- Jar or recycled clear container
- Tombow Xtreme Adhesive
- Paper and Printer
- Foam sheets
- Pattern Paper and Embellishments to decorate
Step One: Make the book covers.
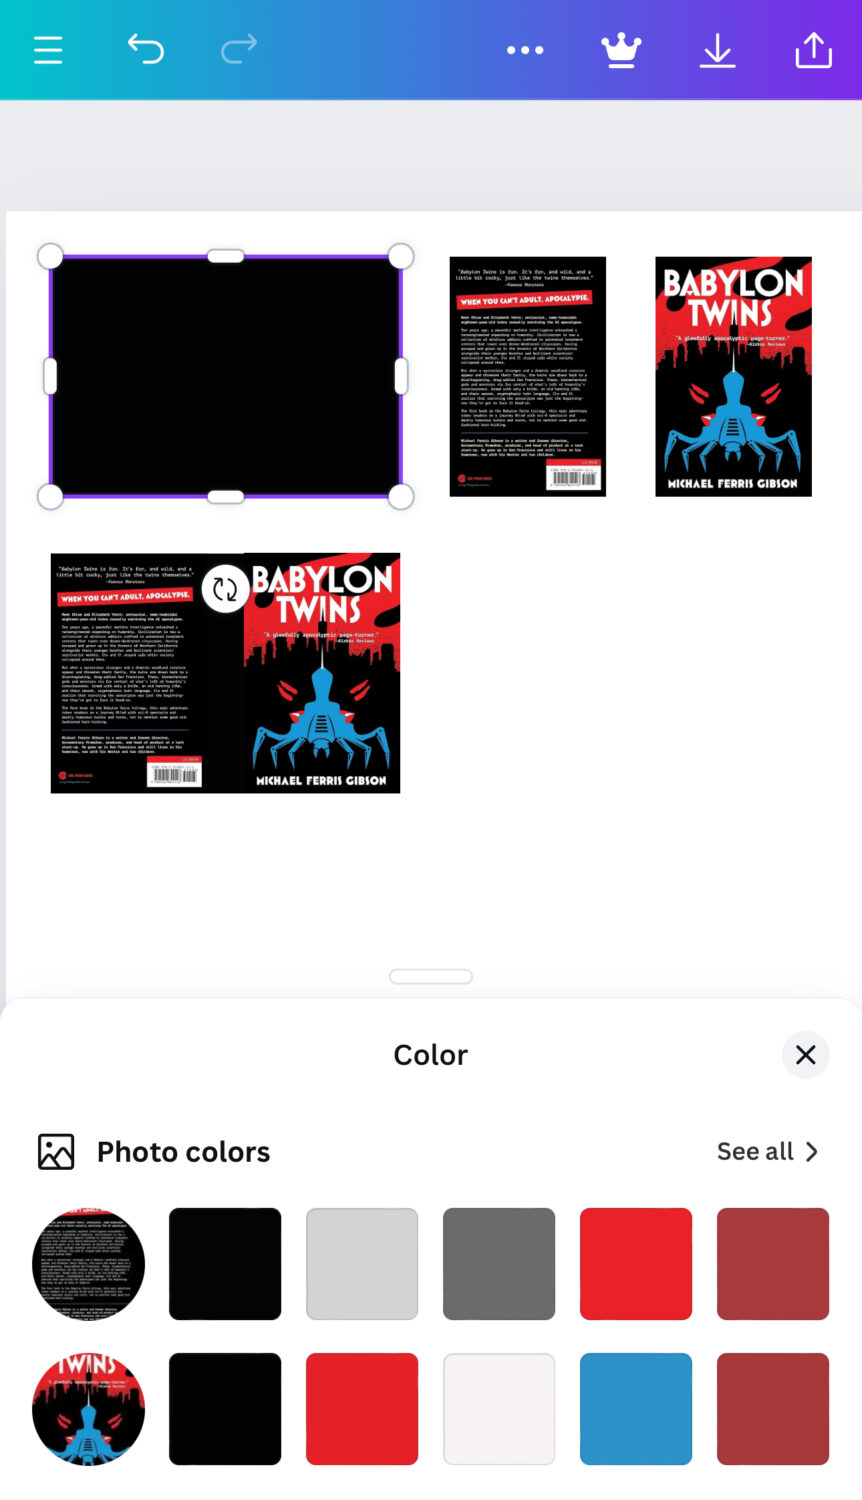
To make these mini book covers I used Canva. Click “Create a design” and create a custom size document that is 11×8.5 inches. You can find the photos of the covers online. Some back covers are hard to find, for these I used the front cover on both sides. Add a rectangle on the background, put the back cover of the book on the left side and the front cover on the right. When you click on the rectangle it will give you the option to change the color of the visible part of the rectangle that will be the spine. You can click on the color square and pick a color from the cover. When your book is ready, select all the pieces and duplicate it to match the number of books. That way you can grab the new covers and drop them on the existing covers instead of having to resize all the covers. Once a book is done, group it.
Step Two: Print and cut!
Save the document and print it on cardstock. I used matte photo paper. It’s as thick as cardstock, but the image quality is really good.
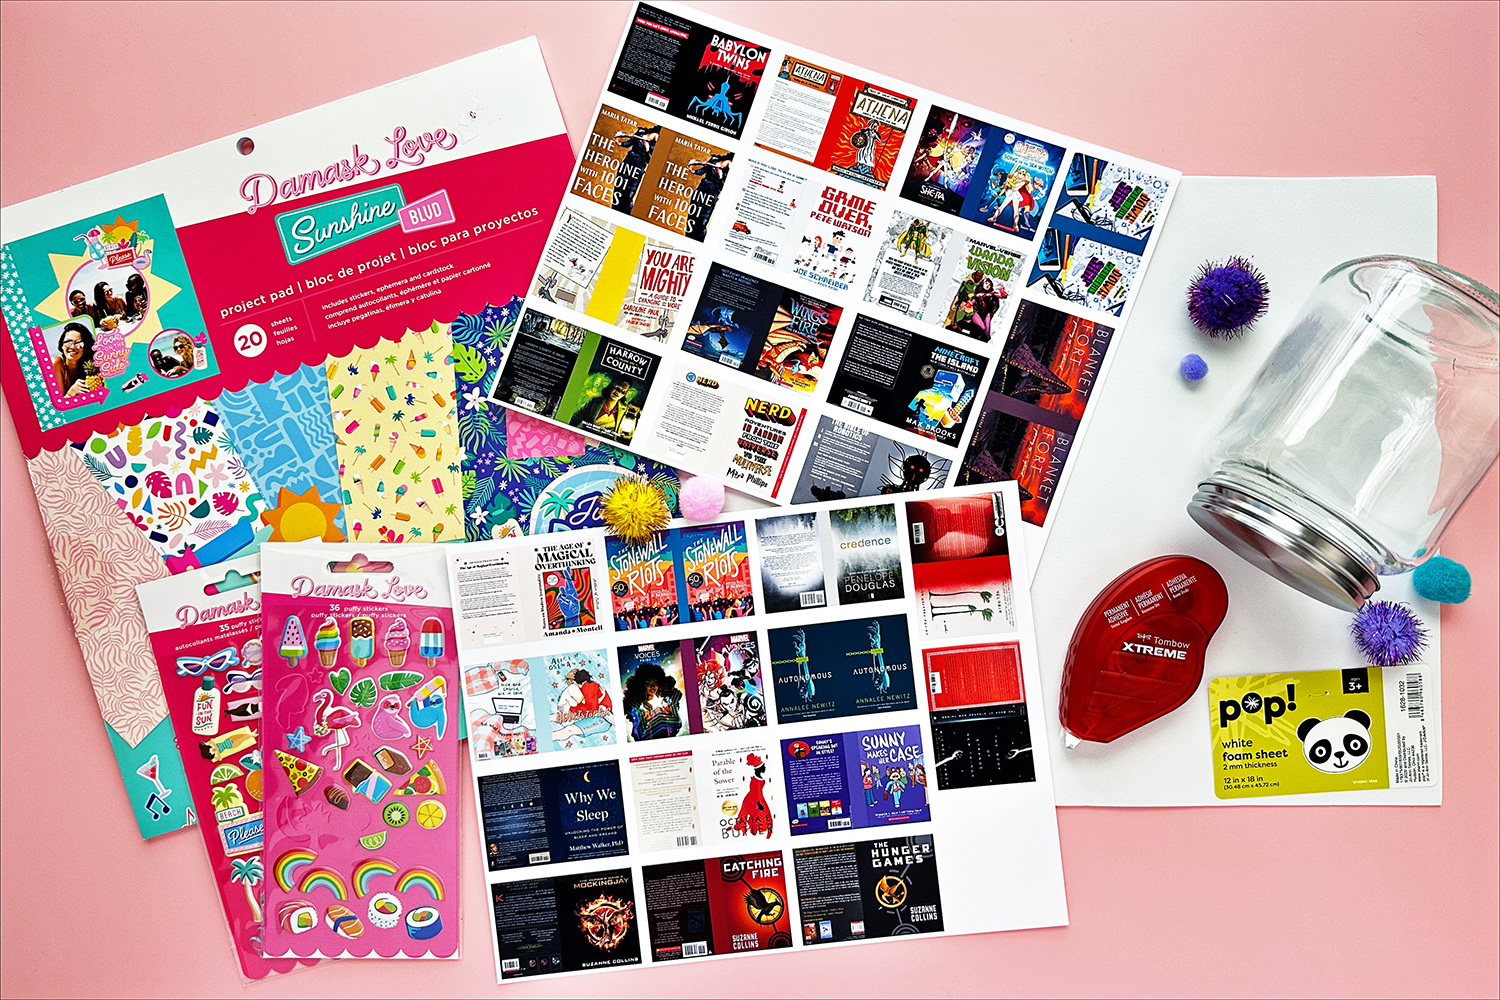
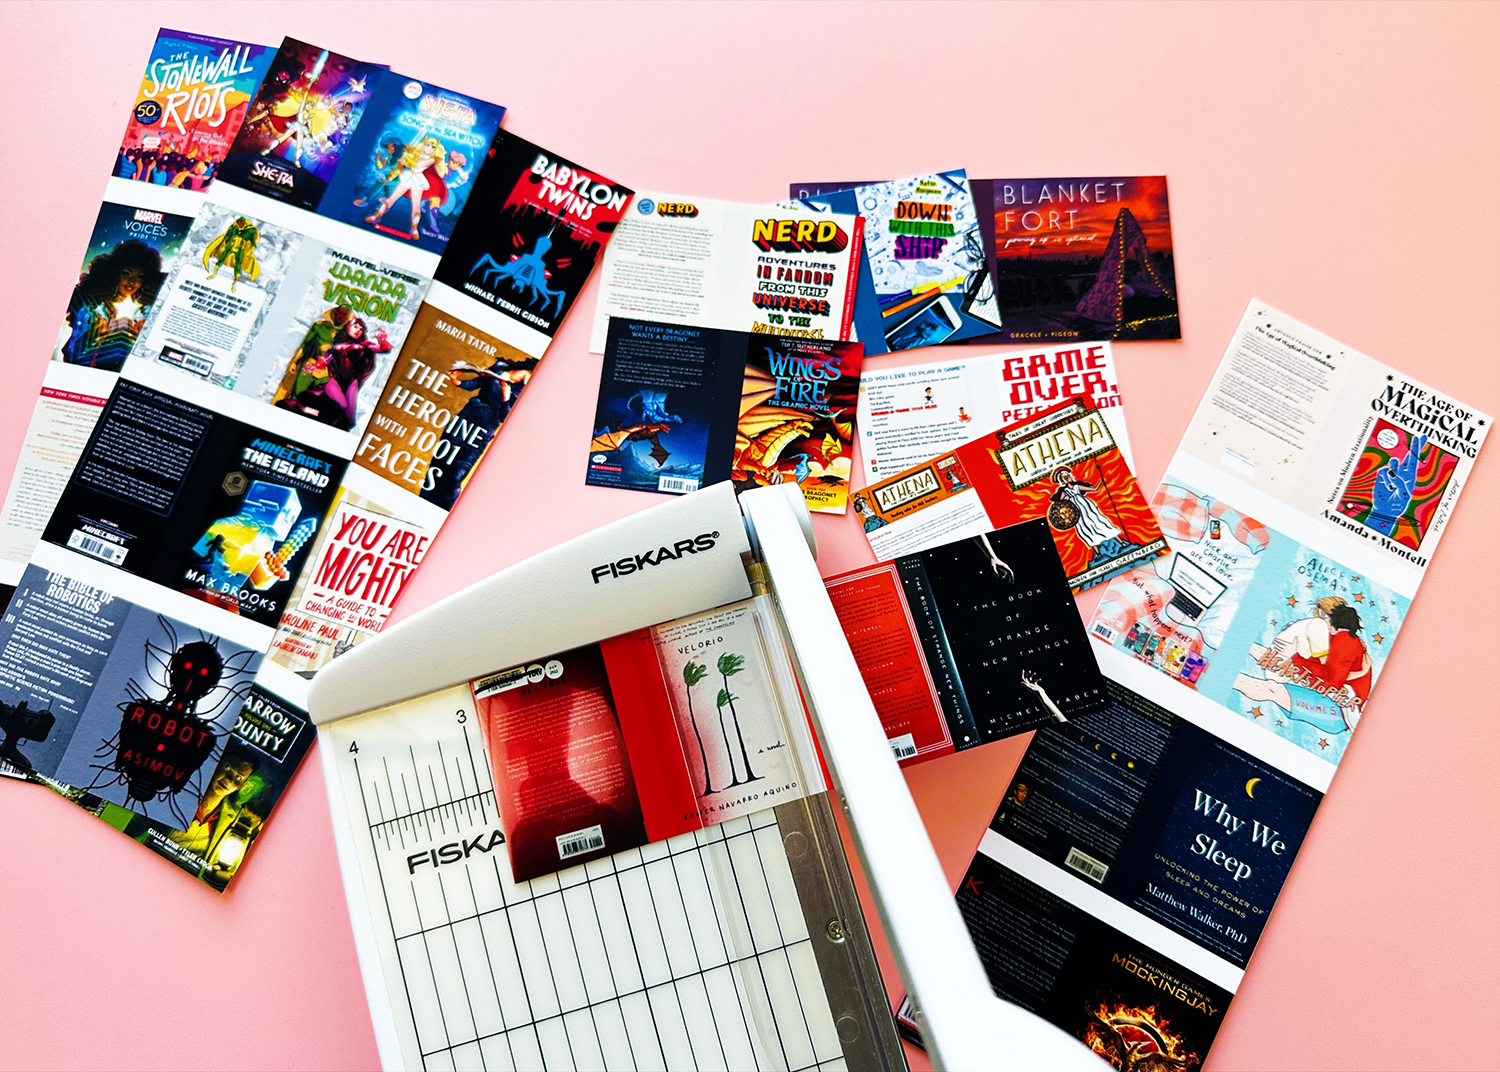
When you are placing the books in the document make sure that they align. That way they’ll be easier to cut. You can use scissors or a trimmer.
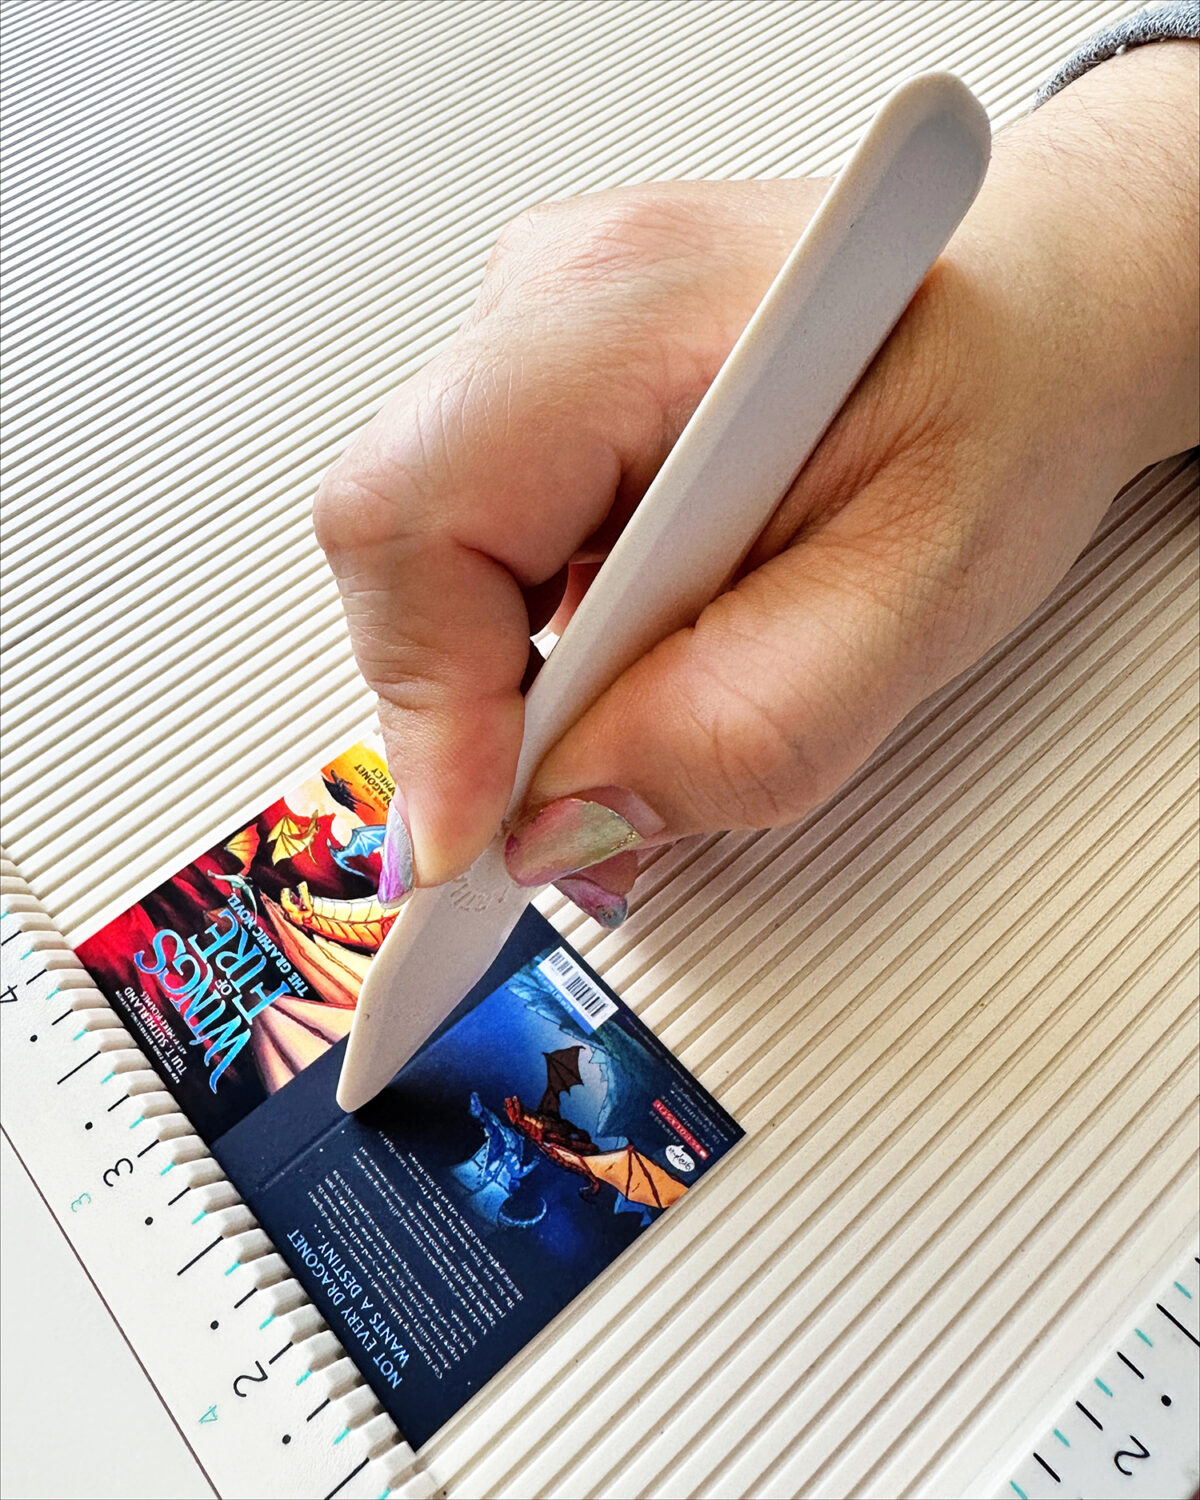
Once they are cut, use a bone folder to create a crease for the spine.
Let’s add pages!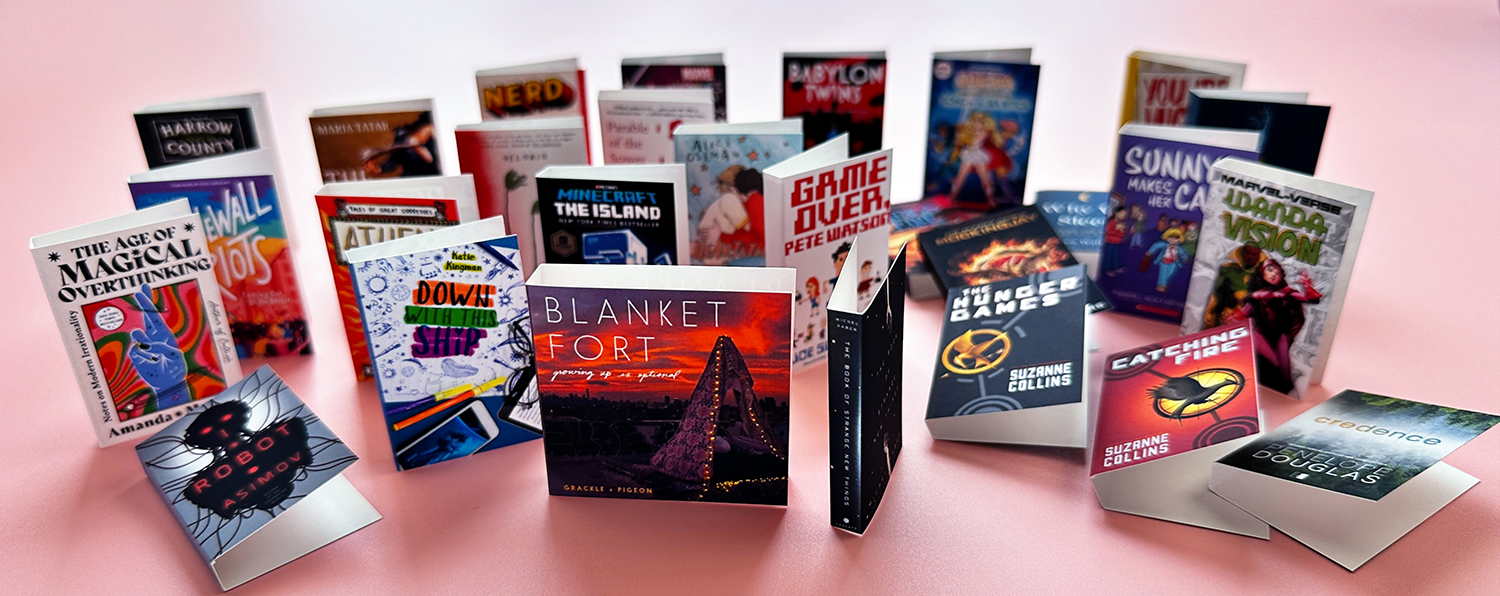
Step Three: Put the books together!
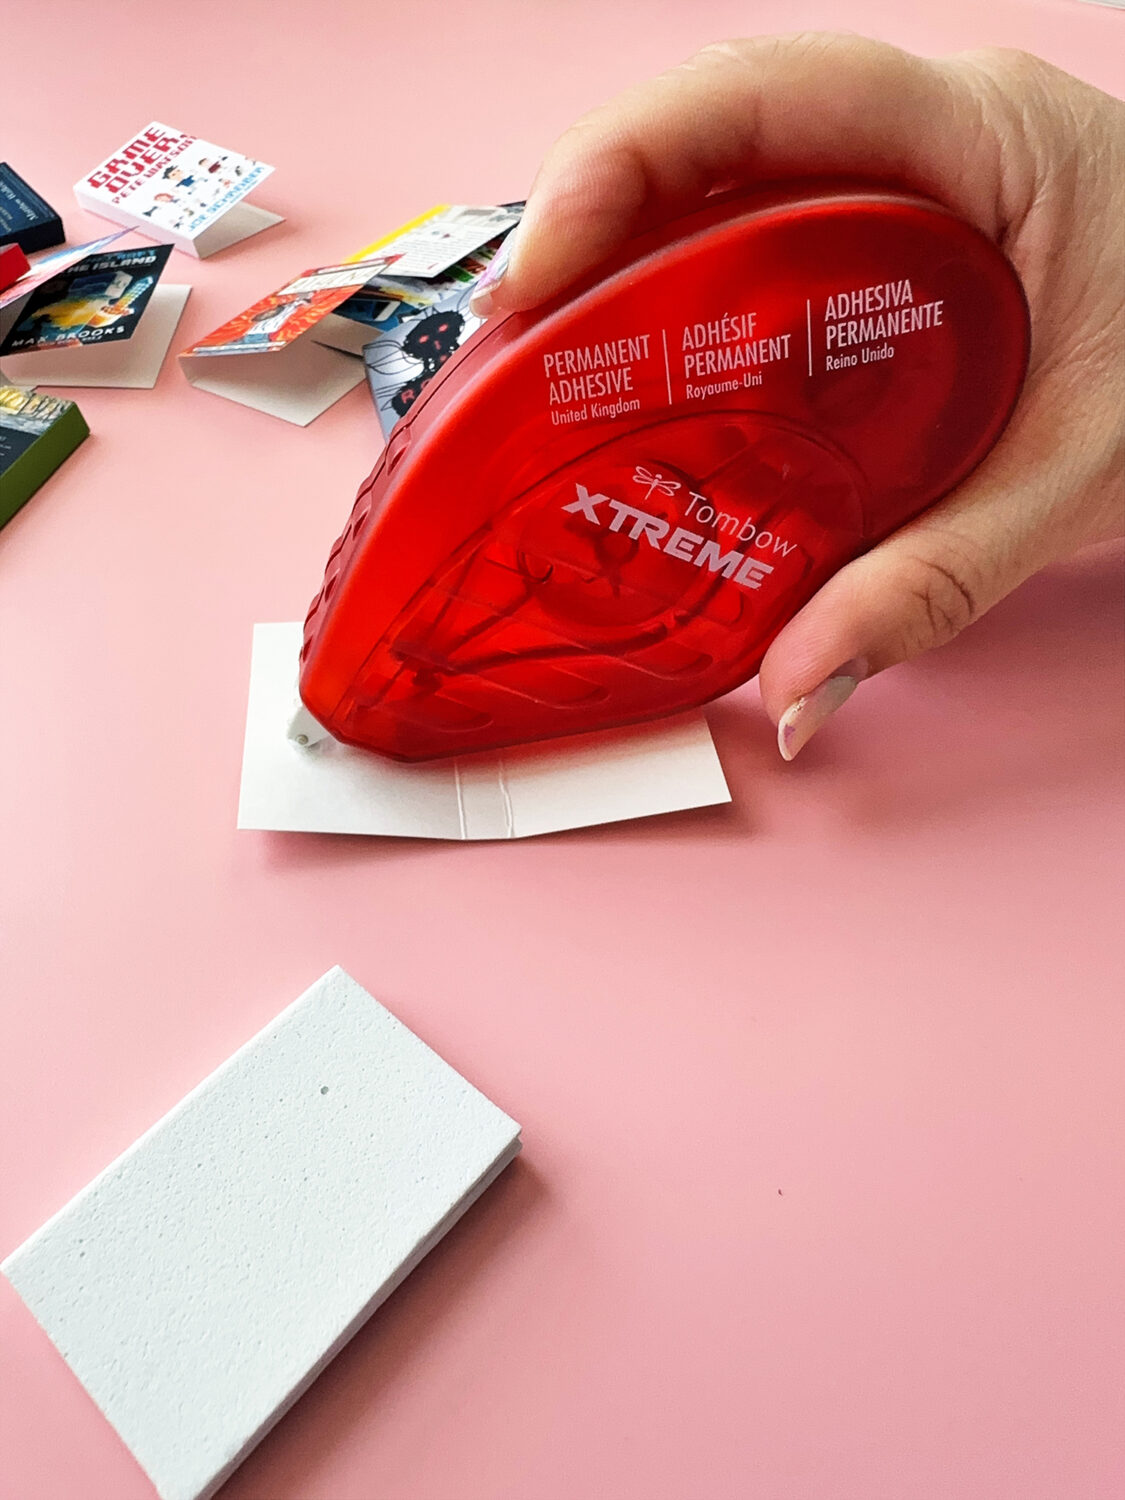
To create the “pages” I used white foam sheets. You can also use paper, but cutting and gluing lots of small pieces of paper is more work than using 3 foam pieces per book. Use the Tombow Xtreme Adhesive to put the pieces of foam together.
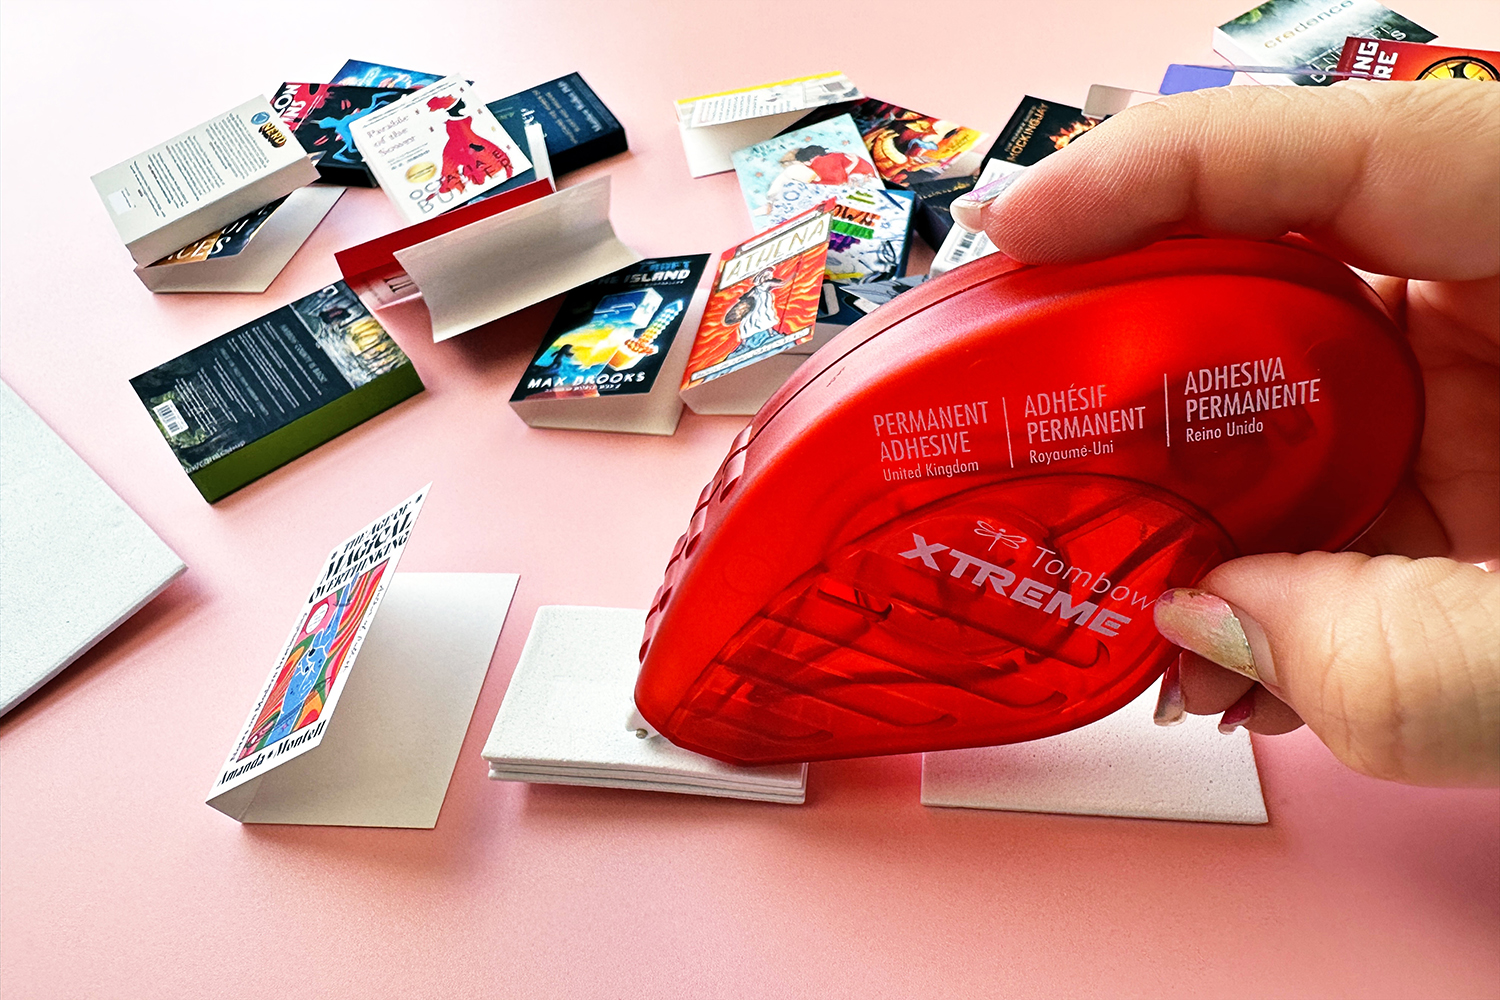
To put the foam pages on the book, first use the Tombow Xtreme Adhesive on the spine and then add adhesive on the back of the covers. Line the pages on the spine, and then close the book.
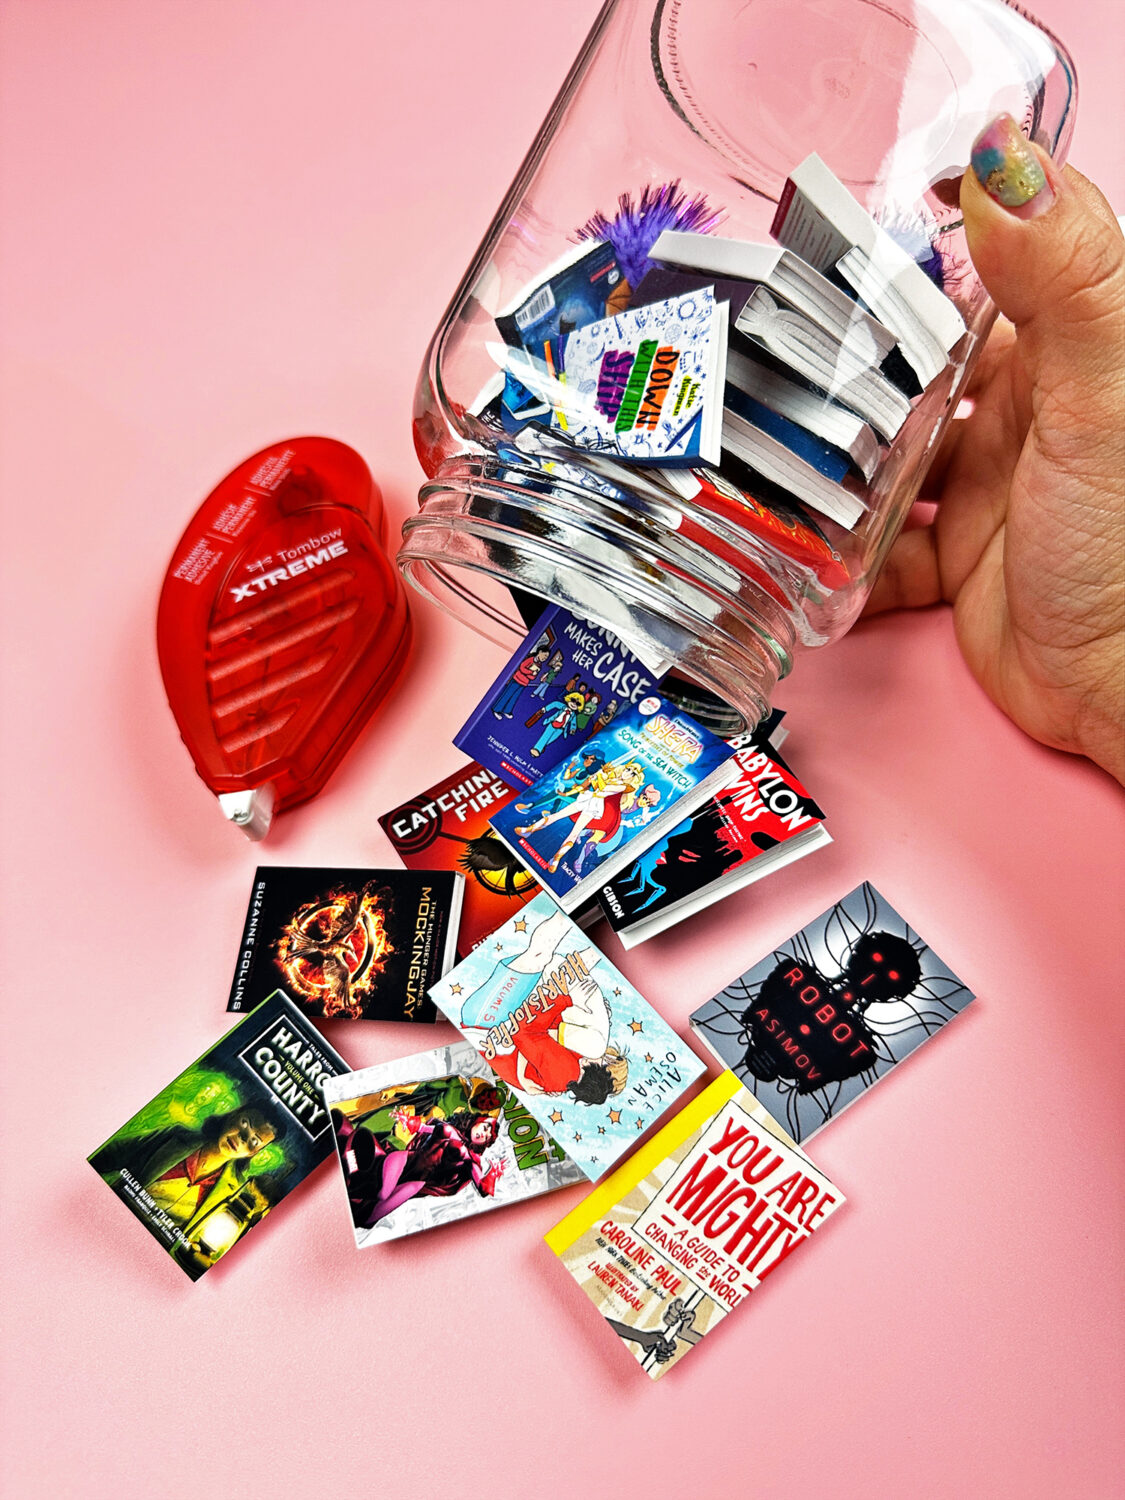
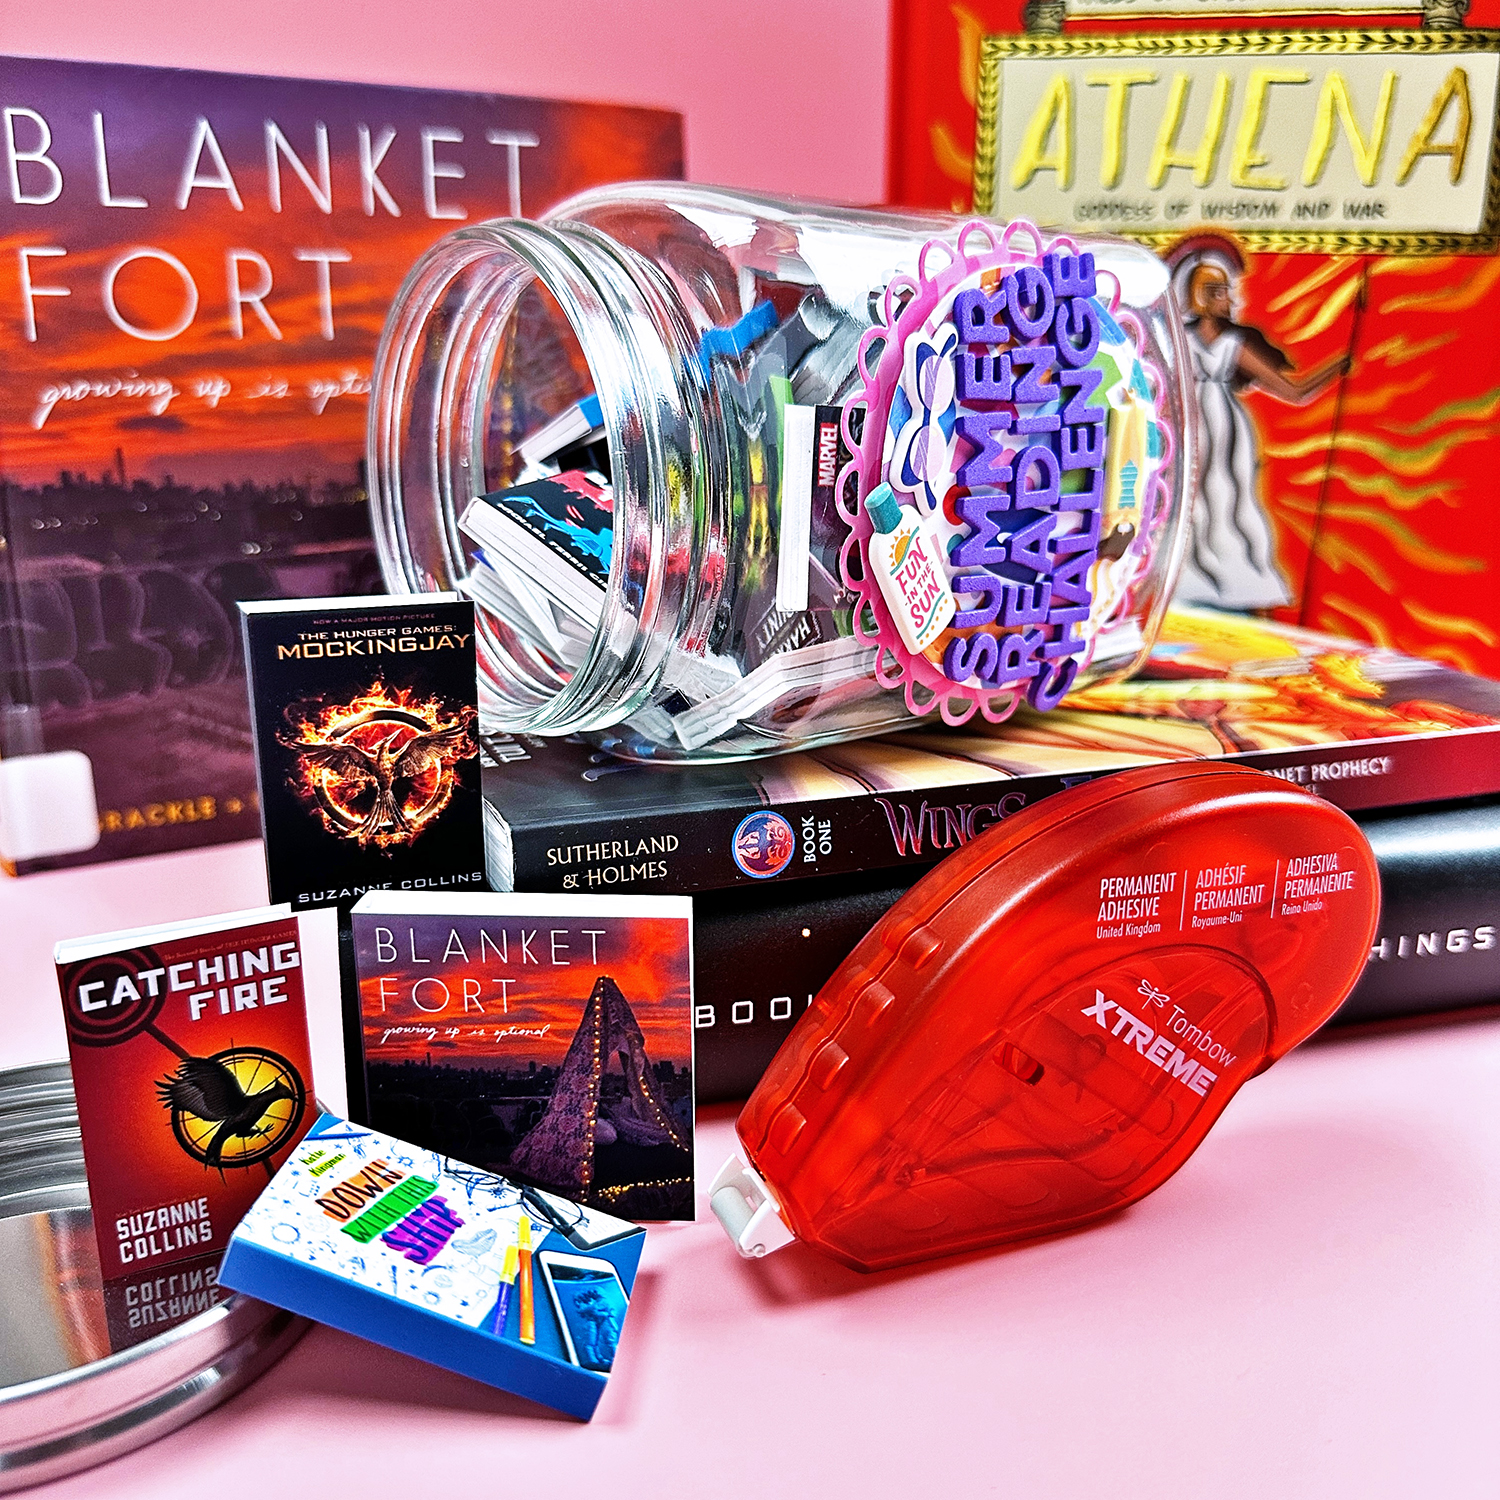
Your mini books are ready! Last year one of the most popular diy ornaments on my radar was an ornament full of the little books you read that year! This is a great idea to reuse these books.
Step Four: Decorate the jar.
Use pattern paper to create a label for your jar. I wanted to have a little dimension between the two layers of the labels. You can use the leftover foam with the Tombow Xtreme Adhesive to add extra dimension.
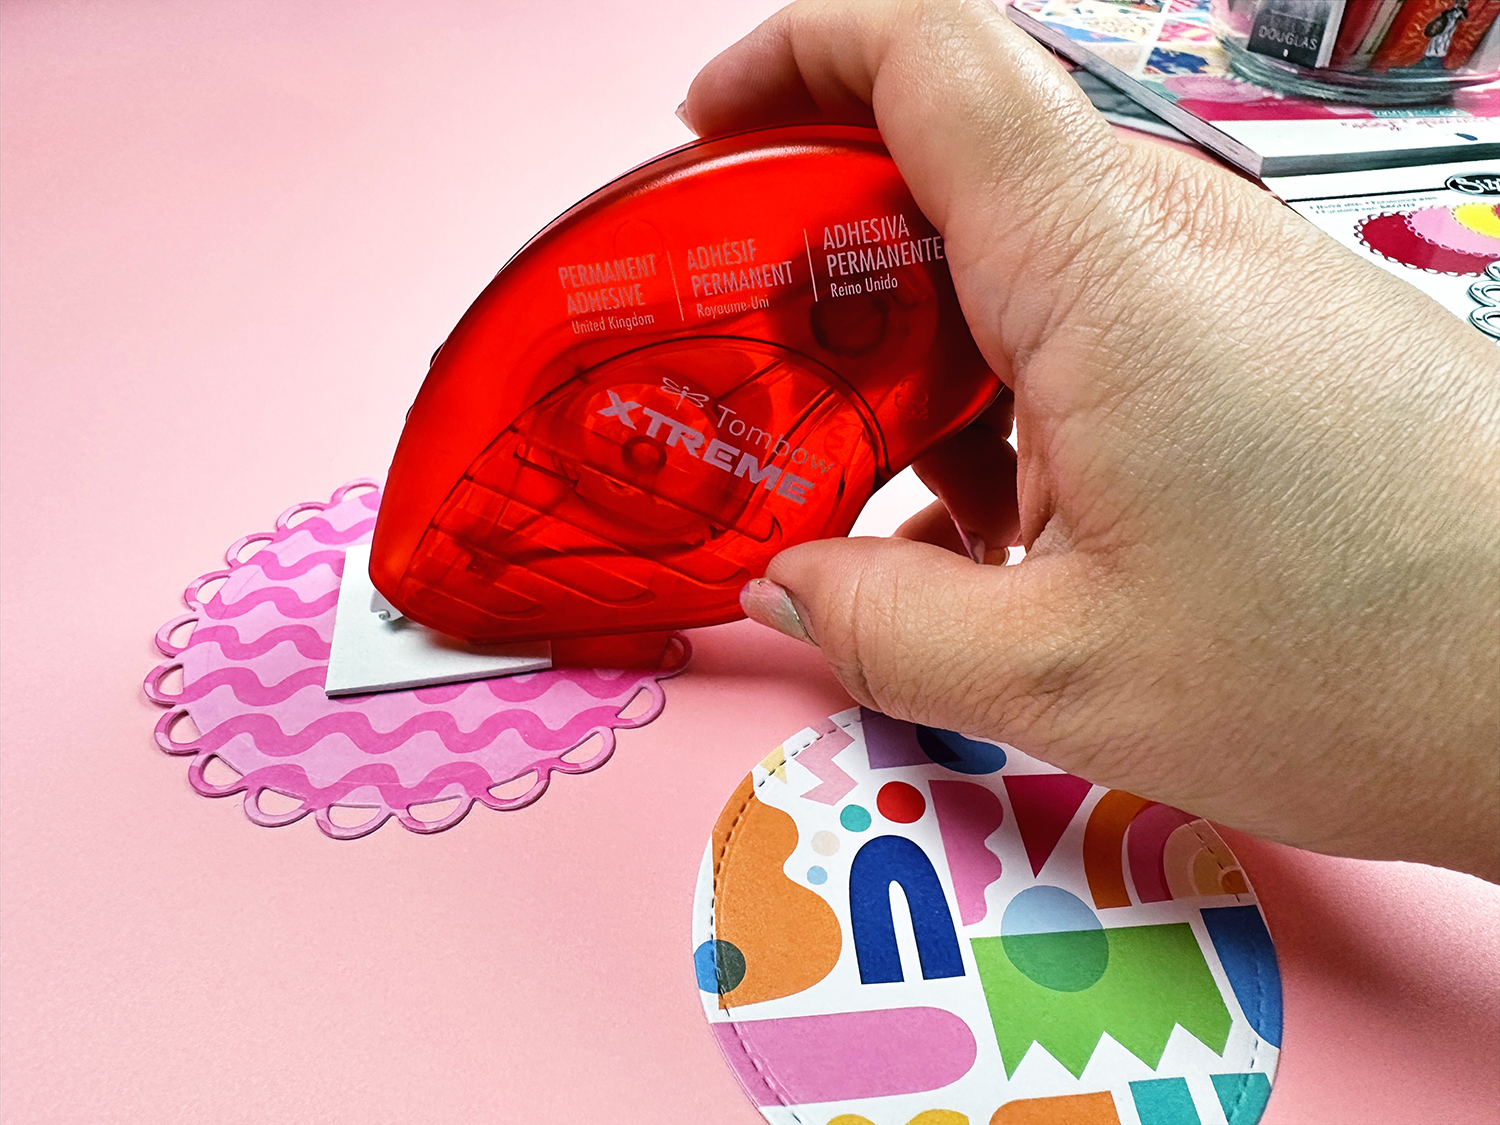
Add a few stickers for the title and decoration. The Tombow Xtreme Adhesive is perfect for difficult surfaces like glass.
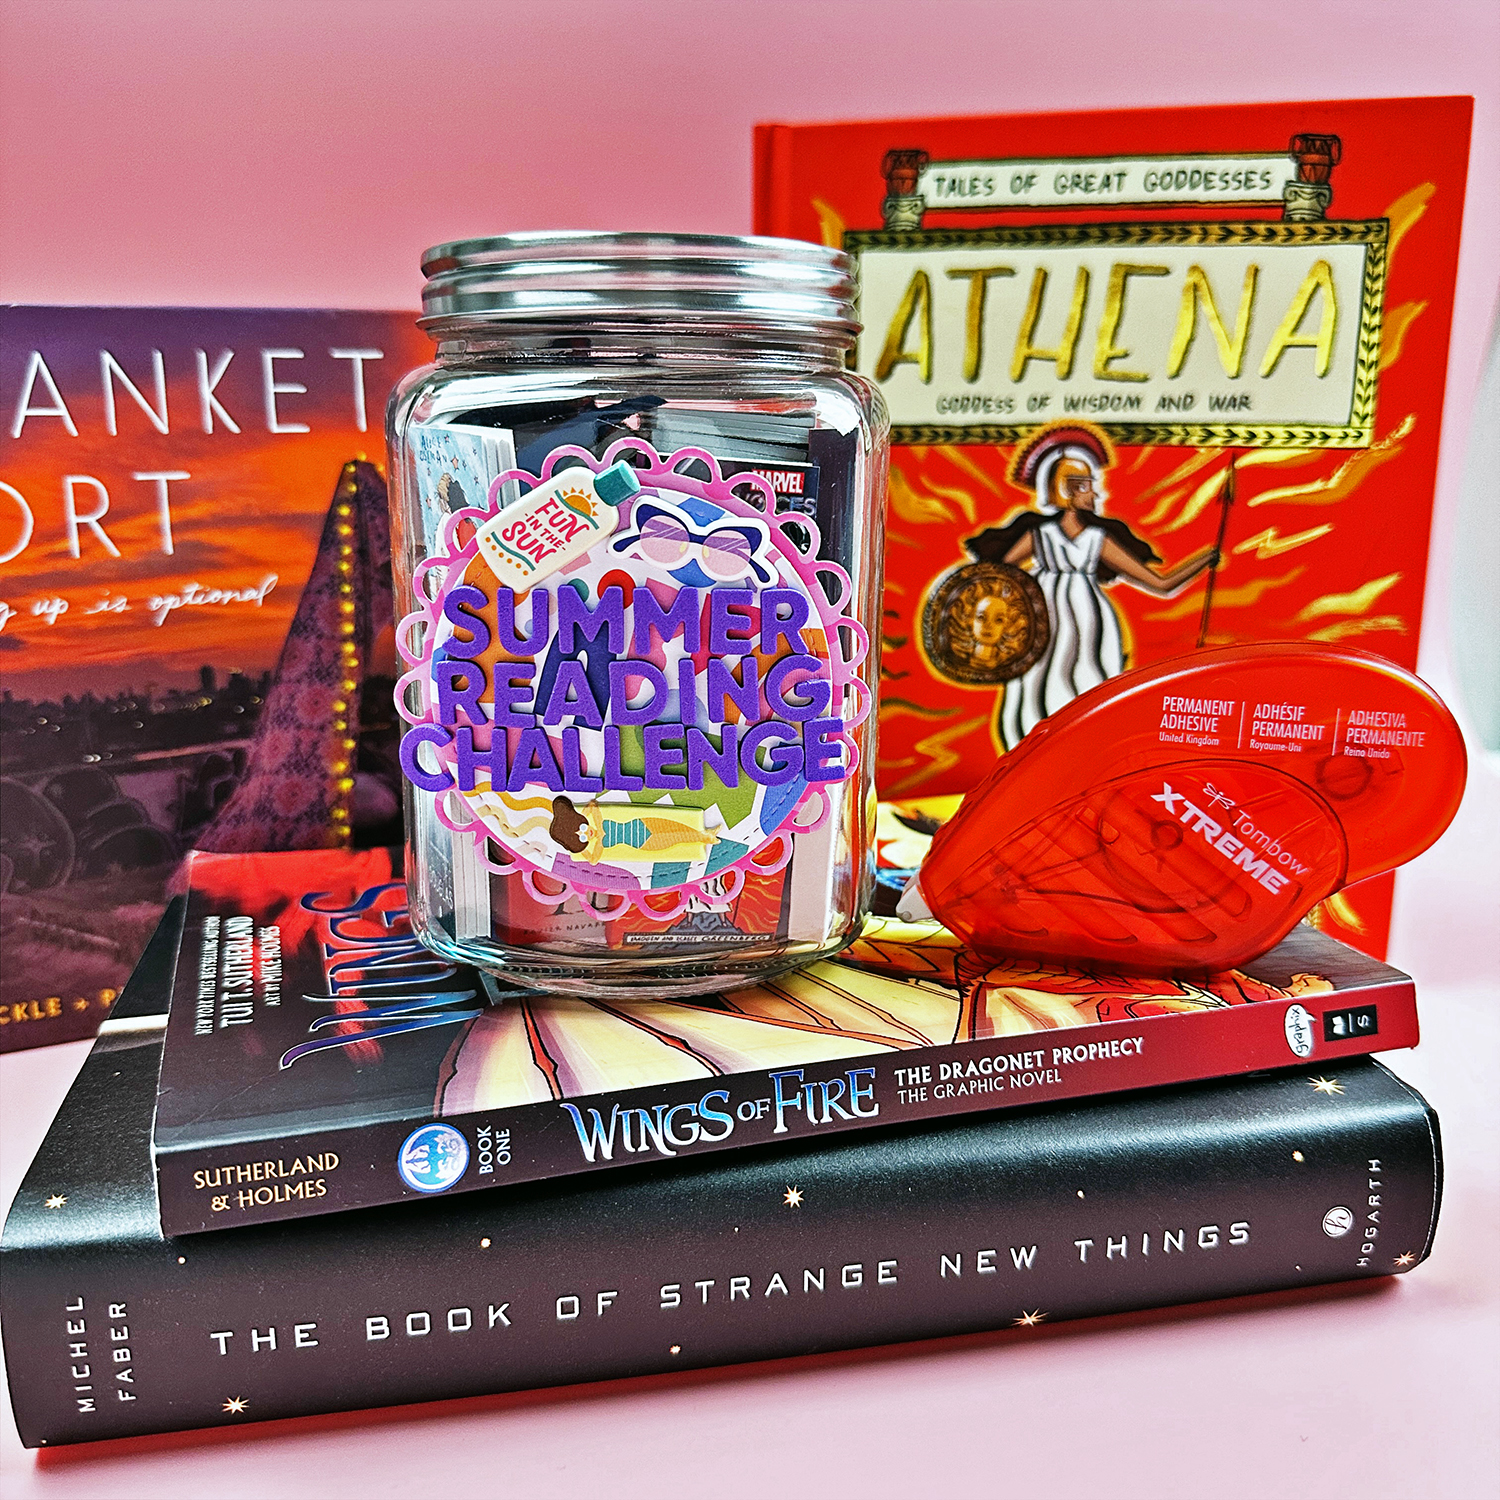
I was going to add some pompoms or origami stars to fill out the jar, but the jar is already full. This jar includes all the family’s books, but if you have space, you can add other fun things.
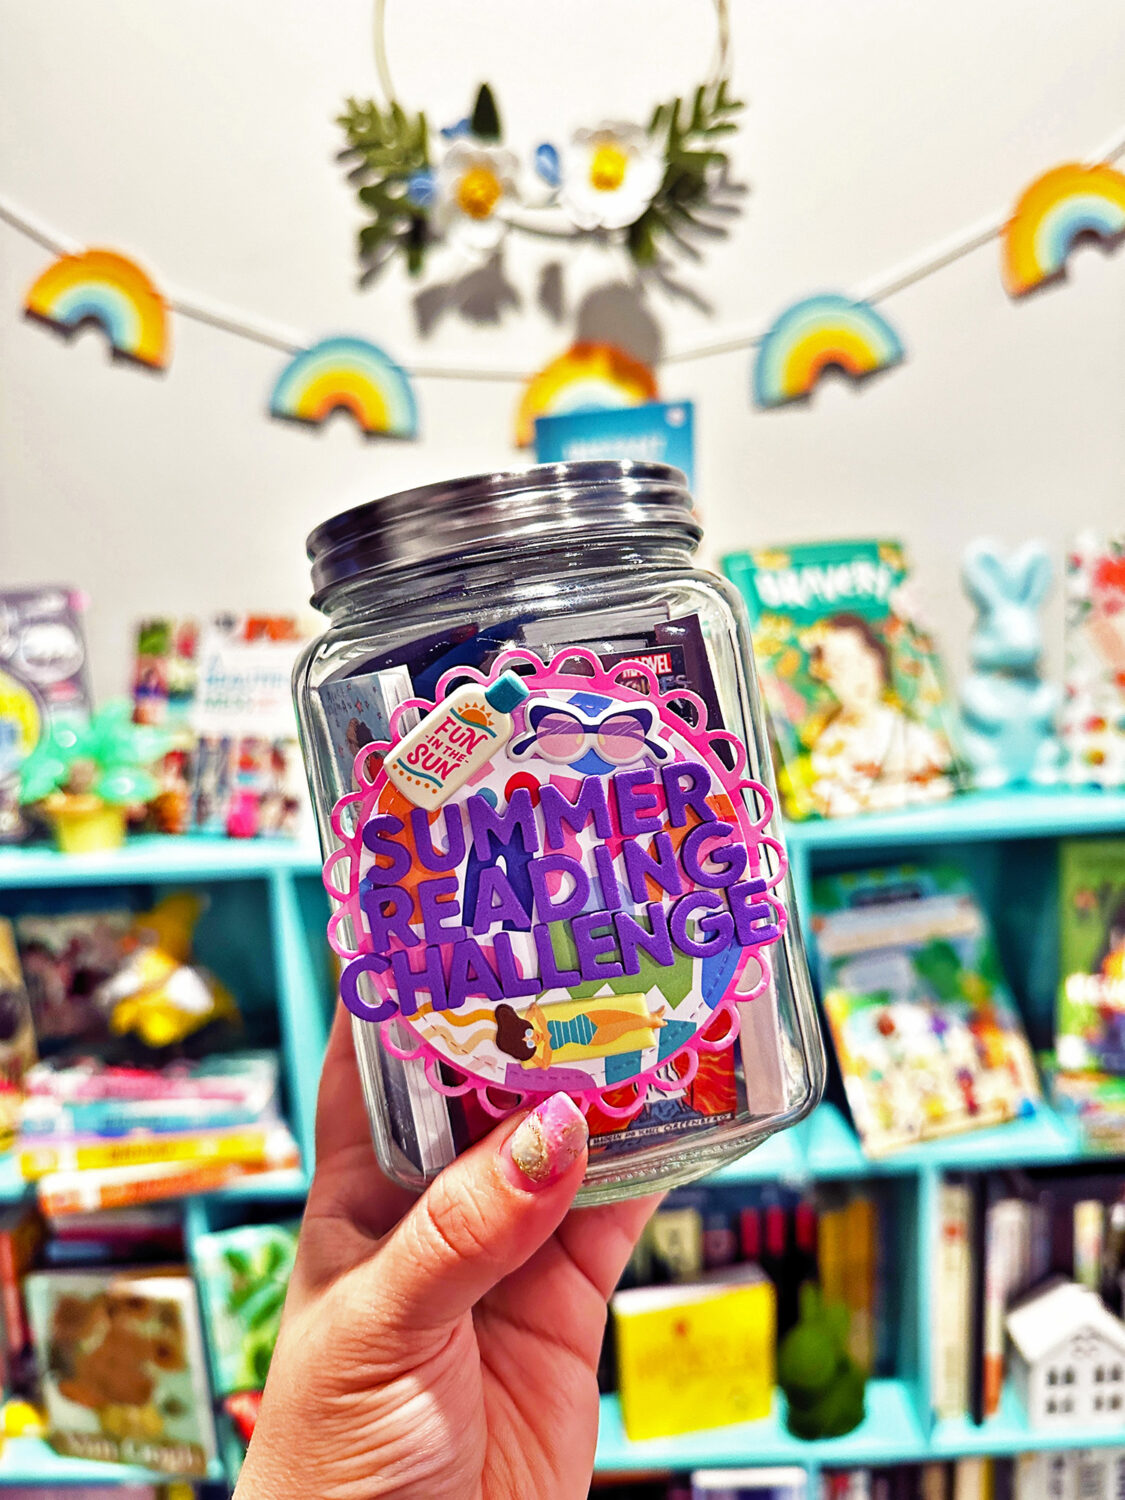
I placed the jar on our bookshelf so we can all have access to the mini books. This will motivate us to finish our Summer Reading Challenge!
If you want an extra bookish project, these are my three favorite bookmark ideas:
Check out your local library Summer Reading Challenge! If you give this DIY a try, share it with them and us using the hashtag #tombowusa.