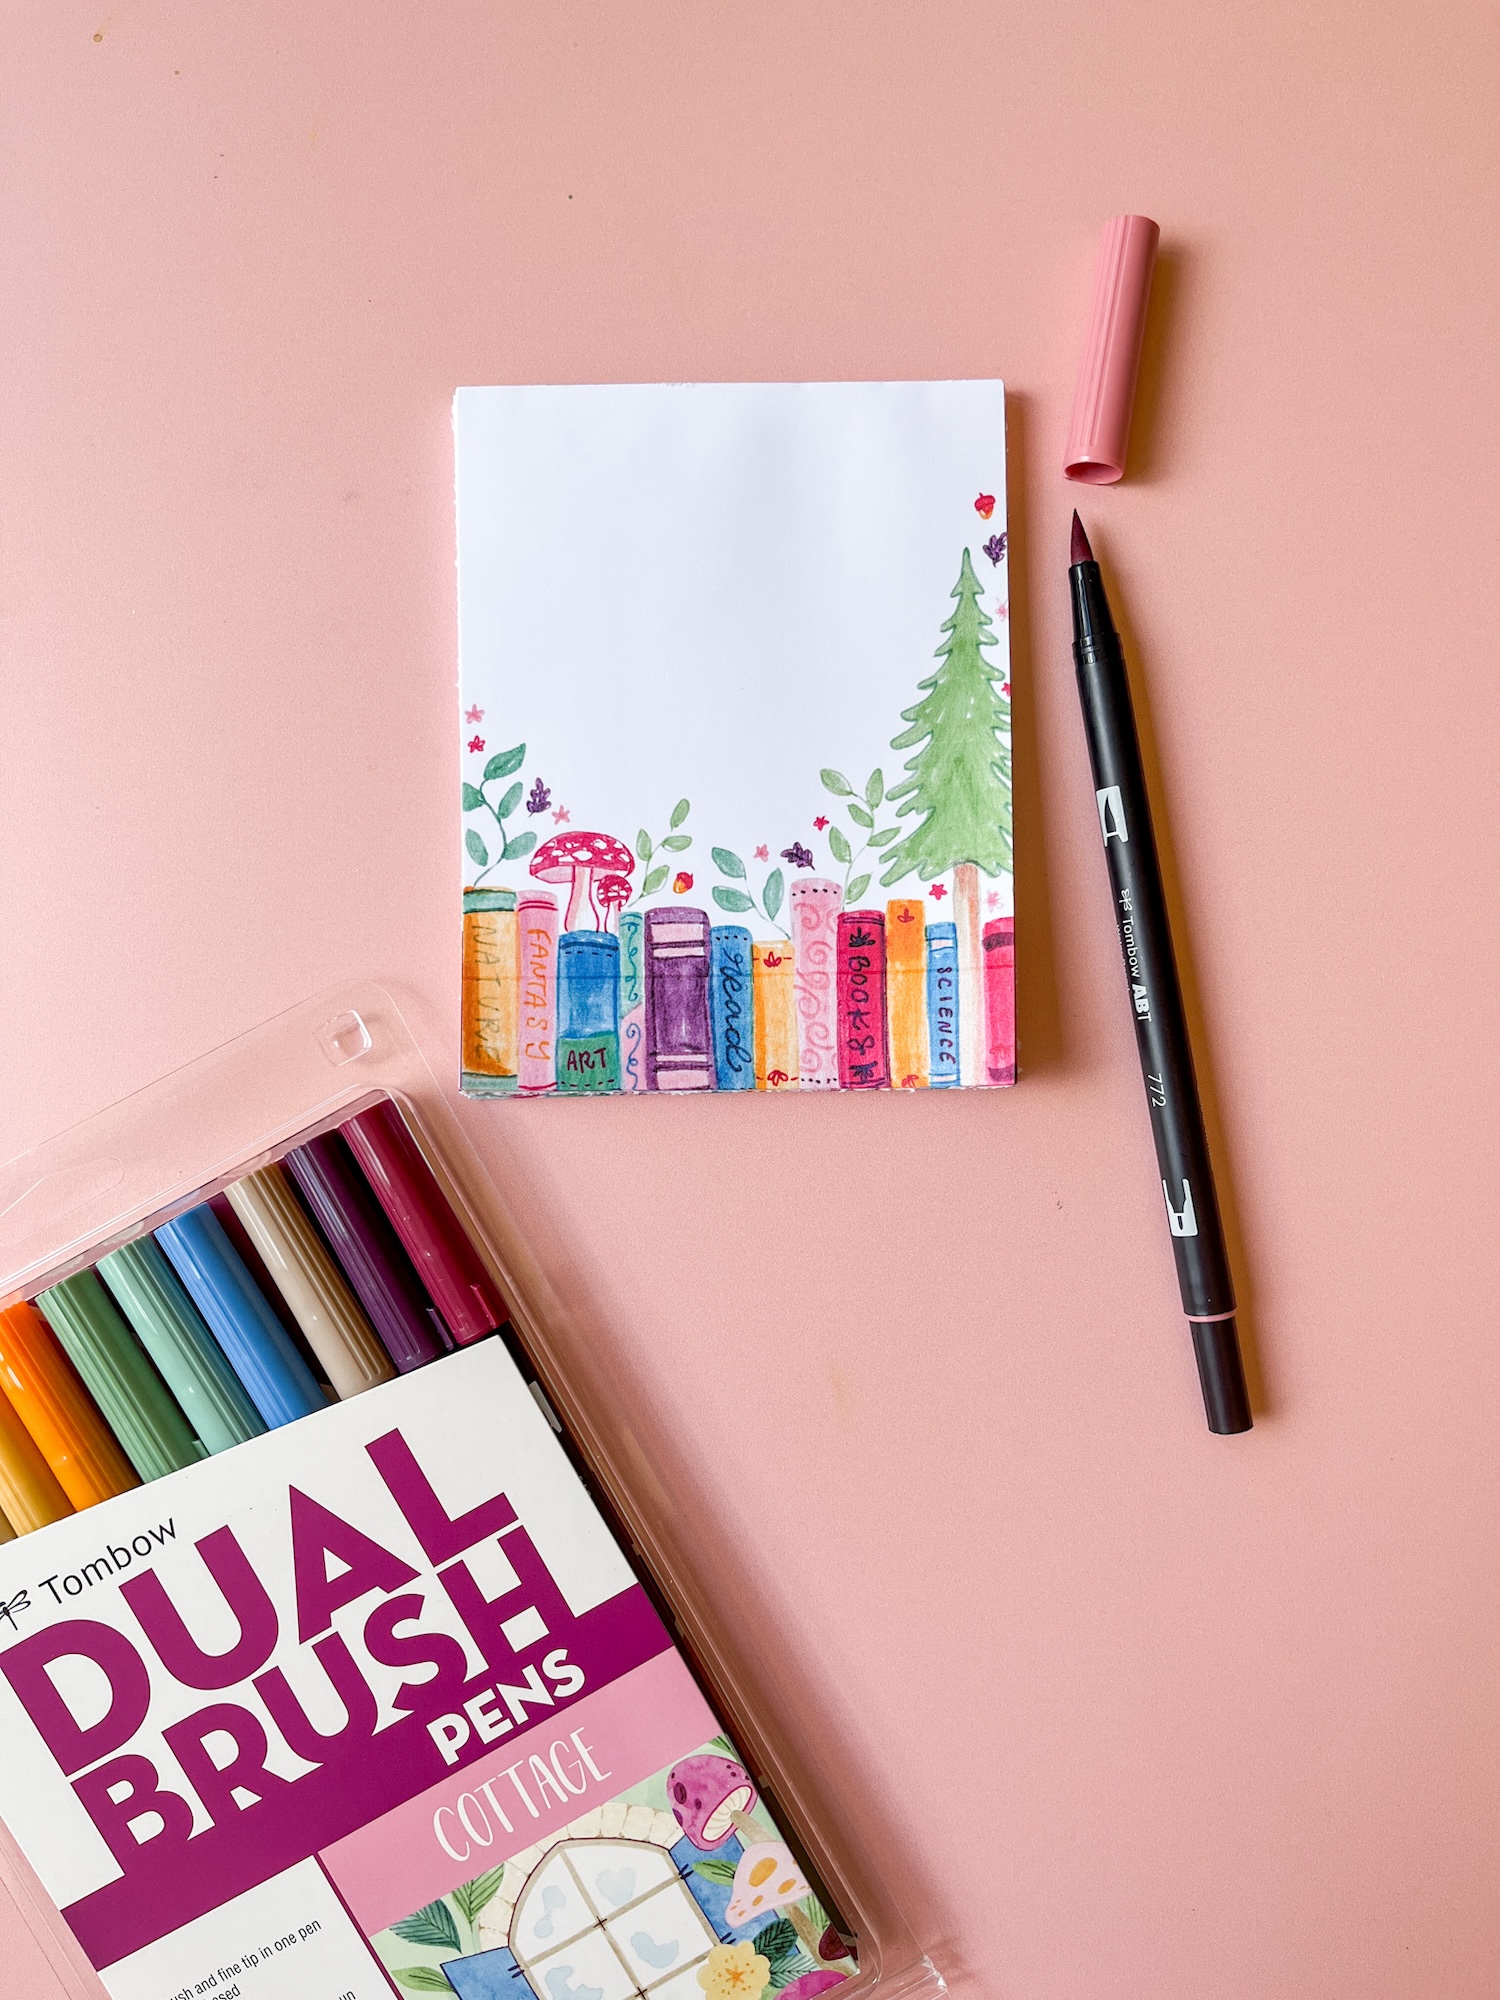
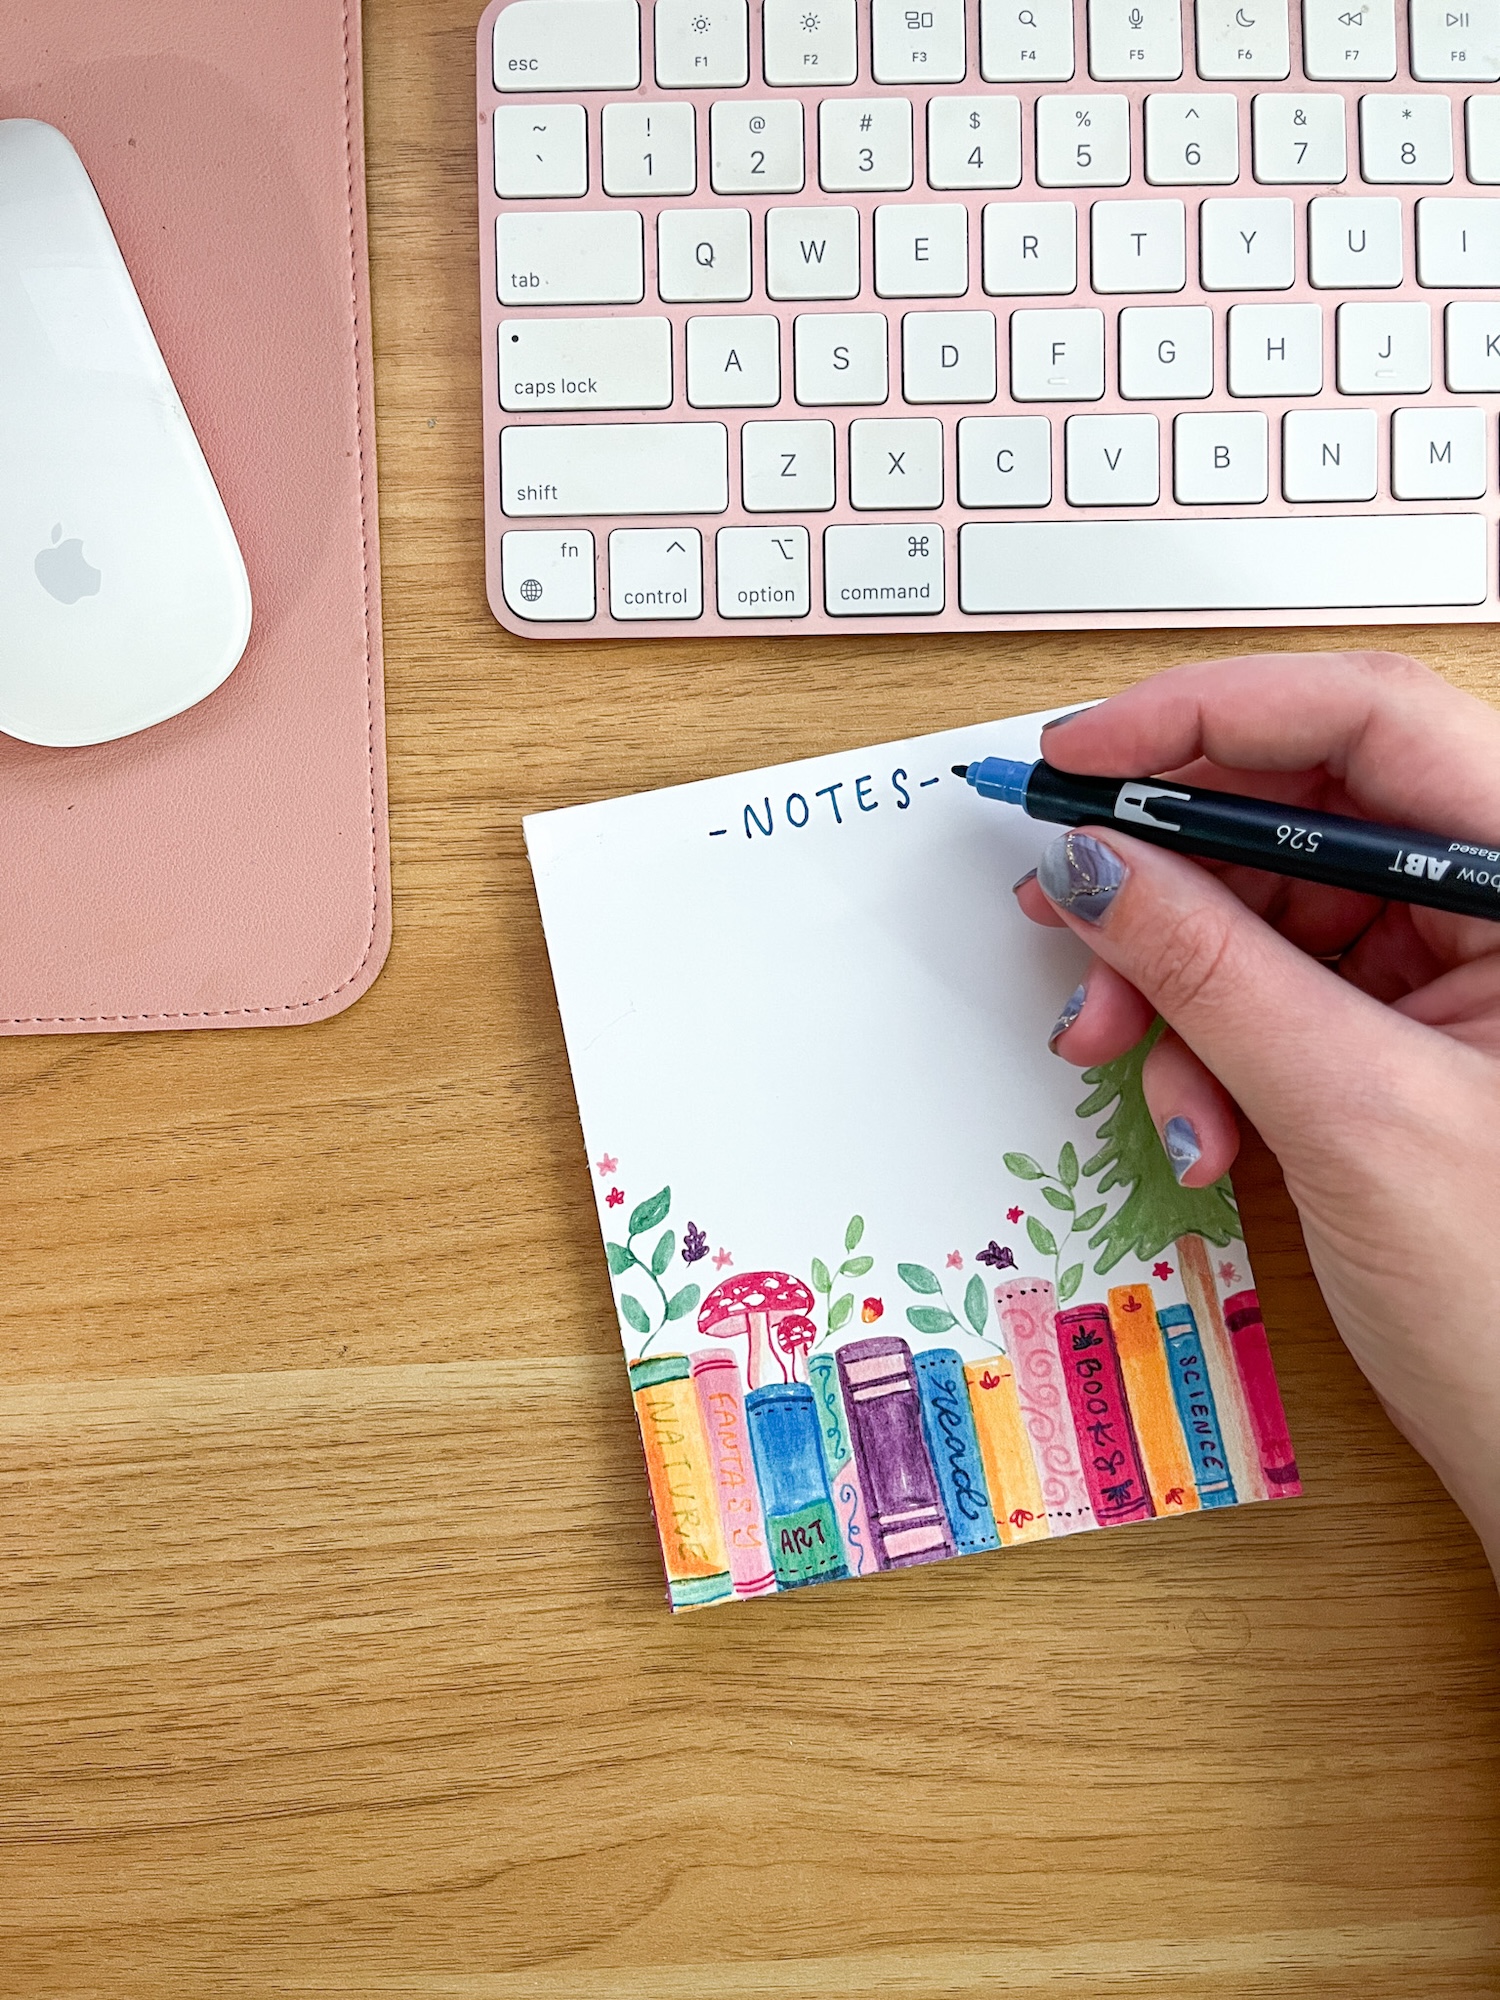
Hello Tombow friends, Katie here! I don’t know about you, but I always have a notepad next to my computer so that I can write down notes while I’m studying/working! Today I want to show you how you can create a DIY Notepad with a cute book theme using Dual Brush Pens & MONO Aqua Liquid Glue!
Supplies:
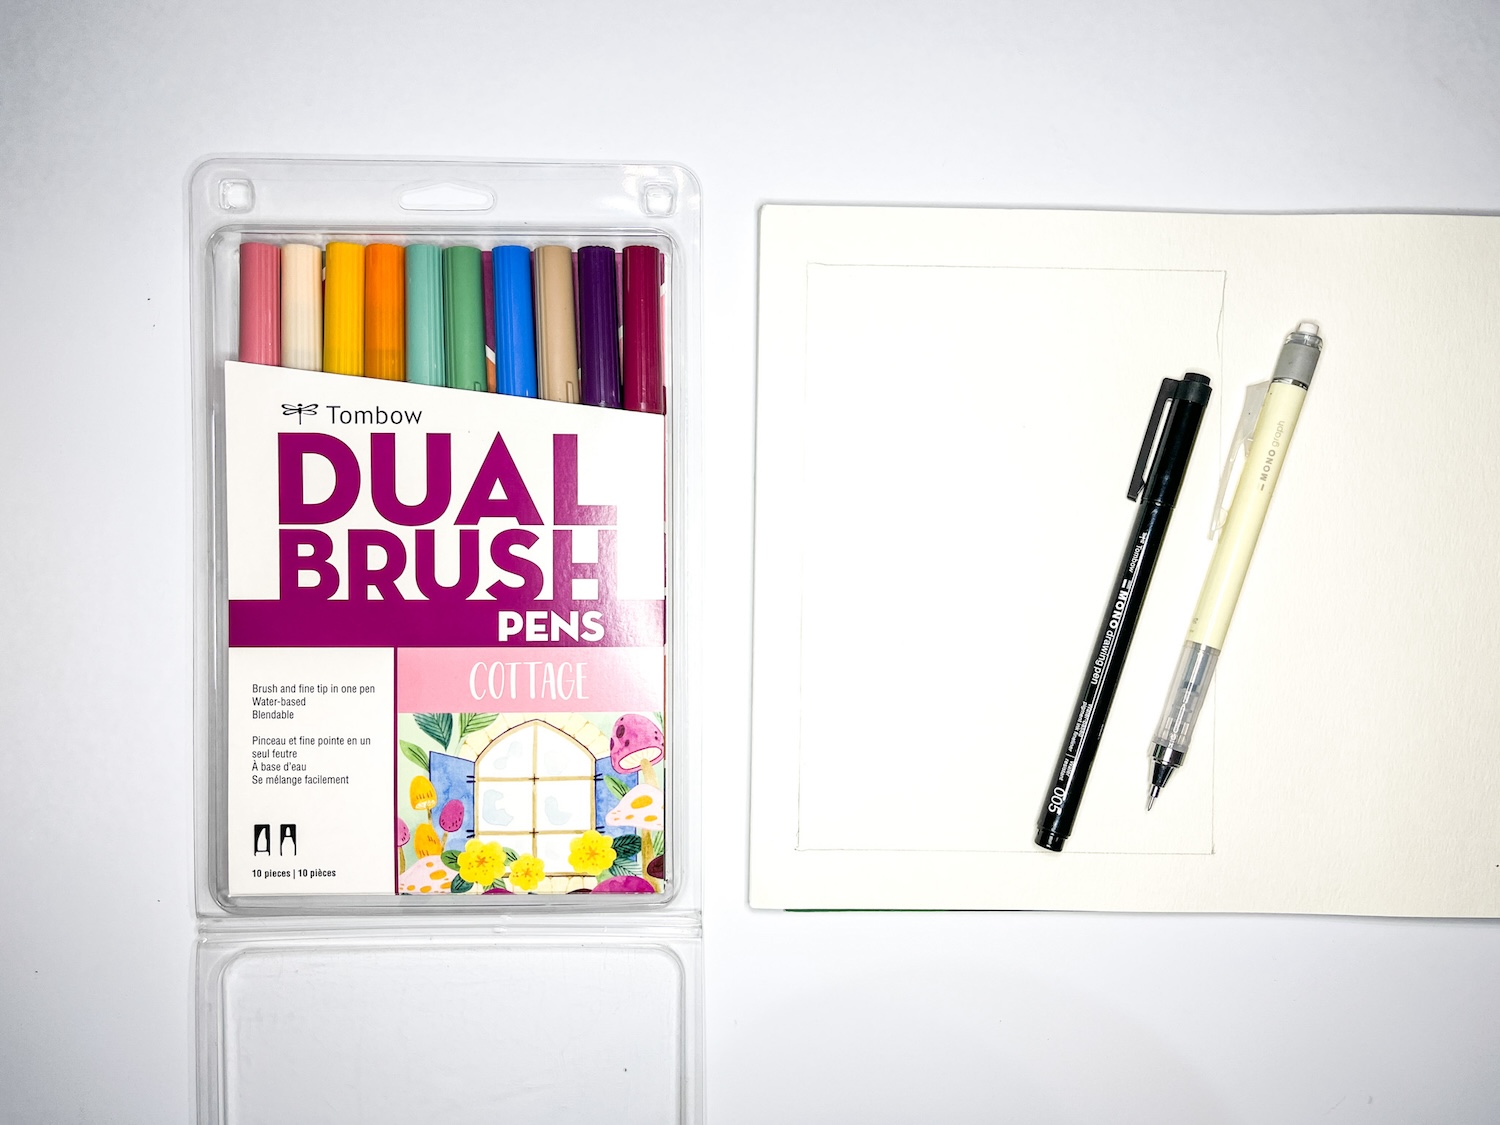
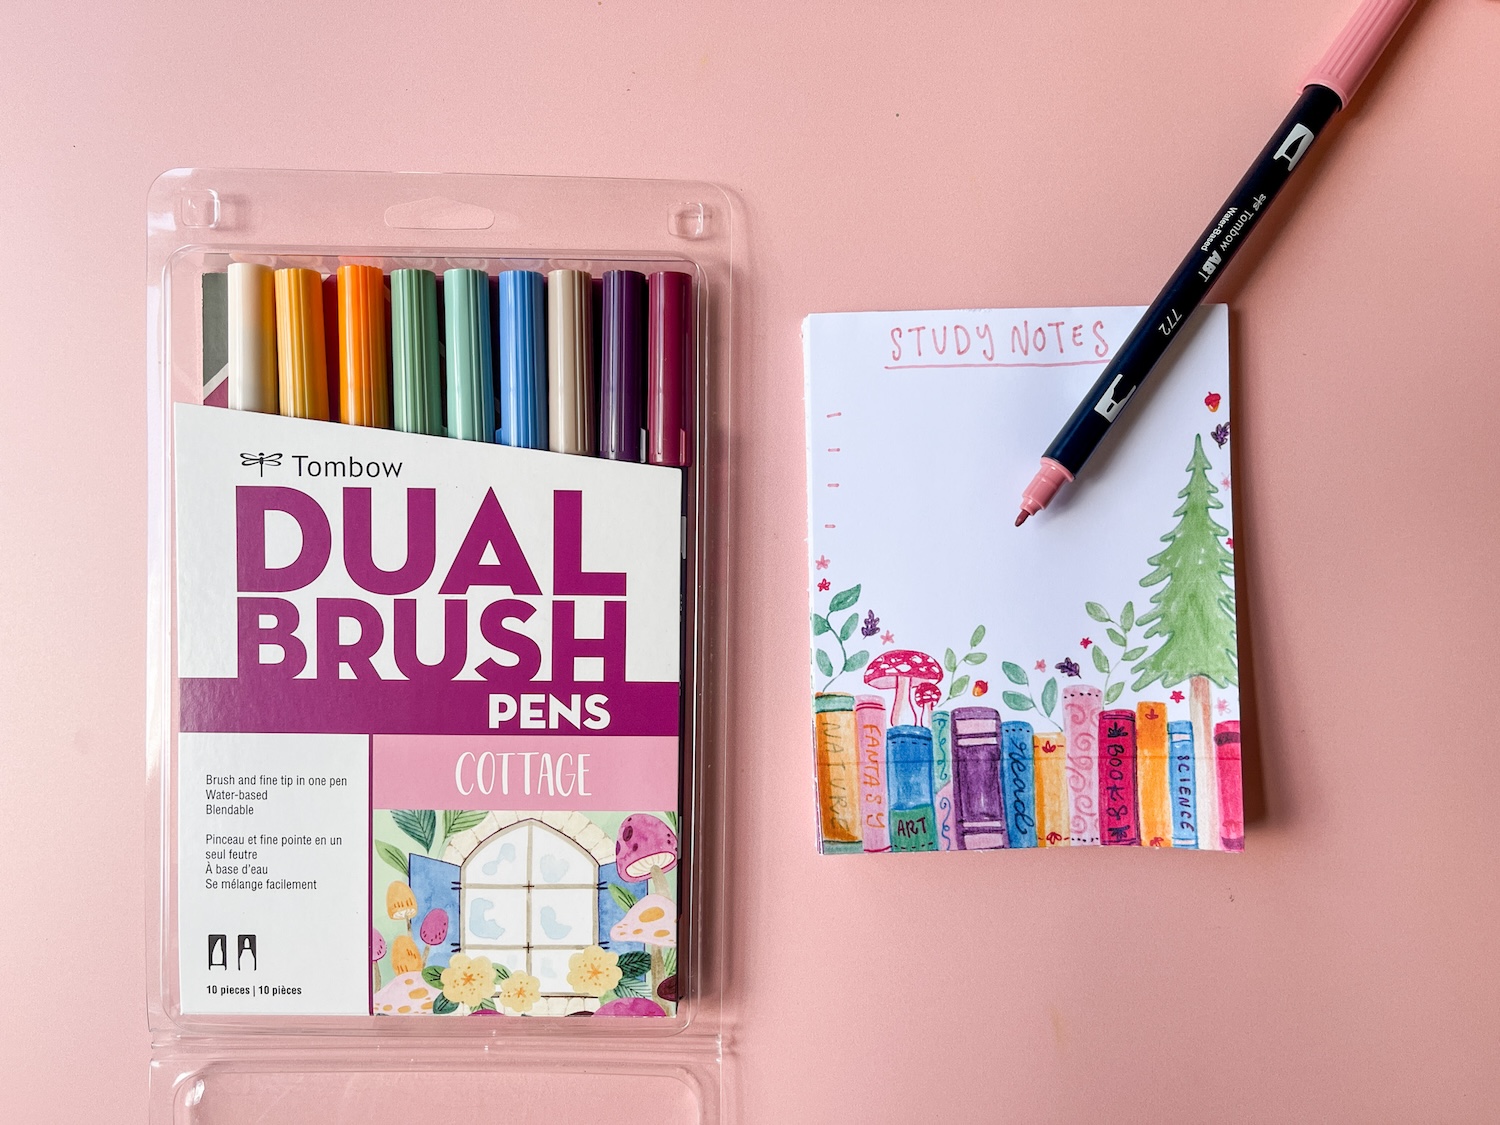
- Tombow Dual Brush Pens, Cottage 10-Pack
- Tombow MONO Graph Mechanical Pencil, Pastel, Cream Yellow
- Mixed Media Paper
- Scanner/Printer
- Plain Paper
- Cardboard or Chipboard
- Tombow MONO Aqua Liquid Glue
- Binder Clips
Step one:
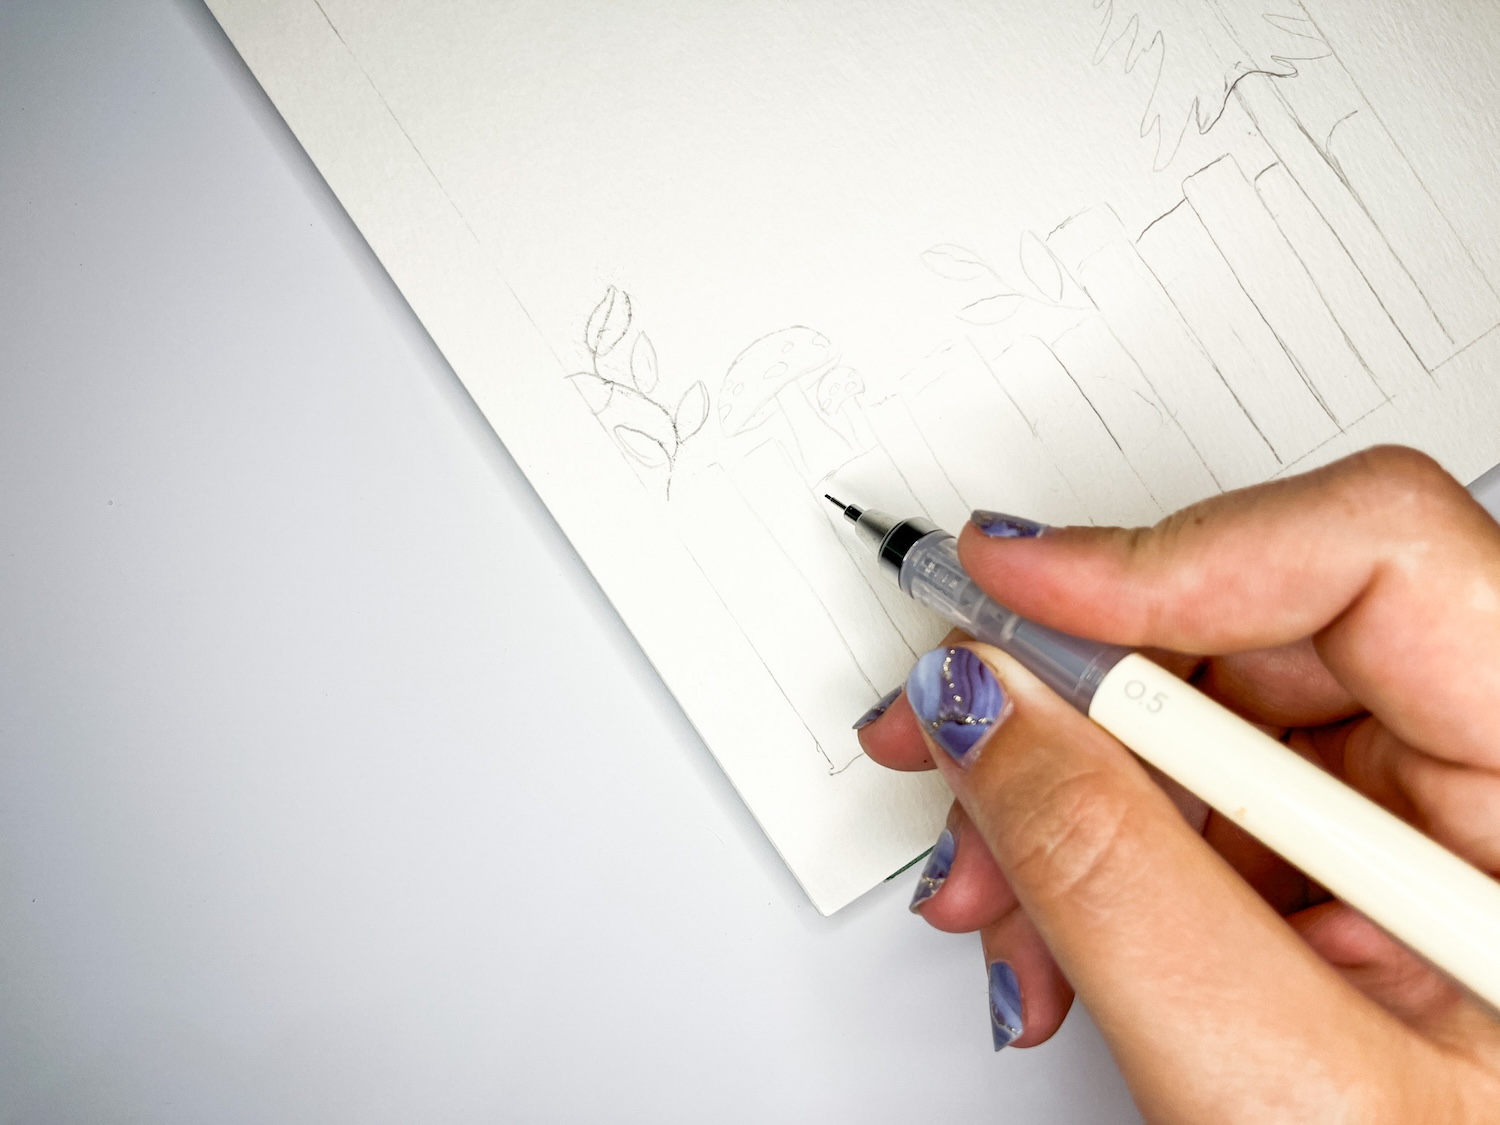
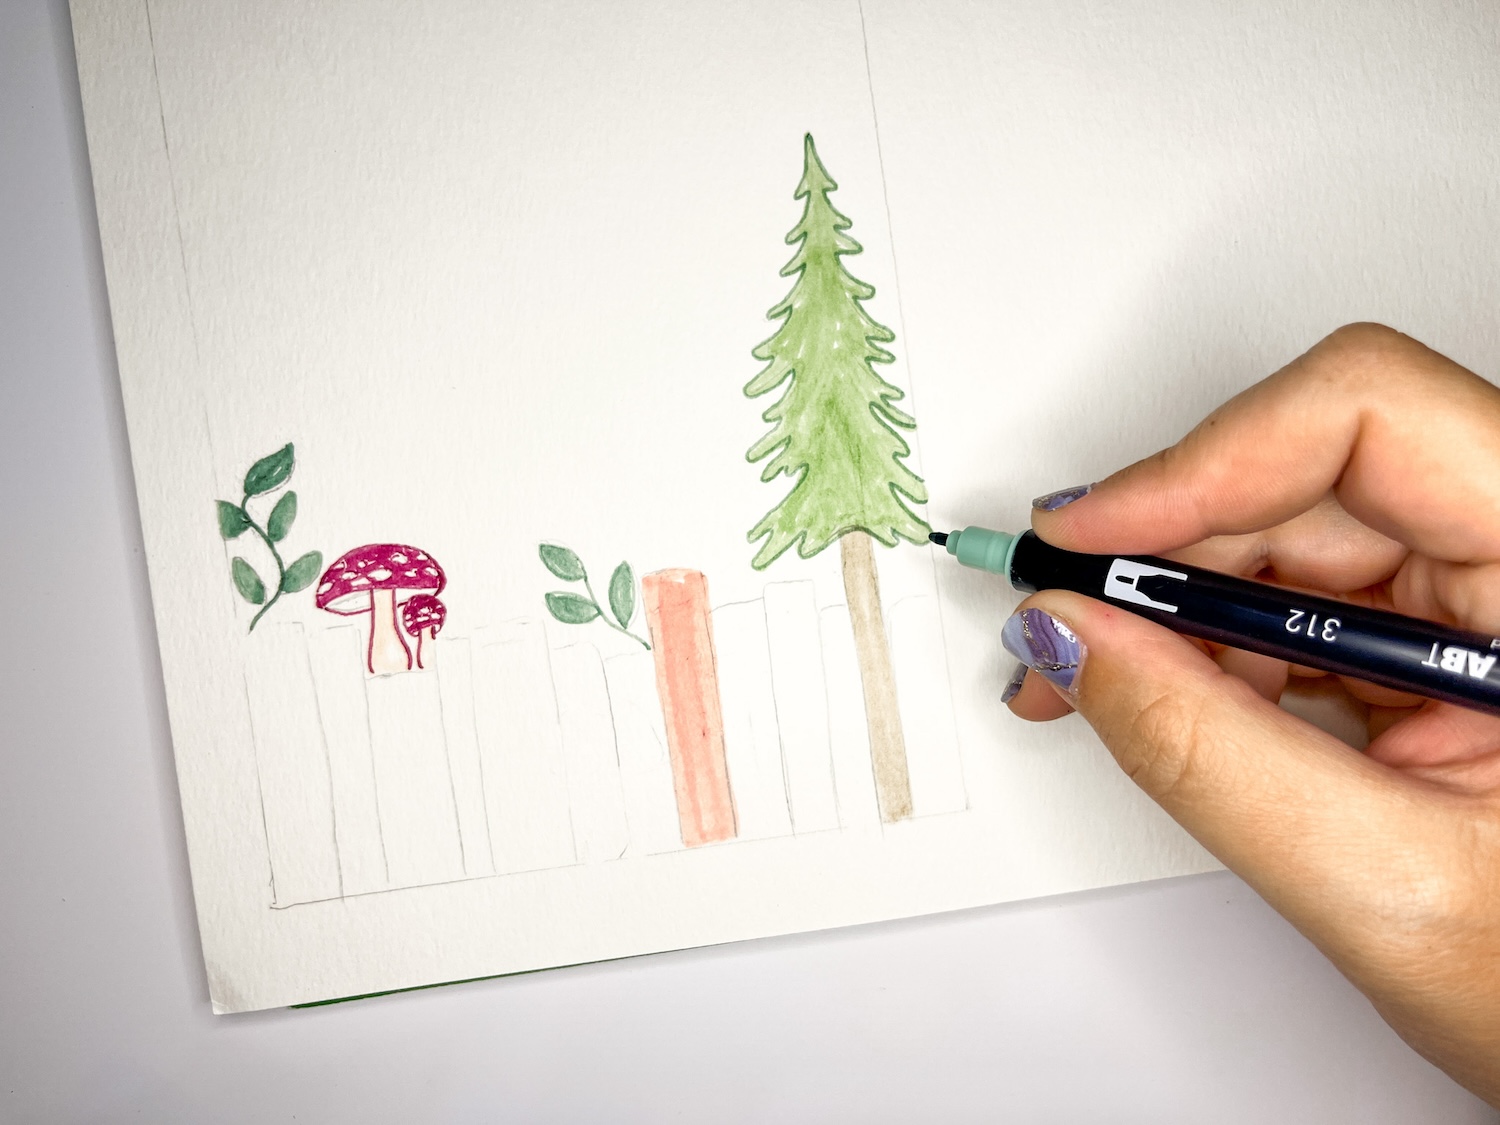
Start by using your MONO Graph Mechanical Pencil to sketch your design out! I drew out a 5×7″ rectangle onto mixed media paper, and then filled in the bottom with books and little designs like mushrooms and trees.
Step two:
Use Dual Brush Pens to color in your design! I’m using the bullet tip to outline the shapes, and then filling them in with the brush tip. I’m loving the soft colors included in the Cottage 10-pack!
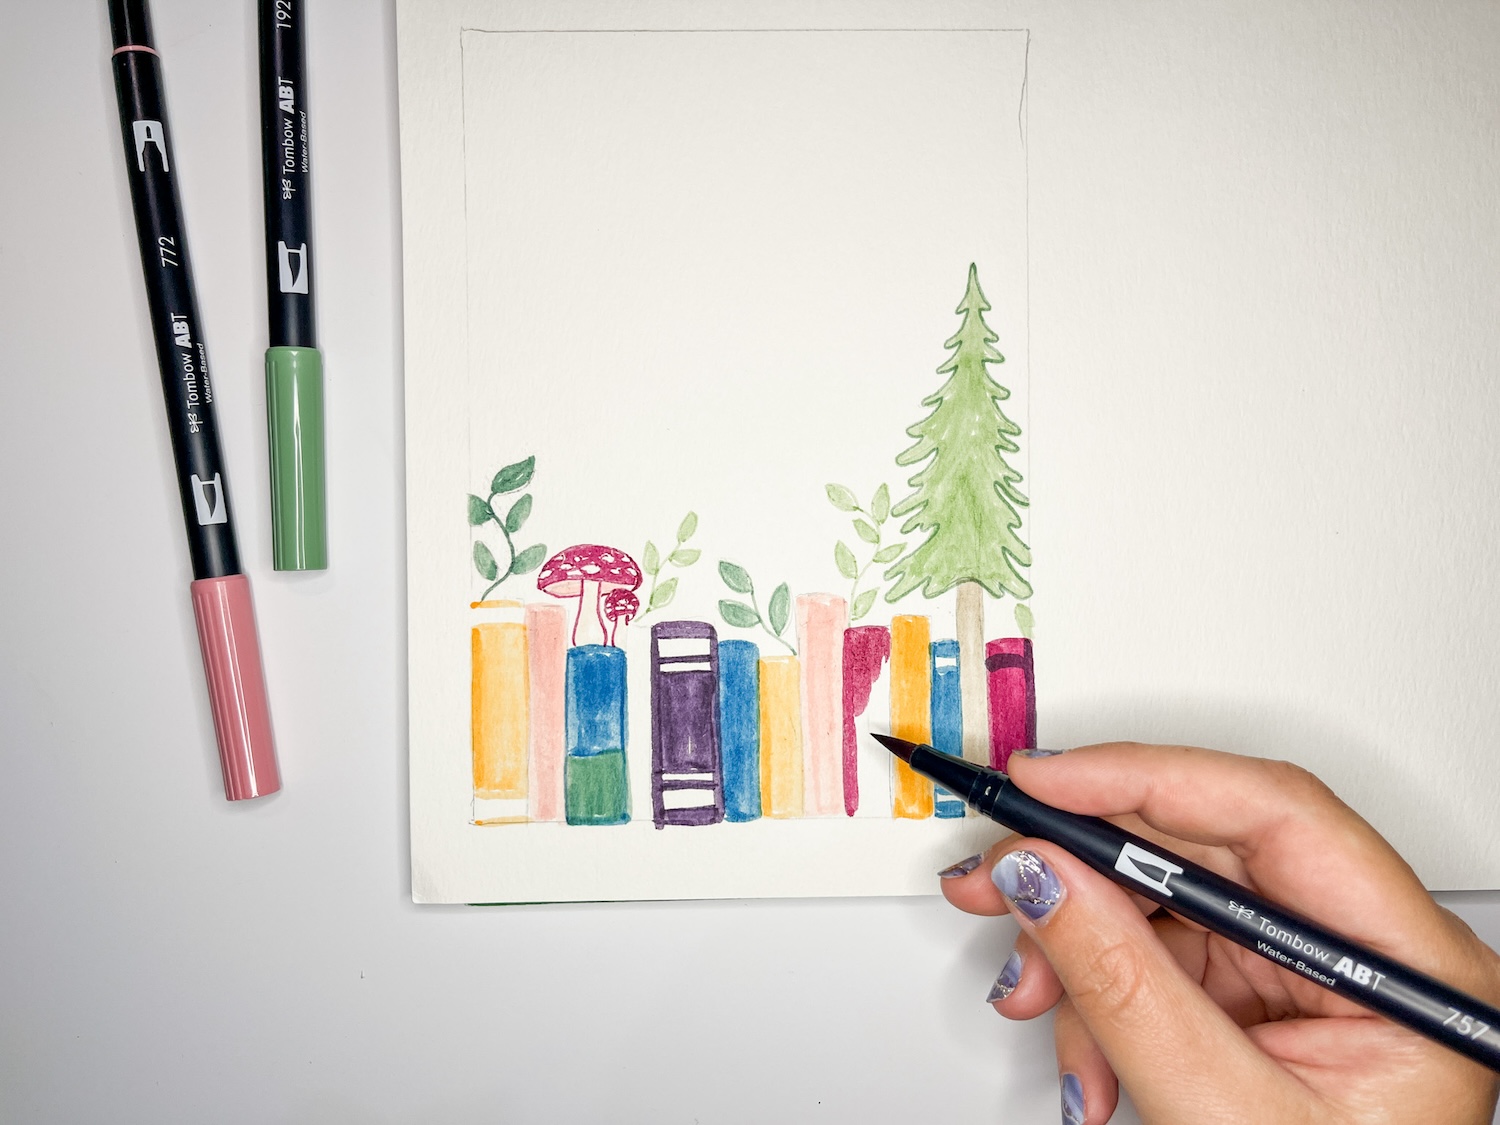
Step three:
Scan your design into your computer, and print out a bunch of copies. How many copies you print depends on how thick you want your notepad to be- I printed 40 copies at 5×7″ on plain paper.
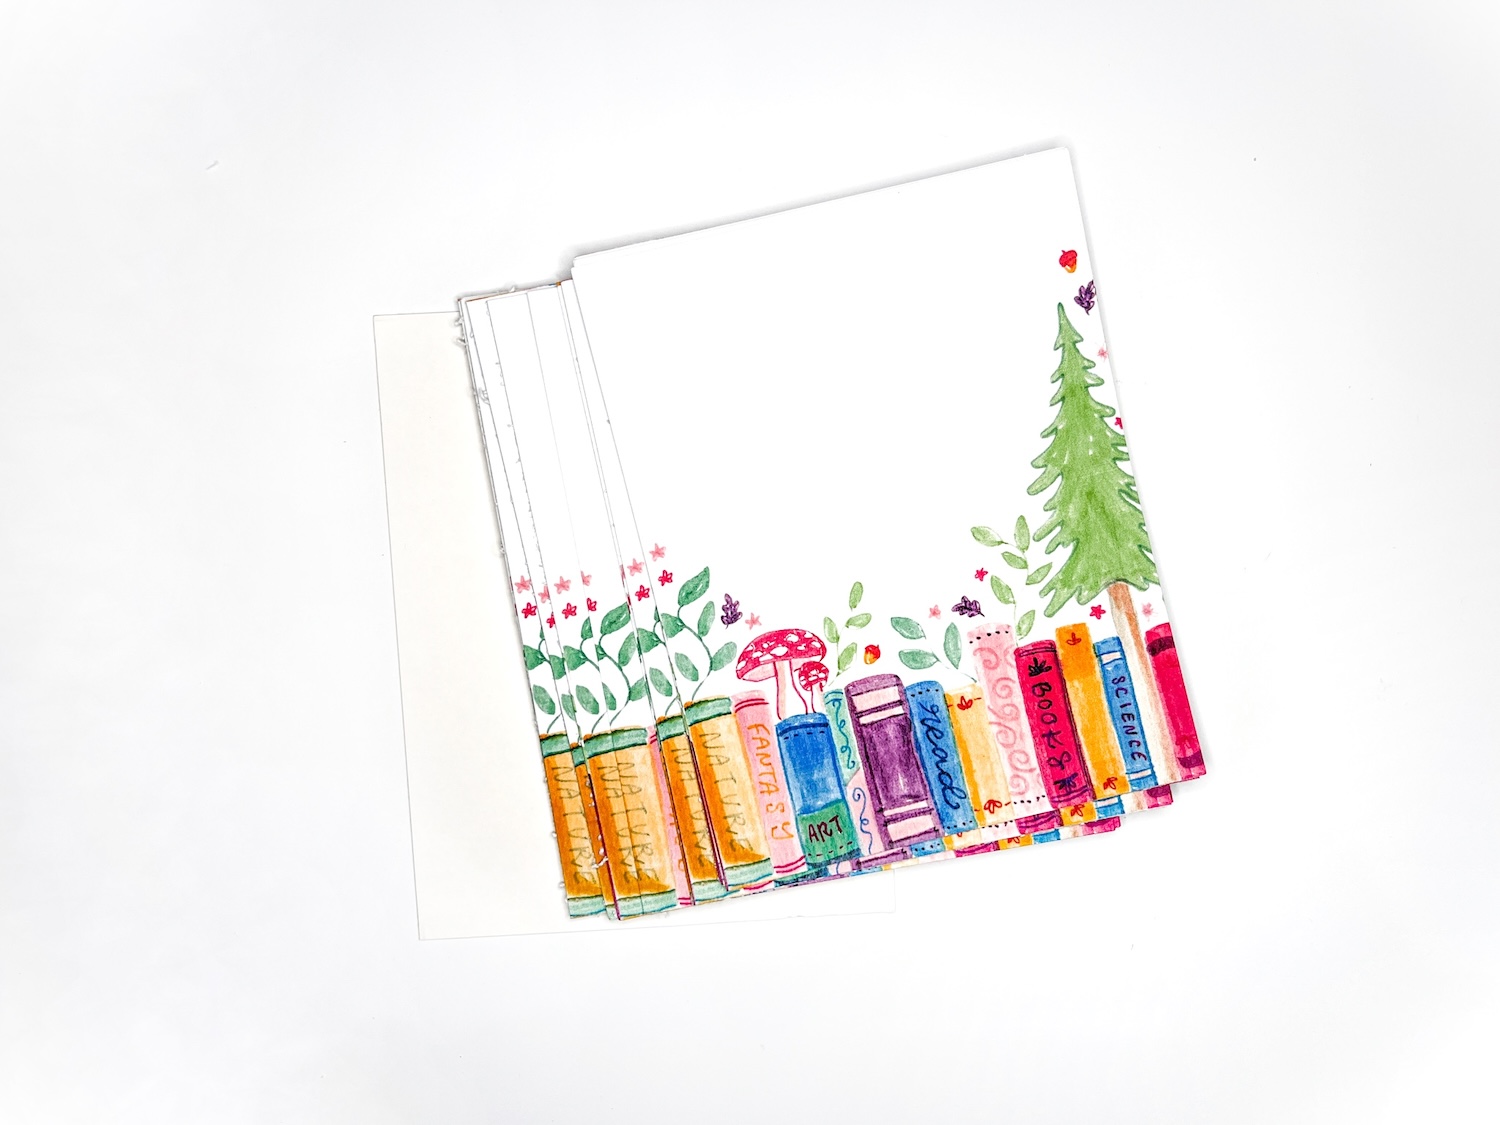
Step four:
Stack all of your copies up neatly, including a 5×7 piece of chipboard on the back as a backing for your notepad. I’m also putting a 1″ strip of cardstock on the front just to protect the top paper from my binder clips.
Clamp them all together with binder clips on either side.
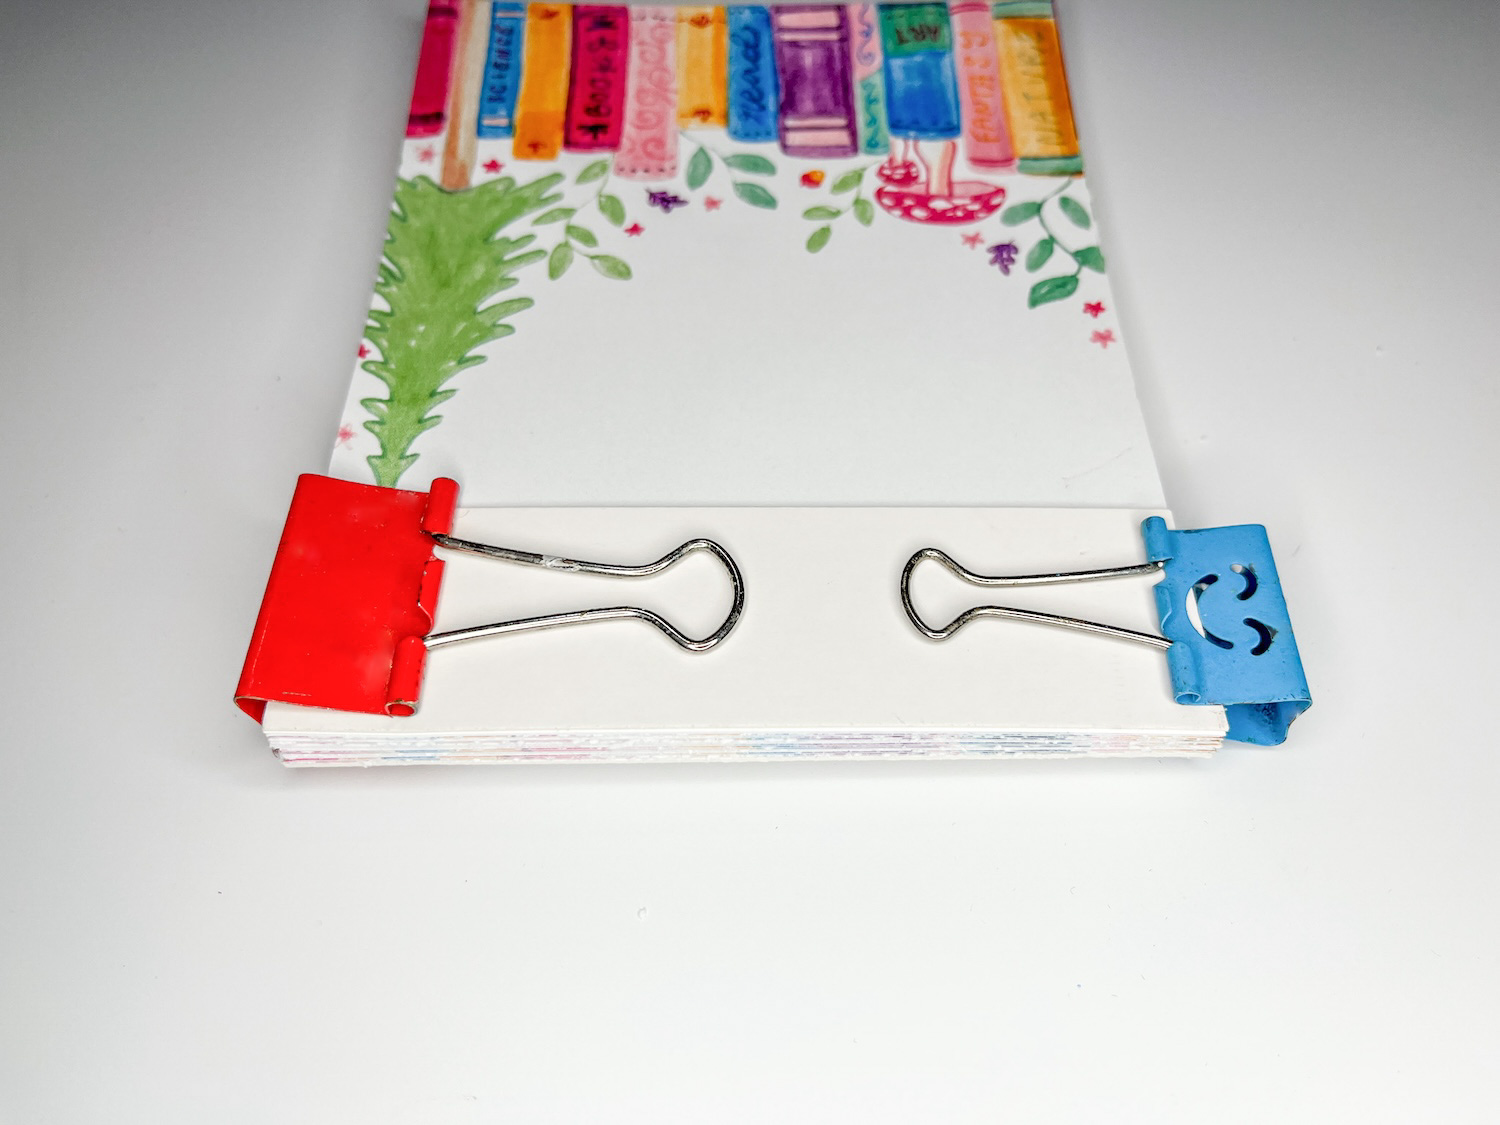
Step five:
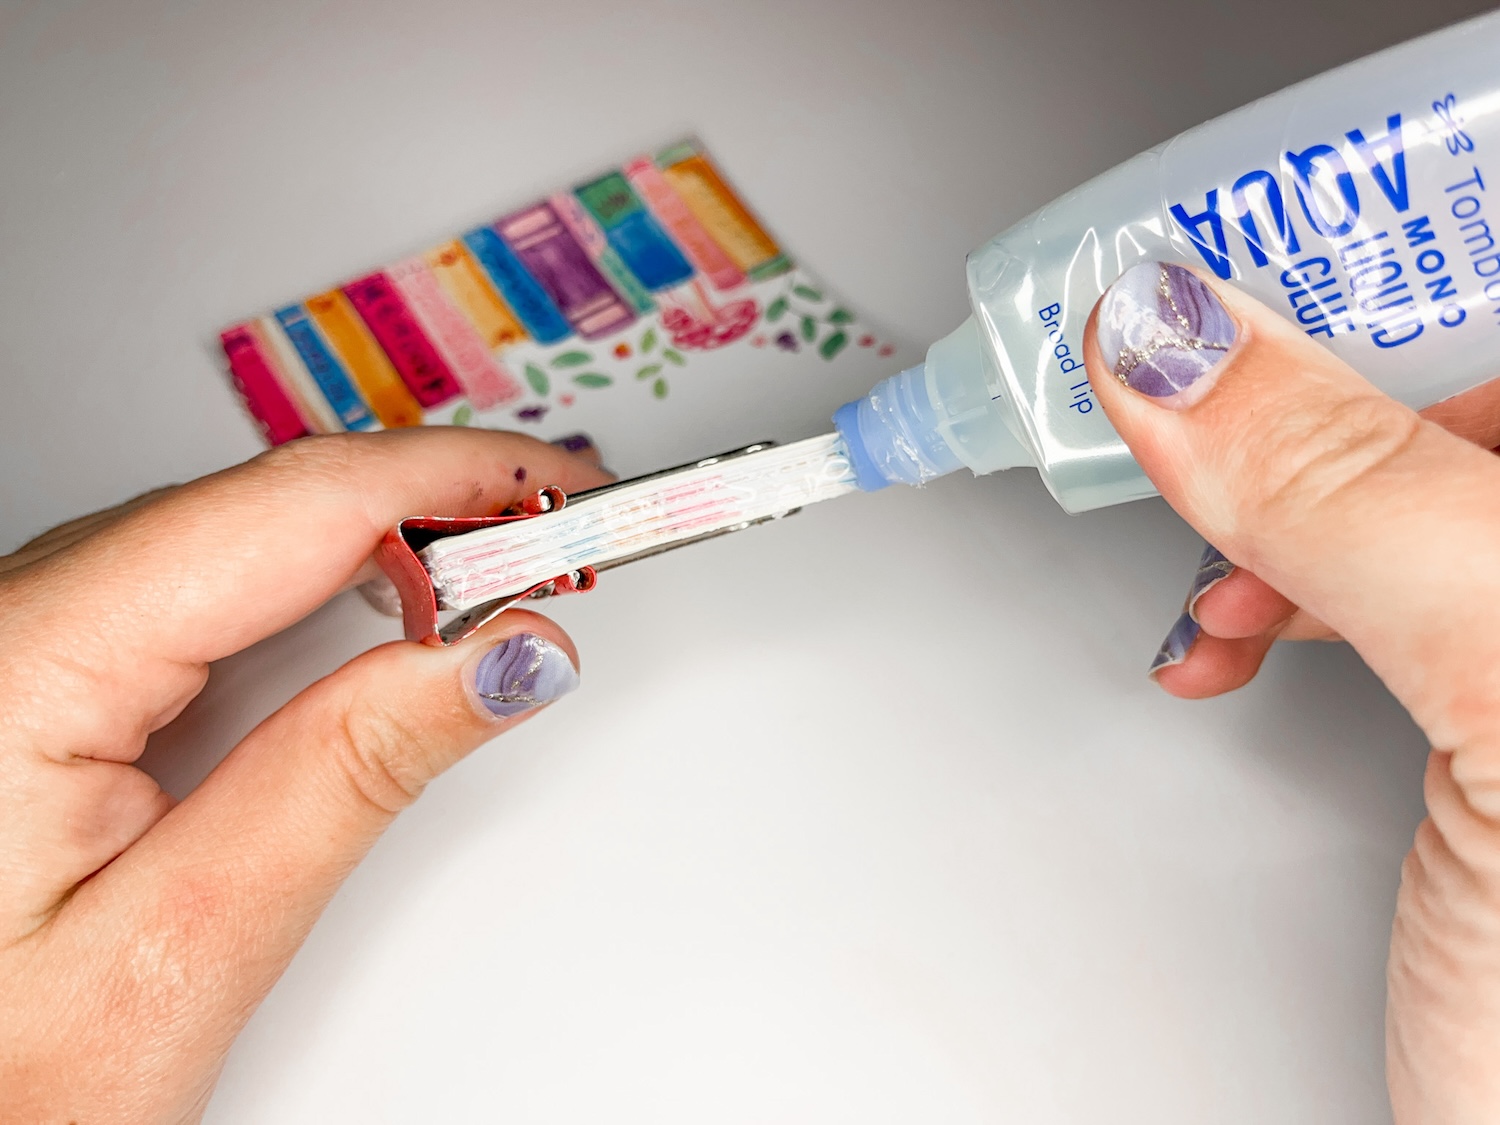
Apply MONO Aqua Liquid Glue to the top edge of your notepad. Using the broad tip makes it easy to spread the glue out across the top edge. Let dry.
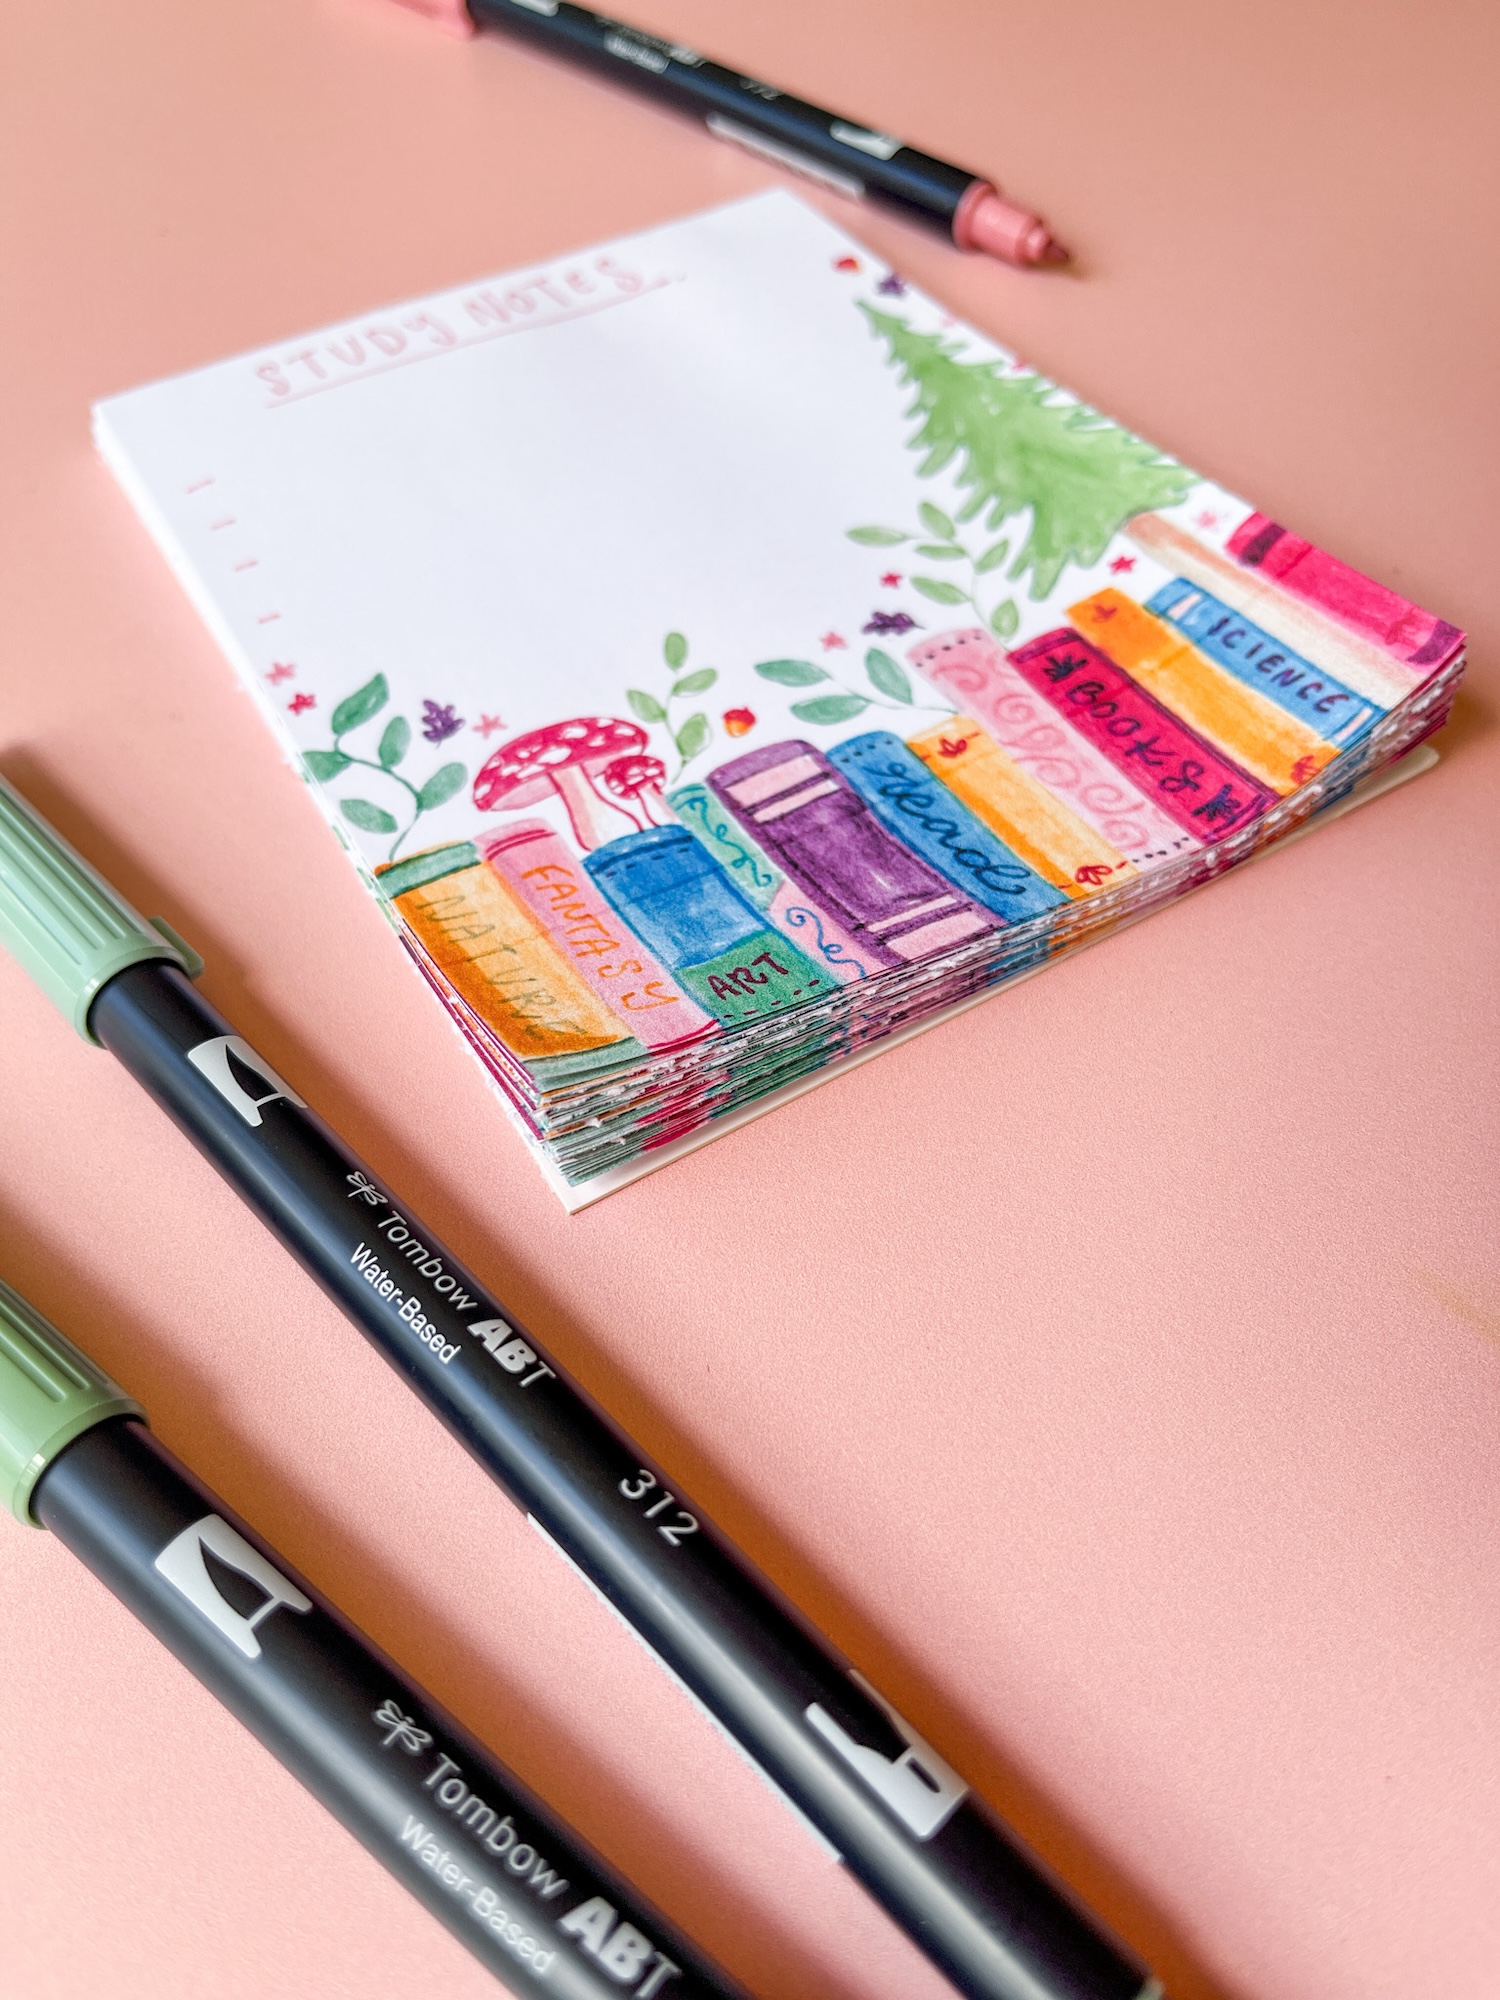
All done!
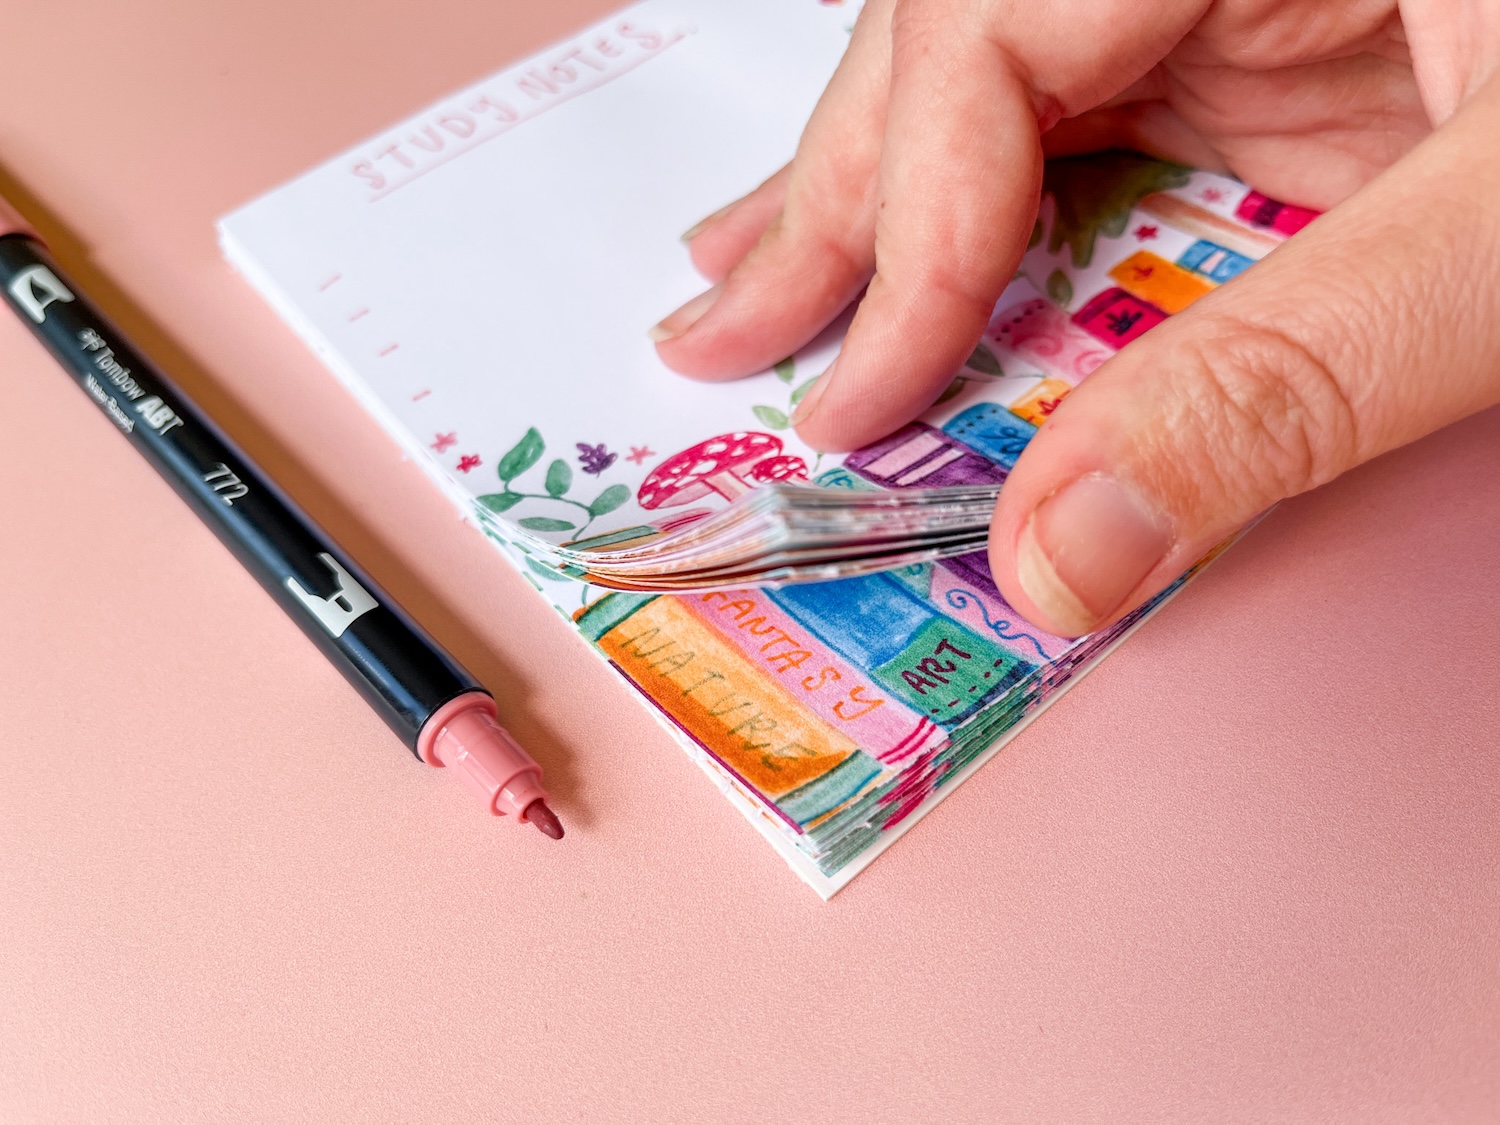
Once your glue is dry, remove the clamps and the top 1″ strip of cardstock and your notepad is ready to be used! The MONO Aqua Liquid Glue acted as a binder to the top edge of the papers, so you can just peel off the top sheet when you’re done taking notes!
Looking for another fun back-to-school project? Check out these Personalized Notebooks for Teachers!