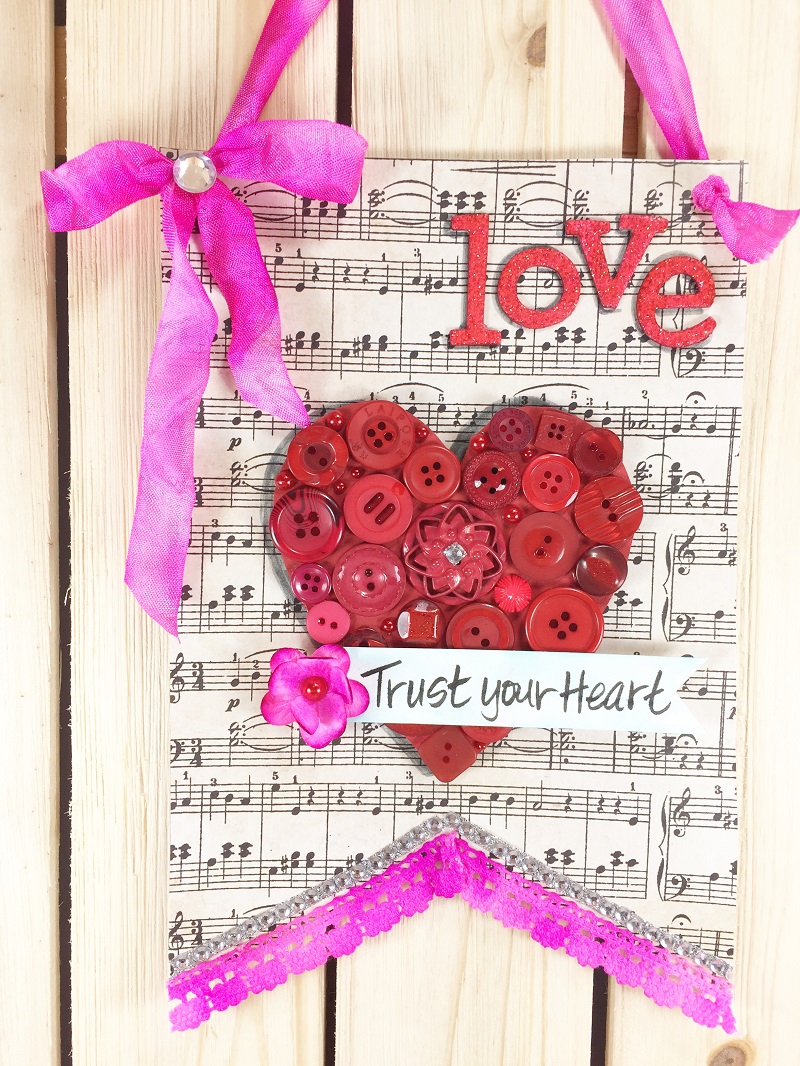
Happy early Valentine’s Day from Beth! Love is definitely in the air with Valentine’s Day right around the corner, so I created a Mixed Media Valentine Banner featuring Tombow Adhesives, plus a lot of other Tombow goodness.
I am going to share a bunch of tips and tricks to utilize your Tombow Adhesives and Dual Brush Pens to make this mixed media project quick and easy!
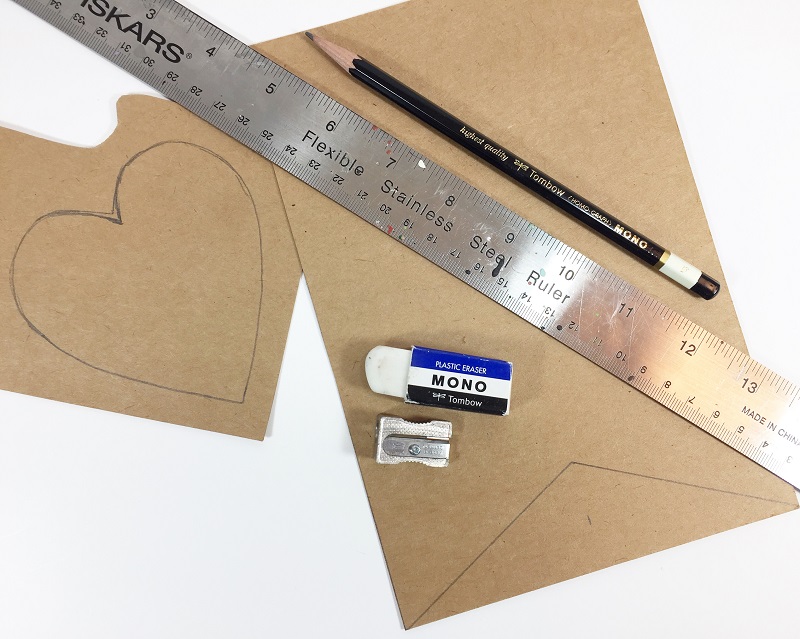
Step One:
Draw a 3″ square heart and a 6″ by 9″ banner on chipboard with Tombow MONO Drawing Pencil, then cut out both shapes.
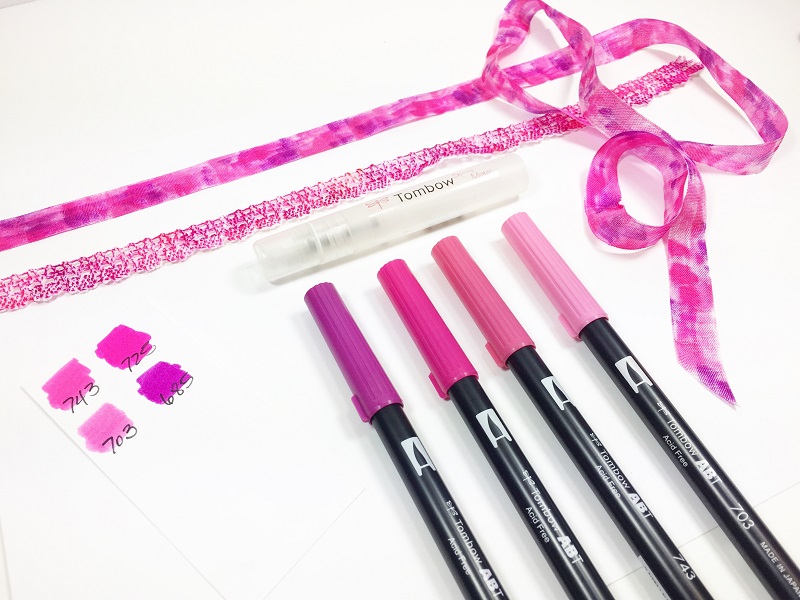
Step Two:
Cut 12″ of cotton lace and 24″ of seam binding ribbon. Color both randomly with Tombow Dual Brush Pens 685, 703, 725 and 743, then saturate with Tombow Mister to allow the colors to blend. Set aside to dry.
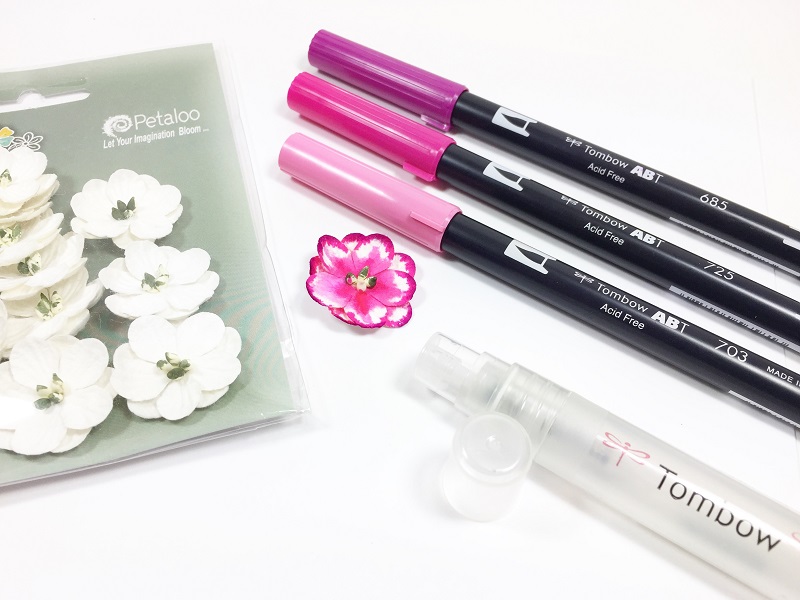
Step Three:
Color in a DIY paper flower with the same set of Tombow Dual Brush Pens, consentrating the light colors to the center and the darker colors to the edges. Wet with Tombow Spray Mister to blend colors, then set aside to dry.
Step Four:
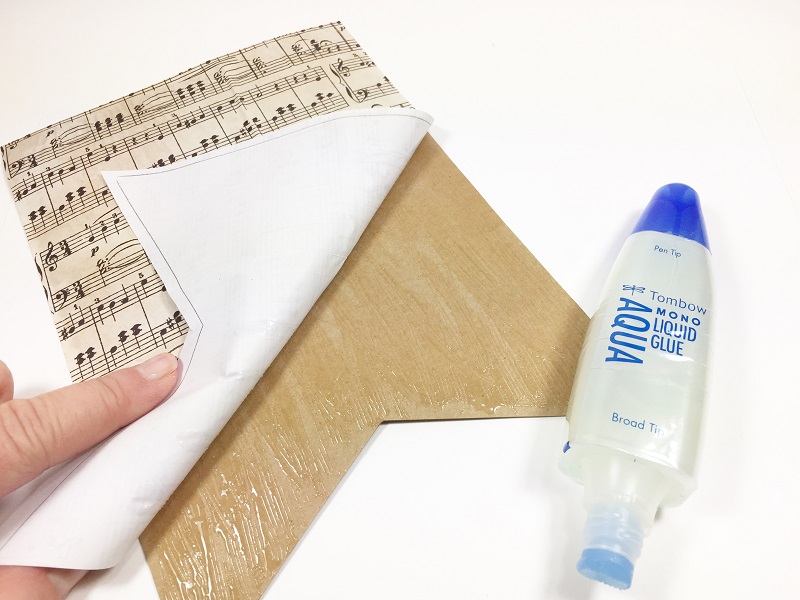
Trace banner shape on to the back of some music paper, rough cut and then apply to chipboard with Tombow MONO Aqua Liquid Glue. Better than regular decoupage medium, the MONO Aqua drys clear and tight, so no fear of wrinkles and folds just disappear – PLUS – there is no smell! Once dry, trim excess edges of paper.
Step Five:
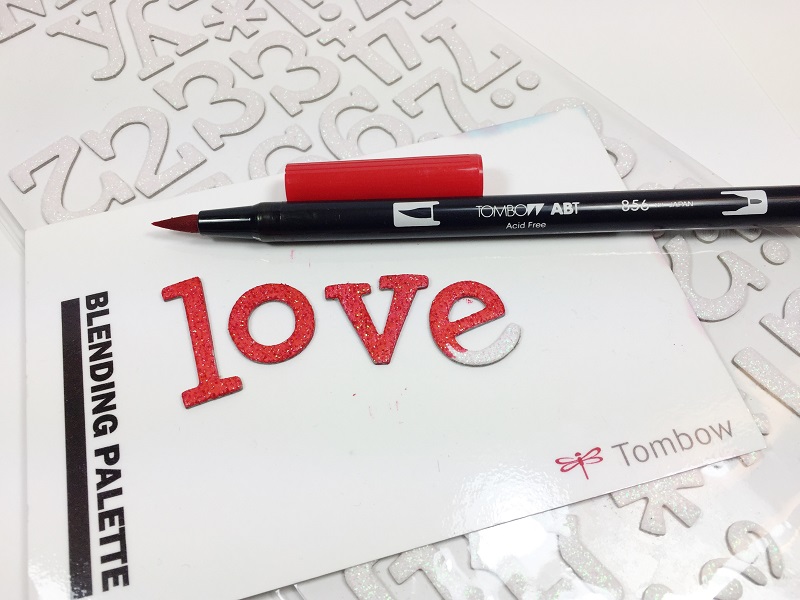
Place white glitter chipboard letters on Tombow Blending Palette, then color with Dual Brush Pen 856, making sure to get all of the sides and edges. This is one of my best tricks! If you buy white or neutral chipboard letters and embellishments you can color them to coordinate with any project with the Dual Brush Pens – MAGIC!
Step Six:
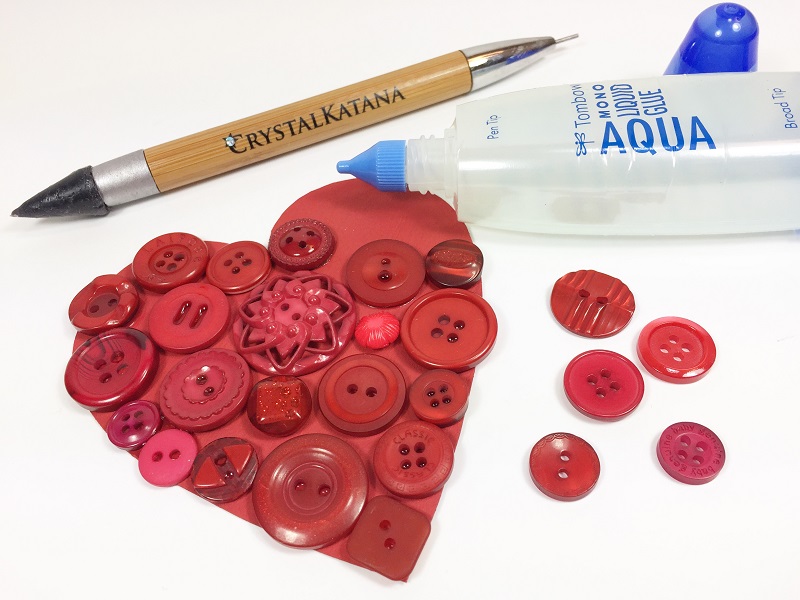
Paint chipboard heart with red craft paint. Arrange red buttons on heart until you are pleased with the composition, then adhere with Tombow MONO Aqua Liquid Glue and a wax tipped stylus.
Step Seven:
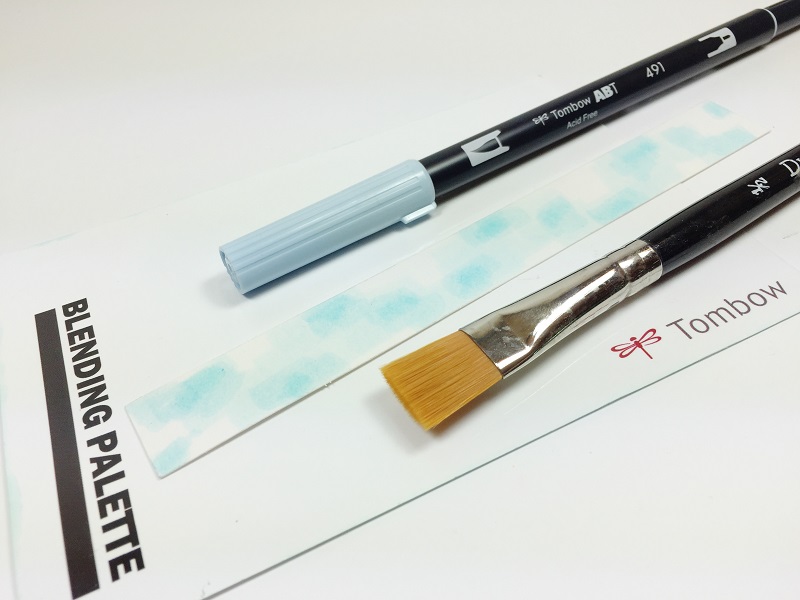
Measure and cut a 3/4″ by 6″ strip of watercolor paper, randomly color with Dual Brush Pen 491 and then blend pen strokes with clean water and a paintbrush. Set aside to dry. Once dry apply red pearls to any gaps between buttons.
Step Eight:
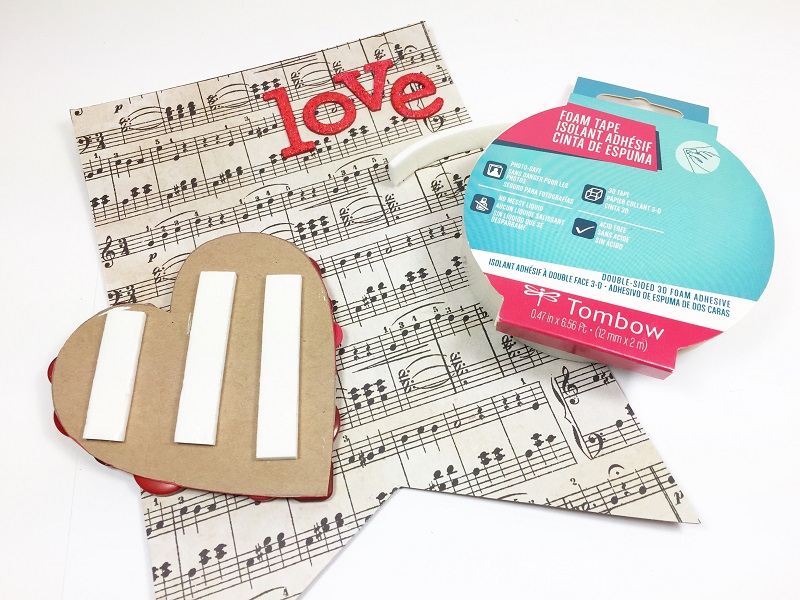
Apply colored chipboard letters to top right of banner with MONO Aqua Liquid Glue. Adhere button heart to banner with Tombow Foam Tape to create additional dimension.
Step Nine:
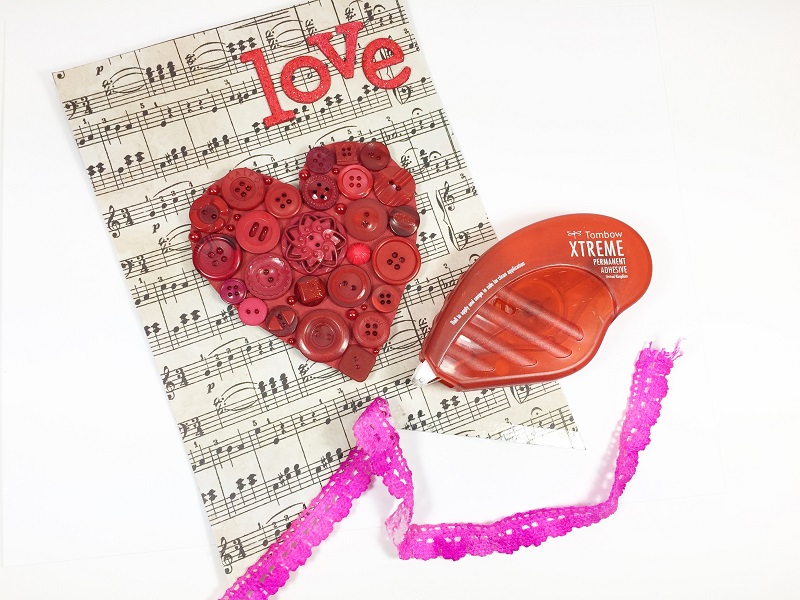
Attach colored lace to bottom edge of banner with Tombow Xtreme Permanent Adhesive. The Tombow Xtreme Adhesive is 5 times stronger than other adhesive runners, but remember to swipe at a right angle to end.
Step Ten:
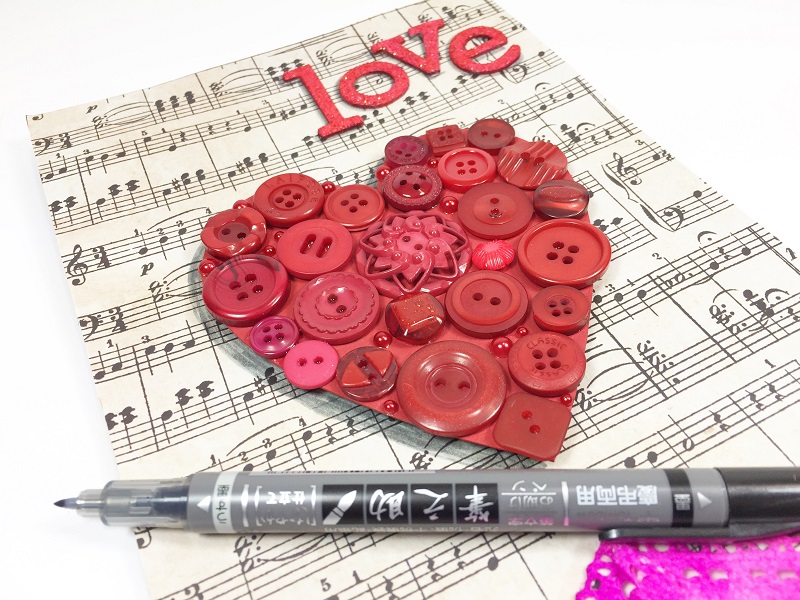
Create a shadow on the button heart and word love with grey end of the Fudenosuke Brush Pen, Twin Tip.
Step Eleven:
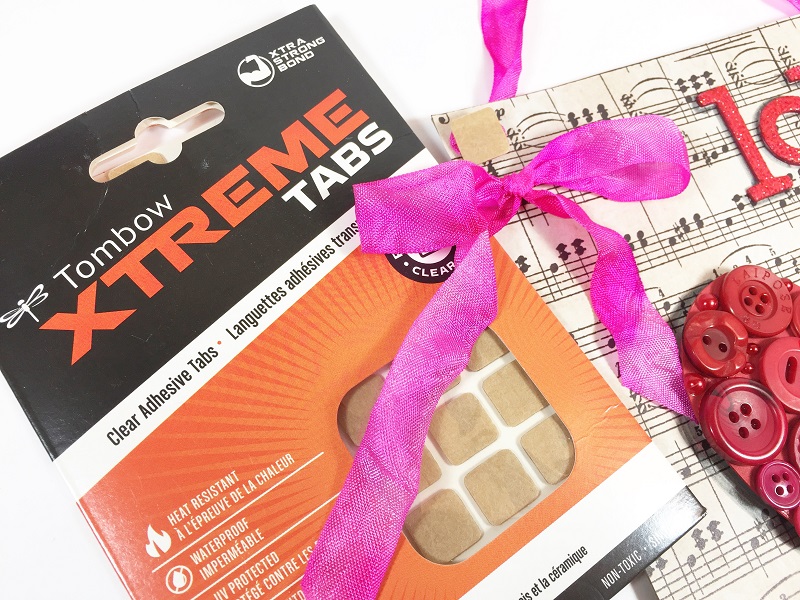
Measure and cut two 12″ lengths of colored seam binding ribbon. Punch holes in top right and left of banner, thread ribbon through, then knot to secure. Apply a Tombow Xtreme Tab to knot on left hand side. Tie second piece of ribbon in a bow and attach to banner.
Step Twelve:
Attach colored flower to left hand side of button heart with two layers of Tombow Foam Tape. Hand write “Trust your Heart” on the light blue watercolor paper with the black end of the Fudenosuke Brush Pen, Twin Tip, then trim and fish tail cut the end. Attach to button heart with Tombow Xtreme Permanent Adhesive. Embellish with clear rhinestones.
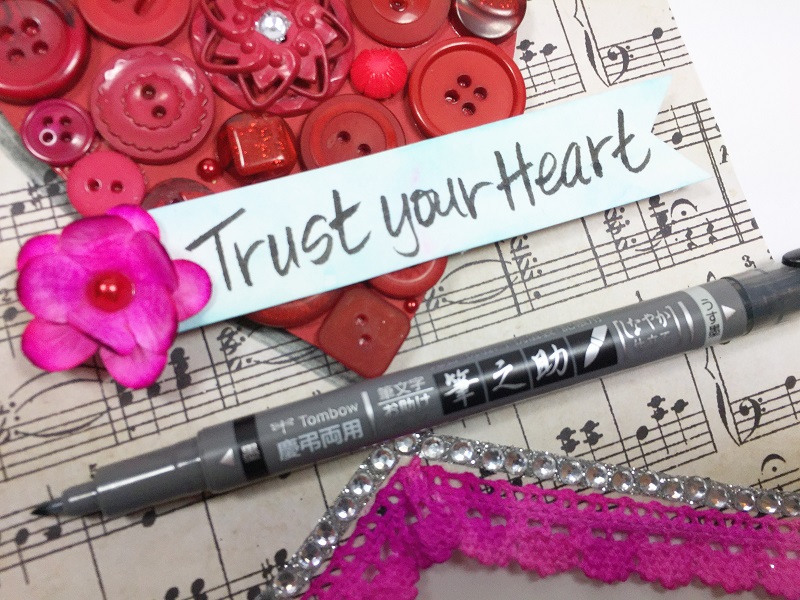
Here is a close up of my Mixed Media Valentine Banner featuring Tombow Adhesives!
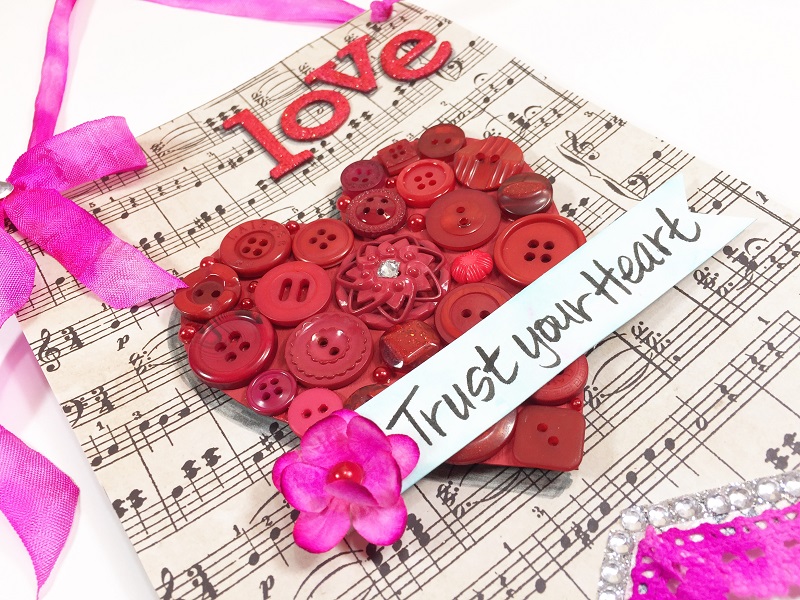
If you liked this Mixed Media Valentine Banner project then check out these two posts: Mixed Media LOVE Wall Hanging or My Heart on a String featuring mixed media projects with a Valentine theme!
Thanks for stopping by! -Beth

Gorgeous! Love the heart of buttons!