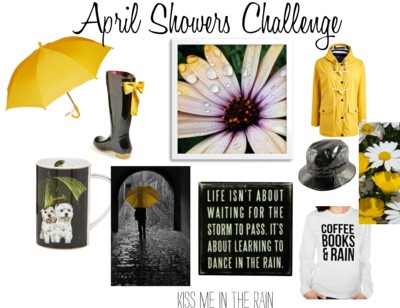
Happy April everyone! What a great challenge we have for you. I was inpsired by Daniella’s mood board for sure and pulled the black and yellow out as well as the black bow. Loved it.
When I think of April showers I think of lazy days. For us it means catching up on some reading or just hanging out. I’ve been seeing this little tutorial around and thought I would give corner bookmarks a try. I followed this tutorial and you can find the template there as well.
You’ll need the following items pictured below.
Tombow MONO permanent
Tombow Adhesive dots
Bone Folder
Scissors
Paper
Die or bow template

Next follow the easy steps to create your corner bookmark. It can literally be decorated any way you would like. I added the bow to two of them and a scallop to the third. This bow die was perfect since I could press it flat and still know what it was. Flowers are perfect as well. I’ve seen monsters and more. A great way to get the kids involved and to reuse paper scraps like I did. 


Don’t forget to link up your projects on Monday’s post to enter to win the prize pictured below.

Thanks for stopping by. Come back tomorrow from a fabulous project from Jennie!
Xo,
Latrice

This corner book mark is so cuteeeeeeeeeee… I am going to make some with my tombow!!!