Hello Lovelies! Serena here and today I am excited to share with you my first flip book tutorial! If you are familiar with pocket letters, this is essentially the same thing – you decorate each page, add goodies or mail tags for your pen pal and swap them!
Flip books or this style of paper crafting has been around for awhile. In fact, some of you scrapbookers refer to them as folios. These folios would be added into mini albums as room for extra photos or journaling. The pen pal and happy mail world has gotten wave of these little cuties and now flip books are all the craze! You can see so many wonderful examples if you search #flipbooks on Instagram.
I, for one, love creating any small scale projects and have joined the flip book train *choo choo*. It’s the perfect project to help use up your ever growing stash of die cuts, stickers and scraps of papers (they don’t call it SCRAP-booking for nothing lol). I hope this inspires you to give flip books a try!
First,I would like to apologize, I had a video tutorial planned out for this flip book, but I have lost the footage due to technical difficulties *boo*. I will try my best to break down each step to help make it easier to follow along with the pictures, but if you have any questions feel free to leave a comment or ask me on Instagram @seresbee and I’ll make sure to answer! Let’s get crafting!
To begin, grab some scrap pieces of paper in any size. You can add pieces of 6×6 paper together by attaching them together using washi tape. In this tutorial, I used a piece of double sided card stock and added in the extra flip pages using washi tape.
I used a Vera Lane Studio digital image (Quirky Zombie Couple) but you can use any stamped image you would like. Next using the Tombow Recycled Colored Pencils take 2 colors you like, I used an orange and light pink and colored in her dress. Using Odorless Mineral Spirits and a blending stub, blend in both colors together. This creates a smooth finished look when you use colored pencils. Continue coloring the rest of your image using the Tombow colored pencils.
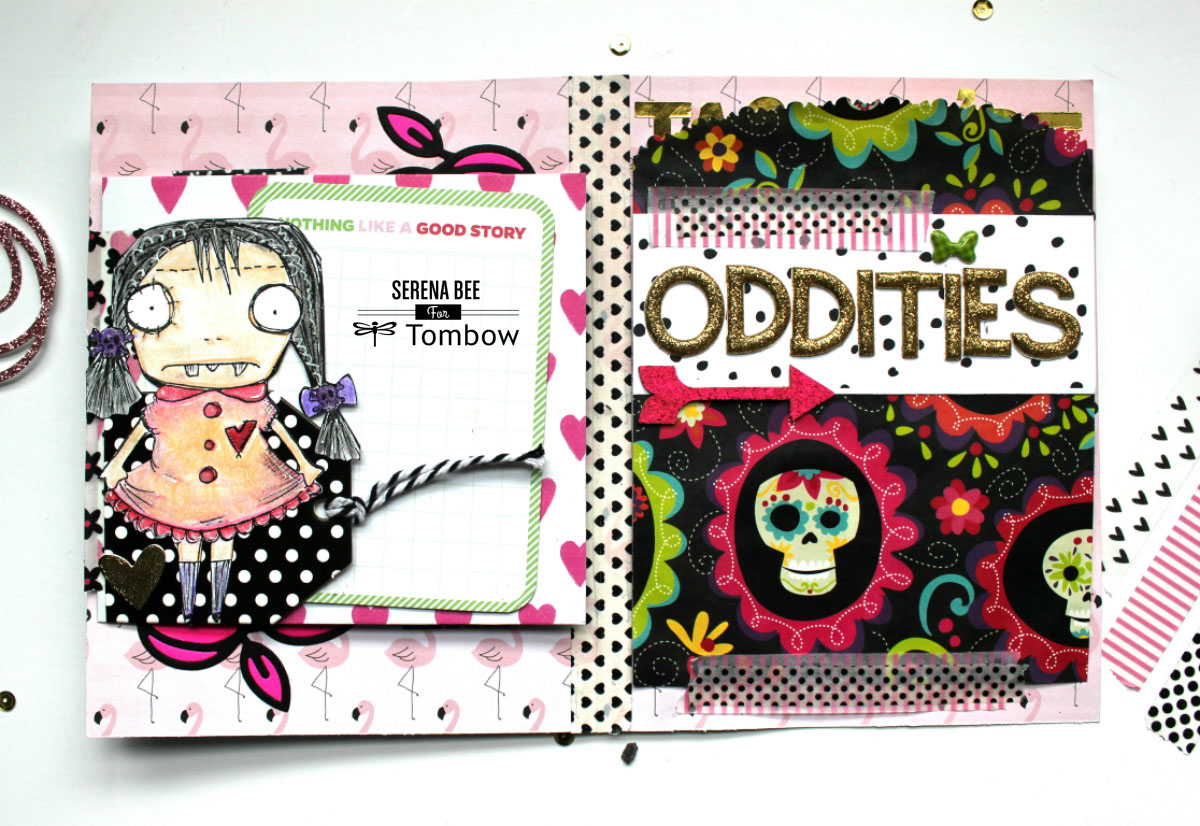
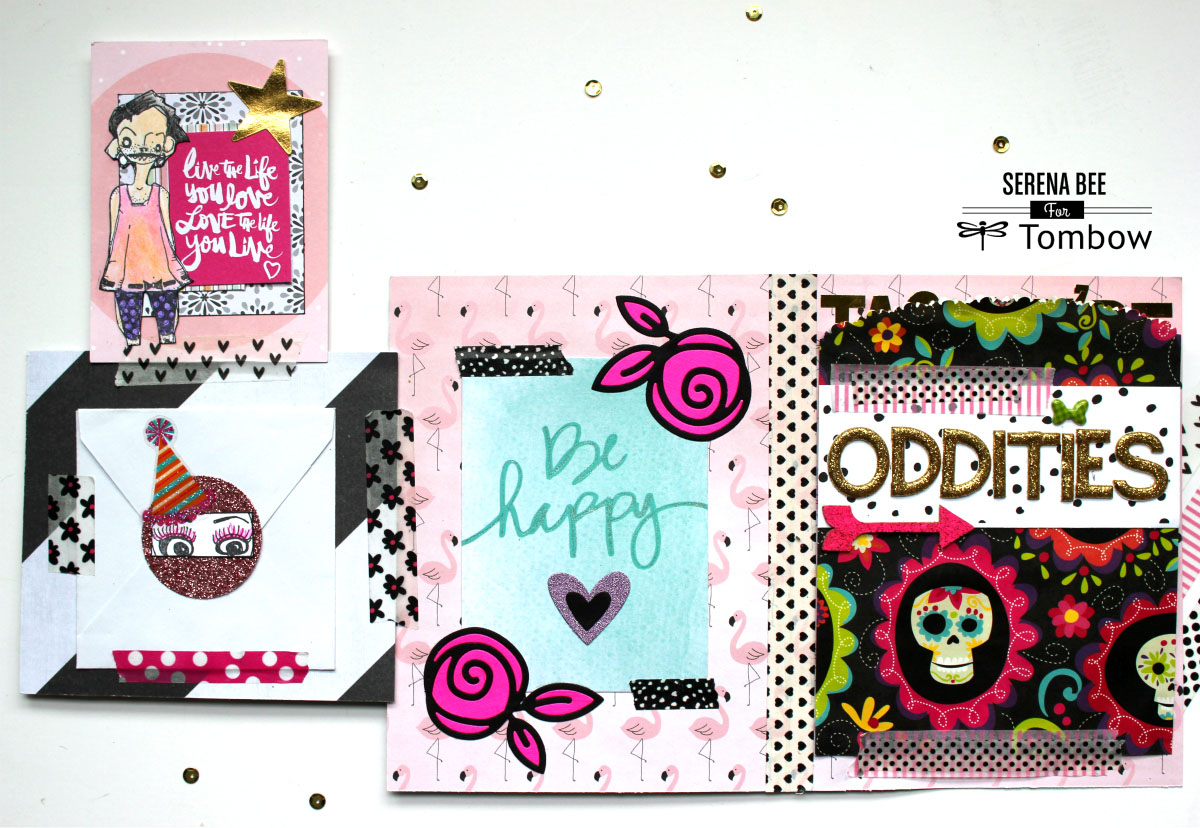
I added my colored image on to a bit of scrap paper that I attached to the flip book using washi tape. I adhered a black and white polka dot tag using the Tombow MONO Permanent Adhesive. Next, I adhered the colored image on top of the tag using Tombow MONO Aqua Liquid Glue. TIP: Make sure to only glue down part of the tag and stamped image in order to create a tuck spot for a journaling card.
You can see on the right that I added a paper bag using washi tape. However, the tape kept lifting up so I went back and added MONO Aqua Liquid Glue to further secure it. I further decorated the paper bag using scraps of paper and stickers from my stash.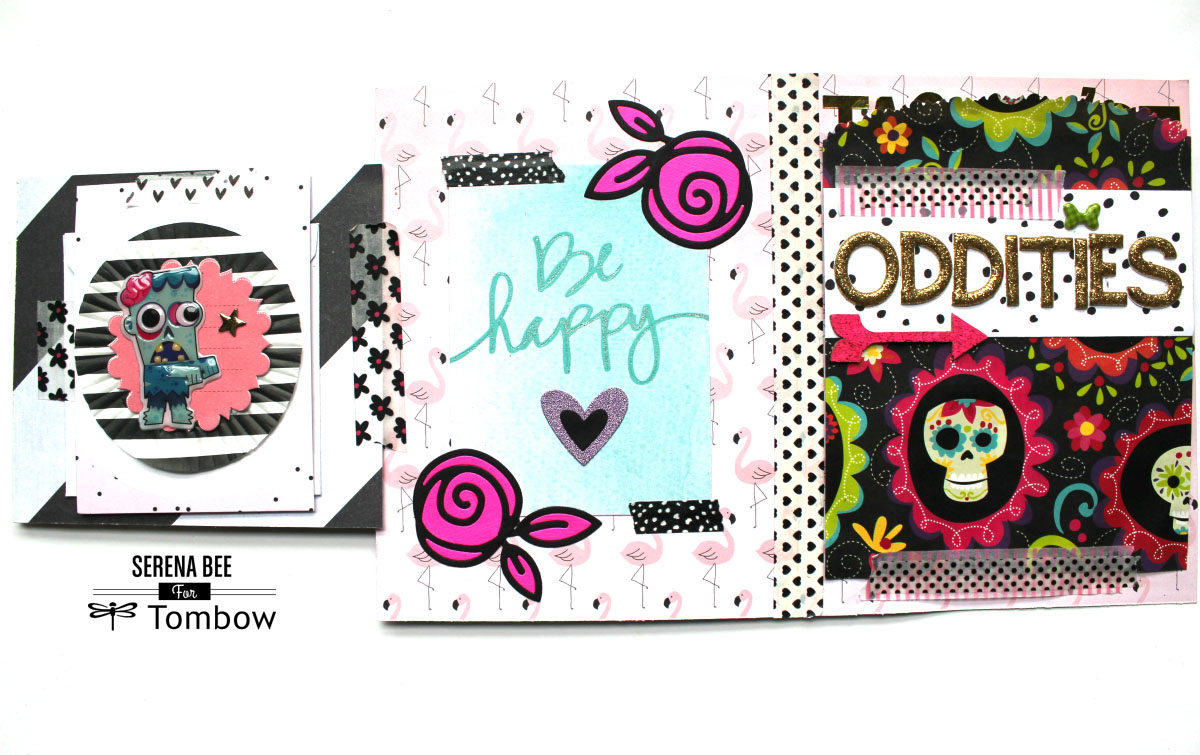 Although you can’t see in the picture, the zombie embellishment I added for my pen pal is adhered down on a piece of clear packaging I reused from an old sticker sheet using Tombow Removable Adhesive. This way she can easily peel off the embellishment without it getting damaged.
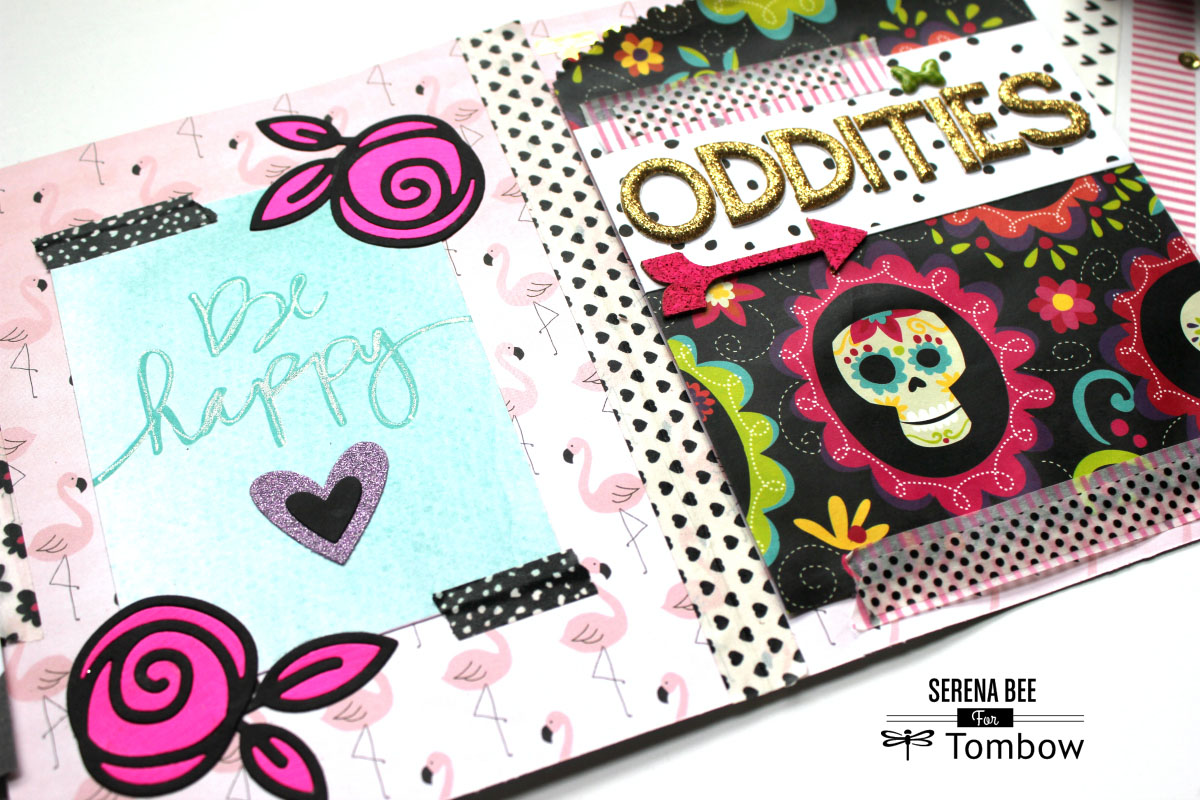
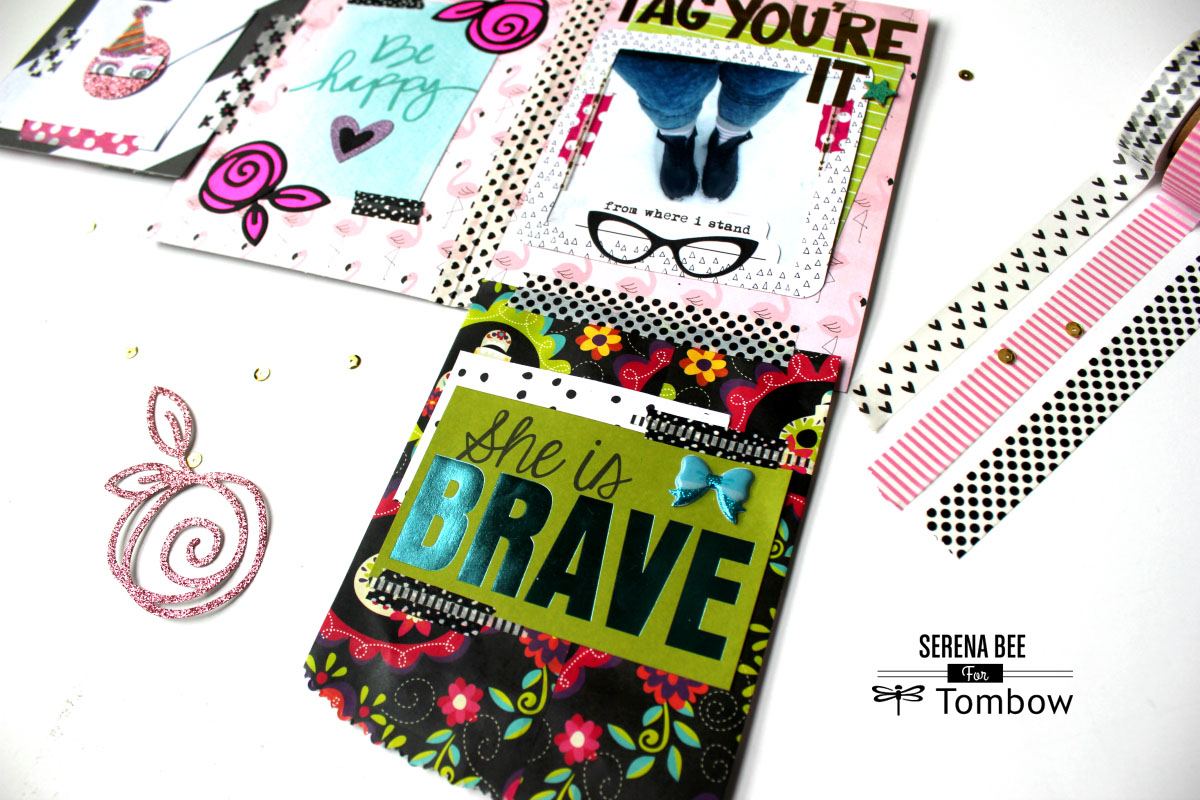
Using your favorite Tombow adhesives begin gluing down your die cuts, journaling cards, and embellishments. I recommend using MONO Aqua Liquid Glue for intricate die cuts like the flowers you see in this picture. TIP: It dries clear and if you have an overspill, you can carefully wipe it off with a baby wipe. Another one of my favorite adhesives to adhere intricate die cuts is the Tombow MONO Glue Pen.
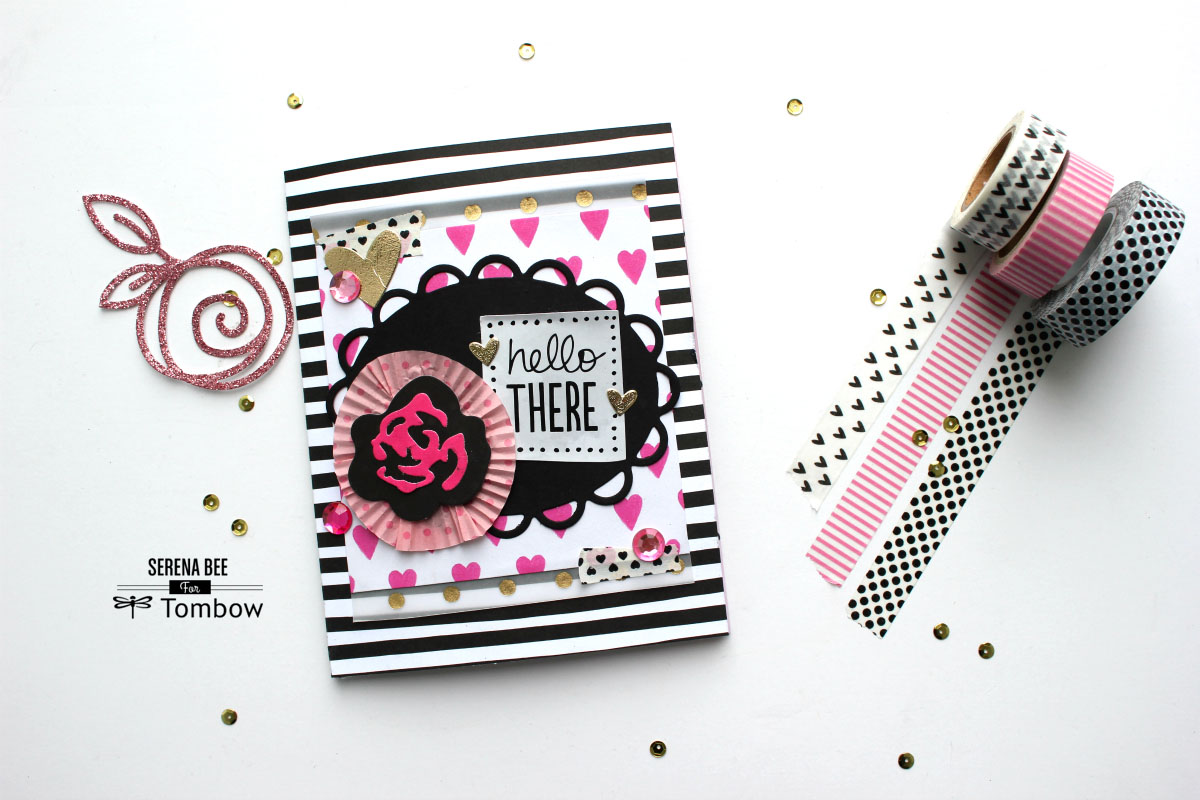
Mail tags are a great element to add in your flip books. For my mail tags, I was inspired by my journaling cards. I thought it would be fun to snap a picture of “from where I stand” and send it to my pen pal. Since we both live in different environments, this is a fun way we can interact and share a piece of our current daily lives with each other. I also used a journaling card that said “nothing like a good story” which will prompt my penpal to write a fun story about her on the card. When she is ready to respond to my mail tags she can include a picture of “from where she stands” as well as the journaling card with her story for me. TIP: Go through your stash of journaling cards and find titles or prompts that you can also include in your flip book!
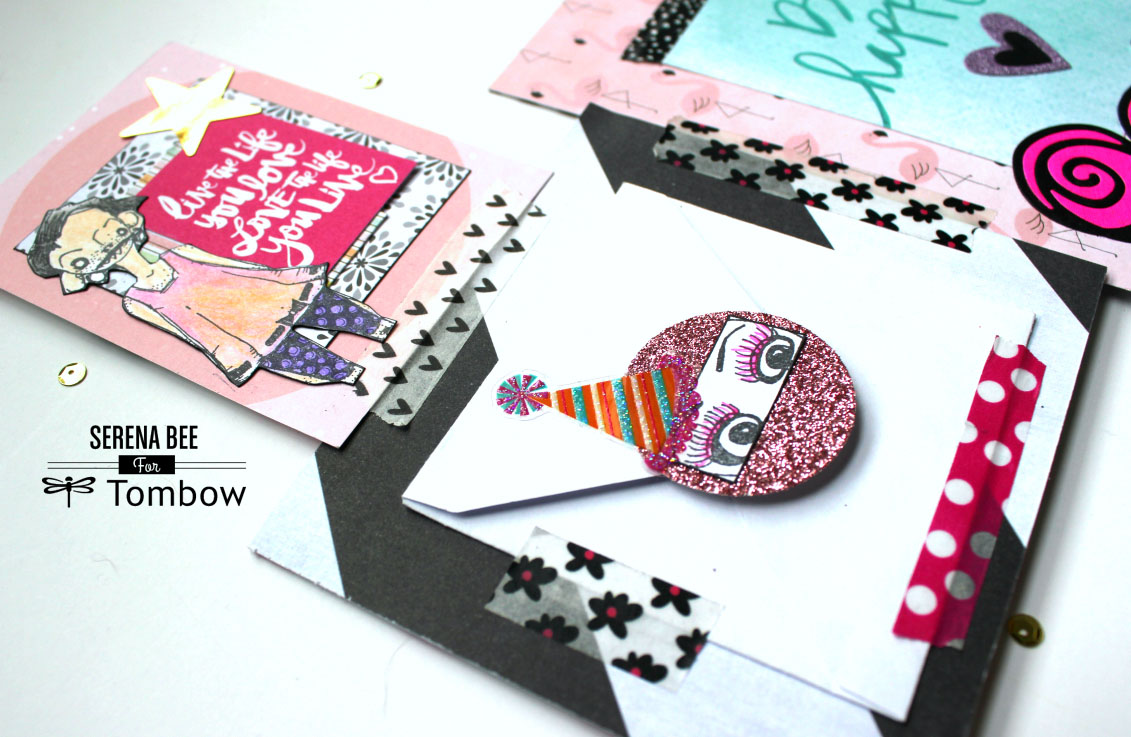
The zombie card flips ups to reveal a 3×3 envelope where I added the letter to my pen pal. I decorated the back side of the zombie card with another stamped image. Using the same technique from before, I colored this image from Stampotique Originals (Chicken) using the Tombow Recycled Colored Pencils and Odorless Mineral Spirits. Next using MONO Permanent Adhesive I layered a cluster of die cuts together and adhered both cluster and colored image down using the Permanent Adhesive. TIP: If you would like this cluster to be reused by your pen pal then go ahead and use MONO Removable Adhesive instead.
Continue decorating every little flip bit with stickers, die cuts, and other embellishments in your stash.
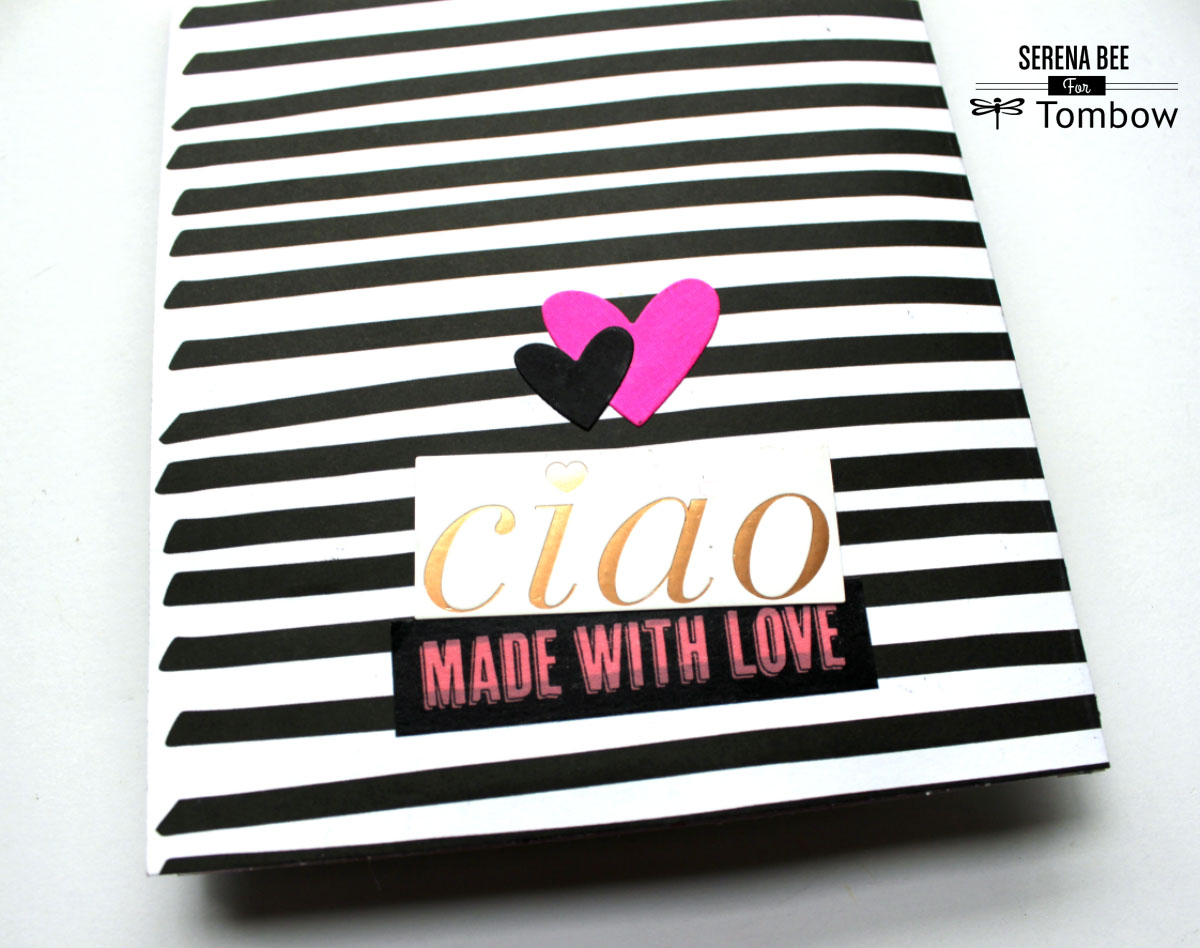
And don’t forget to decorate the front and back covers too!
I hope you enjoyed my flip book tutorial. As you can see my crafty style has different aspects. I try to combine my love for creepy cute with my bright and colourful “girly” side as well. In the end I just use the images and products that inspire me. Add a bit of black and white and skulls and it’s a perfect ending.
I hope you enjoyed this tutorial and remember to have fun and let your creativity shine!
Serena Bee
oh my goodness this is just so cute and sassy. i hope to try this sometime. am i right that it is all kinda attached with wash tape and flips ? thanks for your wonderful creation.
This is just too cute! I’m going to have to give one a go and see what I can come up with. I love that you used Vera Lane Studios, they’re such cute images. Thanks for sharing!
Love your creation. What a great way to incorporate all your themed goodies.
This is adorable! What a treasure. Great tut. xxD
Love it, Serena! Super cute, love all the elements! 😉
Hi Lois! thanks for stopping by! Yes, that is correct, using washi tape to attach all the flip bits. It’s the perfect way to use up your stash!
love this Serena can you tell me what size double sided cs you are using as the base
thanks
lois
Love this! What exactly is a mail tag?