Hi, Lauren here, and today I’m going to show you how to create your very own paper bows with fun patterns and Tombow USA products! This week, the design team is being inspired by this “Spring with Tombow” mood board. I was immediately inspired by the fun use of pattern, pastel colors, and little pops of black. I also loved the cute little bow in the bottom right hand corner.
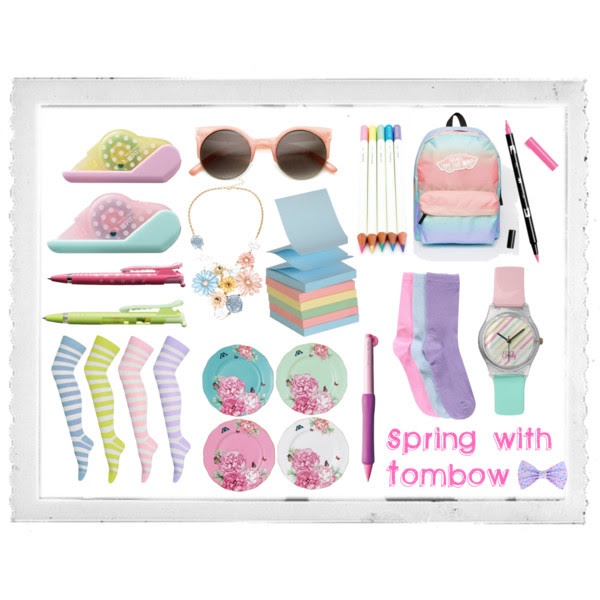
Create Paper Bows with Fun Patterns
Through this project, I hoped to capture the essence of the “Spring with Tombow” mood board while creating fun paper bows that are versatile and can be used to embellish gift tags, presents, and envelopes.
Get Started
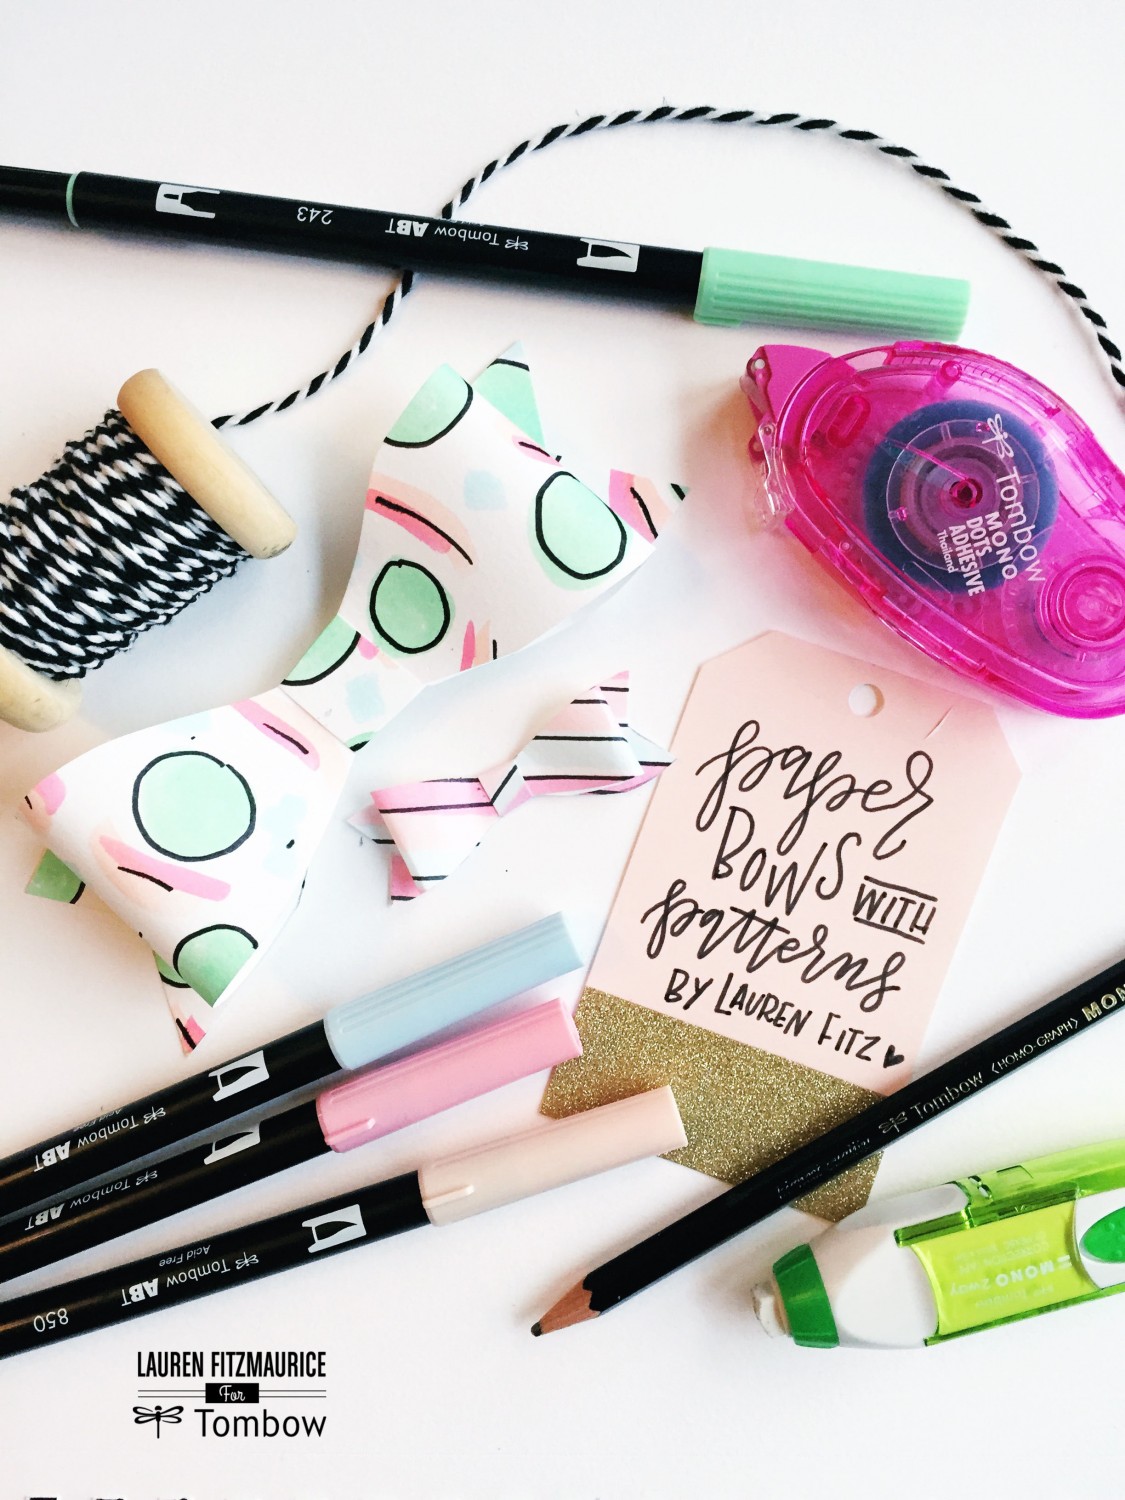
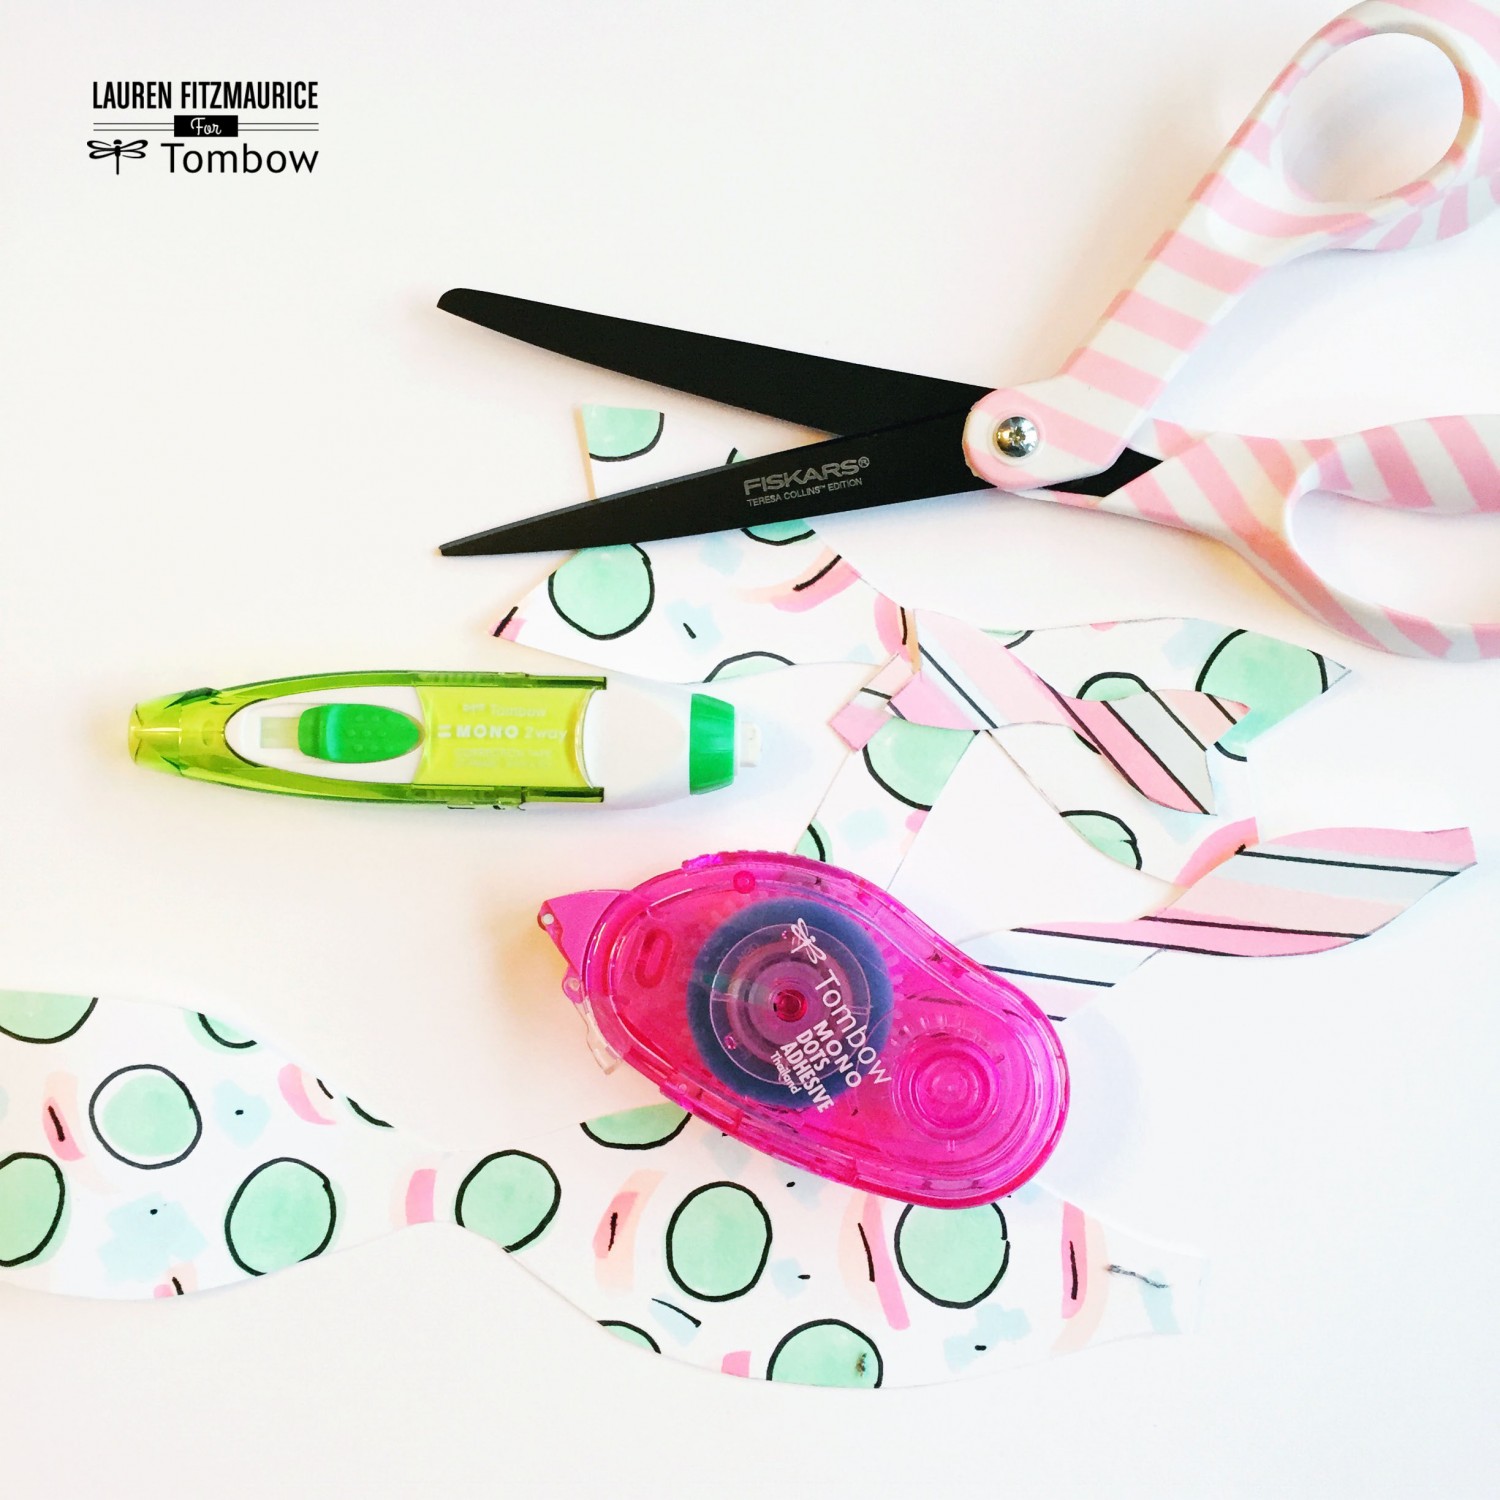
To create paper bows with patterns, you will need:
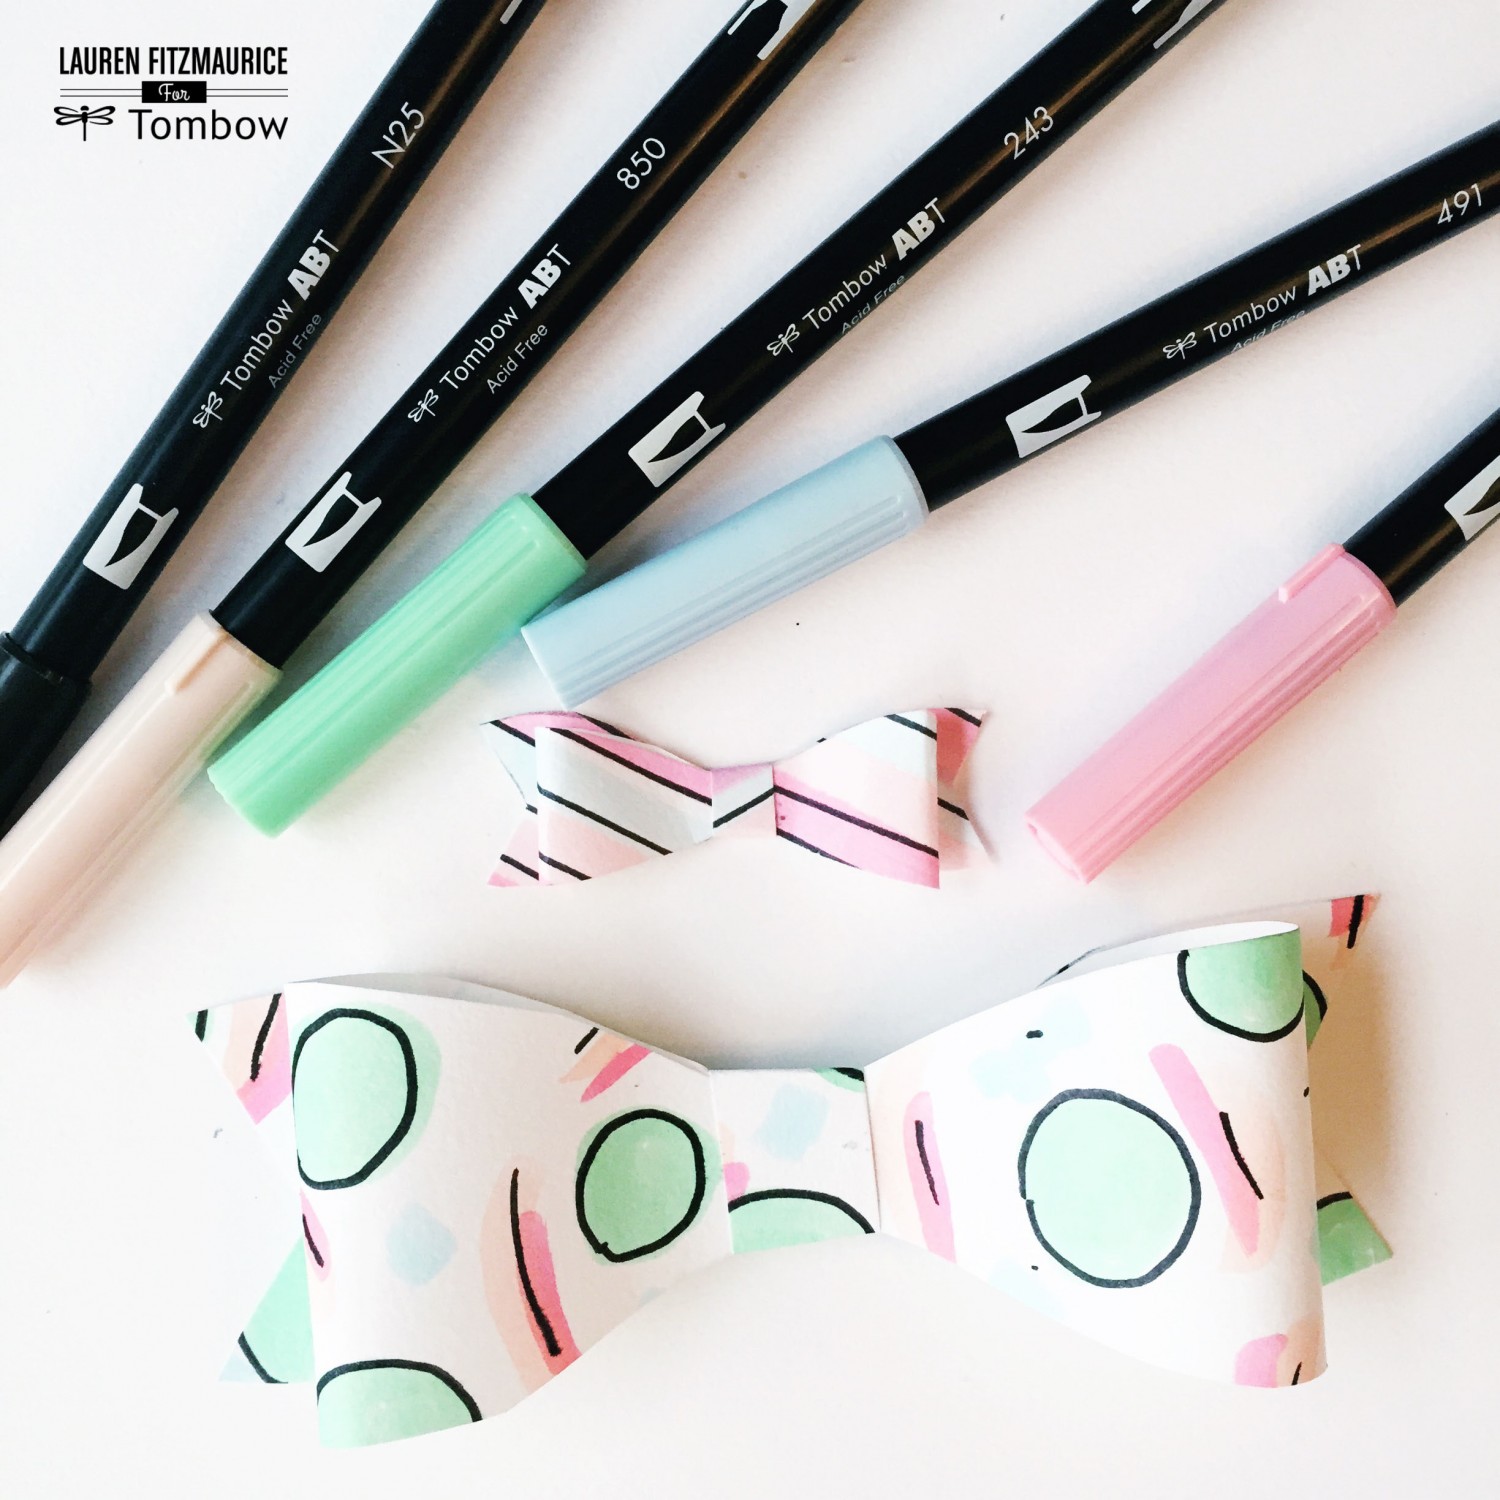
- Tombow USA Dual Brush Pens (I use N25, 723, 850, 491, 243)
- Tombow MONO Drawing Pencil
- Tombow MONO Two Way Correction Tape (the eraser)
- Tombow MONO Dots Adhesive
- Canson XL Mix Media Paper
- Scissors (I used these from Fiskars)
- Fun tags (like these from Paislee Paperie) and envelopes

Create Your Pattern
To begin making the fun paper bows, create fun patterns on a large piece of Canson XL Mix Media Paper using Tombow Dual Brush Pens in a variety of fun colors. I love to use the brush tip to color in fun shapes and designs while I make the shapes bolder by adding a little bit of black with the fine tip of the Dual Brush Pen. I was inspired by the pops of polka dot and stripes in the mood board when creating these two patterns. Make sure that a good amount of the paper is covered with each pattern so that each bow that you make is fully covered.
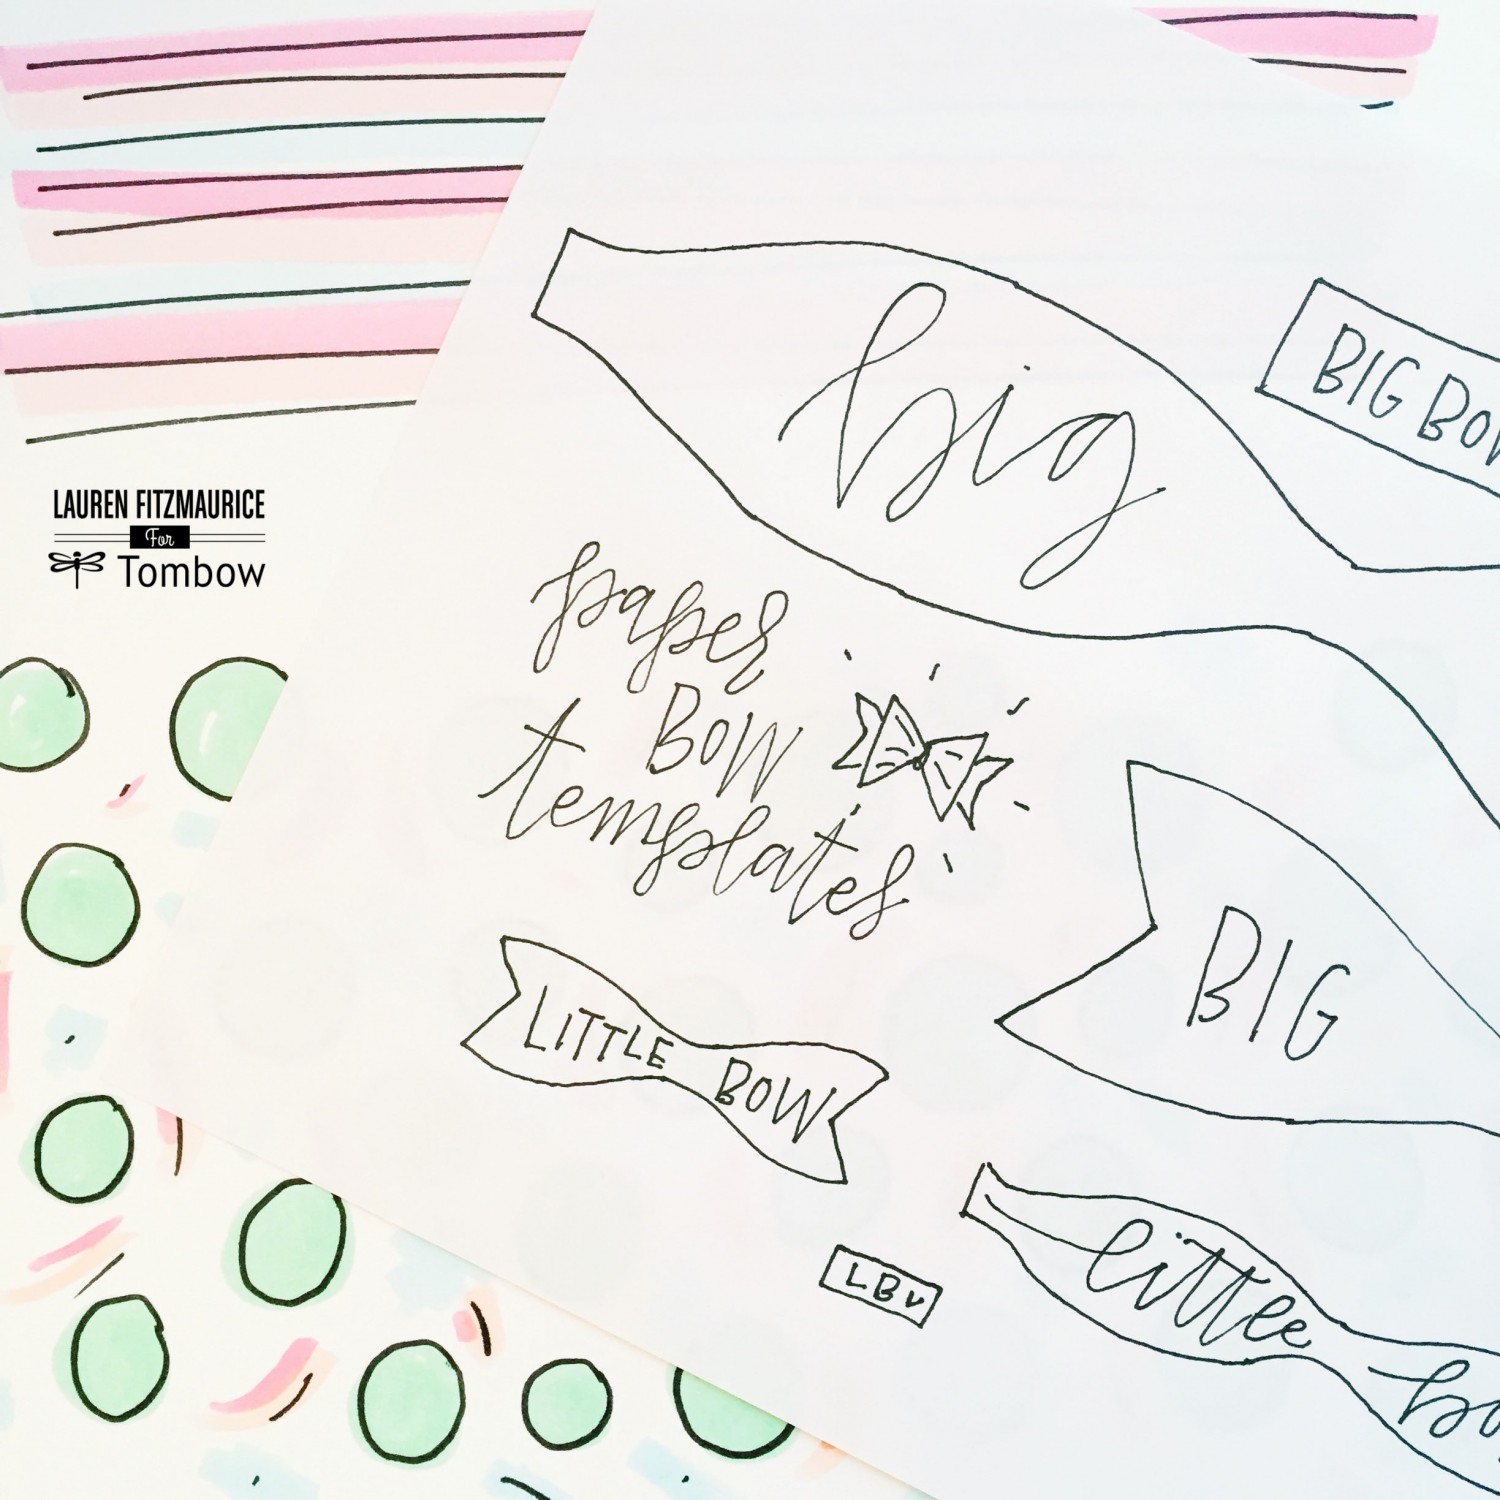
Prep Bow Template
After you have created fun patterns, it’s time to actually create the paper bow. I have created a page of templates for you to use to create your very own paper bows. The template includes a big bow and a little bow. Download the handmade template directly from my sketch book, below! To prep the templates, cut out the pieces right on the black lines.
[wpdm_package id=’22031′]
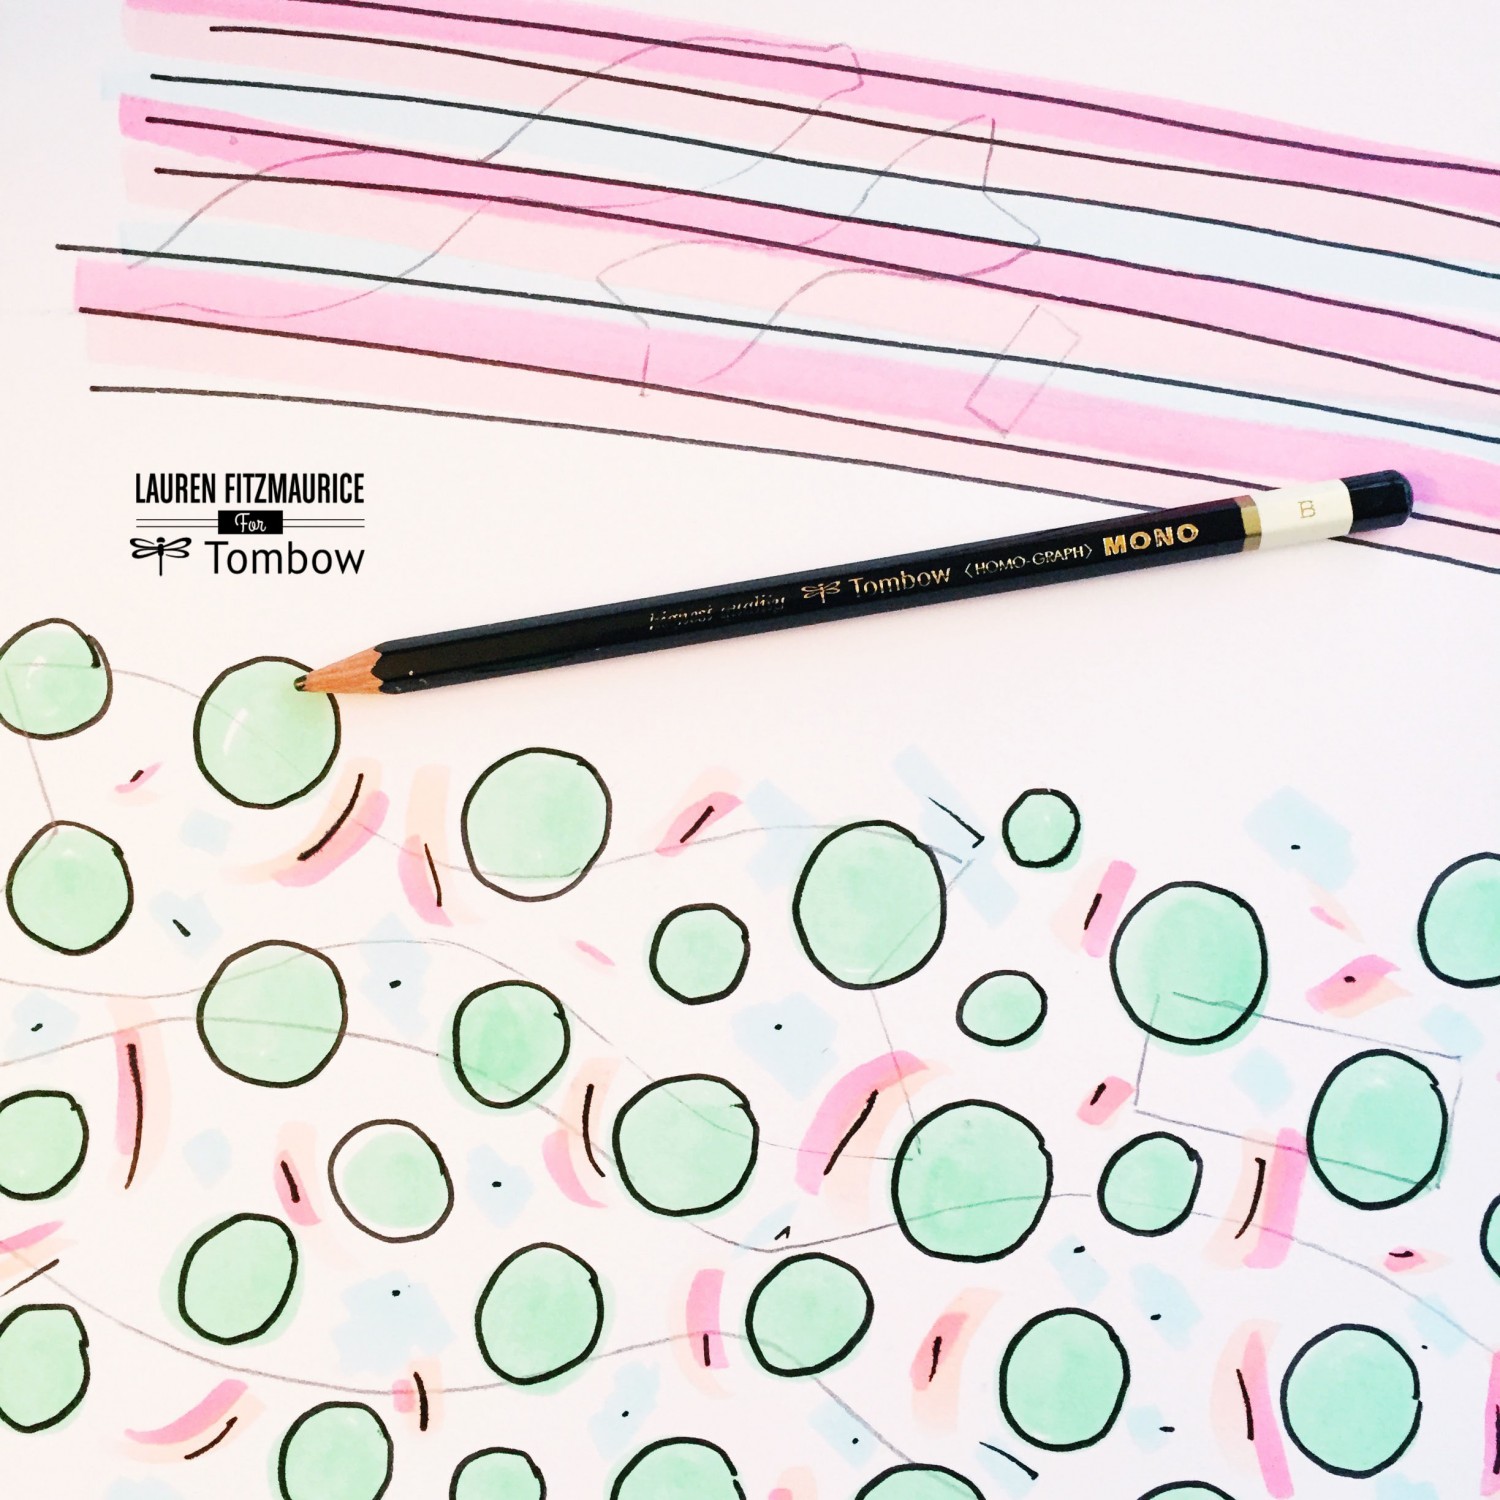
Trace Bow Template
After cutting out the pieces of the bow templates, lay them out on the patterns you created. Move them around however you like and then trace them using a Tombow MONO Drawing Pencil.
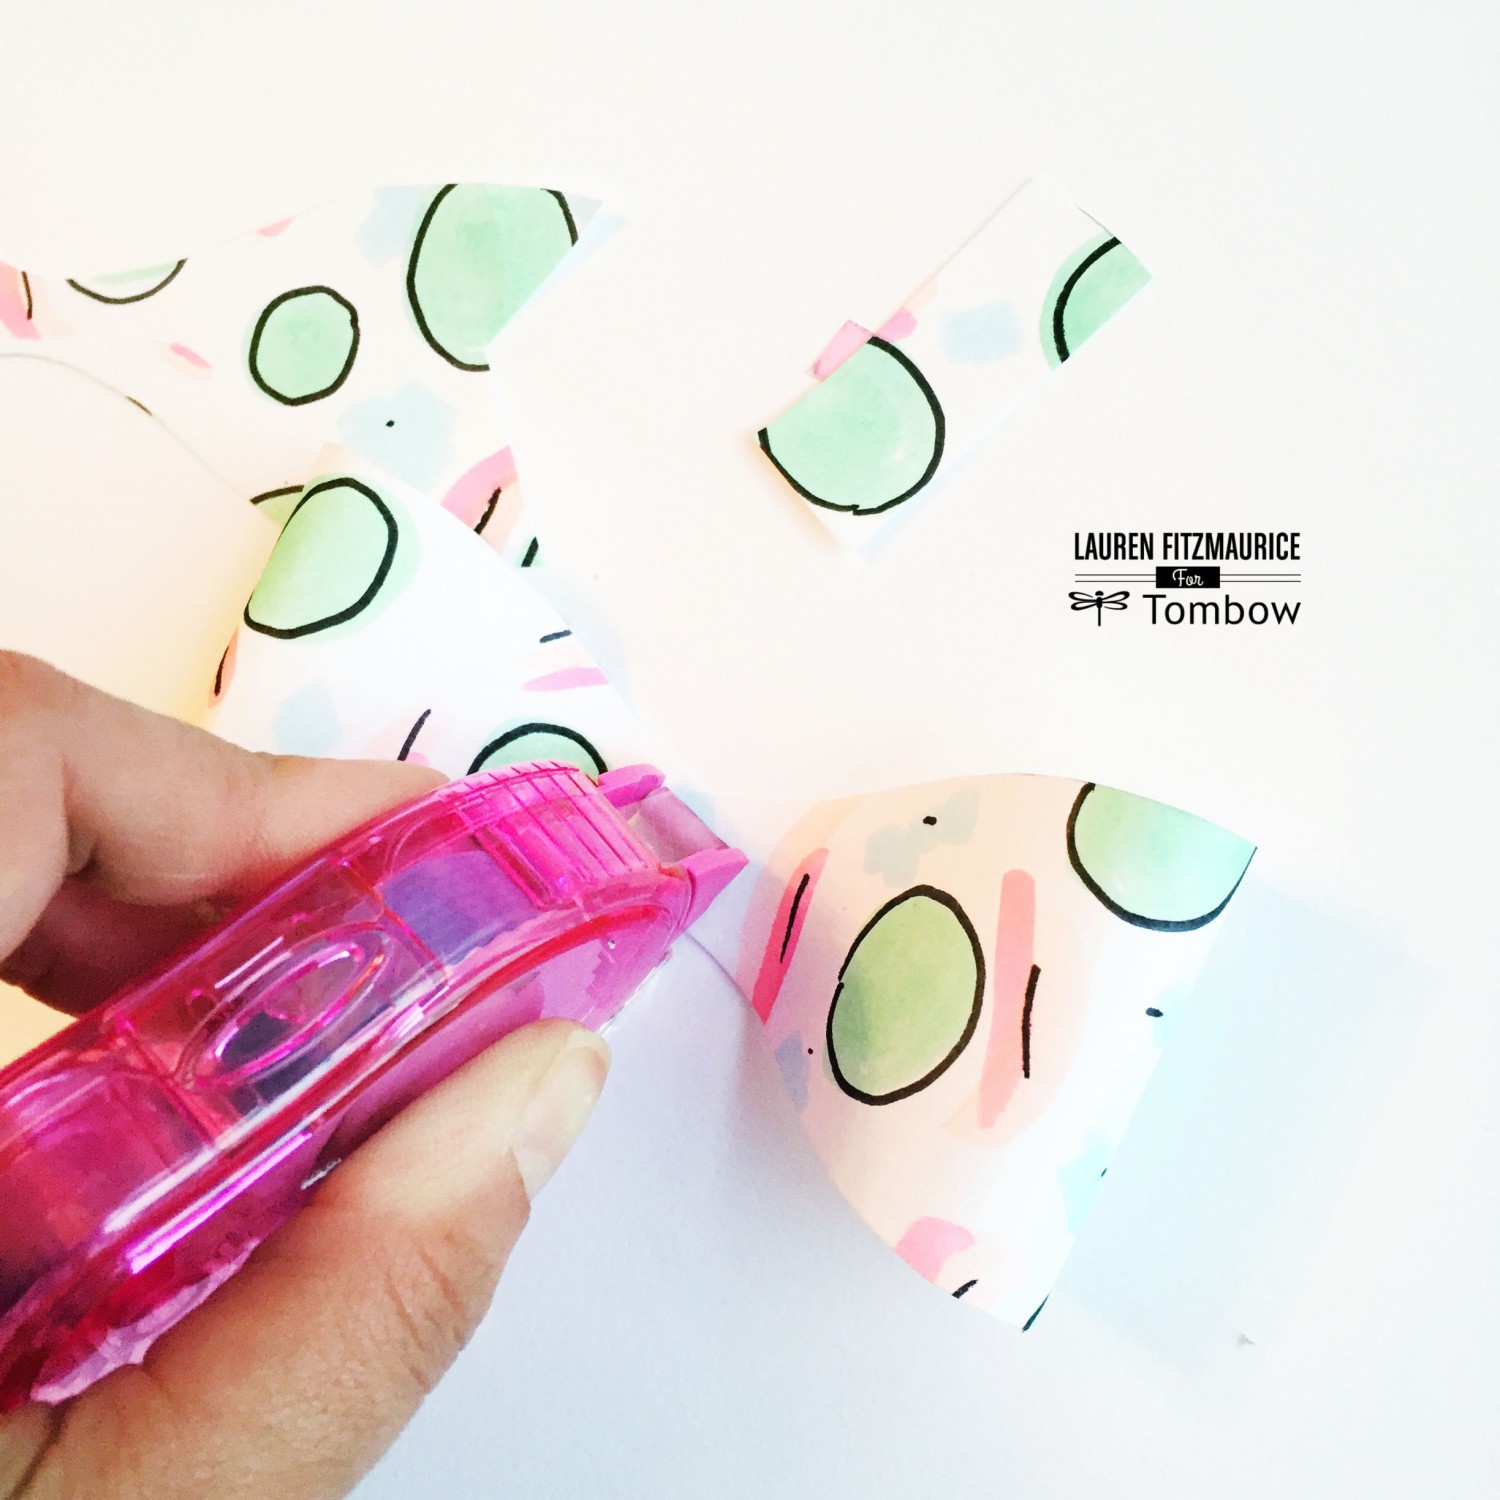
Cut Out Bow Pieces
After tracing the template pieces for the paper bows, cut them out and erase the pencil around the edges using the eraser on the Tombow MONO 2 Way Correction Tape. Then, grab your Tombow MONO Dots Adhesive and get ready to put your bows together!
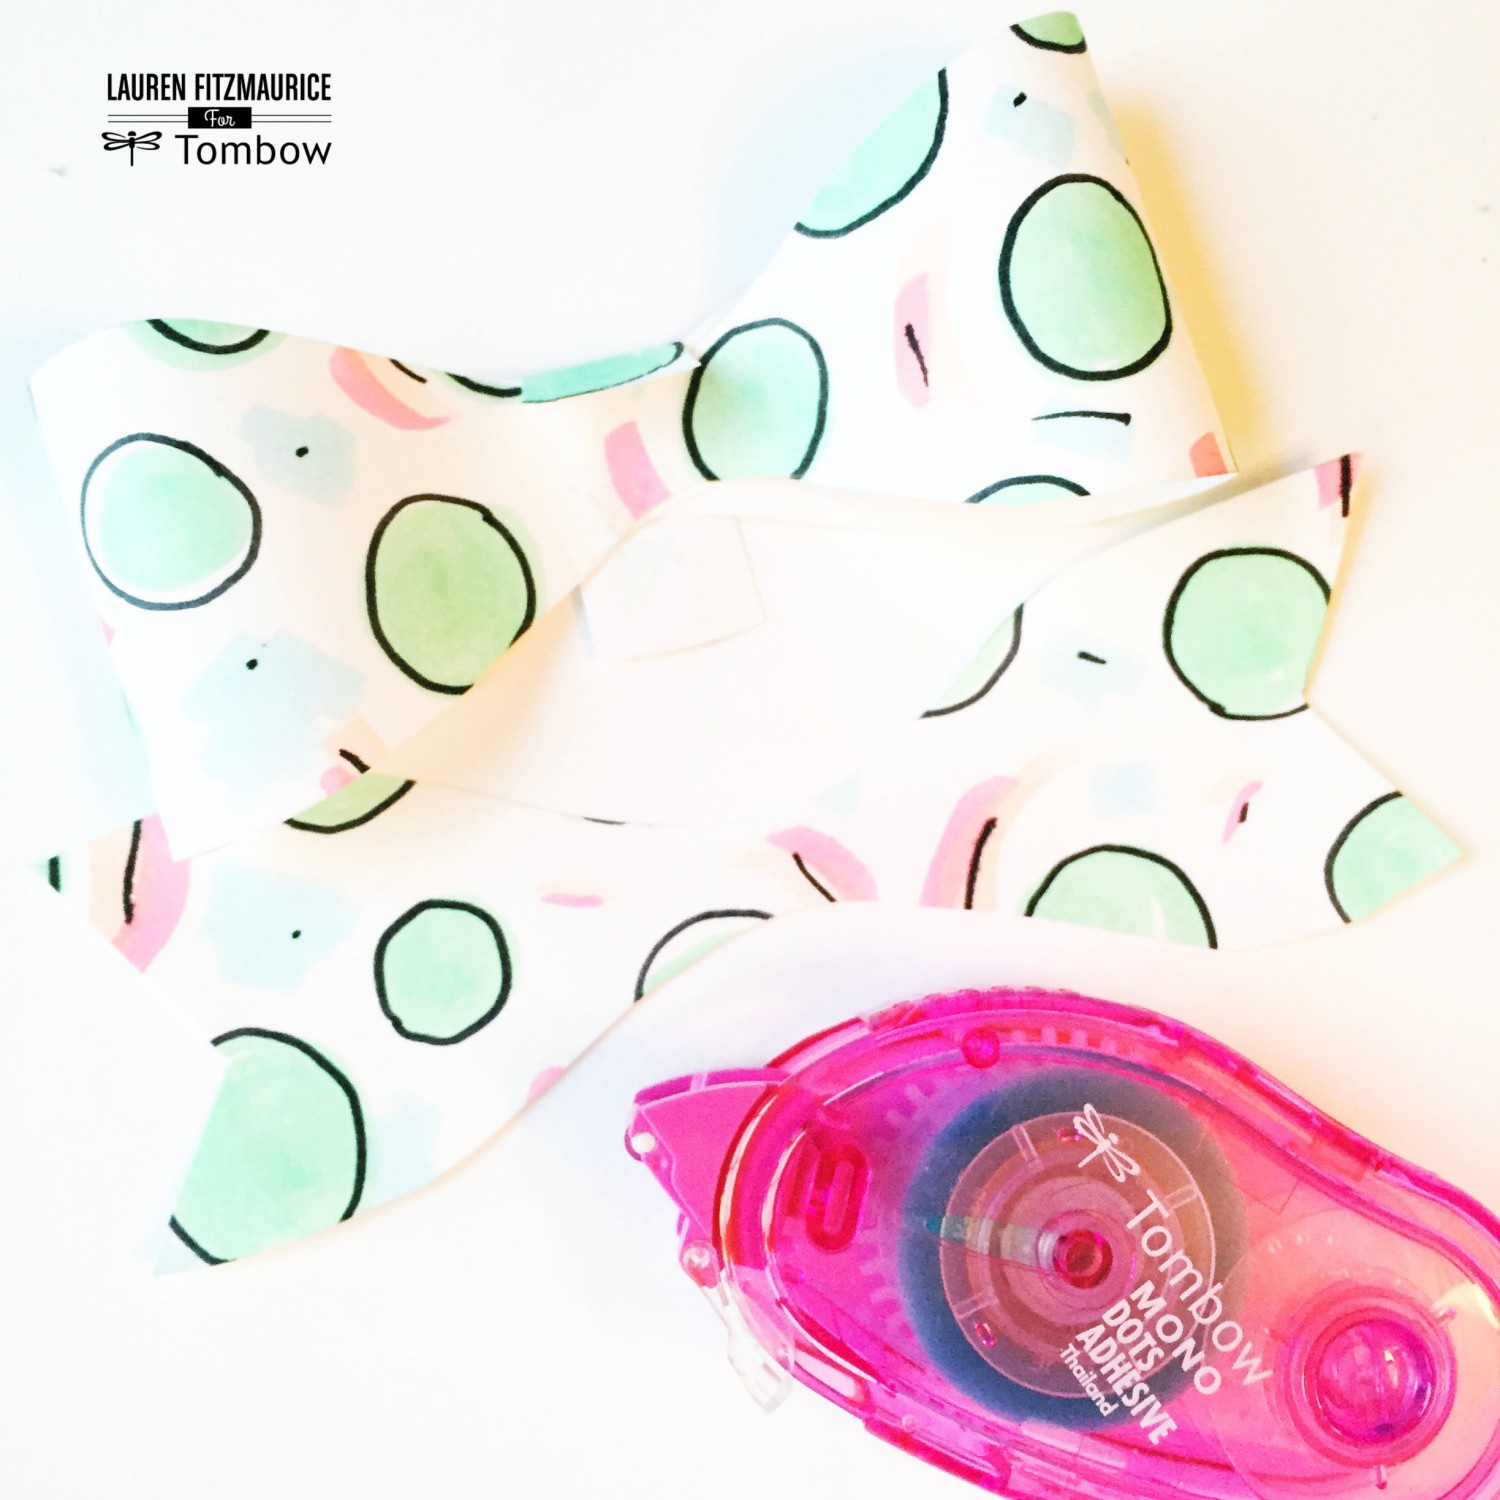
Glue Ends to Center
To adhere the pieces of your bow together, turn the large piece over so that the pattern is face down. Place some Tombow MONO Dots Adhesive in the center and stick each end down to form the loops in the bow. I chose to use the Tombow MONO Dots Adhesive, because the dots allow it to be moveable until the glue sets and this is perfect when piecing together a bow made of multiple pieces. Once the glue is set, it has a permanent bond. Best of both worlds! It is also easy to roll away the excess adhesive by simply rubbing your fingers on it.
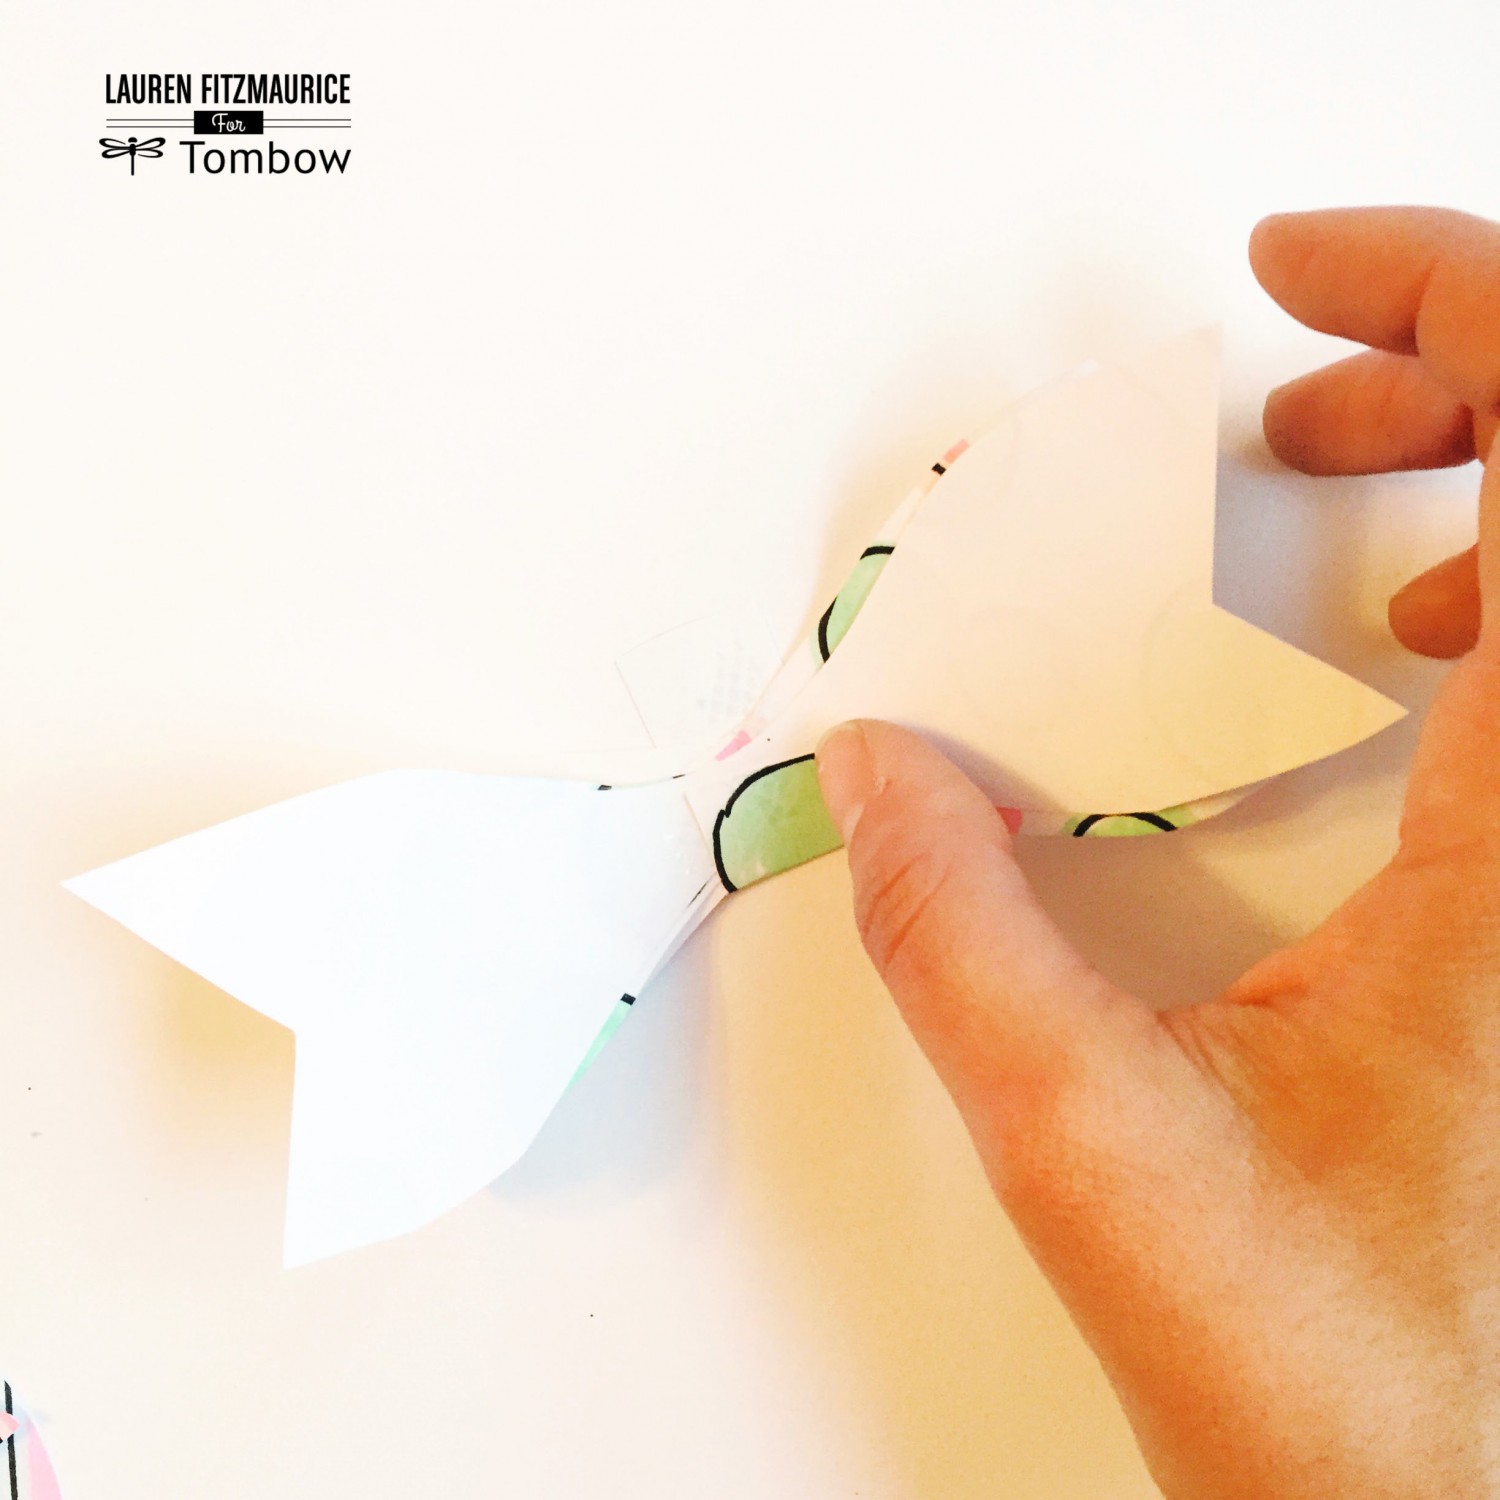
Finish the Middle
Add a little more Tombow MONO Dots Adhesive to the center of the bow and start wrapping the little rectangle piece around. Before gluing the ends down on the small rectangular piece, place the bottom piece of the bow, pattern facing down and add a little more adhesive before gluing the ends of the middle rectangular piece around the finished bow.
Create Bows of All Patterns and Sizes
The templates that I created for you in my sketch book are for a big bow and a small bow, but are great starting off points to create unique paper bows that are the perfect style for any project. Though I was inspired by pastel colors and fun, bold patterns there is no limit to the kinds of colors or pattern ideas that you could use in this project!
Use the Bows as Embellishments
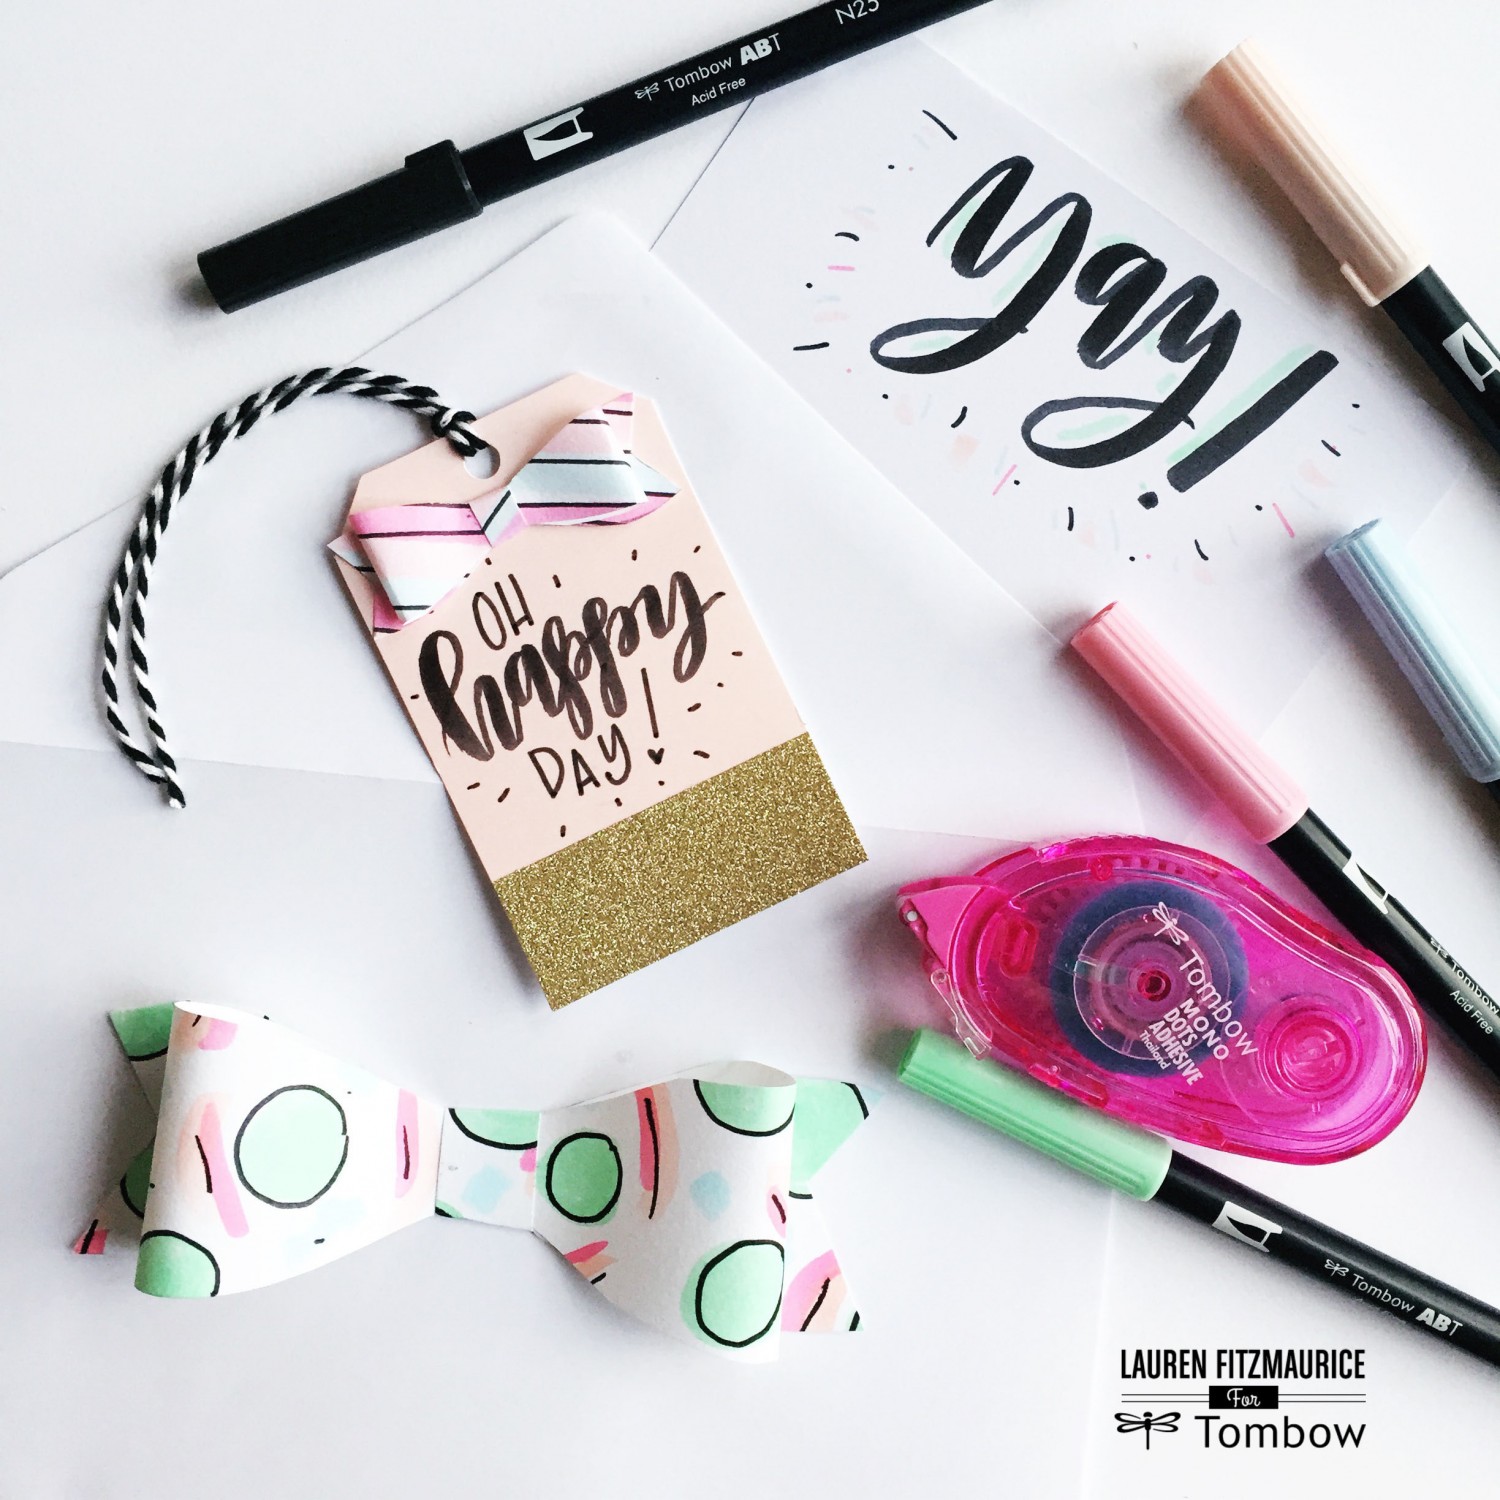
After creating these fun paper bows, you must find a creative way to use them! These easy paper bows make a great embellishment on any paper craft project.
Small Bow Ideas
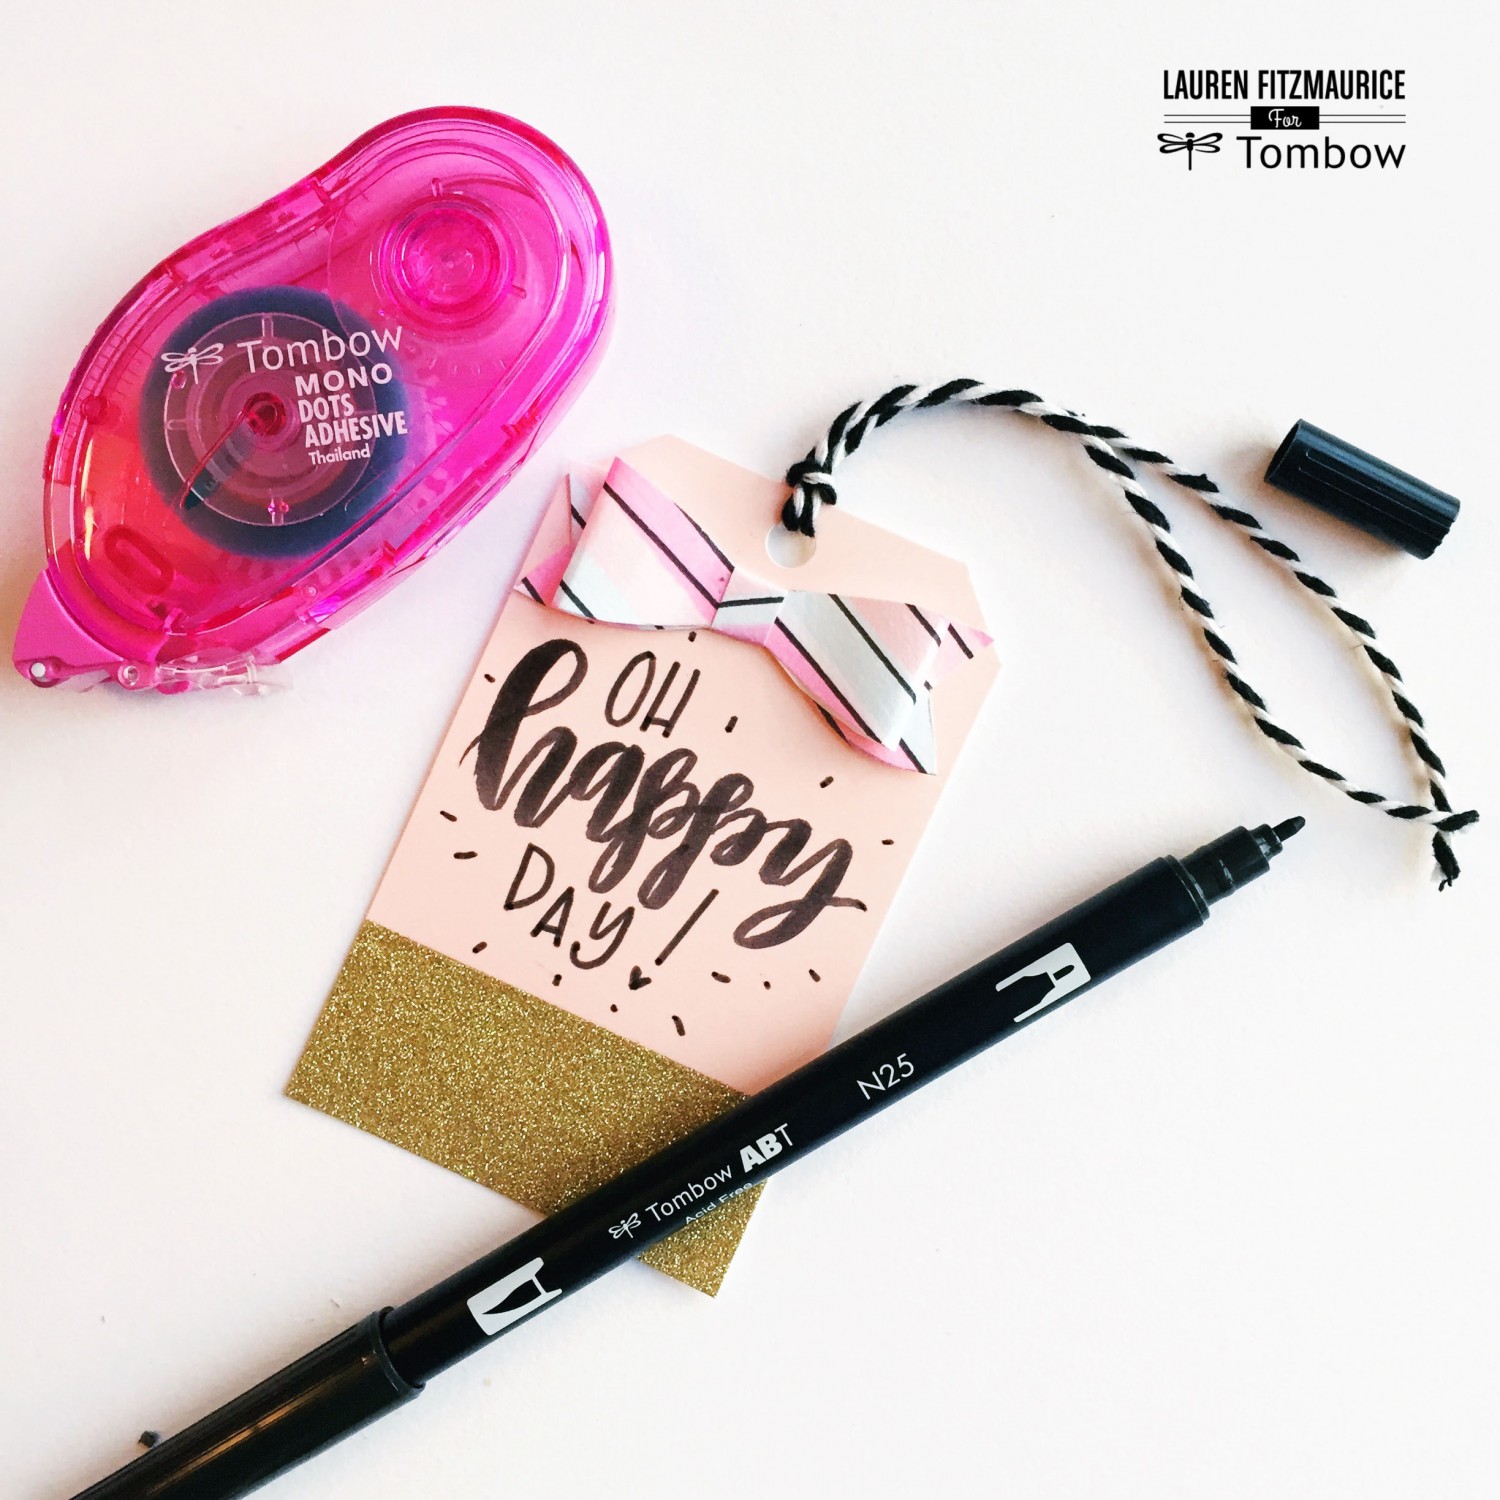
There are so many different ways that you can use the small bows you create. Any fun tag, like these from Paislee Paperie, can be easily transformed add the perfect crafty touch to a gift bag. Attach the small bow with Tombow MONO Dots Adhesive and add some fun lettering with a Dual Brush Pen. These small bows would also look super cute on the end of a paper clip, inside of a planner and are an easy way to add a small girly touch to any kind of decor.
Big Bow Ideas
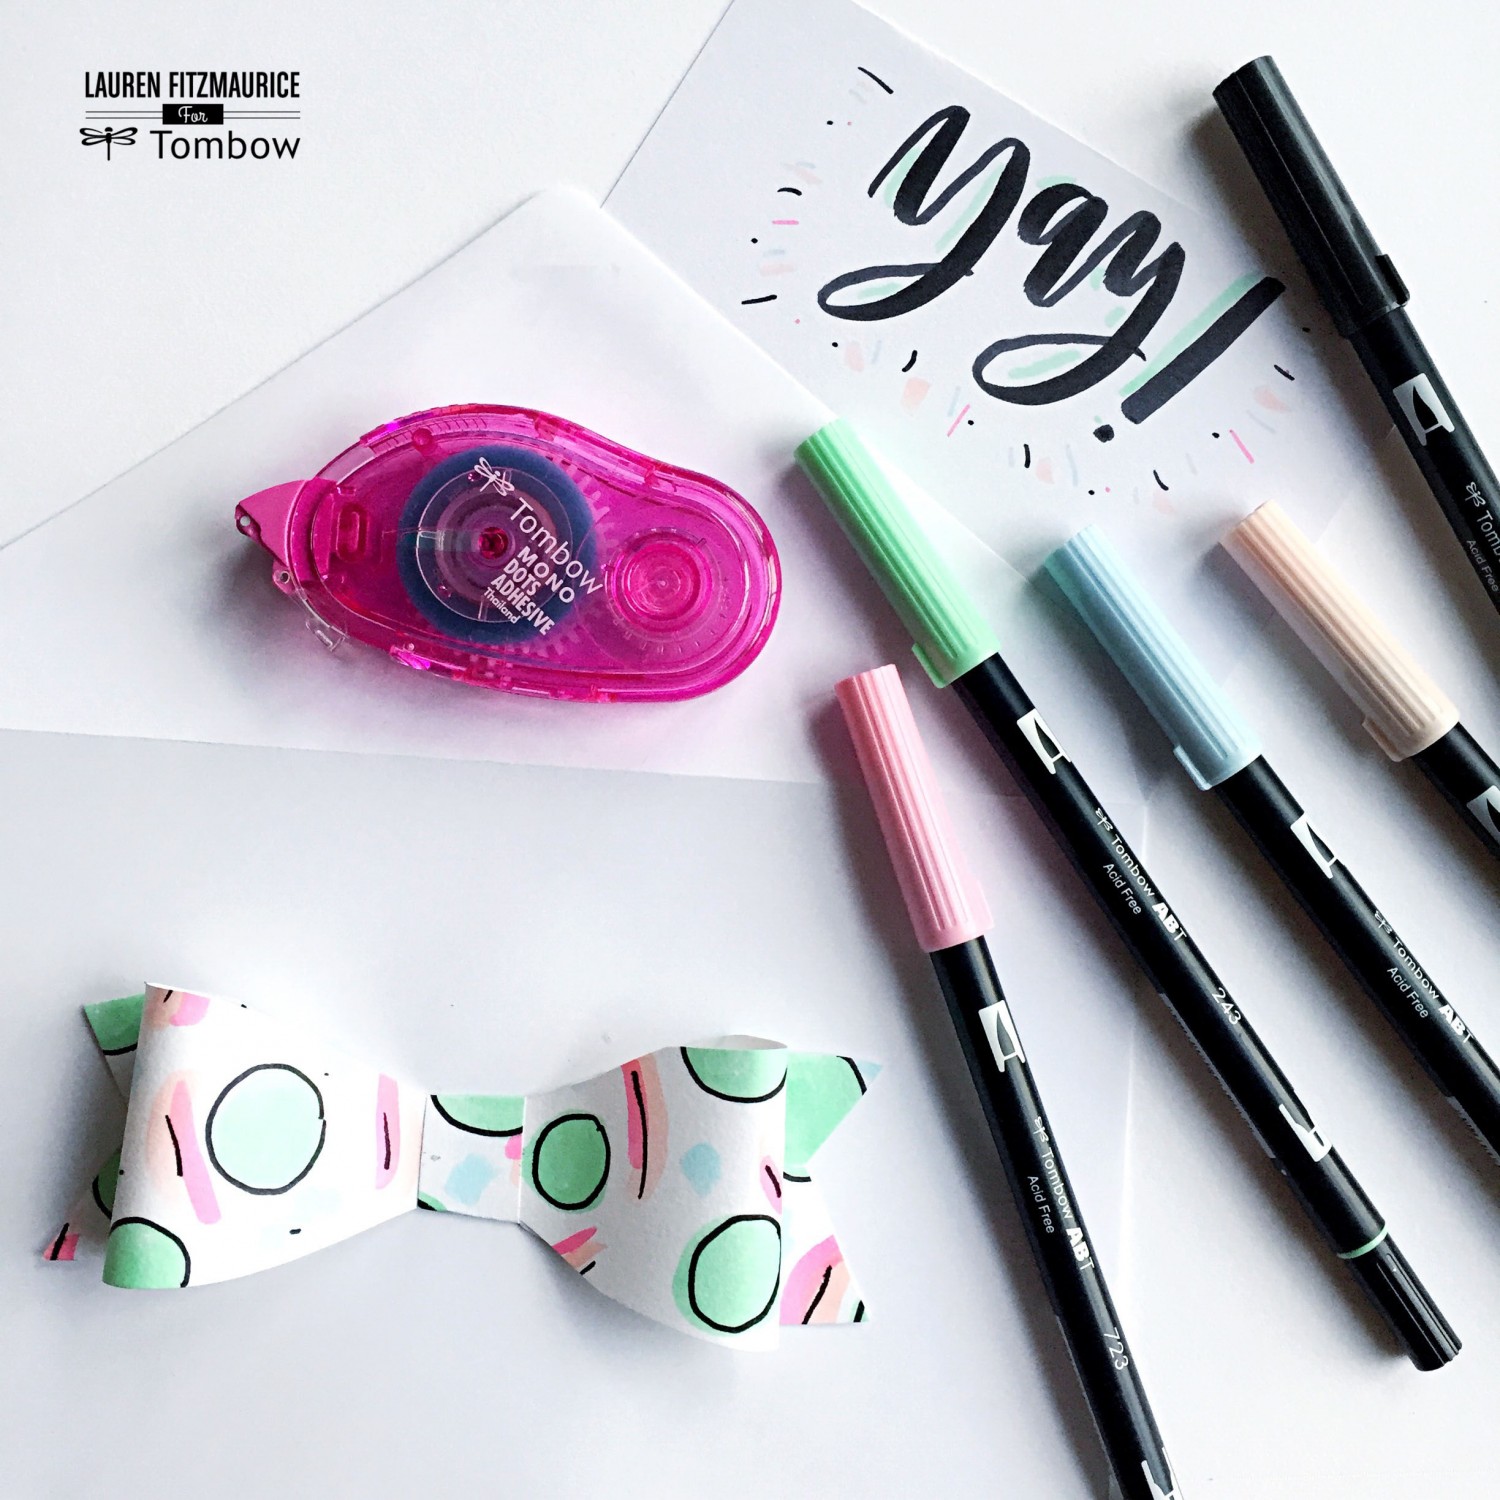
I could seriously sit and create fun patterns using my Tombow Dual Brush Pens all day long. Seriously. The big bow is such a fun and easy way to add big impact with an eye-catching pattern. The big bow is perfect to add to envelopes you are handing to your best friend on her birthday or to slap on a gift when you are running late to a baby shower. Add some cute stationary brush lettered with Tombow Dual Brush Pens to an envelope. Attach the big bow to the envelope with Tombow MONO Dots Adhesive. The options are endless!
I cannot wait to sit and create a handful of fun patterns and paper bows to add to gifts and paper craft projects! How will you use the bow!? I’d love to see your creations! Follow @renmadecalligraphy and #tombowlikealefty on instagram for more inspiration and check out all of these amazing products from Tombow USA from the website at www.tombowusa.com .

Pingback: Handmade Embellishments with Tombow Adhesives - Tombow USA Blog
Thank you for sharing these pleasant DIY paper bow patterns! They’re best for including a non-public contact to presents or crafts. Can’t wait to strive them out and unfold some handmade joy!