![]()
Hey there, lovelies… it’s Lauren Fitzmaurice of Renmade Calligraphy here to show you a fun tutorial for creating a Teacher Tool Box that is perfect for back to school! I’m not only a letterer, but also an elementary teacher and this tool box has come in handy many times on my desk. Not only do I know where items are, but my students have easy access to them as well.
WHAT YOU’LL NEED:
- A hardware box from a home improvement store (make sure that the drawers are clear and easy to see through)
- Tombow Dual Brush Pens
- Tombow Fudenosuke Hard Tip Brush Pen
- Water brush or watercolor brush + water
- Mix Media Paper
- Scissors
- Tombow MONO Adhesive+
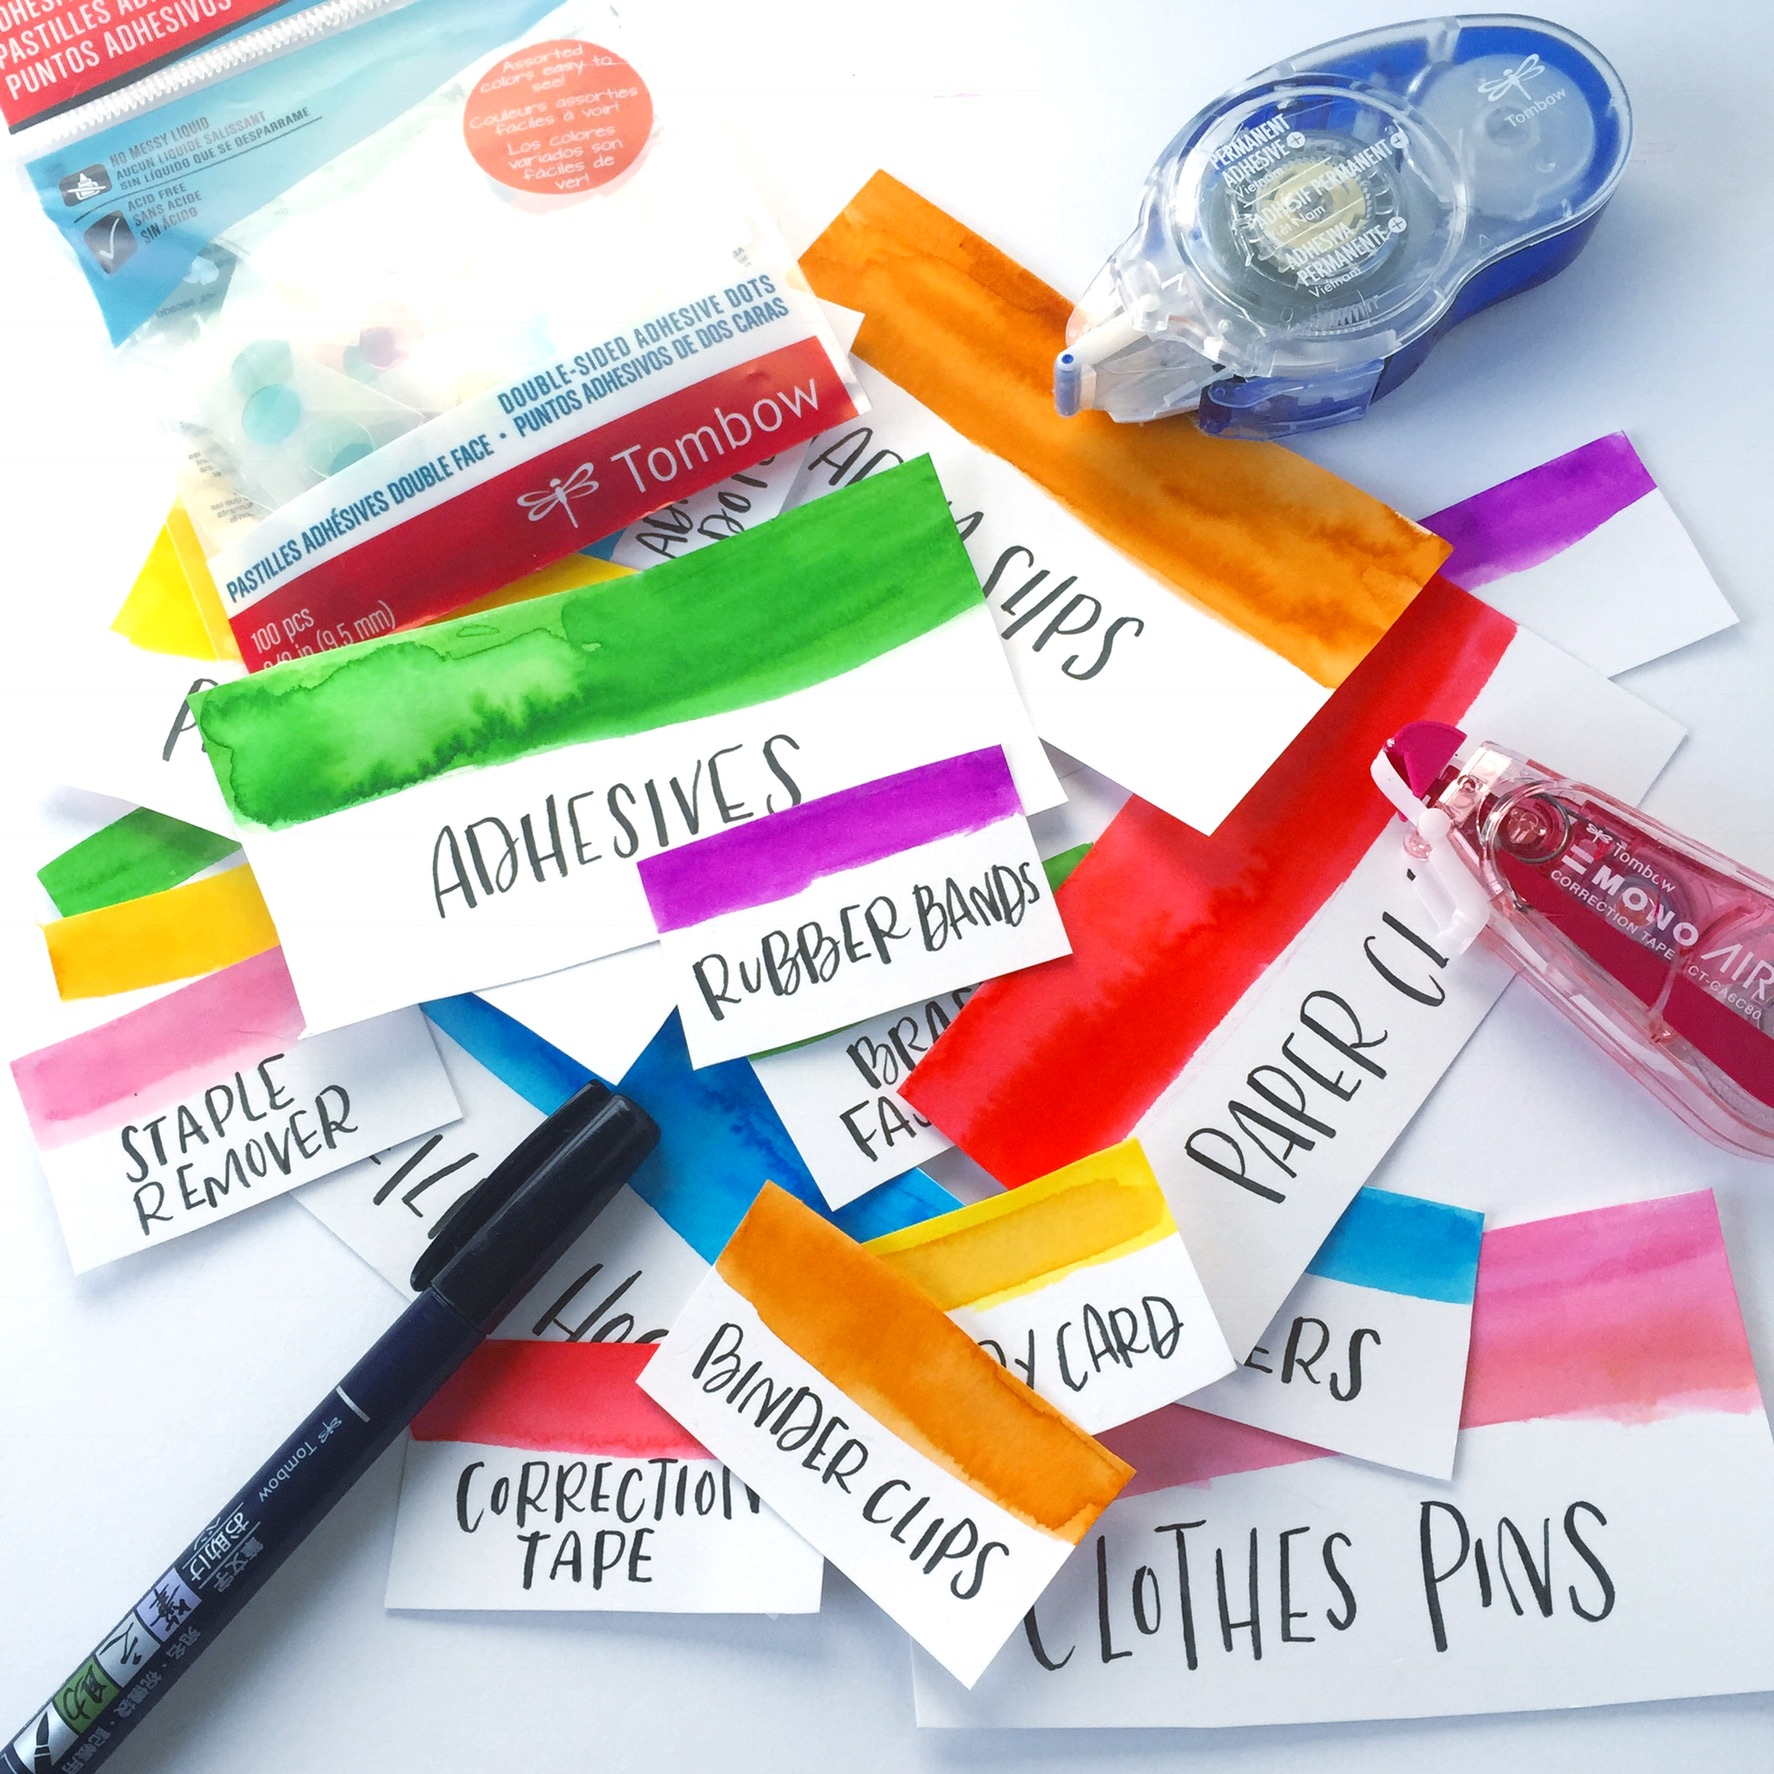
STEP 1: CREATE COLORFUL CARDS
Begin by cutting the mix media paper to fit the inside front of the drawers. These will be used to decorate the tool box from the inside. Then, add color to match the theme of your classroom. Use the brush tip of the Tombow Dual Brush Pens to color a stripe on the bottom portion of each card.
Then, using a watercolor or water brush spread out the color to create a watercolor effect. Let this dry and you will be ready to add some lettering.
STEP 2: ADD LETTERING
Once the cards have all dried, add lettering with the Tombow Fudenosuke Hard Tip Brush Pen. The lettering you add will help to label what is inside each drawer of the tool box. I chose to use a sans serif lettering style so that it looked fun and was easy for my students to read.
STEP 3: ADHERE CARDS TO DRAWERS
Adhere the cards to the inside of each drawer by running Tombow MONO Adhesive+ at the top of each stripe of color.
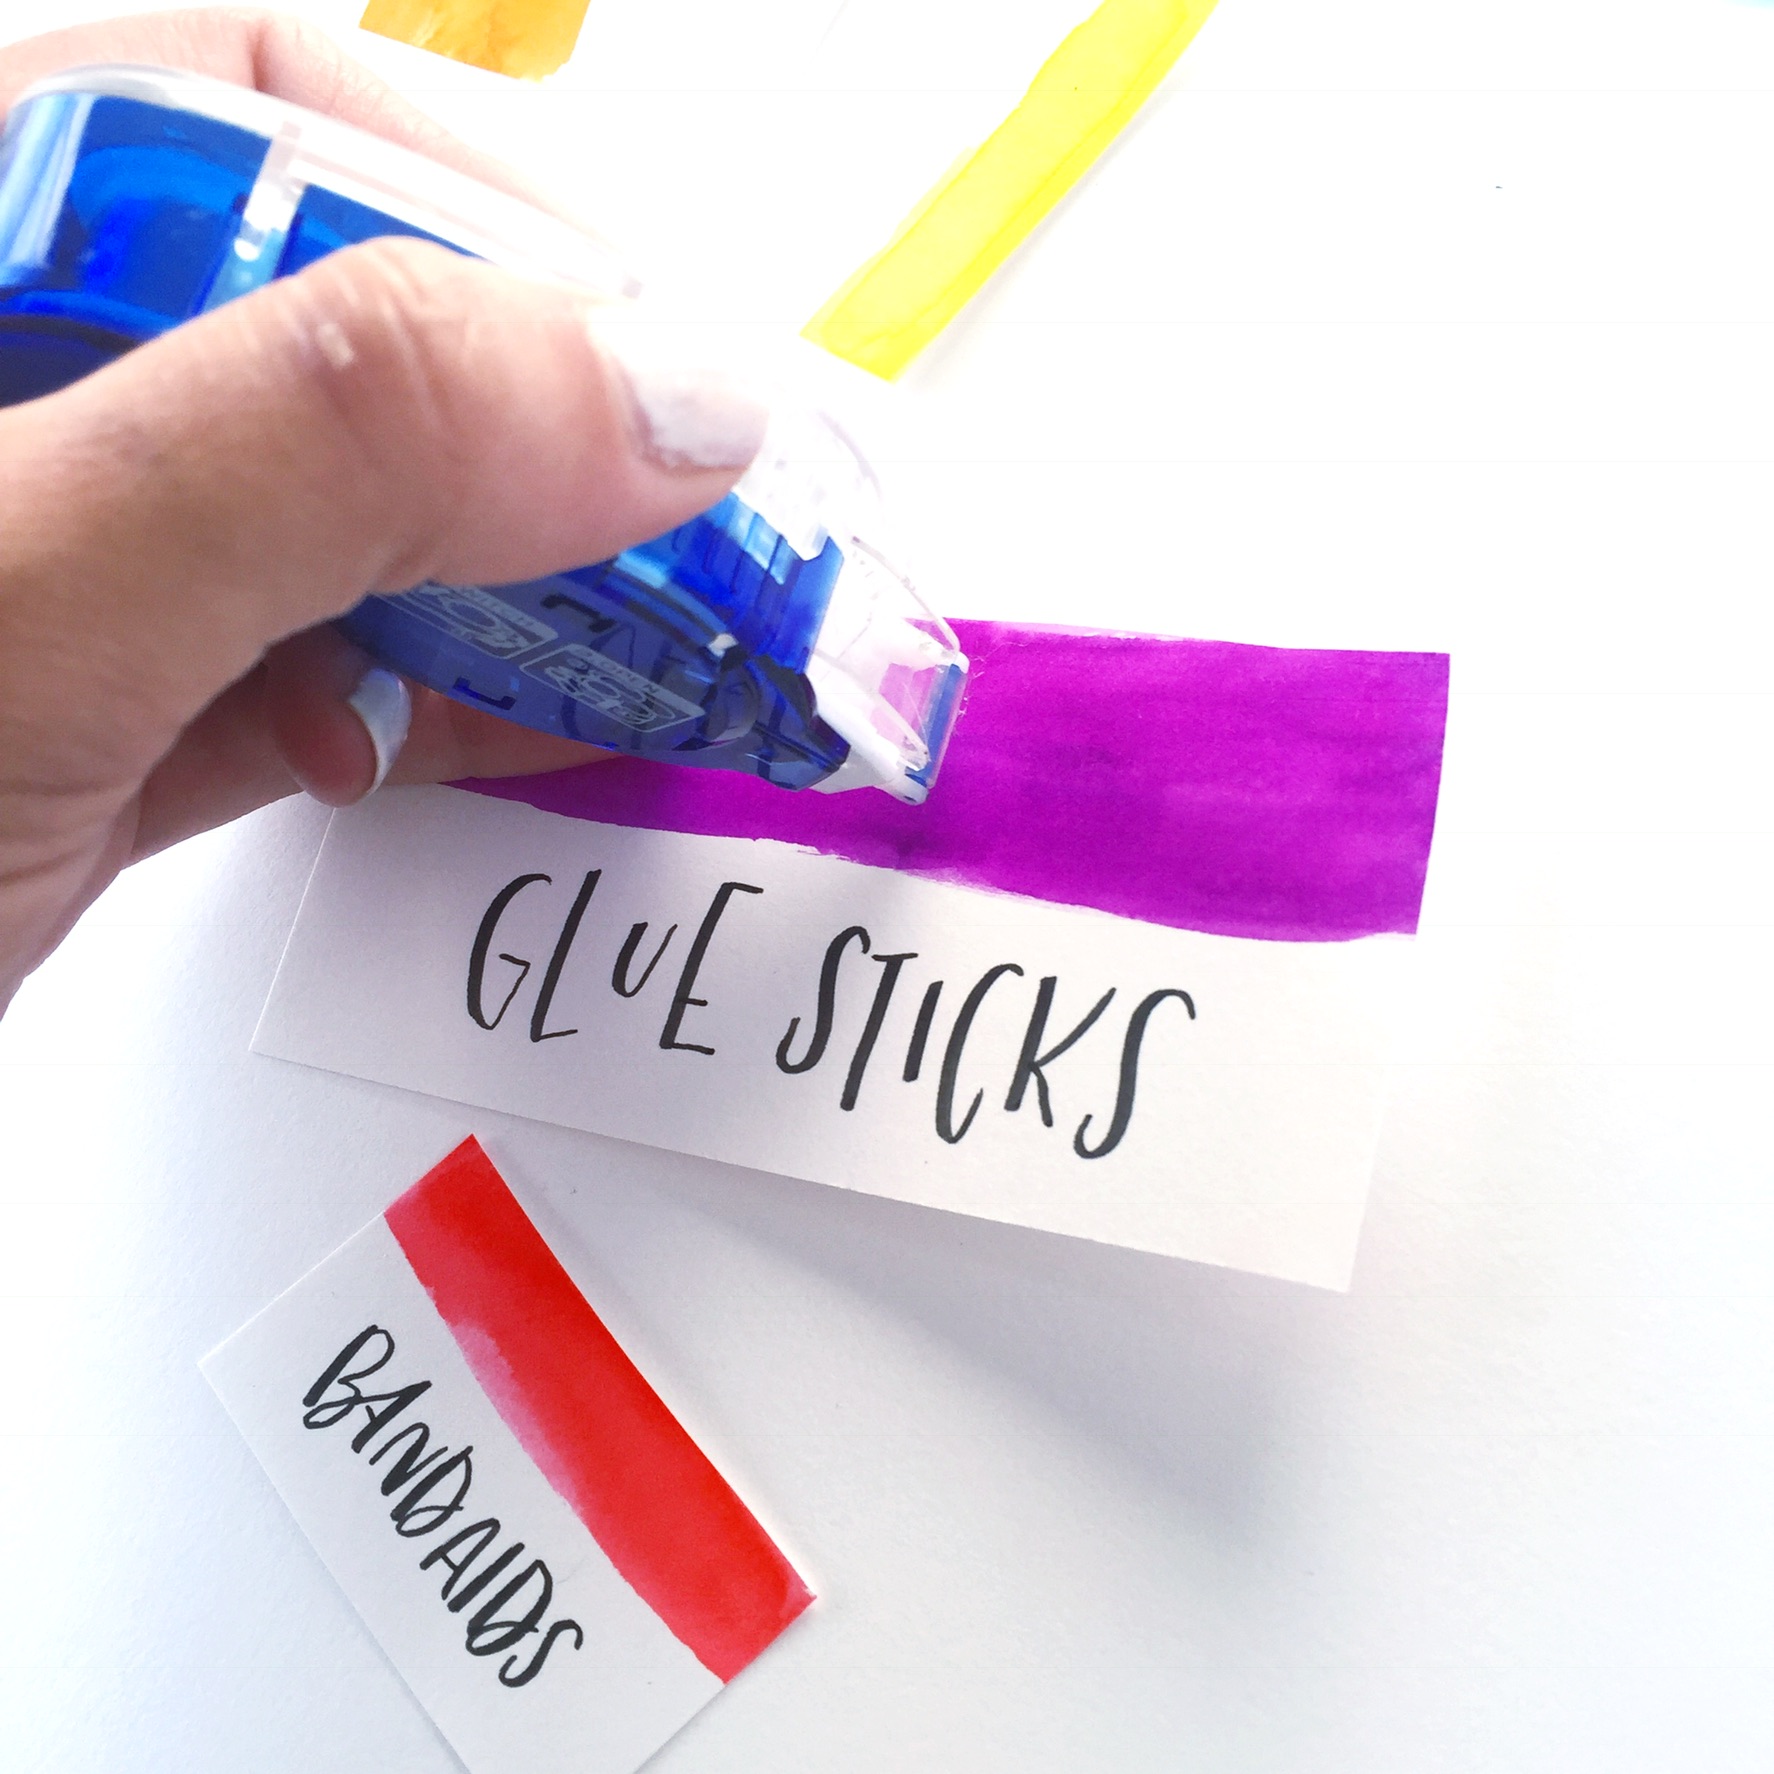
Make sure to spread out the colors as you place them into the drawers.
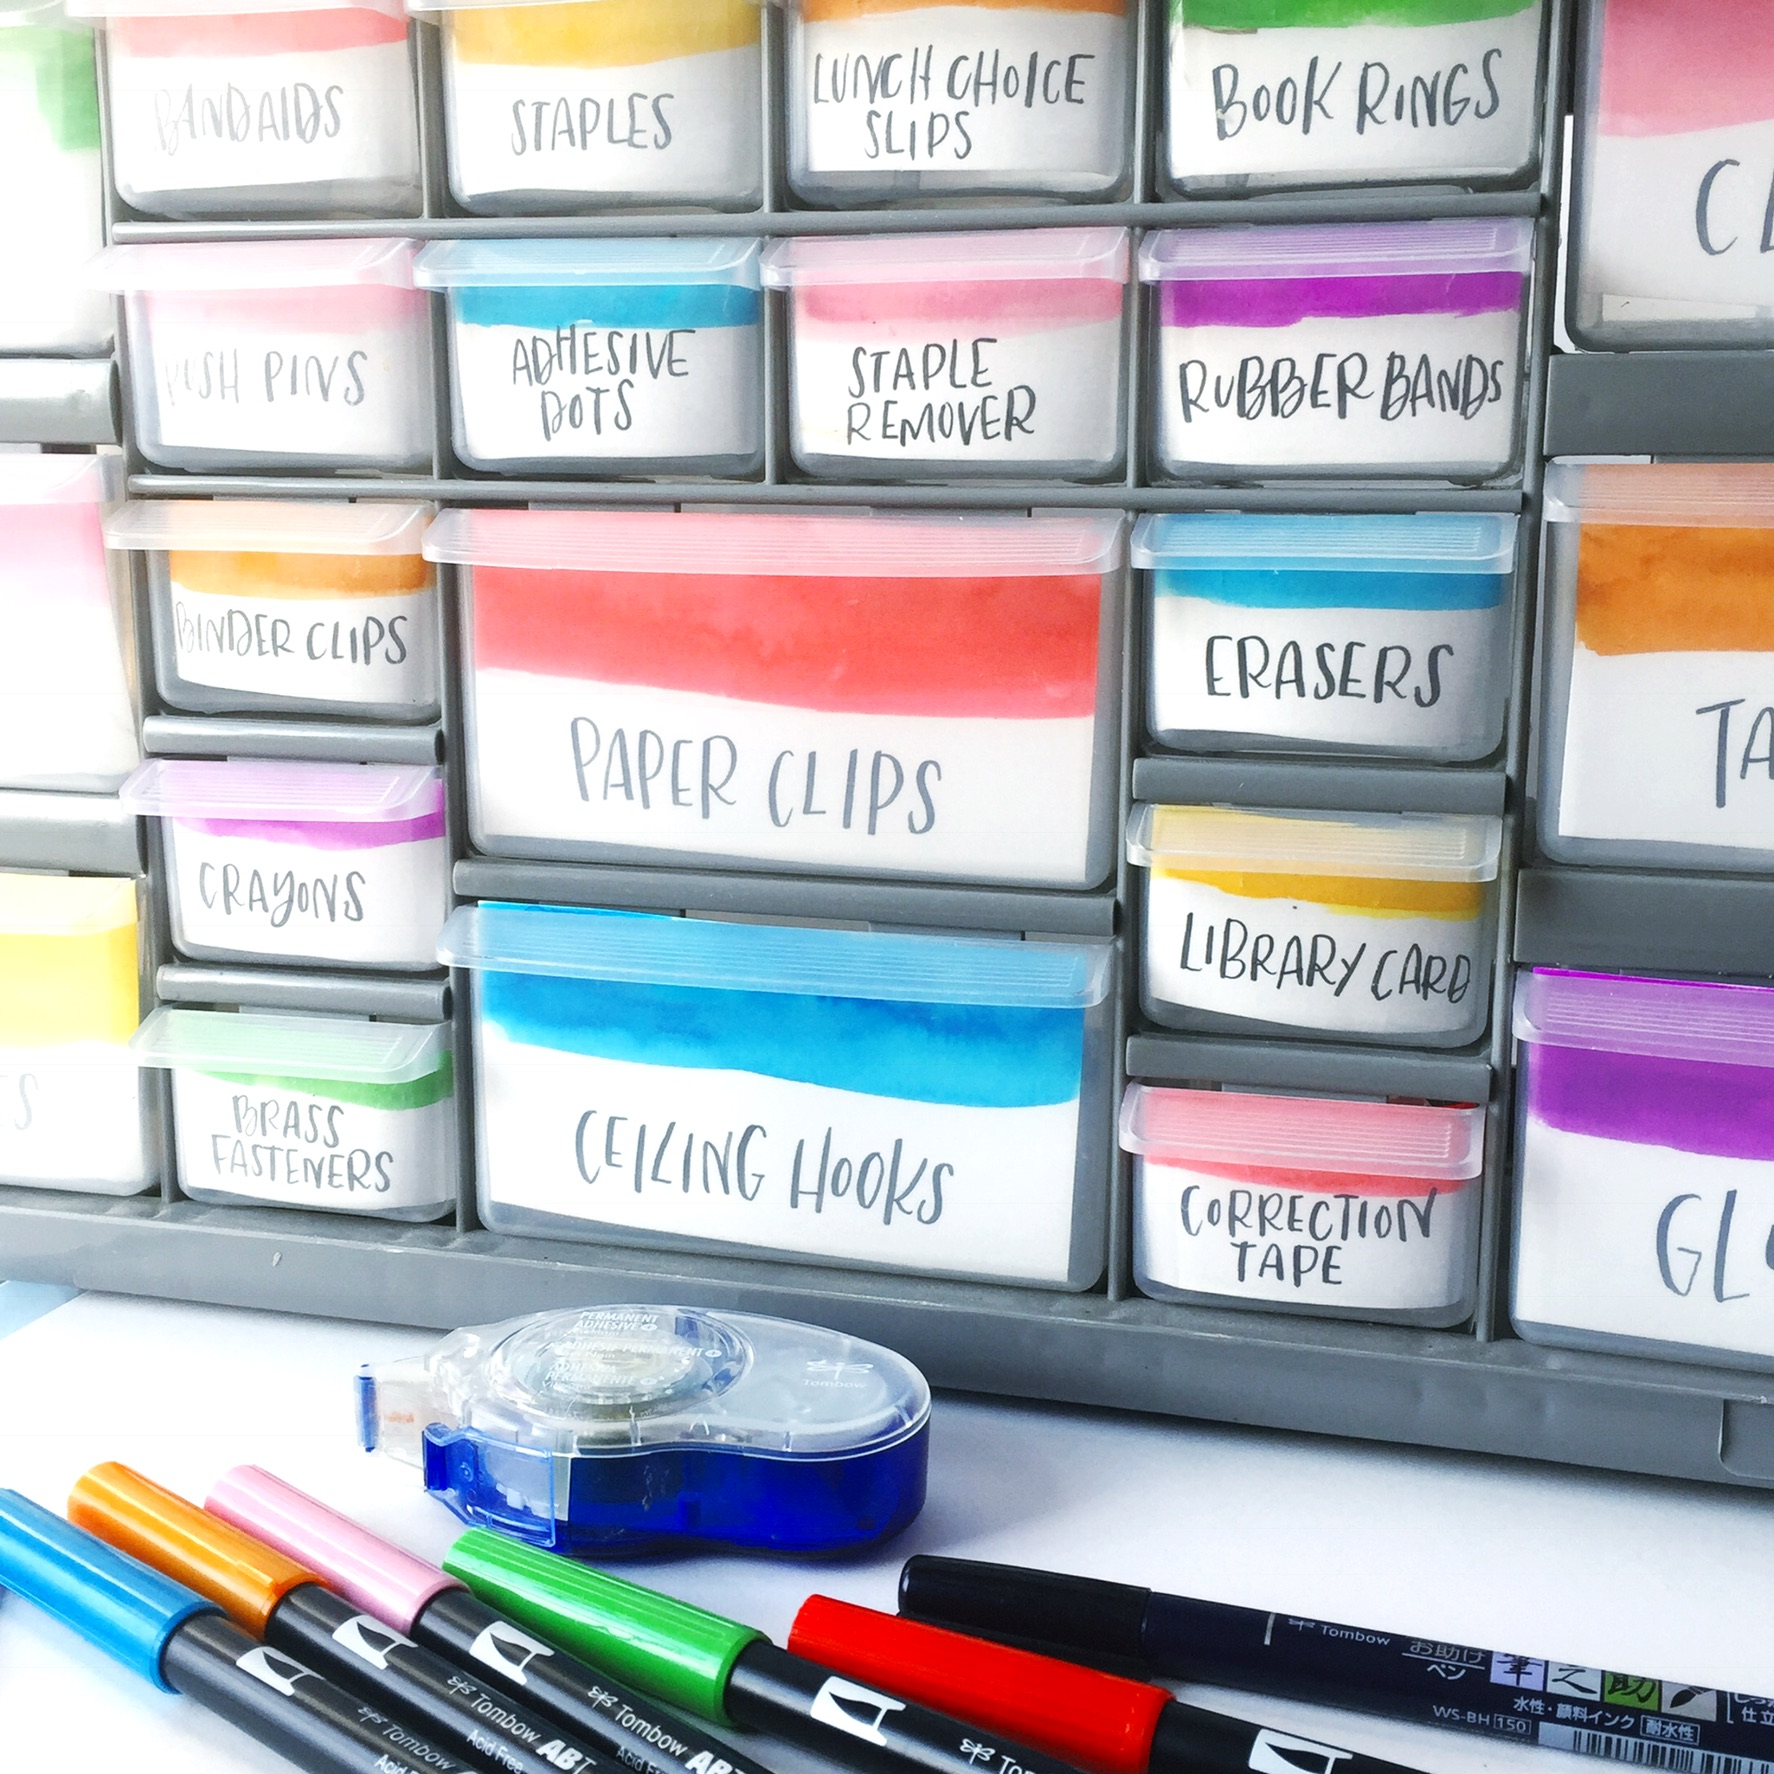
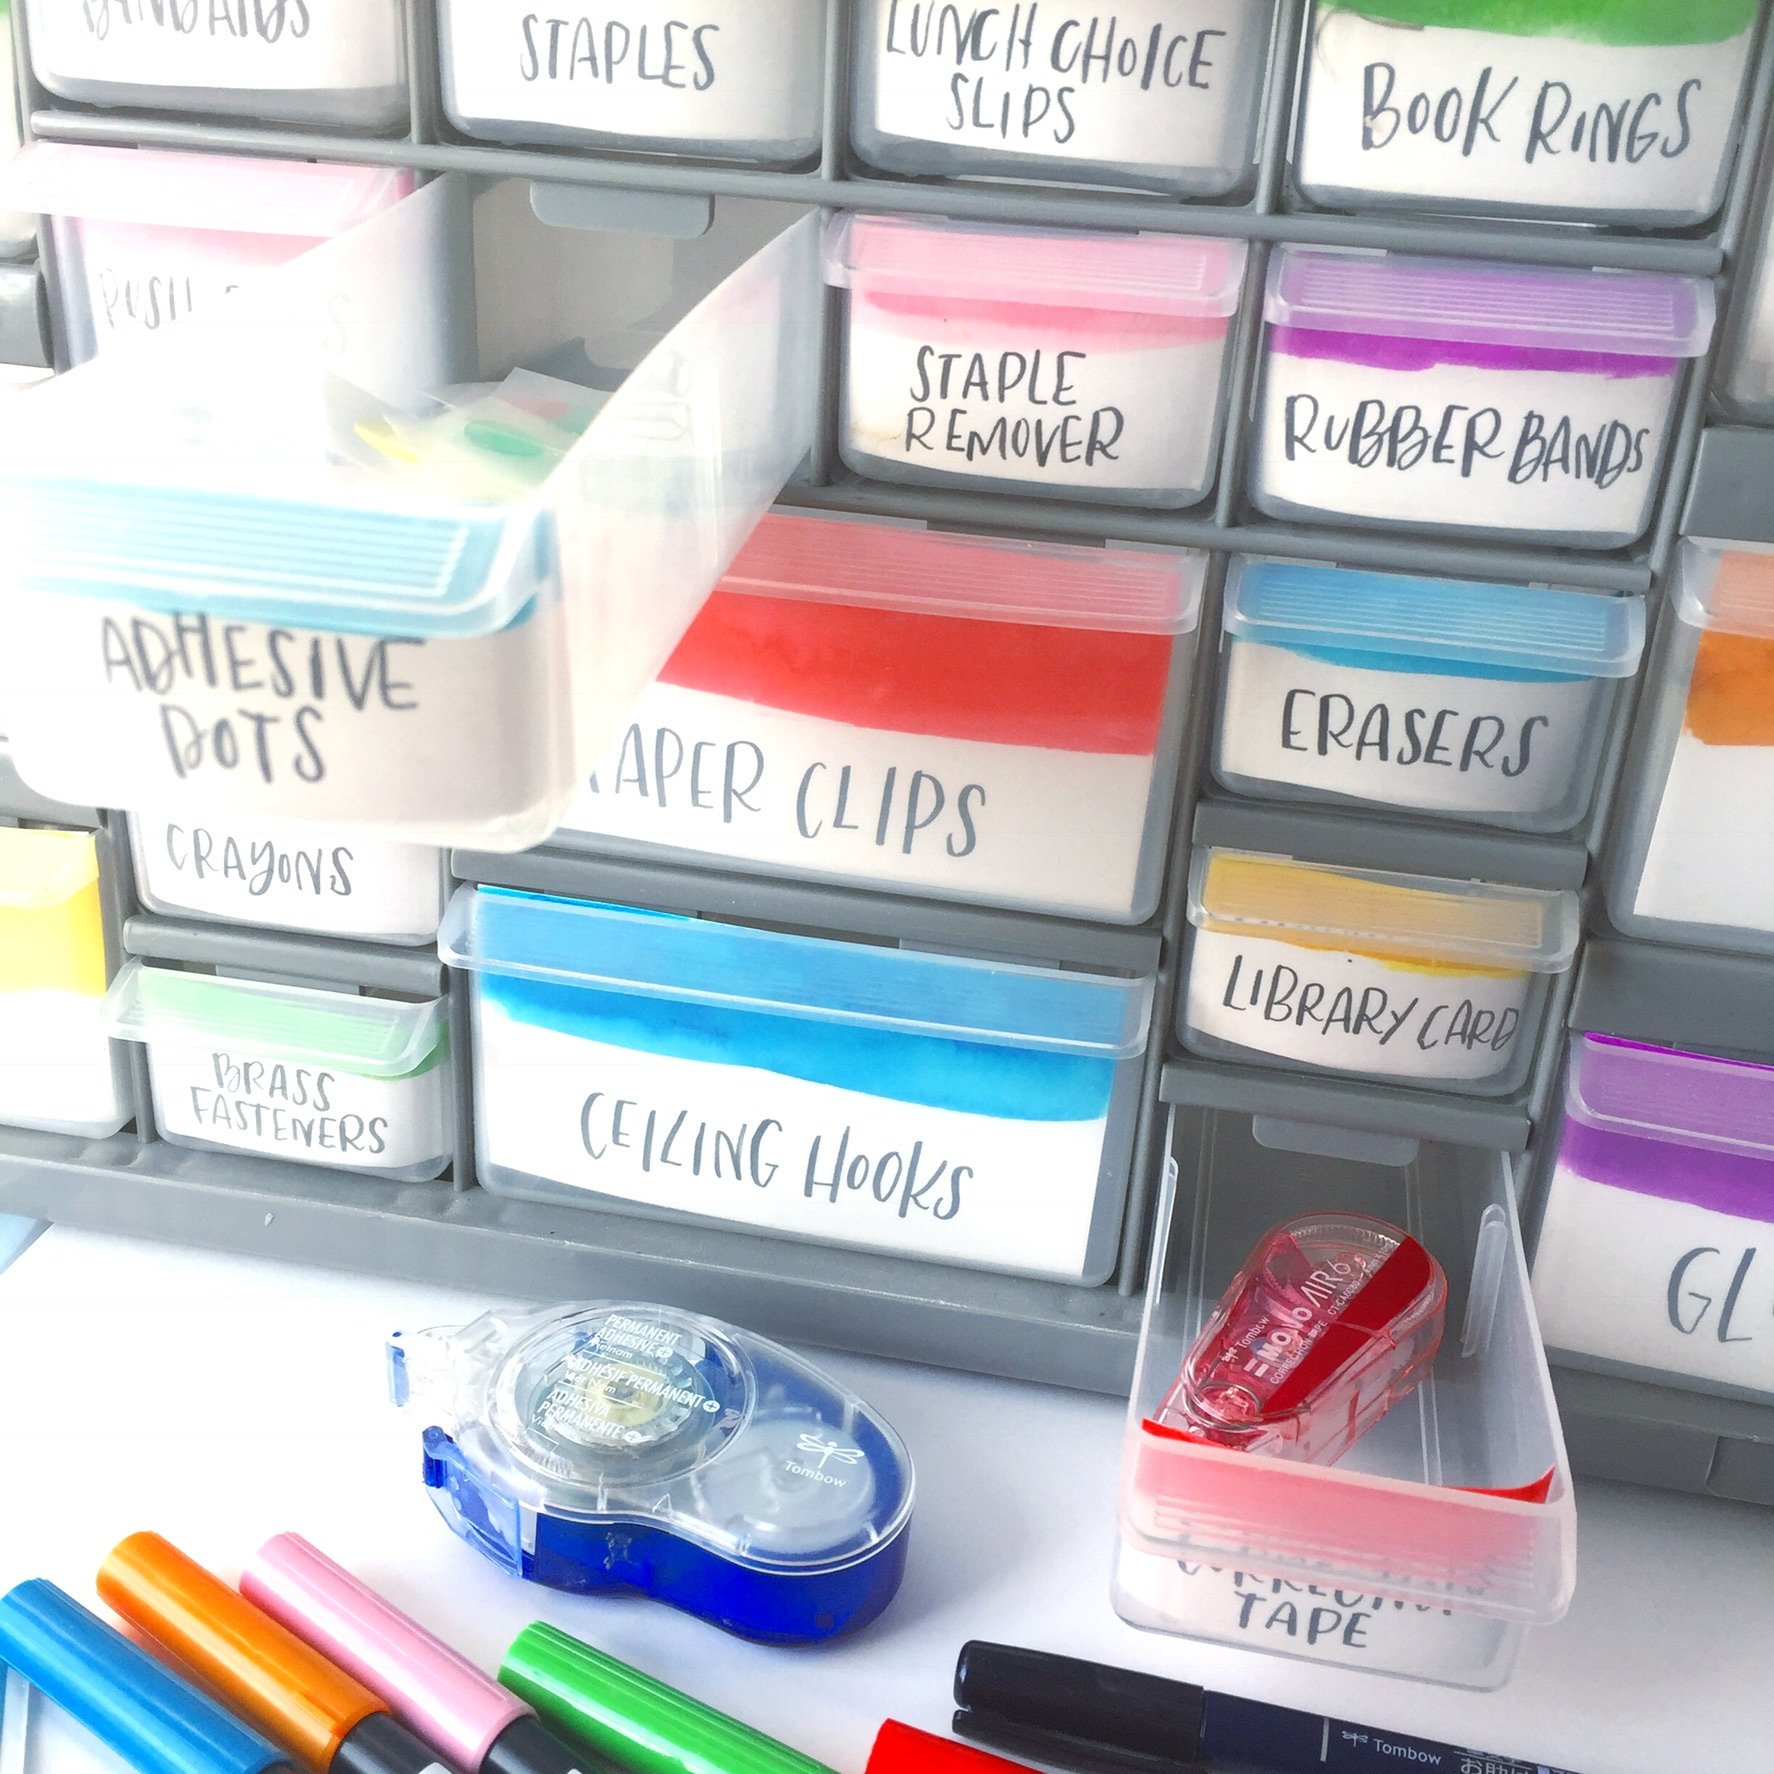
STEP 4: FILL THE TOOL BOX
Now it’s time to fill the tool box with awesome supplies that you’ll use all year. While my desk is always overflowing with supplies, I have recently fallen in love with many Tombow USA products that I find myself using daily and encourage every teacher to stock up on, including MONO Adhesive Dots, MONO Air Correction Tape, and an assortment of other Tombow adhesives. Fill the tool box up with what ever you need quick access to and set the box right on your desk in a convenient location. There you have it… the PERFECT back to school DIY Project.
I would love to see how you use this idea to create something awesome for the classroom! Share your work tagging @tombowusa and @renmadecalligraphy.
Happy Lettering!

This is great. I never thought of the hardware boxes. I’m not a teacher but I have enough supplies to be.
Very cute…. I just retired from teaching and I miss the excitement of the new school year and all adorable school year things