Hello everyone! If you love wood DIY projects, I think you’ll love the tutorial I am sharing today! It’s Katie here and today I want to show you guys how I made decorated this tray by combining Tombow Adhesives, Faux Leather and a Cricut Explore Air 2 machine.
First, I want to start off this post just by saying thank you to Cricut! They are an amazing company, and they supplied the Tombow Design Team with the Explore Air 2 to use!
Supplies:
- Tombow MONO Multi XL Liquid Glue
- Tombow MONO Twin Permanent Marker
- Cricut Explore Air 2
- Cricut Essential Tool Kit
- Faux Leather
- Wood Tray (I used this tray by Walnut Hollow)
- Transfer Foil
Step one:
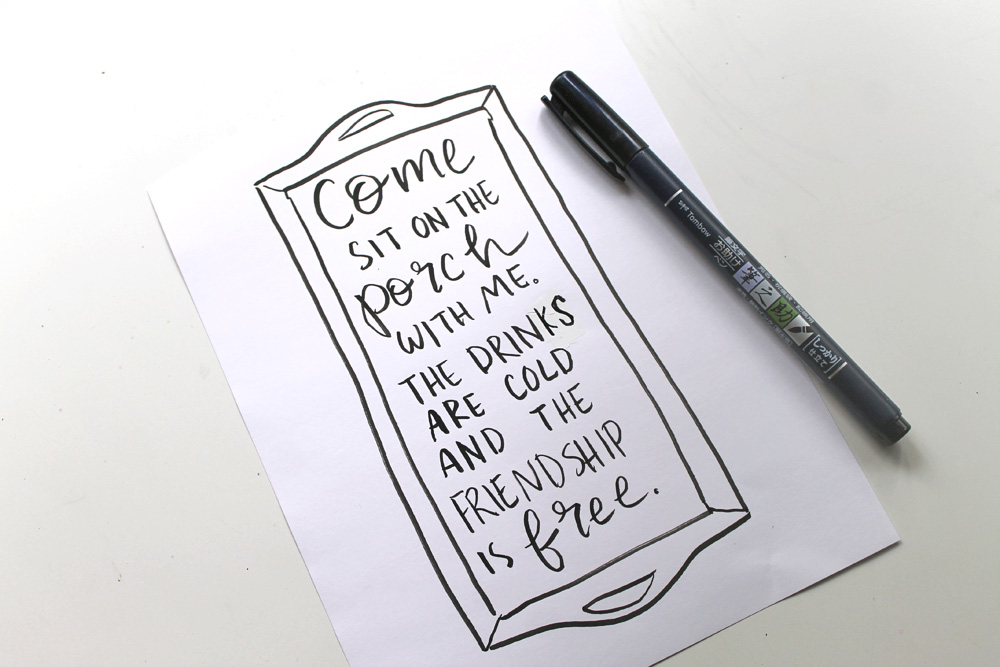
I started by sketching out my design using a hard tip Fudenosuke Brush Pen. I chose to do this with a Fudenosuke instead of a pencil so that I could write out the brush lettering I wanted inside of the tray. The quote is one I saw on Pinterest (Mmy go-to source for inspo!) and knew would be perfect for this project.
Step two:
Write our your quote in Cricut Design Space and decide on which styles you like best. I chose a very simple font for my quote, and then added in a script font for just a few of the words.
Step three:
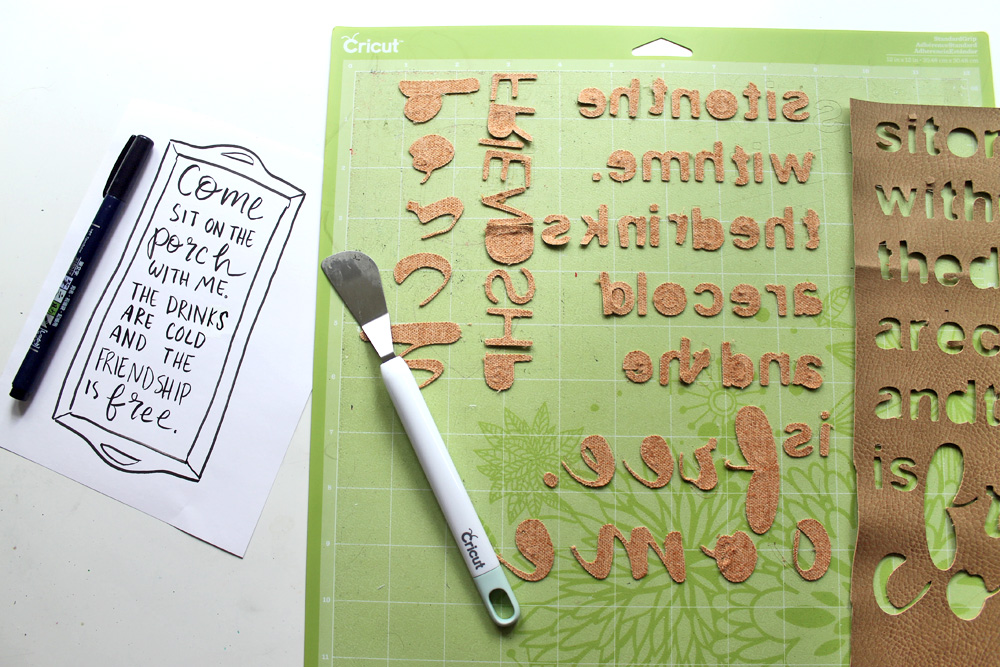
Cut your design out on the Cricut! My favorite part about the Cricut is the Smart Set Dial. The dial allows you to set the machine to cut with the right settings for any number of materials without having to actually adjust the blade depth yourself!
After choosing “custom” on the Smart Set Dial, and “faux leather” in the Design Space program, I cut out all of my leather letters. And there were a ton. This is where I’m going to recommend having Cricut’s essential tool kit, because the metal spatula came in so handy for removing those small letters off of the mat!!
Step three:
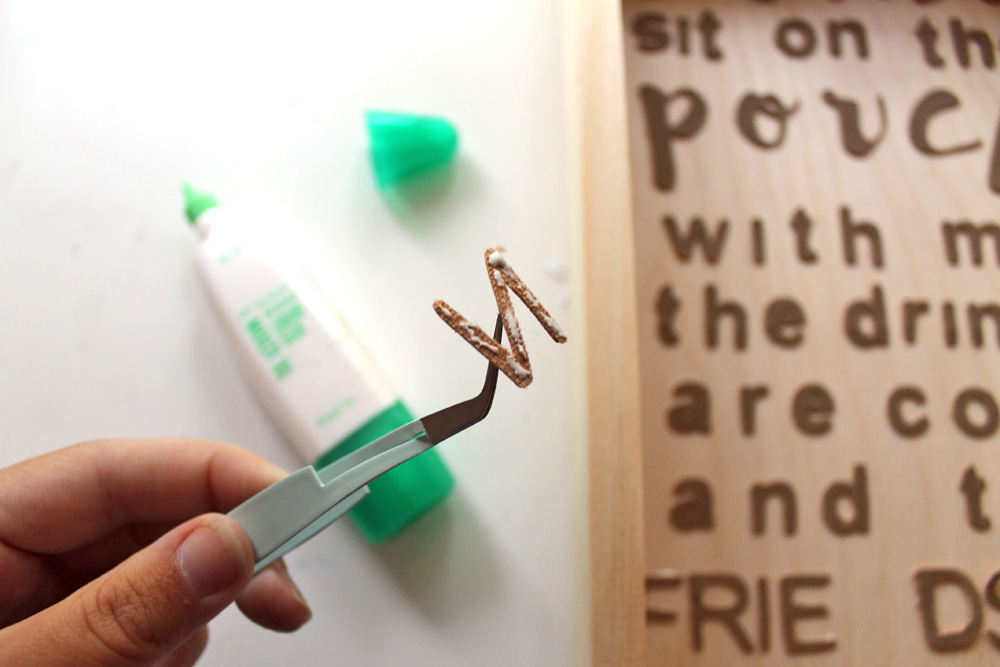
Apply MONO Multi XL Liquid Glue to the back of your letters and adhere them onto the inside of your wooden tray. I found the tweezers included in the tool kit perfect for holding onto those slim letters while applying adhesive to them.
Step four:
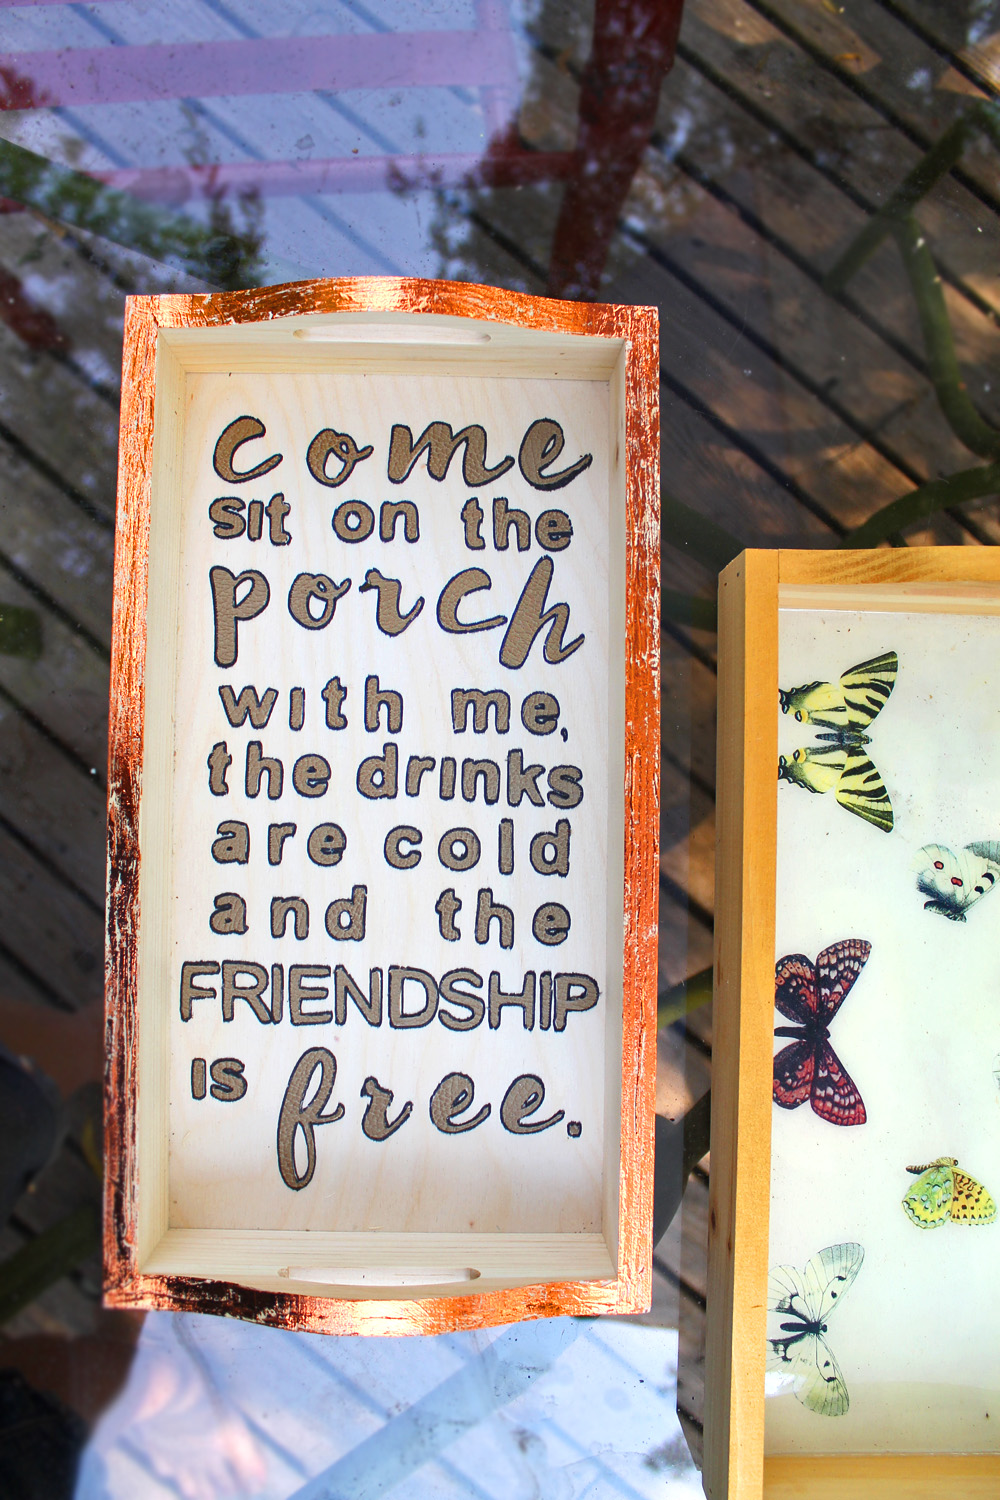
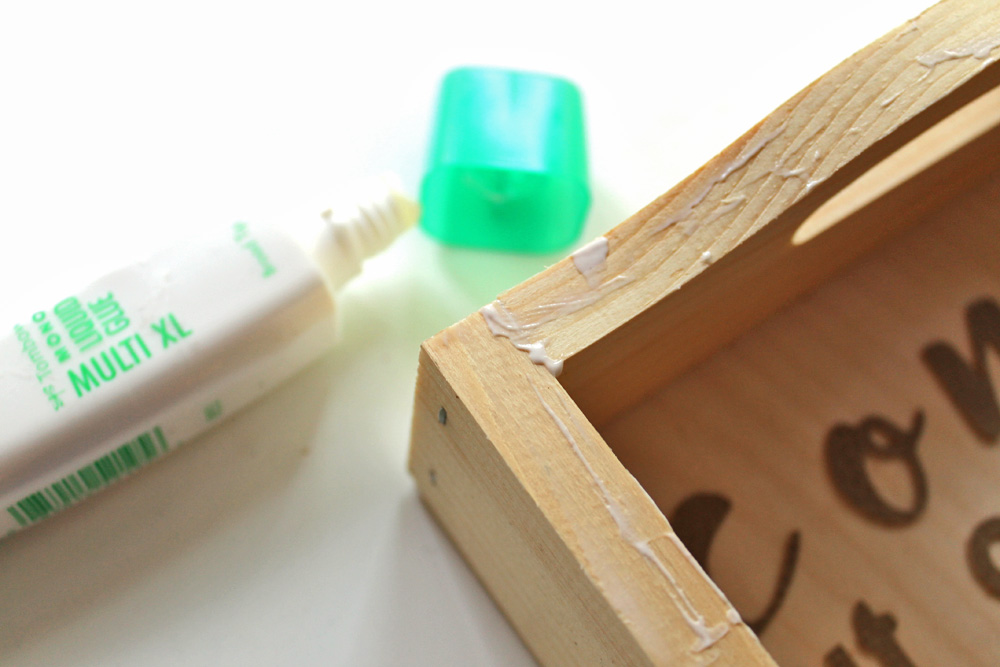
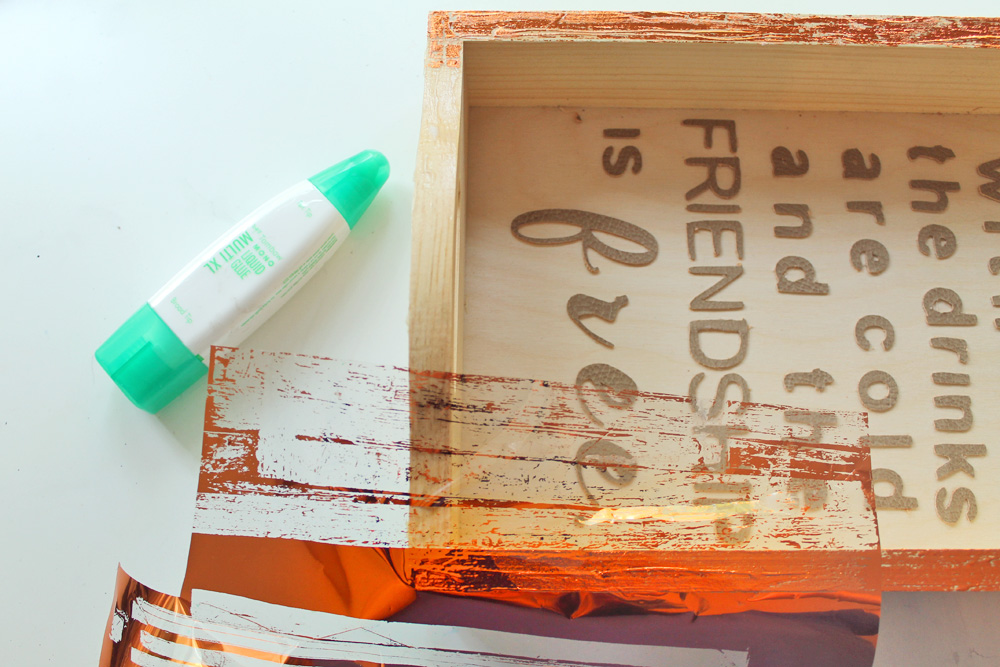
To add a touch of foil to your project, apply the MONO Multi XL Liquid Glue to the edges of your tray and let dry. Once it has dried, it will still be tacky to the touch, apply the transfer foil on top of this, lightly mashing it down, and then peeling it back off so that the foil adheres to the tacky MONO Multi XL Liquid Glue.
This is one of my most favorite techniques to do with the MONO Mullti XL Liquid Glue! Foiling is super trendy right now!
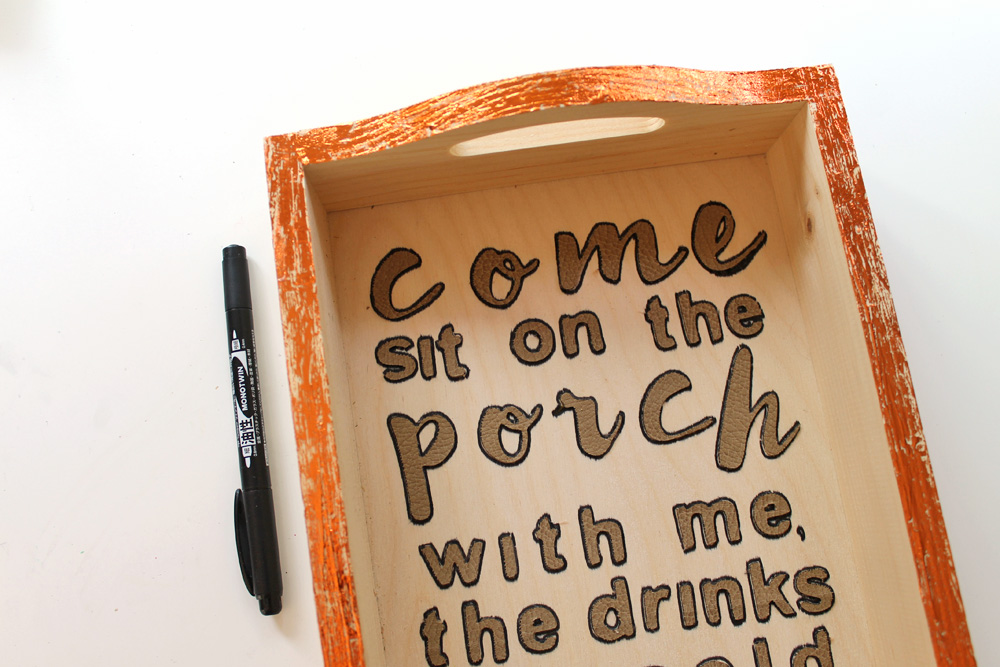
Step five:
I felt like my faux leather was a little too close to the natural color of my tray, so to help my quote pop off the background, I outlined each letter with the broad tip of the MONO Twin Permanent Marker.
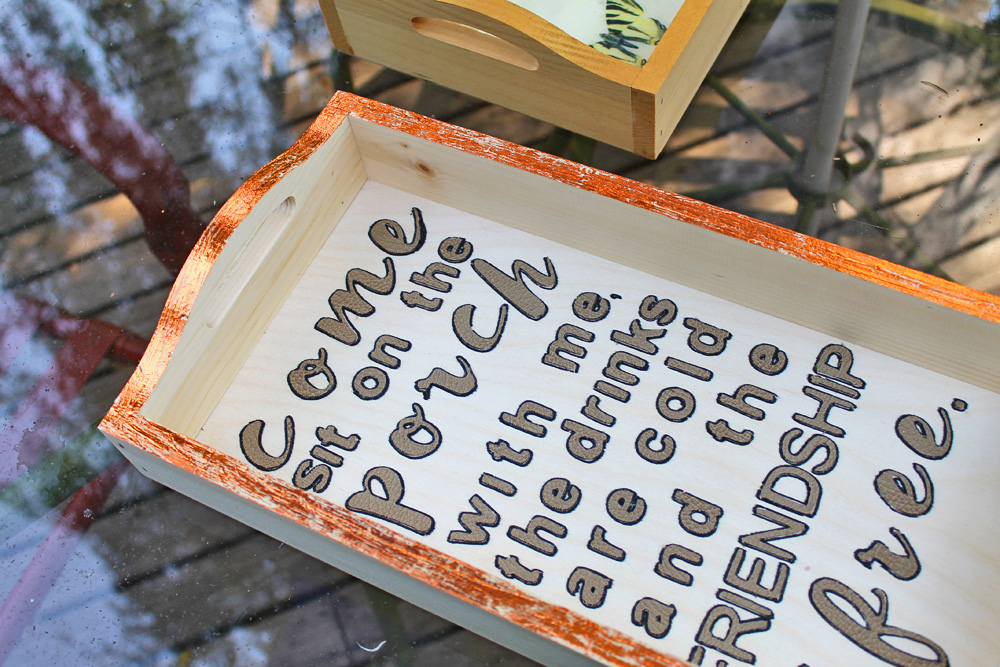
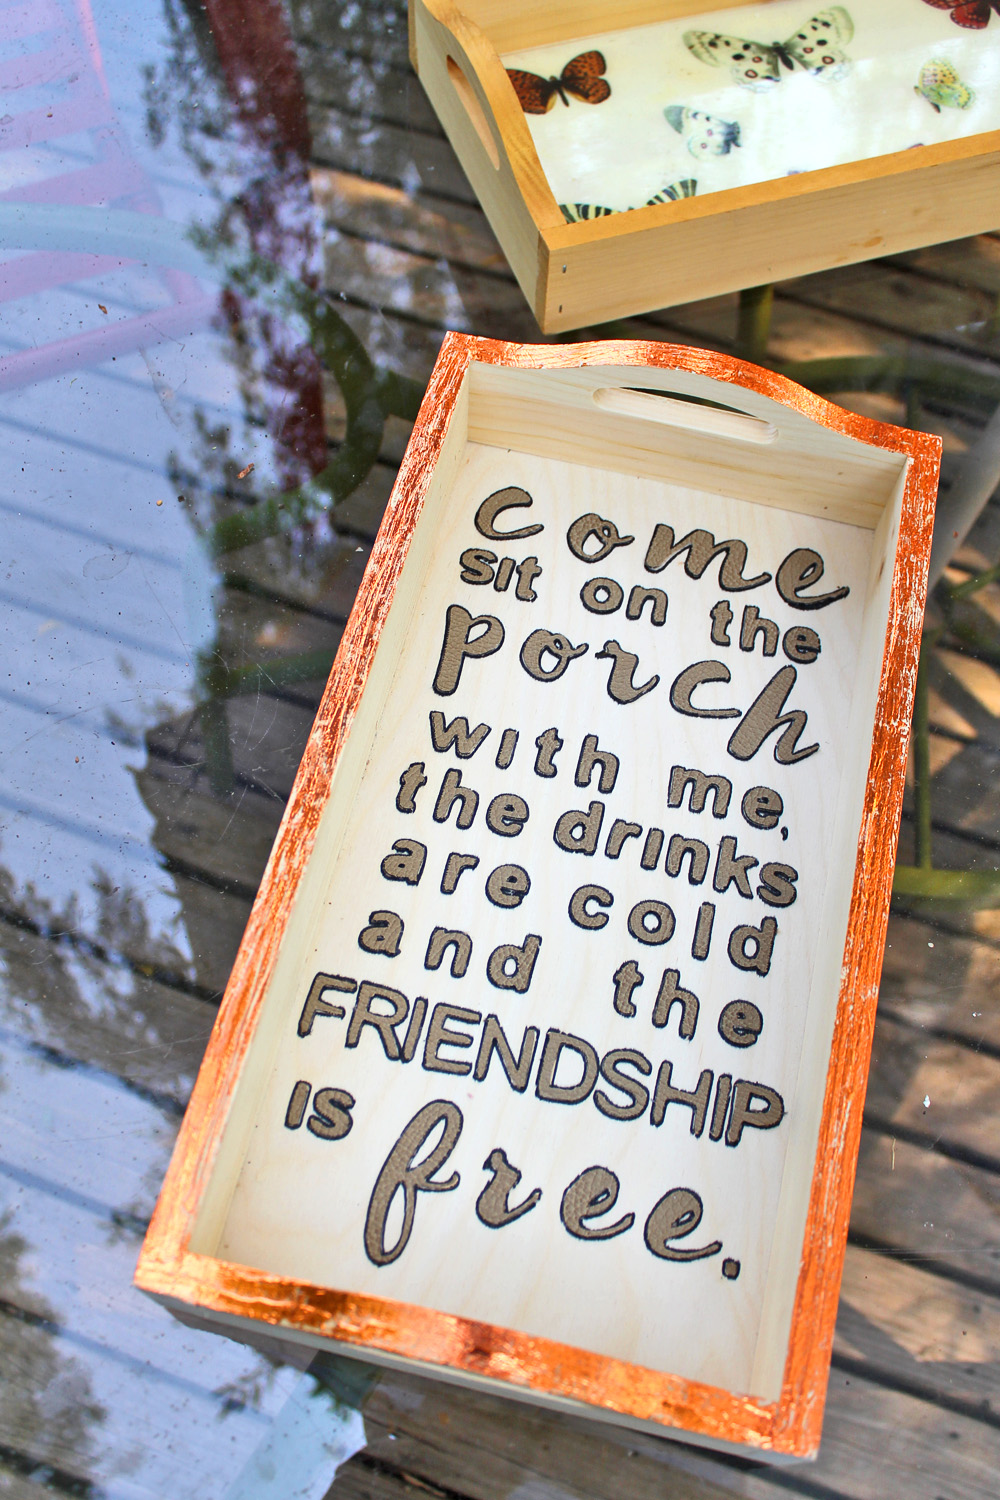
That’s it! I am lucky enough to have a big wrap around porch and a patio on my house, so I spend all summer long outside enjoying the porch, and love to create small DIY decor pieces to decorate it as well and I love how quick my Cricut machine made this project.
Want another fun wood DIY project? Tombow Design team member Beth shared this Back to School sign using wooden rulers and Dual Brush Pens!!