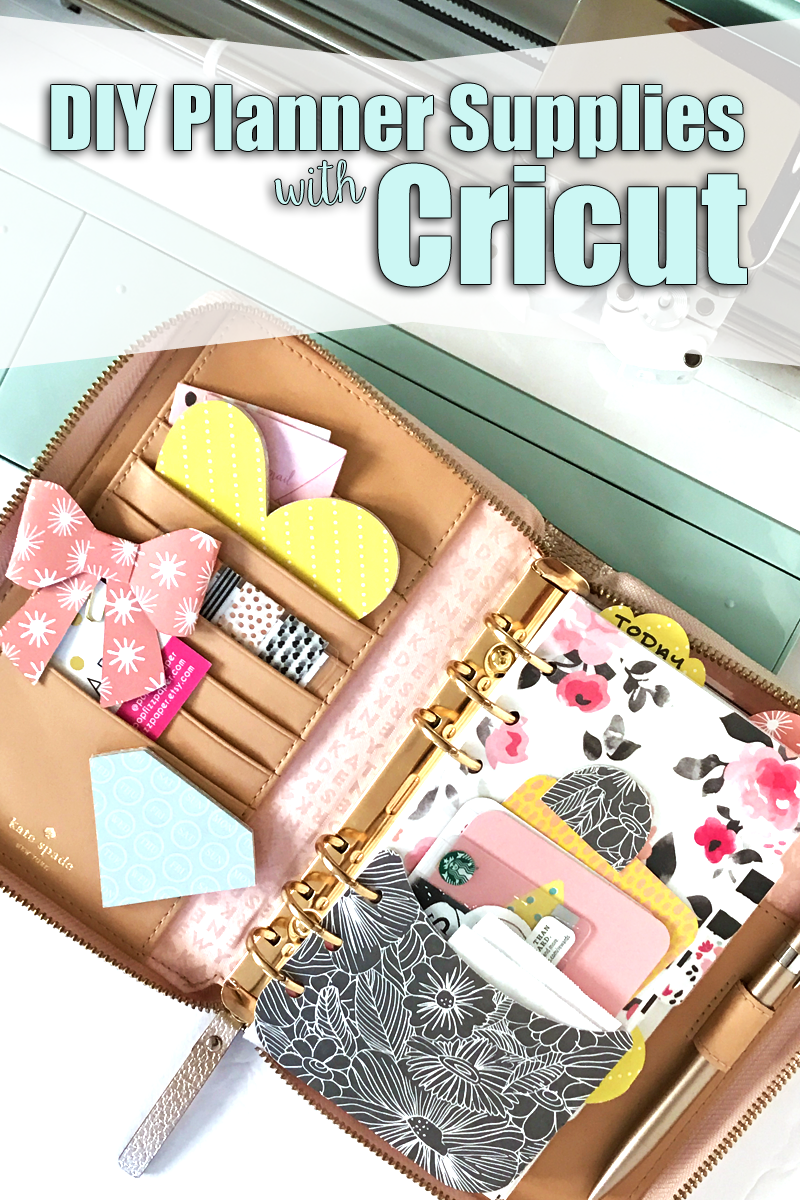
Hi Tombow friends, it’s Dani from @popfizzpaper with some DIY planner supplies featuring the Cricut Explore Air 2. Making cute things for my planner is one of my favorite ways to get crafty. Today I’m showing you five ways you can use the Explore Air 2 to do just that! In the supply list below I’ve also included the free cut file I used so you can make these fun planner supplies right along with me. Thanks so much to our friends over at Cricut for supplying the Tombow Design Team with their Explore Air 2 machine! Let’s get started on our planner supplies!
SUPPLIES
- Cricut Explore Air 2
- Cricut 12″ Mat
- Scrapbook paper (I used coordinating patterns from my stash to mix and match)
- Cricut Scraper (I used the one from this tool kit!)
- Tombow MONO Adhesive Removable
- Tombow Xtreme Adhesive
- Hole punch
- Tombow MONO Twin Marker
- Paperclips
- Planner (I’m using a personal size, but you can size the cut file up or down depending on your needs)
- Free cut file (must have Cricut Design Space): https://design.cricut.com/#/design/65842135
Dashboard Note Pocket
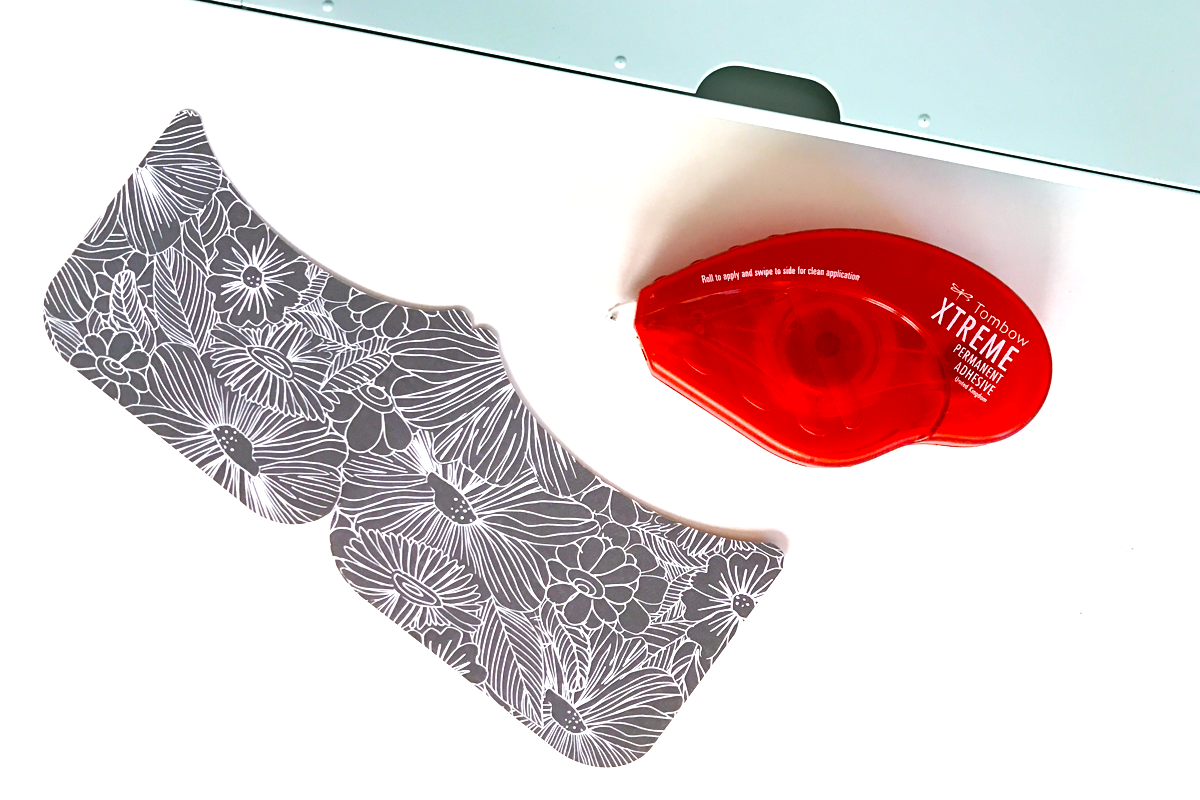
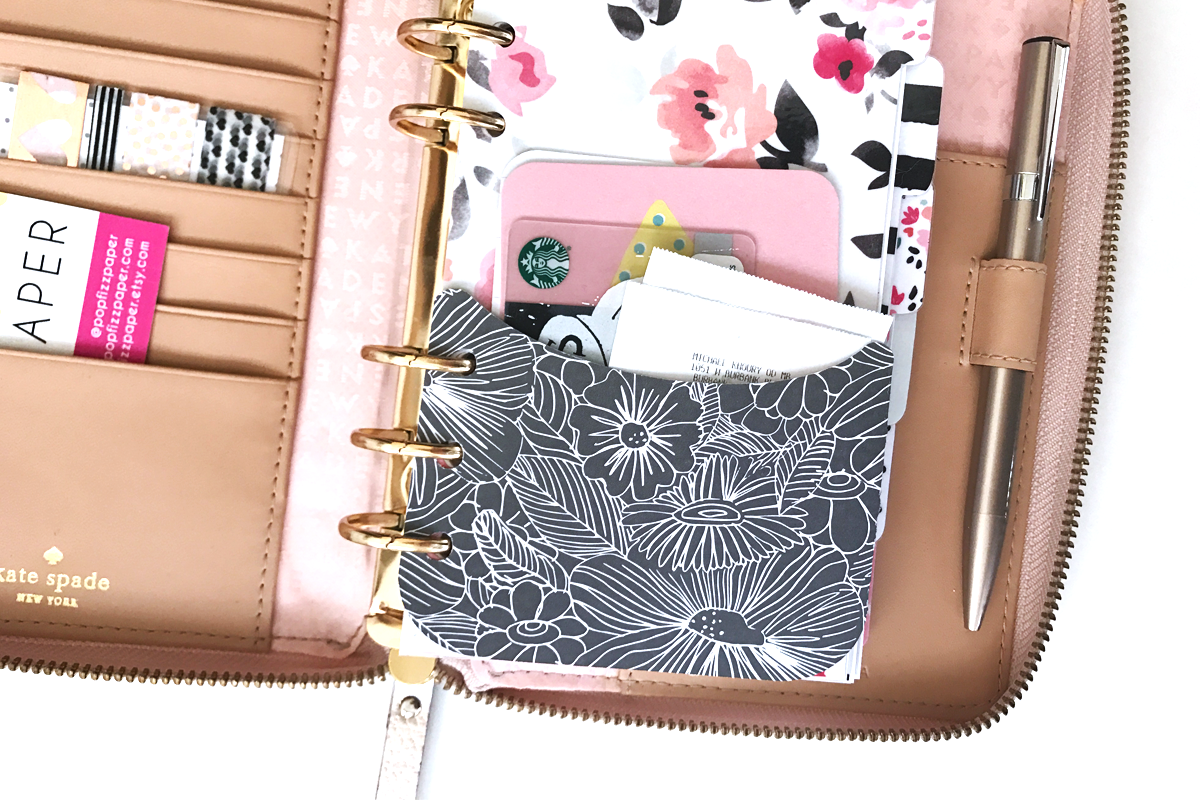
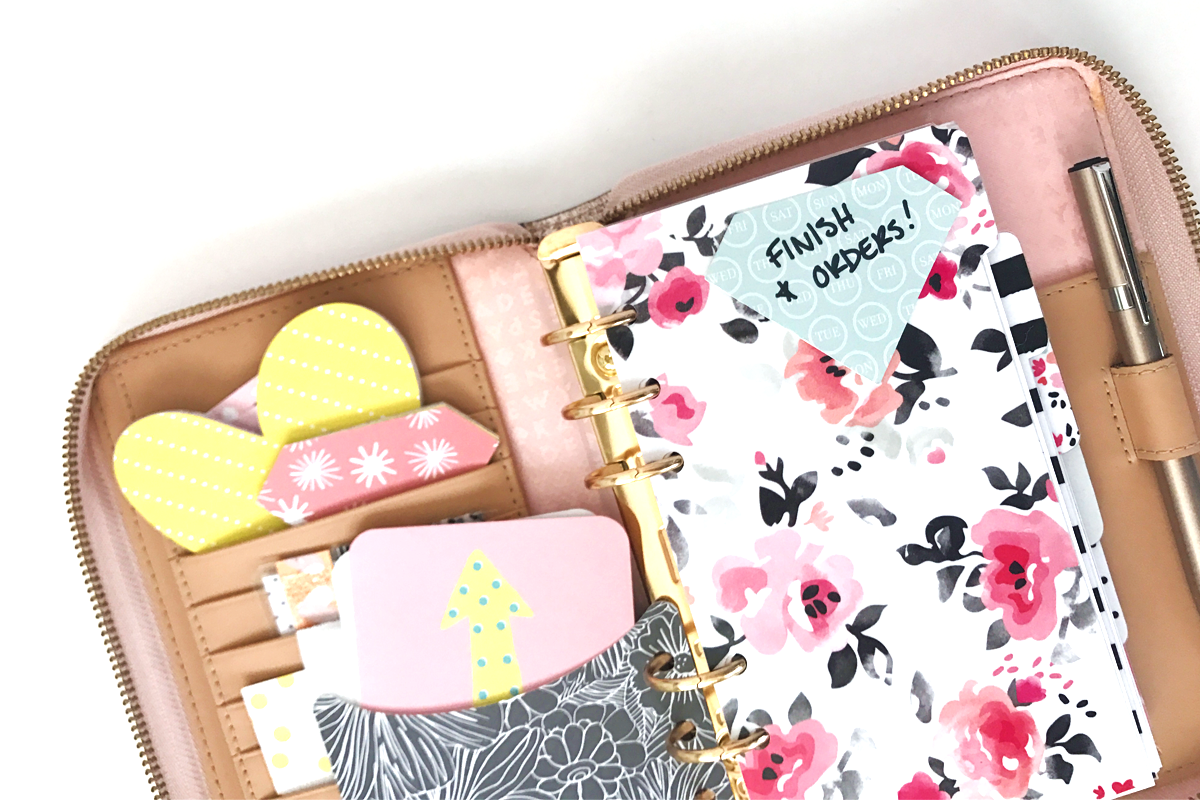
If you have stickers, receipts, notes, ticket stubs, business cards, or other little things floating around in your planner, a dashboard pocket is an easy way to keep everything contained. I love the one in the cut file above because it reminds me of a library pocket! All you have to do is add a bit of Tombow Xtreme Adhesive to the bottom and one side of the cutout, fold over and you have yourself a quick and easy pocket. Use more of the Tombow Xtreme Adhesive to adhere your pocket to your dashboard or you can punch holes to add to your planner. Instant clutter control!
DIY Sticky Notes
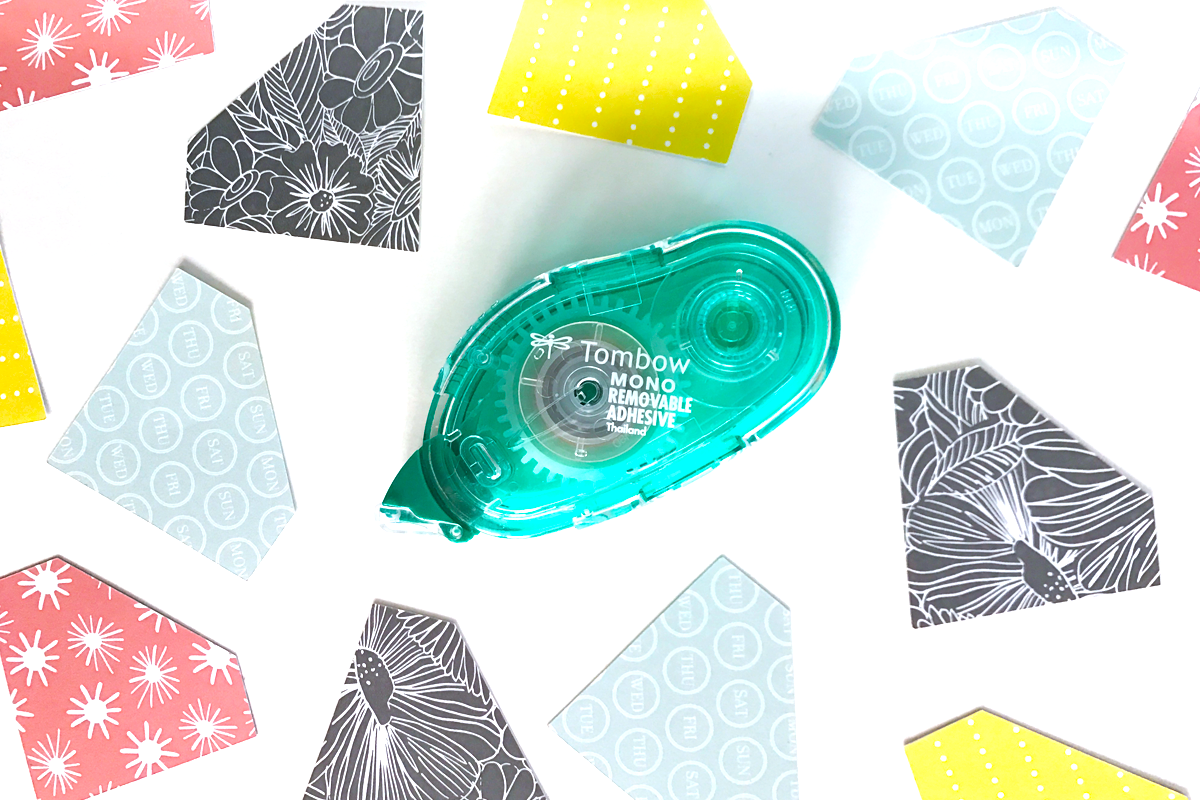
Take one of the diamond cutouts and apply Tombow MONO Adhesive Removable to the back, top edge. Layer it on top of another diamond and repeat the process until you have a stack of diamond cutouts. Don’t add adhesive to the bottom diamond in the stack. Yay for custom sticky notes! Repeat for the hearts in the cut file and now you have even more sticky note goodness! Place them anywhere in your planner and you’re good to go for planning on the go.
Planner Tabs
Everyone knows tabs are great for dividers, but I want to share three other ways you can use these planner supplies with the Tombow Xtreme Adhesive.
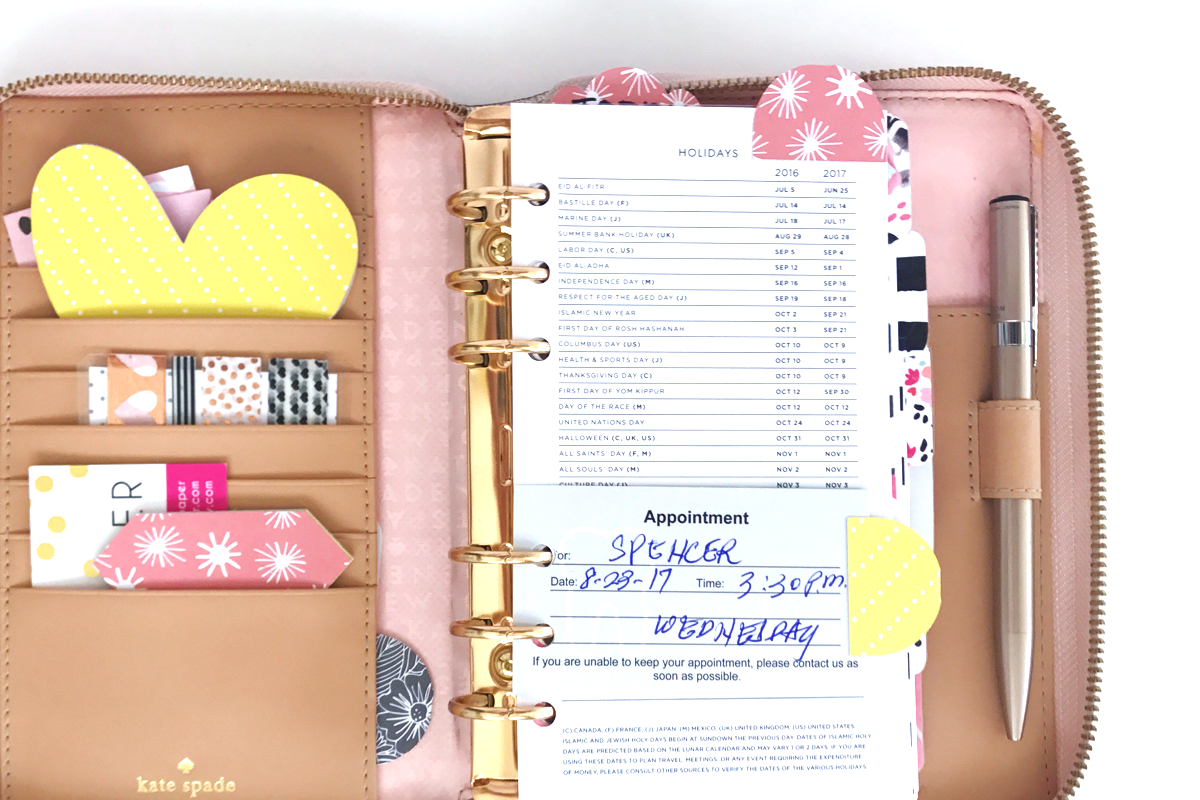
- Add a tab to the top of a page you flip to all the time. I added one to a holiday page that I constantly reference.
- Next time you need to make a quick list, grab a journal card! Write down your info, add a tab to the side of the card, and tuck into your planner. An easy list that doesn’t get lost!
- Adhere a tab to the side of an appointment card, punch some holes, and add to your planner. Your appointment card, along with all of it’s important information, is easy to find, doesn’t fall out of your planner, and you can toss it when you don’t need it anymore.
Planner Divider Bookmark
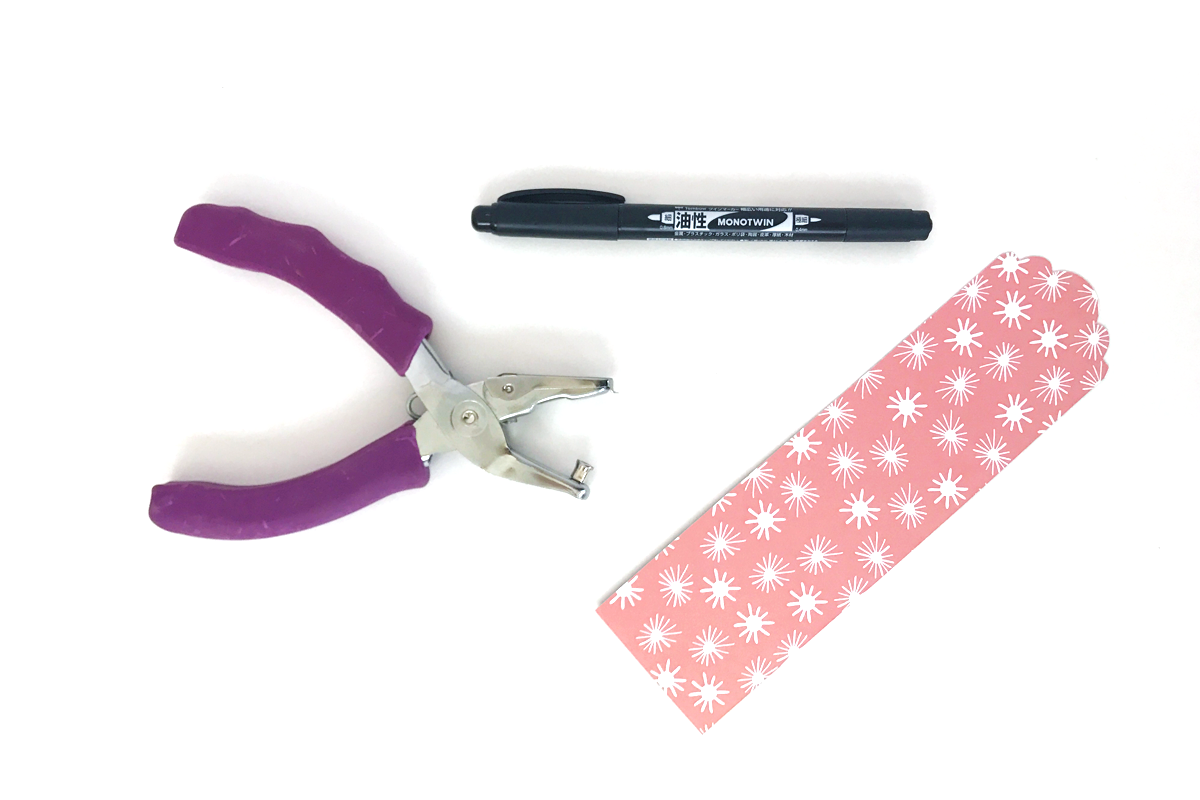
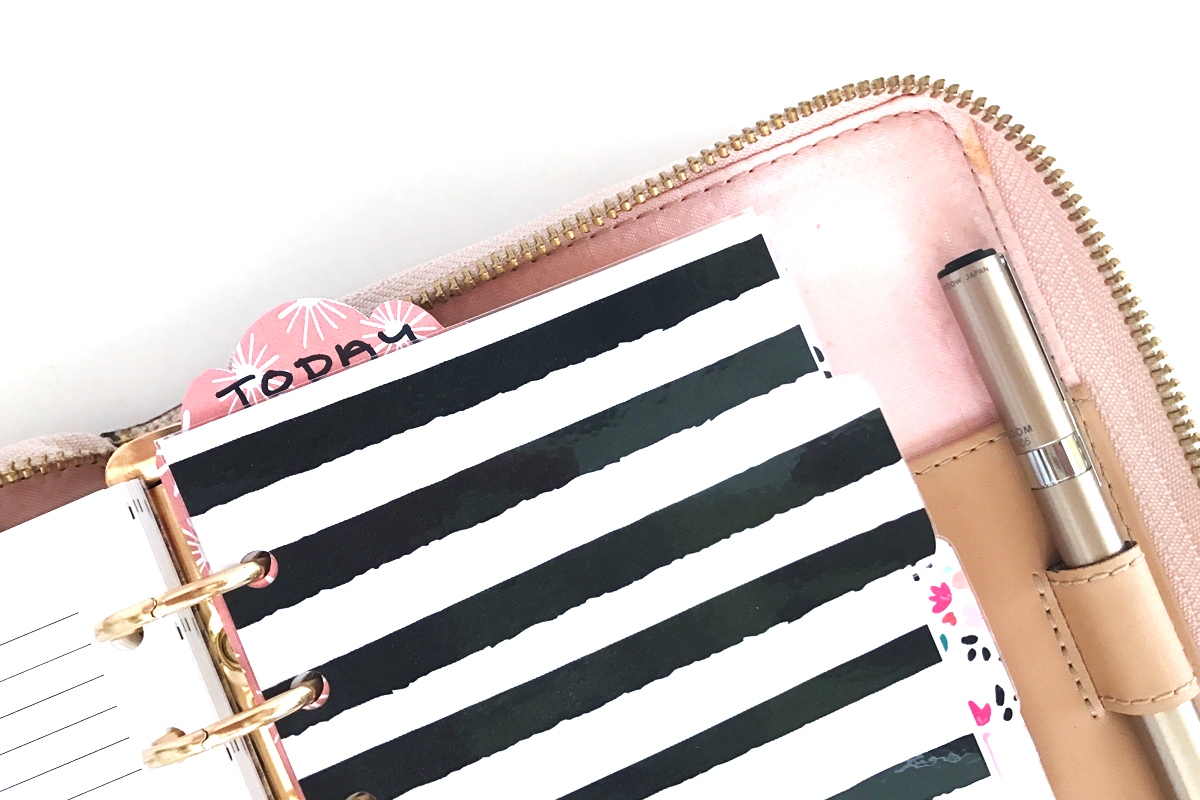
Have a special section of your planner that you flip to all the time? Make a divider bookmark for it! It sticks out above the top of your planner pages so it’s easy to find. Use the Cricut Explore Air 2 to cut out the long scalloped piece in the cut file. Remove from the mat, add holes with a hole punch, and place in your planner where you need it. I like to also write the section name on the top with the Tombow MONO Twin Marker. Feel free to laminate the divider bookmark if you want extra stability, too. It couldn’t be easier!
Bow Planner Clip
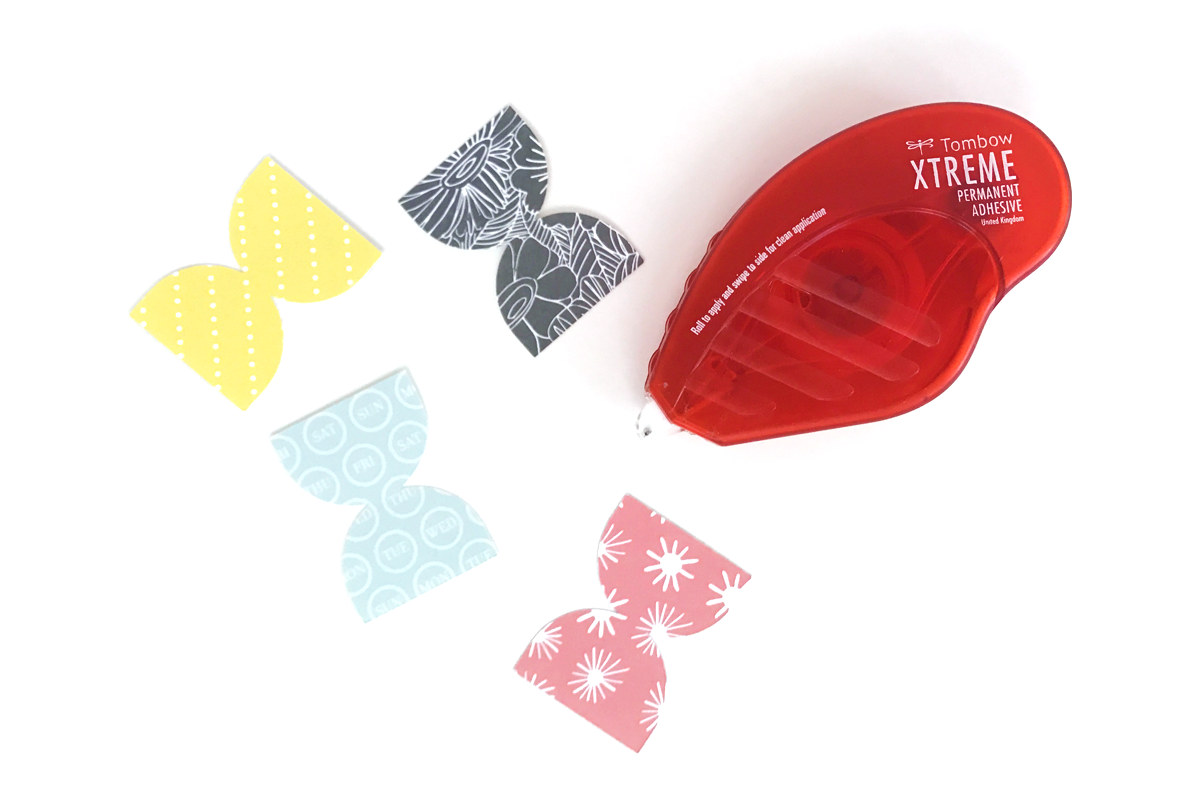
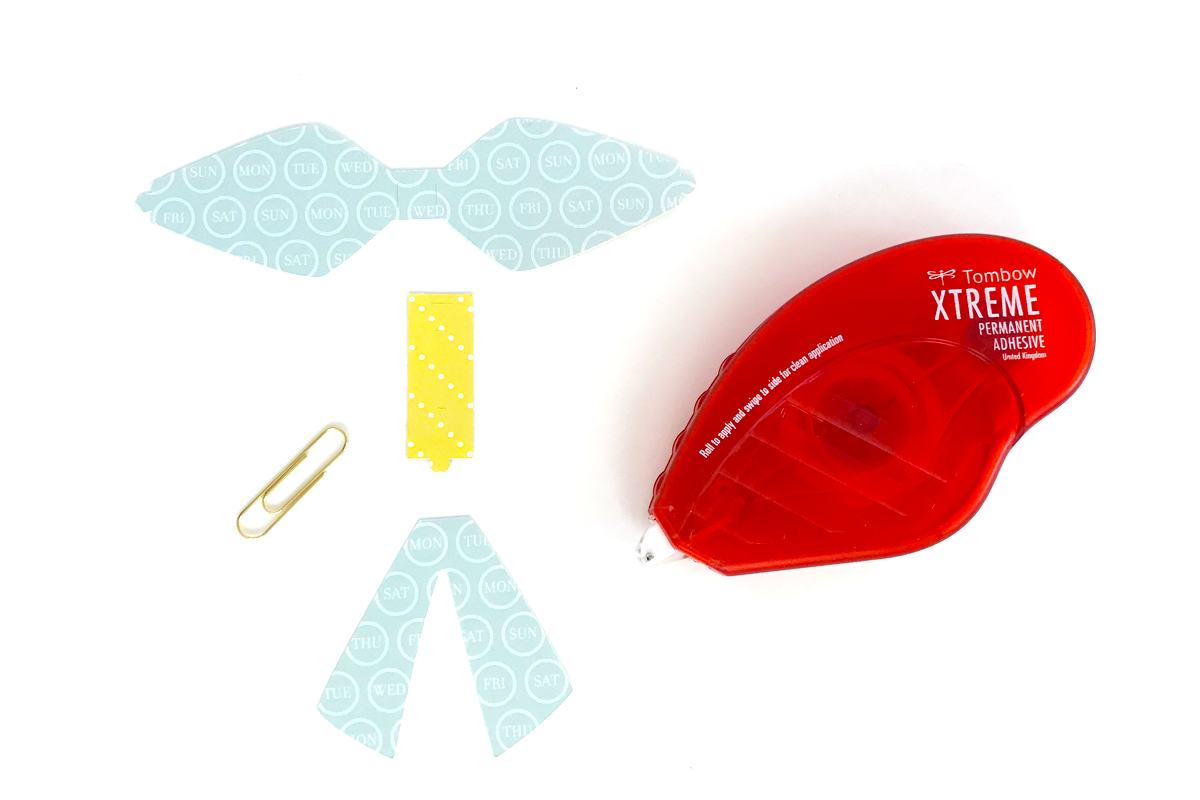
Every planner girl needs cute paperclips in their planner supplies stash, so let’s make one! Once your three bow pieces are cut out, it’s easy to assemble your clip. Fold in the bow flaps and use the Tombow Xtreme Adhesive to secure them in the back. Fold the small rectangular shape around the front of your bow and adhere in the back (this makes the “knot”). Finally, add more Tombow Xtreme Adhesive to secure the tail section of the bow cut file as well as a paperclip. Add to your planner for instant cuteness. I like to combine different papers for a fun look! For more planner clip inspo, check out this post by Cynthia!
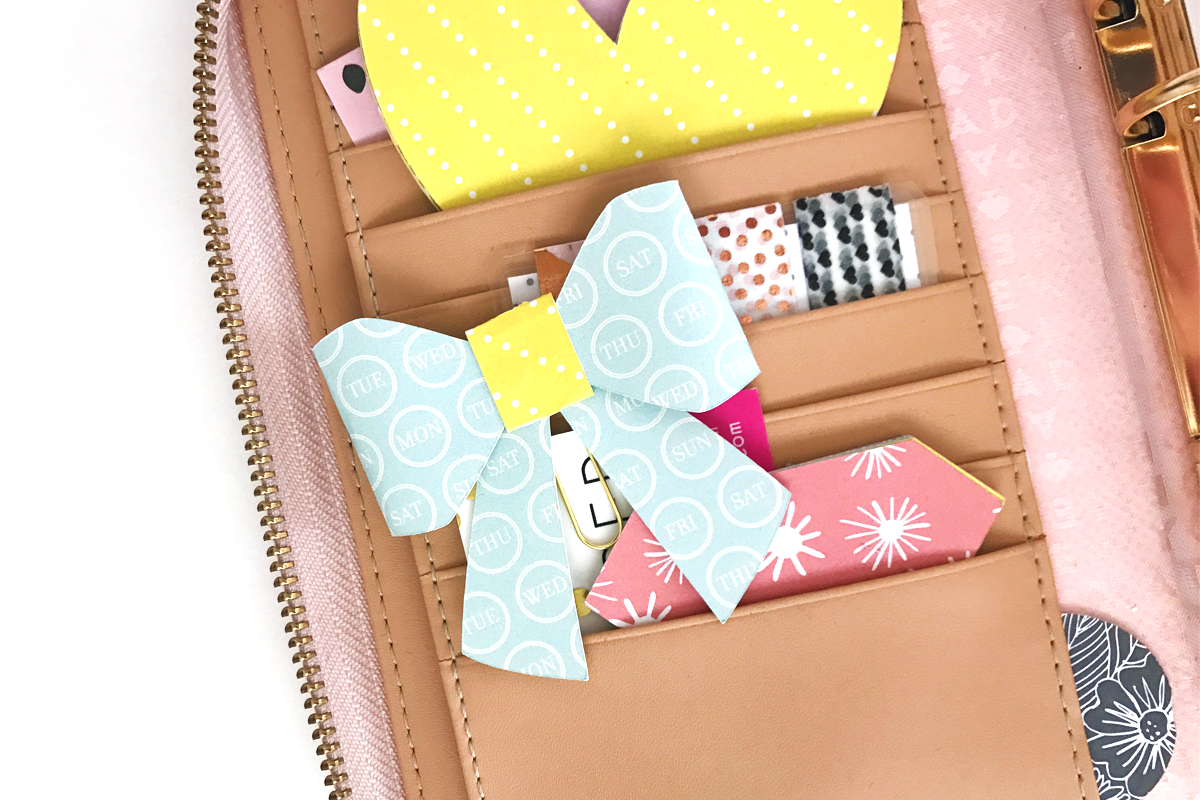
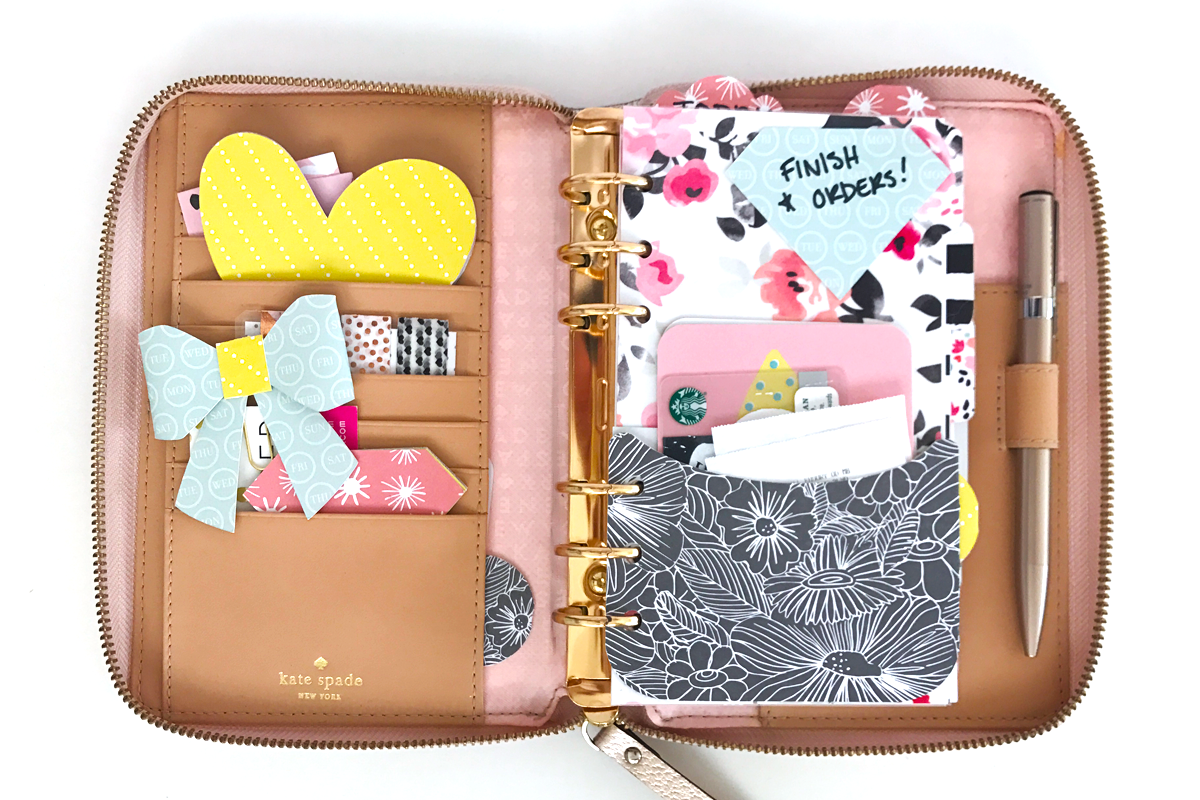
And here is my planner all decked out! It’s both super cute and totally functional and I couldn’t be happier with it. I’m so thankful to the Cricut team for sending me the Explore Air 2. It’s really user friendly and I can make even more planner goodies now, lol! I’m already thinking up fall-themed planner supplies to make for when it’s time to redecorate my planner for the new season.
I hope you enjoyed this post and got some inspiration from all the planner supplies we made today. Thank you for following along! Make sure to check out this post for some awesome planners to follow on Instagram (including yours truly!). And please tag me @popfizzpaper on Instagram if you make any of these supplies – I would love to see! Happy planning!
Wow!!! Really these are awesome! I’m an avid DIYer and always try to be busy with new and unique DIY projects. Actually, a DIY planner is a must for me to do them in an organized way. The article was very helpful for me to make my DIY planner more attractive and gorgeous, it was really a detailed one to follow easily. Thanks for sharing such great idea. 🙂
Pingback: DIY Monthly Calendar Planner Dashboard - Tombow USA Blog