Sweet Stamp Shop and Tombow USA make it super easy to create your very own DIY Planner Stickers! Hey there, lovelies! It’s Lauren of Renmade Calligraphy back to share another fun project with you. Whether you are planning an event on your calendar or adding a cute quote to the margins, the stamps from Sweet Stamp Shop are perfect for creating your very own stickers.
WHAT YOU’LL NEED
- A variety of stamps and stickers from Sweet Stamp Shop
- A stamp block and black pigment ink
- Tombow Dual Brush Pens
- Mix Media Paper
- Tombow MONO Permanent Adhesive +
- Tombow MONO Removable Adhesive
- Your Planner
WHAT INSPIRED ME
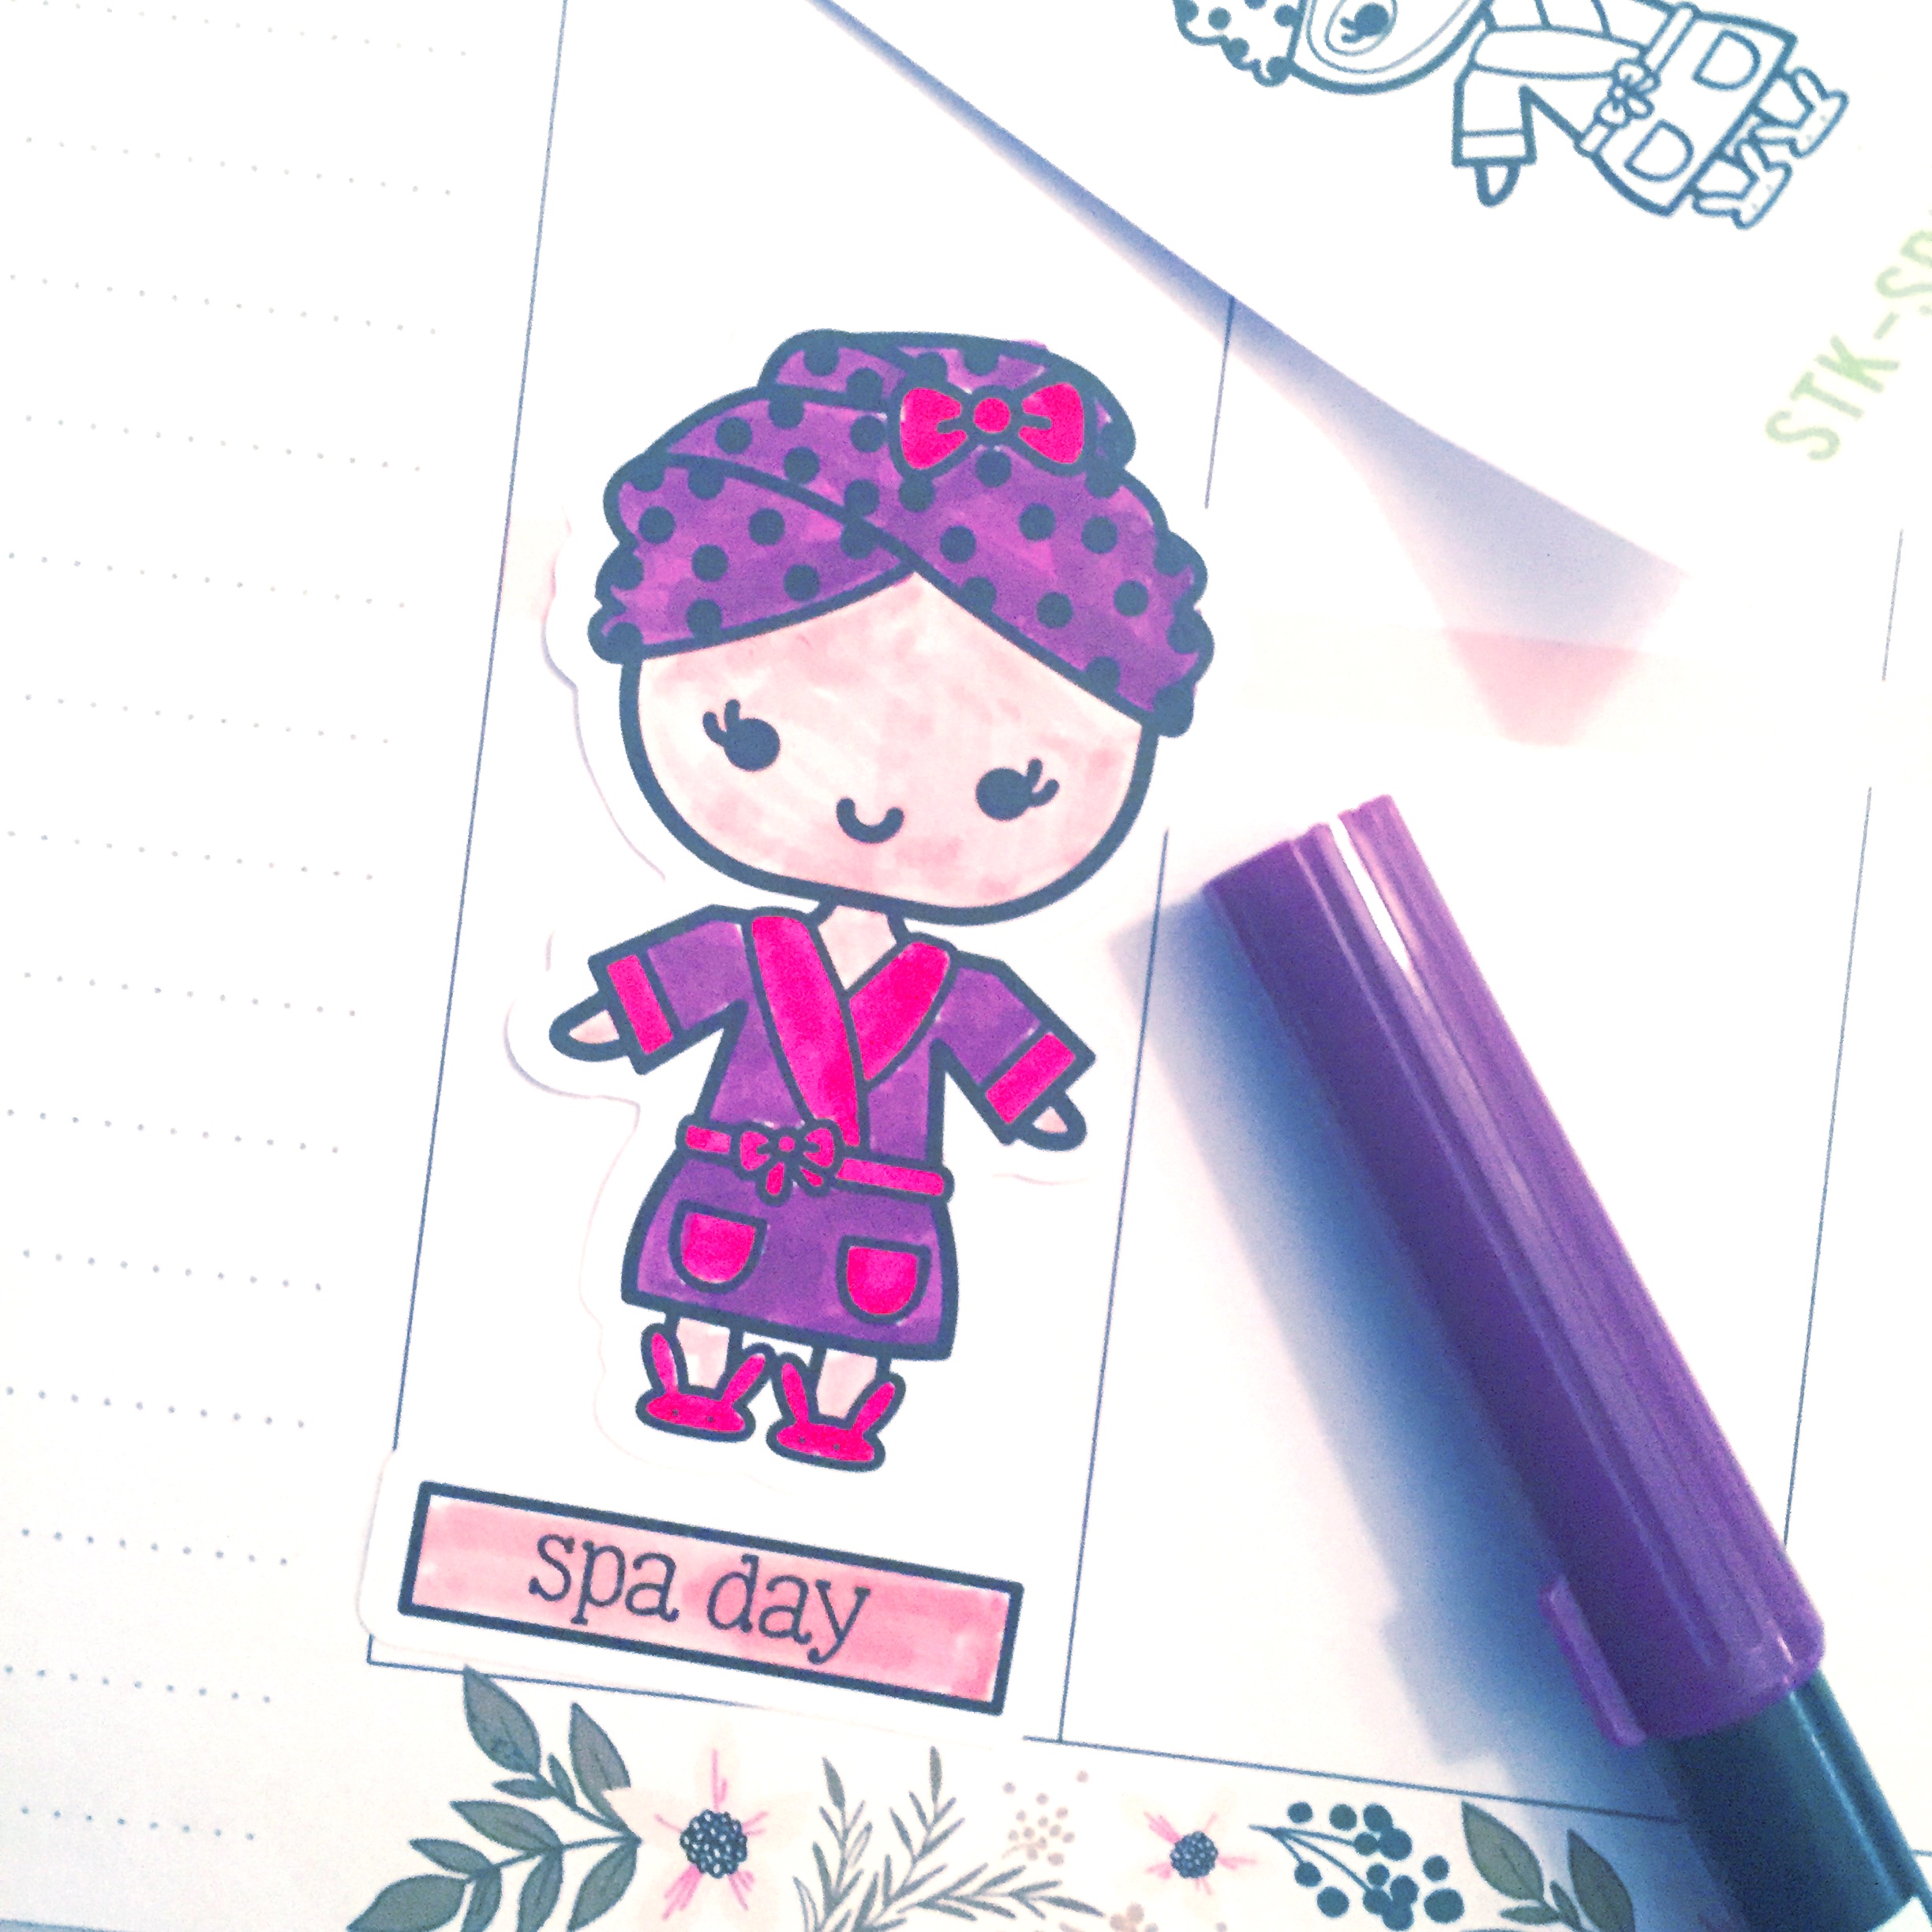
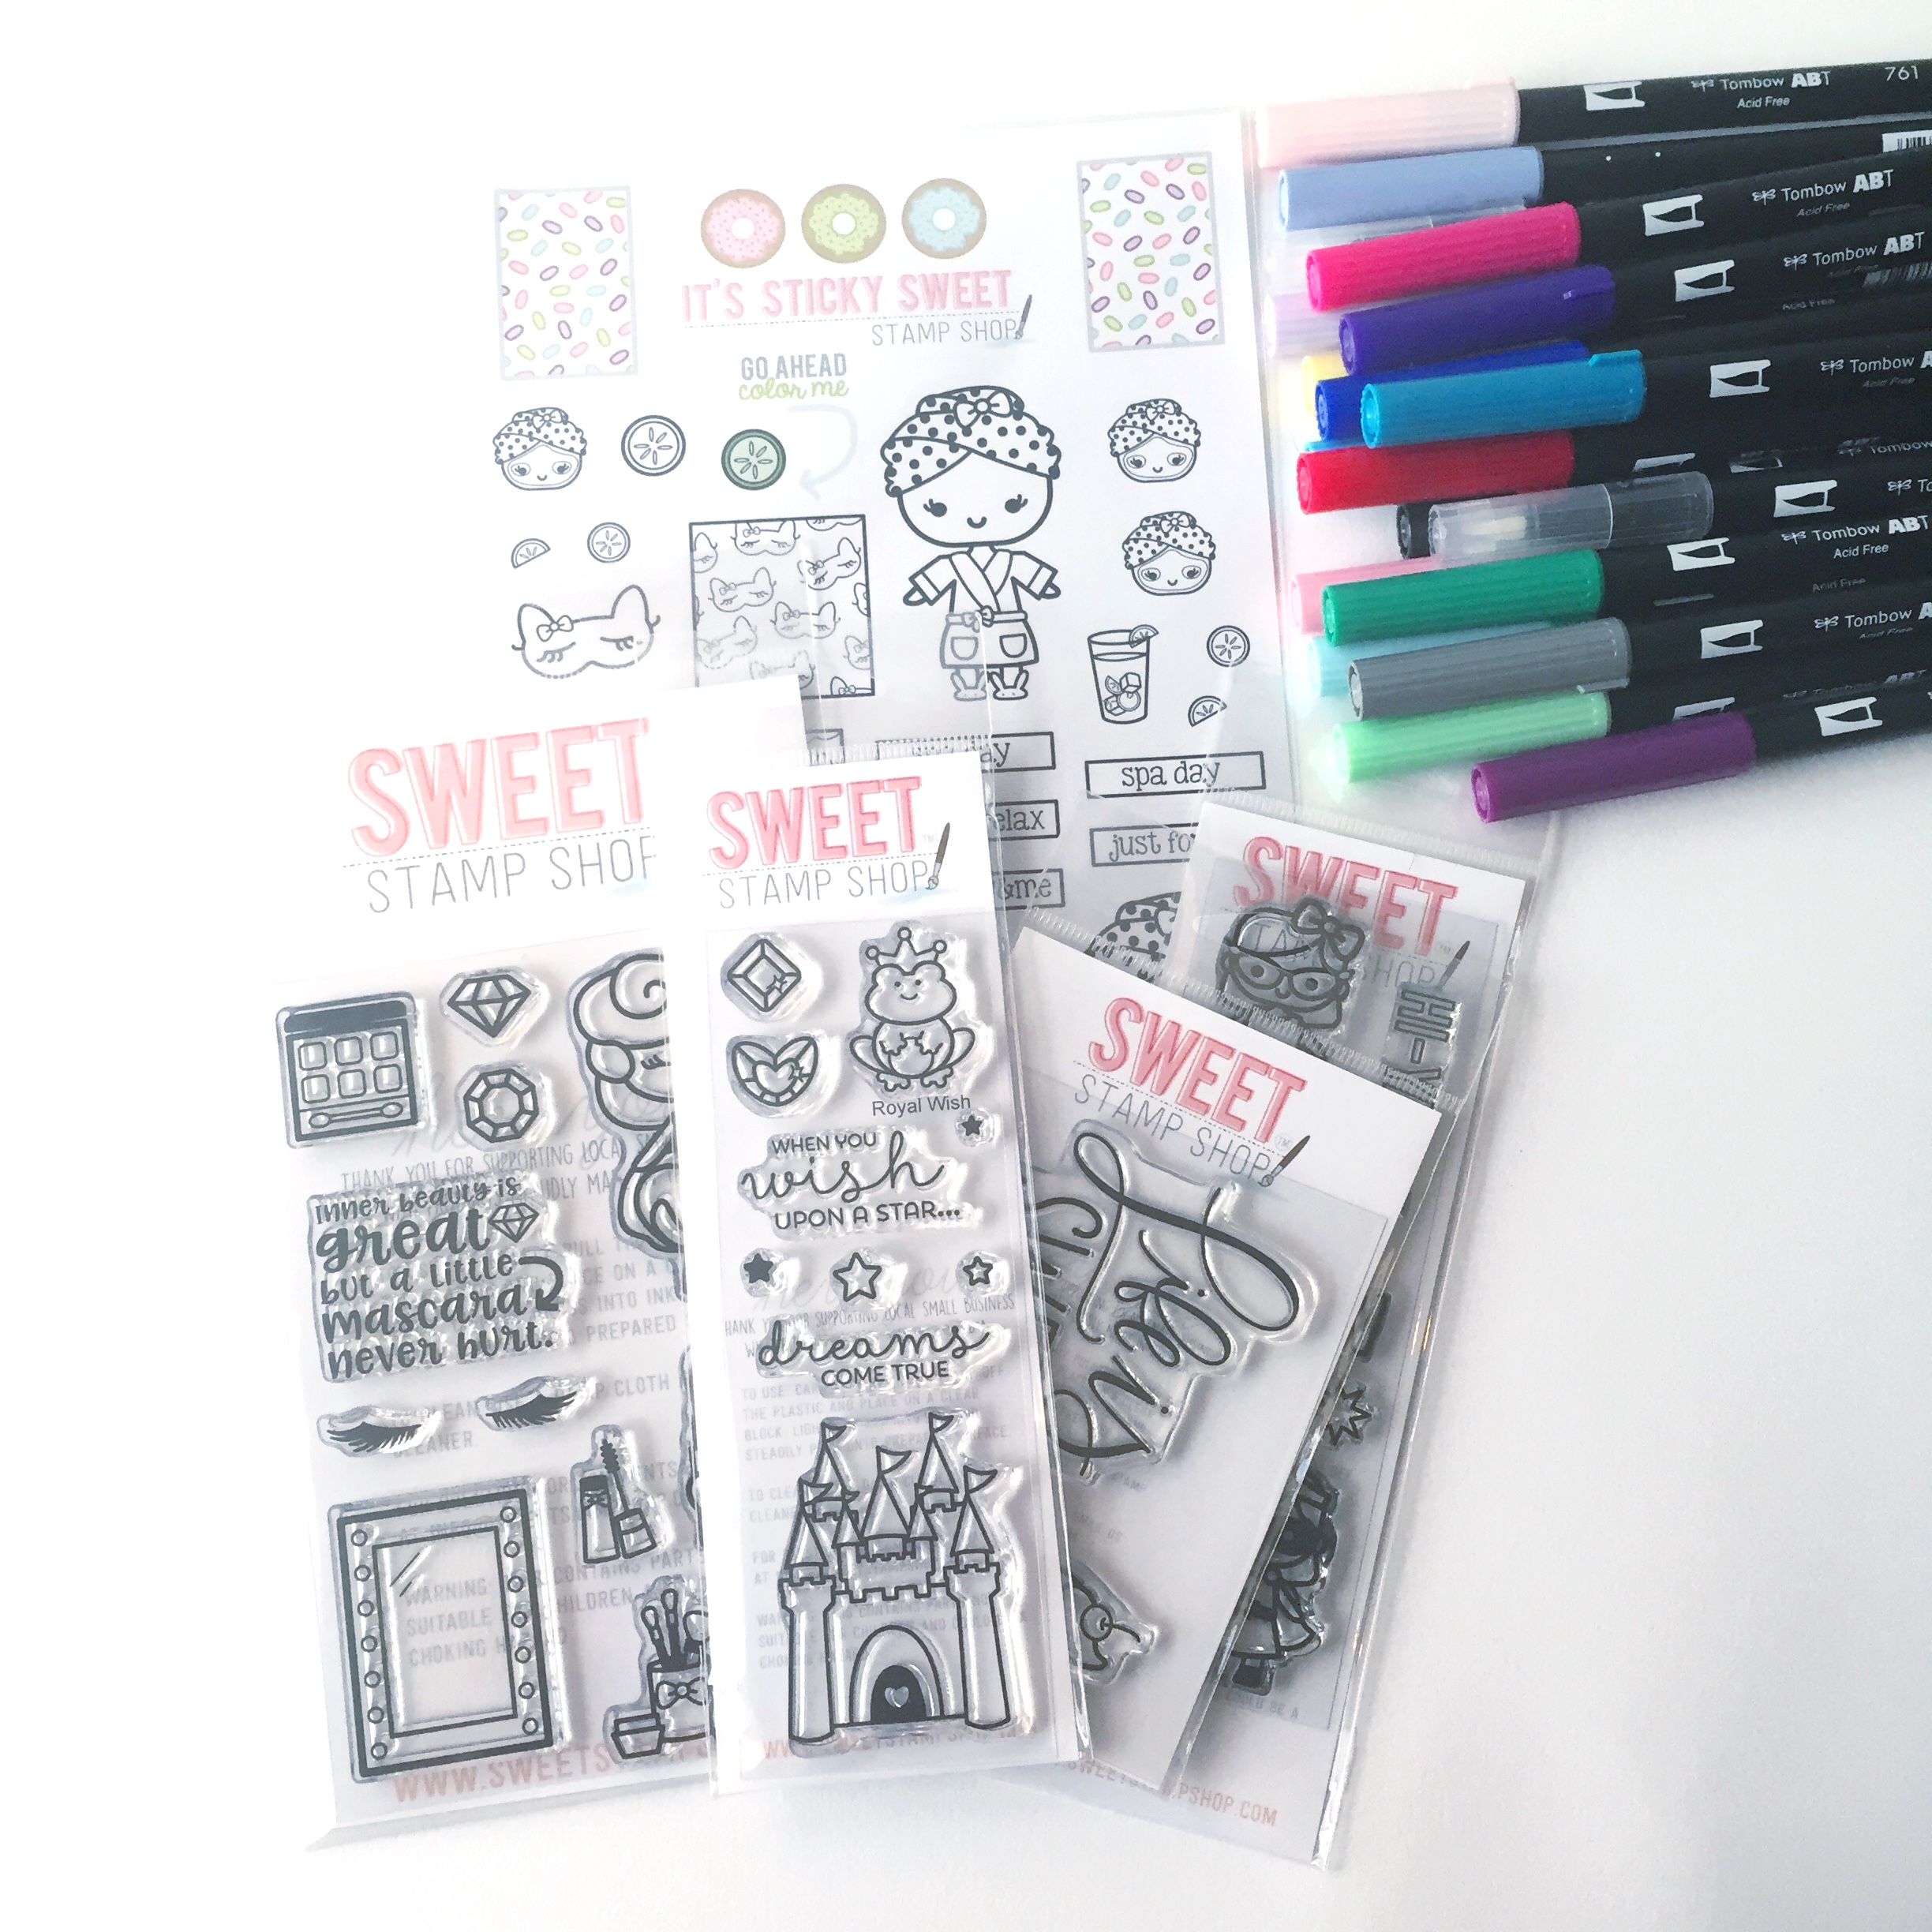
I have used Sweet Stamp Shop stamps before, but this time I was sent a fun sheet of stickers that can be colored in with my Tombow Dual Brush Pens. This set was called Spa Day. This inspired me to turn all of the stamps that I received into stickers as well using ink, my Tombow Dual Brush Pens, Mix Media Paper, and my favorite Tombow Adhesives. Any stamp can become a sticker following a few simple steps!
COLORED STICKERS
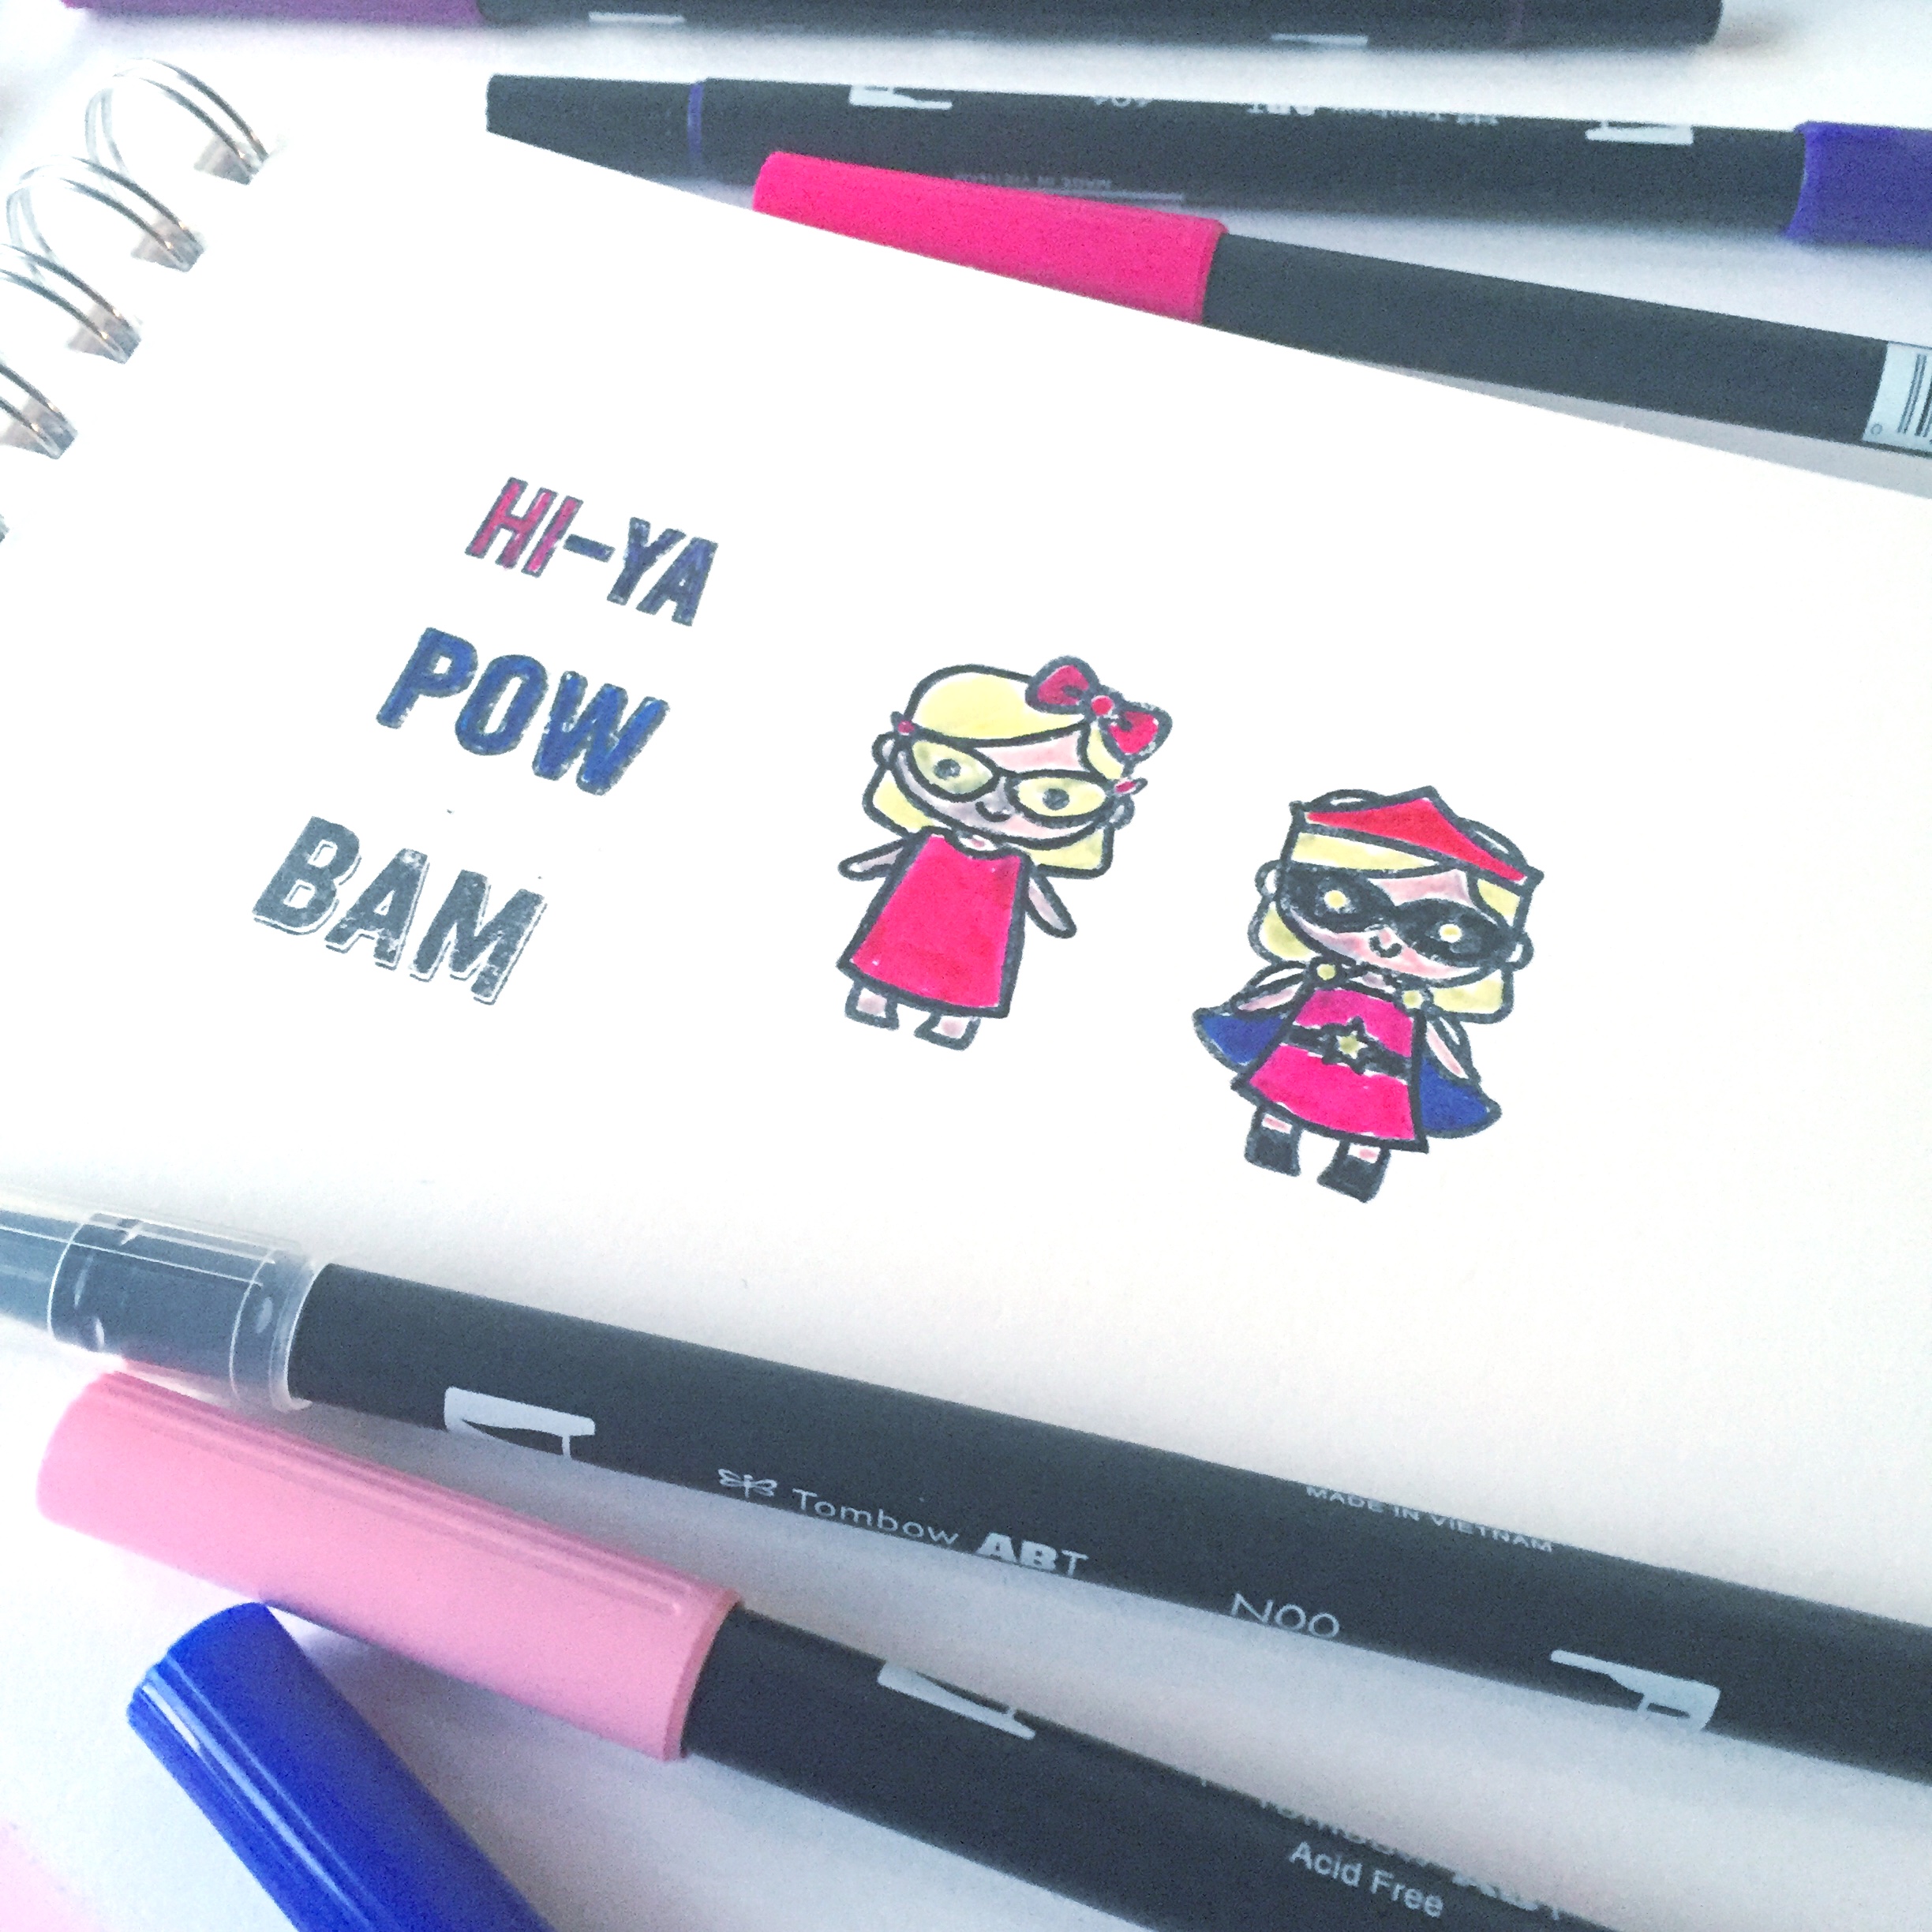
There are two different ways you can create a sticker from a stamp. One way, is to apply ink to the stamps (stuck onto your stamp block) and stamp it on a clean white piece of mix media paper.
Then, color the stamps in, like I did with the Girl Power stamp set. If the ink doesn’t cover well, you can also trace over the black lines using the broad tip of the Tombow Dual Brush Pen in the same color as the stamp ink. This can make the edge look smoother.
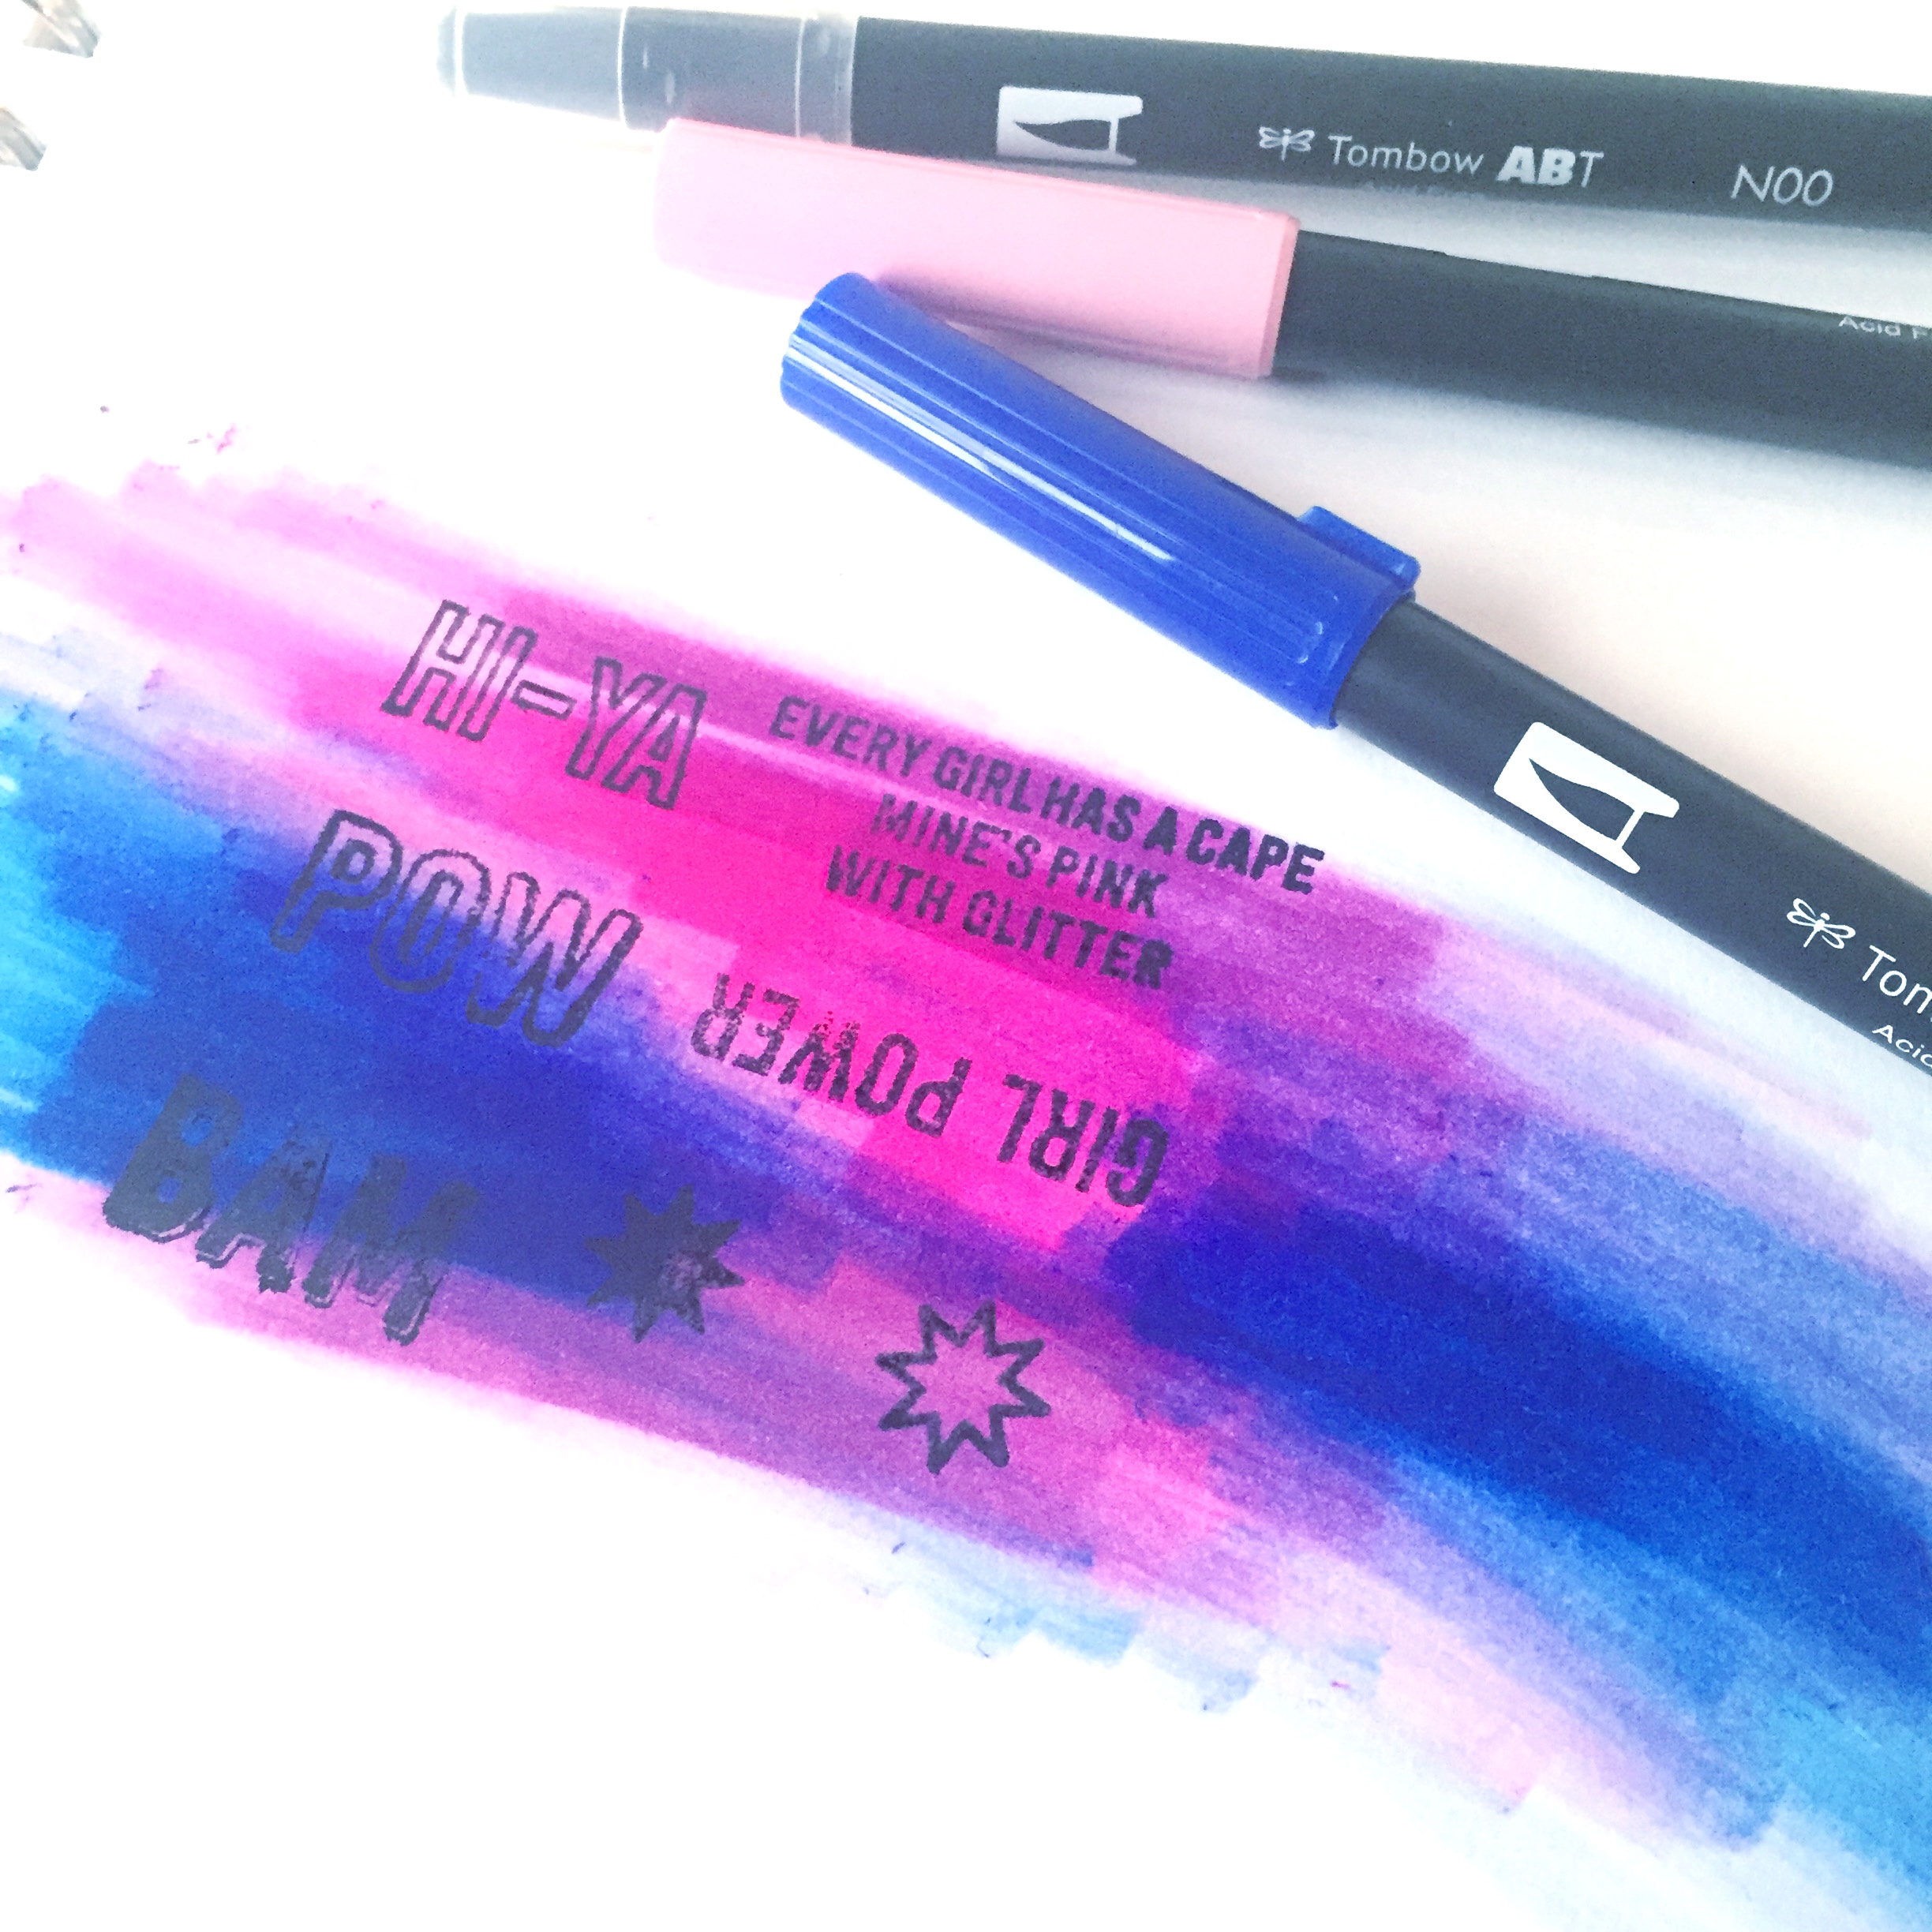
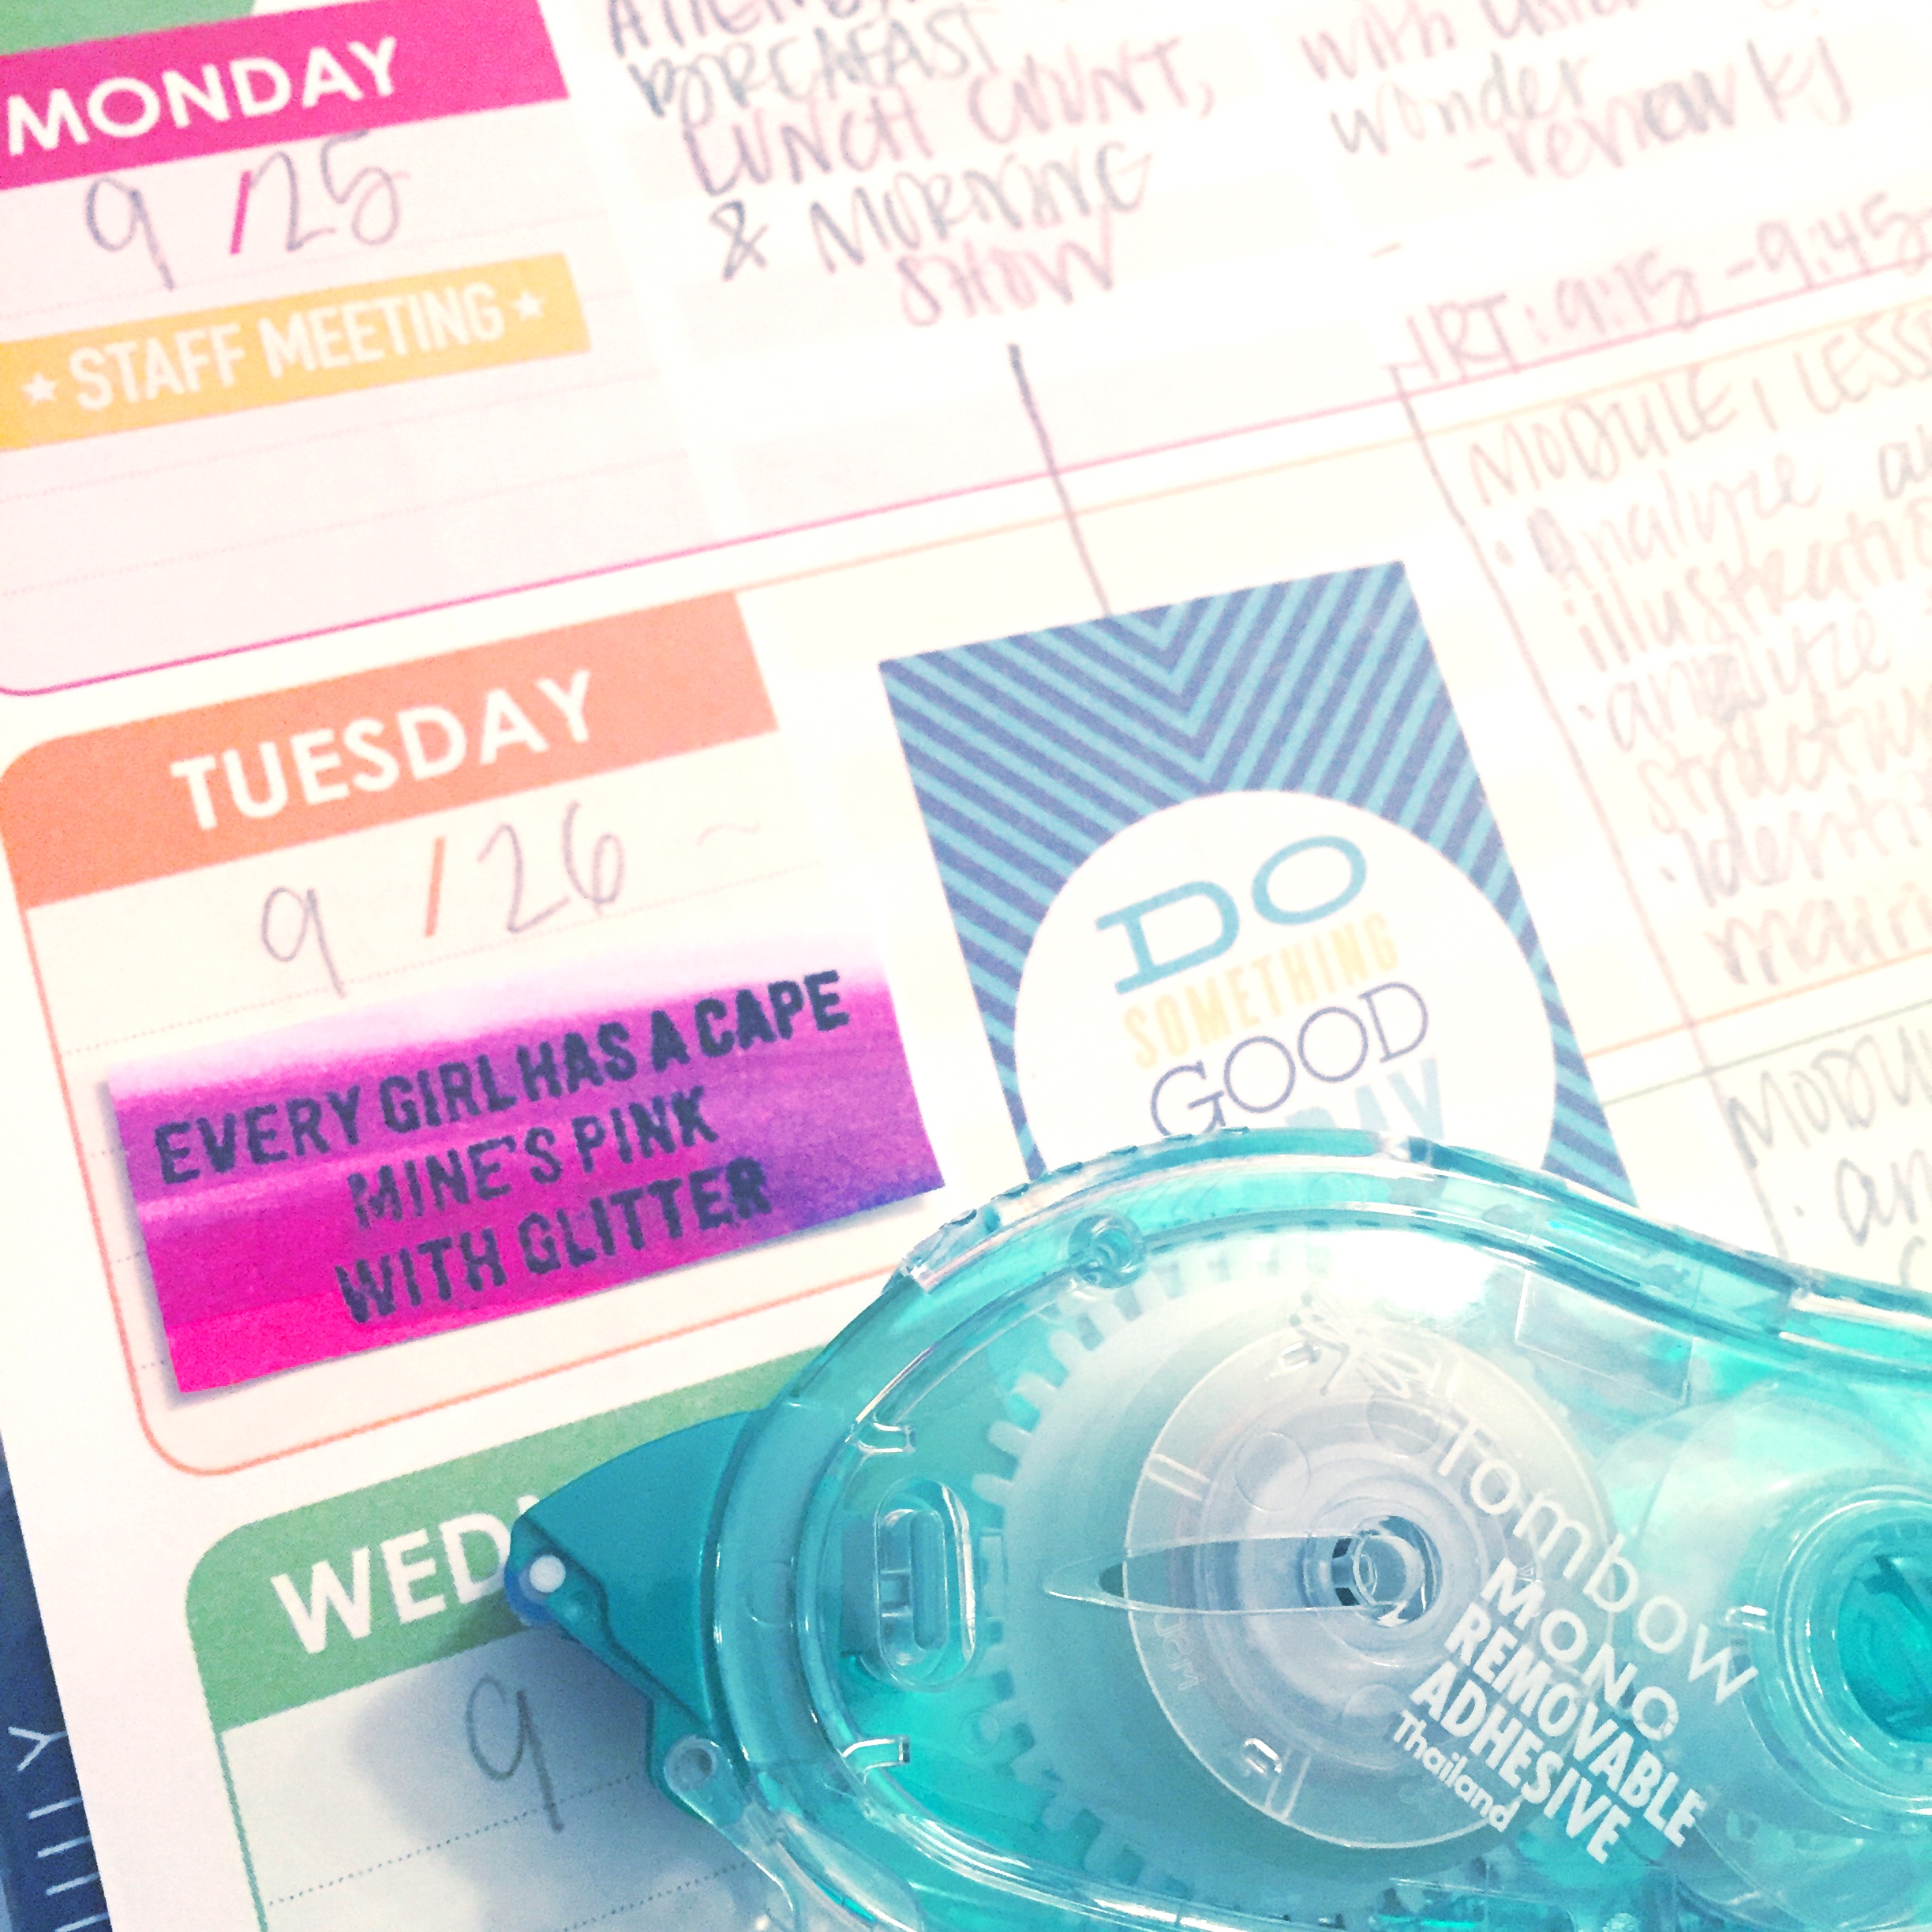
STICKERS ON A COLORFUL BACKGROUND
A second technique for creating these fun planner stickers is to create a colorful background to stamp directly onto using Tombow Dual Brush Pens and a Blender Pen to mix and blend the colors. This creates a really fun and simple background that is perfect for quote stamps or fun images.
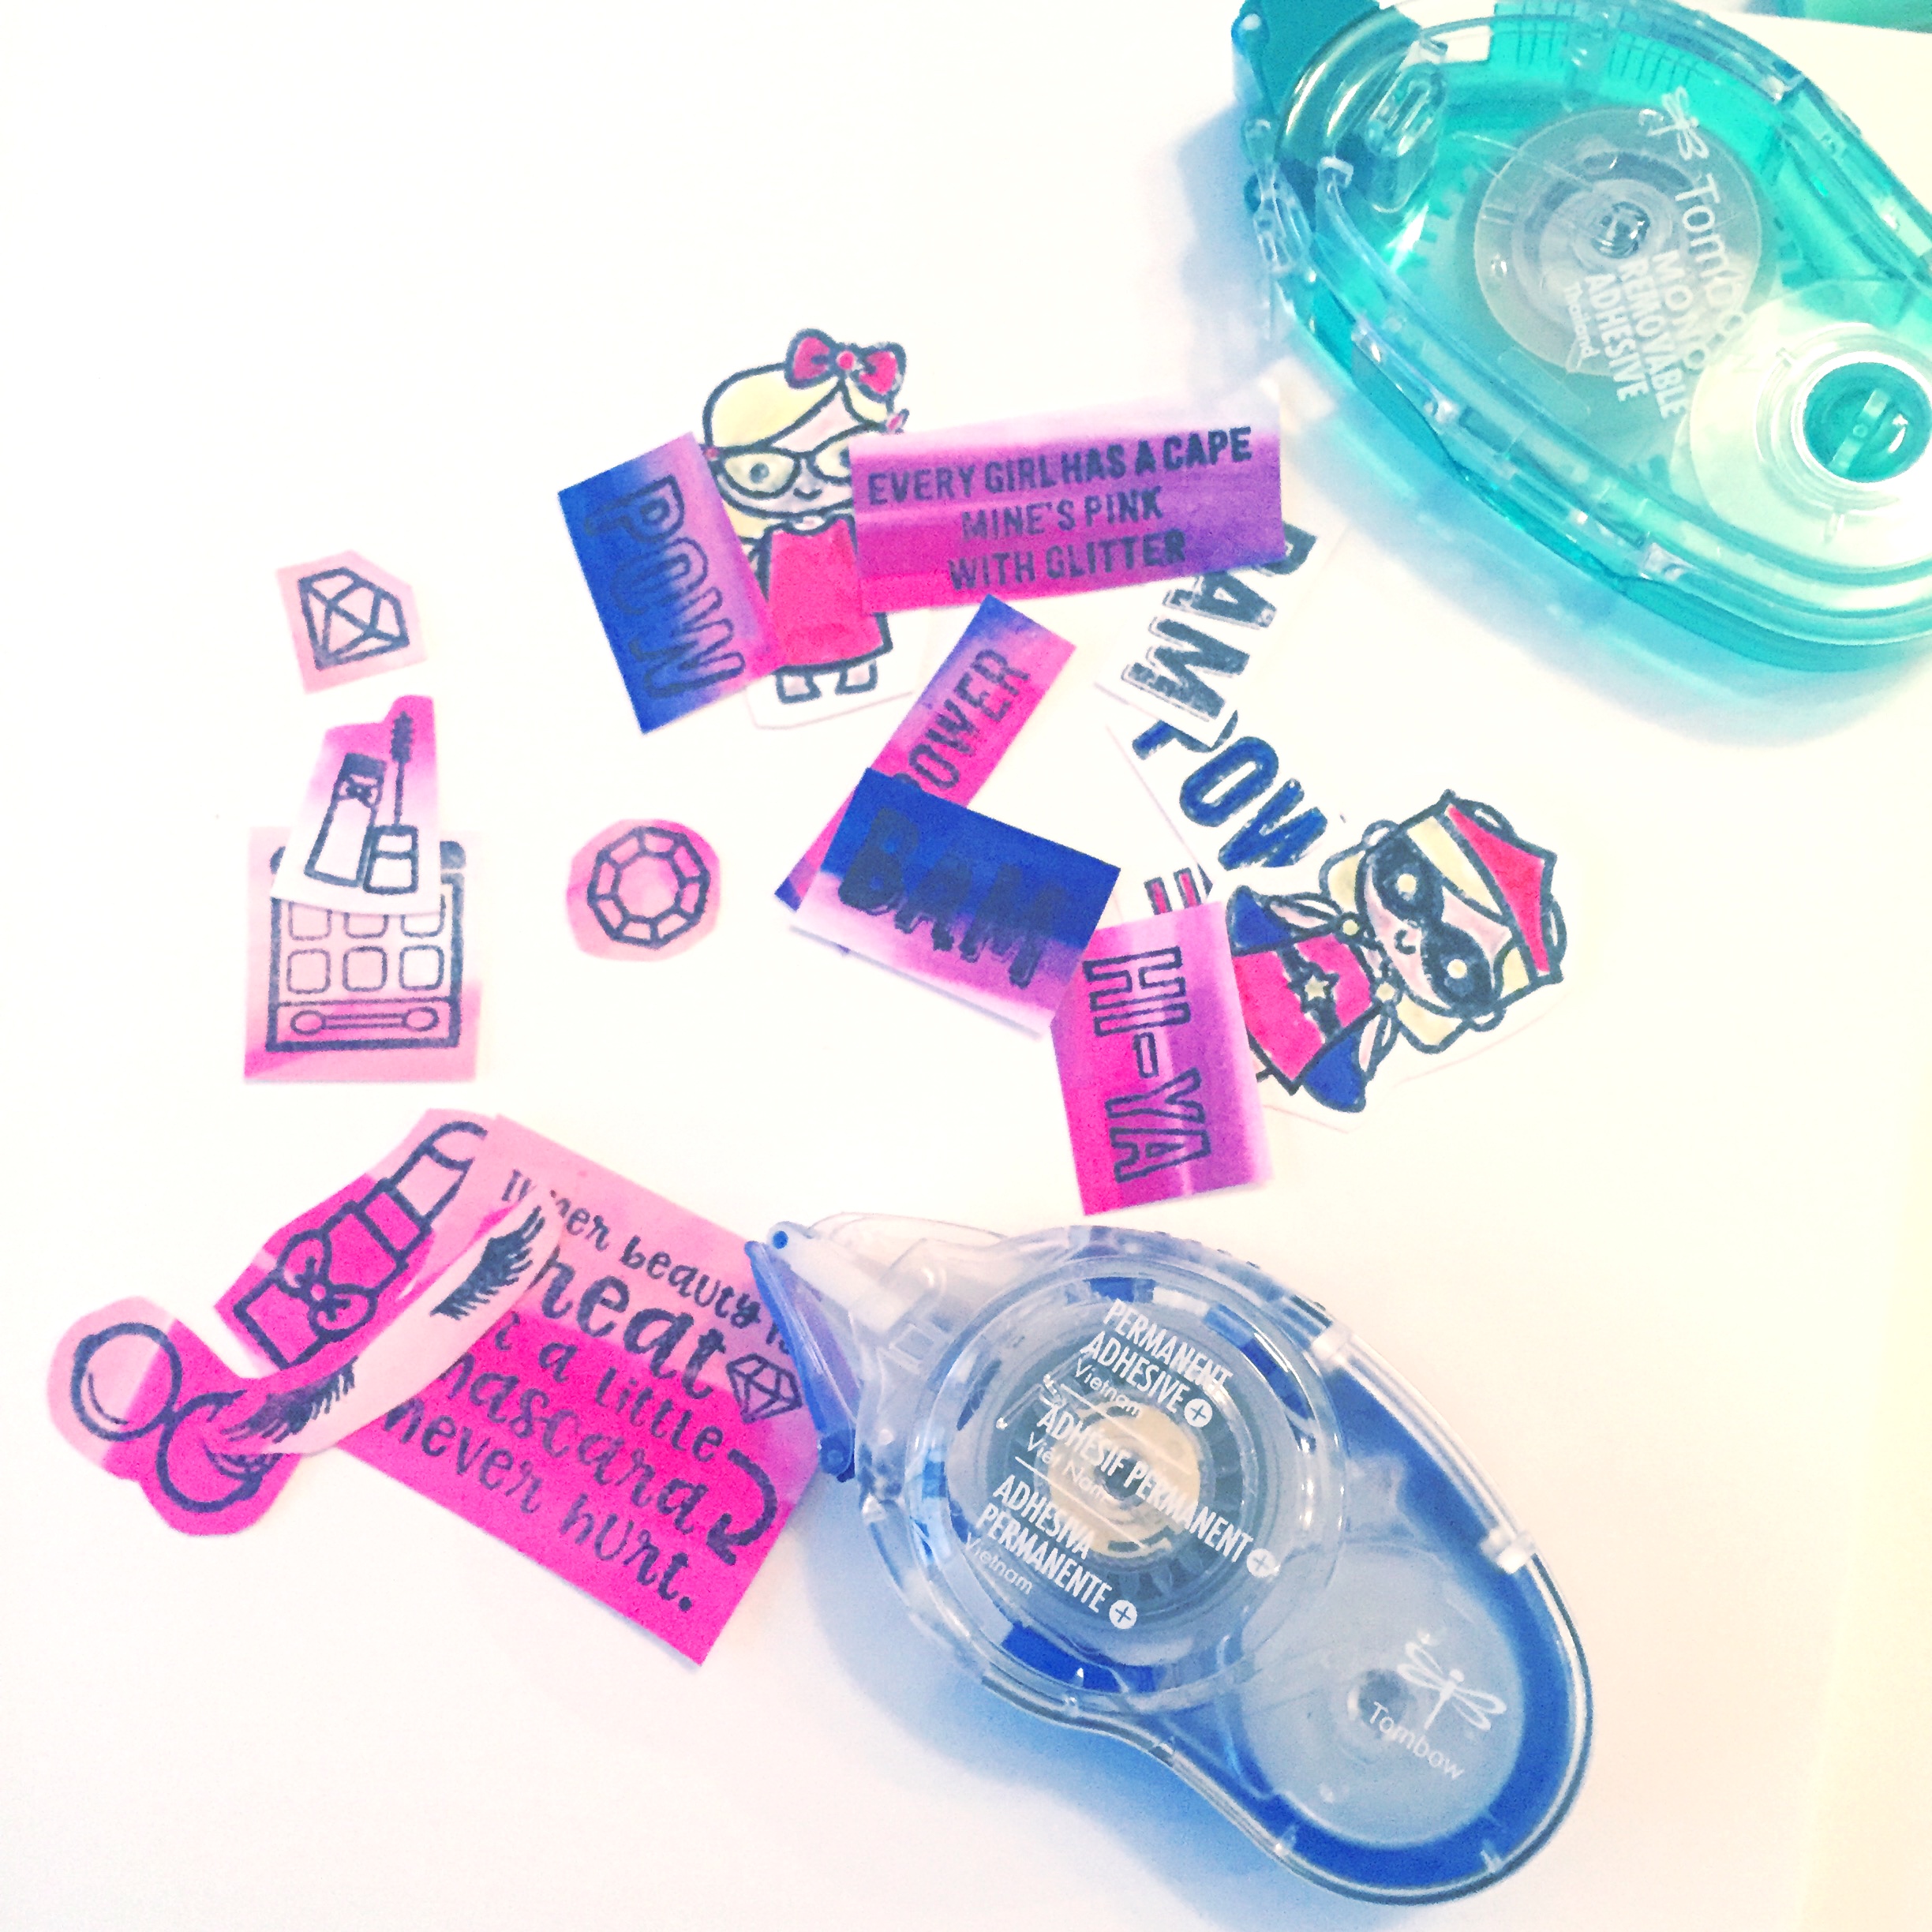
READY TO STICK IN THE PLANNER
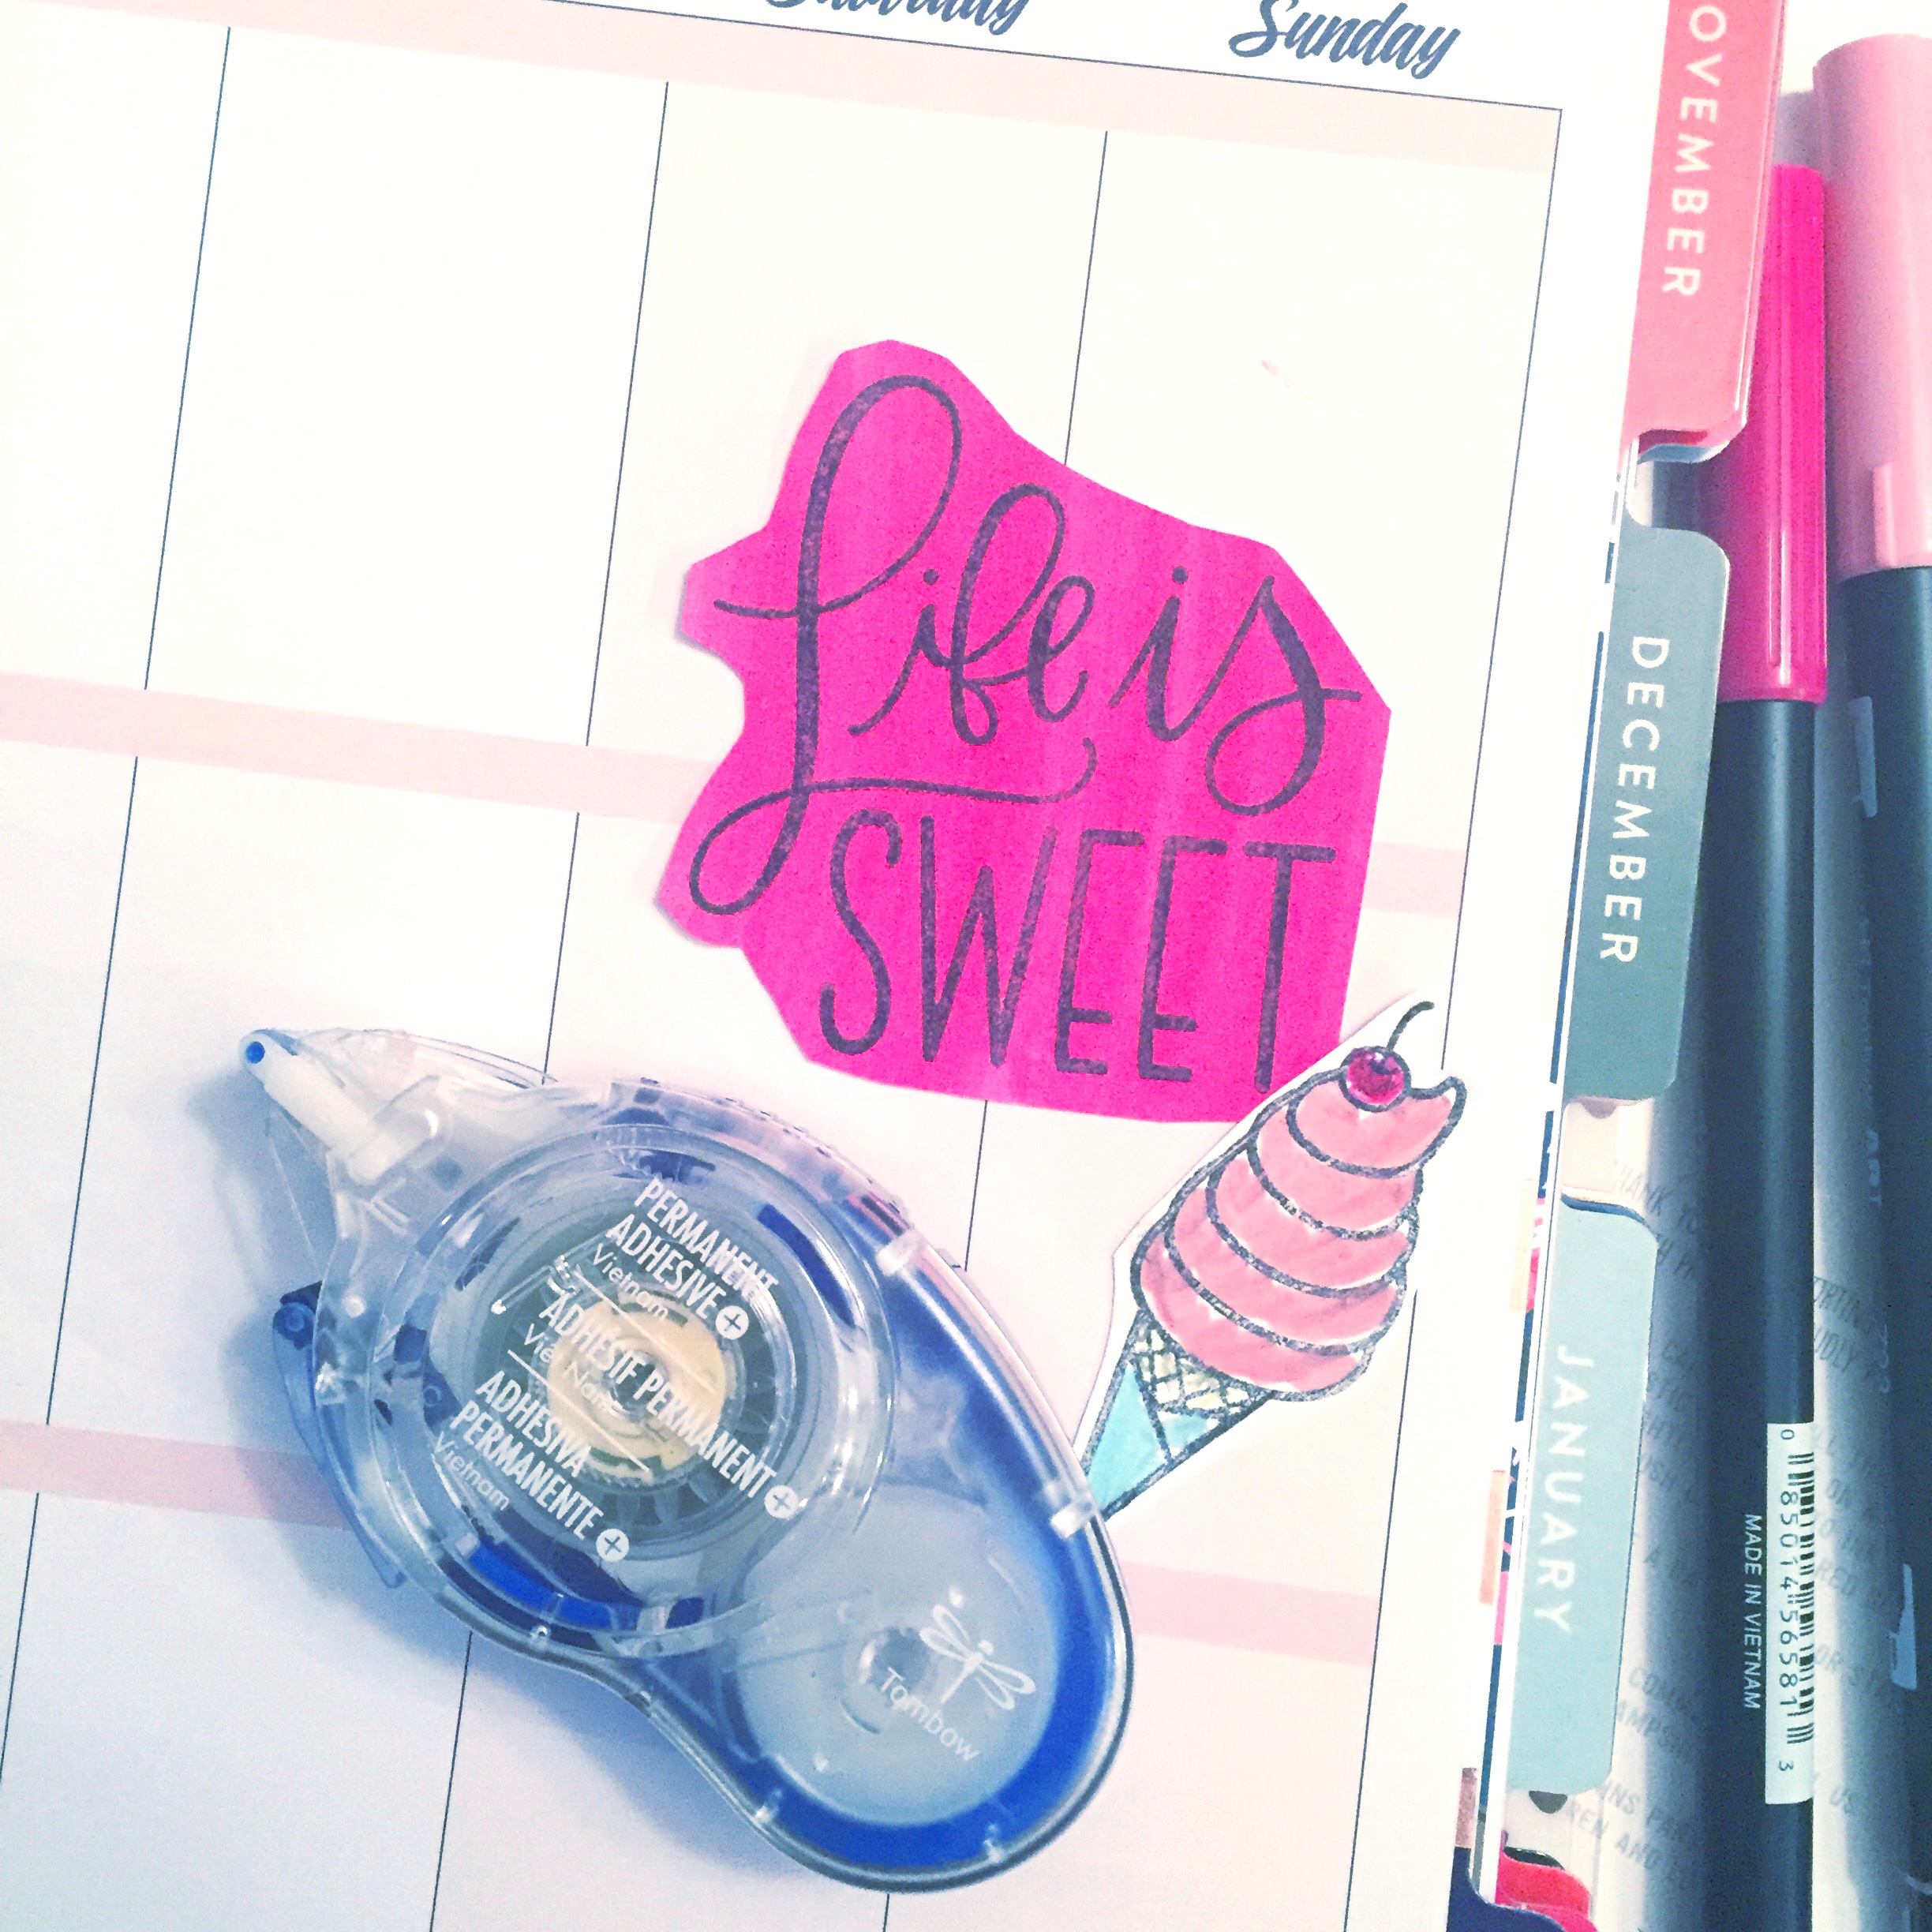
Once you are finished stamping and decorating the stickers, it’s time to cut them apart. They are ready to stick in your planner with the Tombow MONO Permanent Adhesive + or Tombow MONO Removable Adhesive.
The Sweet Stamp Shop stickers are easy to peel off and place in your planner.
For stickers that you are wanting to keep permanently in your planner, use the Tombow MONO Permanent Adhesive + to attach them, like I did with the Life is Sweet stamp set.
Want to reuse a sticker? I often like to do this in my school plan book. Use Tombow MONO Removable Adhesive to stick on stickers and move them wherever you want to around your planner!
Planner stickers were never so easy! With 96 different colors of Dual Brush Pens, the options are endless! Create your own stickers! Make sure to share what you create on instagram and run over to @renmadecalligraphy to say hi, while you are at it! For more tips, tricks, and crafty, lettery goodness, head on over to renmadecalligraphy.com. To shop the products in this post check out tombowusa.com and sweetstampshop.com.
Happy Crafting!
Lauren

Hey Lauren! Way to be organized with Tombow and Sweet. Staying on top of your events with your planner in the cutest way.
Great creations ! These stickers look so fun and cute !!
Be organized with Tombow and Sweet. Use your cute planner to stay on top of all your events.