Hey Everyone! This is Jennie with my last post this year. I want to start 2018 in a magical way! So today I’m sharing a DIY Magic Wand Tutorial! This is also a cool photo prop for your awesome New Year’s party! Grab my favorite hardcore adhesive, the Tombow Xtreme Adhesive. 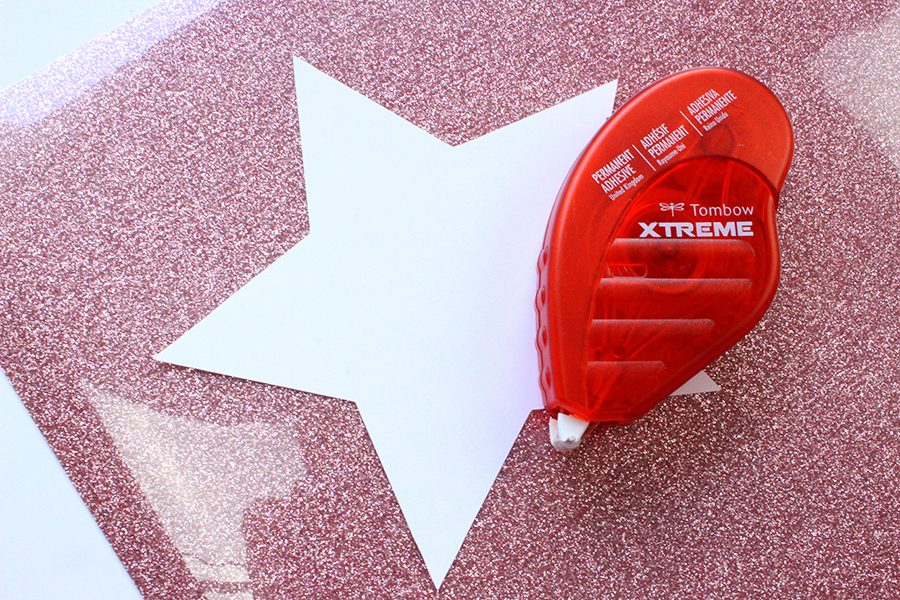
First, trace or die cut a star using the Tombow MONO Twin Permanent Marker.
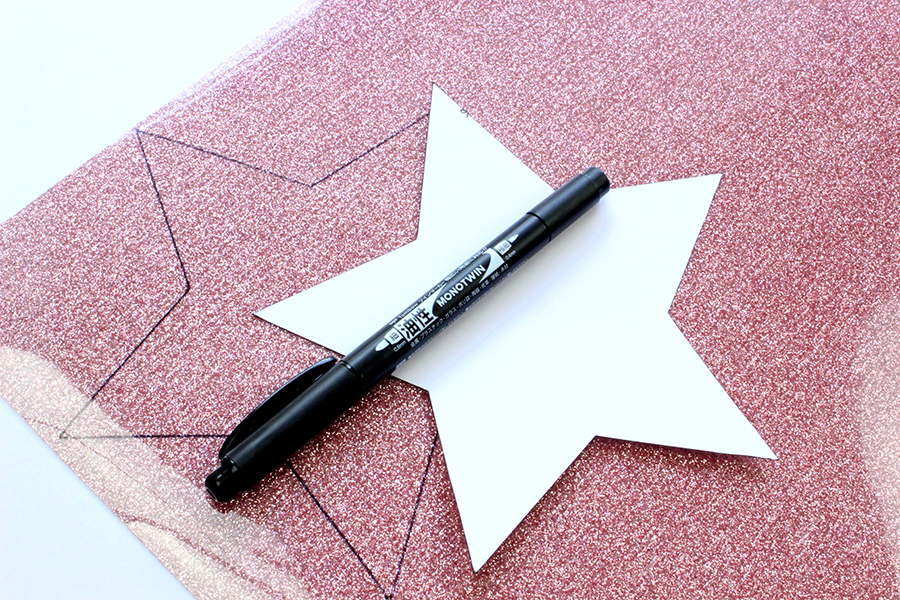
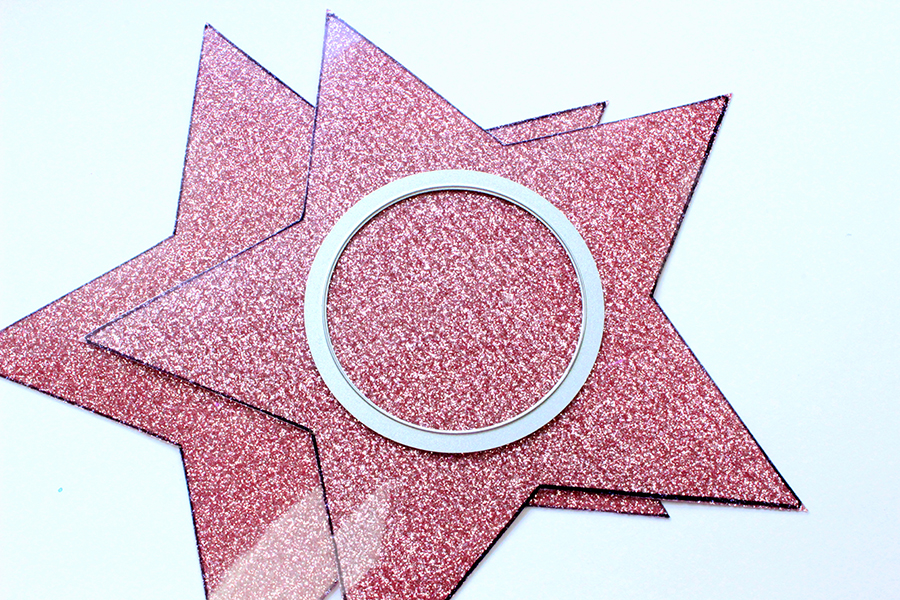
This glitter cardstock had a plastic cover. Otherwise, I would’ve cut the marker line. I prefer to use long scissors to cut long straight lines. At the center, I’m going to cut a circle to have a window for a shaker. The circle is a die from Sizzix.
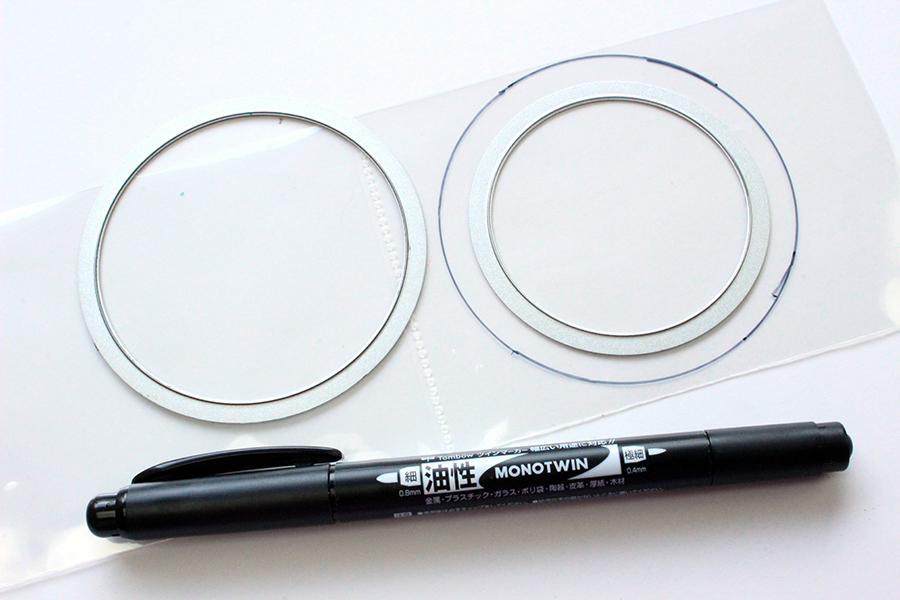
I used the next big die to trace the shaker pocket using the MONO Twin Permanent Marker . To seal it I used the Fuse Tool. I left a space open to add the sequins and glitter. Once I’m done I seal it completely.
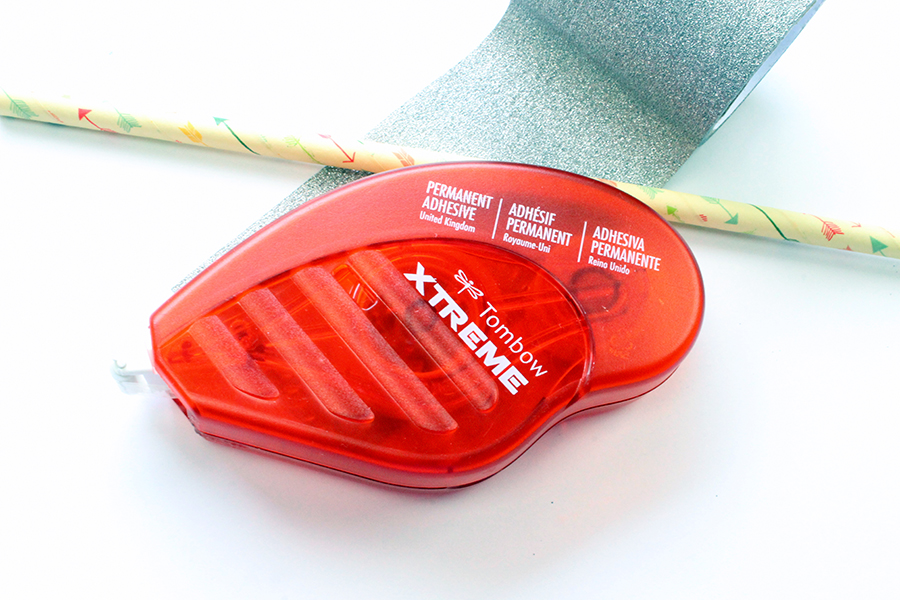
For the stick of the magic wand I used a straw. This one is very sturdy. Since the color didn’t match I covered it with washi tape. I used the Tombow Xtreme Adhesive to make sure the washi wouldn’t peel off. Another good option would be a dowel.
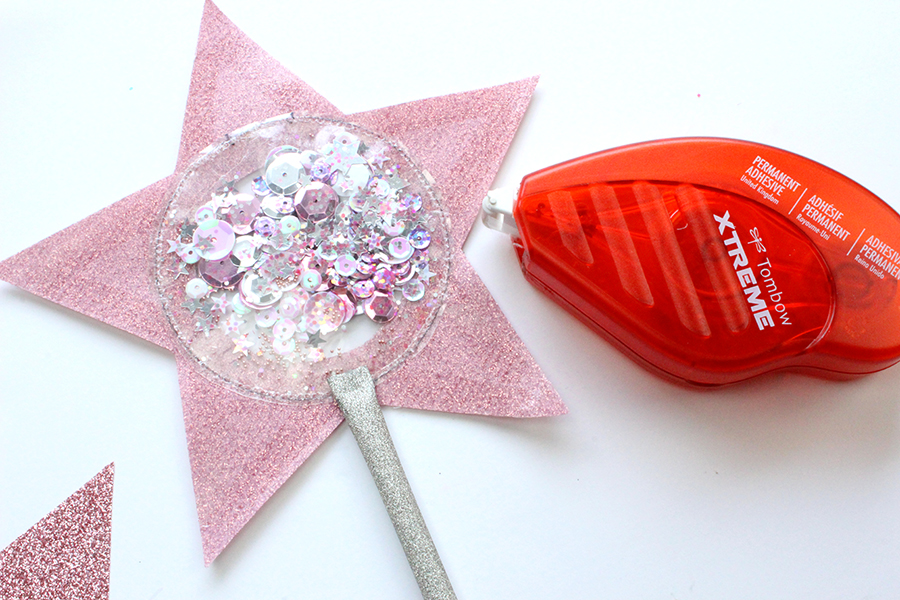
Make a sandwich with the two layers of paper and shaker pocket. The shaker pocket has to be a bit bigger than the window. You need a space at the bottom for the straw. Flatten the top part of the straw.
Finally, I added trim and stars. To glue the stars I used the Tombow Xtreme Adhesive Tabs.
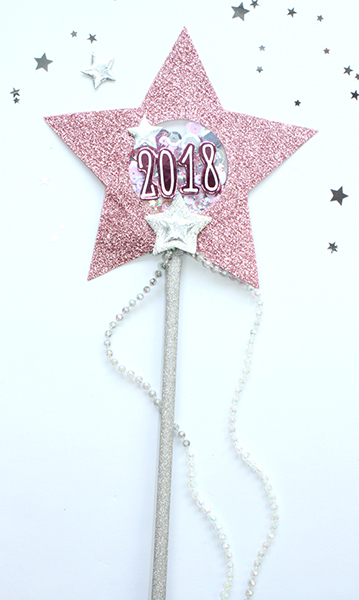
Also used stickers to add the year. If you feel like sharing the magic you can put confetti mixes to pop open at 12!
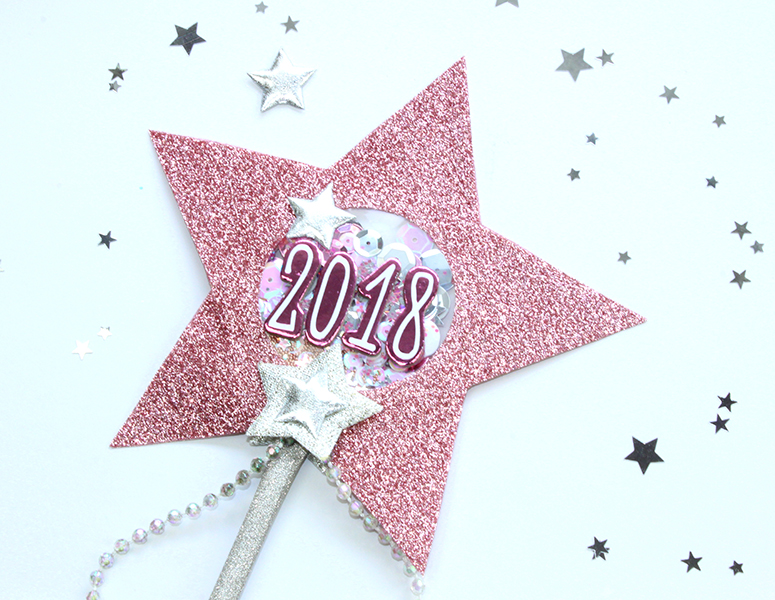
This I hope your year starts in a magical way! At last, best wishes from this crafty godmother!
