Hi Friends! It’s Renee from thediyday and I am sharing a wonderful way to create a watercolor effect using Tombow Dual Brush Pens and rubber stamps. In the past, I was often stuck using a plain black stamp pad, and that became very blah for me (sometimes it ruined my color scheme too). Now, I could’ve easily solved the problem by purchasing multiple stamp pads in a variety of colors but I didn’t have the space to house all that ink. Then I discovered the versatility of Tombow Dual Brush Pens. See what I’m talking about below.
Supplies Needed
- Tombow Dual Brush Pens
- Watercolor Paper
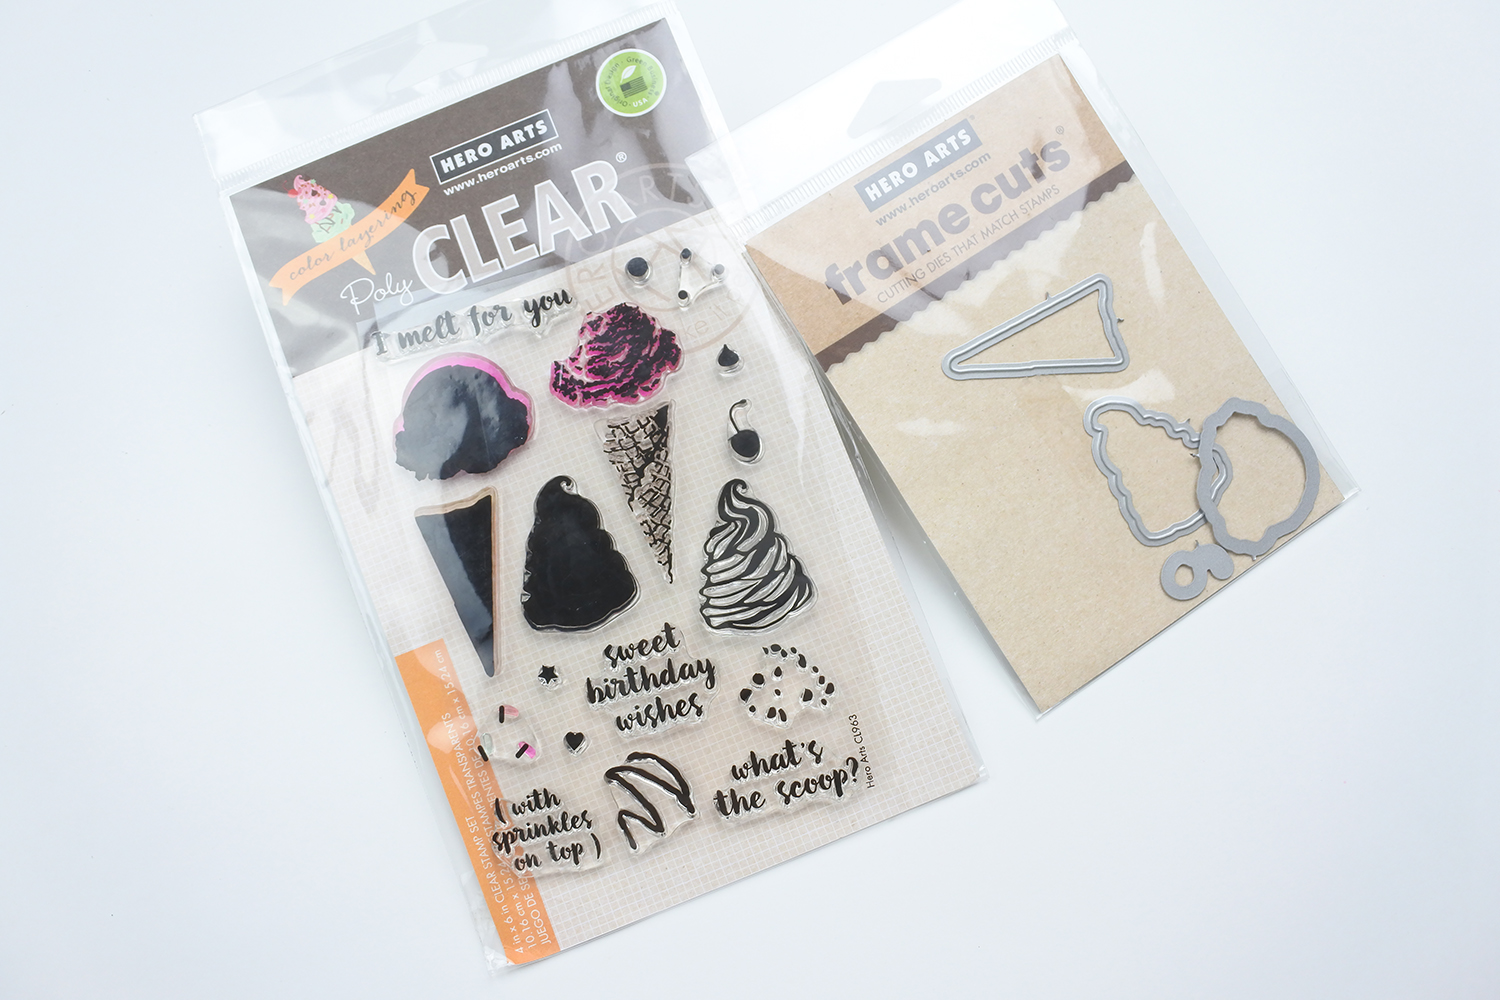
- Stamps (layering stamps work well)
- Corresponding Die Cuts (optional) (a stamped image can always be cut with scissors)
- Tombow Xtreme Adhesive
- Tombow Mono Drawing Pens
- Tombow Fudenosuke Brush Pen (soft tip)
- Watercolor Brush
- Water
- Tombow Lettering Worksheets (optional)
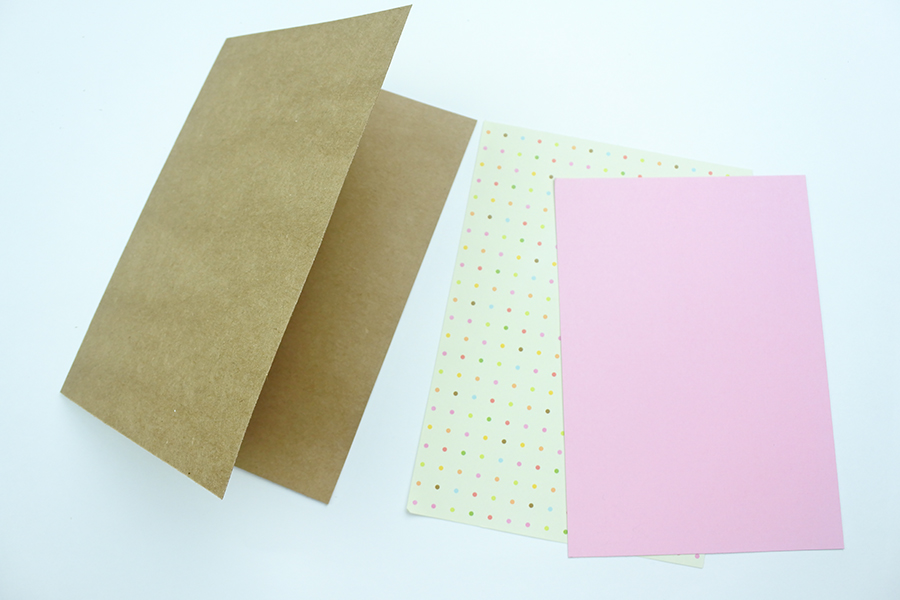
The Paper
Watercolor paper is an absolute must. Computer paper or other paper not suitable for water will cause buckling or warping.
For the first part, I used my watercolor paper and matching dies in my die cut machine. If a die cut machine is unavailable – that’s okay, just skip to the next step.
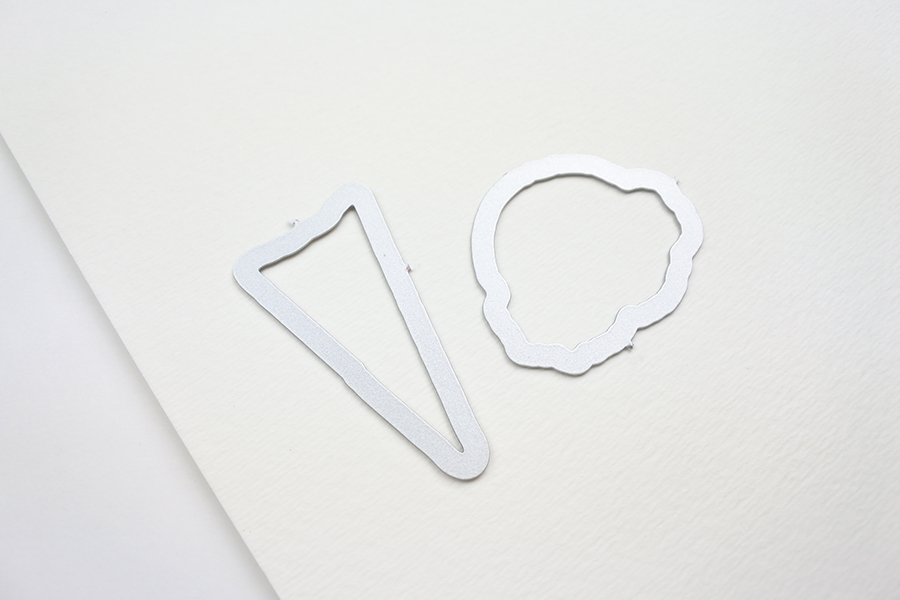
The Stamping
Now that the die cut has been fed through the machine, it’s ready for stamping. Be sure the stamp is clean and there’s no residue from past stamping projects.
These are the brush pens I used for the ice cream cone and scoops of ice cream.
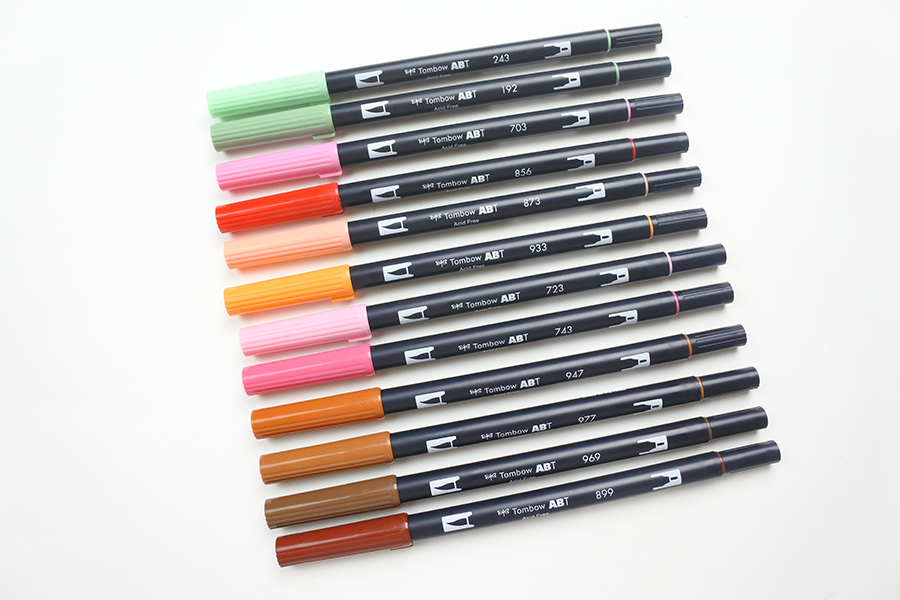
Coloring in the stamp takes the place of a traditional stamp pad. And, because I am using layering stamps, I used a lighter color brush pen (#977) for the first layer.
Now that the stamp is colored, I stamped the image onto the die cut (if not using dies, just use the stamp on watercolor paper).

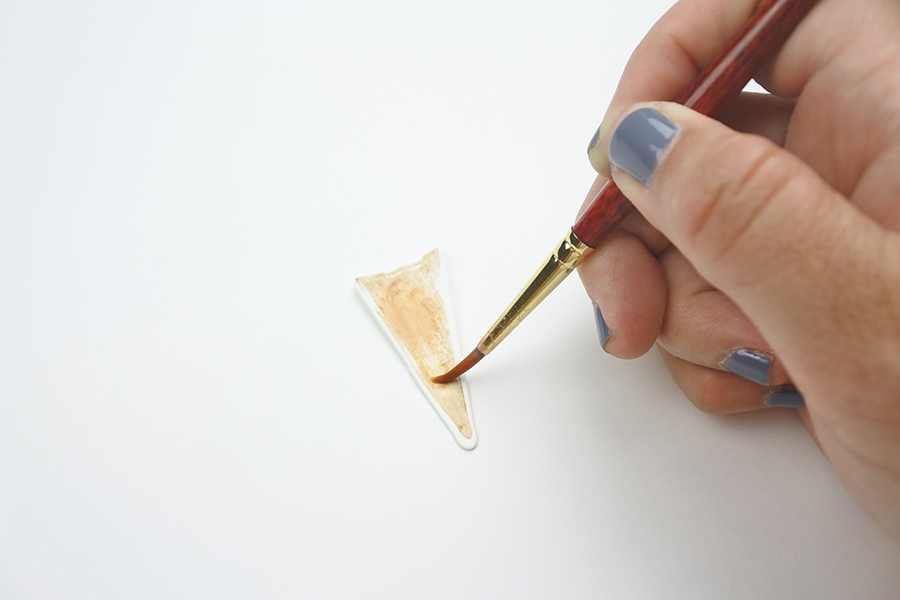
The Water and the Brush
Because Tombow Brush Pens are water based, adding a bit of water creates a very unique effect. I started by dampening my brush and applying it to the ice cream cone. This technique activated the brown to become a watercolor. Because I am stamping another layer onto the first layer, I let the paper dry first (otherwise the second layer will bleed onto the first and become a blob).
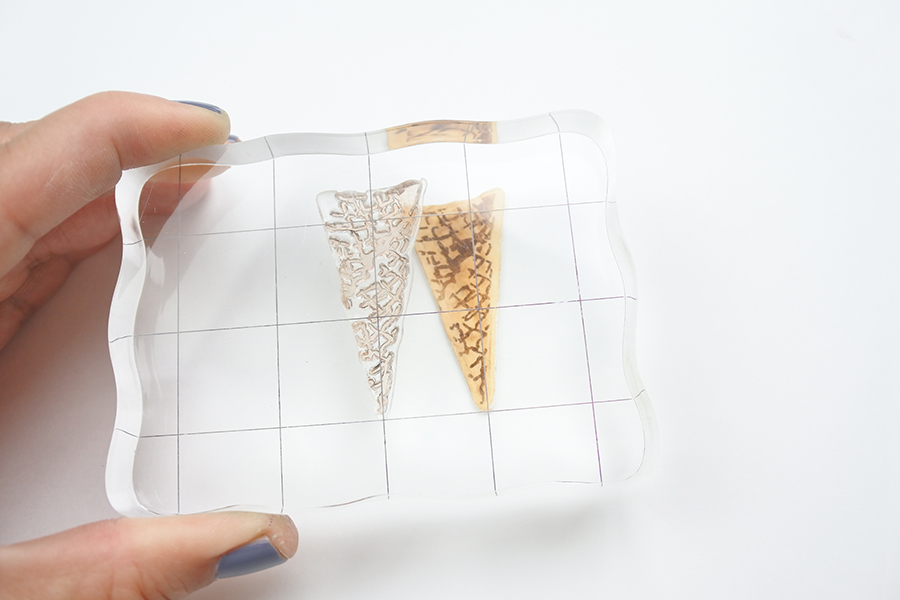
Next, I colored the second stamp layer with a darker brush pen (#966) and stamped it directly on top of the first layer.
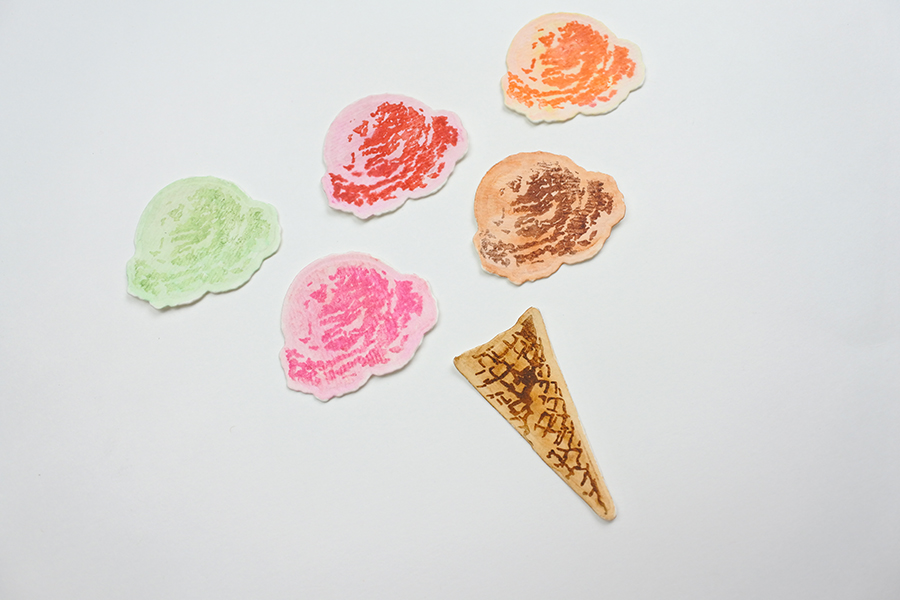
I did the same exact stamping and watercolor method mentioned above for the scoops of the ice cream. Please note, I only used the brush and water technique on the first layer of all stamped images.
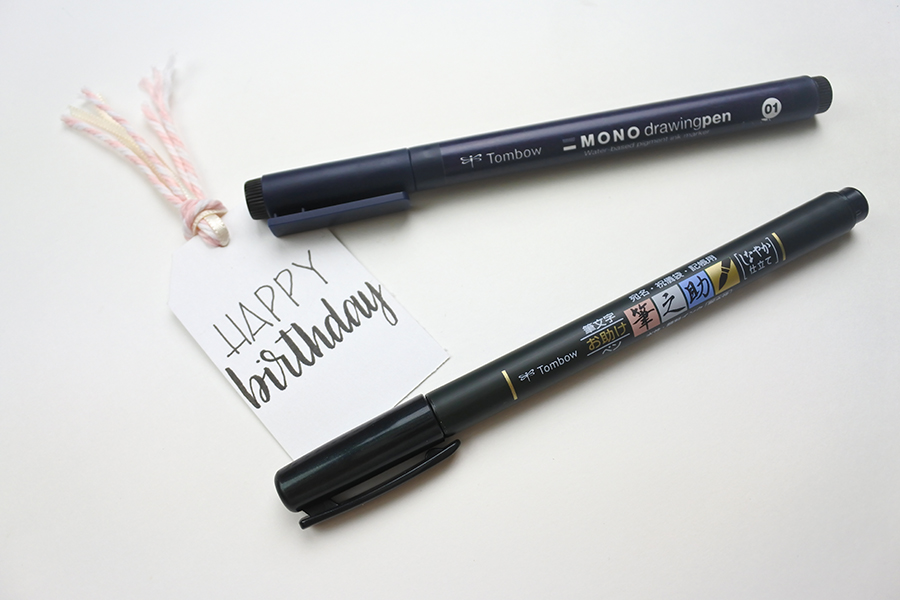
The Greeting
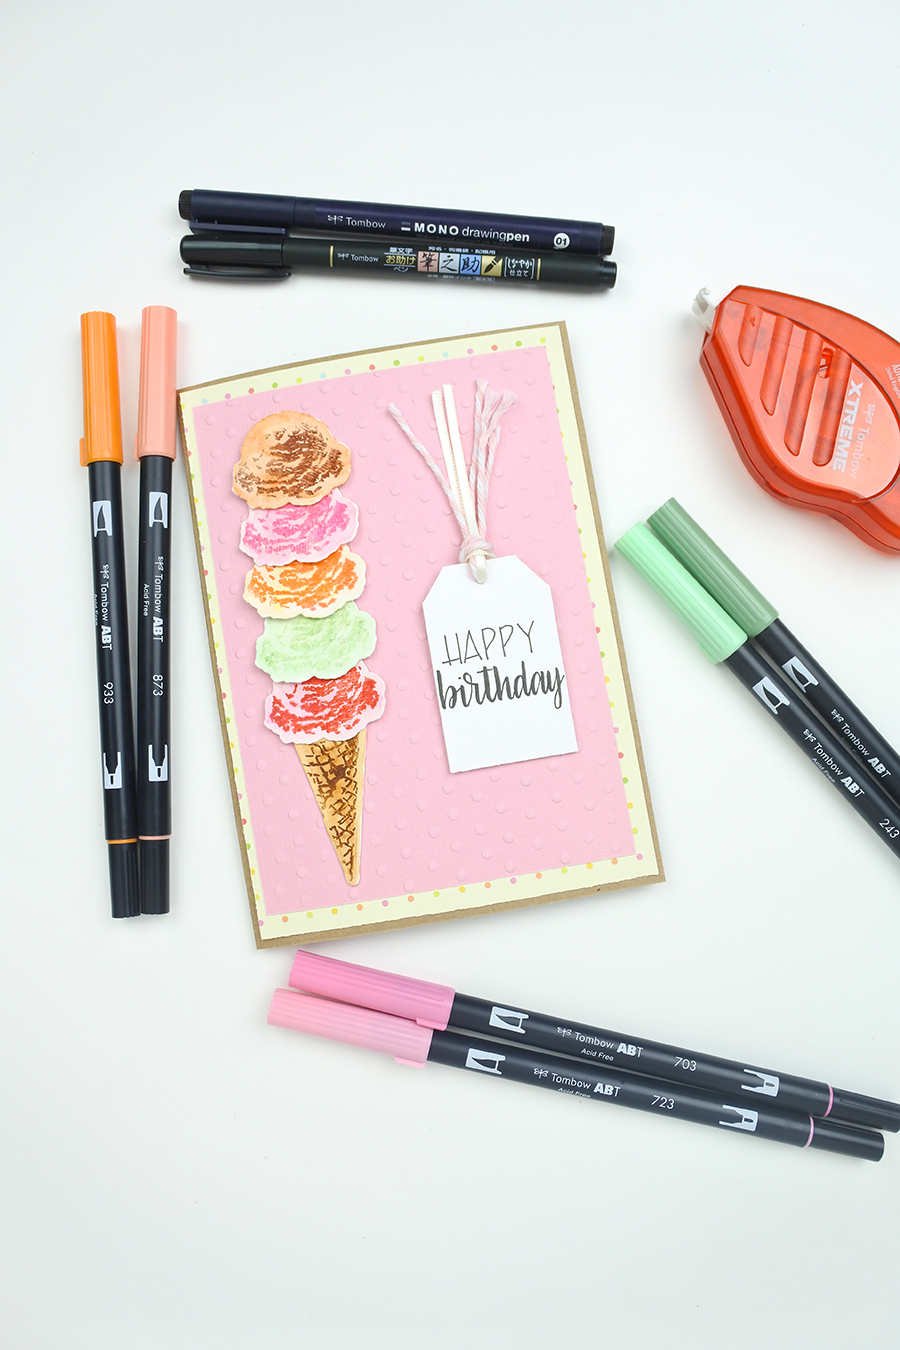
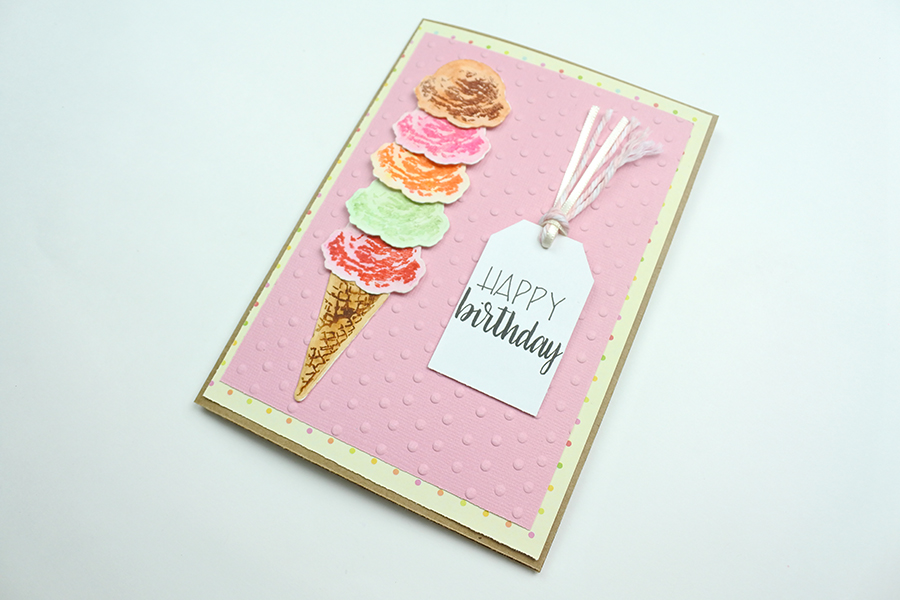
Because this is a birthday greeting card, I decided to use a white tag and letter a little greeting onto it. I lettered ‘birthday’ with a Tombow Fudenosuke Brush Pen and ‘happy’ with a Tombow Mono Drawing Pen (size 01). I had some pink striped baker’s twine so I added that to the already existing ribbon. If new to lettering or want to learn, check out Tombow’s lettering worksheets.
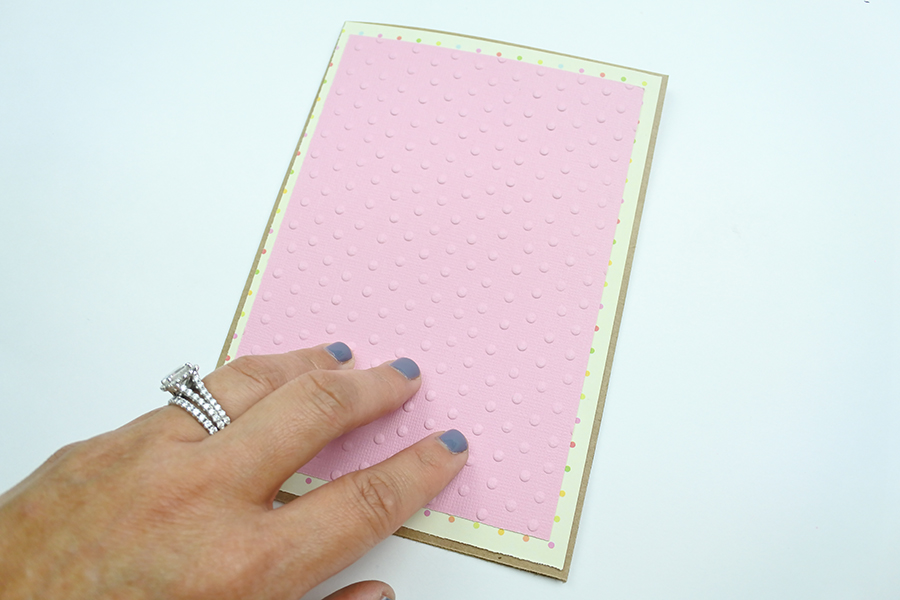
The Card
Now it’s time to assemble the card. The dimensions of this card are – the kraft colored cardstock is 7” x 5”, the multicolored dotted paper is 6.75” x 4.75”, and the pink dotted paper is 6.25” x 4.5”.
I used the Tombow Xtreme Adhesive to adhere each paper layer onto the other.
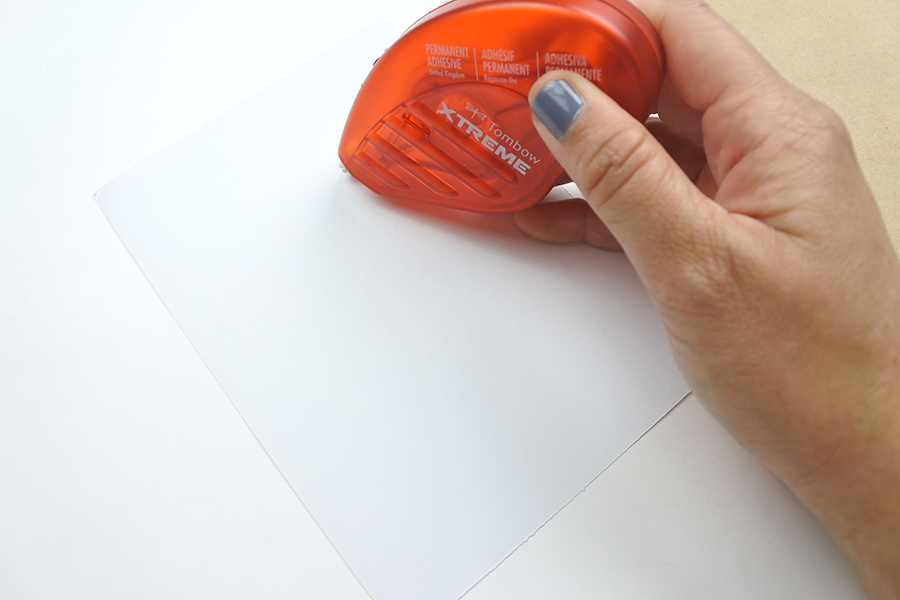
Then, with the same adhesive, I secured the cone and scoops of ice cream onto the card along with the happy birthday tag. I chose this adhesive over glue because this adhesive is strong and most importantly it won’t cause the paper to curl.
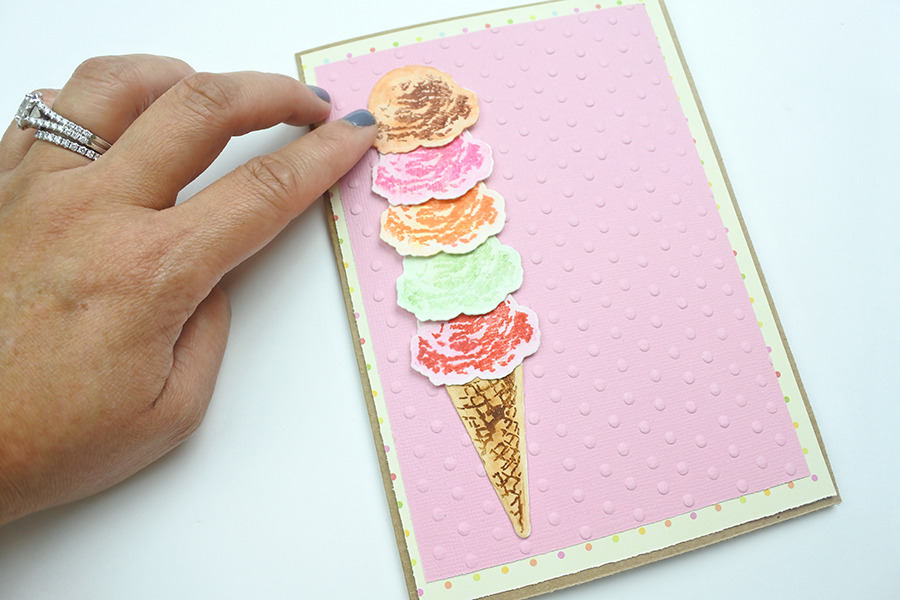
I really love using Tombow brush pens to ink my stamps, there’s so many colors to choose from. And the watercolor effect just gives the card the perfect finishing touch.
Thank you!
Renee
Pingback: Stamped and Watercolored Canvas Inspired by Renee - Tombow USA Blog
Love it!!!!
Thank you so much for teaching us