Don’t think you can draw a banner with roses? Think again! Hi, Marie Browning here to show you the steps to create a gorgeous cascading banner adorned with roses using Dual Brush Pens and the MONO Drawing Pen from Tombow. Anyone can be an artist when you follow the step-by-steps to this pretty banner; perfect for June Wedding cards, tags or journal pages!
Materials
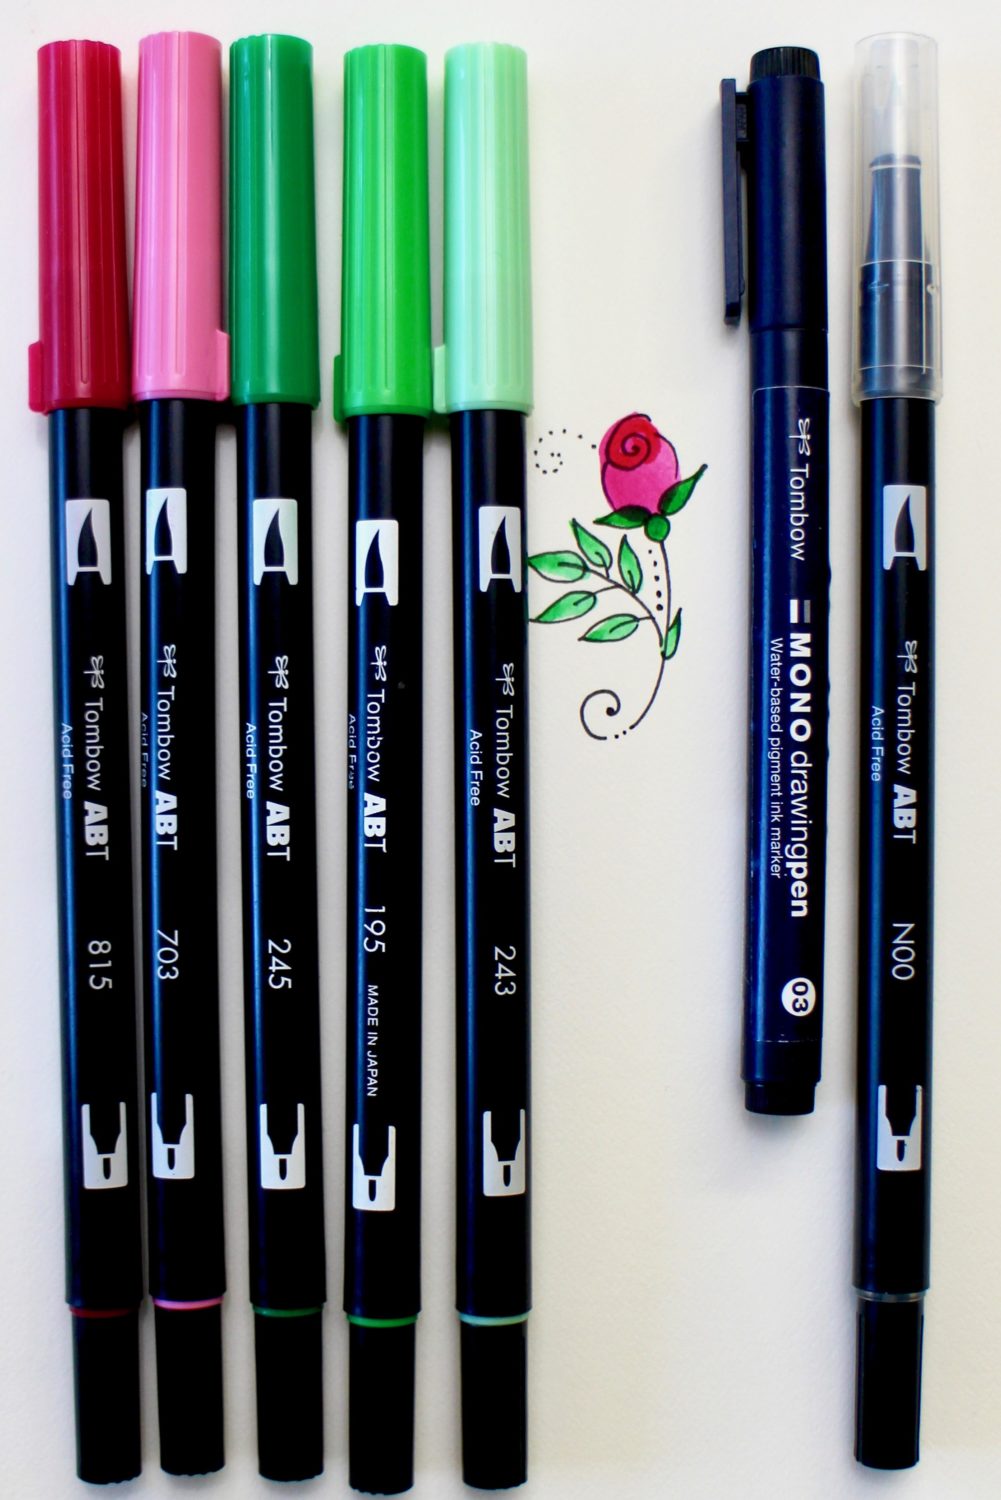
- Dual Brush Pen Palette: 243 Mint, 195 Light Green, 245 Sap Green, 703 Pink Rose and 815 Cherry
- Colorless Dual Brush Pen N00
- MONO Drawing Pen 03
Cascading Banner Steps
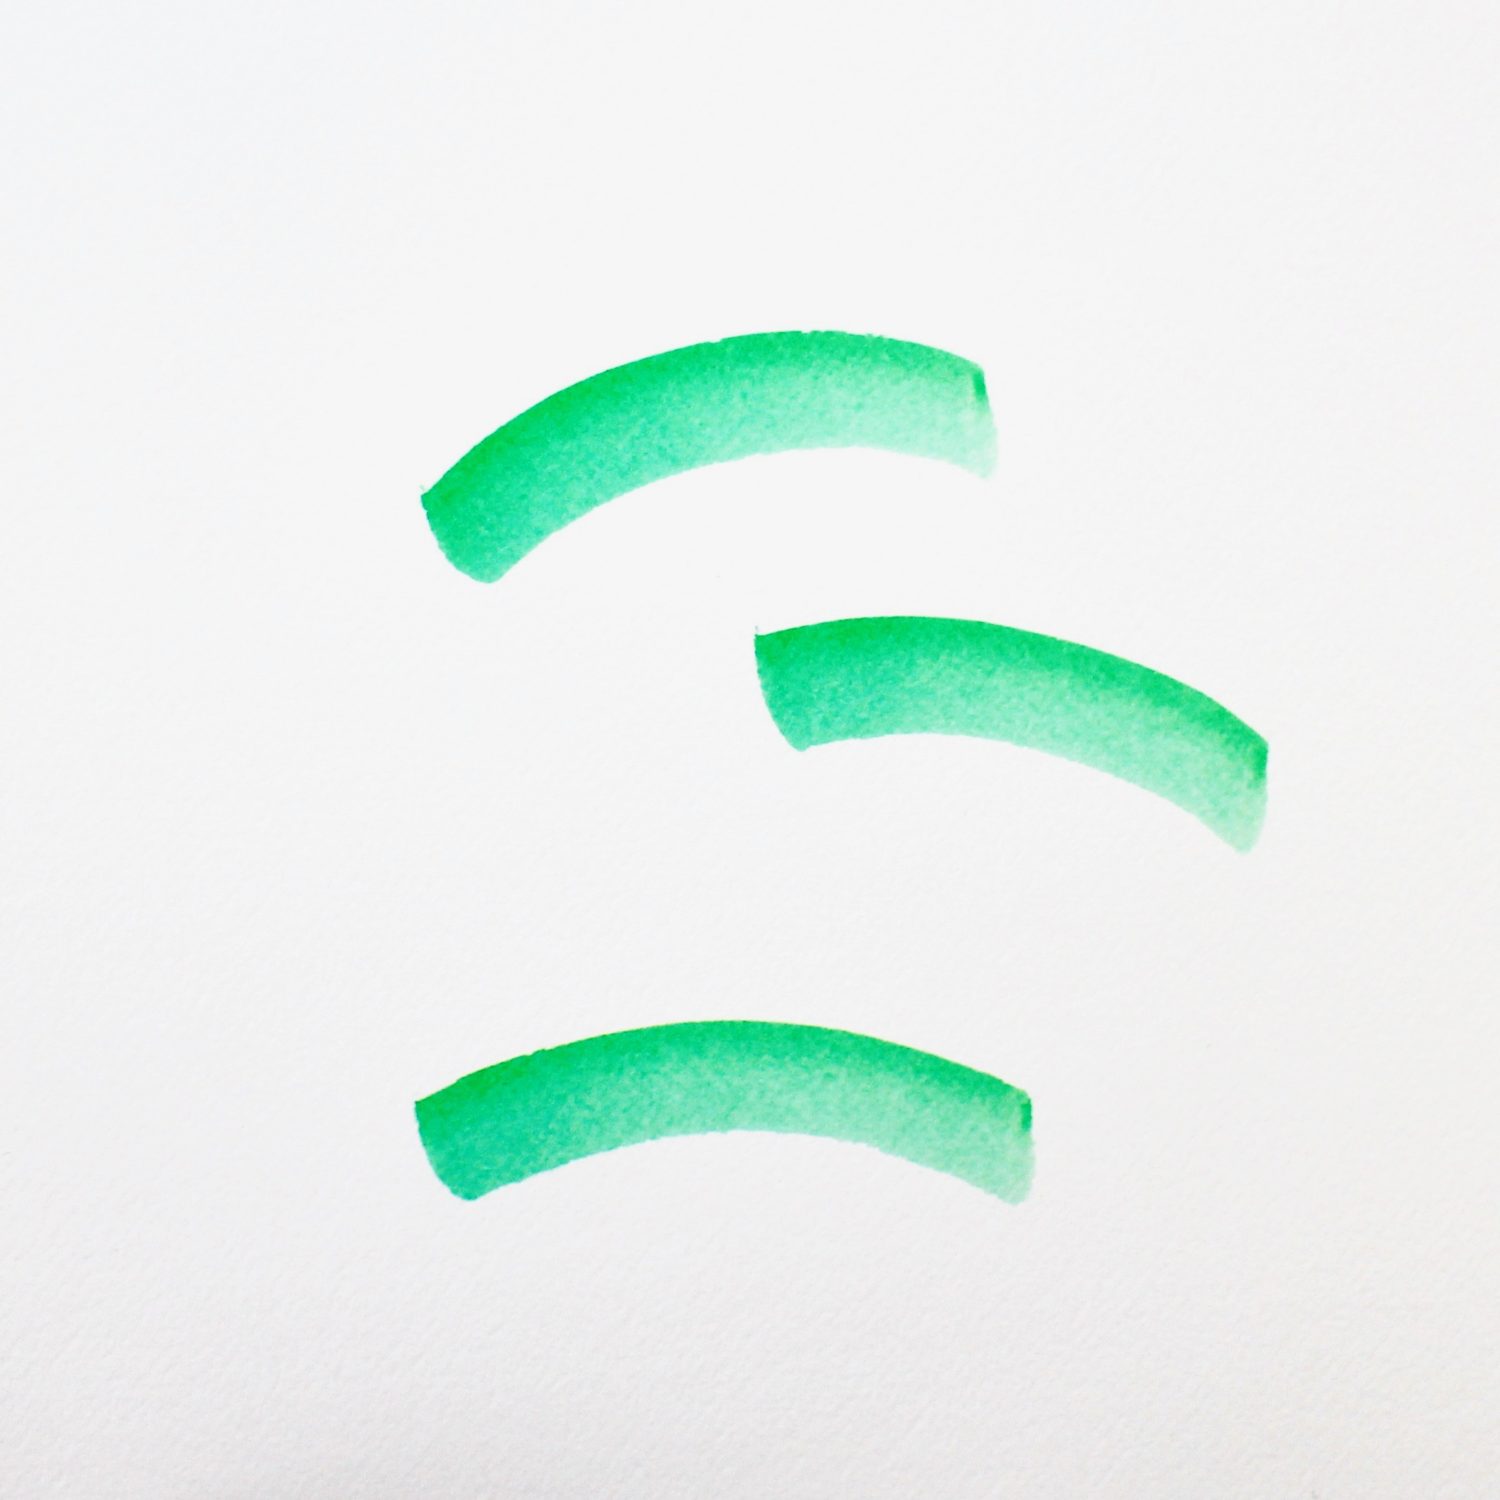
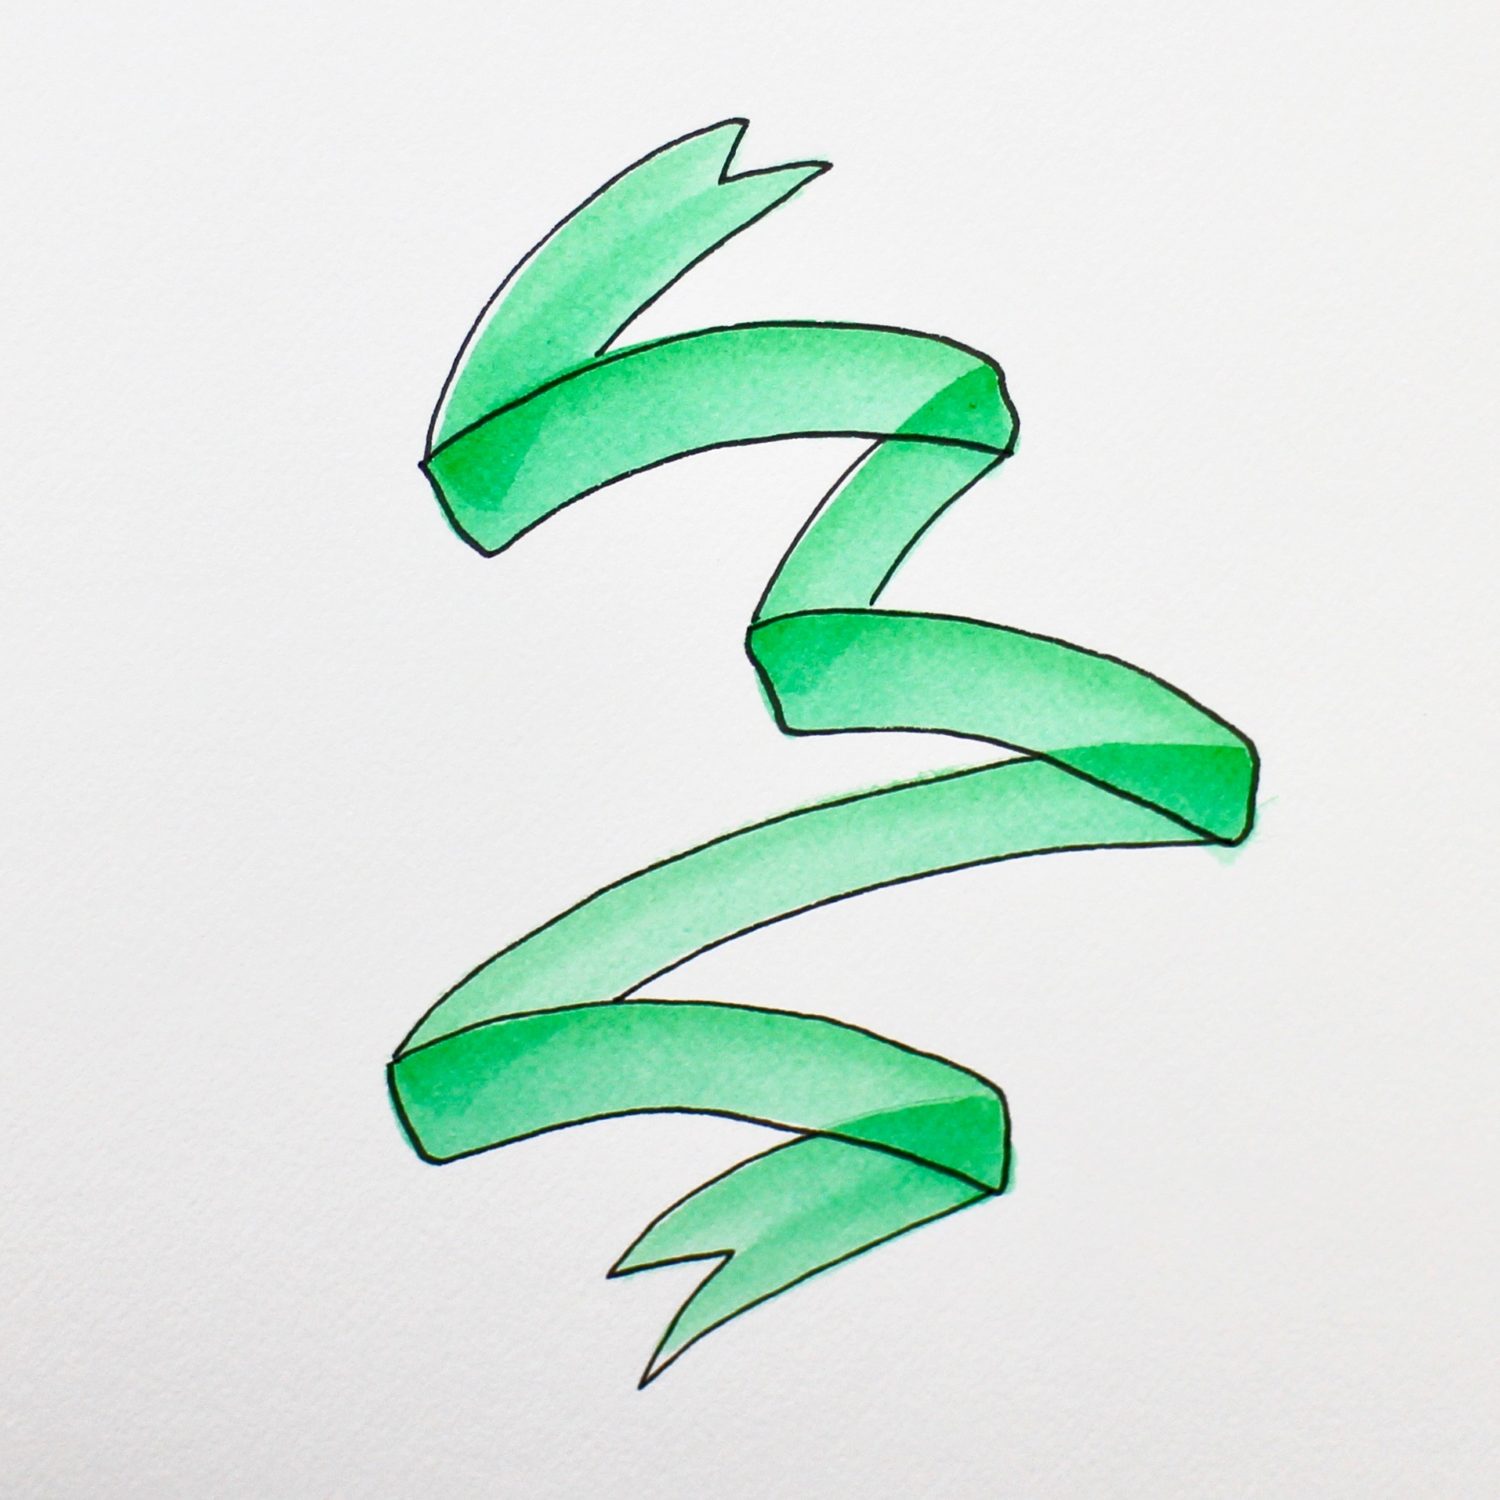
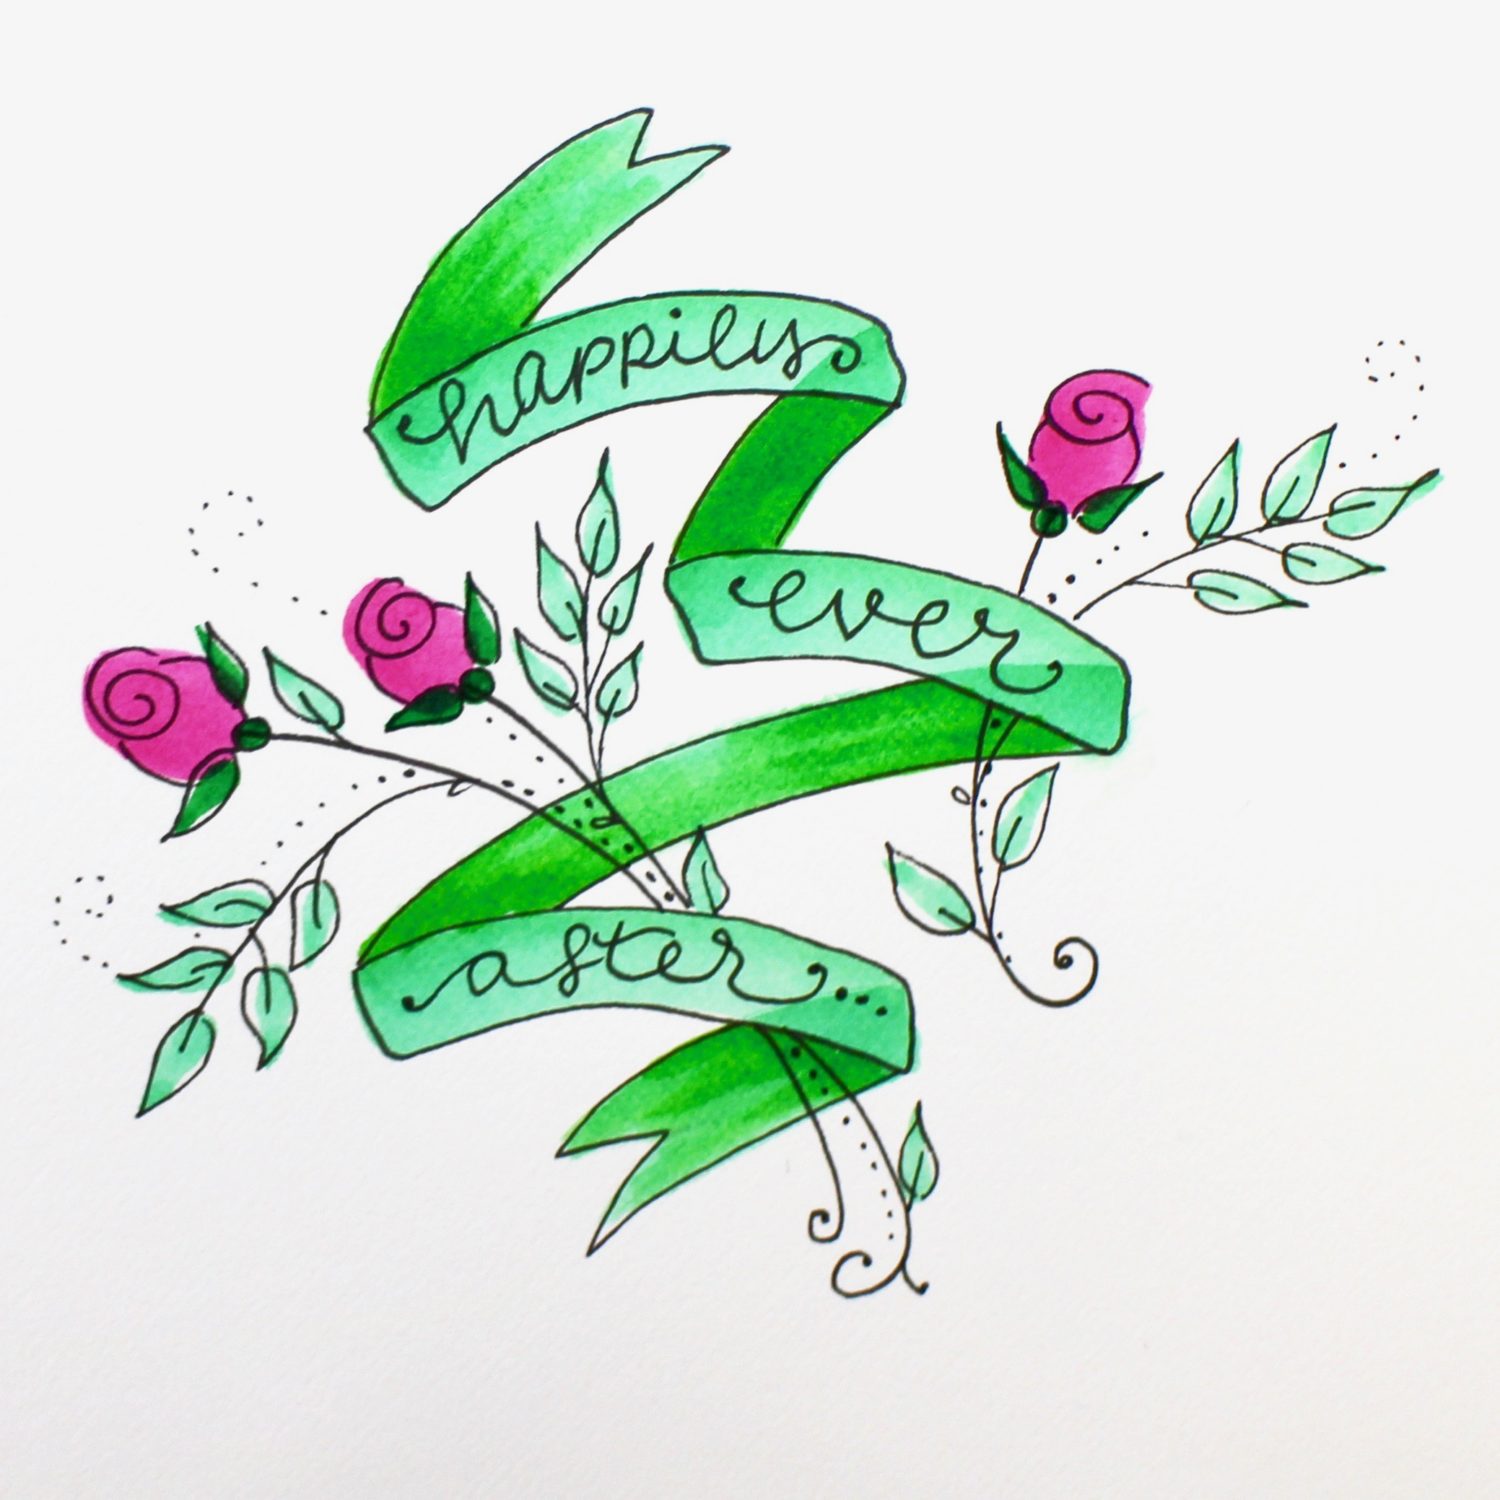
- You will need to know what you are writing in your cascading banner. I’m writing “happily ever after” so I will need three word boxes. With the 243 Mint Dual Brush Pen and using the brush tip, draw the word boxes. Push hard and use the side of the brush tip so you make a thick banner box. Don’t worry, these brush pens can take the pressure!
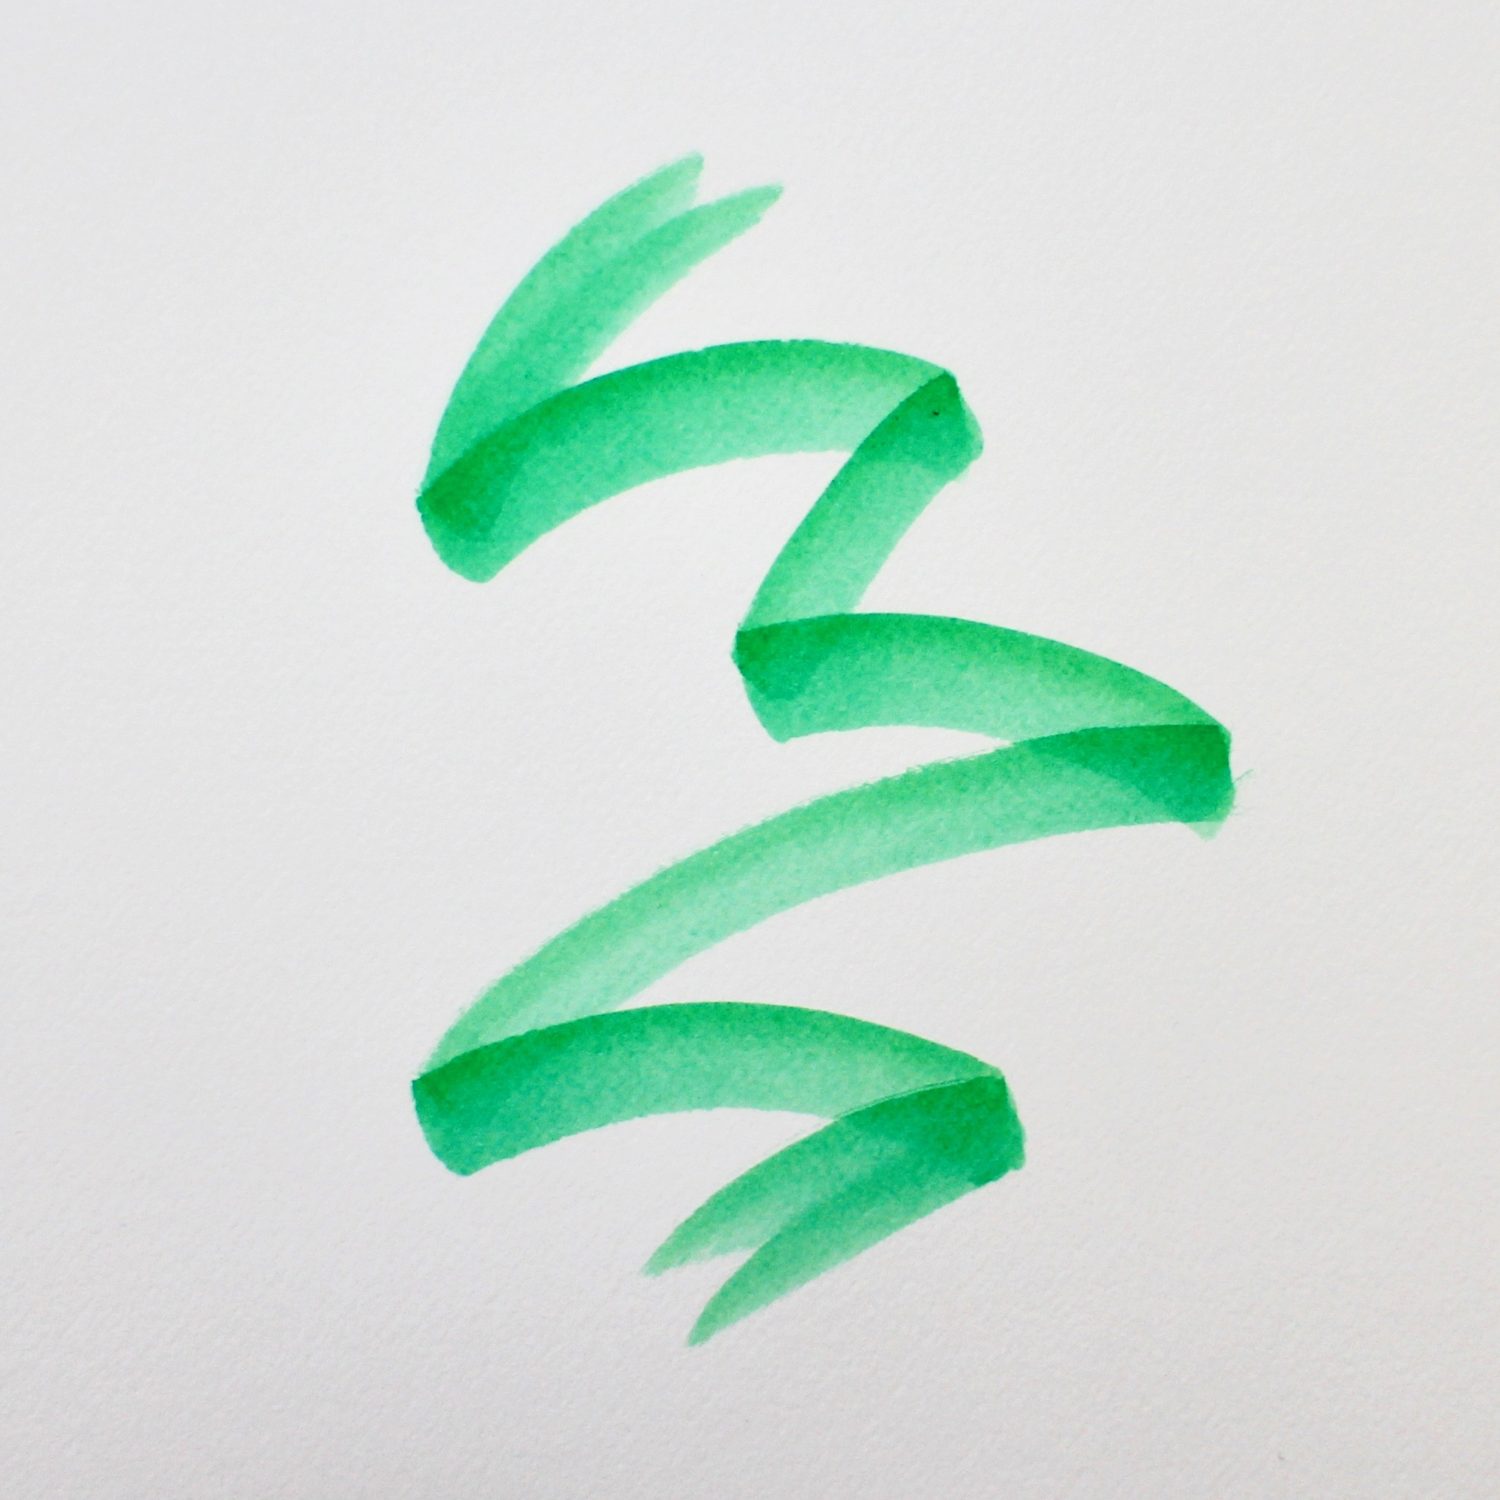
- Draw in the black boxes and tail ends using the same method and color. These back boxes and tail ends go between the word boxes in a zig-zag manner. The tail ends with two flicks of the brush pen to form the notched ends.
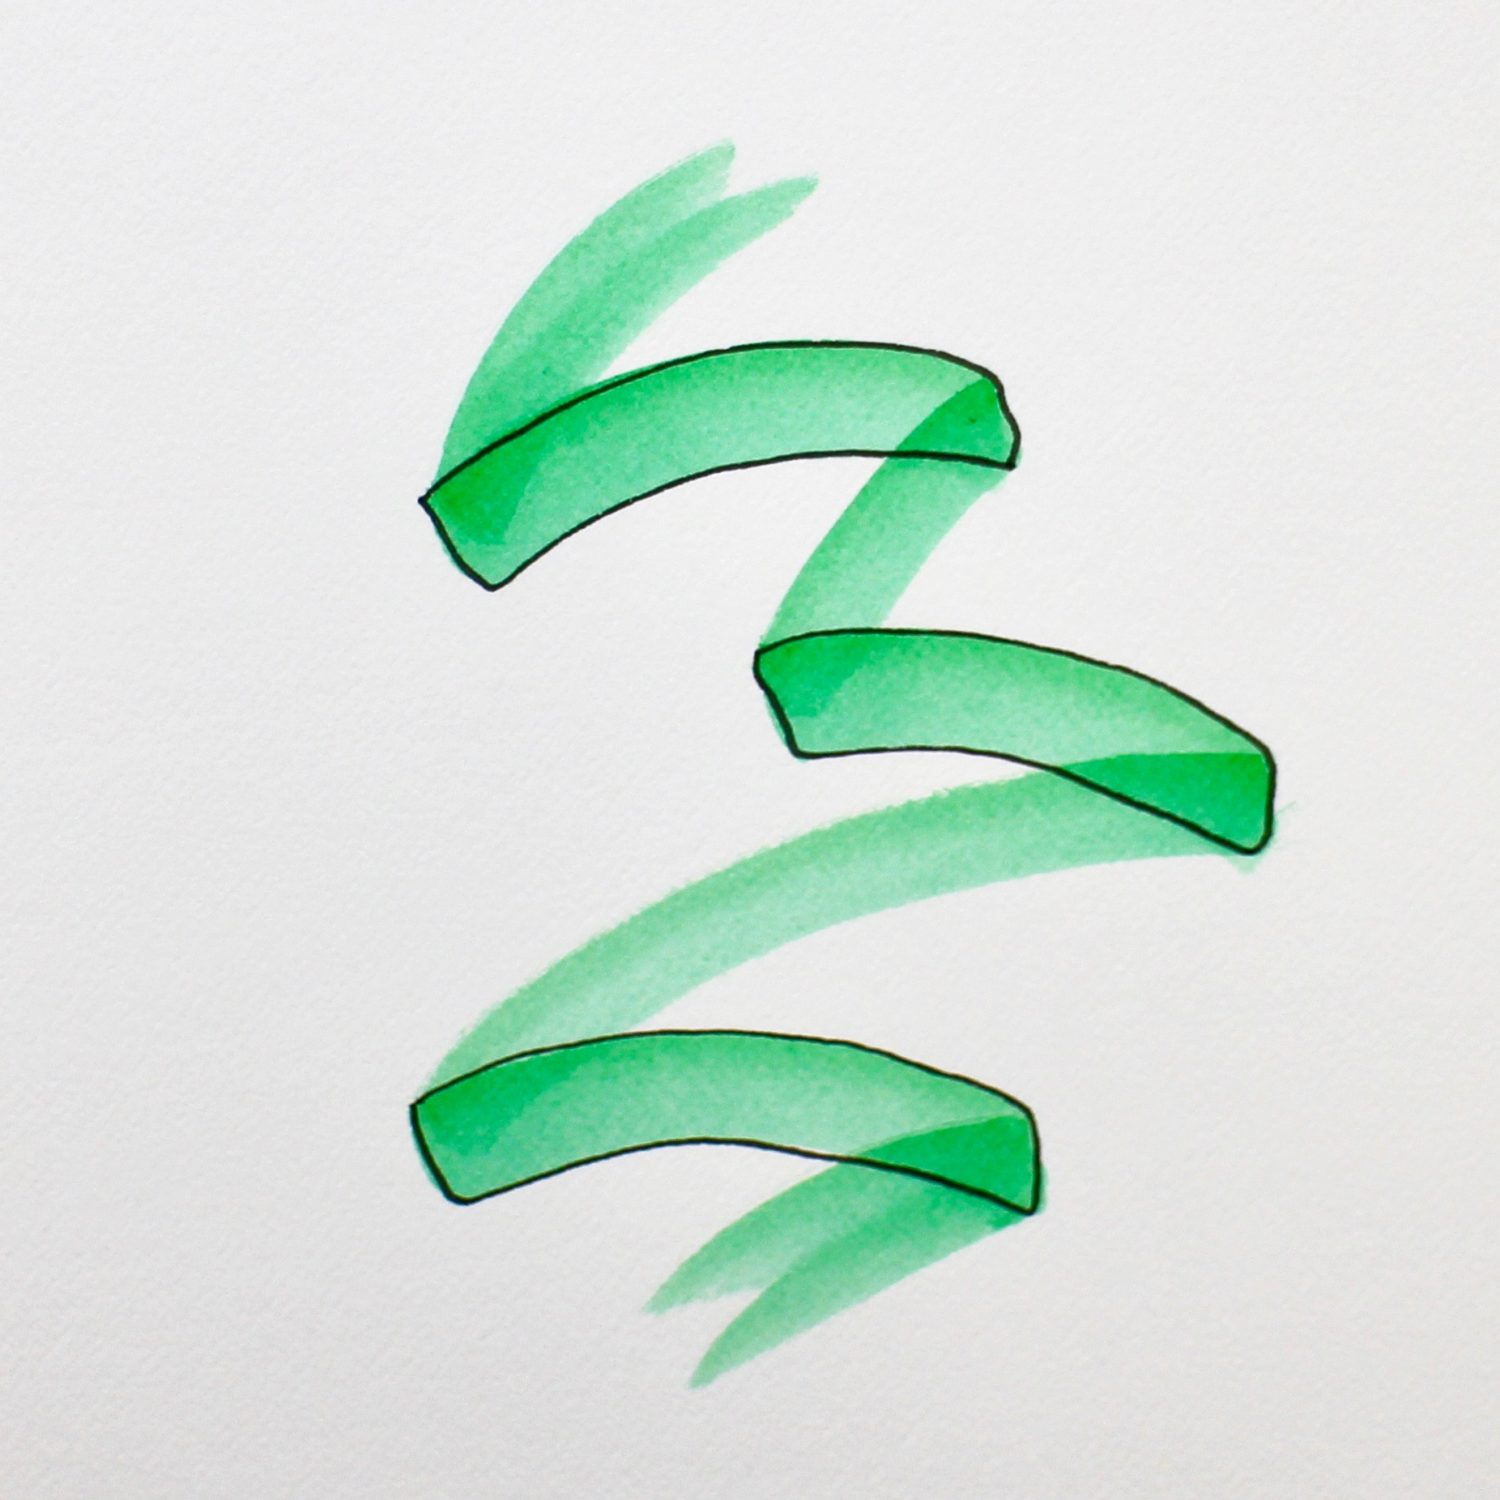
- With the MONO Drawing Pen, draw an outline around the word boxes.
- Continue tracing around the back boxes and tail ends with the Drawing Pen. How easy was that? The next steps will show you how to draw the roses!
Steps to Draw the Rose Accents
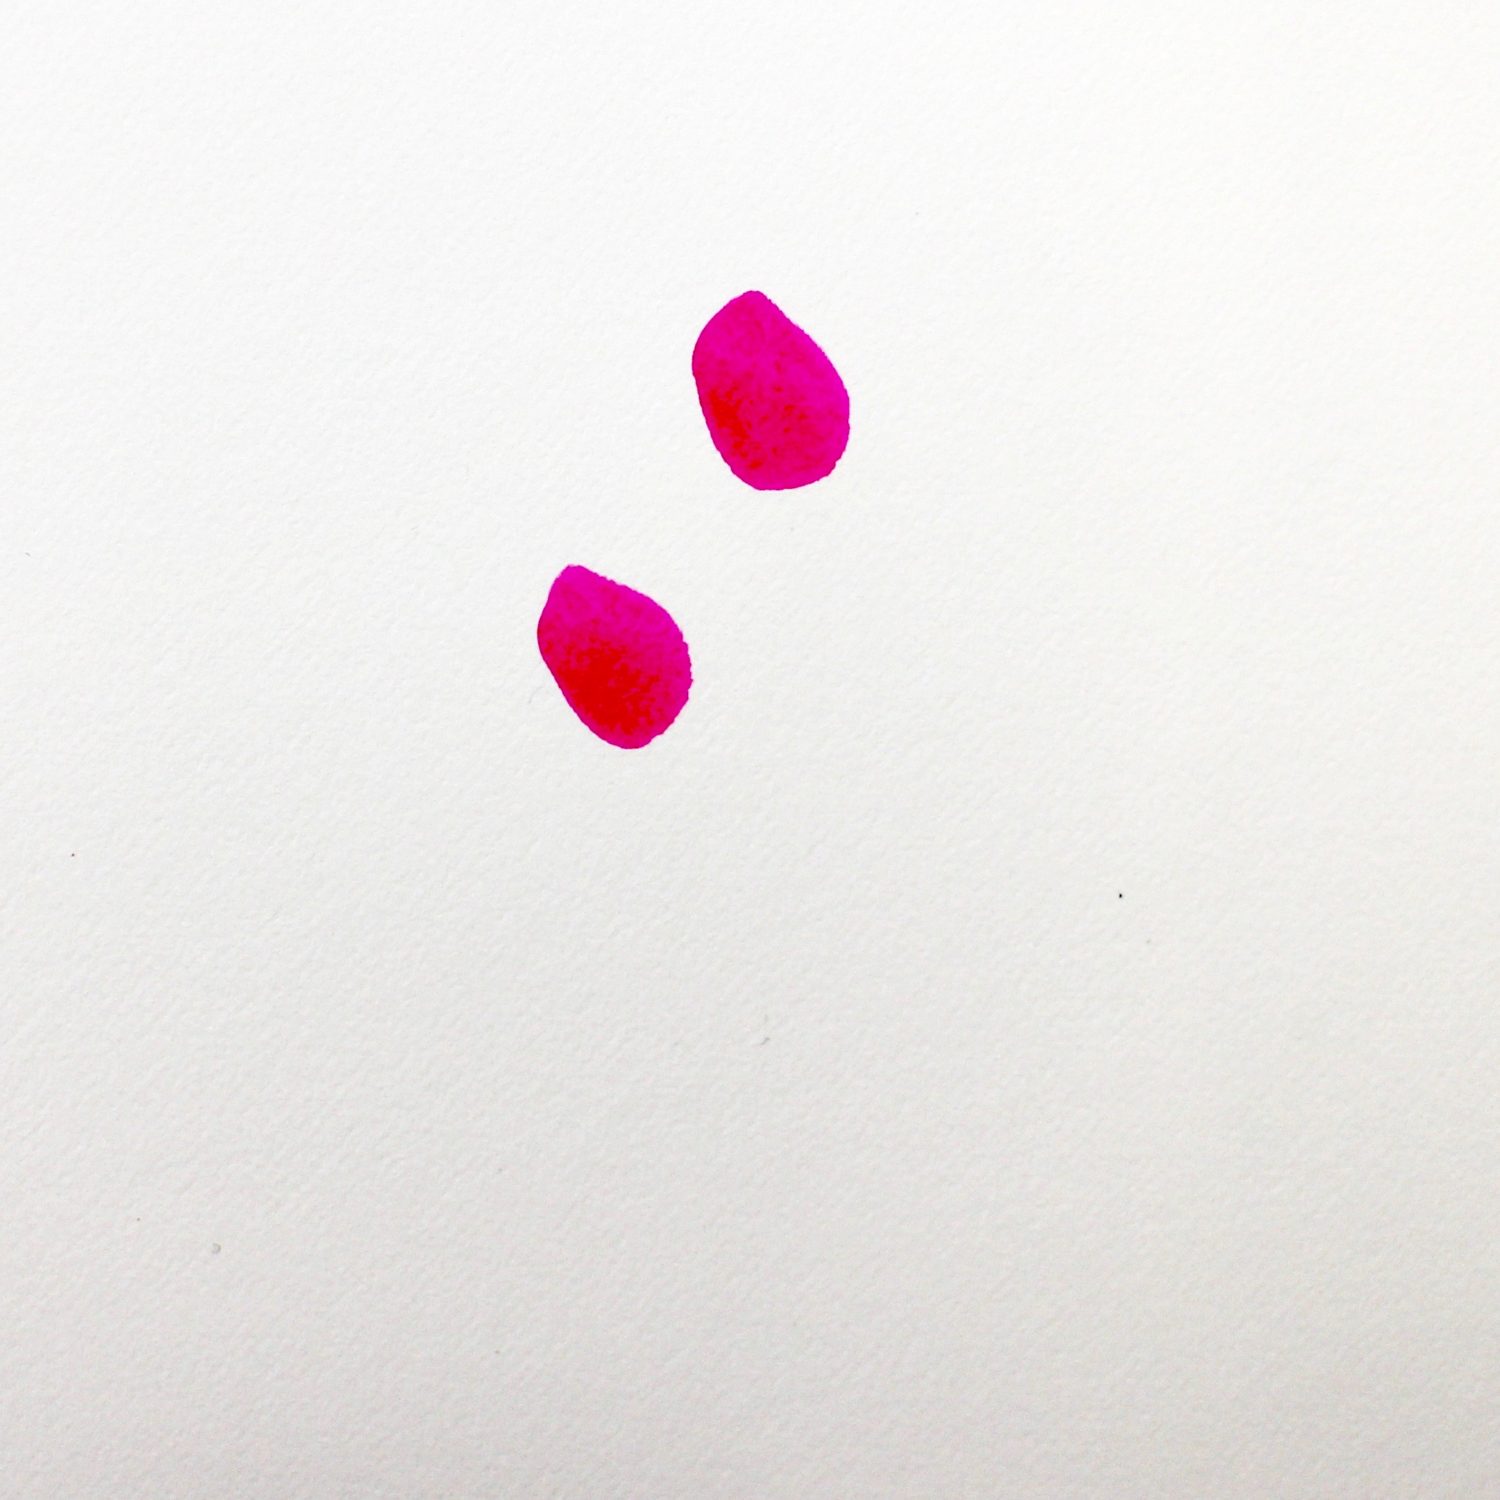
- With the 703 Pink Rose Dual Brush Pen, draw ovals for the rose blooms.
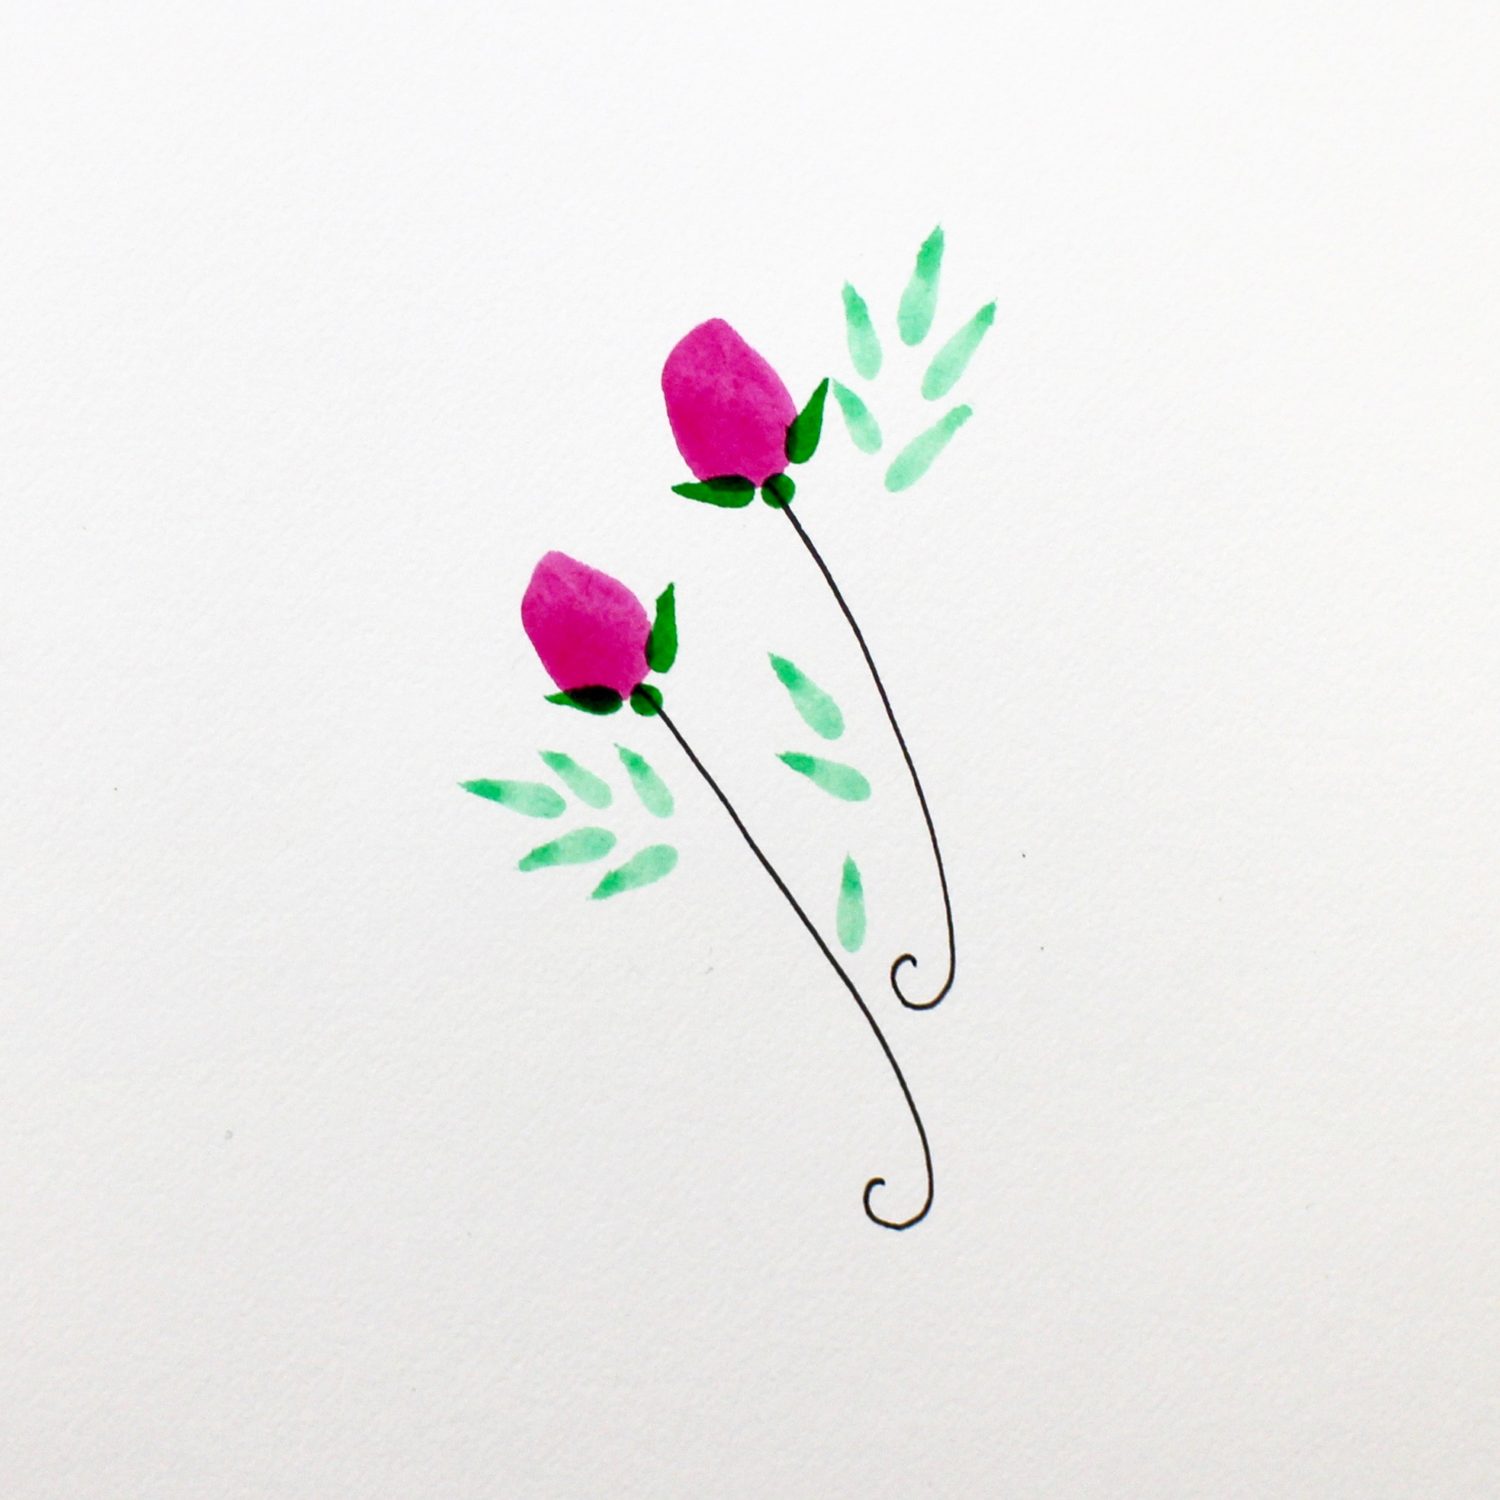
- Add the stems using the MONO Drawing Pen. It helps to place the leaves. With the 245 Sap Green Dual Brush Pen, add the calyx and side petals at the base of the rose blooms. Draw the round calyx using the fine tip of the brush pen. The side petals are just ‘dabbed’ lightly with the point of the brush tip to form the leaf shapes. With the 243 Mint Dual Brush Pen, use the brush tip and the ‘dabbing’ method to add the leaves. Use heavy pressure this time to make the leaves large.
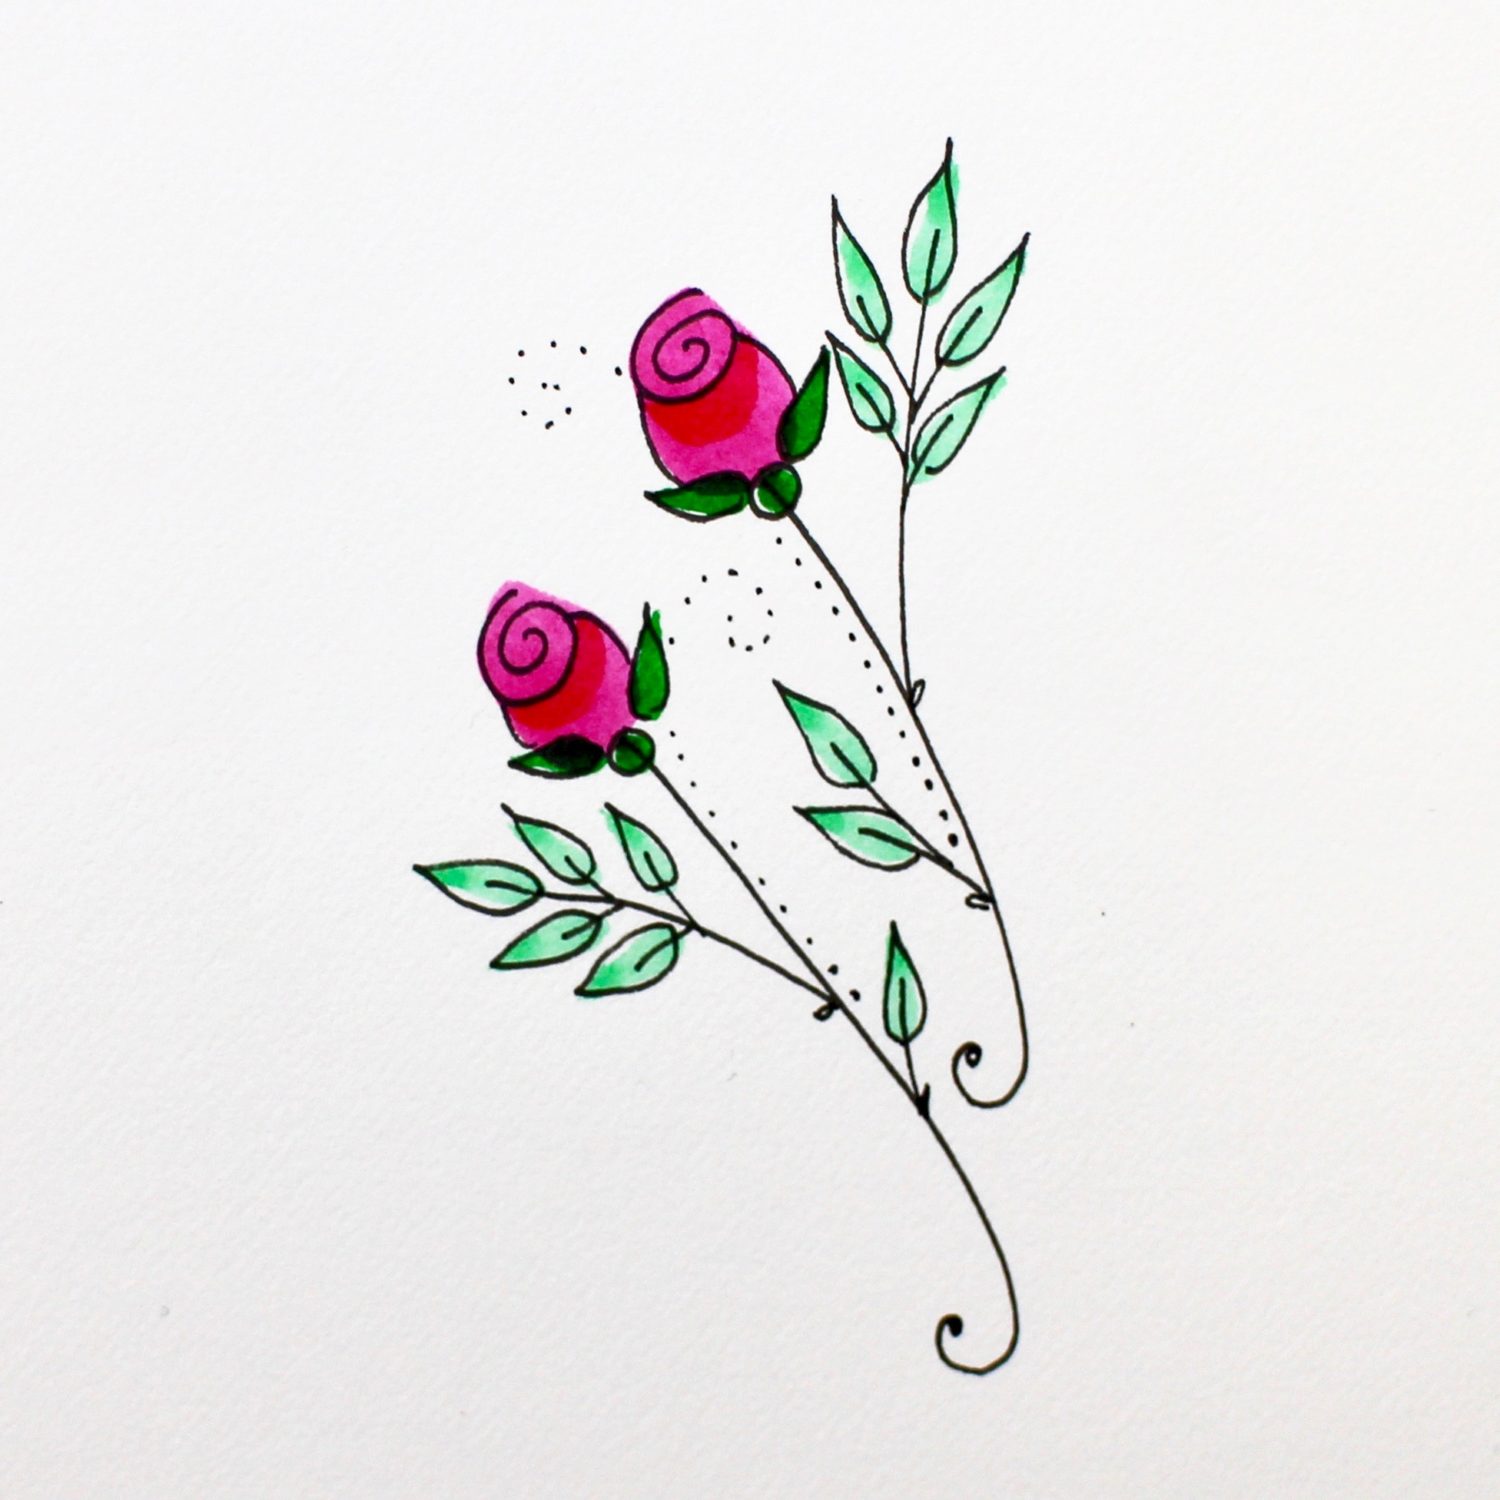
- Use the Drawing Pen to outline the roses and leaves, add stems and the swirl in the rose bloom. I also like to add a series of curled dots to accent the roses. Finally, add a shadow under the swirl with the 815 Cherry Dual Brush Pen.
Adding the Roses to the Cascading Banner
Here is the finished banner with the rose accents. The final touches start with adding shading to the back boxes and tails using the 195 Light Green Dual Brush Pen and the Colorless Blender. Leave the word boxes unshaded. Add the roses using the above steps making sure the stems of the blossoms go behind the word boxes, but can go over the black boxes and tail ends. Finally, add your words to the word boxes using the Drawing Pen.
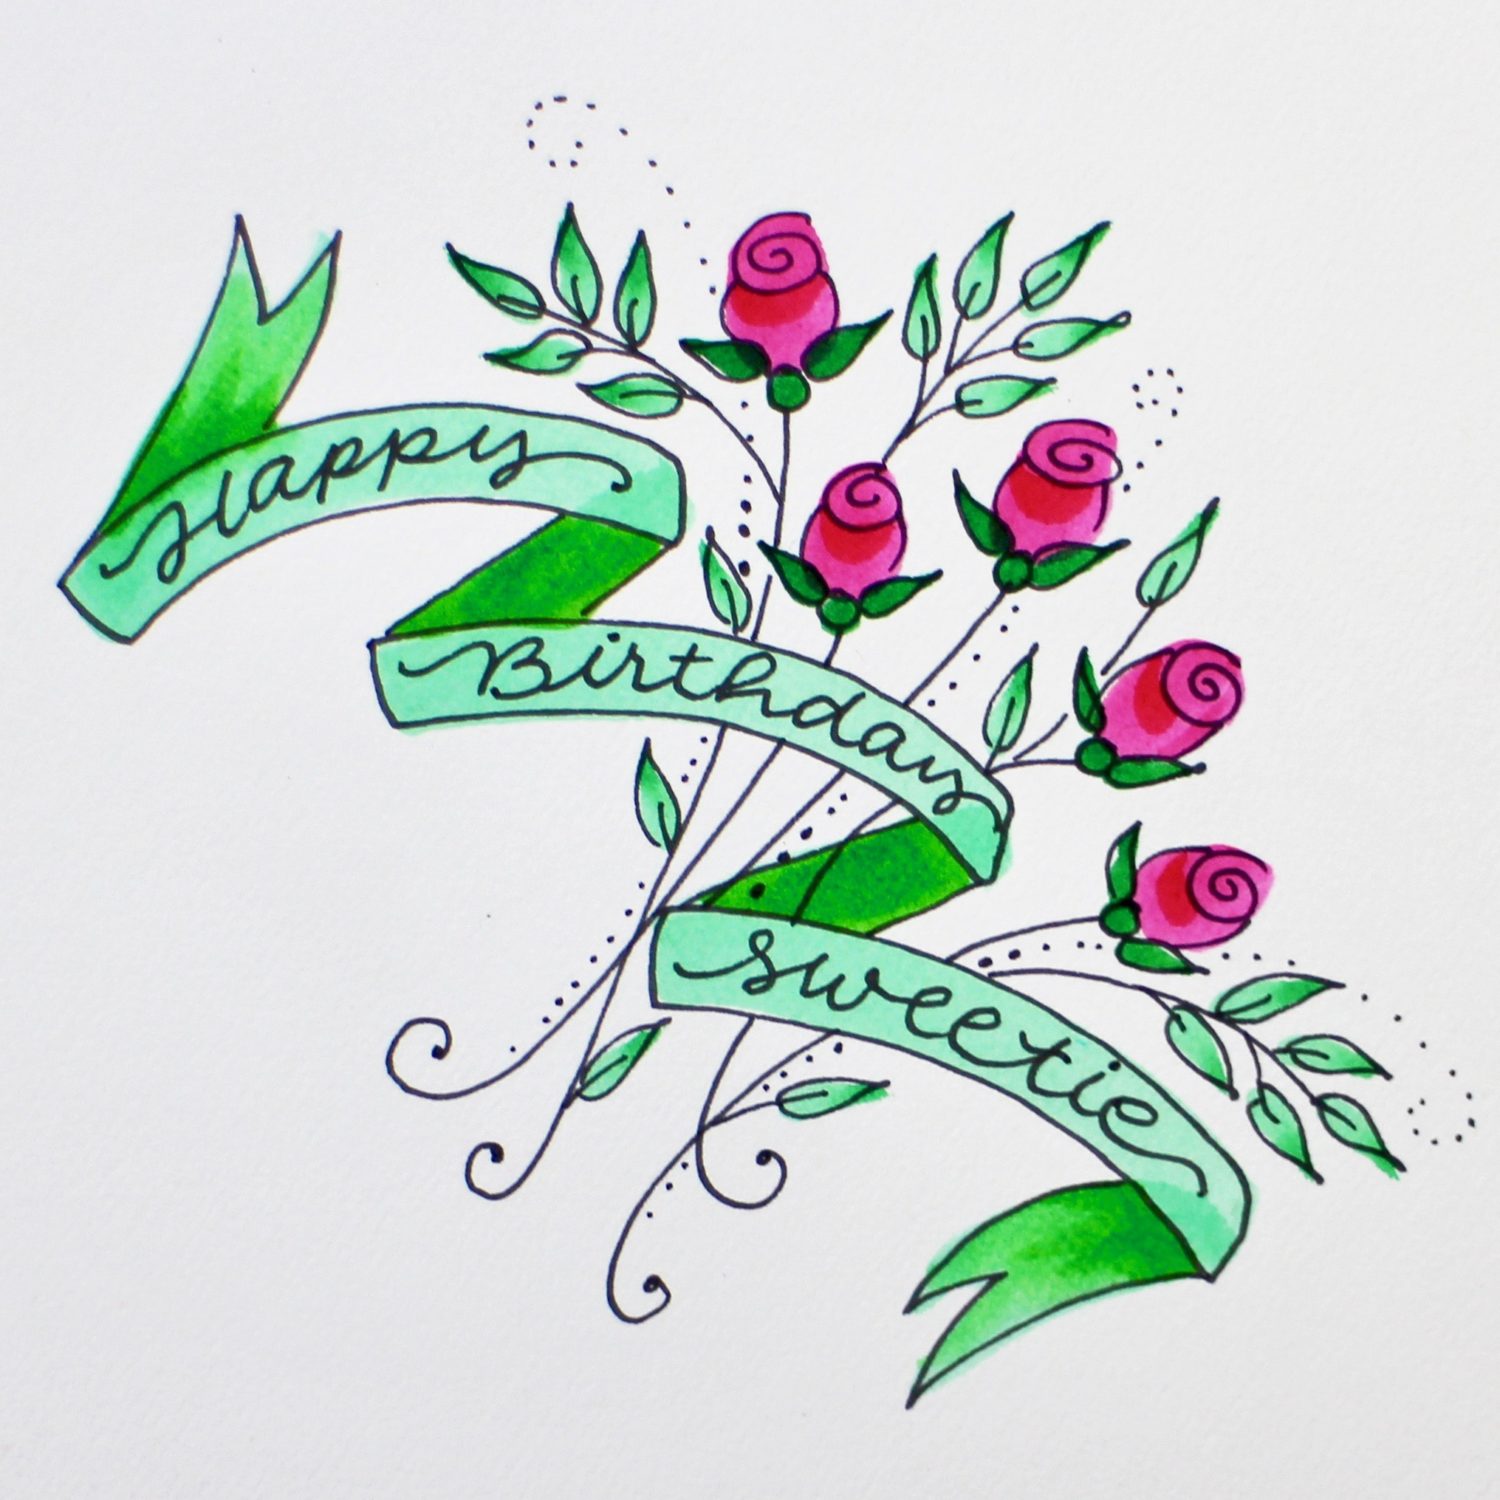
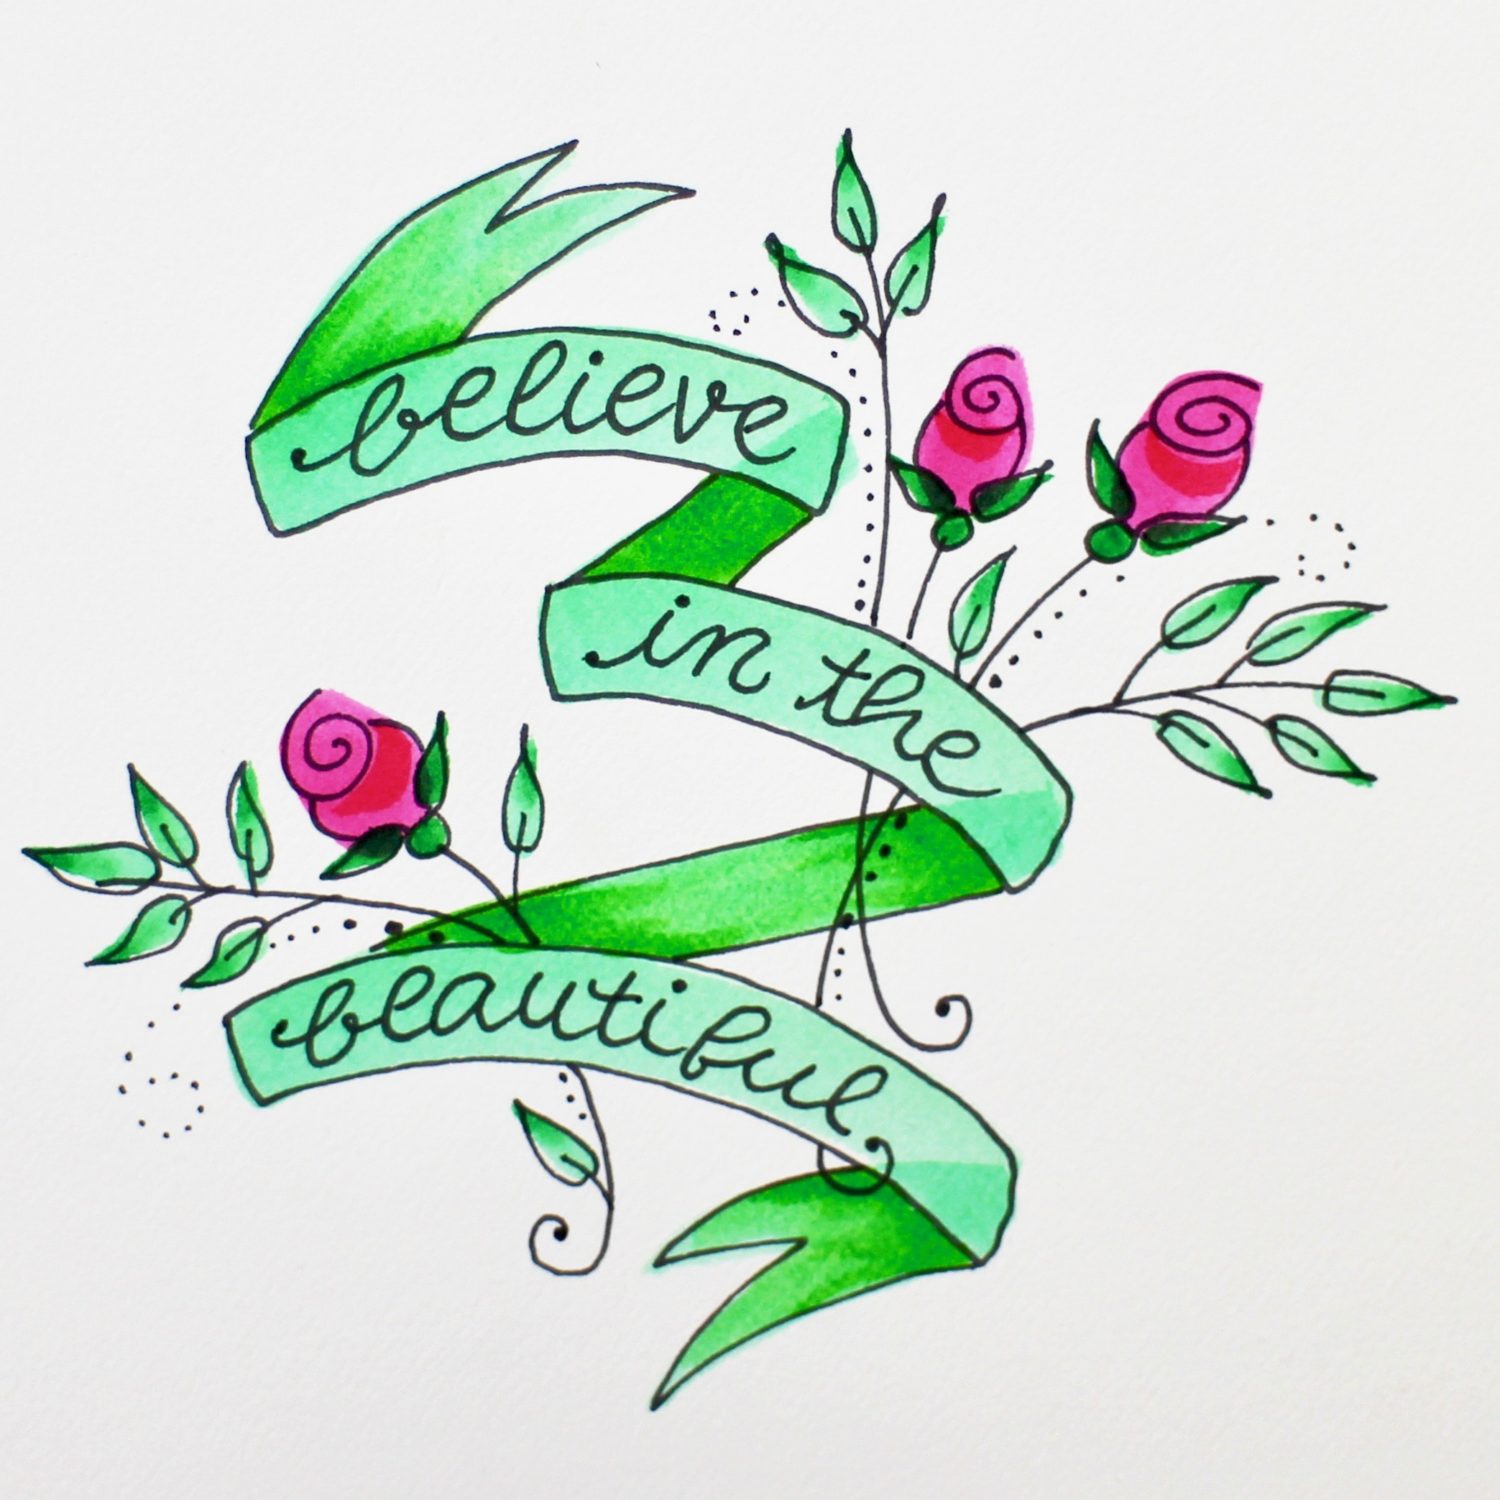

Here are three more Cascading Banner with Rose designs using the same methods stepped out in this blog! Try it, you will be surprises at how easy it is to draw! You can watch me make the roses on the Tombow Video Channel by clicking here (a bit different than what I showed here, but basically the same! The video also includes how to draw a rose bud!). Hope you try these easy Cascading Banners using the Dual Brush Pens!
Pingback: How to Draw Cascading Banner with Roses – Charlotte George Colouring
Pingback: Easy Wedding Gift! Illustrate a Custom Couple Portrait - Tombow USA Blog