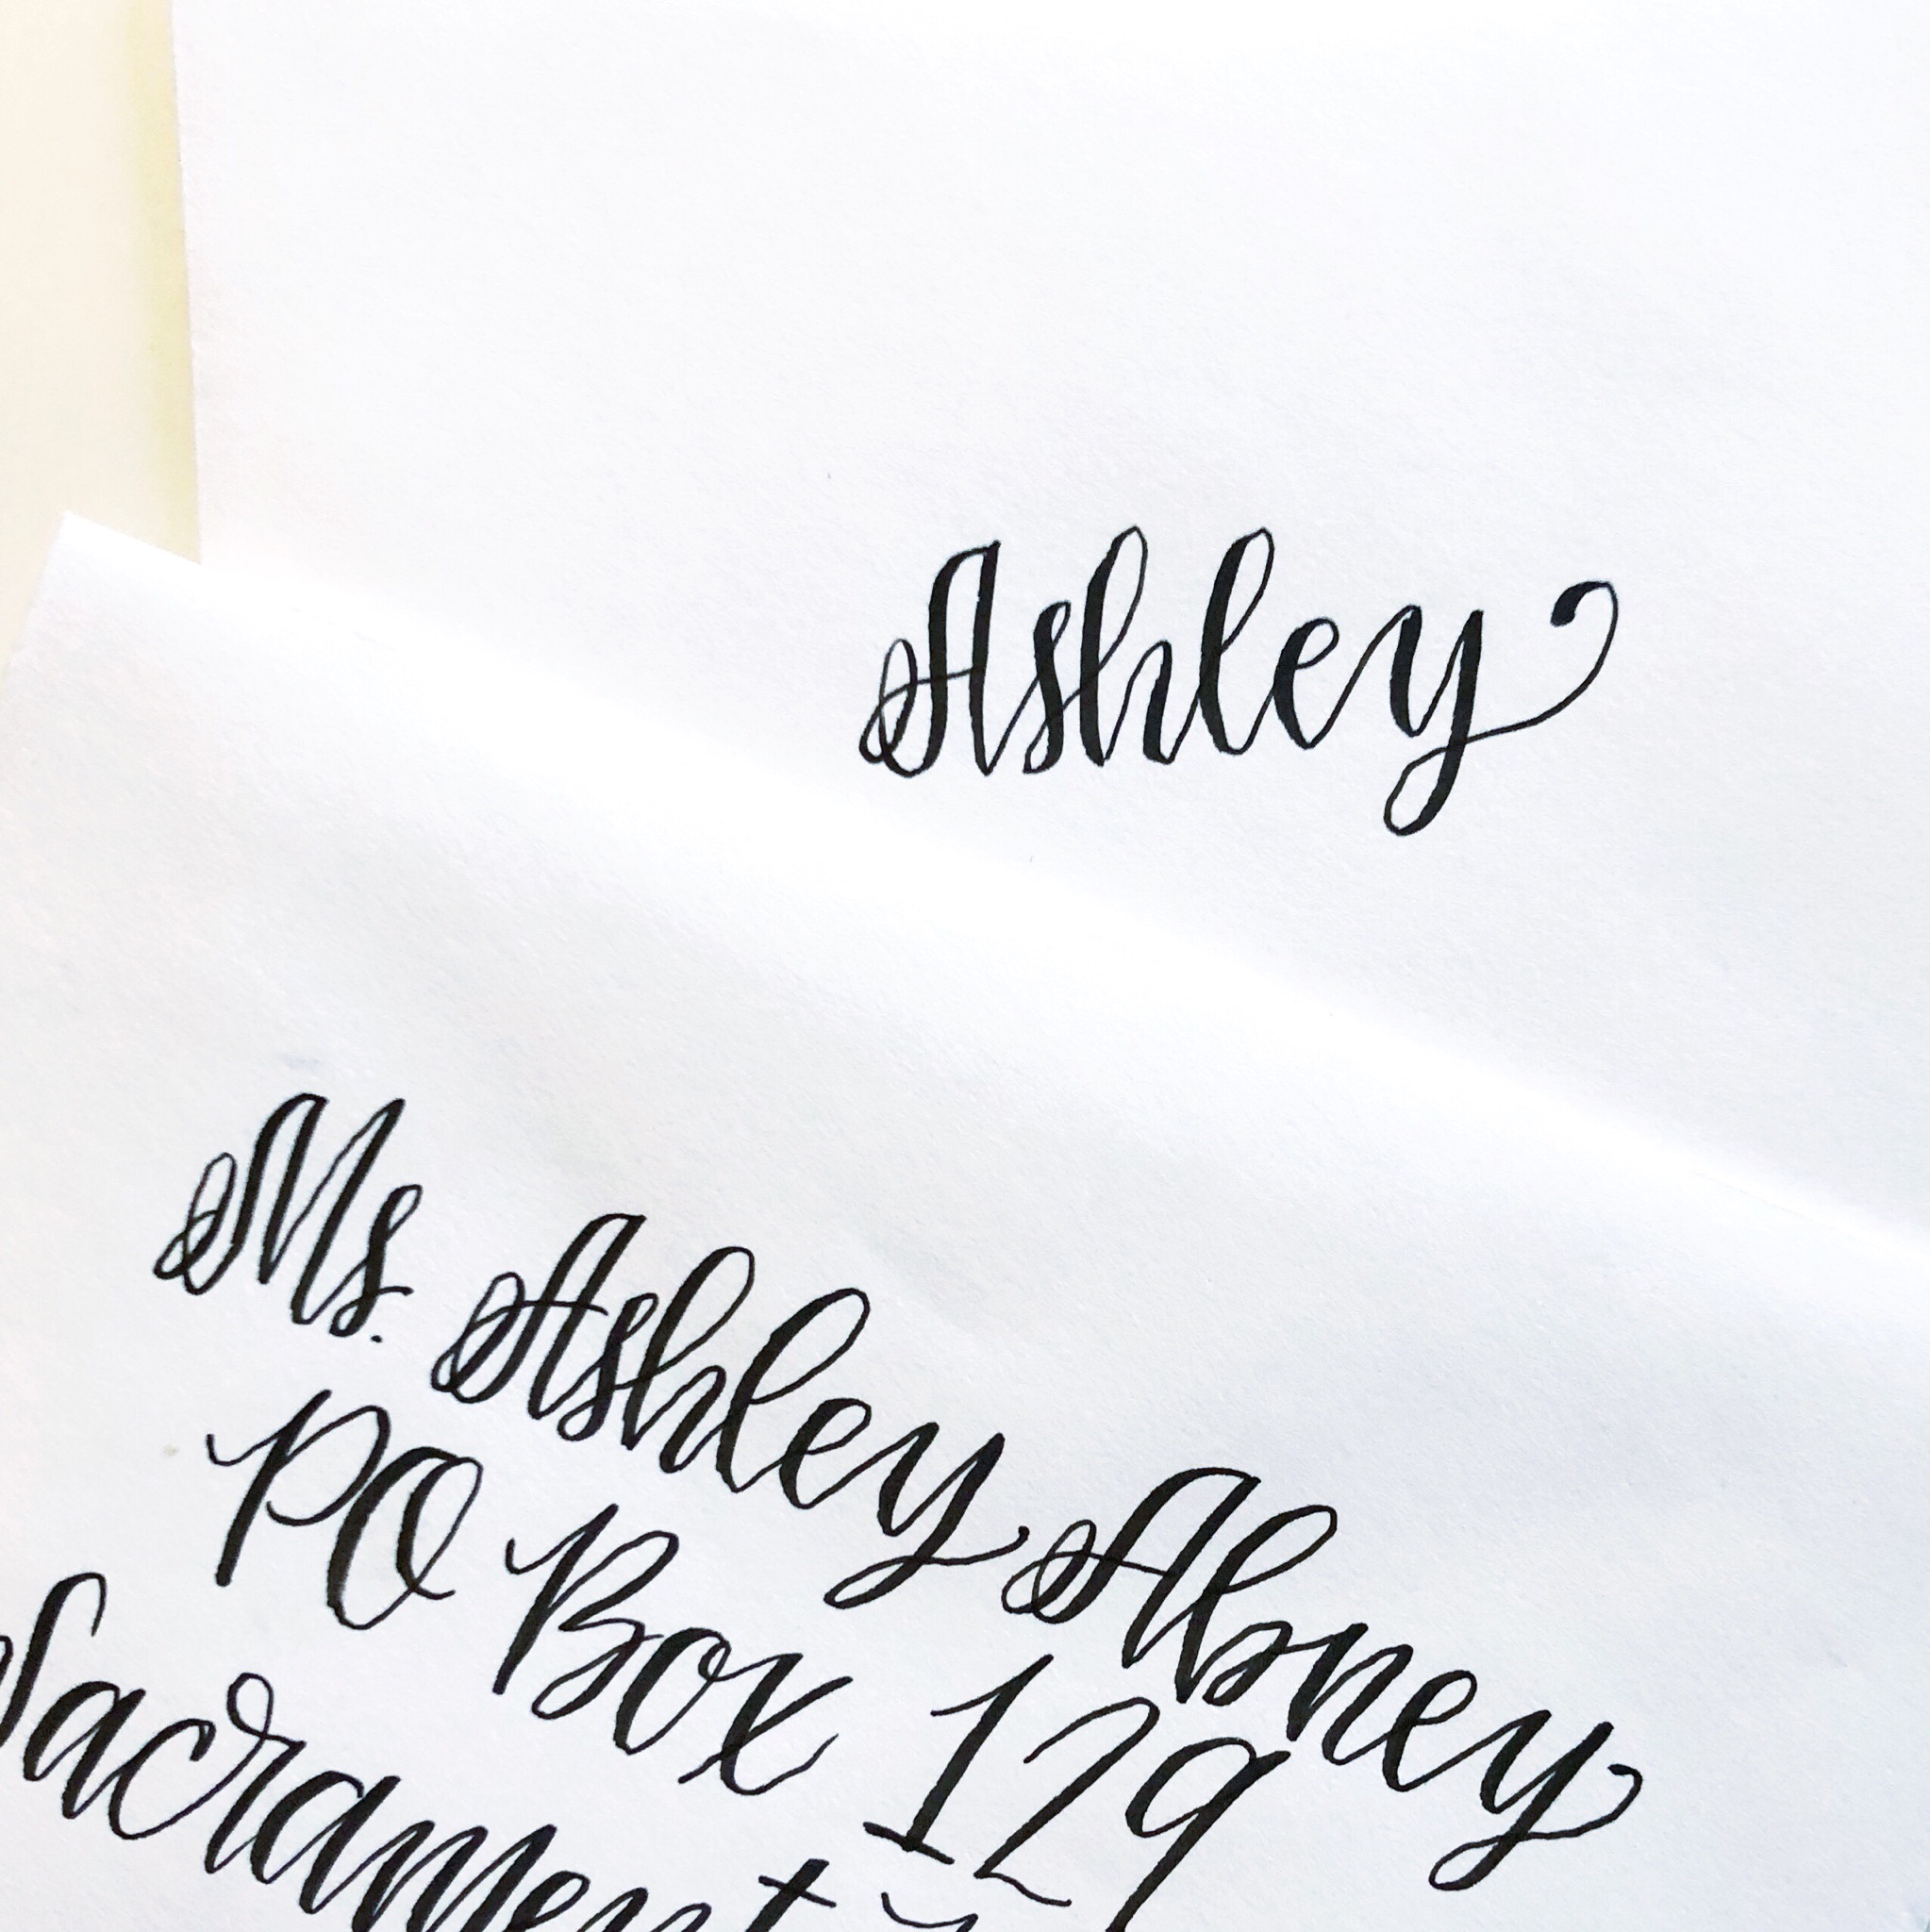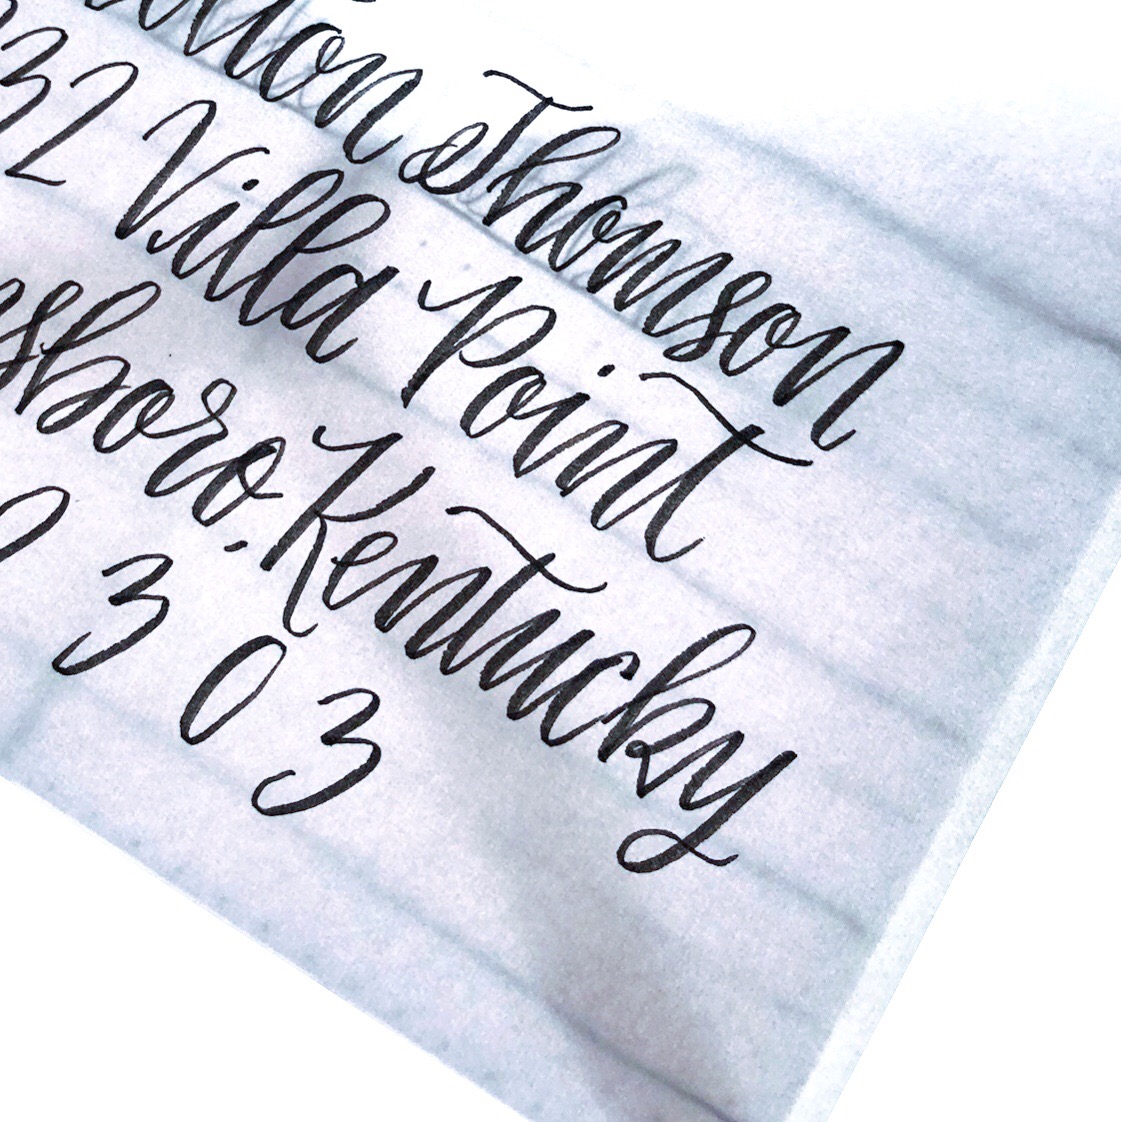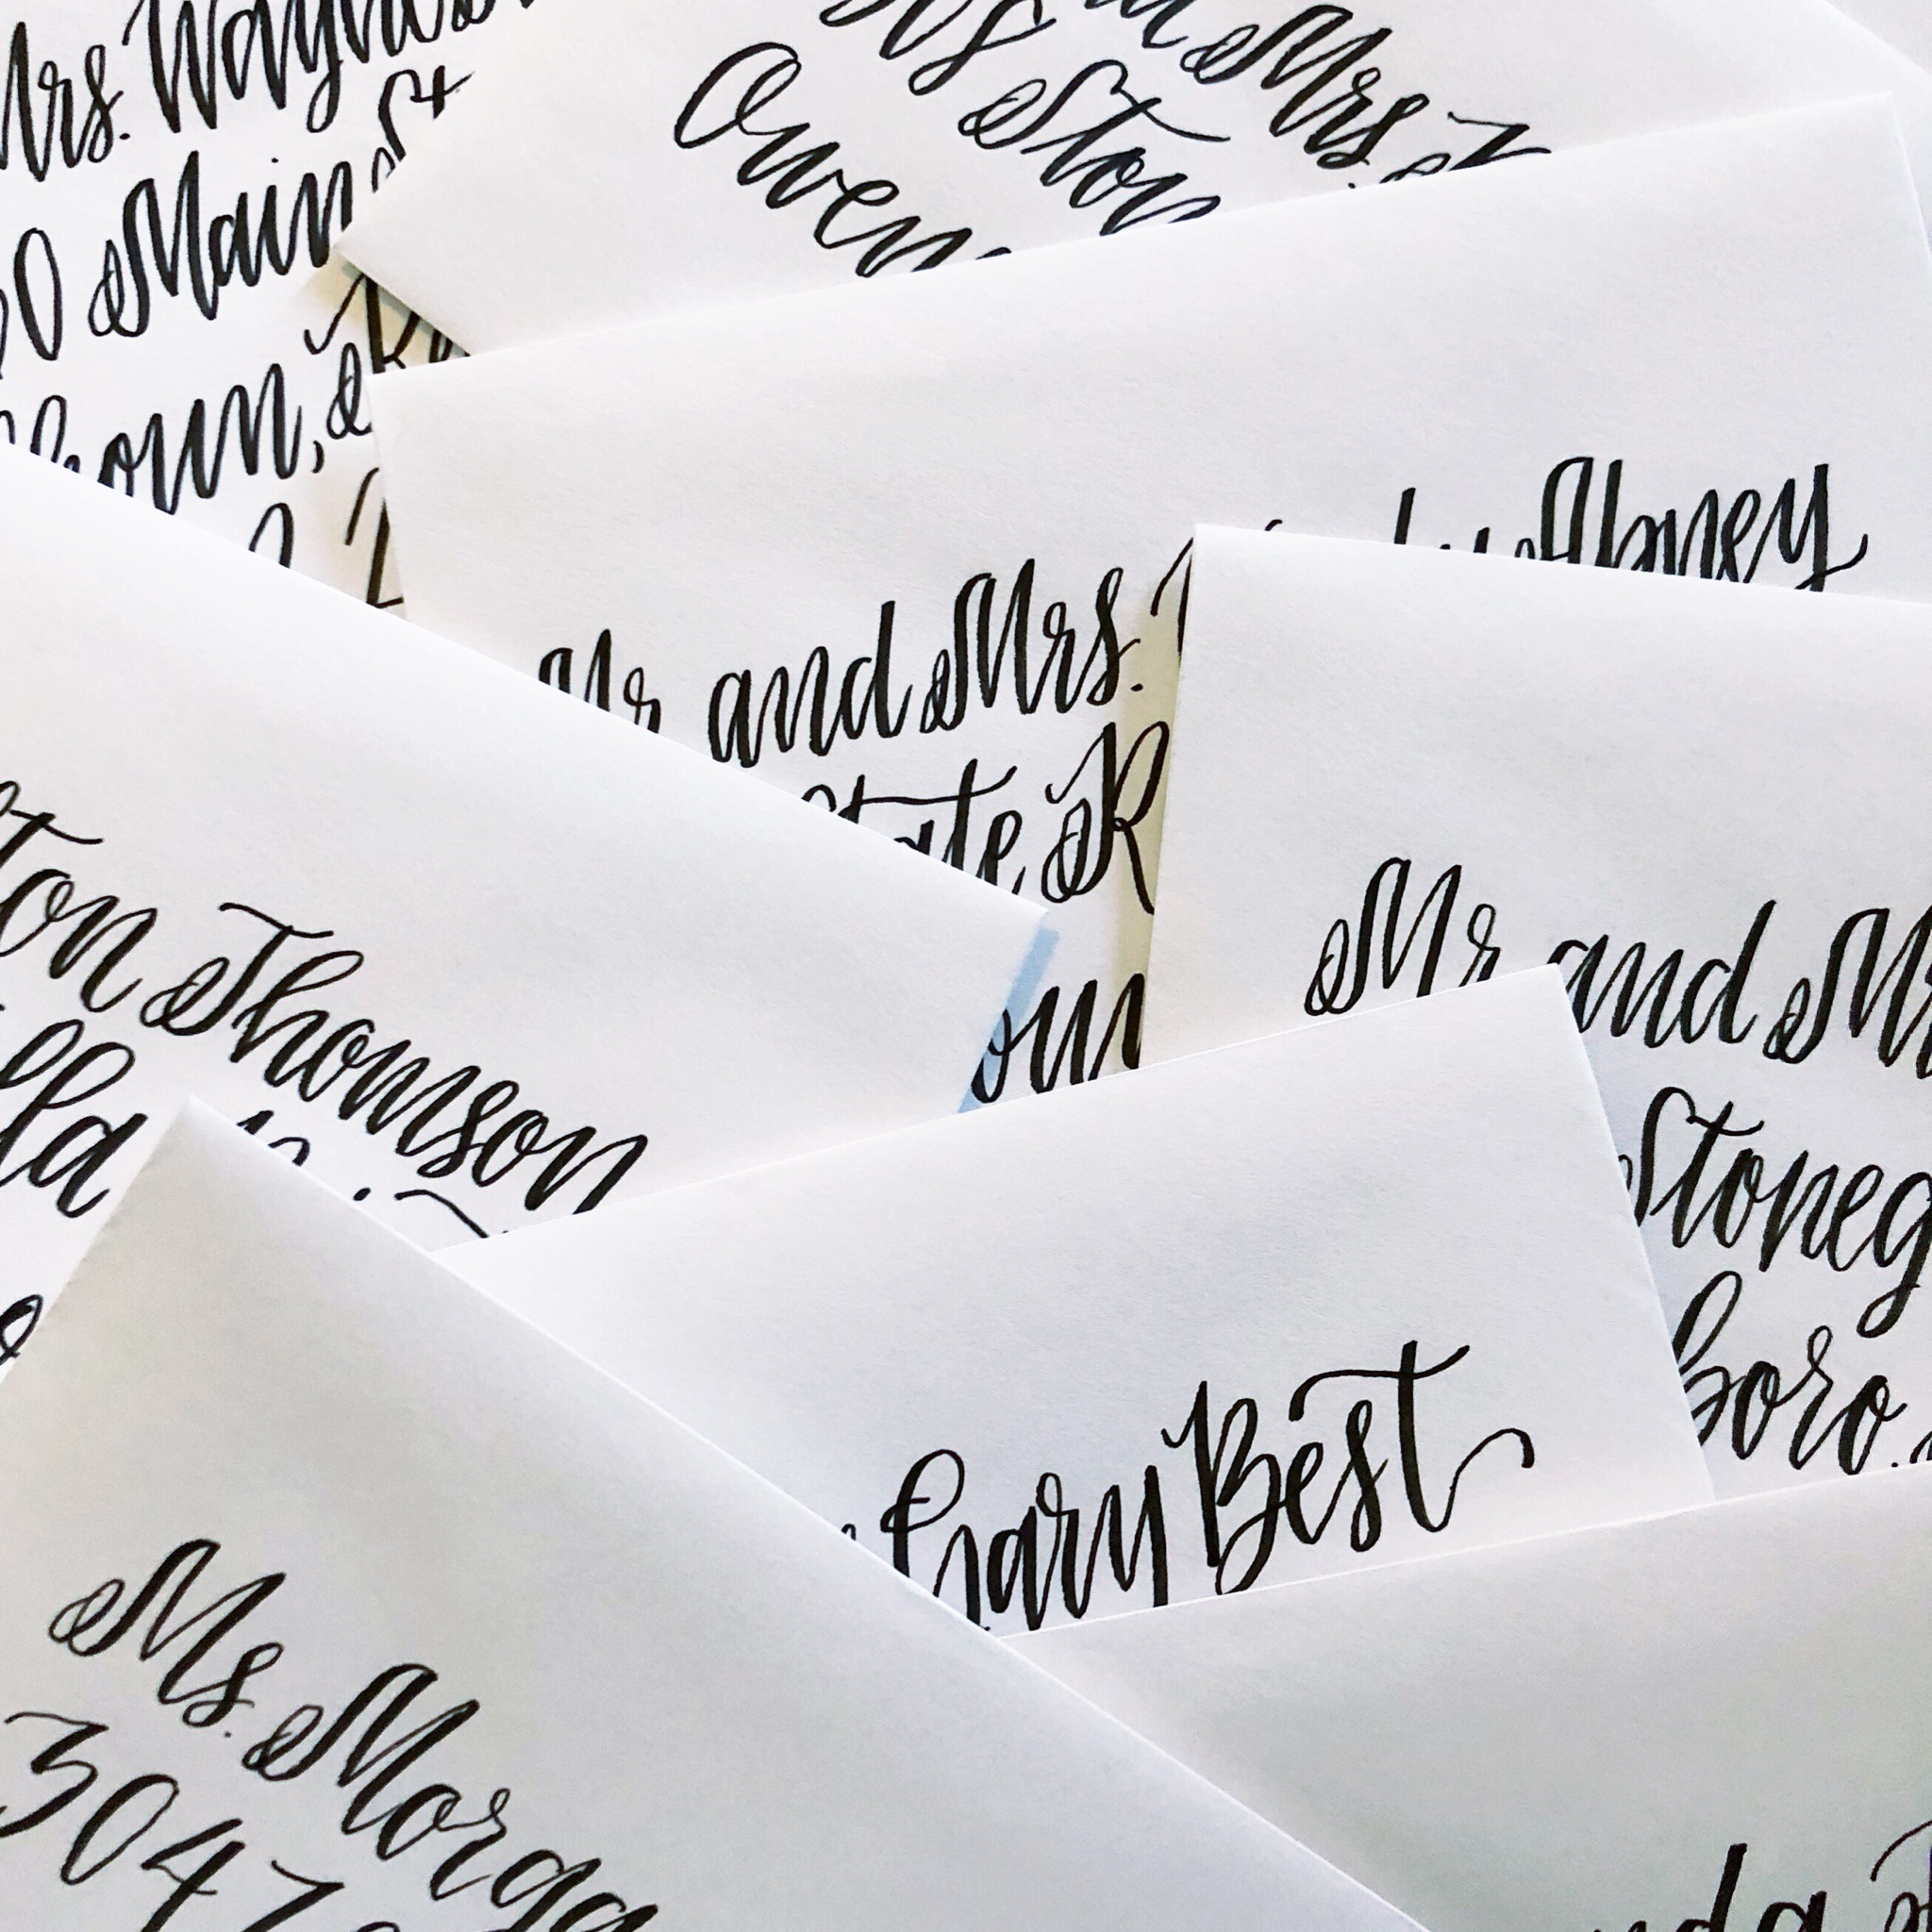
Add a personal touch to your special day with elegant DIY wedding envelopes in this fun tutorial! It’s Lauren here and addressing envelopes is one of my favorite lettering projects. However, a lot of details go into the design and creation of pretty lettered envelopes. Follow me step-by-step into the creation of fun and elegant envelopes that will complement your big day!
1. GATHER MATERIALS
Once you have your invitations picked out, make sure that you order about 20% more envelopes than you think you will need to account for mistakes and human error. For example, if you have 100 invitations to mail, order 20 extra envelopes.
It’s also important to try to stick with lighter color envelopes that are not lined, for an easier DIY project. Opaque envelopes, are possible to work with so don’t worry if you have your heart set on something like this. We’ll make it work!
While you are waiting for your invitations and envelopes to arrive, start gathering everything else that you’ll need, including the addresses and names for both the inner and outer envelopes. There are many different ways that you can address envelopes so it’s important to think about how formal the event is and how you want to address the people you are inviting.
Then, gather some important materials.
SUPPLIES YOU’LL NEED:
- Tombow Fudenosuke Hard Tip Brush Pen
- Tombow MONO Drawing Pencil
- Tombow MONO Light Touch Plastic Eraser
- Plain white paper
- Tombow MONO Sand Eraser
- Cricut BrightPad or similar light pad
- A ruler or straight edge
In addition to these tools, you’ll also need a good understanding of how to use a smaller brush pen for brush calligraphy. For worksheets to practice, click here!
2. DESIGN THE STYLE & LAYOUT

Once your invitations and envelopes arrive and you are ready to get started, you’ll first need to decide how you want the addresses to look. The invitation and wedding theme is a great place to start. You don’t have to copy the font of your invitation, but it’s great to pay attention to the size of the letters, how formal or informal they are, and what style is used.
For an informal invite you may decide to mix different kinds of lettering styles in a bouncy imperfect way, while for a more formal style you will want to write in a script style that is very precise and consistent (such as Copperplate) on each envelope. Sketch out different possible designs and decide which one will closely match the vision of your big day!
3. SKETCH & CREATE A TEMPLATE
Once you have decided on an envelope style and layout, it’s important to sketch out your first address and create a template to work from. Use a ruler or straight edge and a Tombow MONO Drawing Pencil to measure and draw lines to follow as a guideline.
It doesn’t matter what size the lines are and how far apart they are, as long as the design is consistent. Then you can also sketch out an address on the template so that you have a starting point for the envelope batch. Need to tweak or change the design? No worries, erase your sketch with the Tombow MONO Light Touch Plastic Eraser and work on it until you are happy with the result. The Light Touch Eraser won’t damage your paper as you erase, since it only requires a very light tough to erase your pencil marks.

4. INK UP THE ENVELOPES
When you are satisfied with the design, it’s time to ink up the envelopes! If your envelopes are light colored and don’t have a liner, slide in the template and trace the address that you sketched, using the Tombow Fudenosuke Hard Tip Brush Pen.
For opaque envelopes, you won’t be able to use a light pad, but other tools can help you write in consistent, straight lines, including the slider writer or a laser level you can find at a hardware store. As you complete each address, remove the template and erase the address. You can sketch each address or just write using the template lines.
Make a mistake? Use the Tombow MONO Sand Eraser to erase and fix errors that were made in ink.
5. PROOF, STUFF, & SEND
When you are finished, proof your envelopes and stuff the invitations so that they are ready to send. Voila! Your project is complete.

There you have it! Try to create your very own DIY hand lettered wedding envelopes and share with me by tagging @renmadecalligraphy in your post, so I can see!
Happy Lettering!
Lauren
We fpund your say and is useful for all.Thanks
I simply desired to thank you consequently mich again. I
was not sure thee issues that I would have
got gobe through without the particular sort of hints revealed
sikply by you regarding that condition.