Hi Tombow ghouls! This is Jennie and I’m excited to share these DIY Potion Bottle Tutorial with you! I have 3 ways to make these potions! They are all incredibly easy!
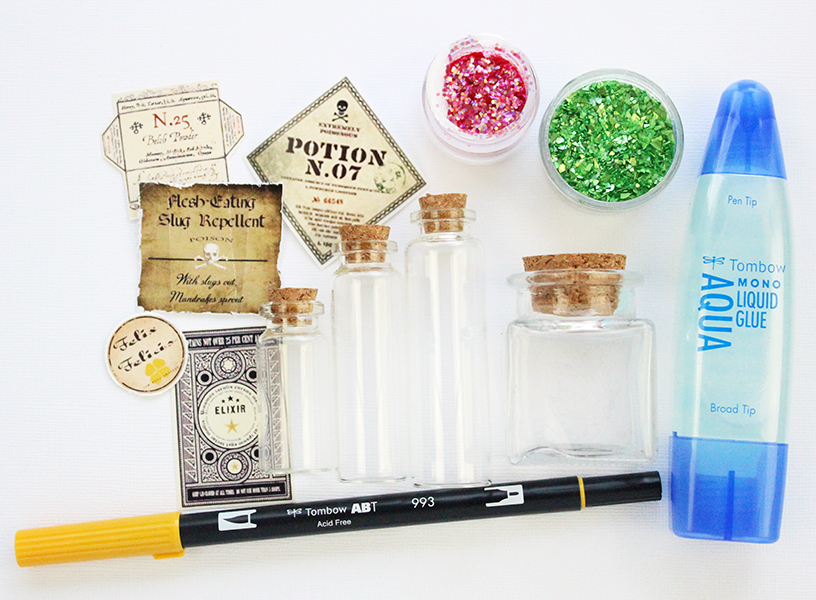
Materials:
- Tombow MONO Aqua Liquid Glue
- Small Glass Bottles
- Tombow Xtreme Adhesive
- Food Coloring
- Tombow Dual Brush Pens
- Labels for your potions
- Optional: Glitter or fake leaves
DIY Stained Potion Bottles
I learned this technique from the Mason Jar Queen, Beth Watson! You can see more of her jars HERE. For these DIY Potions, I used a Tombow Blending Palette that has been used many times!
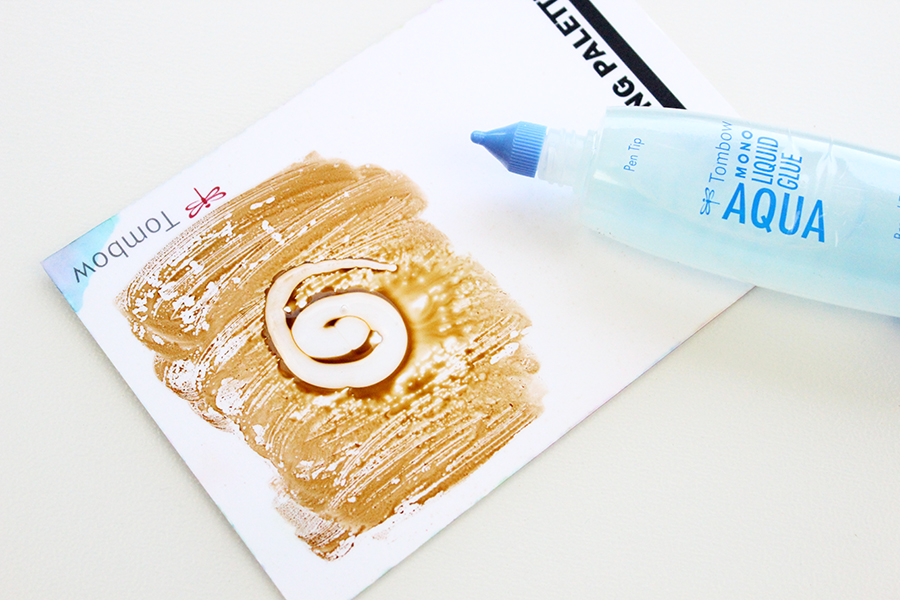
Step One:
I scribbled with the Tombow Dual Brush Pen on the palette. Then I sprayed a little bit of water and added the Tombow MONO Aqua Liquid Glue. Mix it with a brush and apply it to the bottle. To give it a little bit more of texture I used a paper towel to pat a few areas. Let it dry for more than 15 minutes.
Step Two:
Glue the label to the potion bottle using the Tombow Xtreme Adhesive. The labels I used are free printables I found online but you could always make your own. I printed them on Semi-Gloss Photo Paper. To give it a more weathered look you can distress the edges of the label.
Mixed Potions
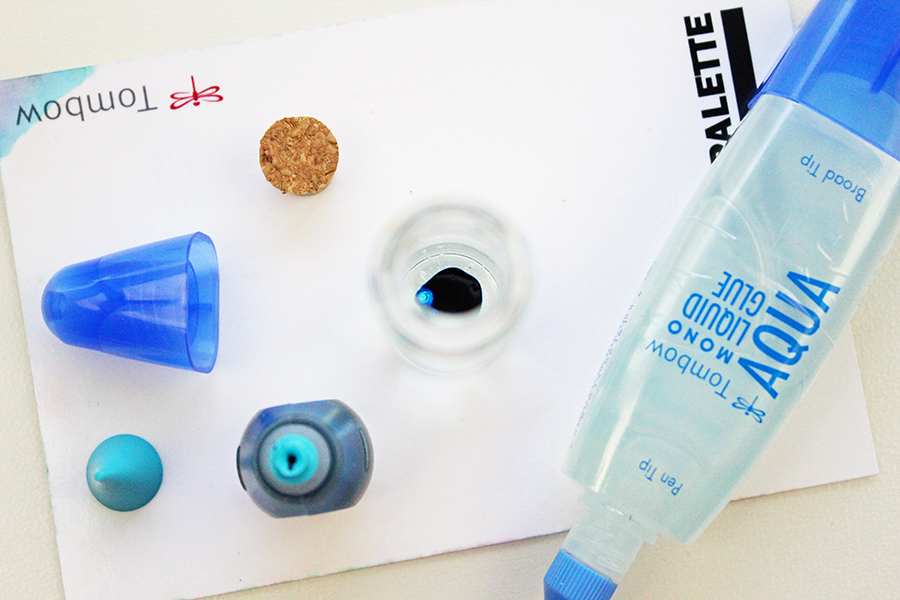
Step One:
Add 1/2 inch of Tombow MONO Aqua Liquid Glue then add ONE drop of food coloring. Food coloring is VERY concentrated so add carefully.
Step Two:
For the blue potion, I didn’t mix the color with the glue. I added more glue until I filled half of the bottle then I added one more drop. This creates different shades and textures in one bottle.
Step Three:
When it was almost full I added glitter. It will go down a little but most of it will stay at the top.
Leaf Potion
Step One:
Fill half of the bottle with the Tombow MONO Aqua Liquid Glue and add 2-3 drops of food coloring. Mix it using a skewer.
Step Two:
Add leaves, green twine and glitter. Push everything down so they absorb the glue. Then pull the leaves up a little. 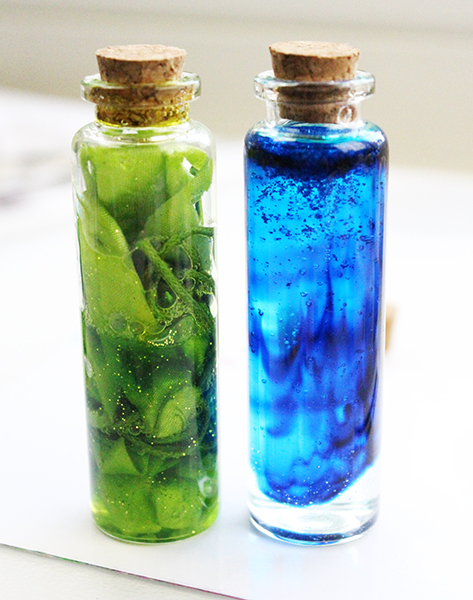
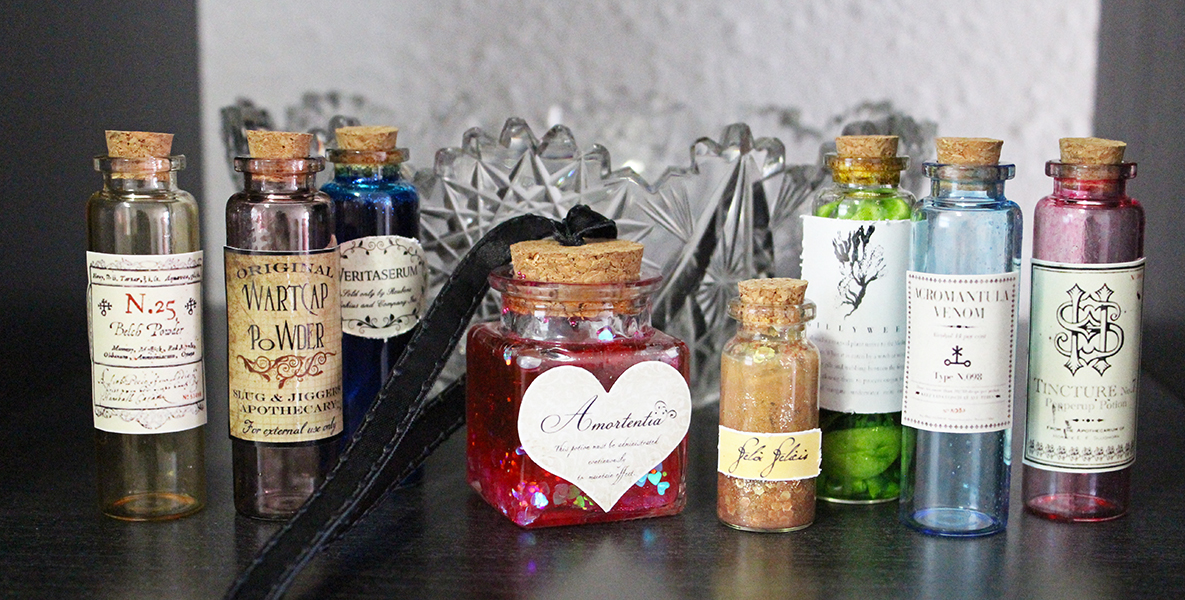
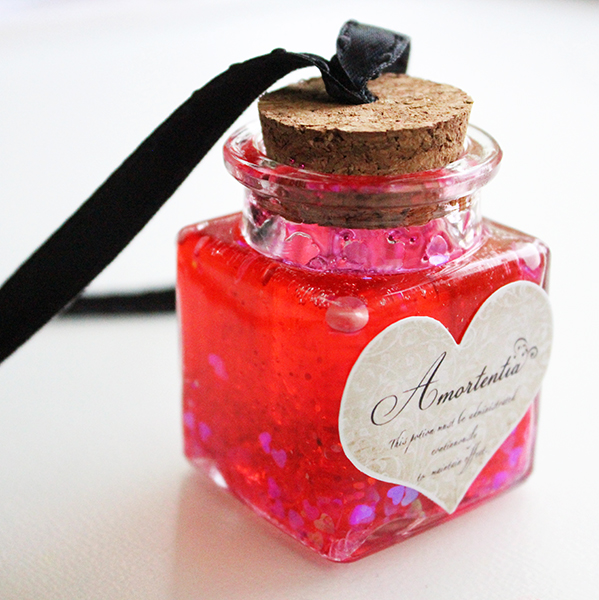
Use bottles of different sizes to make your display more interesting. I used hearts and micro beads for this love potion.
To stain the bottles use darker colors. You can also use many layers. You don’t have to fill all the bottles. If you stain them they look great with a back light.
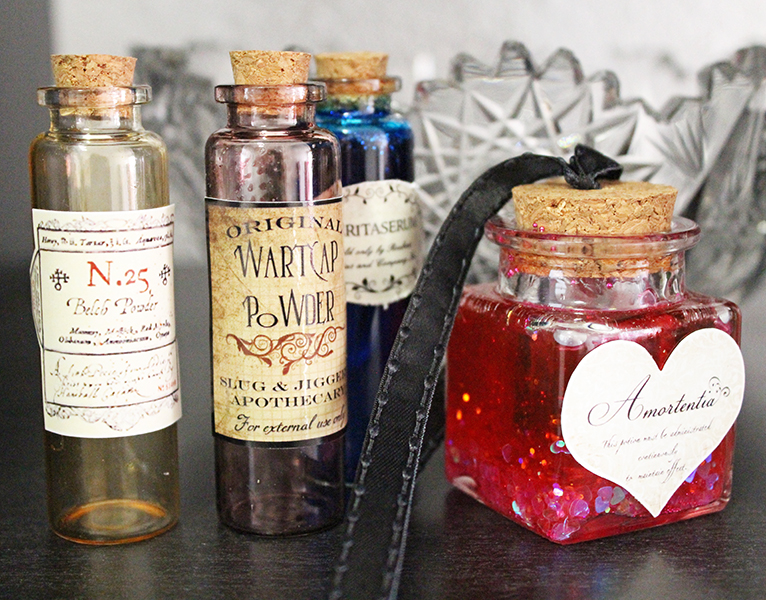
The gold potion is a mix of Tombow MONO Aqua Liquid Glue, gold glue and glitter. 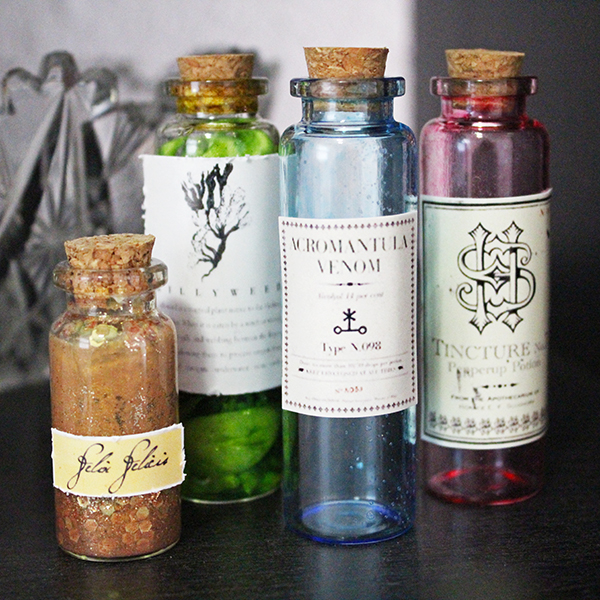
I love how these DIY Potions turned out! I hope you enjoyed this tutorial! Which potion was your favorite!

Does the blue stay mixed like yours? I love the striated look.
Pingback: Easy DIY Potion Bottles Ideas - DIYnCrafty