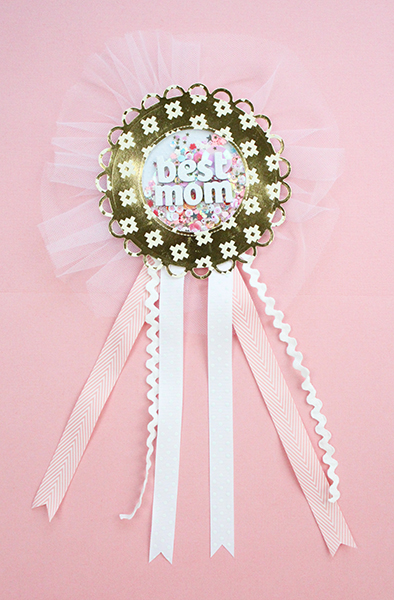
Hey Tombow fans, this is Jennie Garcia! Mother’s Day is approaching, so I’m sharing an award ribbon tutorial she can wear while she eats breakfast made by the family! The awesome thing about this tutorial is that you can use the award ribbon for any special occasion. Just be sure to change the colors and words.
Supplies:
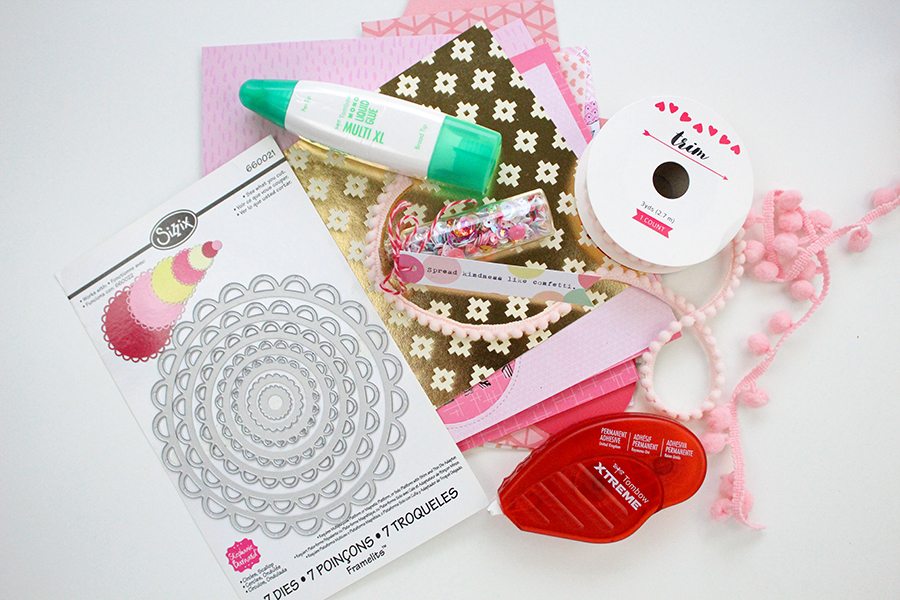
- Patterned paper
- Tombow Xtreme Adhesive
- Ribbon
- Tombow MONO Multi XL Liquid Glue
- Dies (circles and scalloped circles)
- Tombow MONO Twin Permanent Marker
- Sequins
- Page protector
- Fuse tool
Step One:
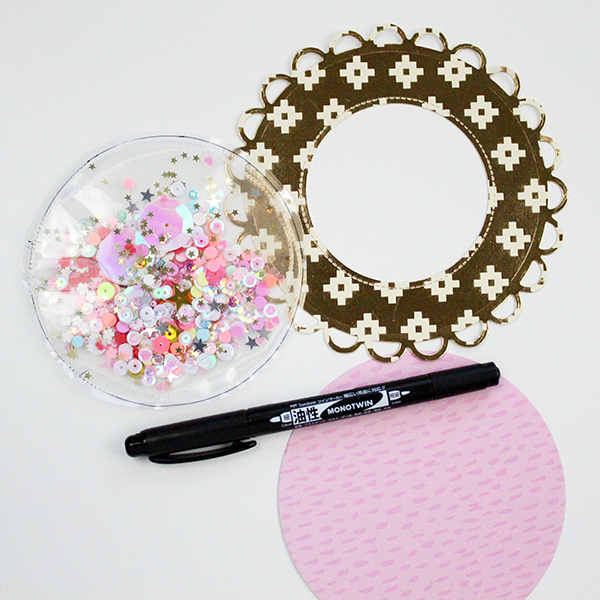
Using metal dies, I cut a scalloped circle and used a circle die to create a window. If you don’t have a die cutting machine, trace a circle and cut it. For the center, you can use a craft knife or a paper punch. Cut another circle for the back.
Step Two:
To make the shaker, use a Tombow MONO Twin Permanent Marker and a page protector to trace a bigger circle (than the window) on the scalloped circle. Go over the circle with a fuse tool. Don’t forget to leave a space to add the sequins. Next, add the sequins and close the circle.
Step Three:
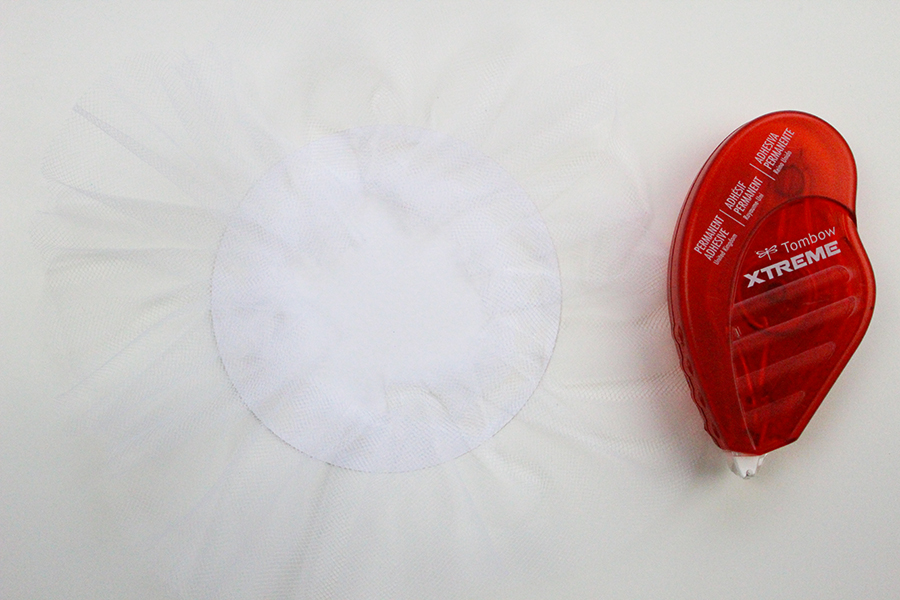
Apply the Tombow Xtreme Adhesive to the back of the circle. Pleat the tulle around the circle.
Step Four:
Apply the Tombow Xtreme Adhesive behind the scalloped circle with the window and glue the shaker pocket. This adhesive is perfect for difficult surfaces like plastic.
Step Five:
Apply the Tombow Xtreme Adhesive behind the circle to add ribbon. You can also use the Tombow MONO Multi XL Liquid Glue for these ribbons. Then, cover the back of the scalloped circle with the full circle. 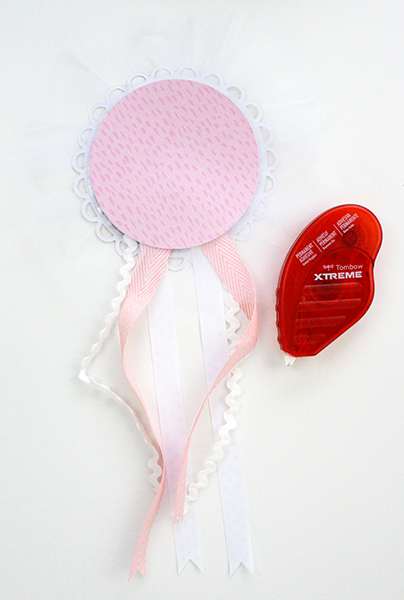
Step Six:
Add your alpha stickers to honor a very special person. In this case, your mom!
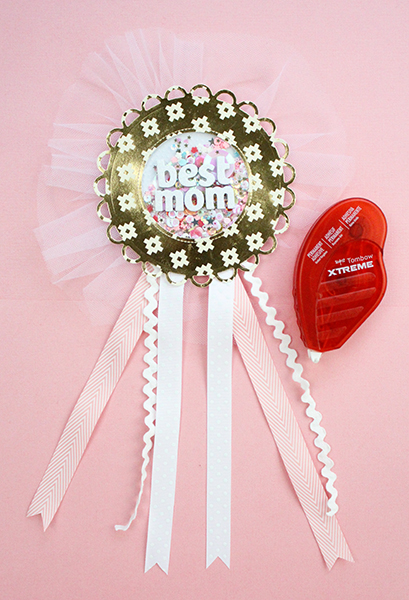
I love to add shaker pockets to everything. You can also just add a circle in the center with a few embellishments.
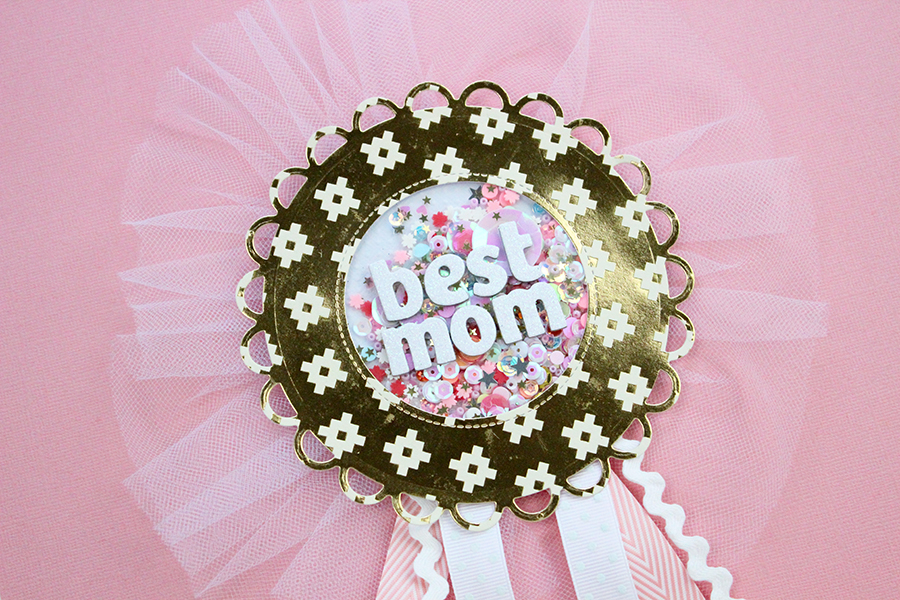
I hope you enjoyed this award ribbon tutorial as much as I loved making it! Take care!
