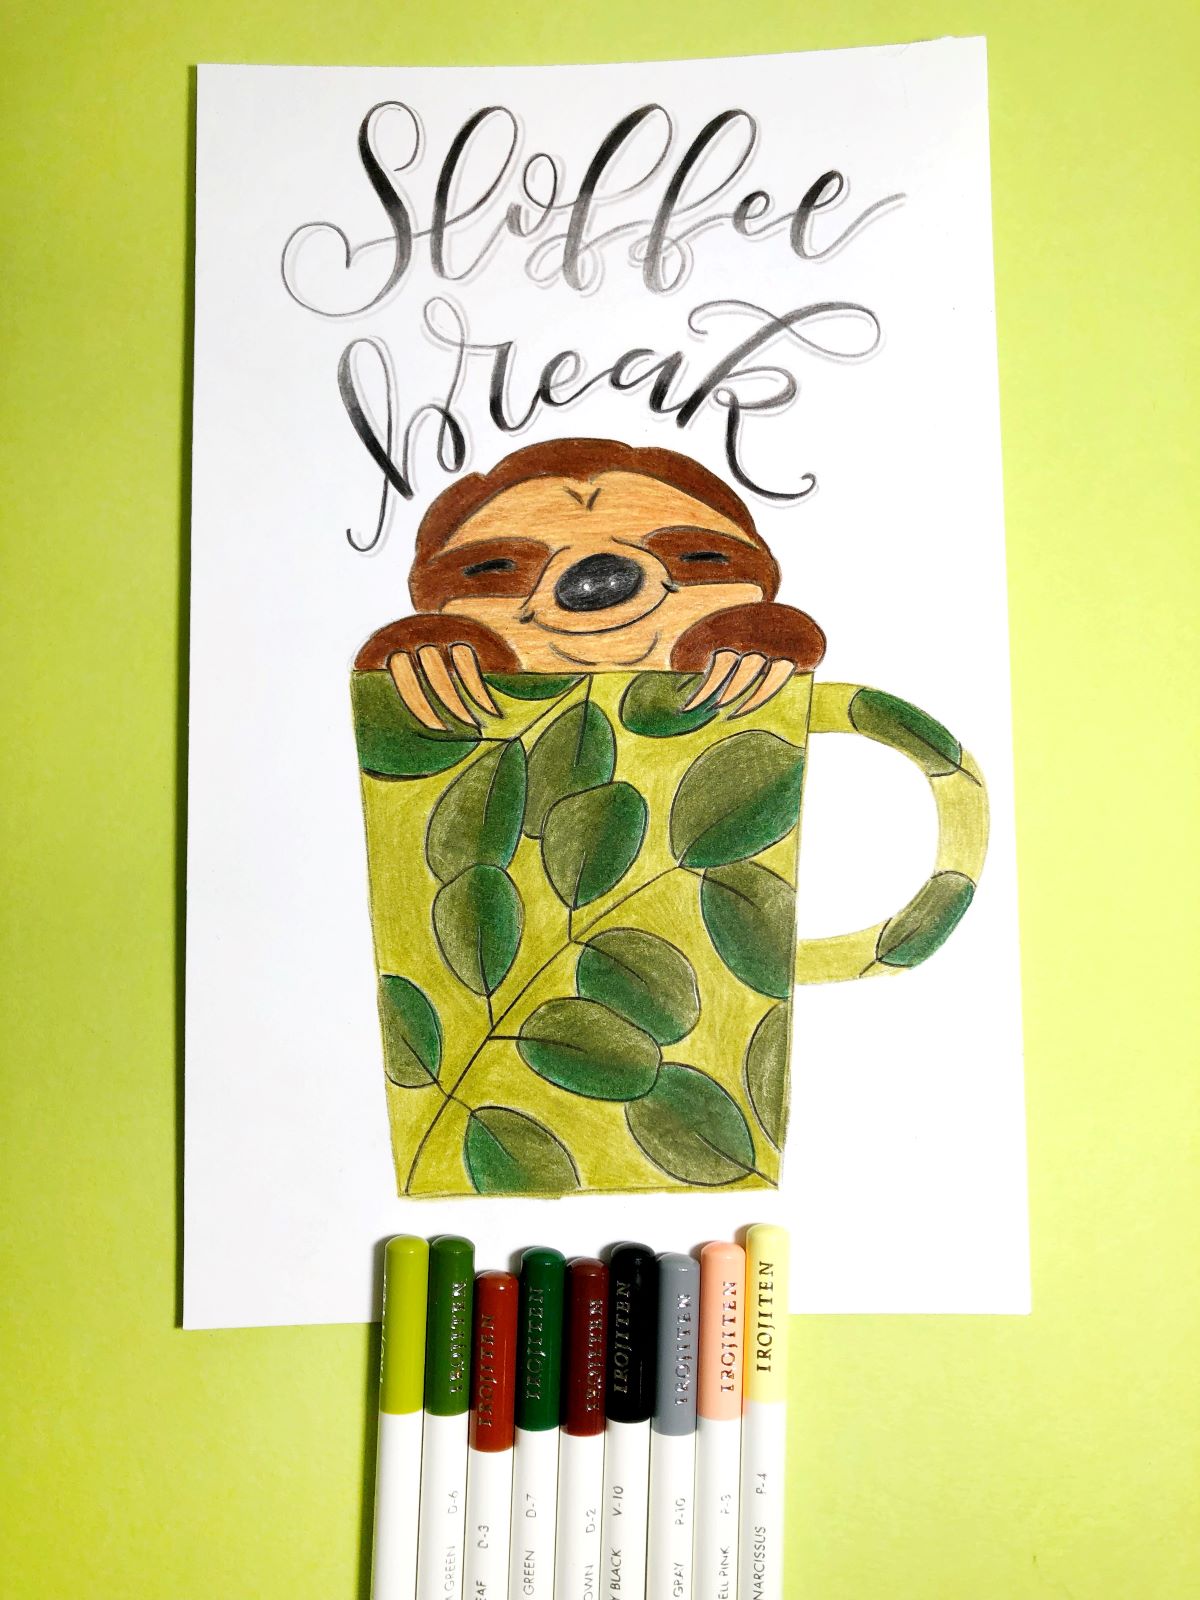
Hey everyone! It’s Mandy from @a_heartened_calling! Today, I’m showing you how to easily blend Tombow’s Irojiten Colored Pencils to create a fun sloth art print! Blending colored pencils requires burnishing. Not sure what that is? No worries! I will be showing you how to do that! Let’s gather our materials and get started!
MATERIALS
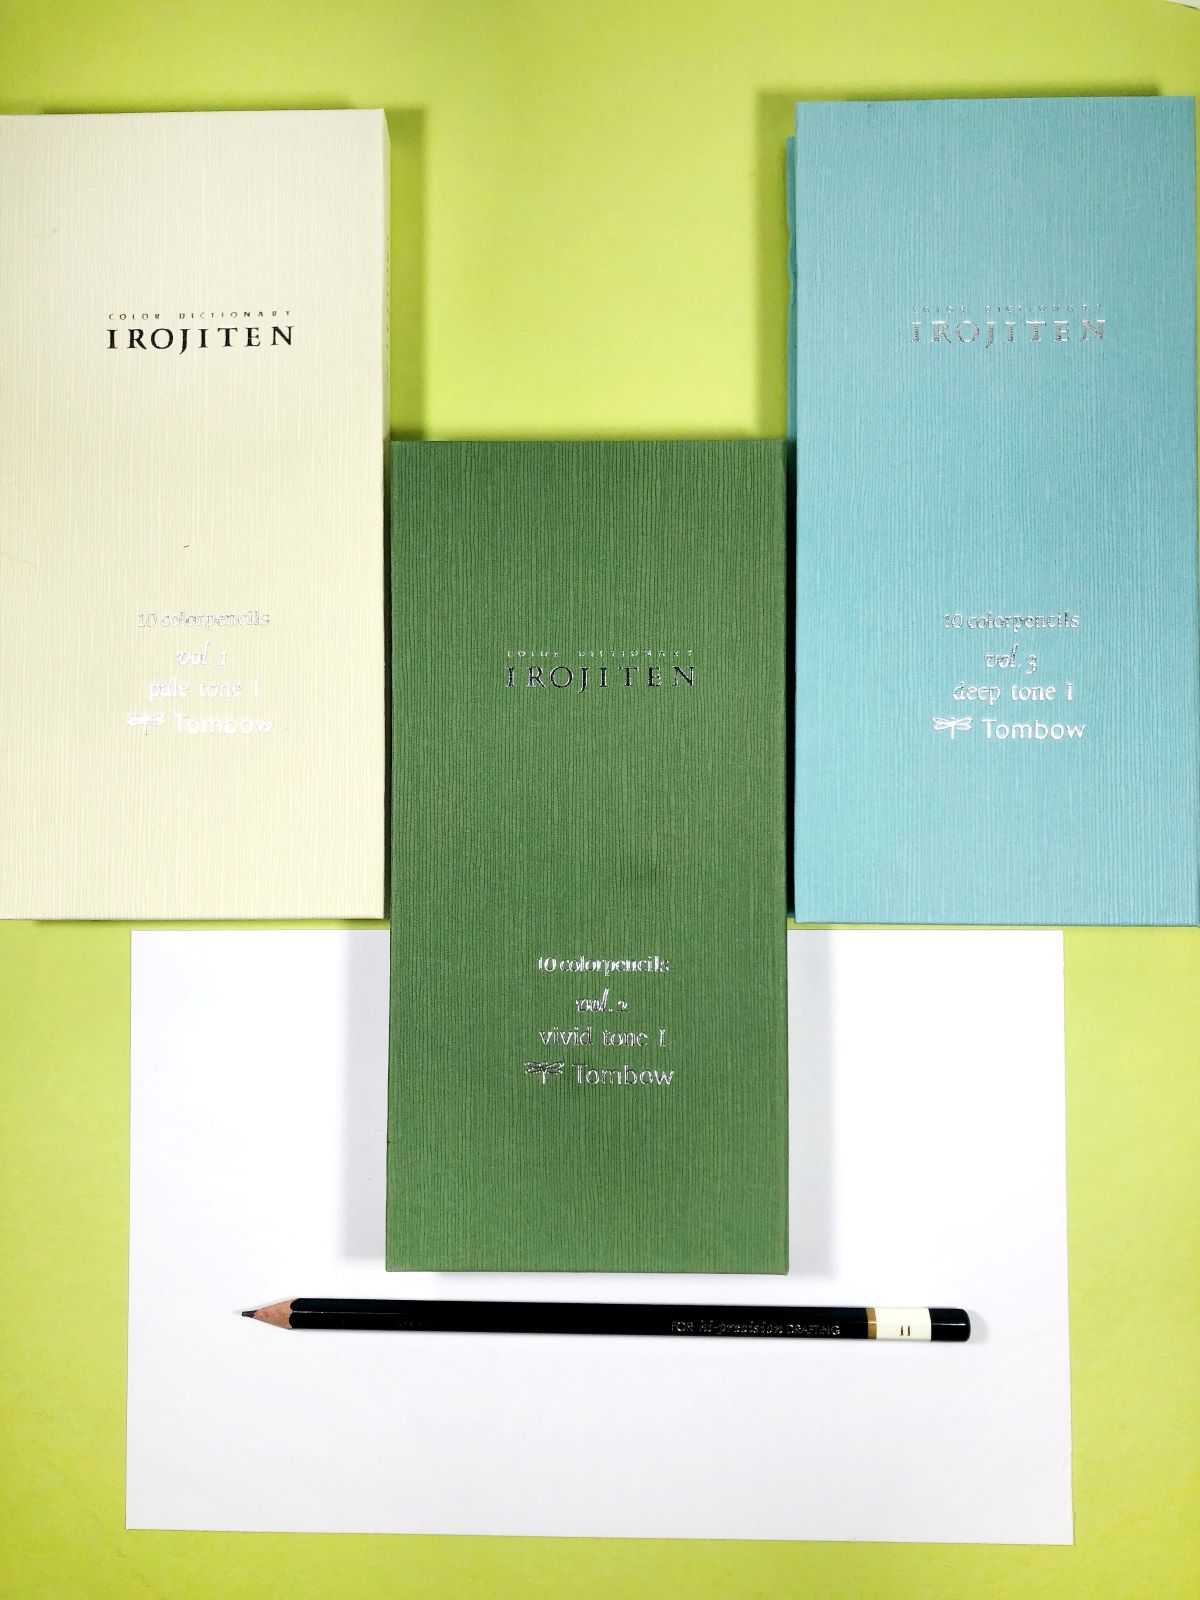
- Tombow Irojiten Colored Pencils Rainforest Dictionary
- Tombow MONO Drawing Pencil H
- A piece of mixed media paper
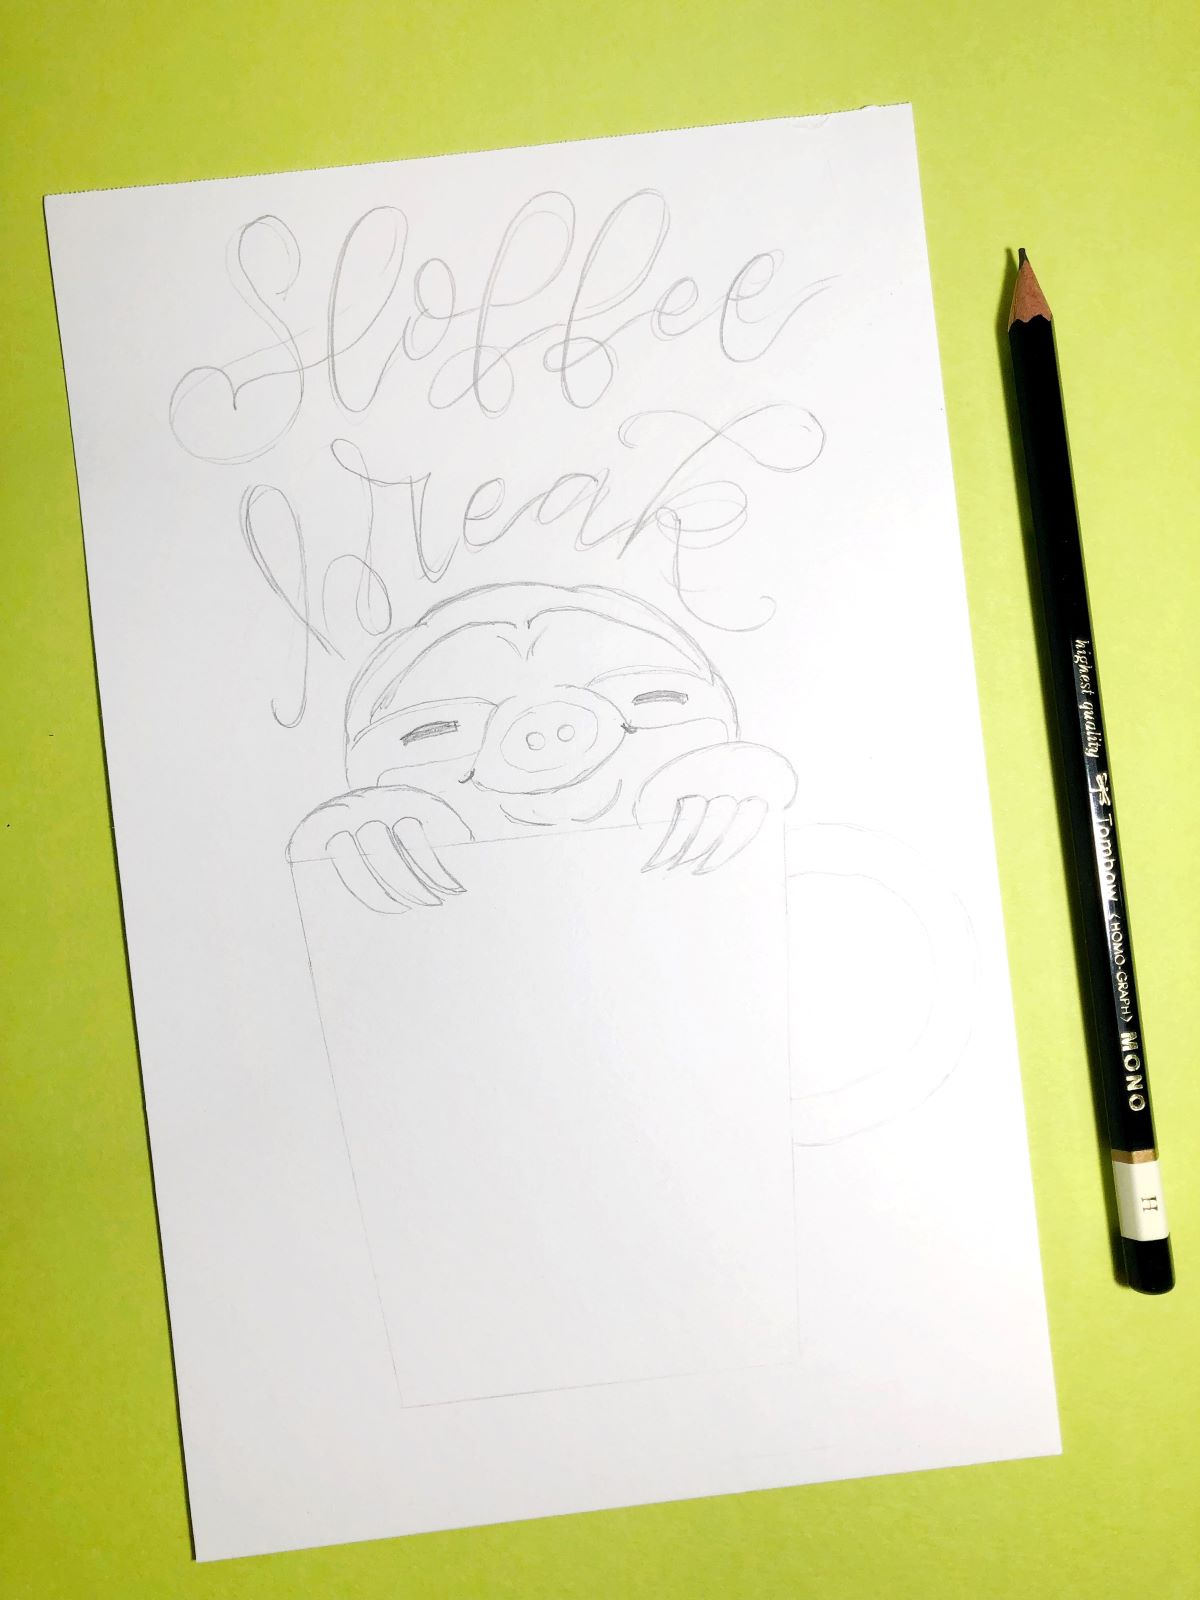
STEP 1 – Sketch
Using your Tombow MONO Drawing Pencil H, sketch out a sloth inside of a coffee mug. Letter out “Sloffee Break” on the top.
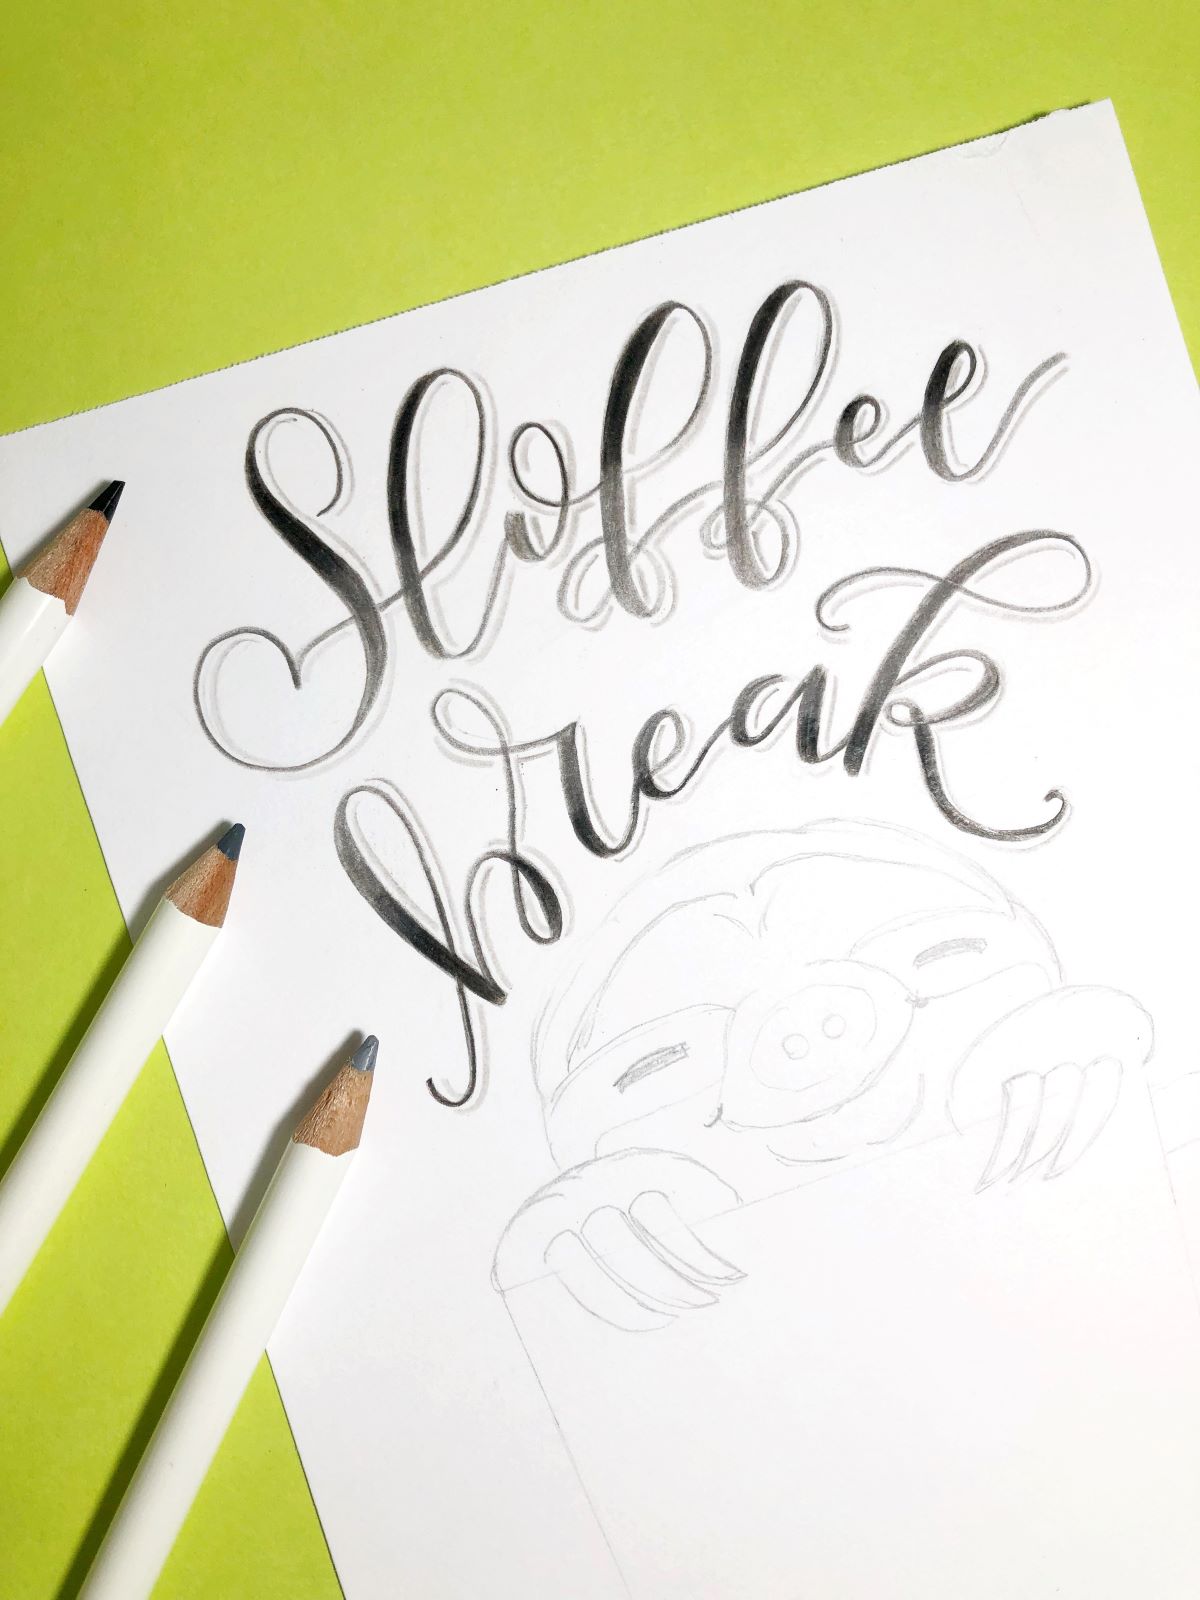
STEP 2 – Add Color and Blend the Lettering
Using Irojiten Colored Pencil Taupe, trace over your pencil lettering. Use faux calligraphy to thicken all your down strokes. Using Ivory Black, color in the top half of the “Sloffee” letters using hard pressure. Don’t worry about breaking the tips. These pencils were meant to take pressure! Then color in the bottom half of the “Break” letters. Using hard pressure and the Taupe color, go over the part where the Ivory Black meets the Taupe in each letter. This is the burnishing part. Burnishing simply means you are layering and blending color until there is no paper tooth left (this is the white part of the paper). If you still see white behind your color, keep coloring until there is none left. Applying hard pressure will fill in the paper tooth more effectively. This technique is also what blends your colors together and makes it look like a gradual change from black to gray, giving you smooth, even blending. Using Pigeon Gray, add shadow to your lettering.
STEP 3 – Add Color and Blend the Sloth
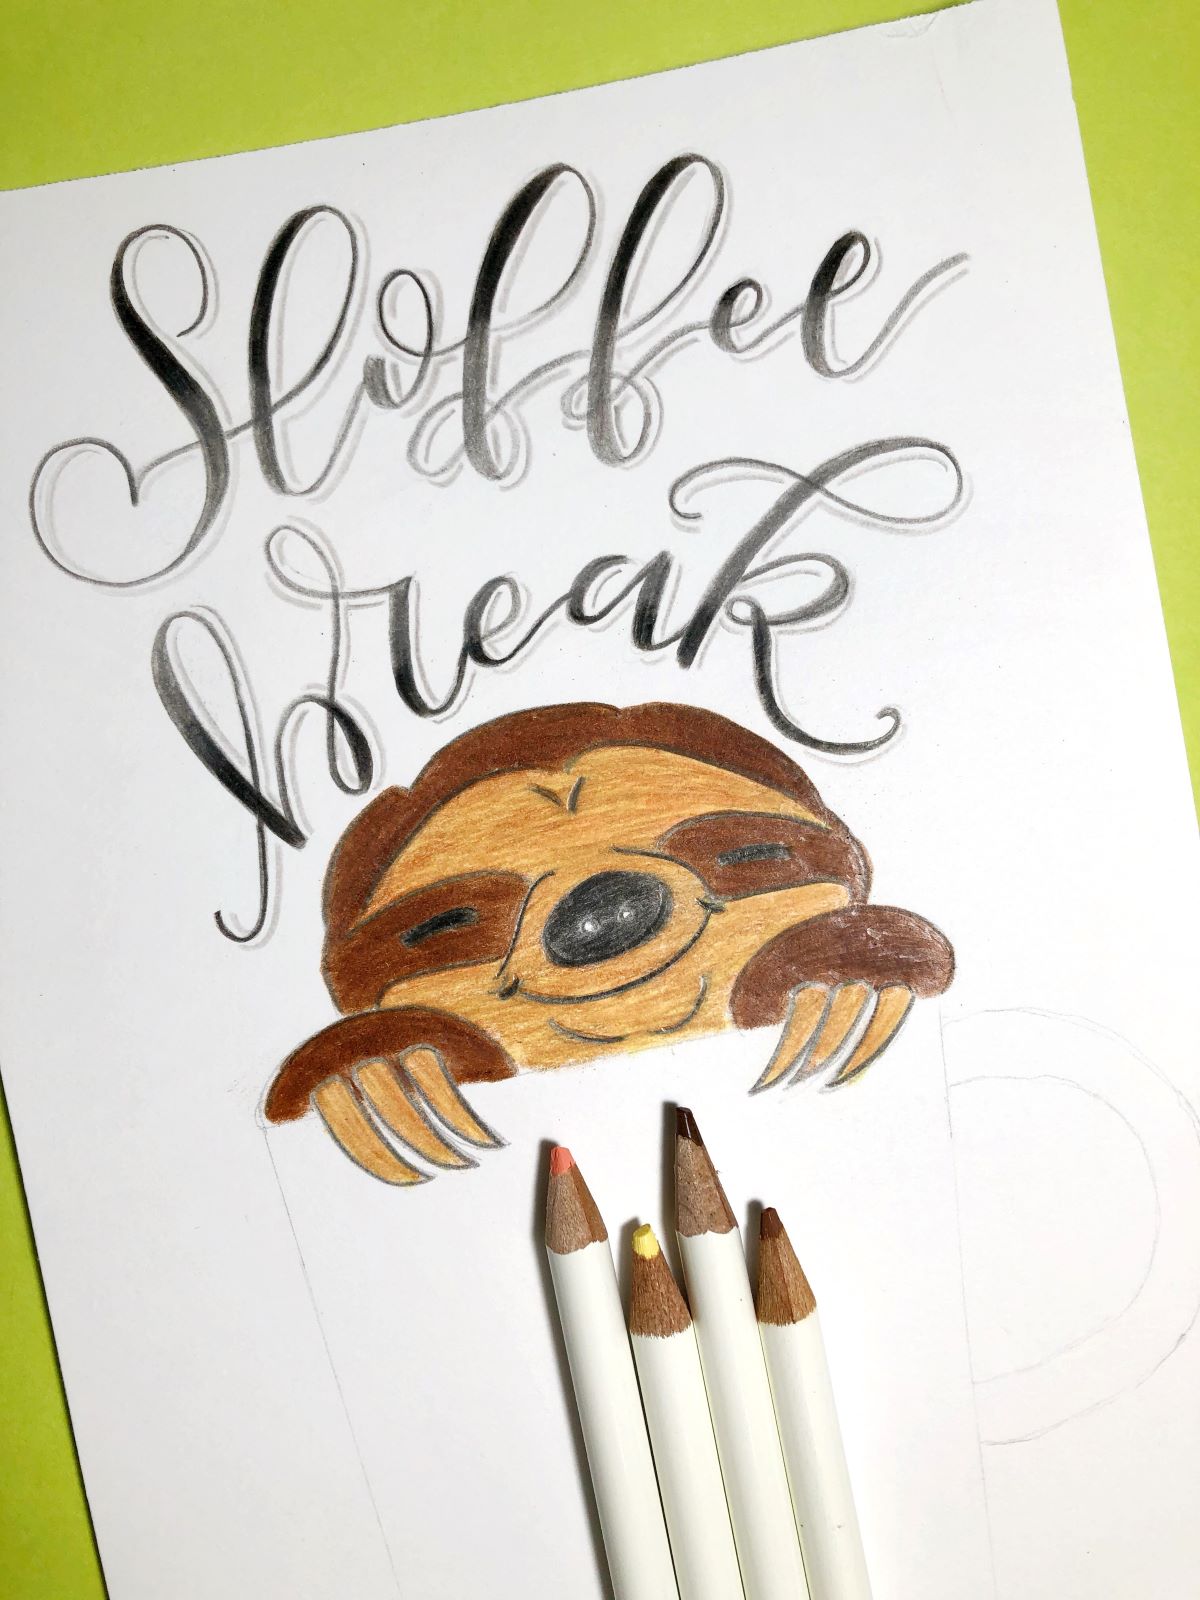
Using hard pressure and Ivory Black, color in the eyes and nose. Next, use Irojiten Colored Pencil Autumn Leaf to color in the entire sloth using the lightest pressure possible. This will be our base color.
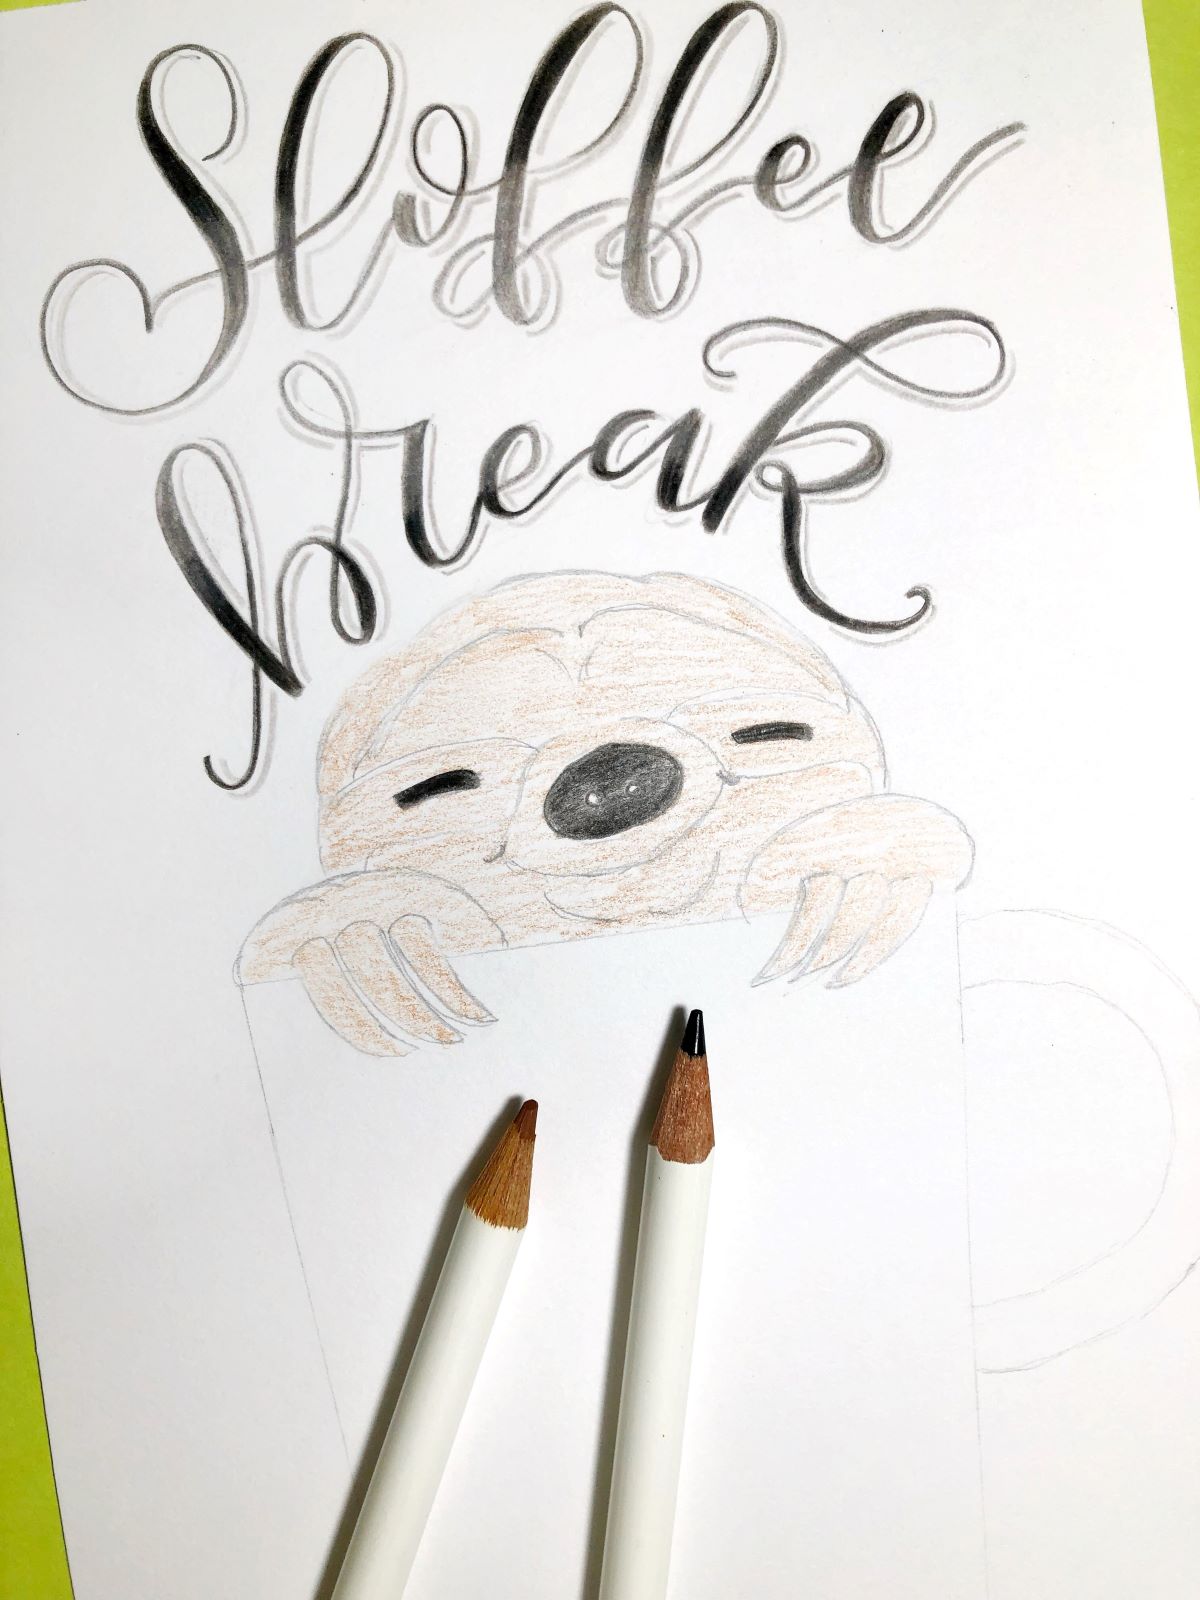
Using hard pressure and Chestnut Brown, apply the color on the sloth’s fur around the face, the part around the eyes, and the paws. Using hard pressure, add another layer of color to all areas again. Use light pressure and Shell Pink to color in the main face part and the claws. You want to lightly blend this color into the Autumn Leaf. Then using hard pressure and Narcissus, color over the same areas. This will blend all three colors together.
STEP 4 – Add Color and Blend the Coffee Cup
Using Ivory Black, trace over your pencil lines and draw simple leaf shapes inside the mug.
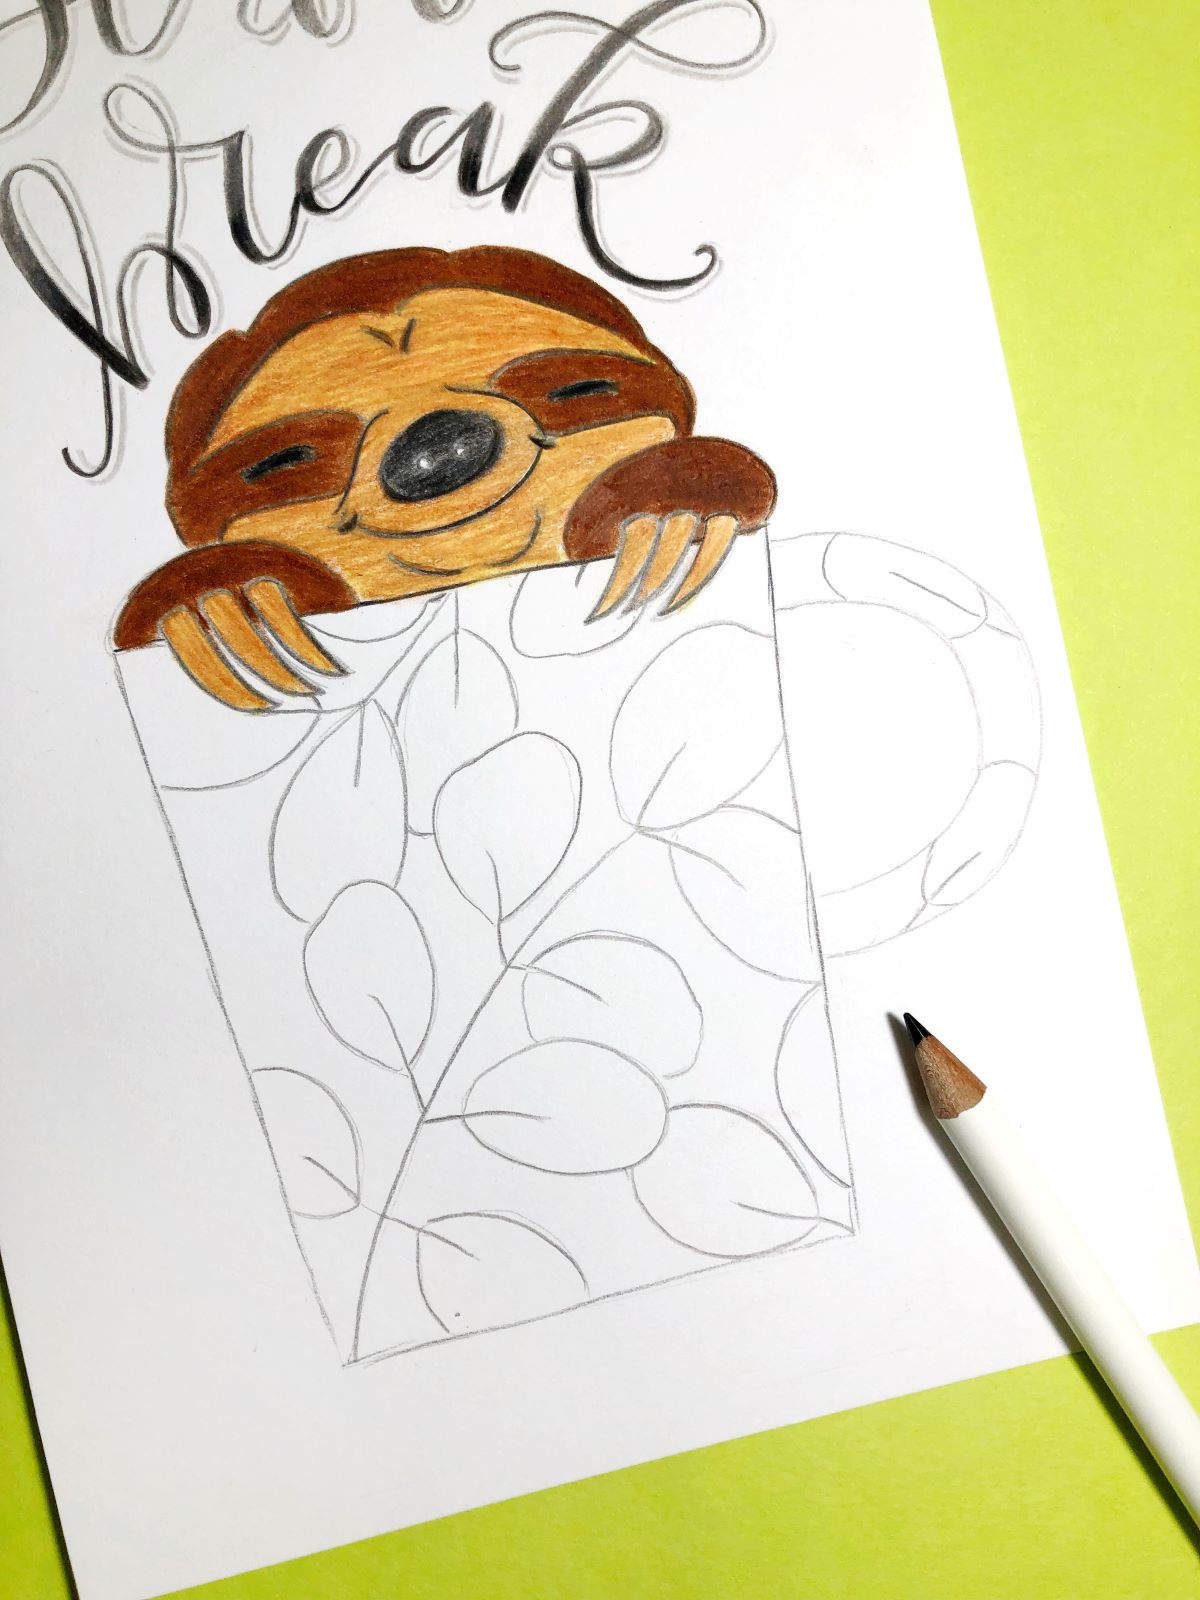
Using hard pressure and Irojiten Colored Pencil Olive Yellow, color in the empty spaces around all the leaves. Then repeat and apply a second layer of color using hard pressure. Using light pressure and Elm Green, color in all your leaves. Grab Forest Green and color in one side of each leaf using medium pressure.
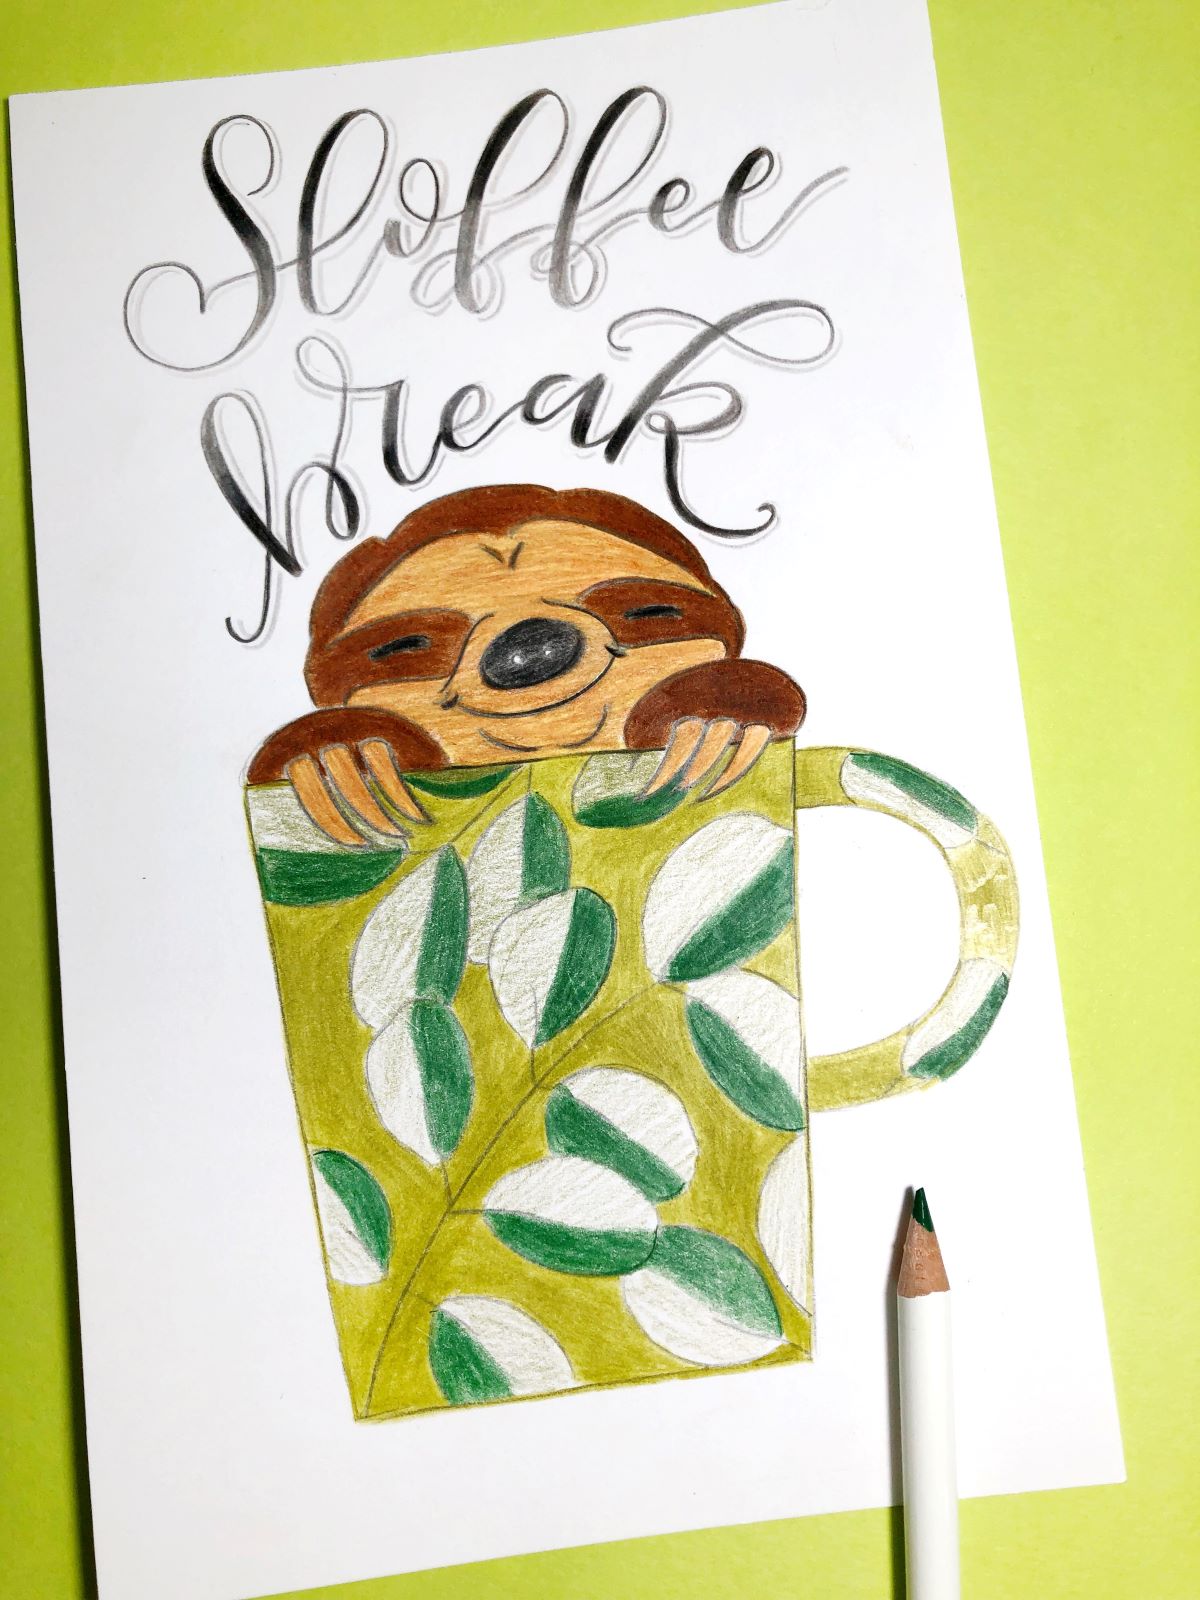
Using hard pressure and Elm Green, color directly over the Forest Green. Add another layer of color on each leaf and blend the two greens together.
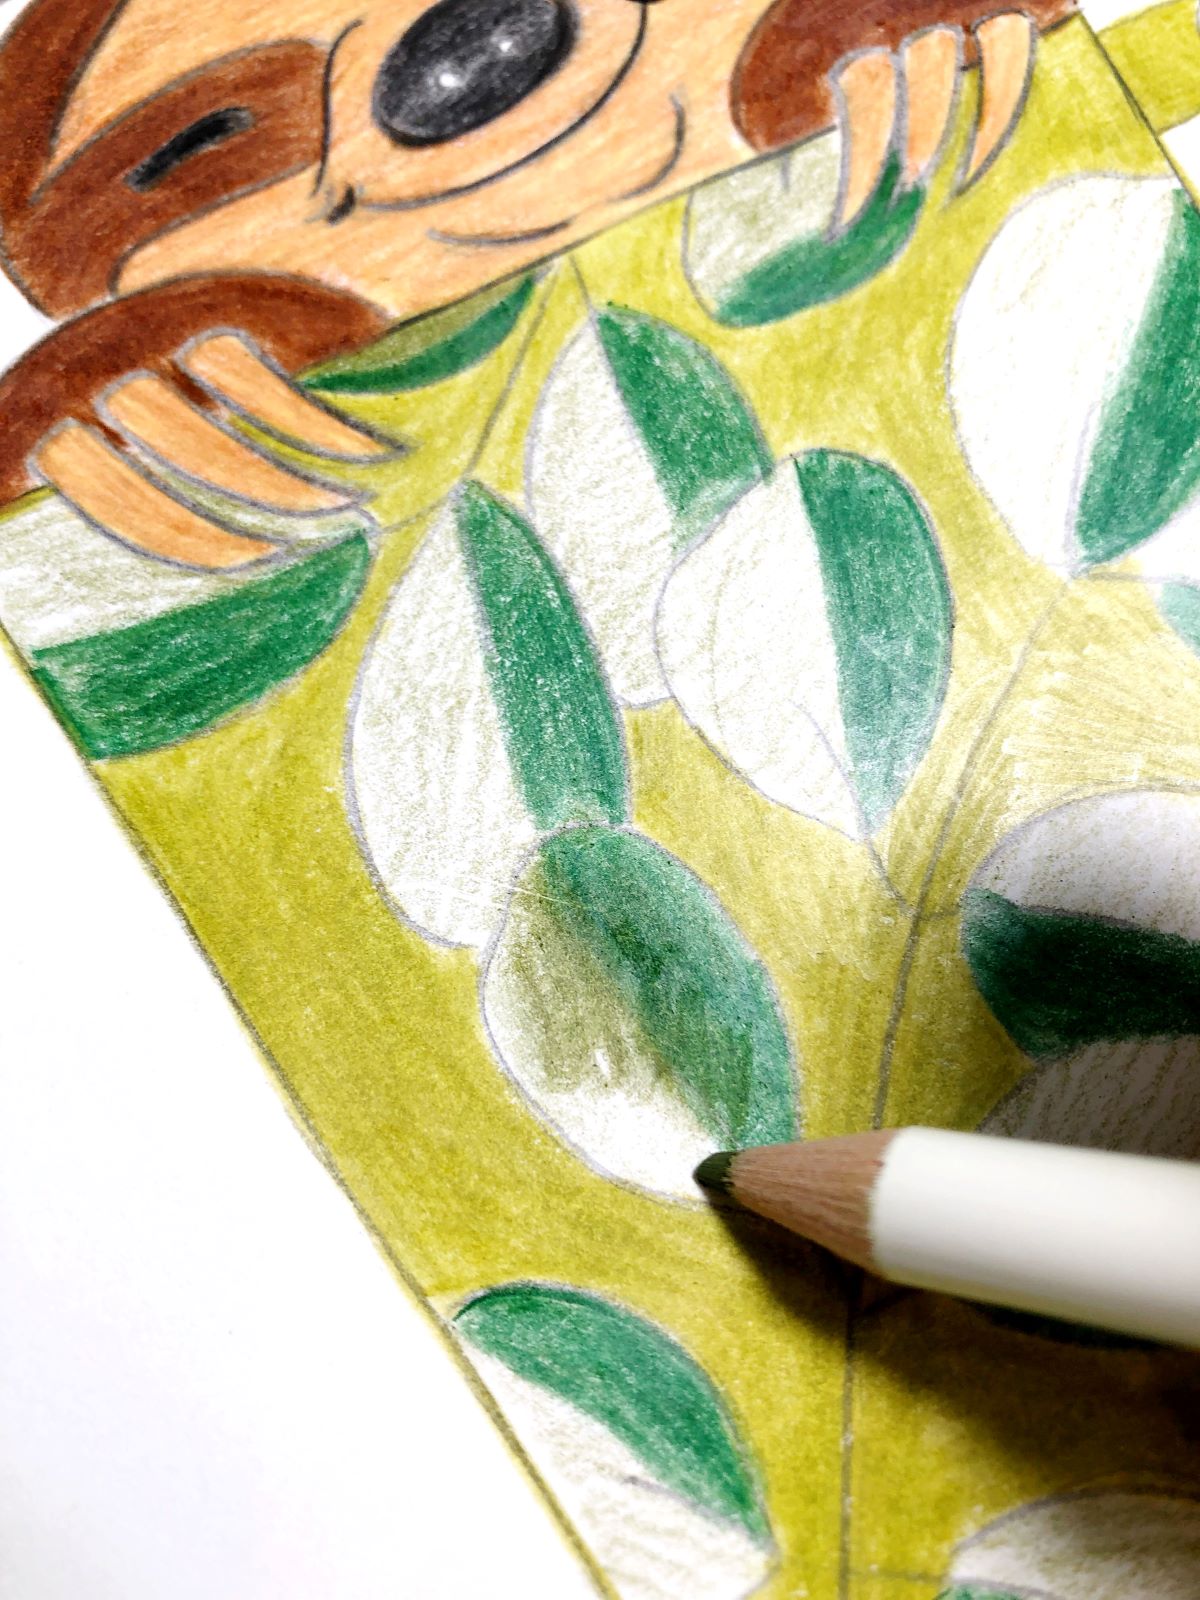
Finally, add one more layer of Elm Green to each leaf again. Use medium pressure to create smooth looking leaves. Your sloth art is complete!
I hope you enjoyed this tutorial! If you would like to practice blending with the Irojiten Pencils some more, check out these posts:
If you create your own sloth art, be sure to tag @tombowusa and @a_heartened_calling so we can see your amazing work!!!
See you next time!
Mandy