Hi crafty friends! Dani from @popfizzpaper here today with a handmade card tutorial using Tombow Irojiten Colored Pencil Dictionaries. The Irojiten Colored Pencils come in a wide variety of colors and layer and blend beautifully, making them great for cardmaking! Let’s get started!
SUPPLIES:
- Tombow Irojiten Colored Pencils
- Plain cardstock
- Decorative paper
- Stamp set (mine is from Sweet Stamp Shop)
- Stamp ink
- Tombow Colorless Blender Pen
- Scissors
- Tombow Xtreme Adhesive
- Tombow Xtreme Tabs
- Gems, enamel dots, any other embellishments you’d like
CREATE THE BASE
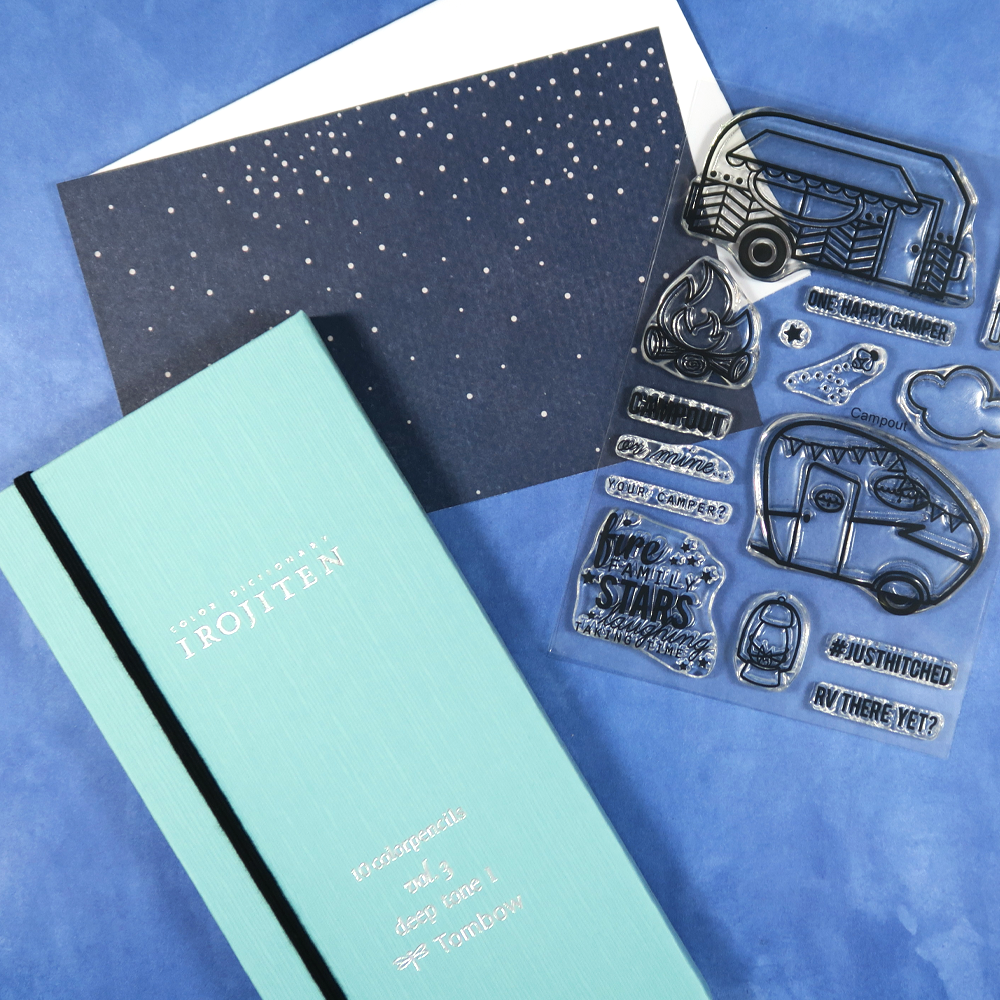
To start our card, we’ll need to create a card base and a front panel. First, cut down white cardstock to 8″x6″, then score in half so your final card size will be 4″x6″. Also cut your decorative paper to 4″x6″. Set both aside for now. Stamp your chosen images on leftover pieces of cardstock and set aside for a moment to dry completely.
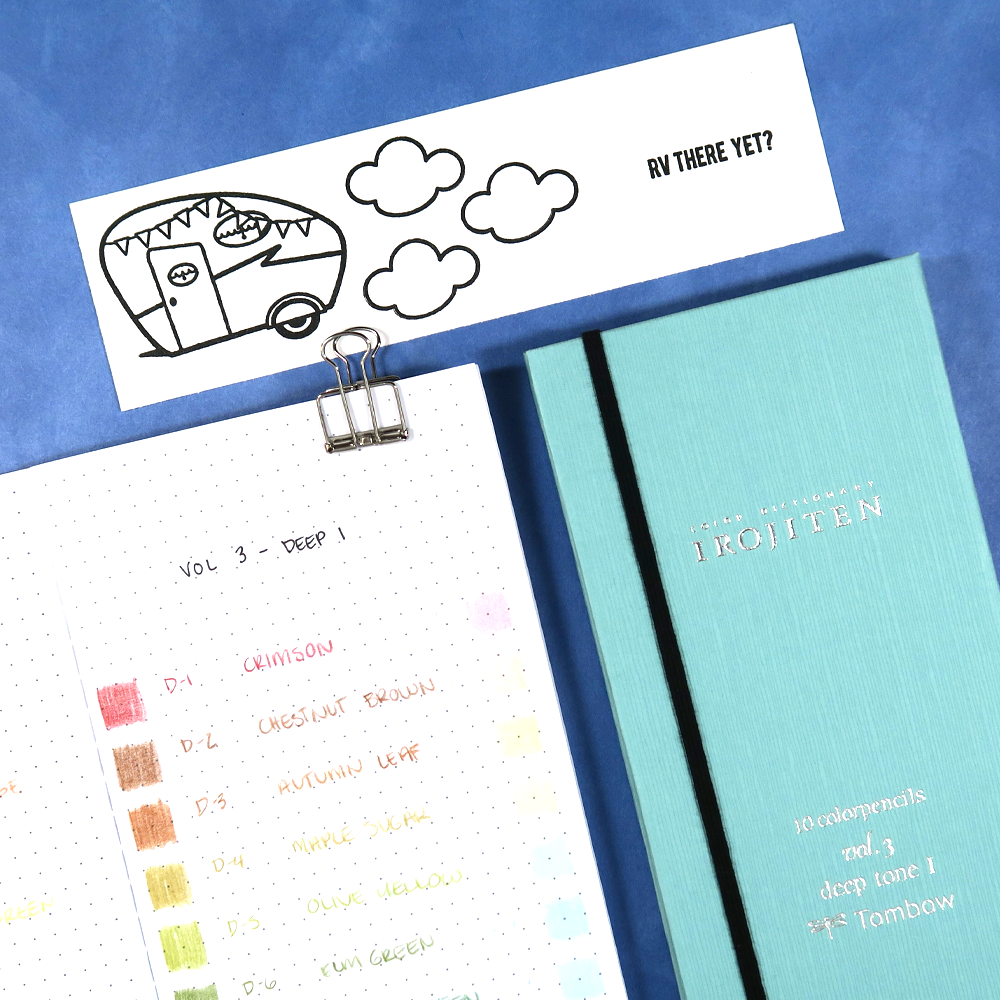
PICK YOUR COLORS
Whenever I get new pens, pencils, or markers, I like to add them to my Pen Test Logbook. Not only does this let me see what the colors and ink look like on paper, but I also get a feel for how they draw and write. It takes a bit of time, but it’s such a nice reference to have when creating projects like this! For today’s card, I’m using Volumes 2, 3, 4, 5, and 9 of the Tombow Irojiten Colored Pencil Dictionaries.
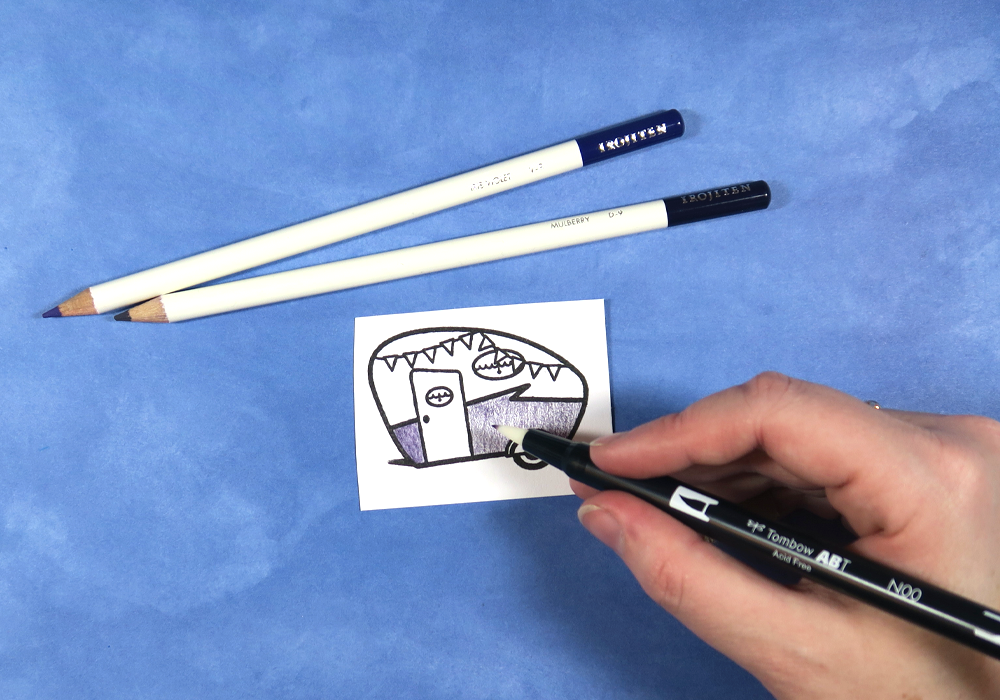
START COLORING
First, lightly layer your colors onto your image. It’s best to use light layers so you can build up the color and blend. Use a Colorless Blender Pen to further blend out your colors. Continue building and blending colors until you’re happy with how it looks.
PREP THE SENTIMENT
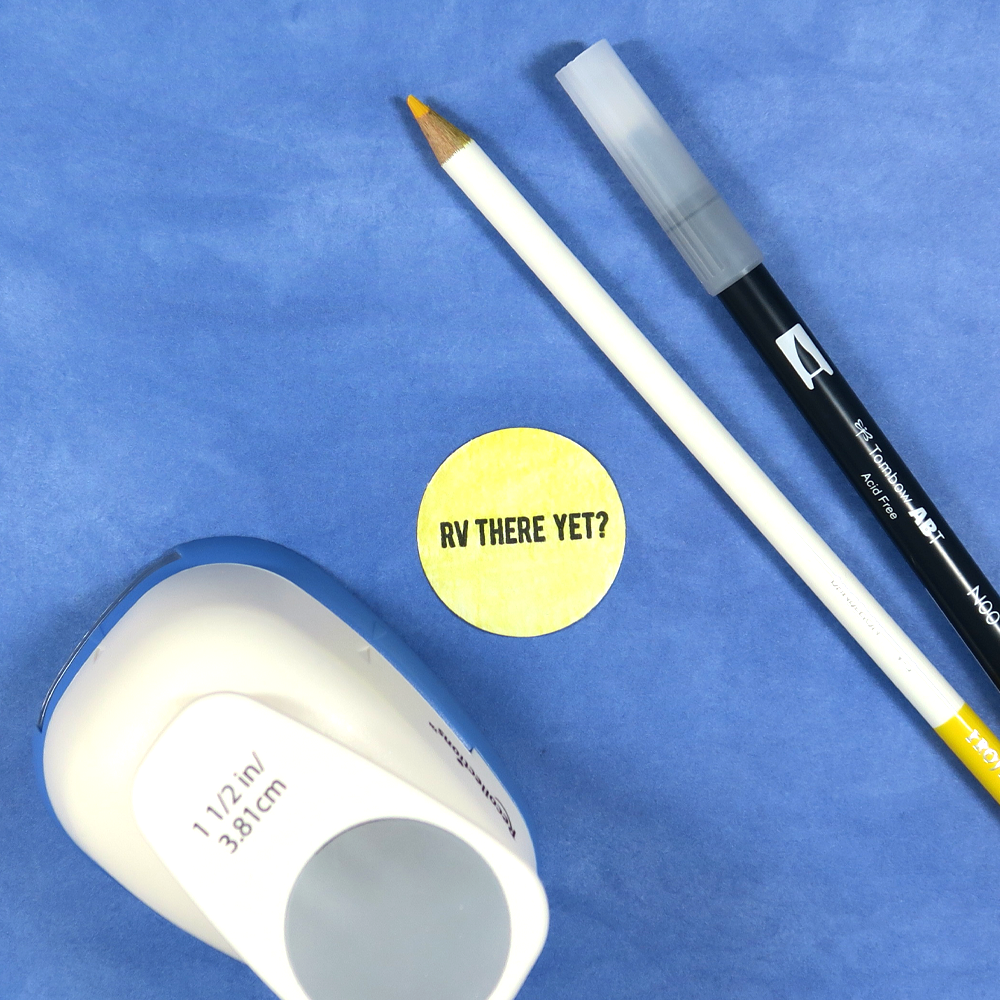
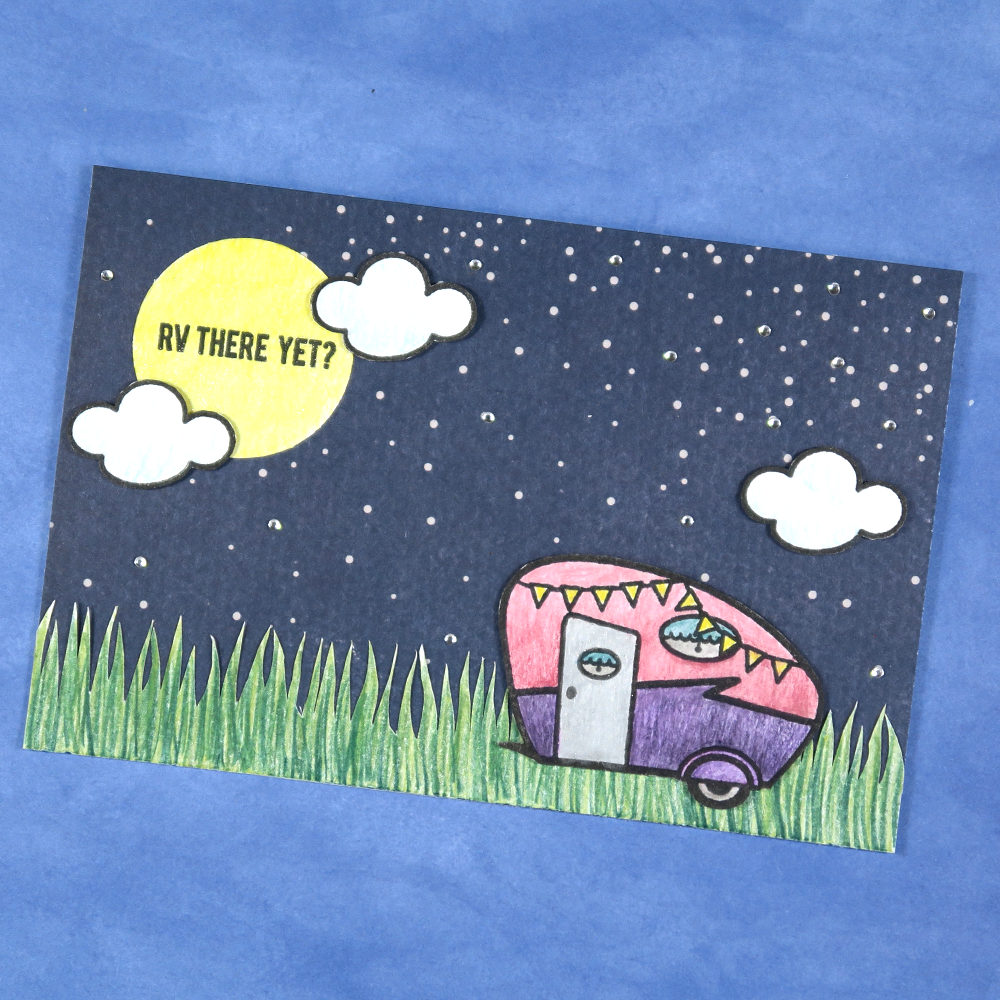
To create my sentiment, I first stamped the phrase then set aside to dry. Next, I colored over it with a yellow Irojiten Colored Pencil, then blended out with the Colorless Blender. Lastly, I used a punch to create a circular shaped sentiment that reminds me of a glowing harvest moon.
SET THE SCENE
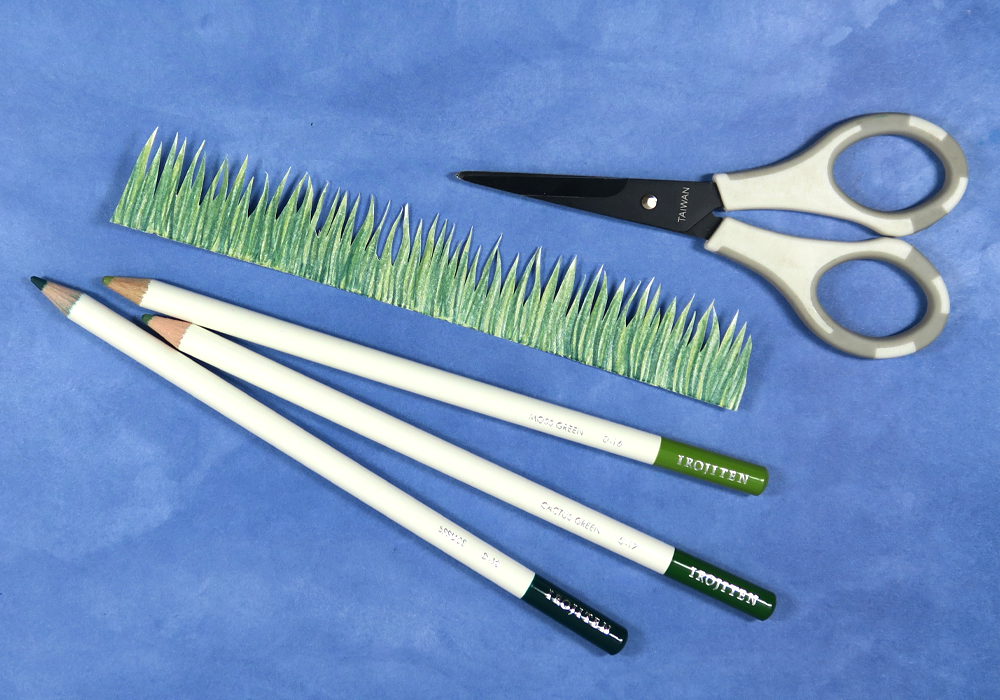
I used three shades of green Irojiten Colored Pencils from the Volume 5 Dictionary to create a grass effect on a strip of cardstock. It’s really easy to recreate! With the lightest green, flick the pencil from one edge of the paper to the other, all the way down the length of the paper. Layer on the middle tone green in the same manner, then follow up with the darkest green. Lastly, apply one more layer of the lightest green to blend things together a little bit, then use scissors to cut out your grass border. If you have a cutting die that does the same thing, give it a try!
ASSEMBLE THE CARD
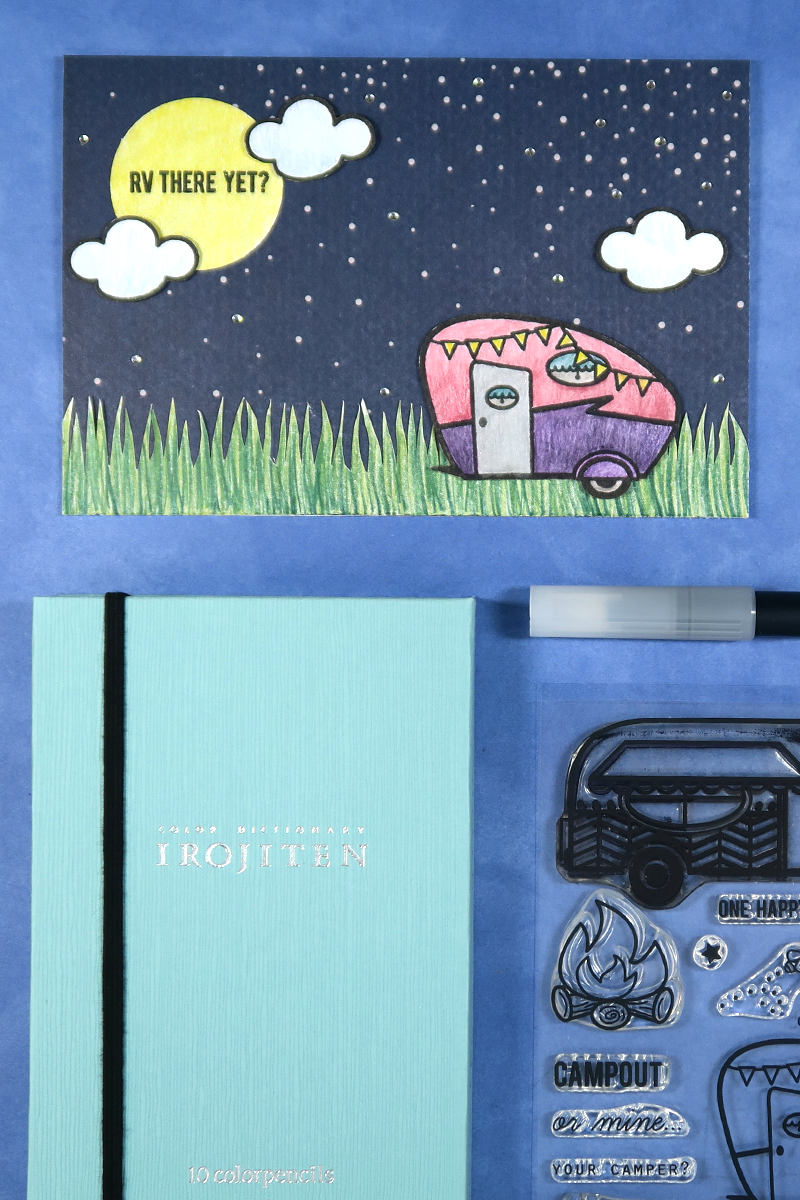
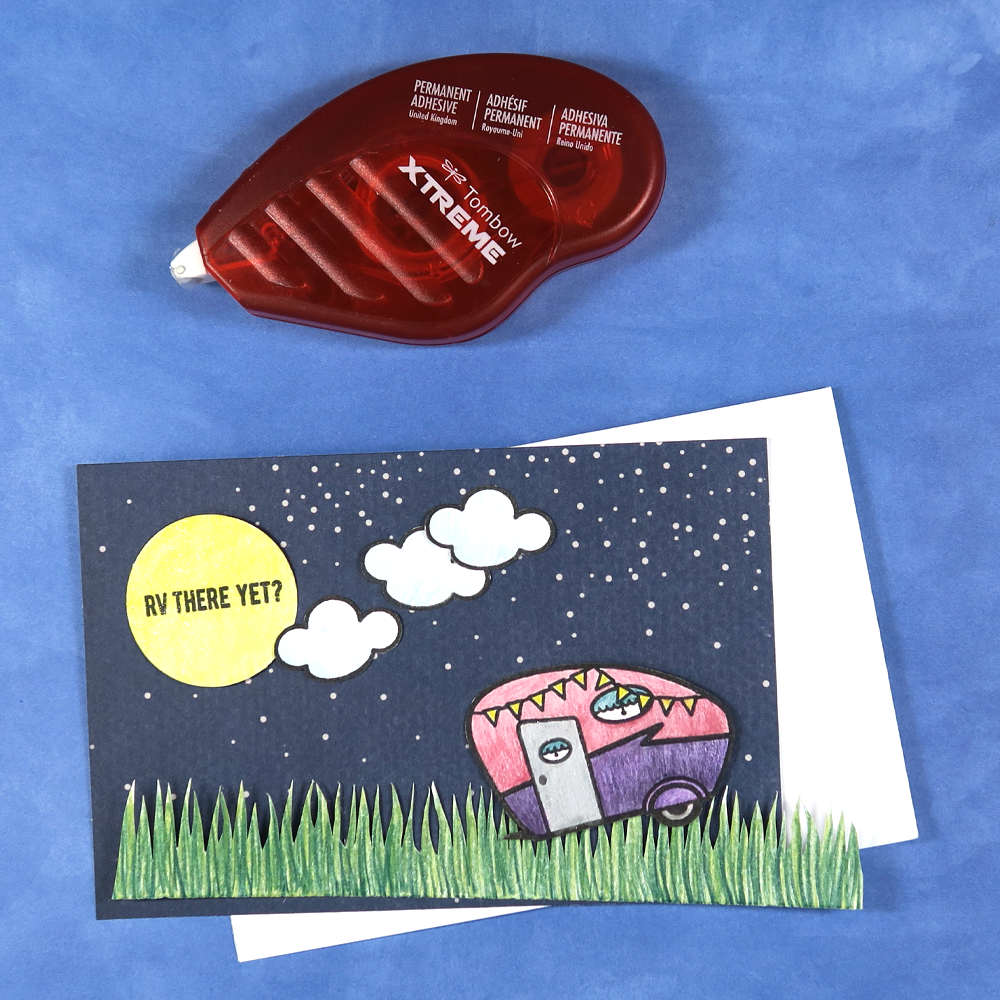
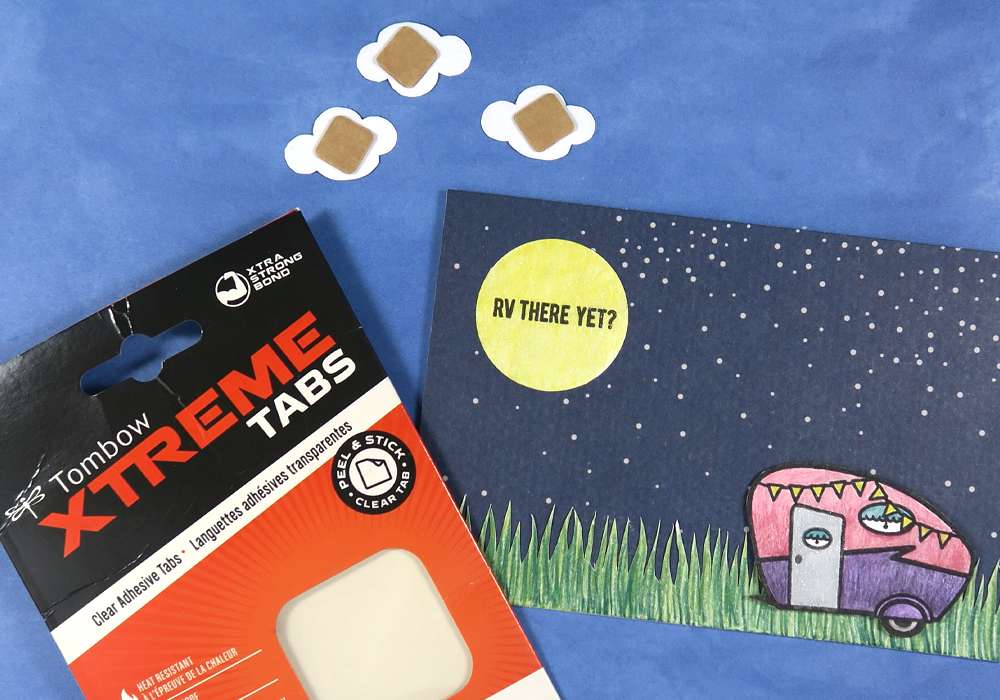
I used the Tombow Xtreme Adhesive to glue down the grass and the moon to the panel we created earlier. This is my favorite adhesive ever, especially for things that need to go through the mail. It will not budge! Next, I used the Tombow Xtreme Tabs to adhere the camper and clouds. These tabs help give just a little bit of dimension to the card while supplying an extra strong bond. Lastly, apply more of the Tombow Xtreme Adhesive to the back of the panel and mount it onto the front of the card base. Some gems or other embellishments finish off the card.
Thank you so much for following along with my card tutorial today! Want more card ideas? Learn about the best adhesives for card making and check out Katie’s fun interactive card (with another beautiful night sky!). See you next time!
Thanks for great idea. Christmas is so soon and I would like to make some handmade presents. I will use your advice with a joy! I think of realisation some of Christmas Card Ideas. Hope my familly and friend will like it!