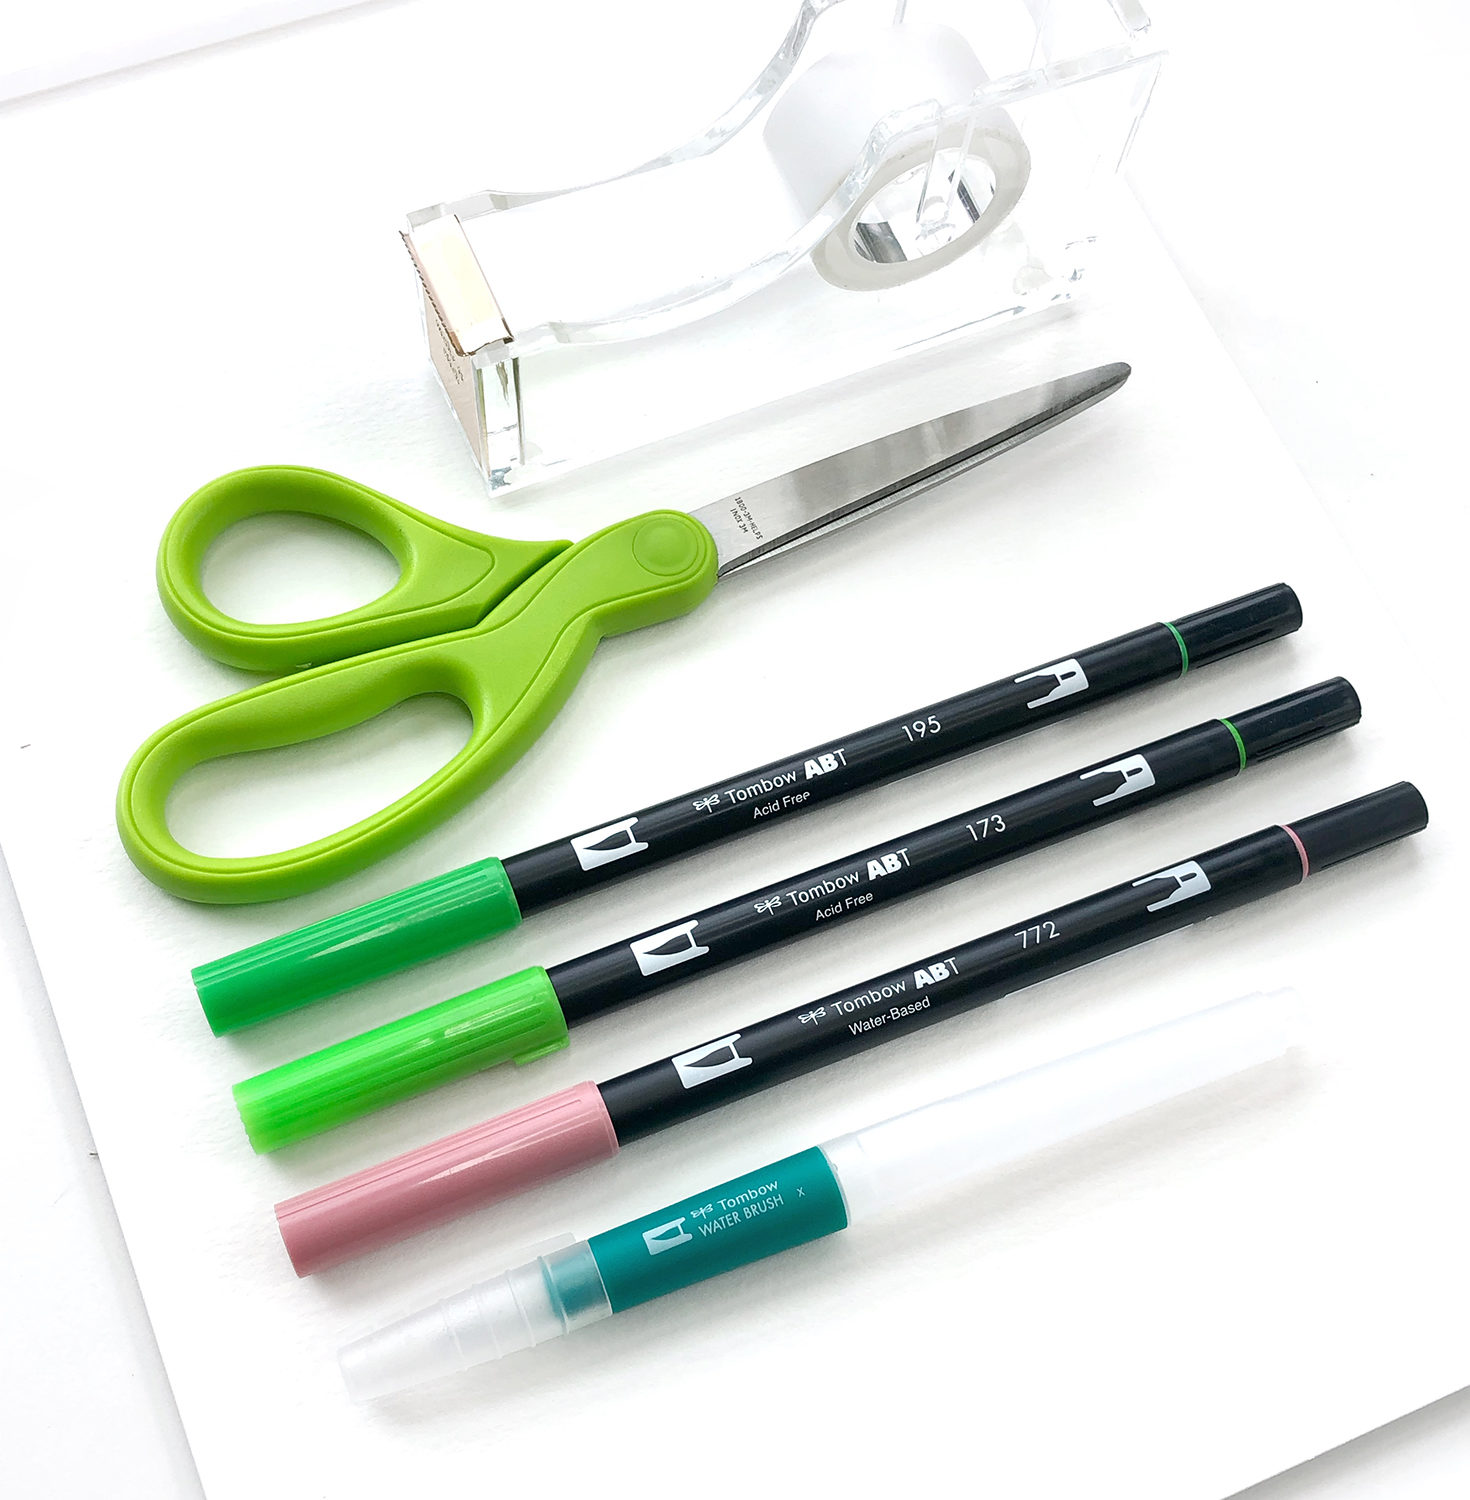
Hi, Jessica from @BrownPaperBunny here to show you how to turn the cactus emoji into a repeat pattern. The cactus emoji is one of my personal favorites and it’s so simple to draw. You will easily be able to do it over and over to get a repeating pattern. Here’s what you’ll need to get started.
Supplies:
- Tombow Dual Brush Pens
- Watercolor Paper
- Tombow Water Brush
- Scissors
- Tape
- A phone, camera, or scanner
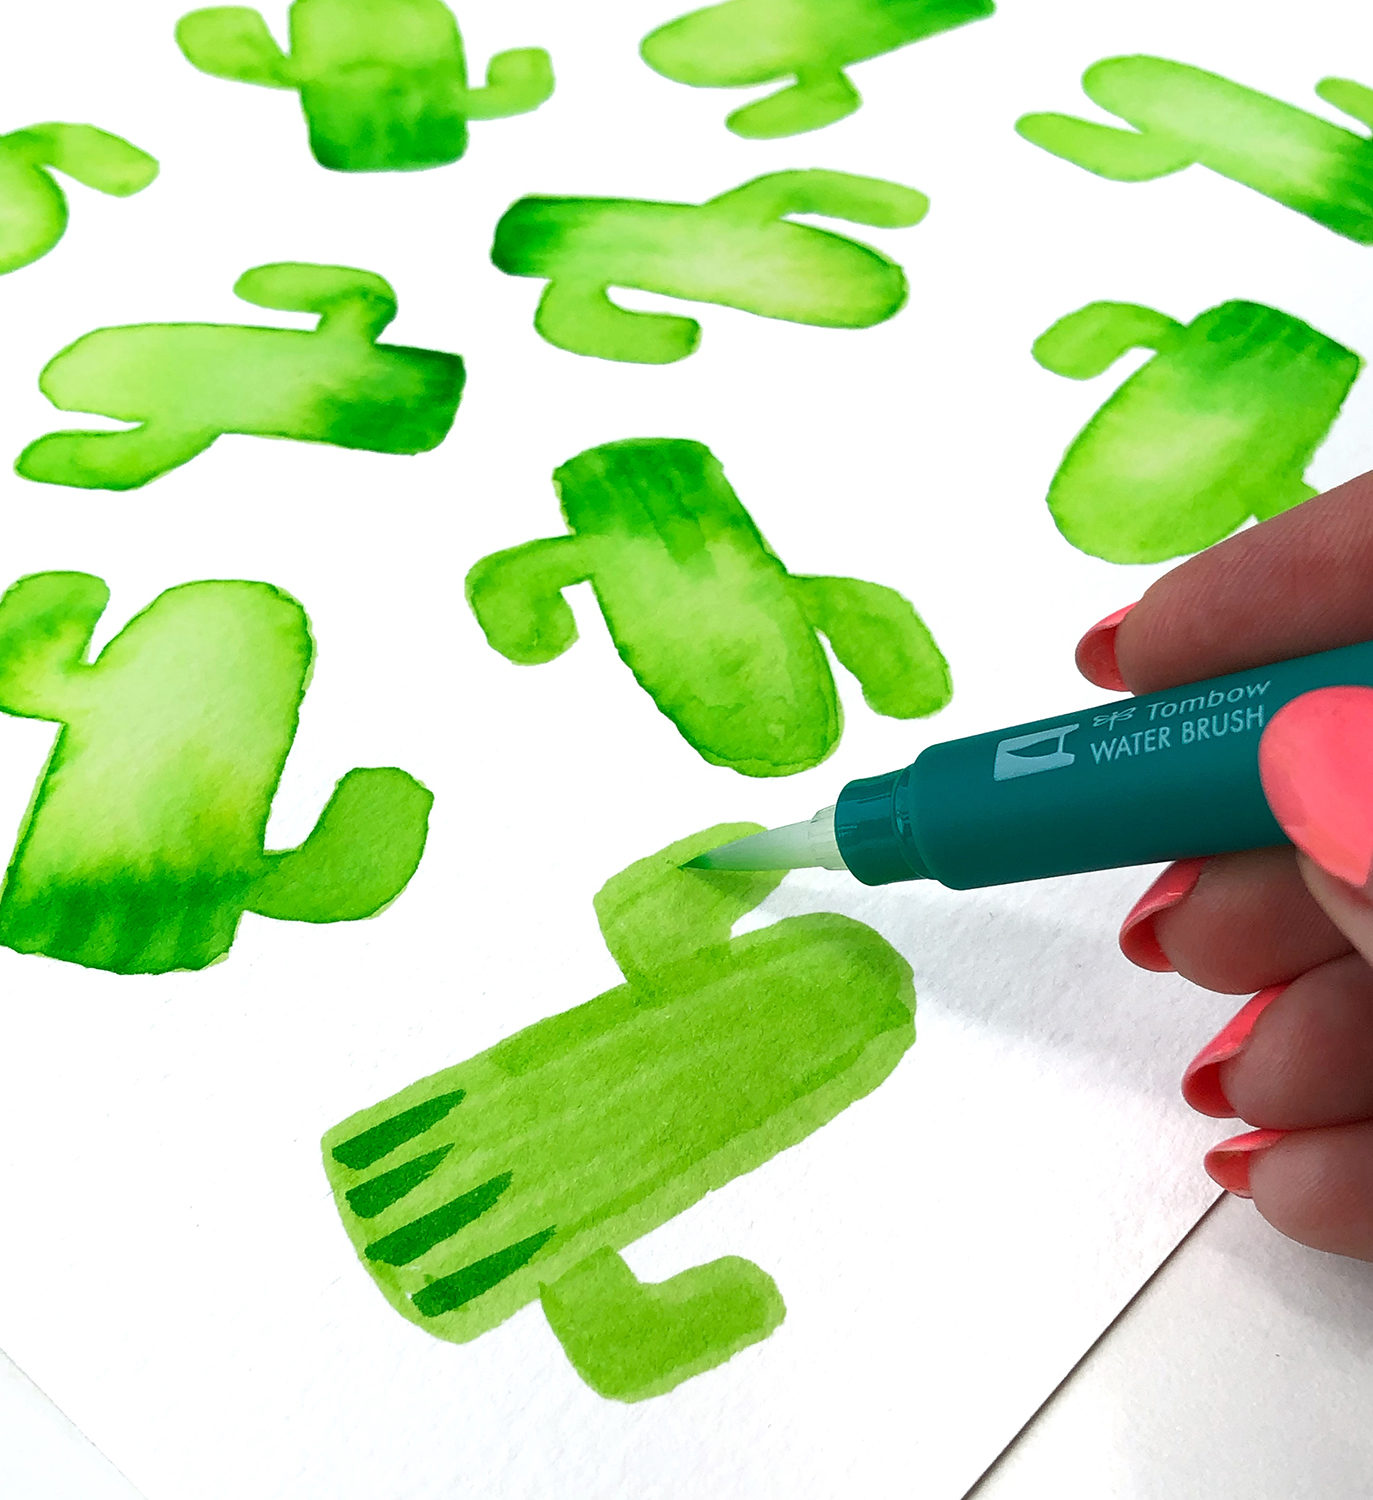
Step 1: Draw Your Cactus
Starting in the middle of your watercolor paper, draw cactus emojis facing in different directions. I used Dual Brush Pen 173 for the first layer, but you can use any color you like. Then, use a darker color (I used 195) to draw some lines at the bottom of each cactus before using your Tombow Water Brush to blend the ink together. Leave white space around the outside edges of the paper. We’ll fill those in later.
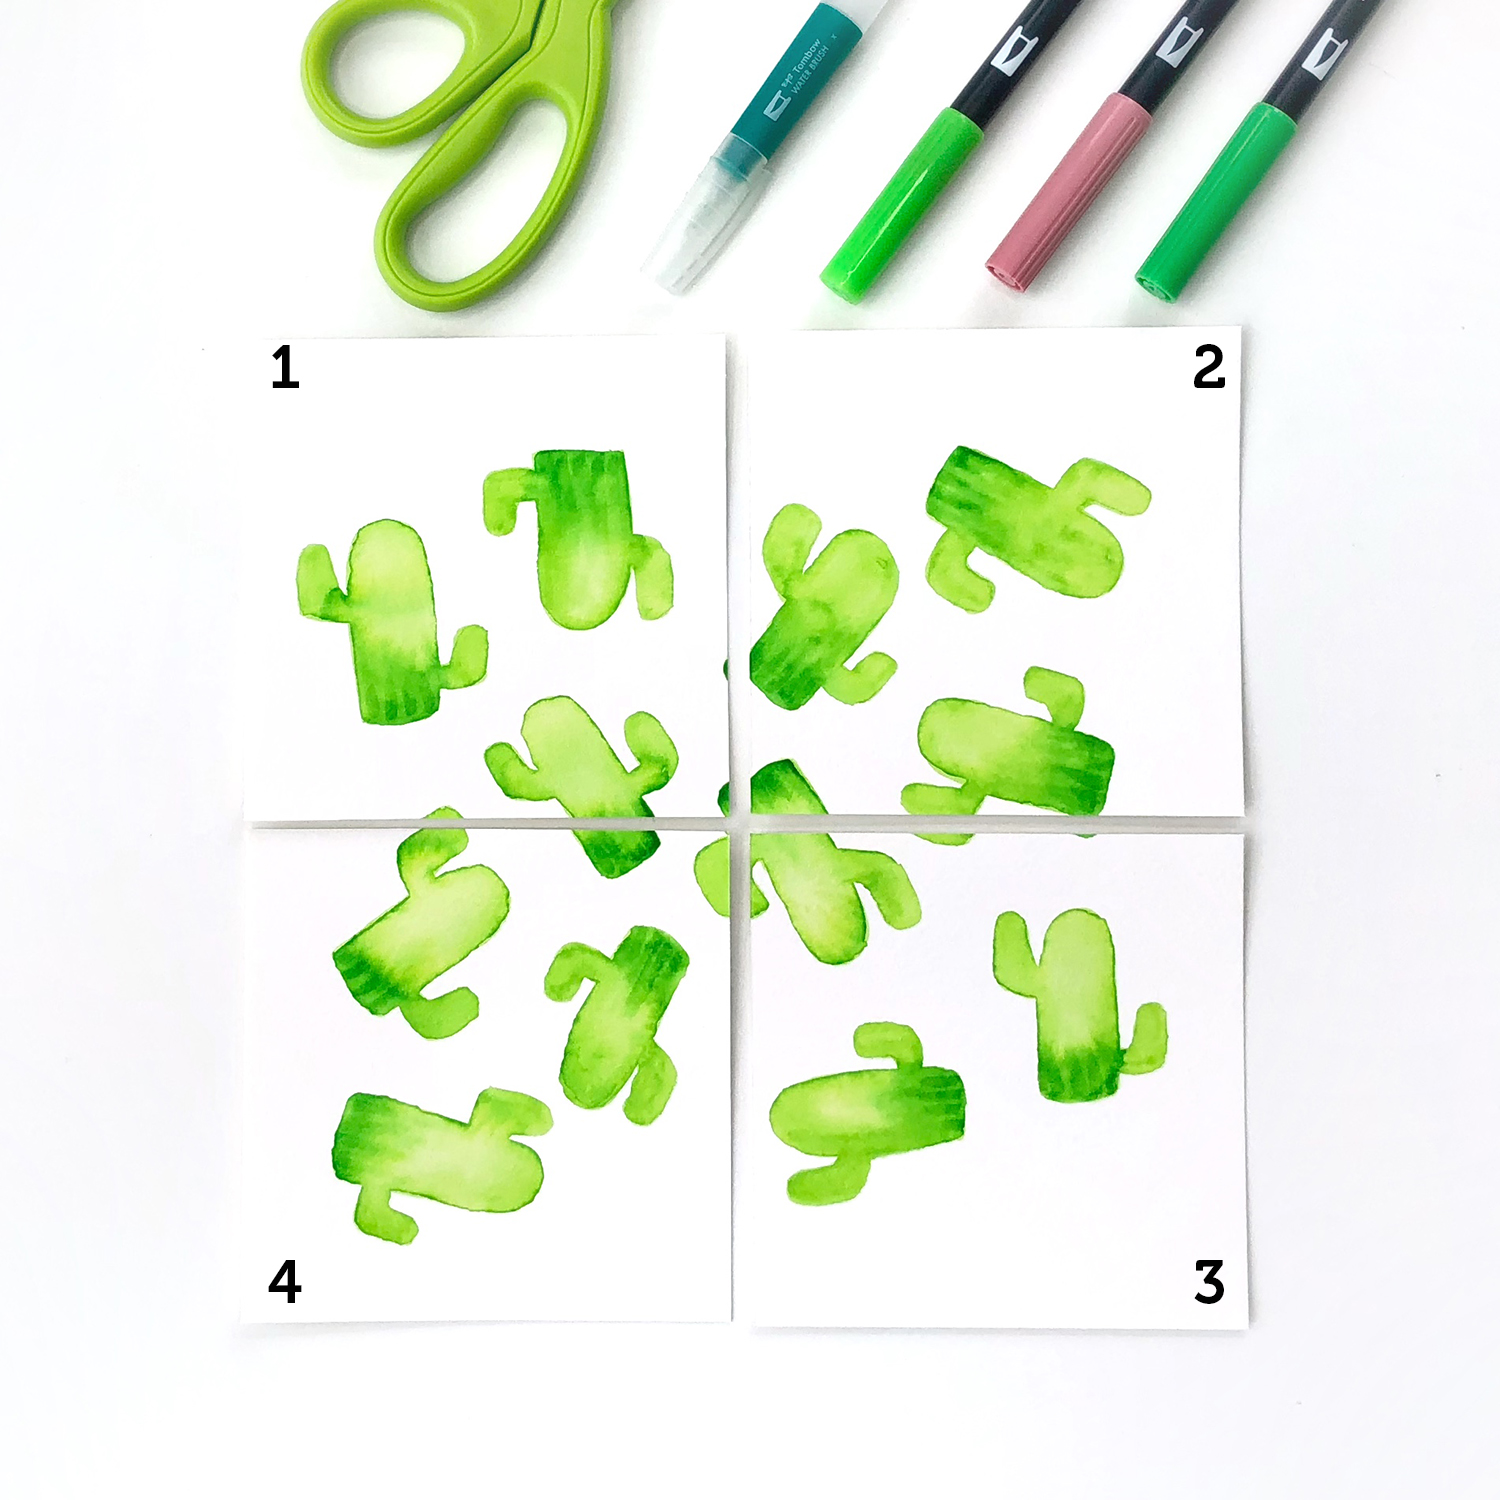
Step 2: Cut Your Paper in Quarters
Once the ink is dry on your cactus emojis, cut your paper into four even quarters. Be sure to get the measurements exact or your repeat pattern won’t work at the end. To prepare for the next step, it helps to put a small number on the back of each quarter in case they get mixed up.
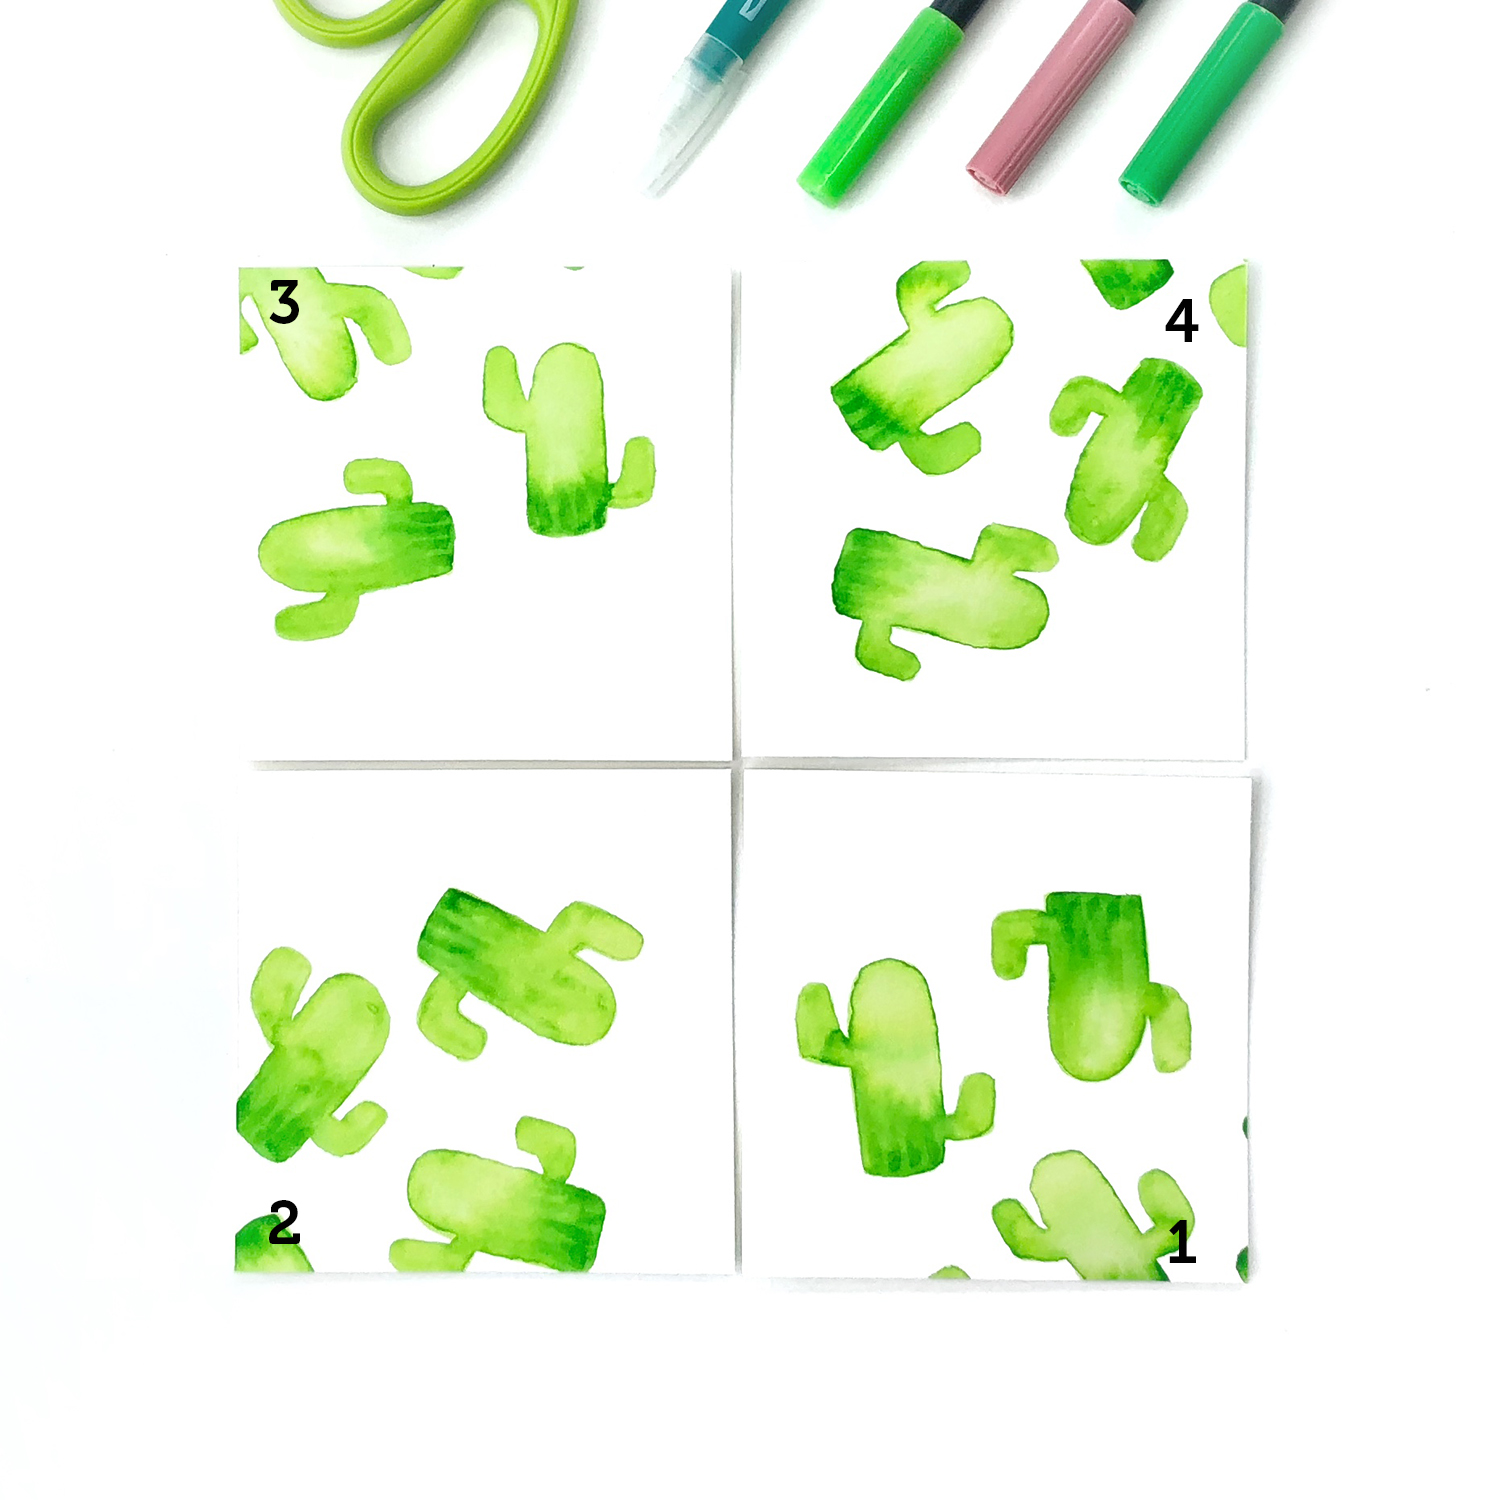
Step 3: Shift Each Quarter
This bit seems a bit tricky but just follow the numbers if you get confused. Move your top two quarters to the bottom and move your left two quarters to the right side. Here’s what you’ll end up with. All of your cacti should be around the outsides and the middle of your paper should be blank.
Step 4: Tape Everything Back Together
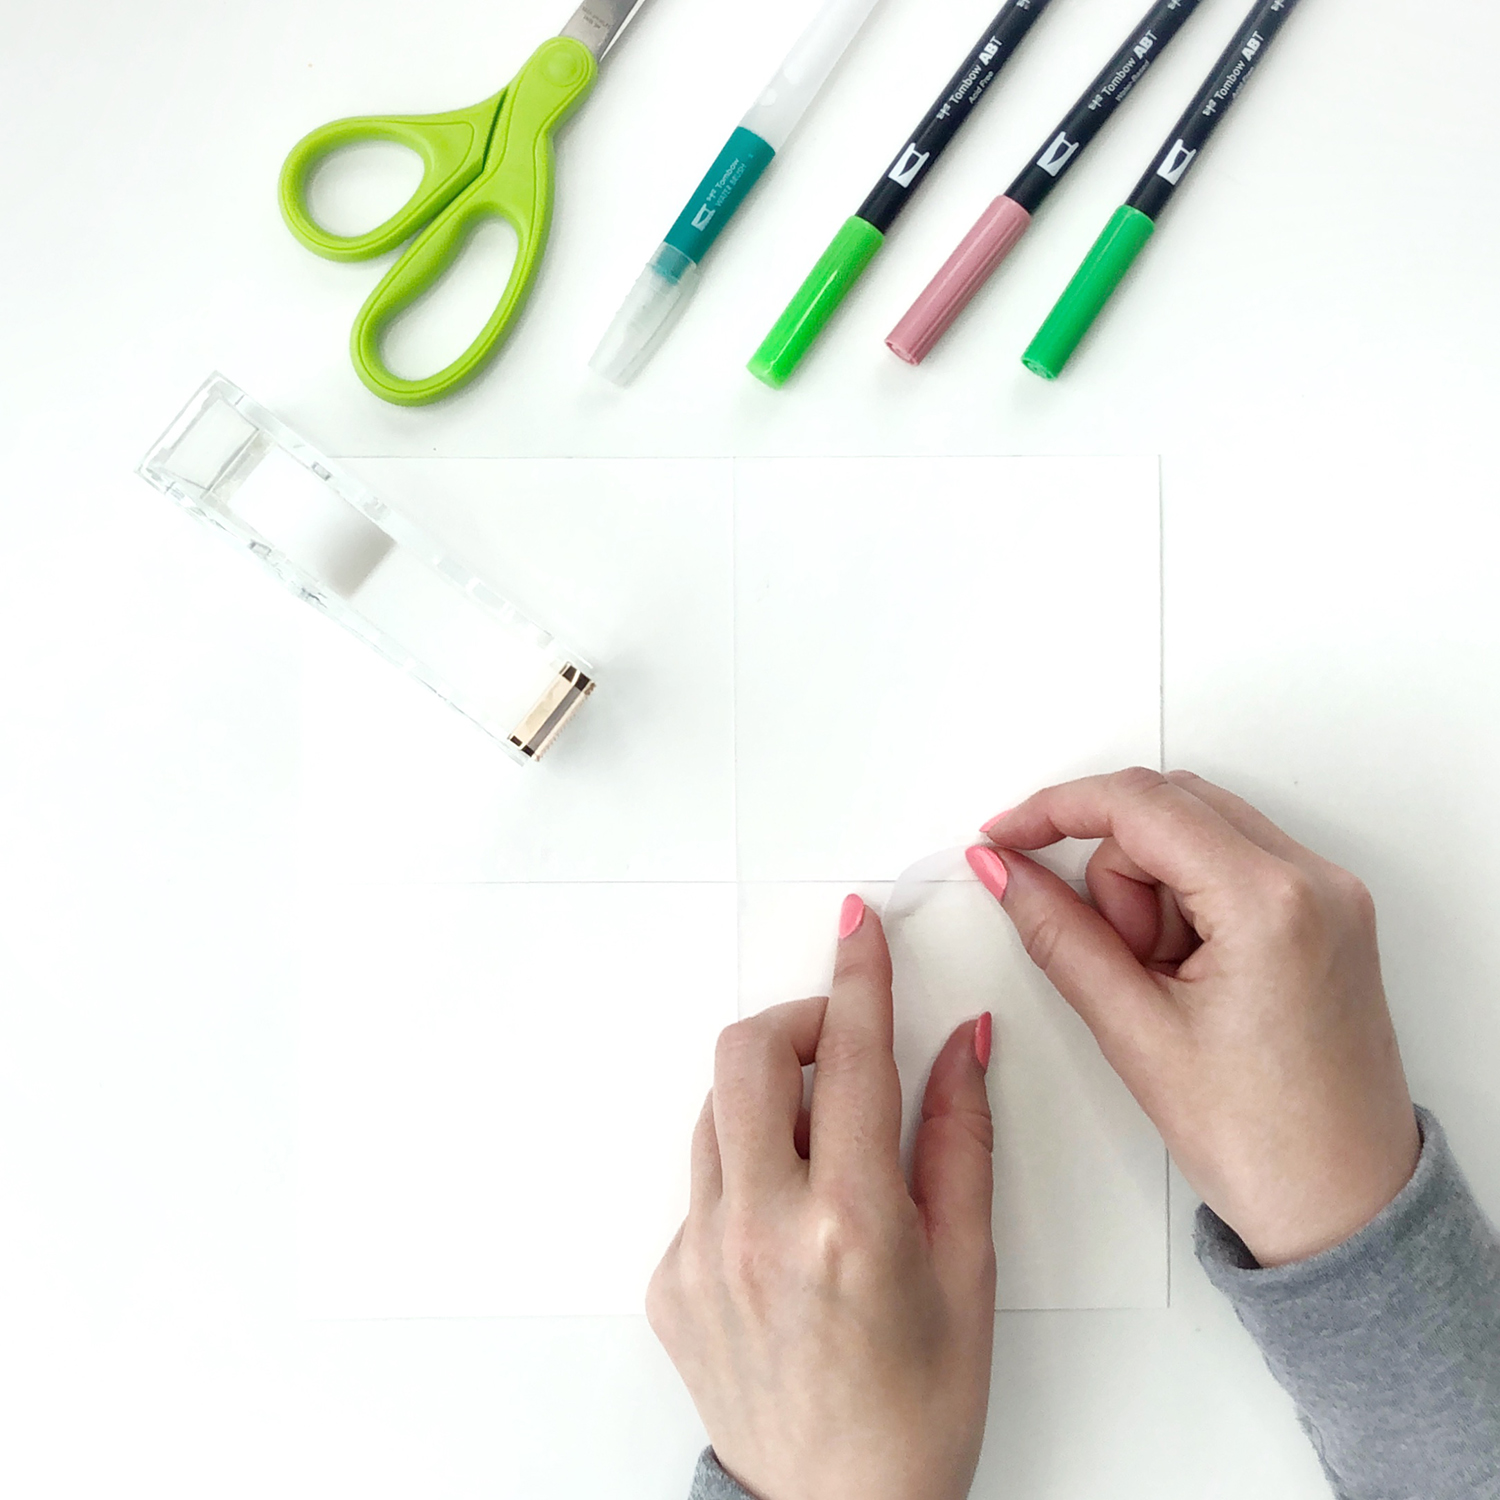
Carefully turn over your drawing, making sure the quarters stay in the same order. Line up the edges and tape it back together.
Step 5: Fill in the Middle
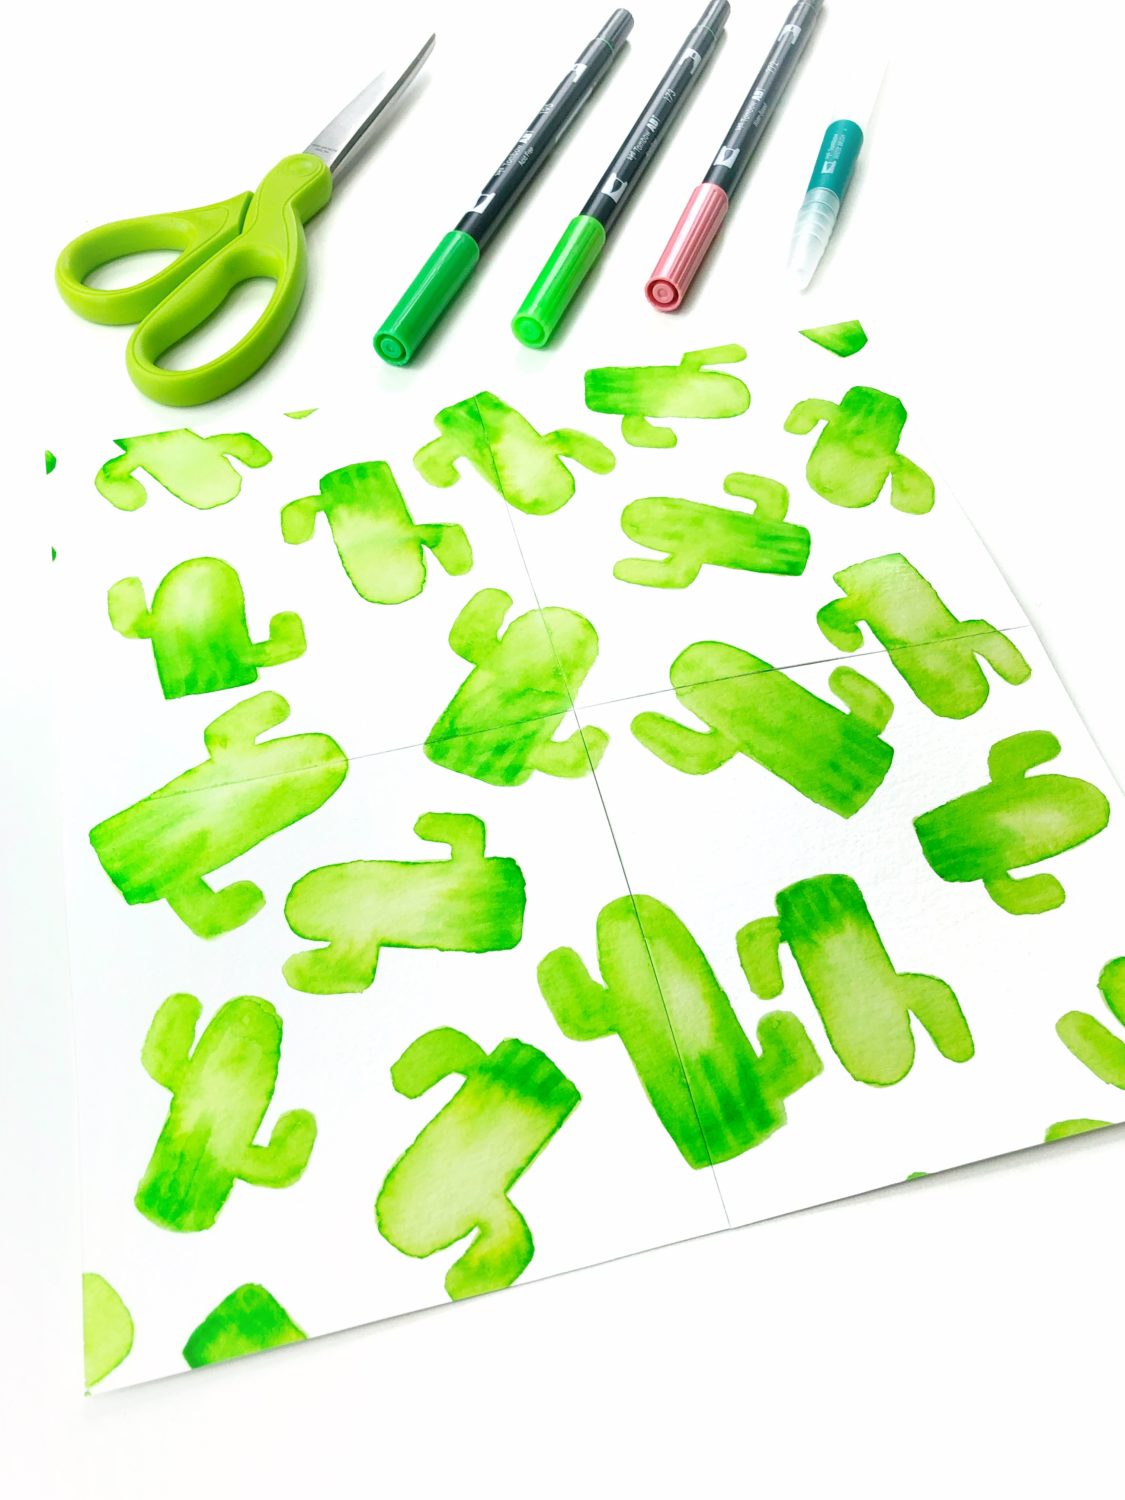
Using the same technique in Step 1, draw more cacti to fill in the middle space of your paper.
Step 6: Add Extra Details
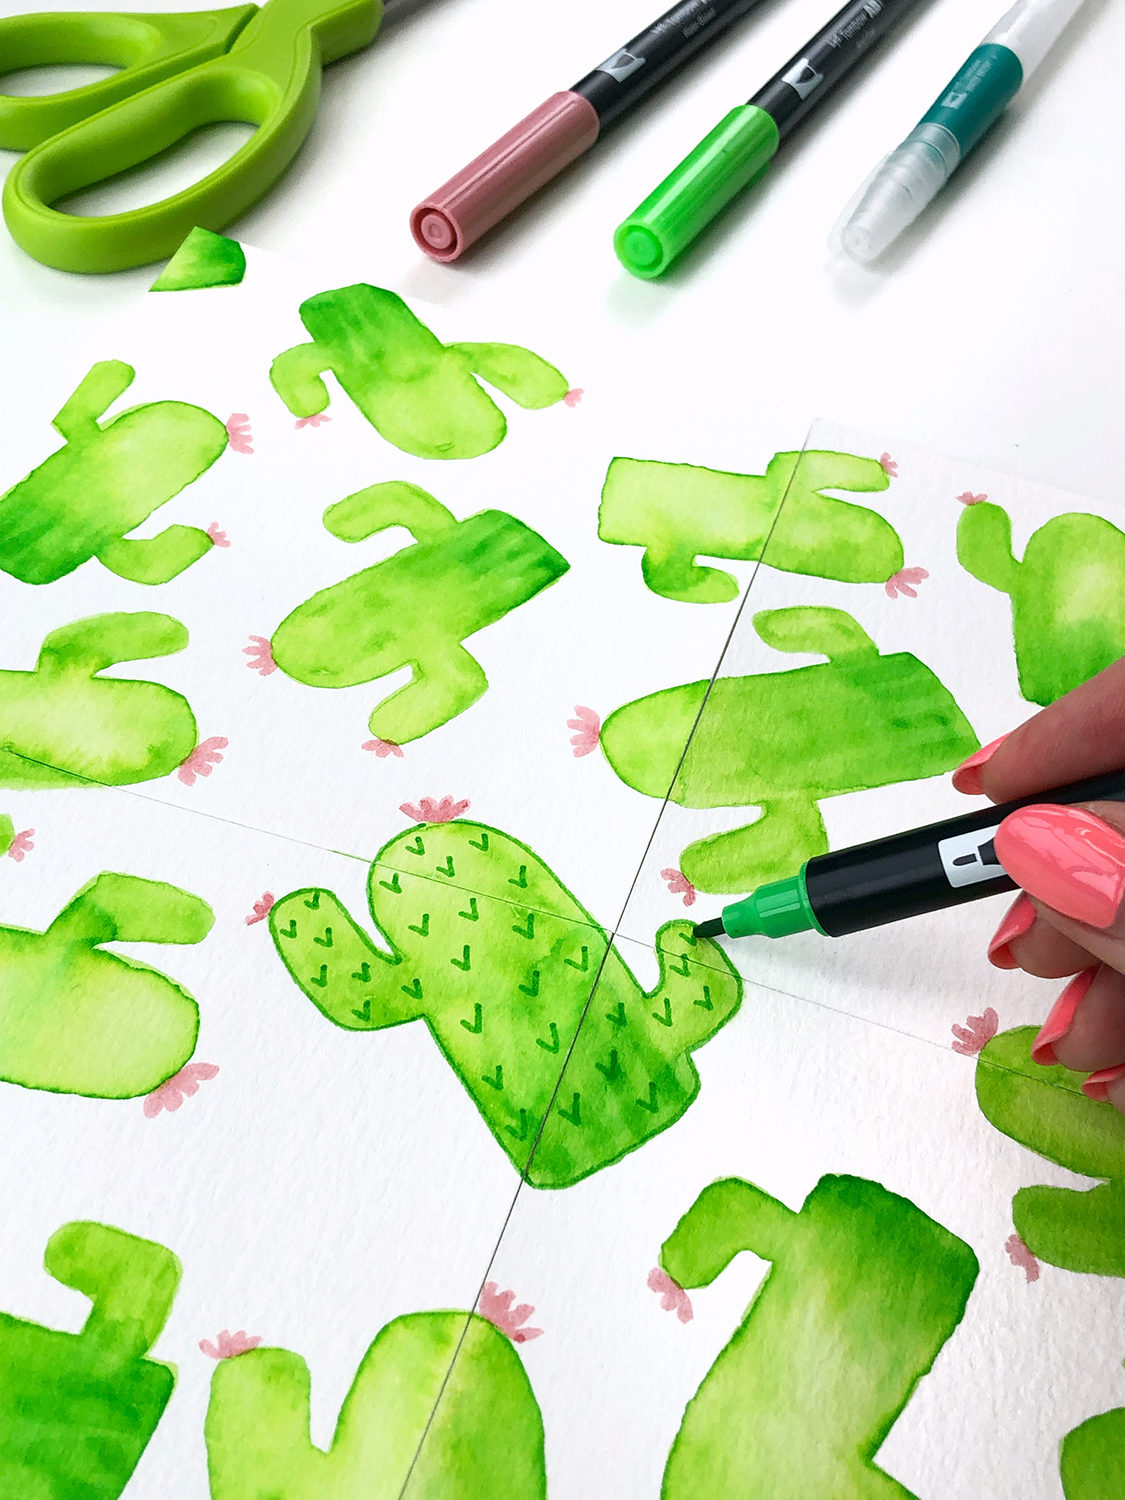
This step is optional, but if you’d like to make your cacti look a little fancier, use the bullet tips on your Dual Brush Pens to add some small details. Cactus needles, flowers, etc.
Step 7: Photograph or Scan
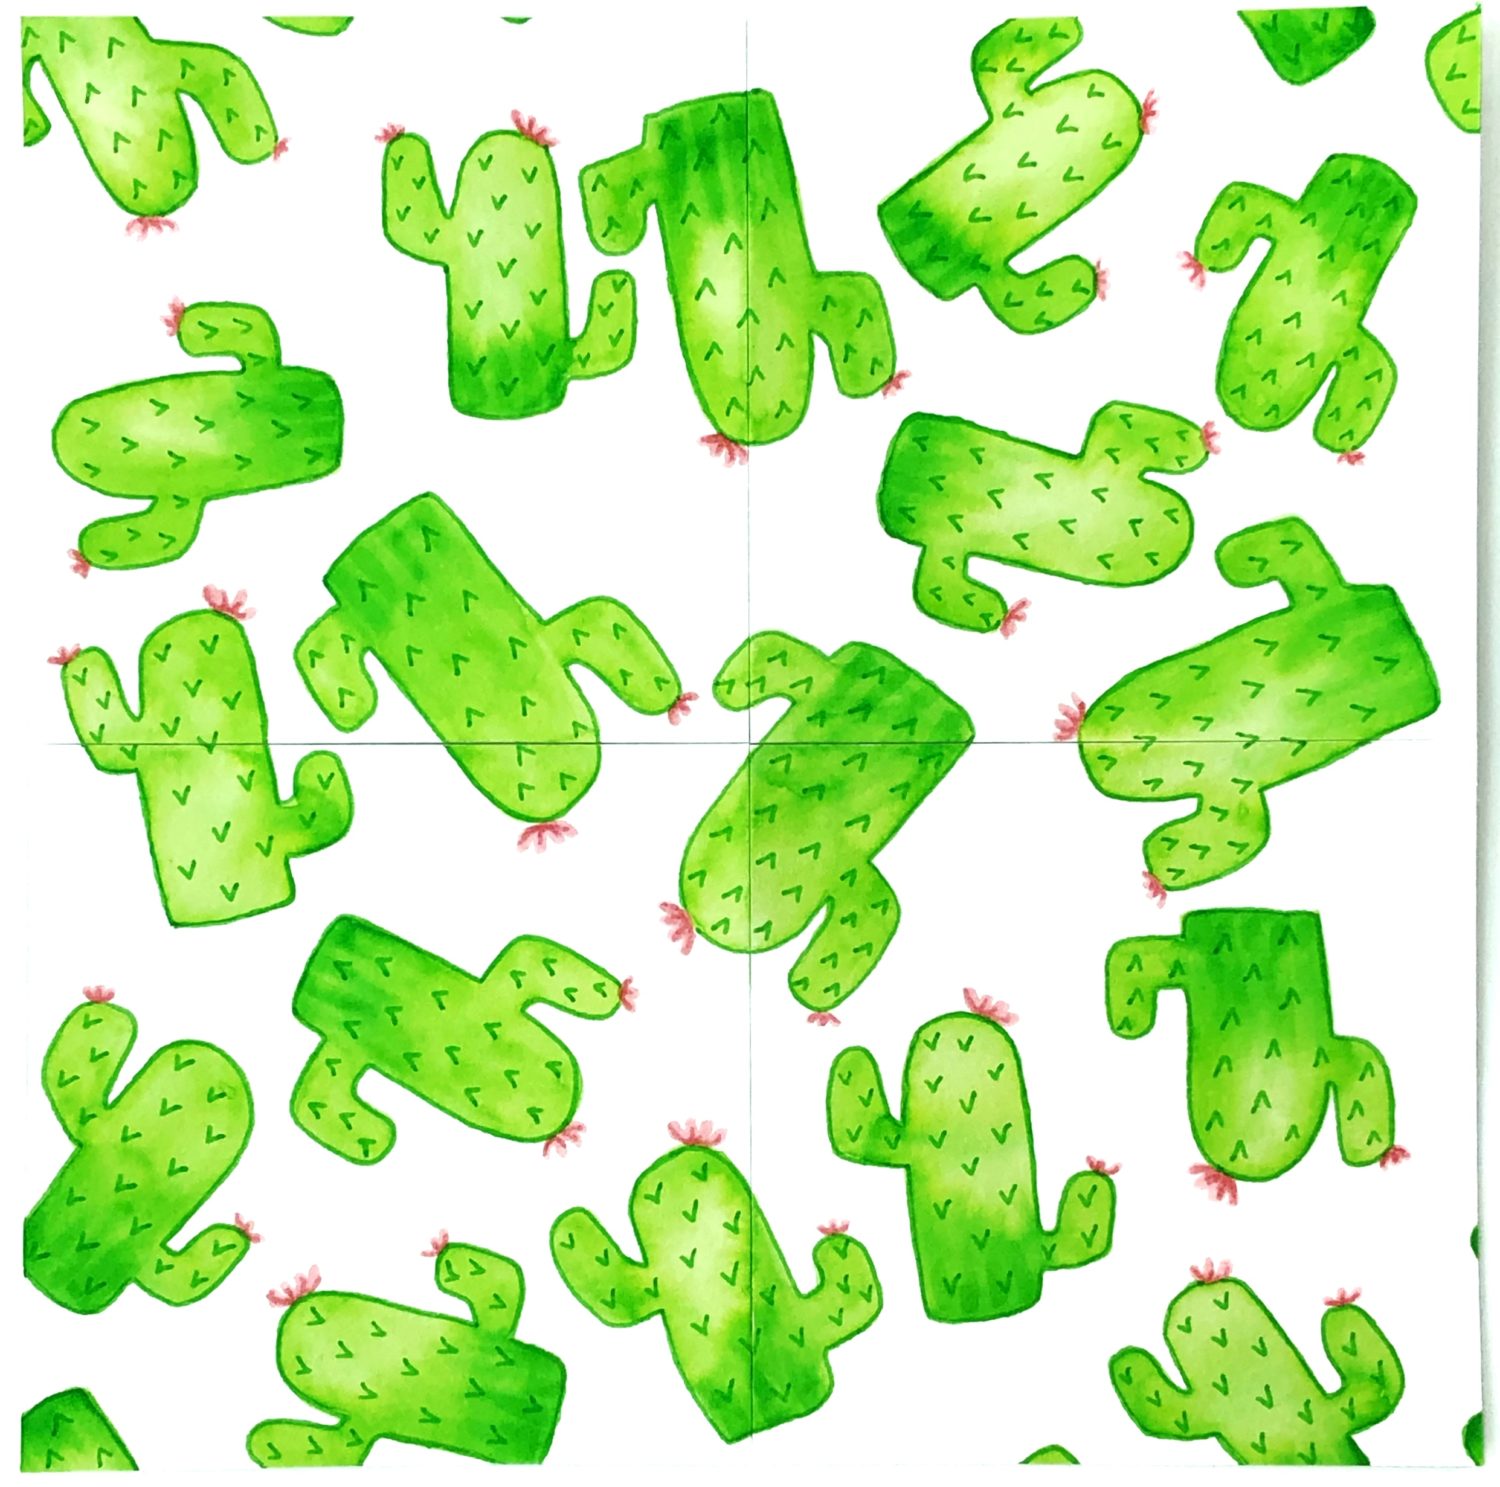
Using your phone, camera, or scanner you can digitize your repeat pattern tile. If you’re taking a photo make sure you’ve got good, bright lighting. Adjust the brightness until the cut marks are minimized.
Step 8: Put it on Everything
You can frame your finished artwork or upload the digital copy to any number of web services that will let you put it on mugs, t-shirts, throw cushions, rugs and more! Here are just a few examples I made.
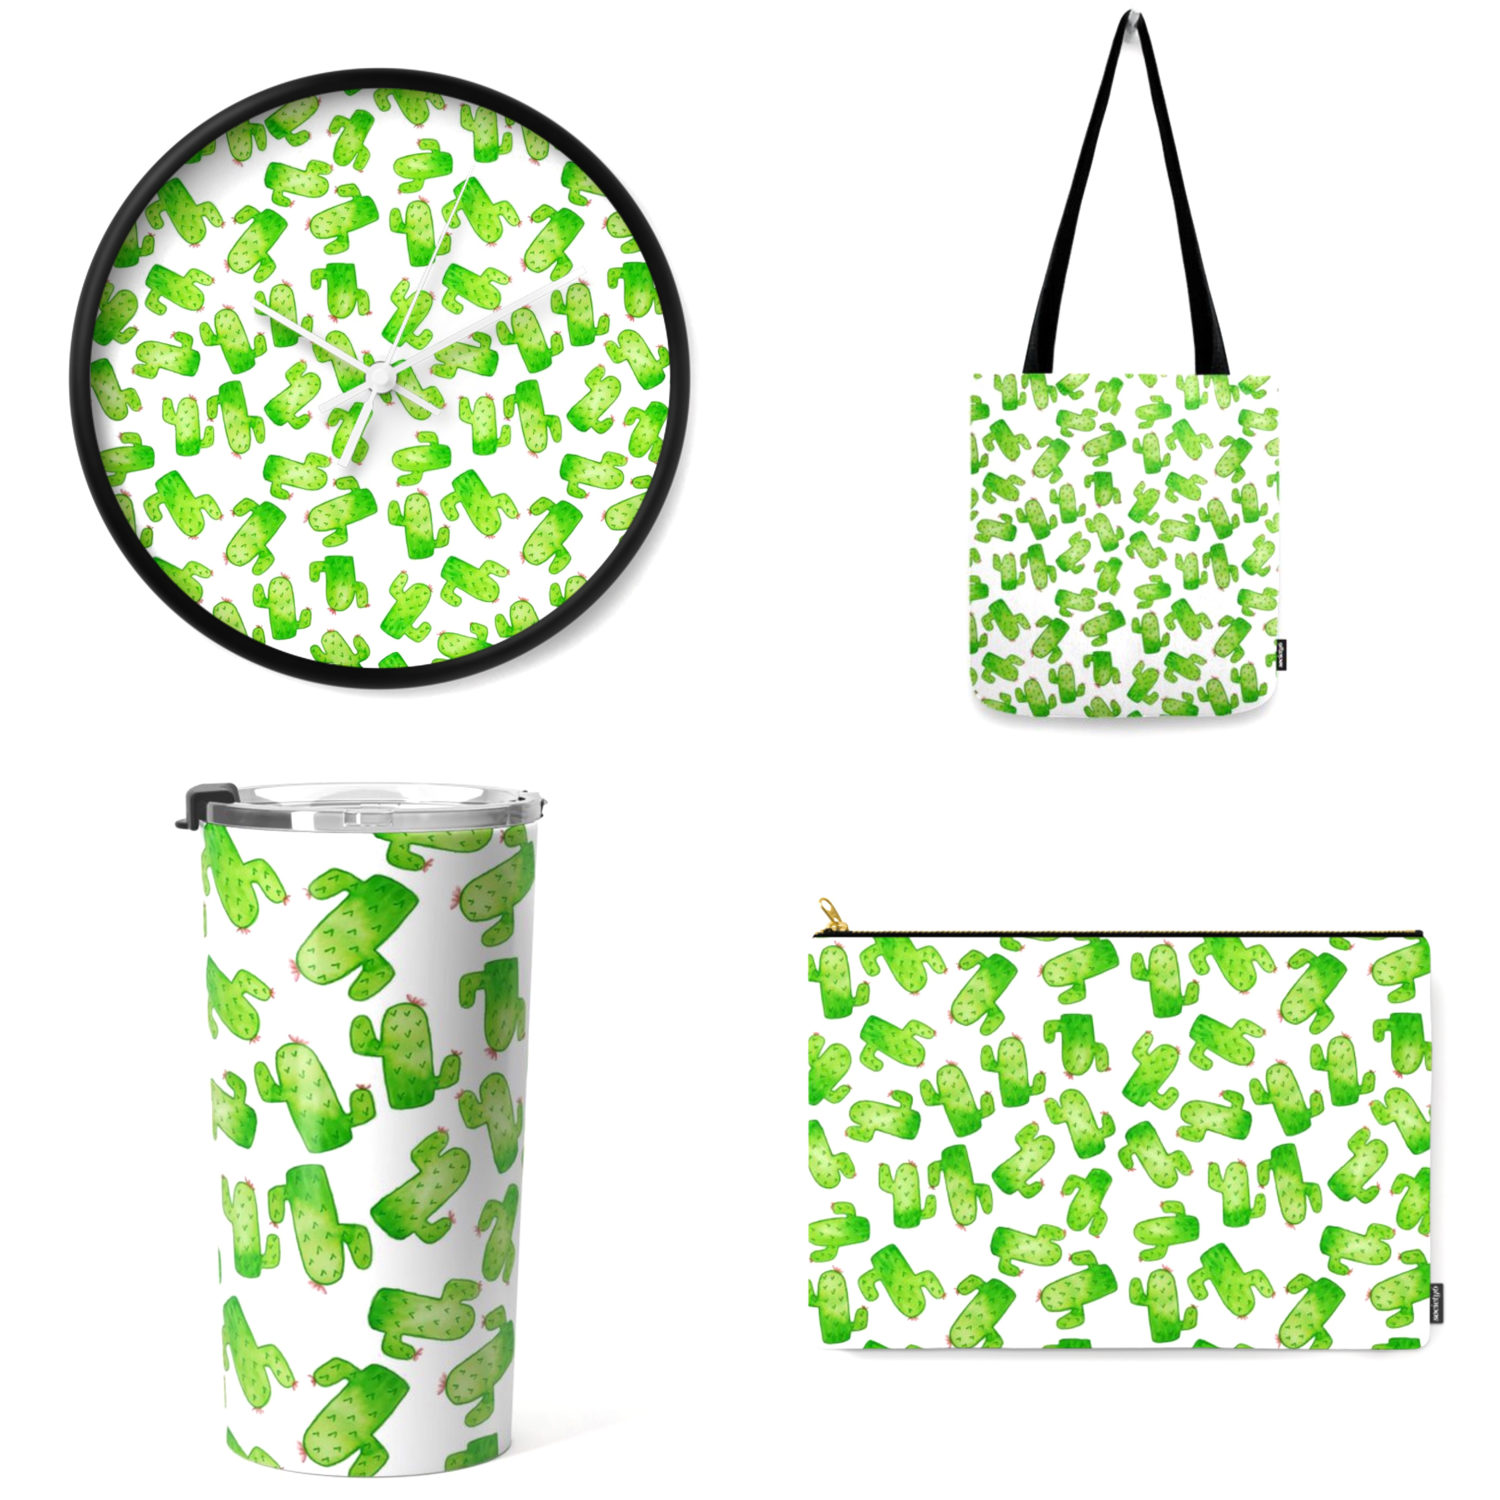
We’d love to see what you make! Tag @TombowUSA and @BrownPaperBunny on social media.