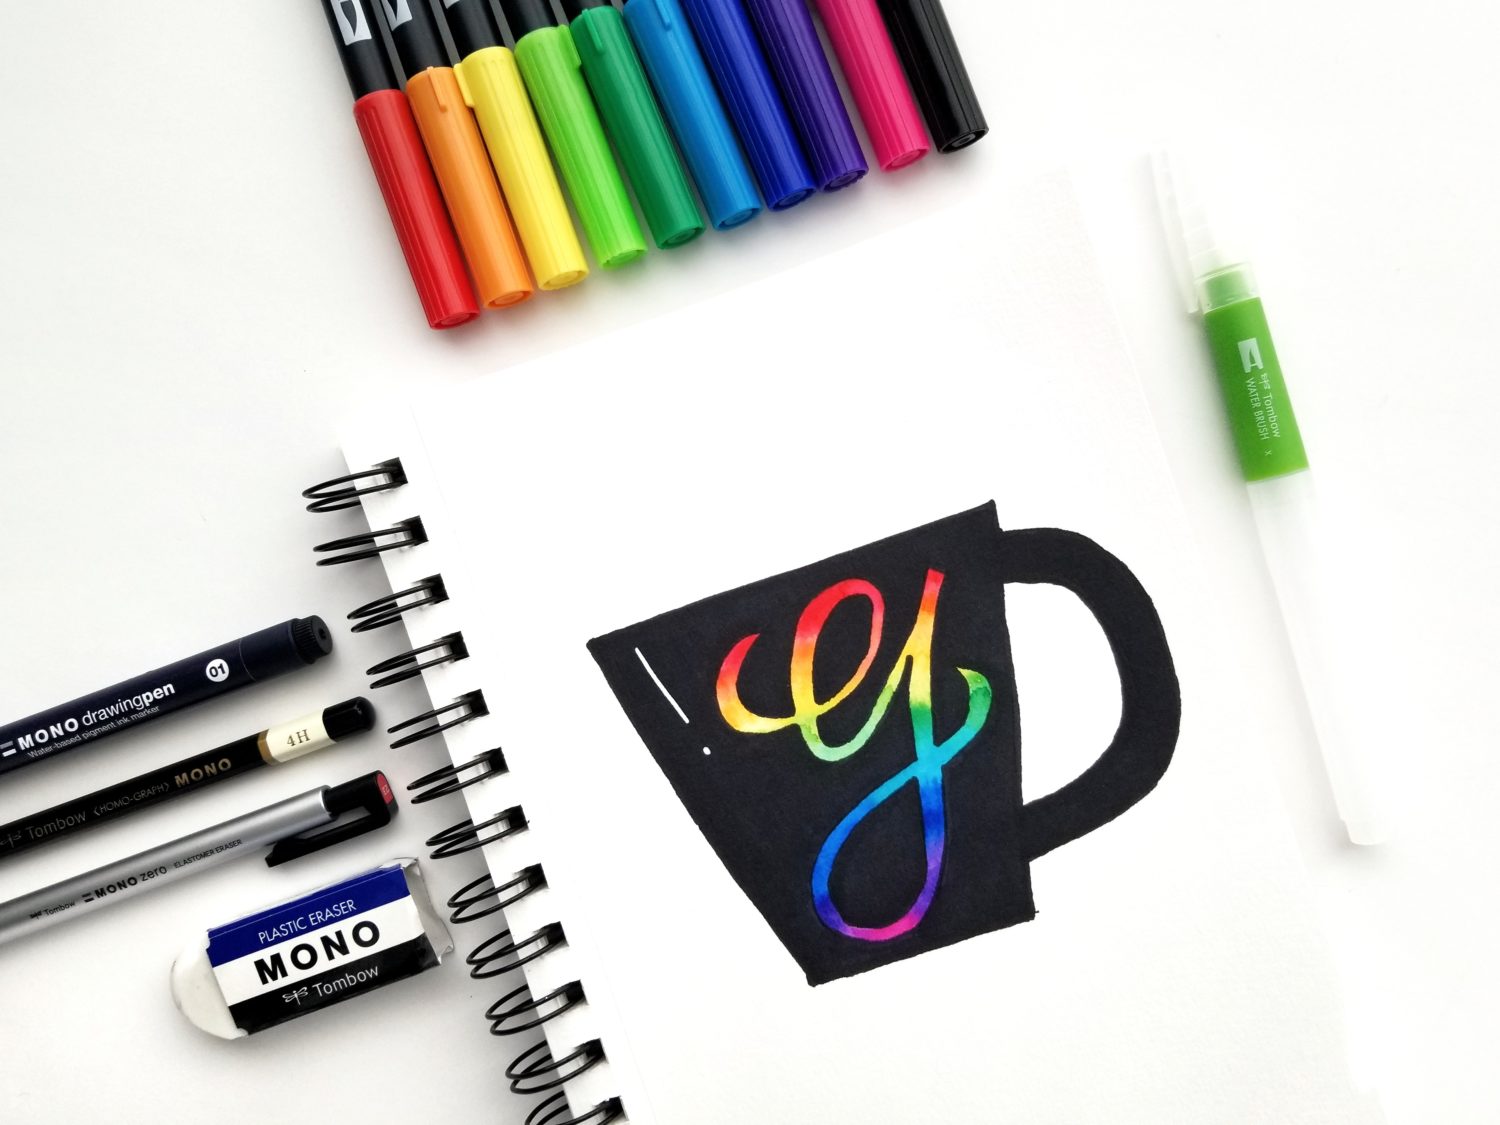
Hi, y’all, it’s Grace from Grace Anne Studio! I am so thrilled and humbled to be a part of the 2020 Tombow Design Team! I cannot wait to dive into illustrating with Dual Brush Pens and ABT PRO Markers with you! First, I’d like to properly introduce myself. Art has always been a part of my life and it brings me infinite joy. Before starting my own creative business in 2016, I worked in corporate education. It was there that I discovered my passion for empowering others through education and it’s my pleasure to continue this through art education. I’m a coffee-loving native Texan, a wife, a mama of two and a dog mom. My favorite thing to draw is people. My favorite Tombow product is the ABT PRP Alcohol-Based Marker.
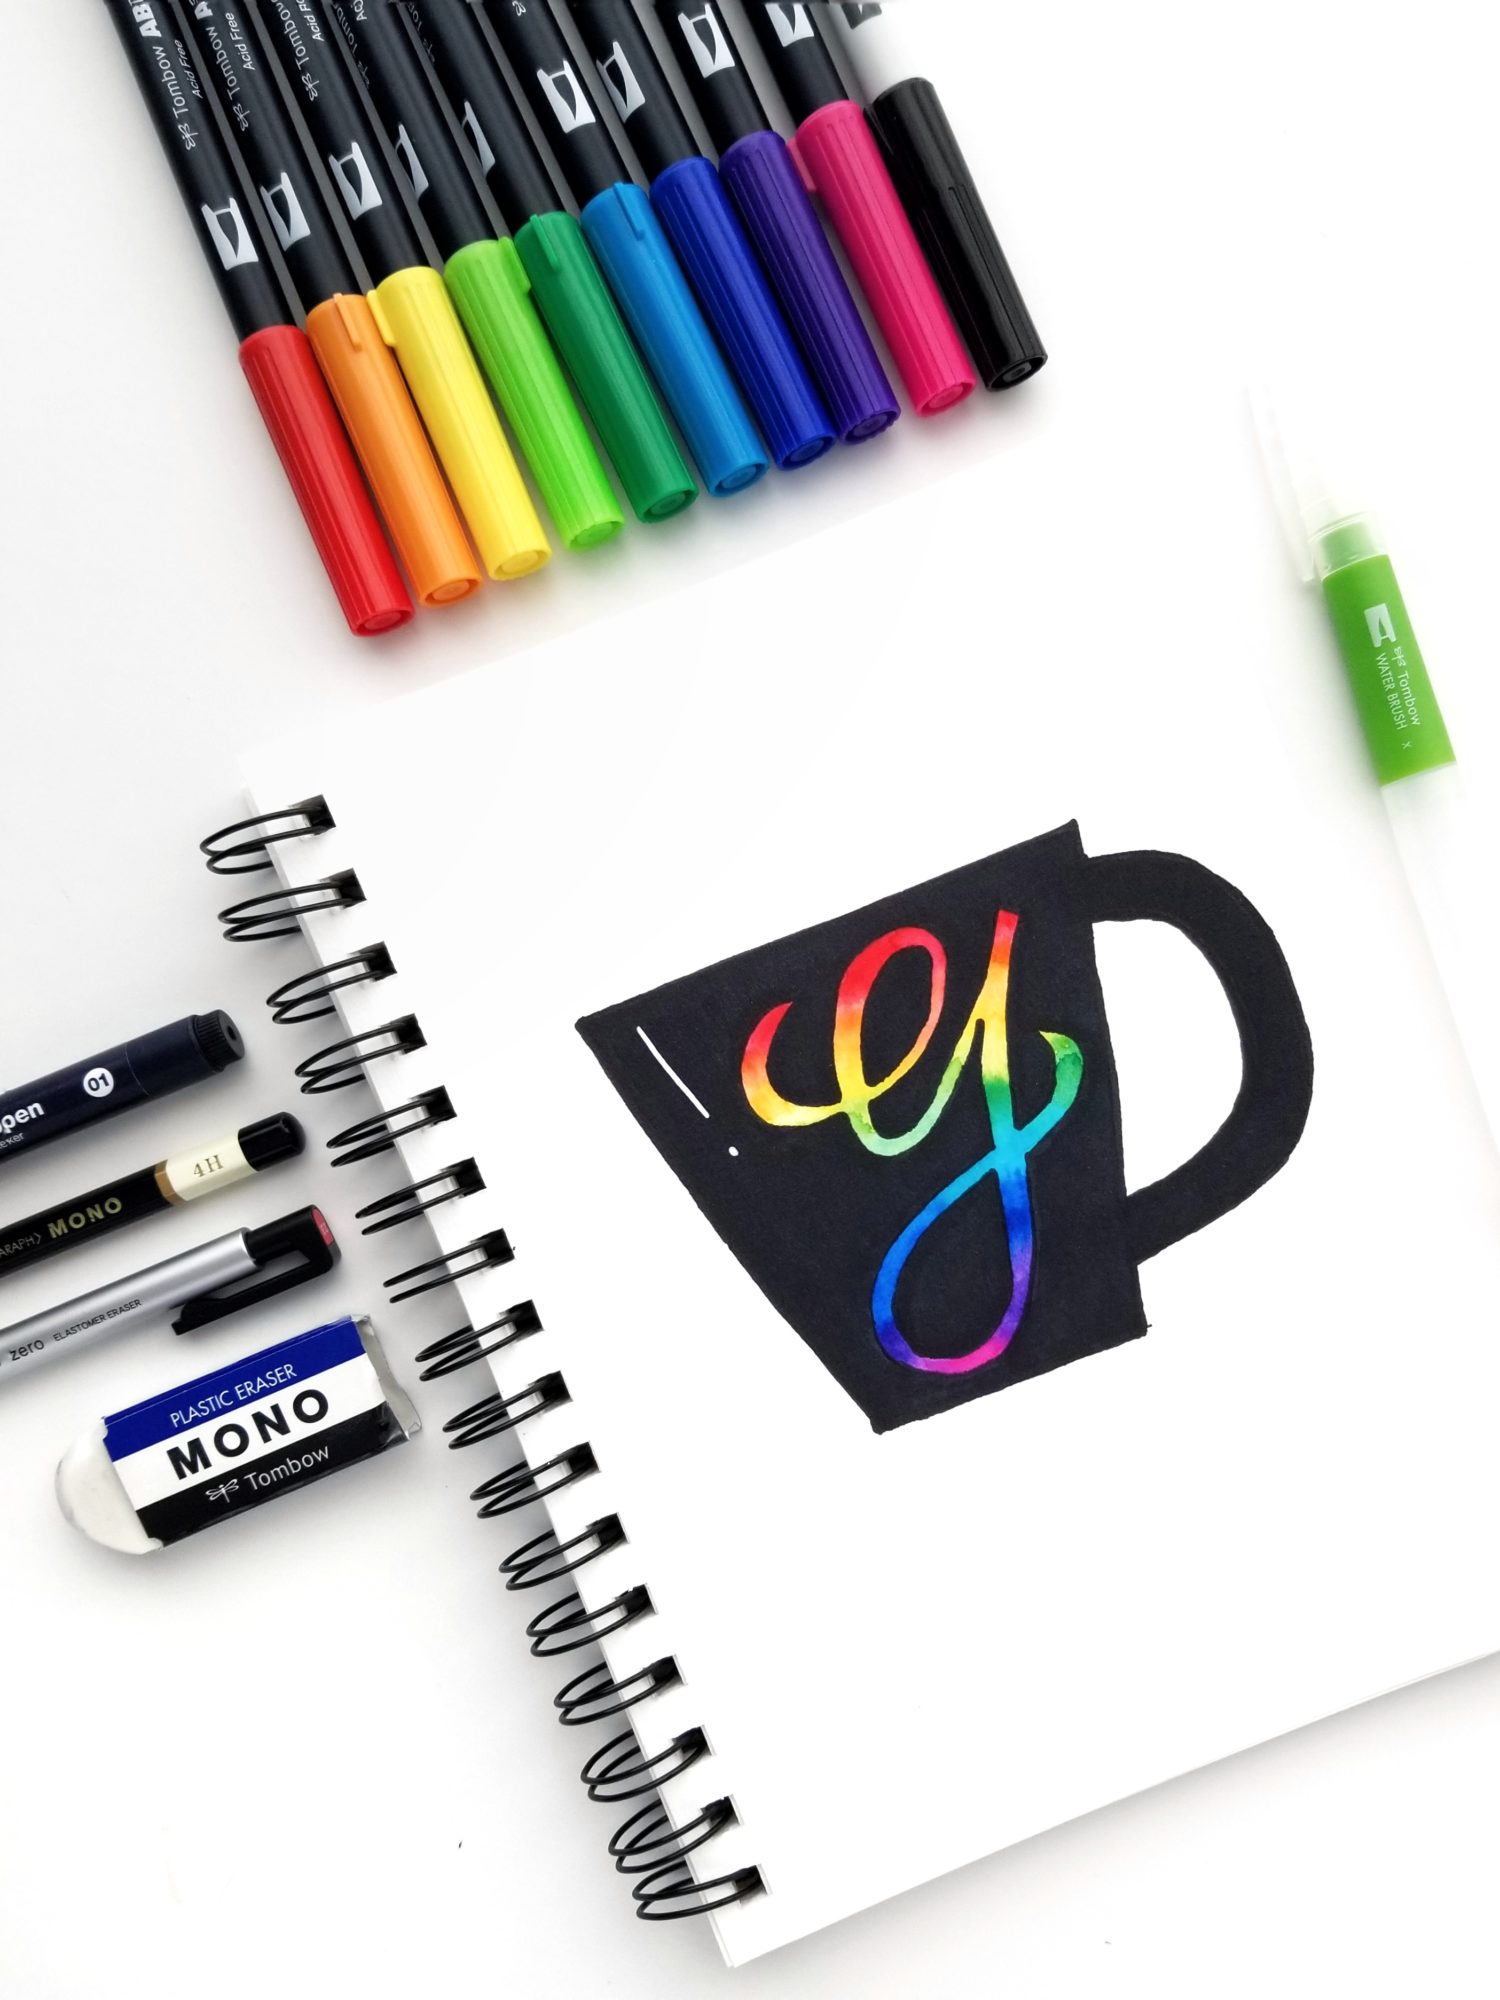
This week, the Tombow Design Team is highlighting our personal styles. My style is pretty fluid, but I always come back to illustration and lettering. Illustrating with Dual Brush Pens and ABT PRO Markers is one of my favorite ways to combine the two. Let’s illustrate a coffee mug with the ABT PRO Markers and use the Dual Brush Pens to watercolor a rainbow monogram.
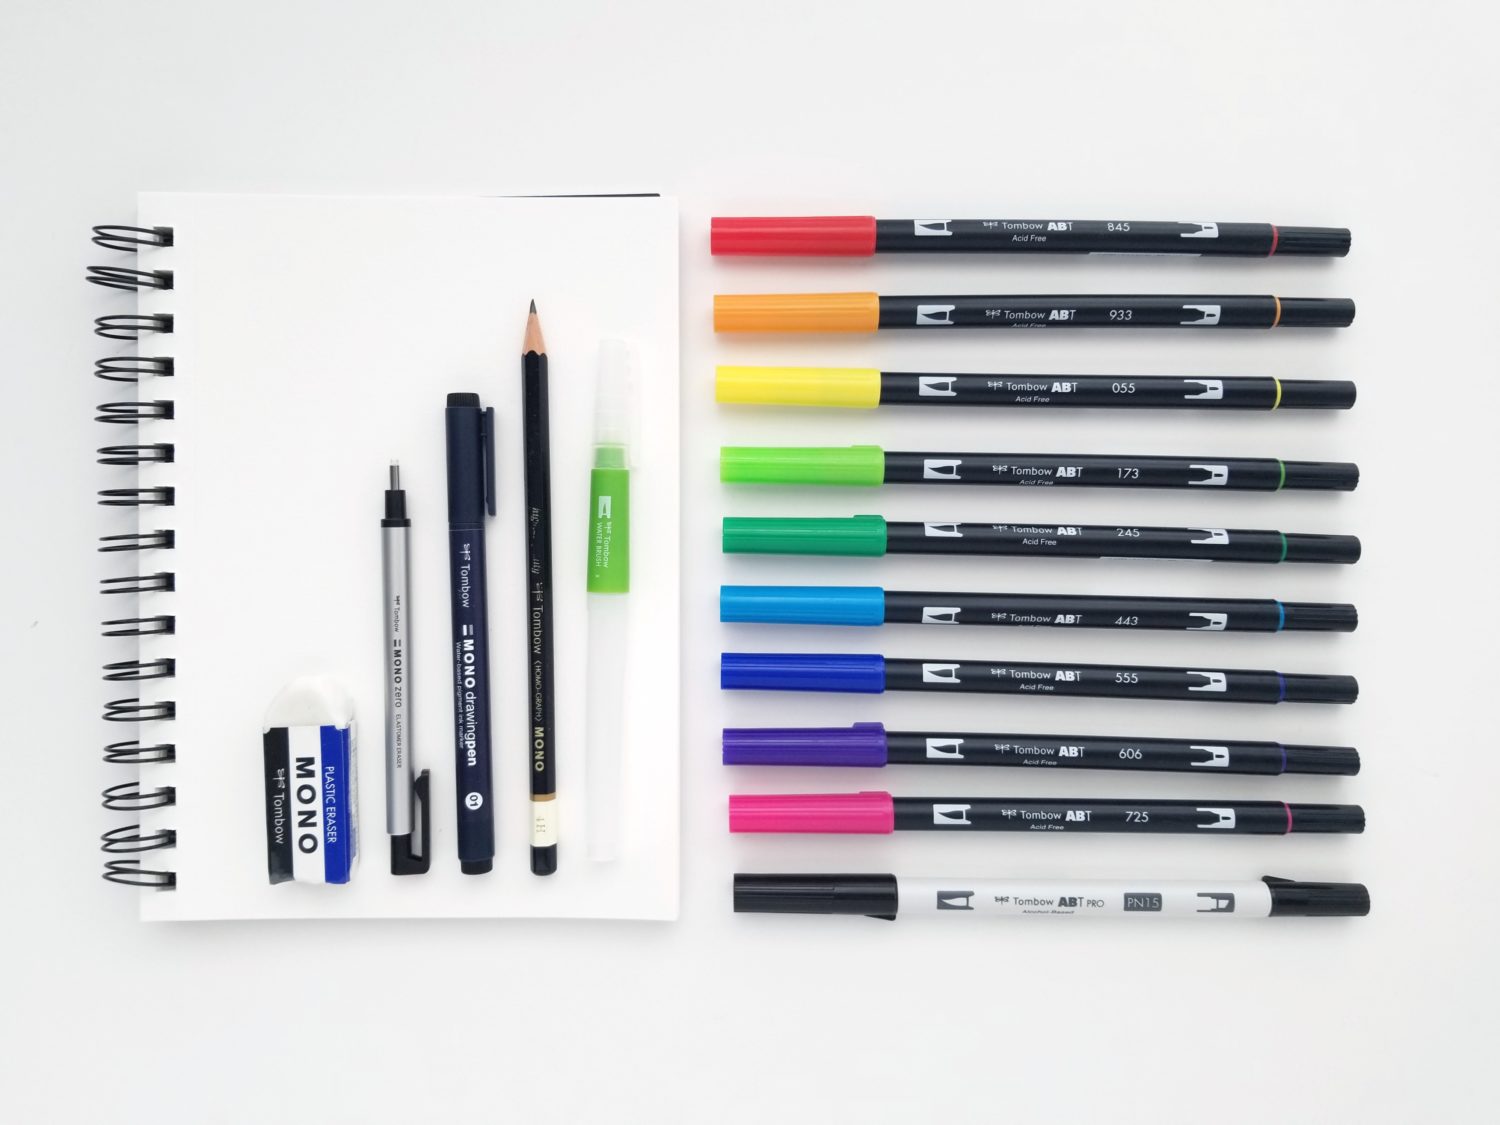
Supplies
- Tombow ABT PRO PN15
- Tombow Dual Brush Pens
- Tombow MONO Drawing Pencil – 4H
- Tombow MONO Drawing Pen – 01
- Tombow MONO Zero Eraser
- Tombow MONO Eraser – Medium
- Tombow Water Brush – Small
- Mixed media paper
- Small bowl of water
- White gel pen (optional)
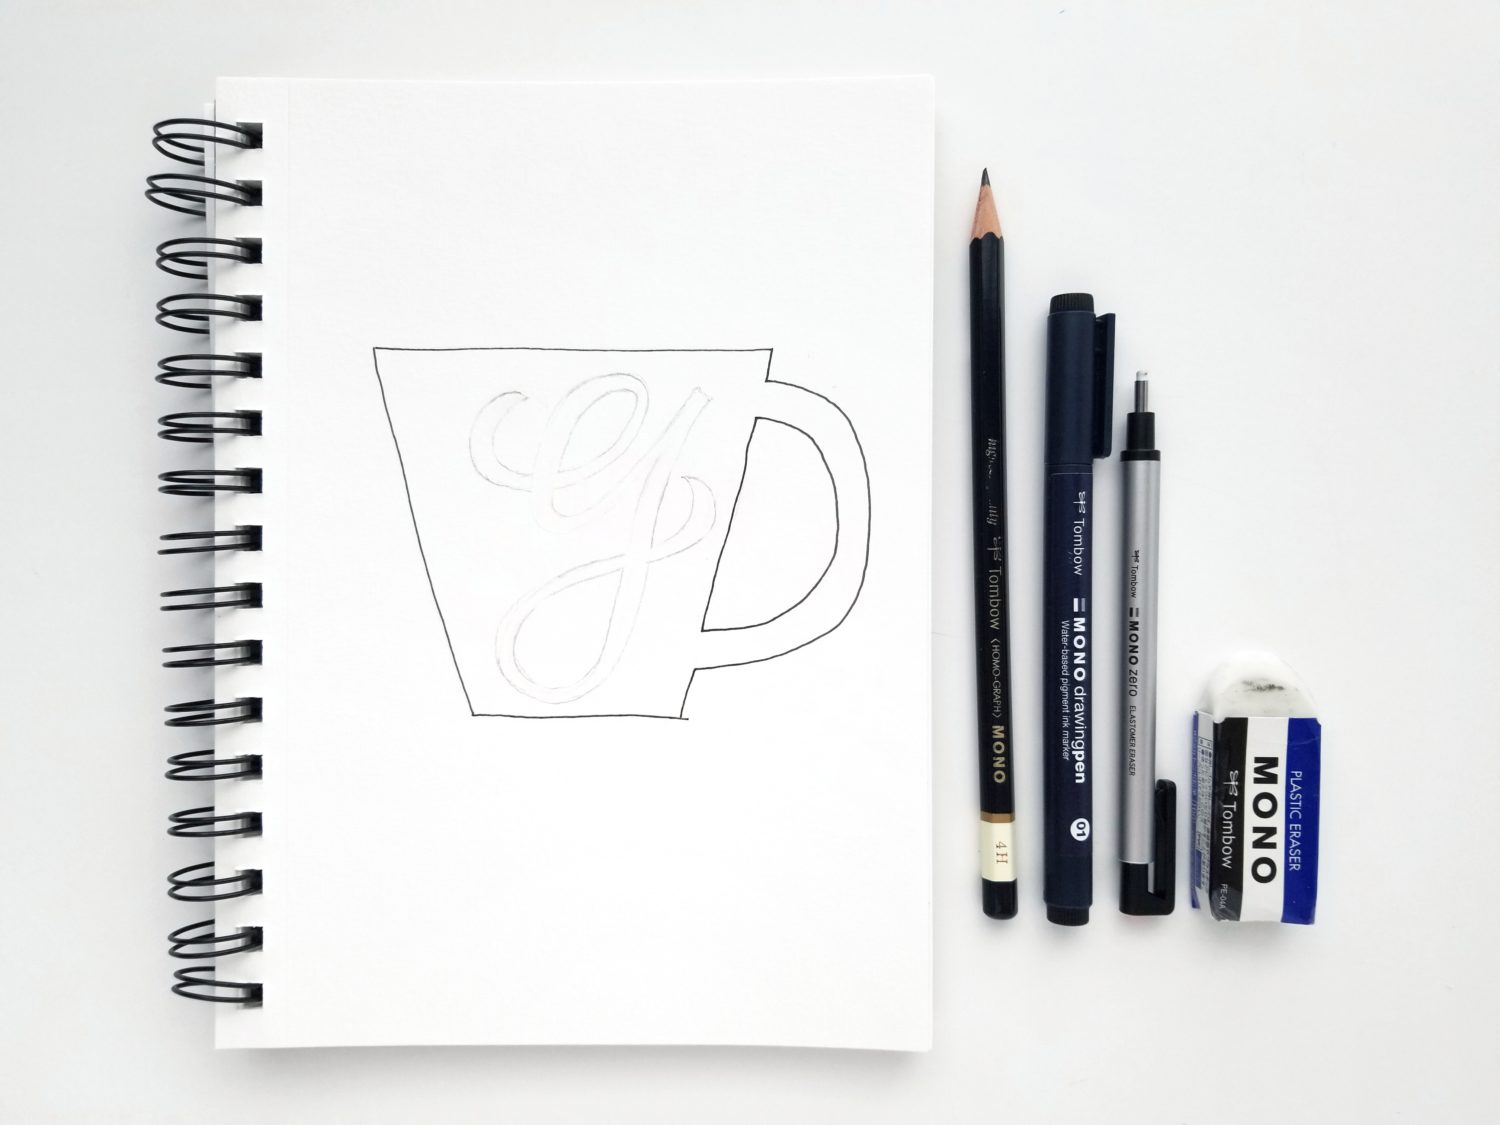
Step 1: Sketch
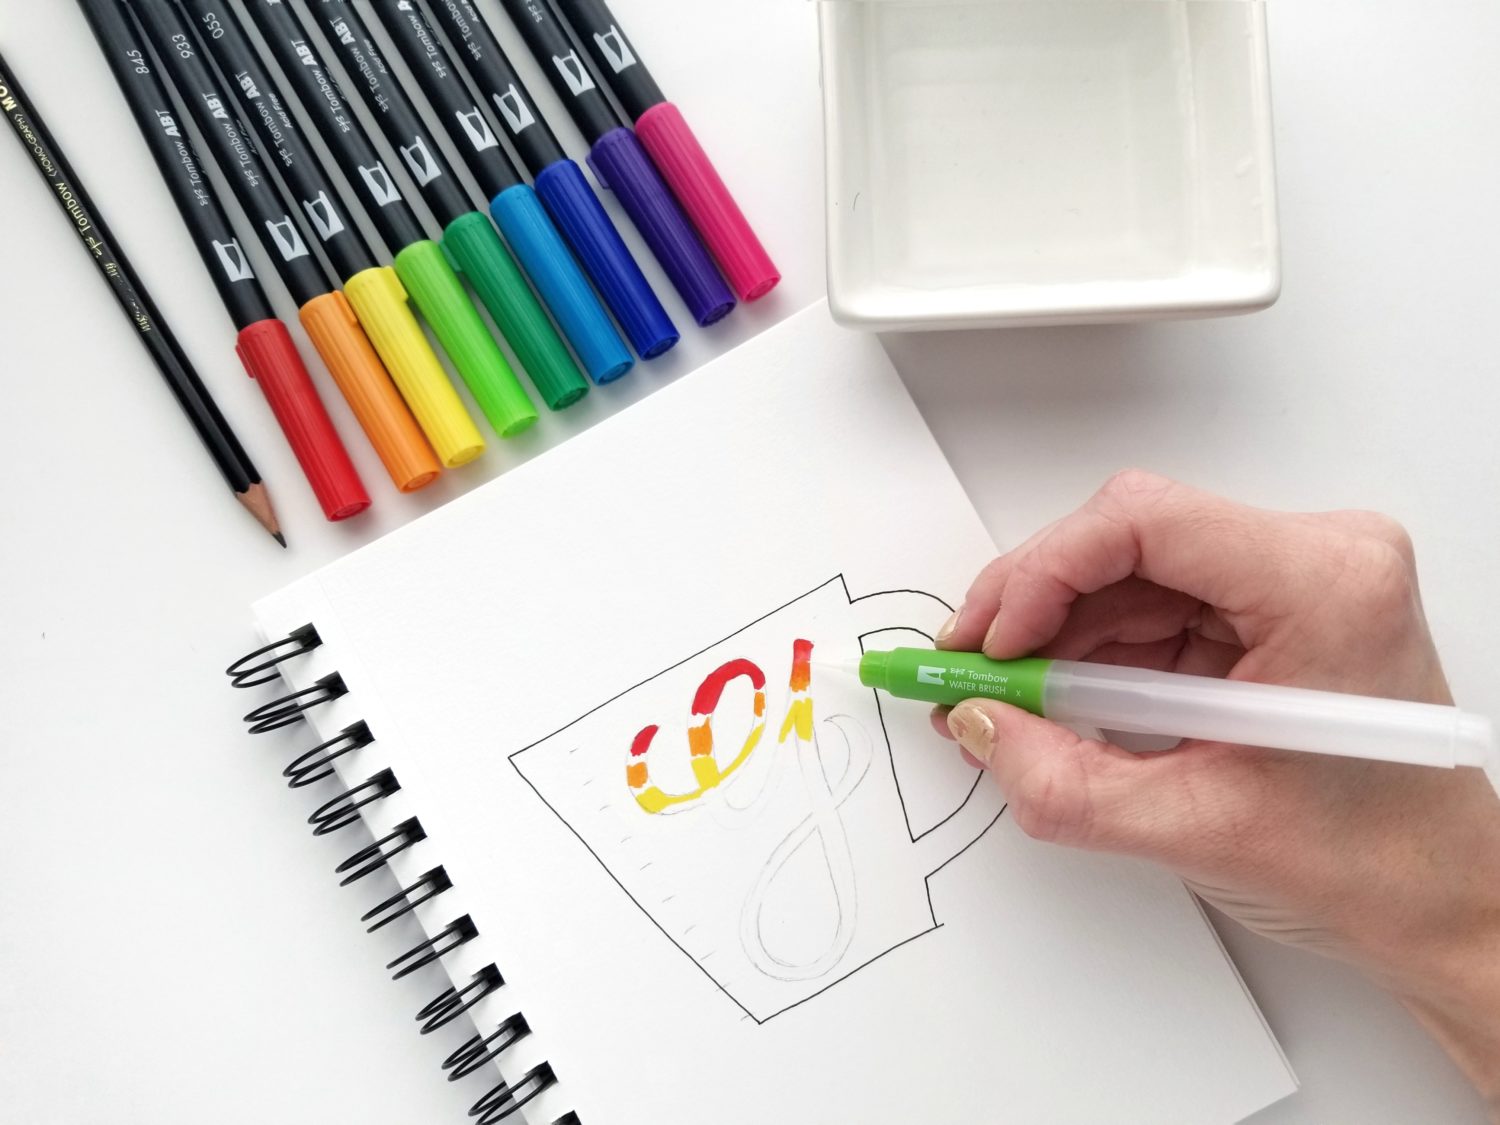
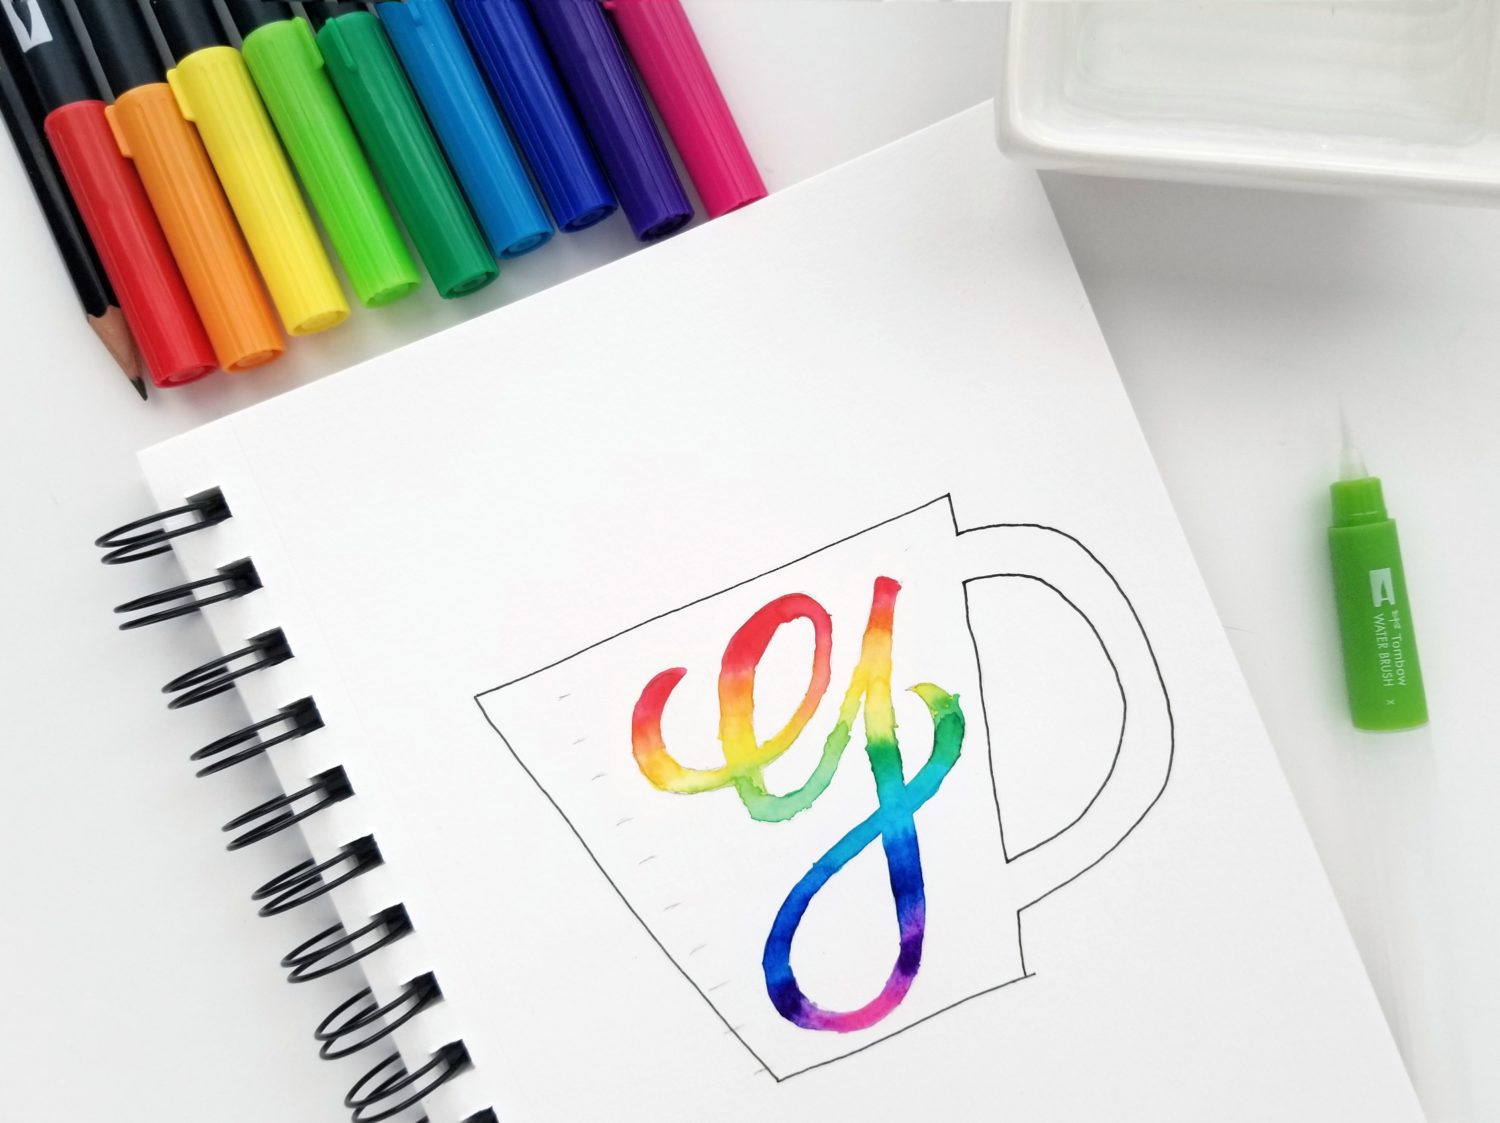
First, lightly sketch the outline of a mug and monogram with your MONO Drawing Pencil. Then, trace the mug with the MONO Drawing Pen. The MONO Drawing Pen is water-based, so the ABT PRO Alcohol-Based Marker can be used over it without smearing. Since we will use the water-based Dual Brush Pens to fill in the monogram, do not trace it with a MONO Drawing Pen.
Then, erase the pencil marks under the mug with the Medium MONO Eraser and clean up the monogram with the MONO Zero Eraser.
Step 2: Watercolor with Dual Brush Pens
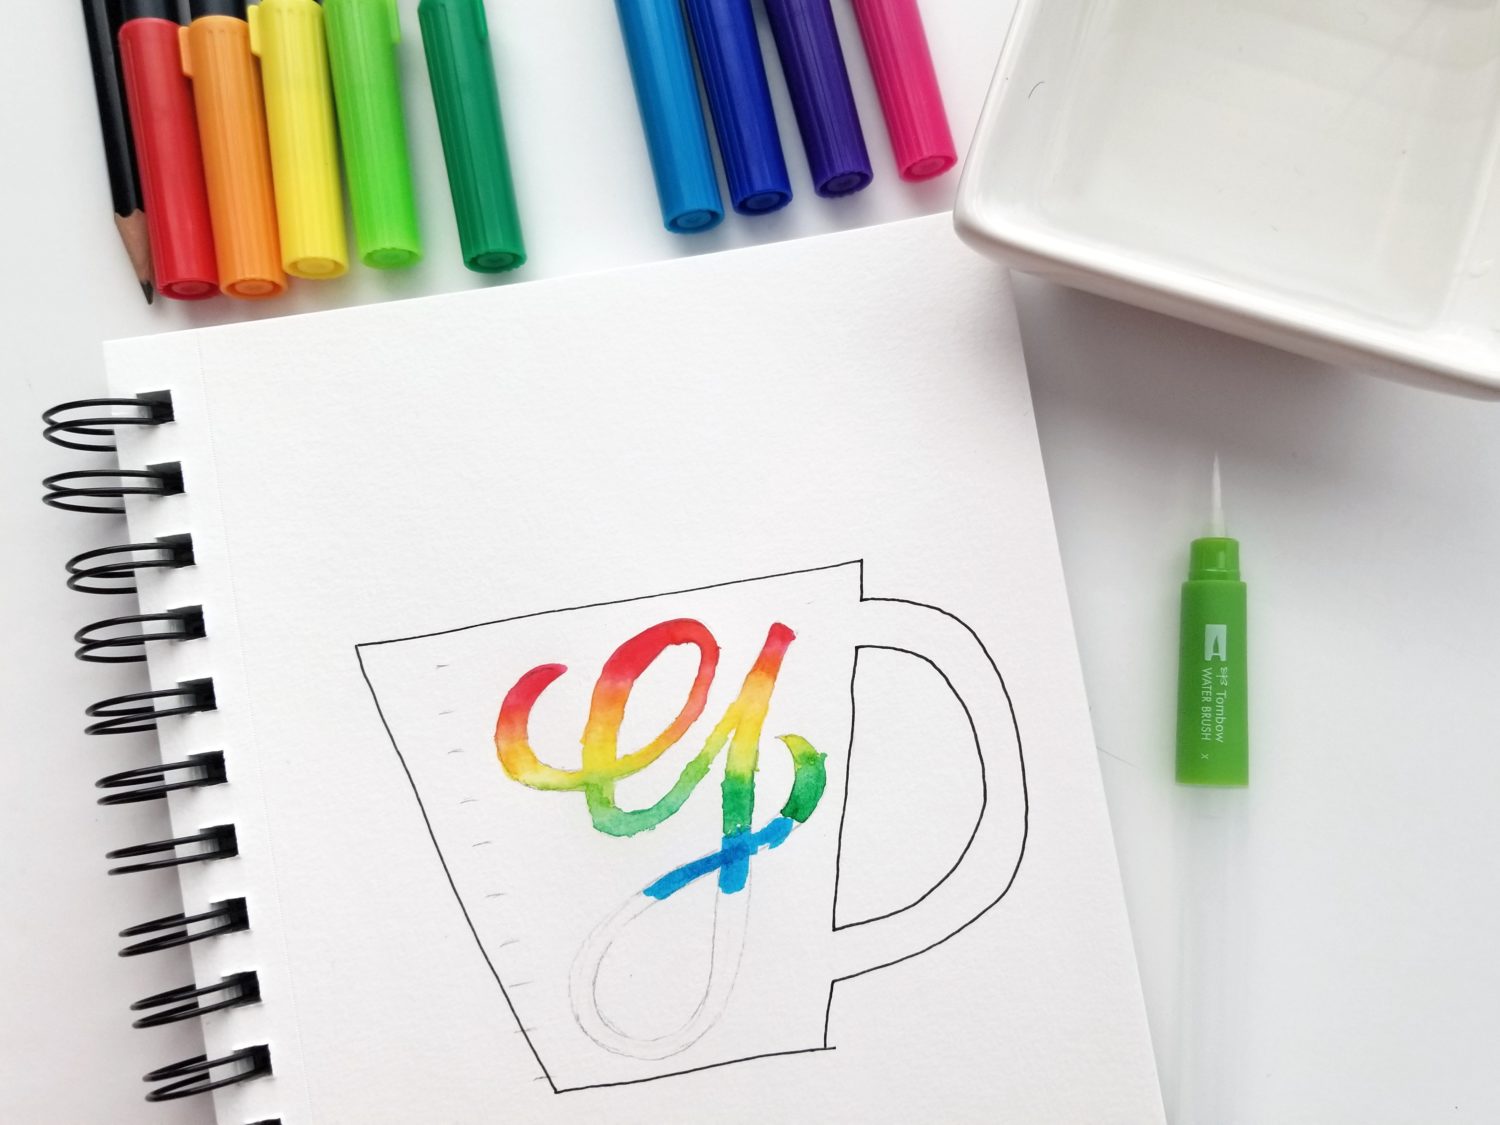
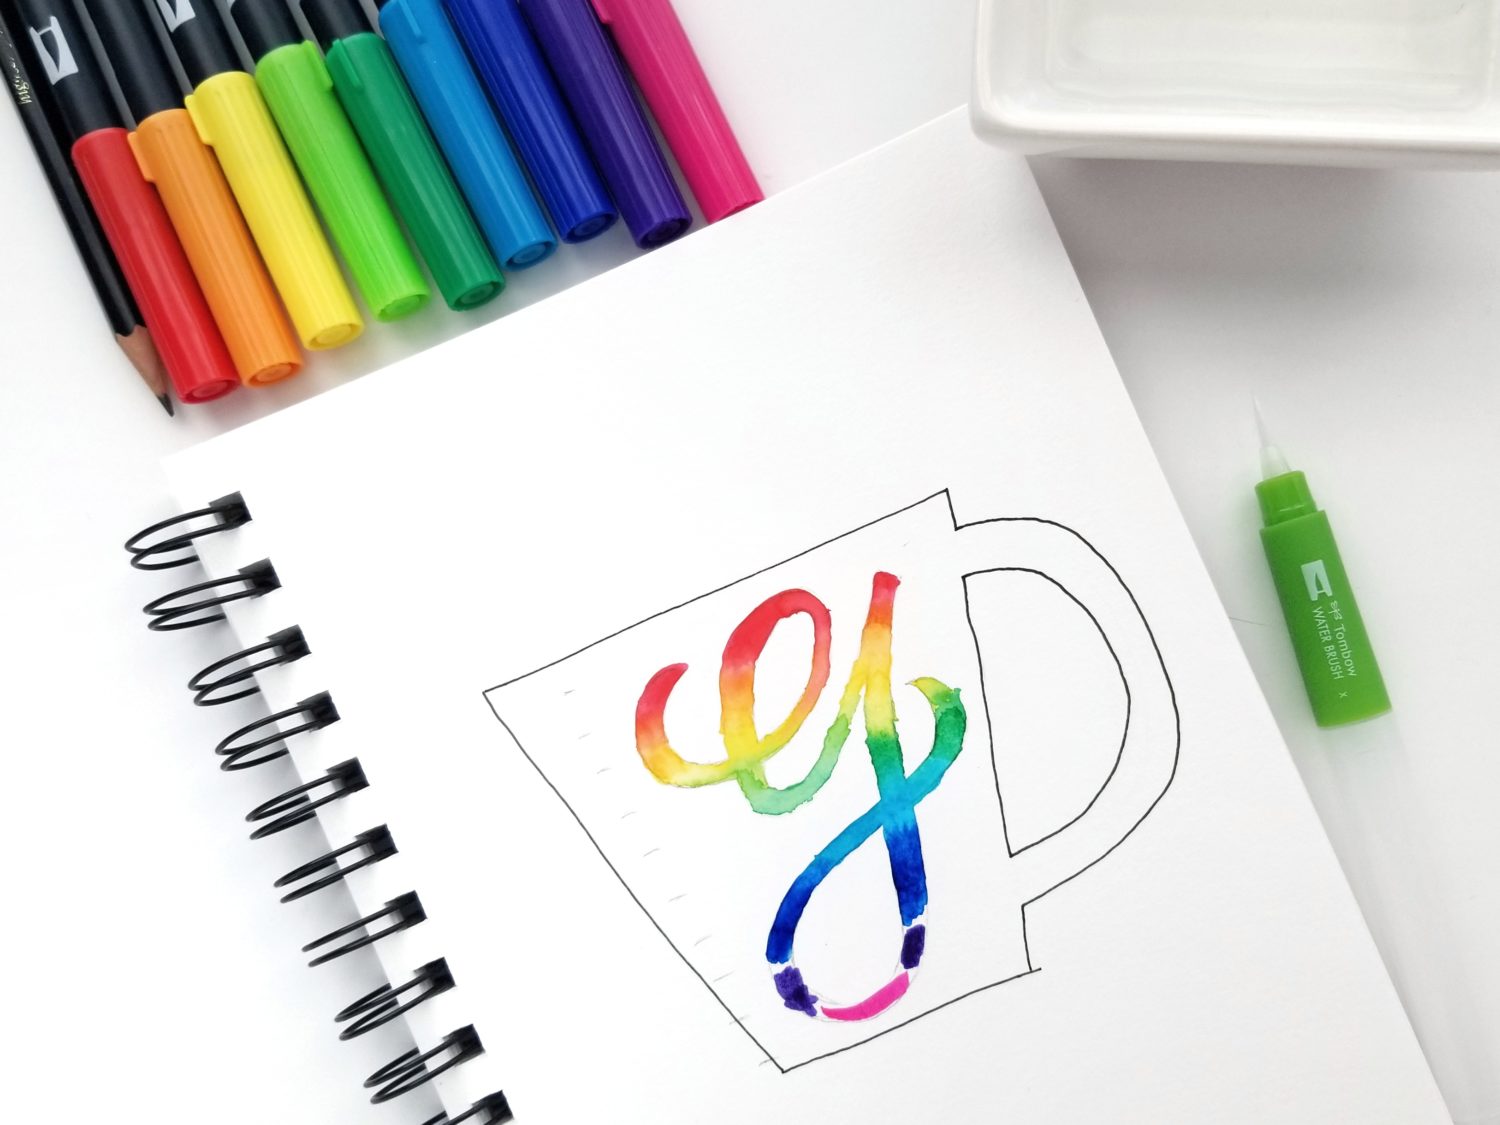
Next, use the Dual Brush Pens to add color to the monogram. I used a direct-to-paper blending technique. To accomplish this, add a little color to the paper and leave a little room between colors. Then, use your Small Water Brush to gently blend the colors one color set at a time. Start at the ends and work your way back to the middle of the color. Rinse your Water Brush in the small bowl of water between color set. Repeat this until all of the colors are blended. Then, let it dry.
Step 3: Fill with ABT PRO
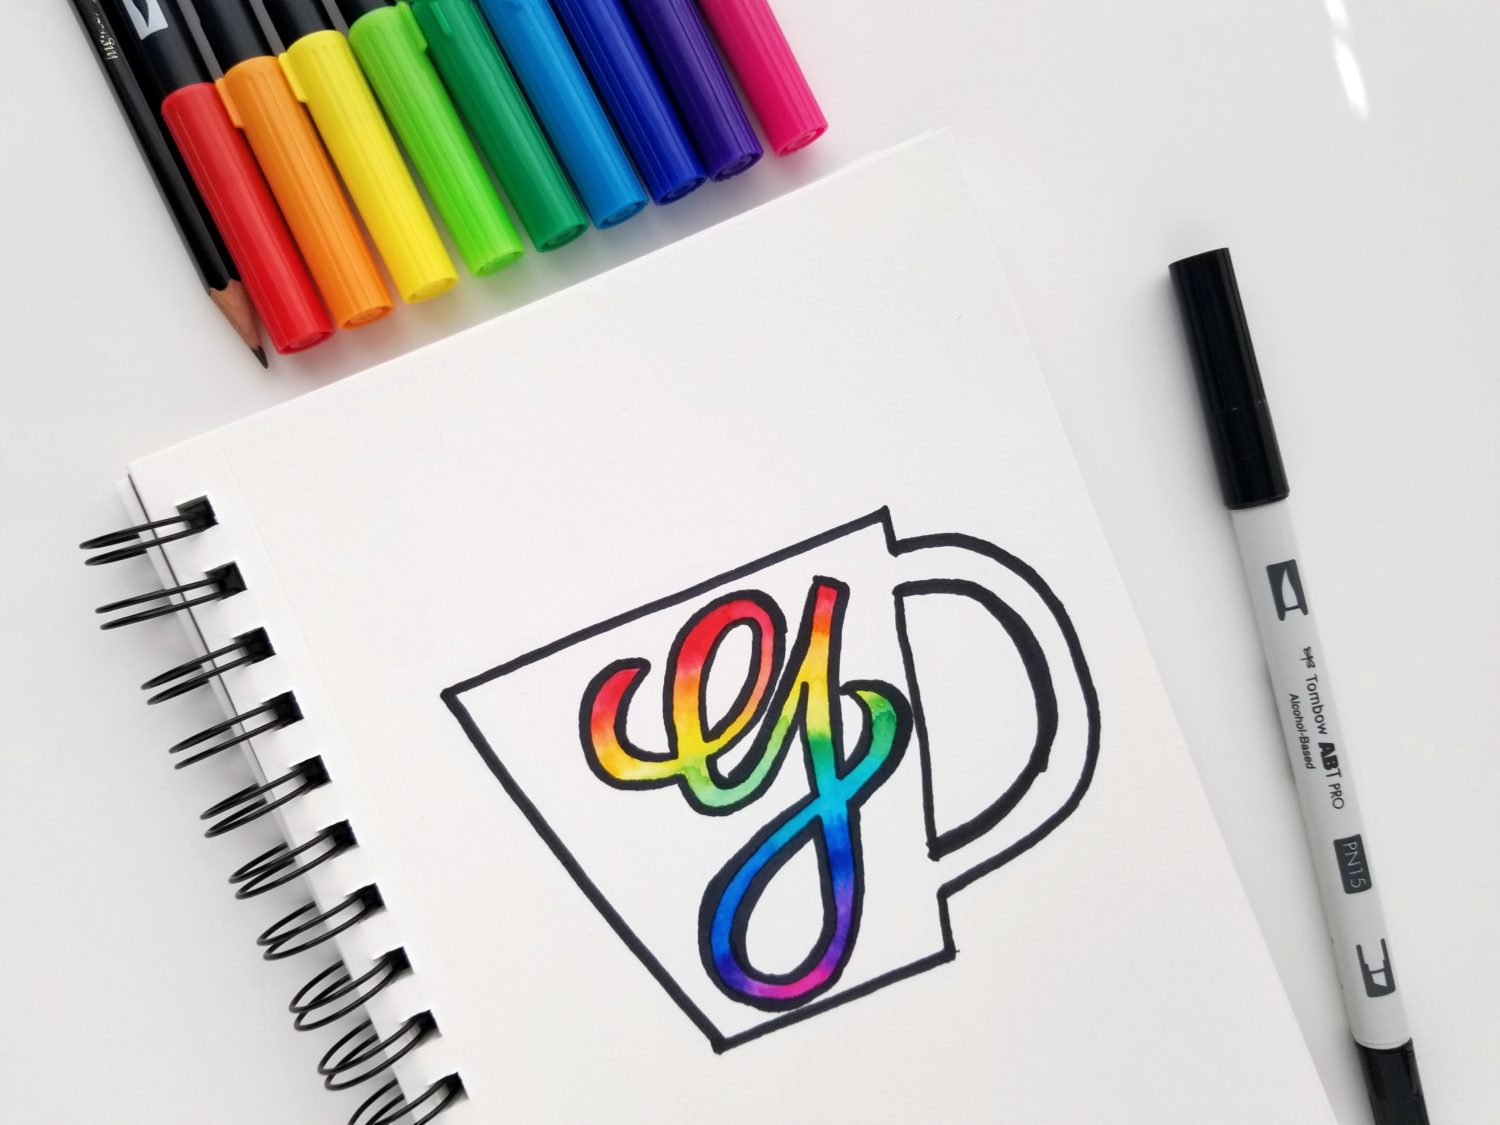
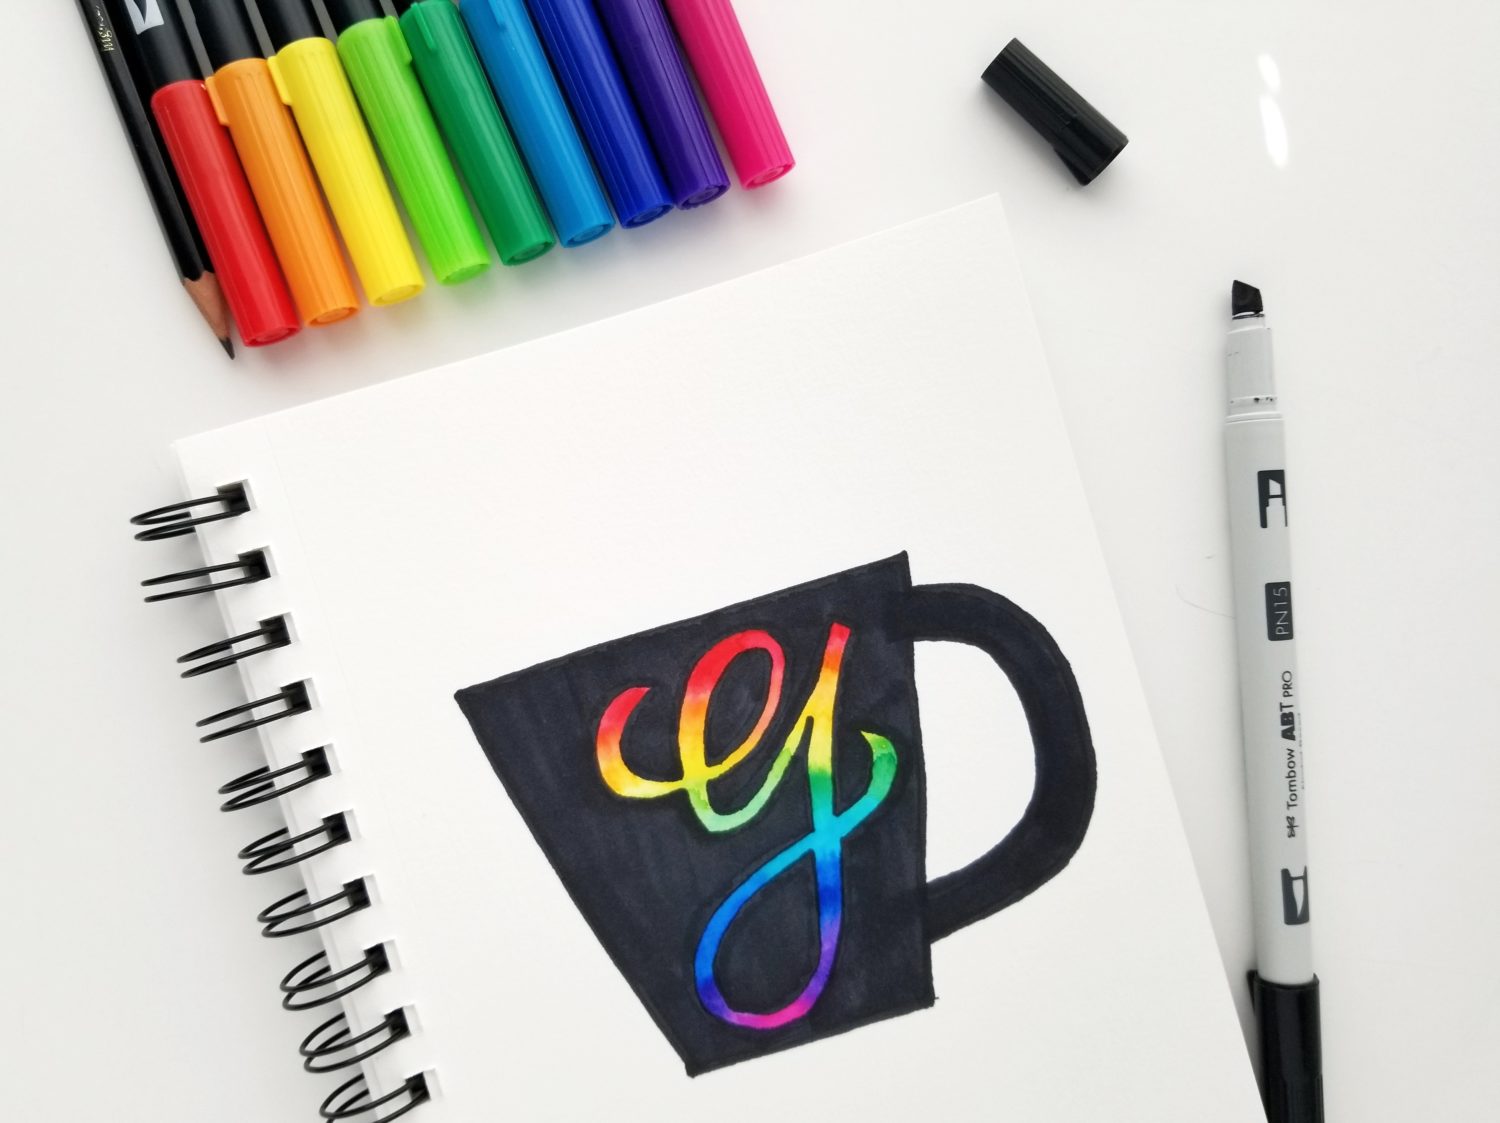
Next, use the ABT PRO PN15 to fill in the mug. I used the brush tip to outline the mug and monogram and the chisel tip to create an even layer of color over the mug. Remember to work slowly with the ABT PRO Markers. As the alcohol evaporates, the color left settles and creates an even layer. Slowly add layers until you are happy.
TIP: When working with the ABT PRO Markers, be sure to put something below your paper to protect the surface. The markers will not pill the paper, but they do eventually bleed.
- Use the brush tip to outline the mug.
- One layer with ABT Pro.
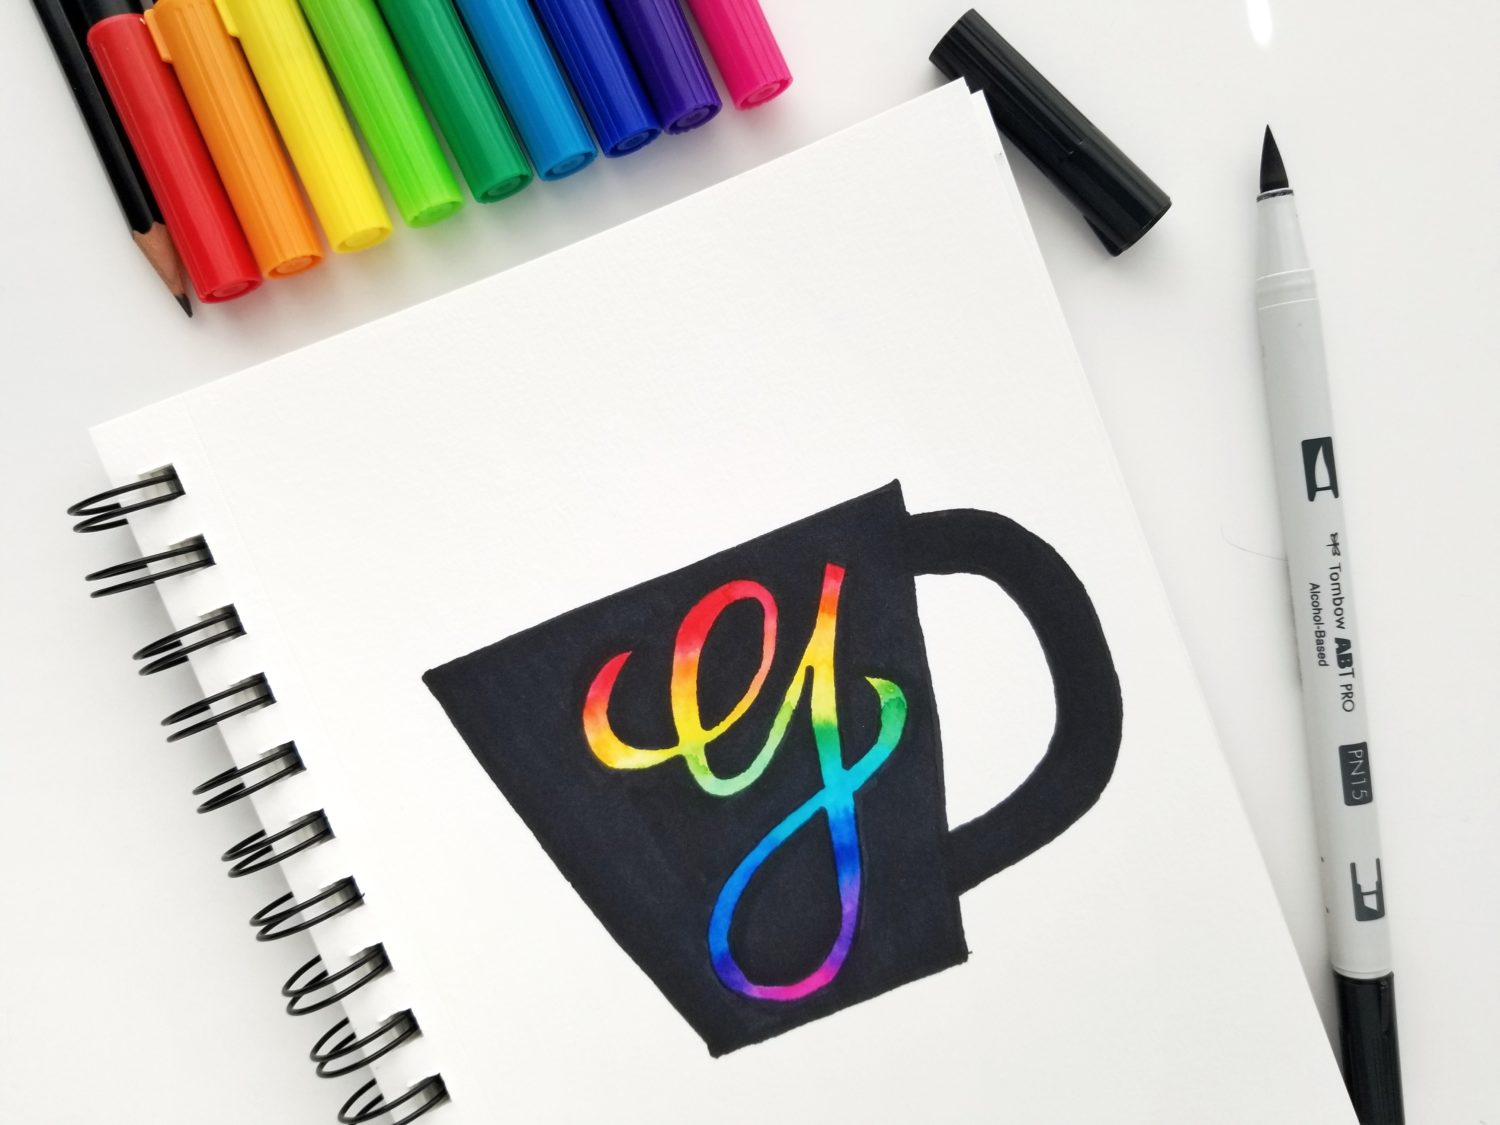
Step 4: Highlight (Optional)
At this point, you could be finished. If you’d like to add a little more detail to your illustration, use a white gel pen to add highlights to the coffee mug.
Thanks for following along! If you use this tutorial for illustrating with Dual Brush Pens and ABT PRO Markers, be sure to tag @graceannestudio and @tombowusa so we can cheer you on! For more mixed media illustration techniques, check out these posts:
- Katie’s Mixed Media Sketching using Colored Pencils
- Smitha’s Mixed Media Art Journaling Tutorial
- Katie’s Mixed Media Art Journal Background
Happy illustrating!
Grace
My daughter loves to draw and I want to teach her by myself and thanks to this website I learned a lot from beginning to end. Am really happy that I found some good writer on this website personalstatementhelper because of this I can have more free time to spend with my daughter and, they have some of the best writers and they really helped me with my assignment and with my reports.