Say it once, say it twice, third time’s the charm! Hi friends, Serena @serenabeecreative here with a fun Beetlejuice inspired layout tutorial using Tombow Dual Brush Pens!
Ever since I could remember, Beetlejuice has been one of my favorite movies growing up. It has inspired a lot of my interests and style.
For today’s tutorial, I’ll be scrapbooking some photos taken from last October. It’s showtime!
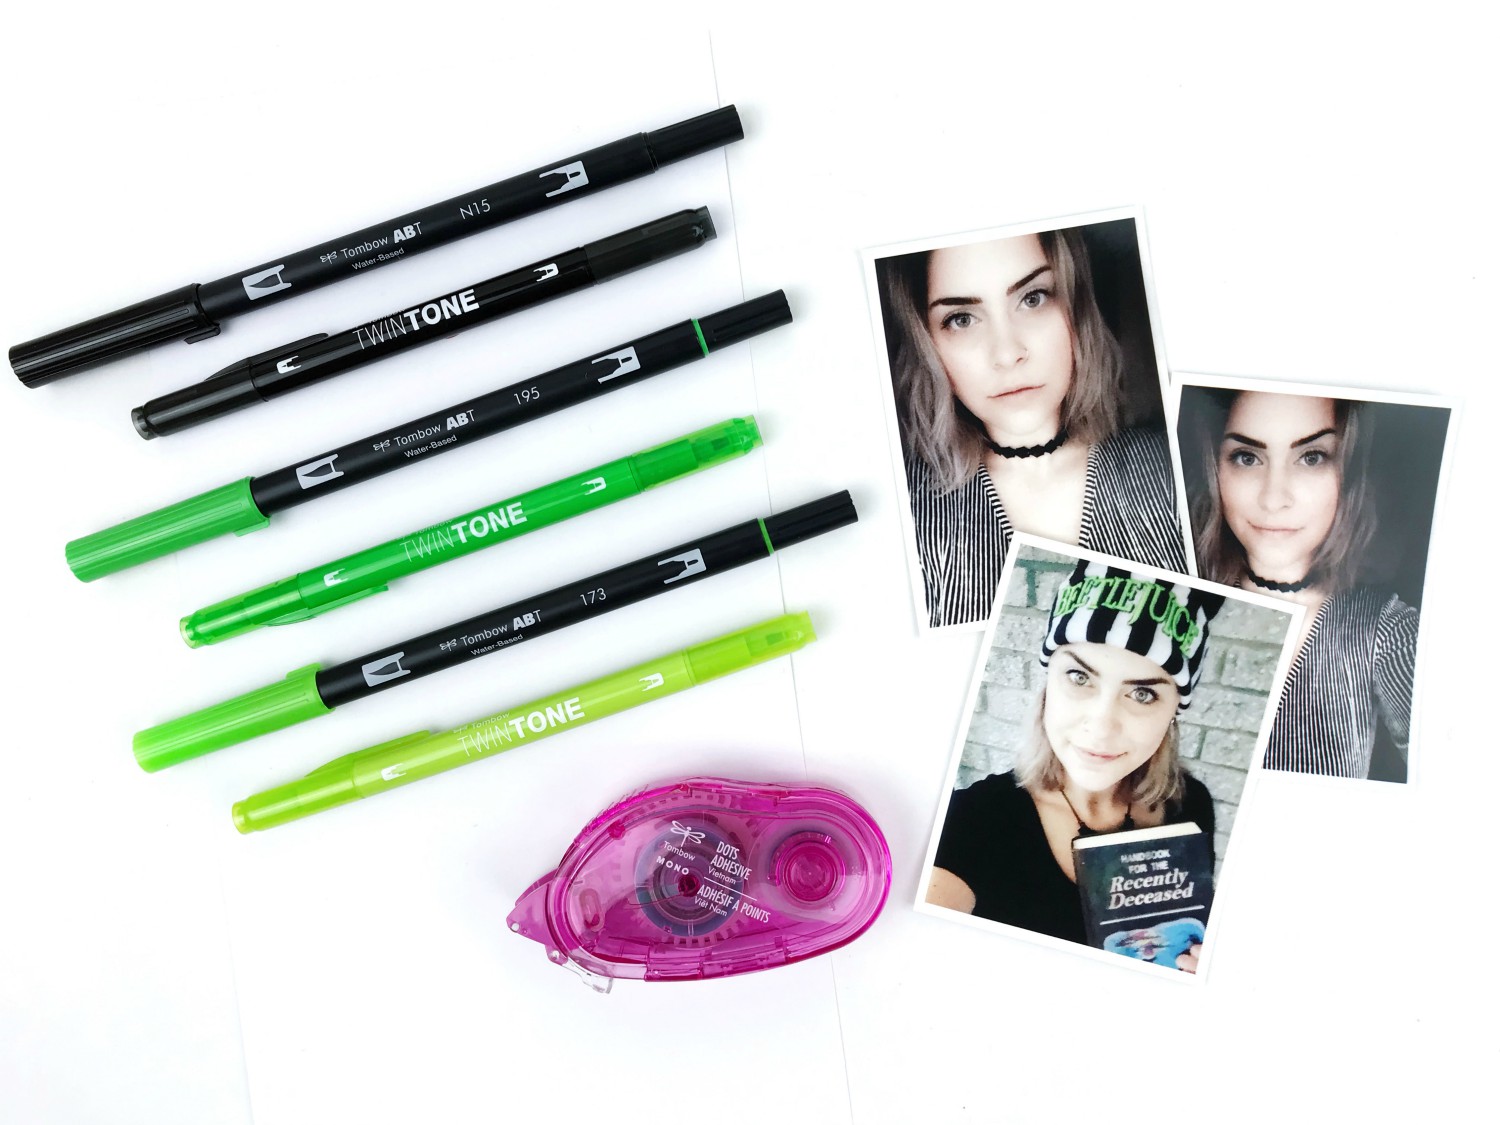
Supplies:
- Blending Palette
- Water Brush, Flat
- Colorless Blender Pen- N00
- Black Dual Brush Pen- N15
- Green Dual Brush Pen- 173, 195
- Green TwinTone Marker
- MONO Dots Adhesive
- Tombow MONO Drawing Pens– 01, 03, 04
- White card stock
- Mixed media card stock
Step 1: The Background
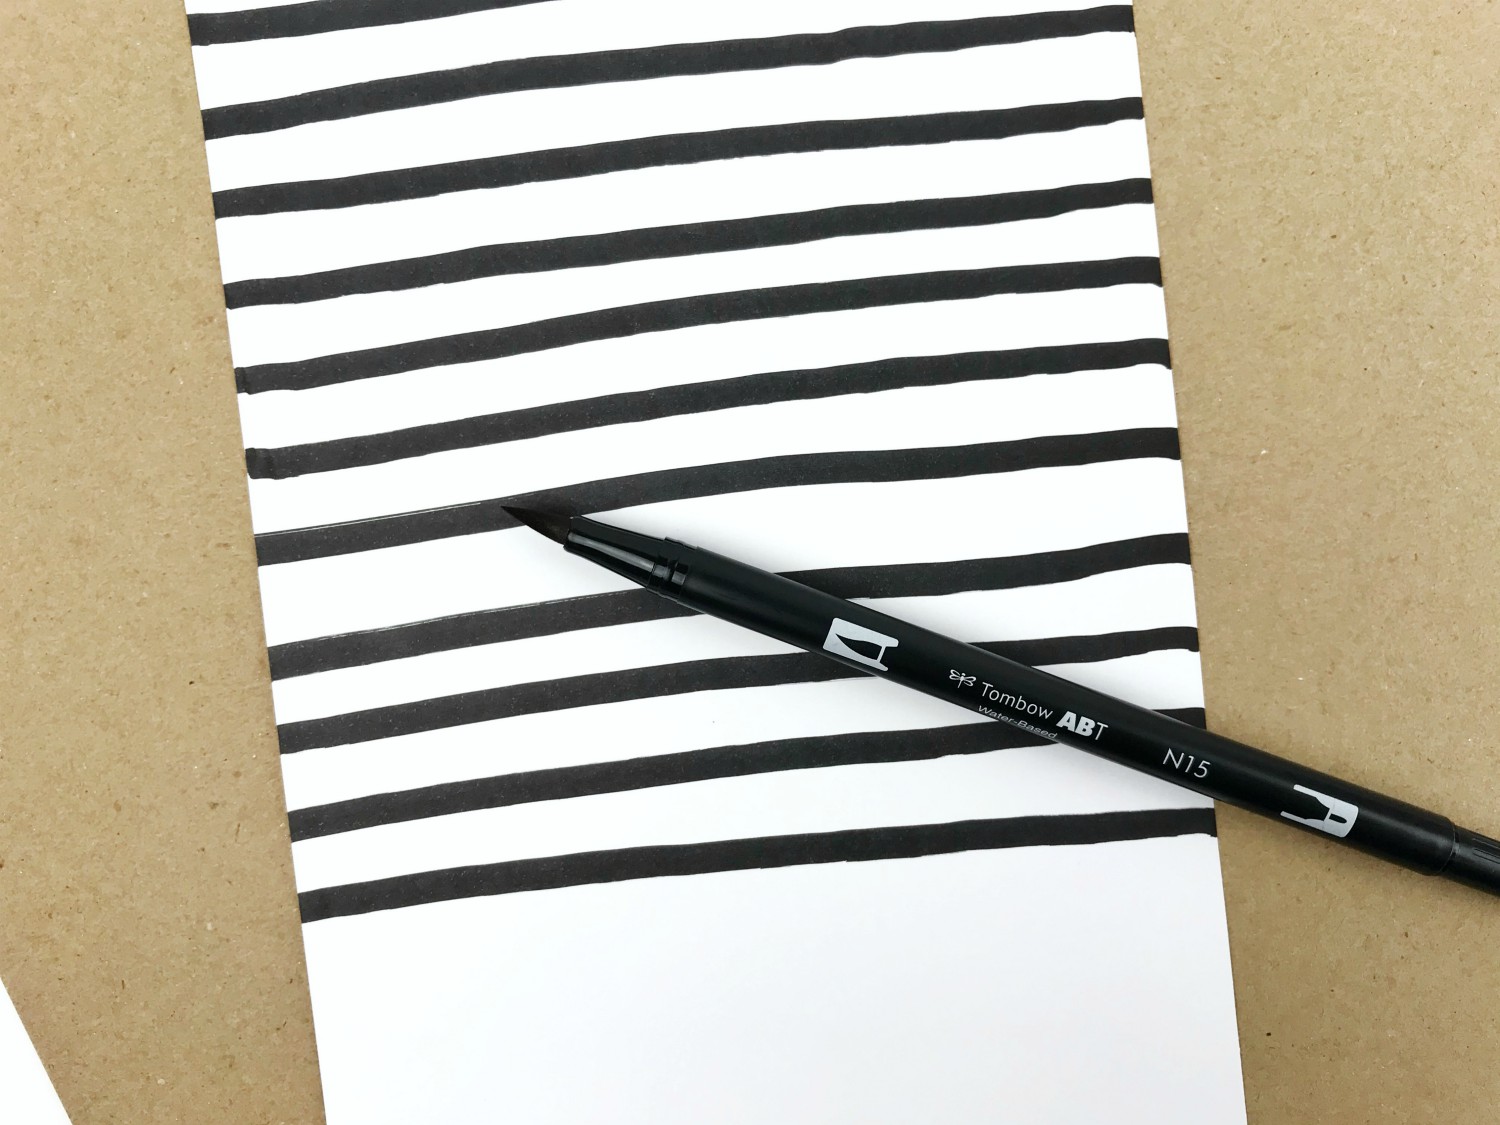
Start by selecting a white piece of card stock. Trim it to the size you would like your layout to be. My Beetlejuice layout will be going in my 9″x12″ project life album, so I cut my card stock down to 6″x12″.
To create the black stripes, use Dual Brush Pen N15. Make sure you add some scratch paper underneath to protect your surface. Using the brush tip, start creating your horizontal lines.
TIP: When drawing your lines, the wonkier the better!
Step 2: The Title
For my title, I will be hand lettering the famous quote “strange and unusual.” To begin, write out your quote on mixed media card stock using the Dual Brush Pen 173.
Next, add another layer of the same color on the bottom portion of your letters. Blend using the Colorless Blender Pen (N00).
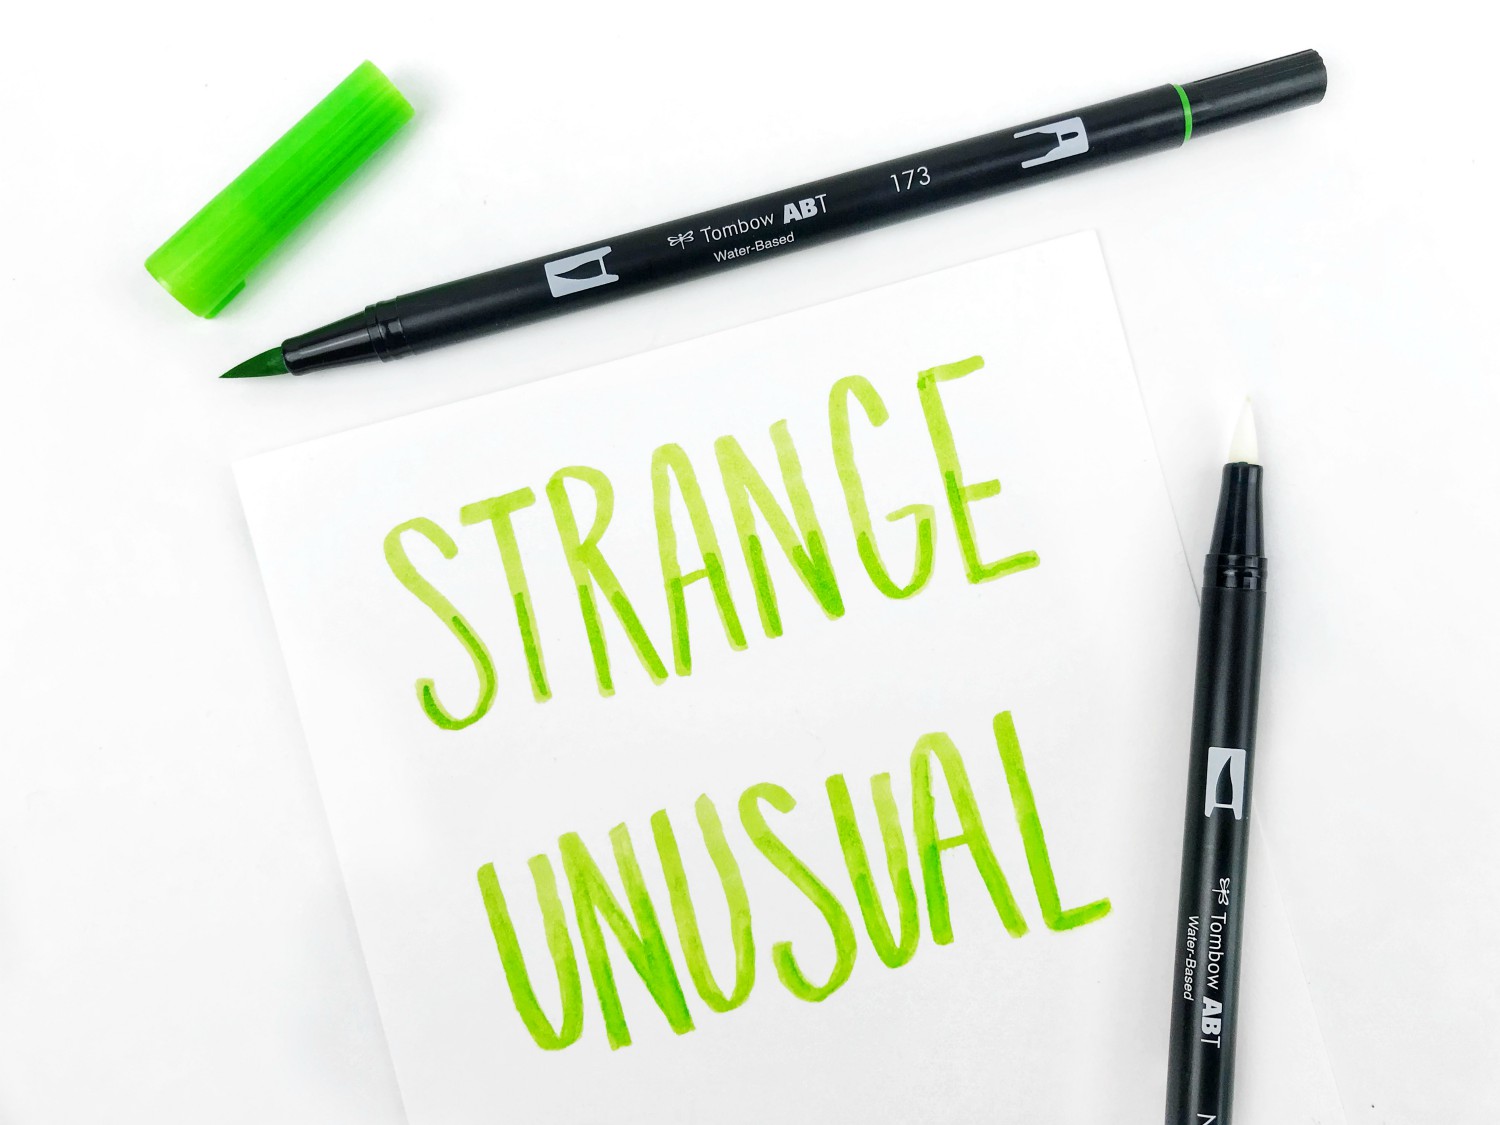
A trick when blending is to use a light flicker motion. Flick the second layer of color upwards to darken the bottom of your letters.
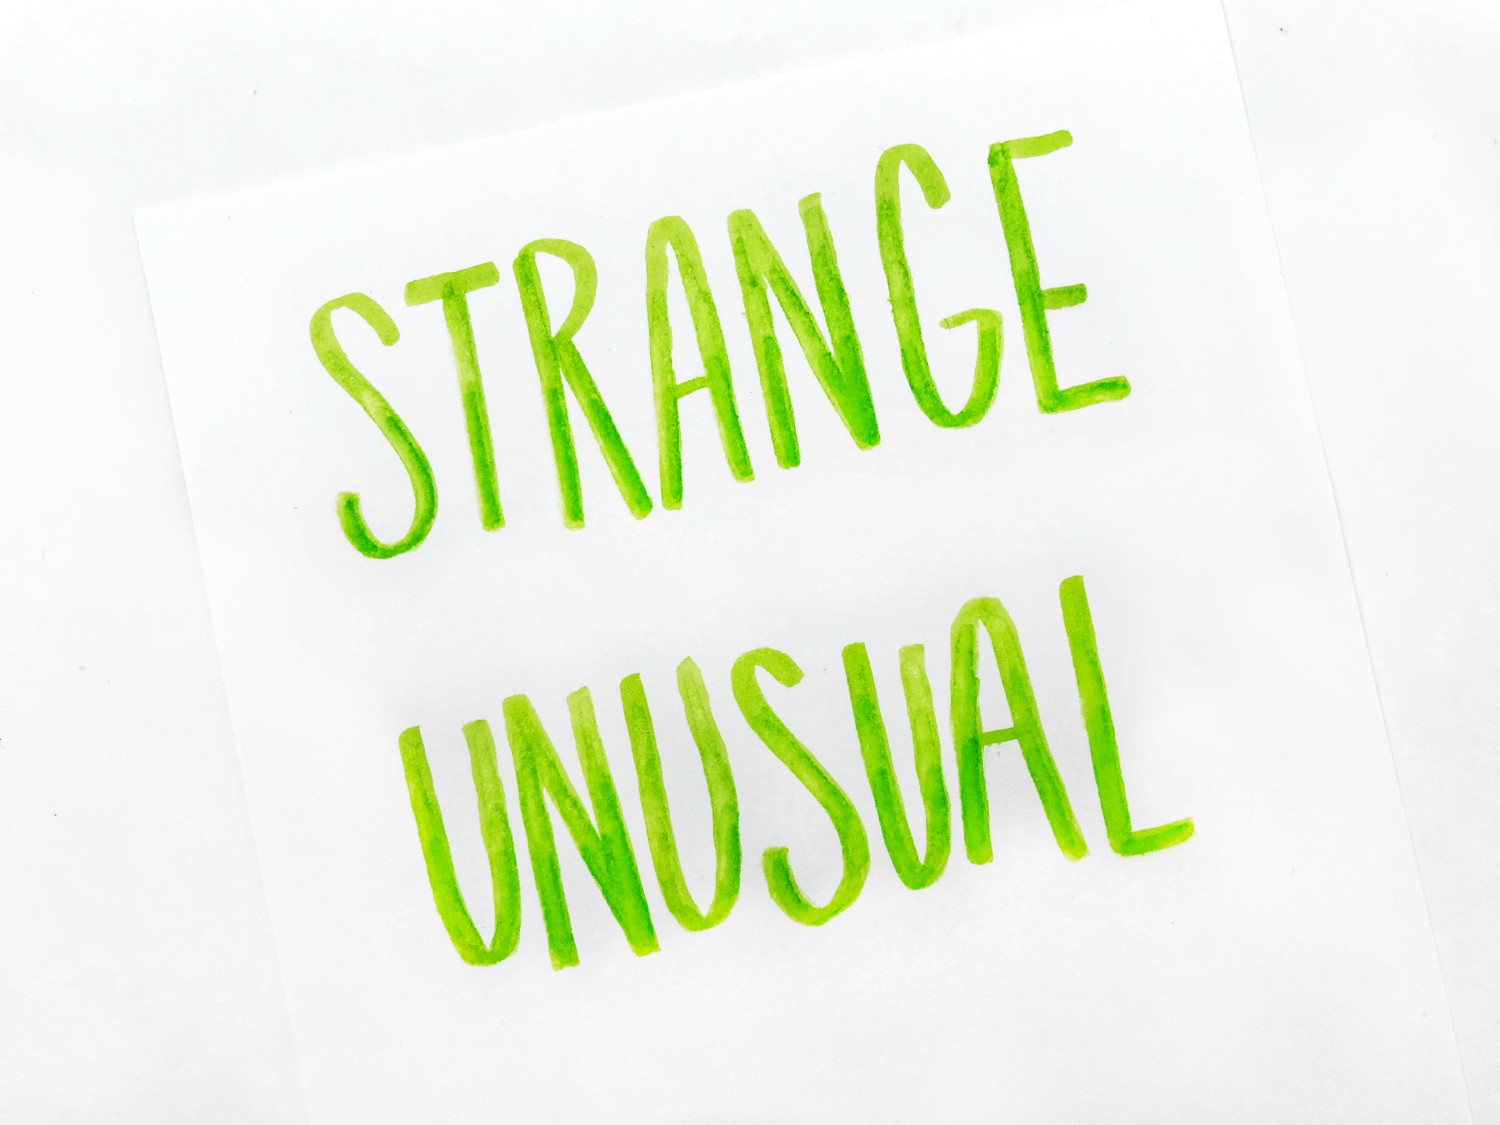
TIP: You can also use the Colorless Blender to lighten the top portion of your letters to create a faux highlight look.
Next, use a green Tombow TwinTone Marker that is one shade darker than Dual Brush Pen 173. This adds more dimension to your letters.
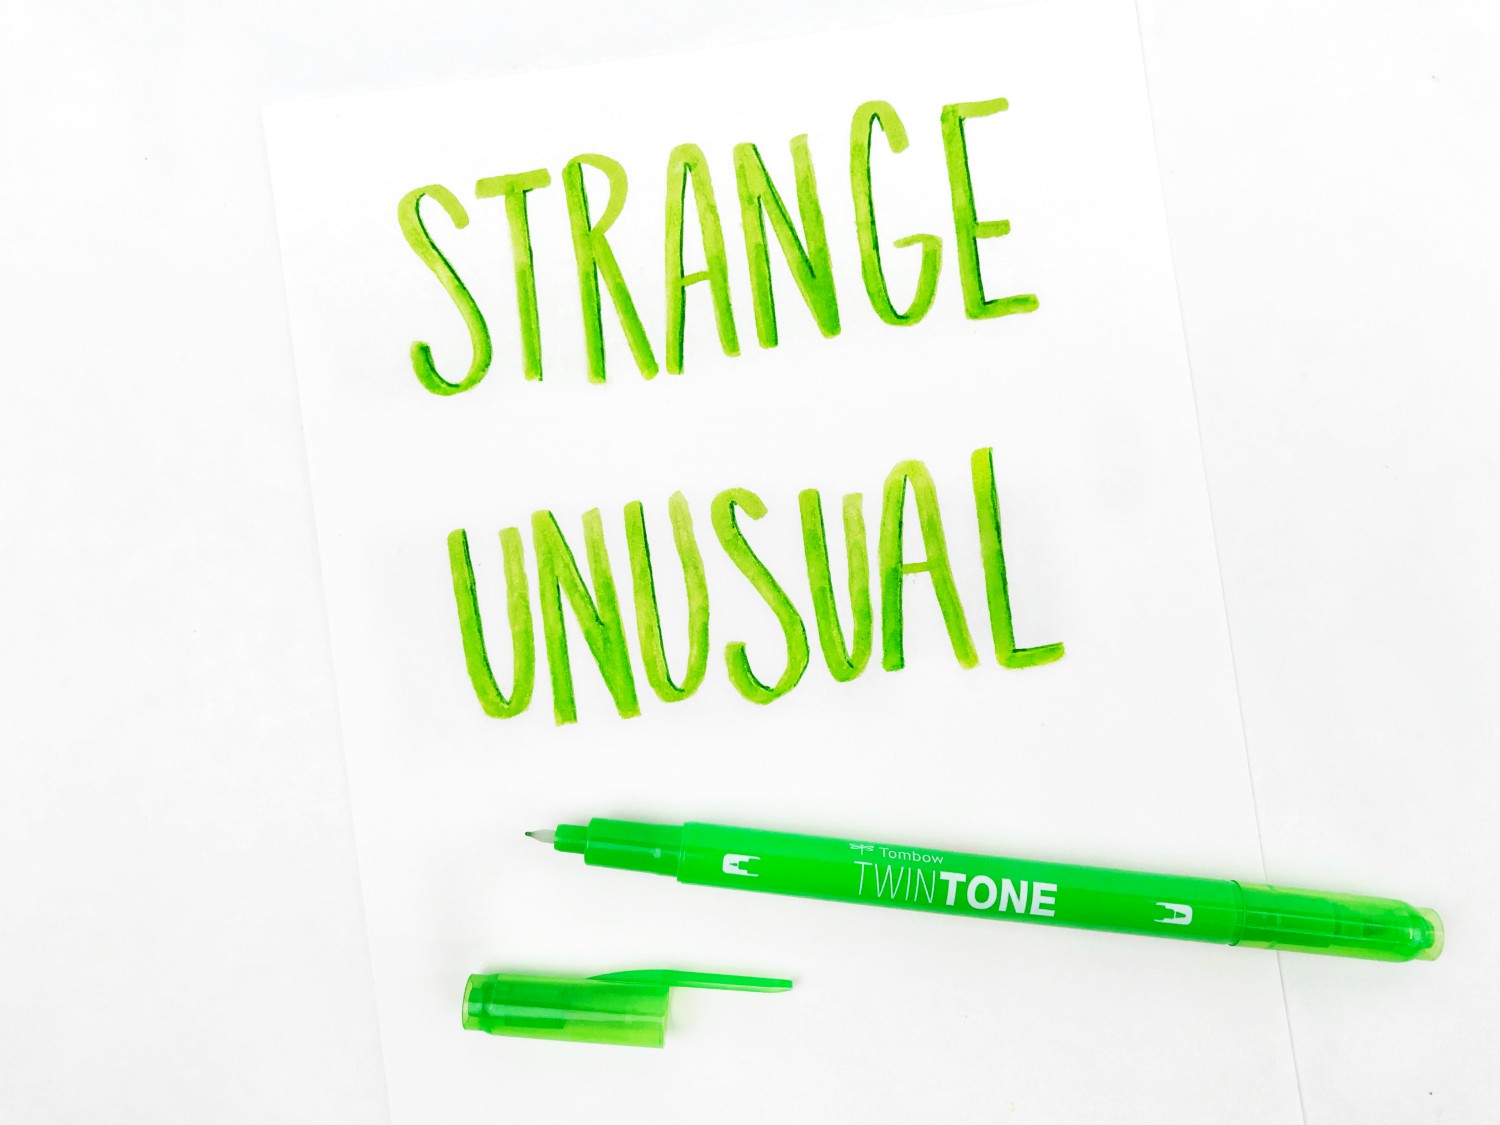 Using the green TwinTone Marker really helps make your letters pop. It’s made using water-based ink, similar to the Dual Brush Pens. You can easily blend them with the Colorless Blender as well! This is perfect for when you add a little too much and want to “erase” or blend the color in with the background.
Step 3: Putting The Layout Together
Now that both the background and title is made, it’s time to build the layout.
I’m using one of my favorite Tombow adhesives, the MONO Dots Adhesive. This is the perfect adhesive for scrapbooking. It allows you wiggle room to play around with the placement of your elements and photos, making it easy to pull up from your project without ripping or ruining it. Once everything settles, the MONO Dots Adhesive becomes permanent and will hold nicely. I definitely recommend it for all your paper project needs!
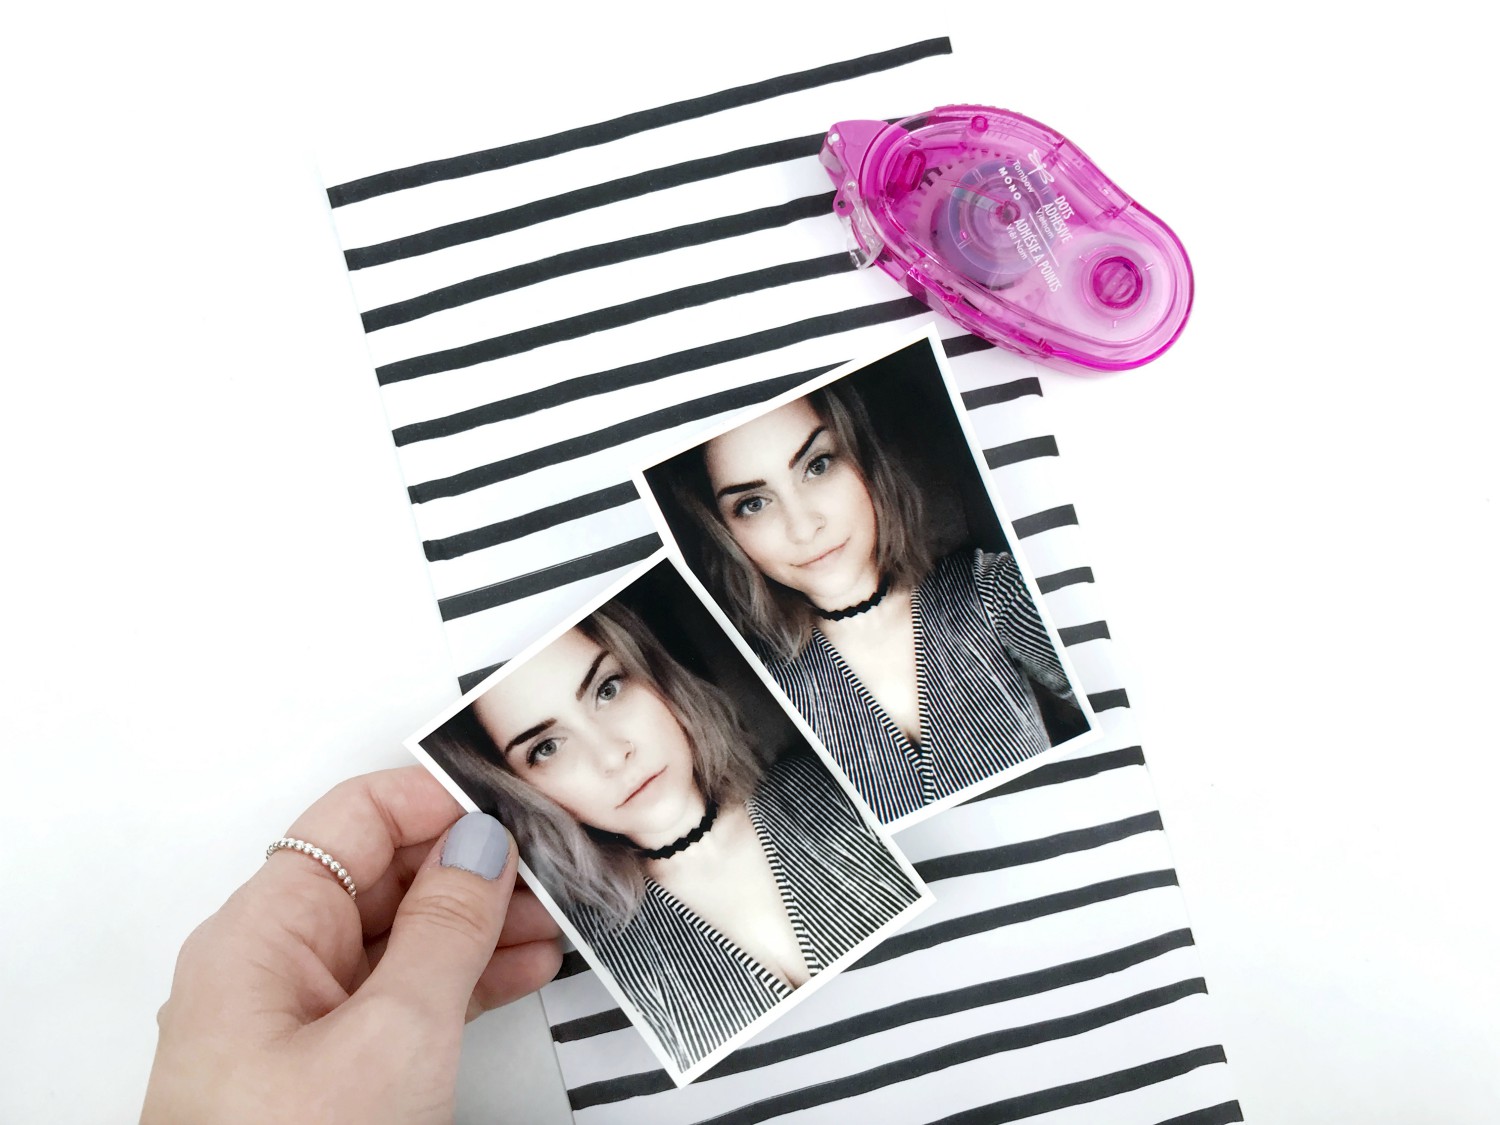
Continue adhering down your title with the MONO Dots Adhesive.
Step 4: Final Touches and Details
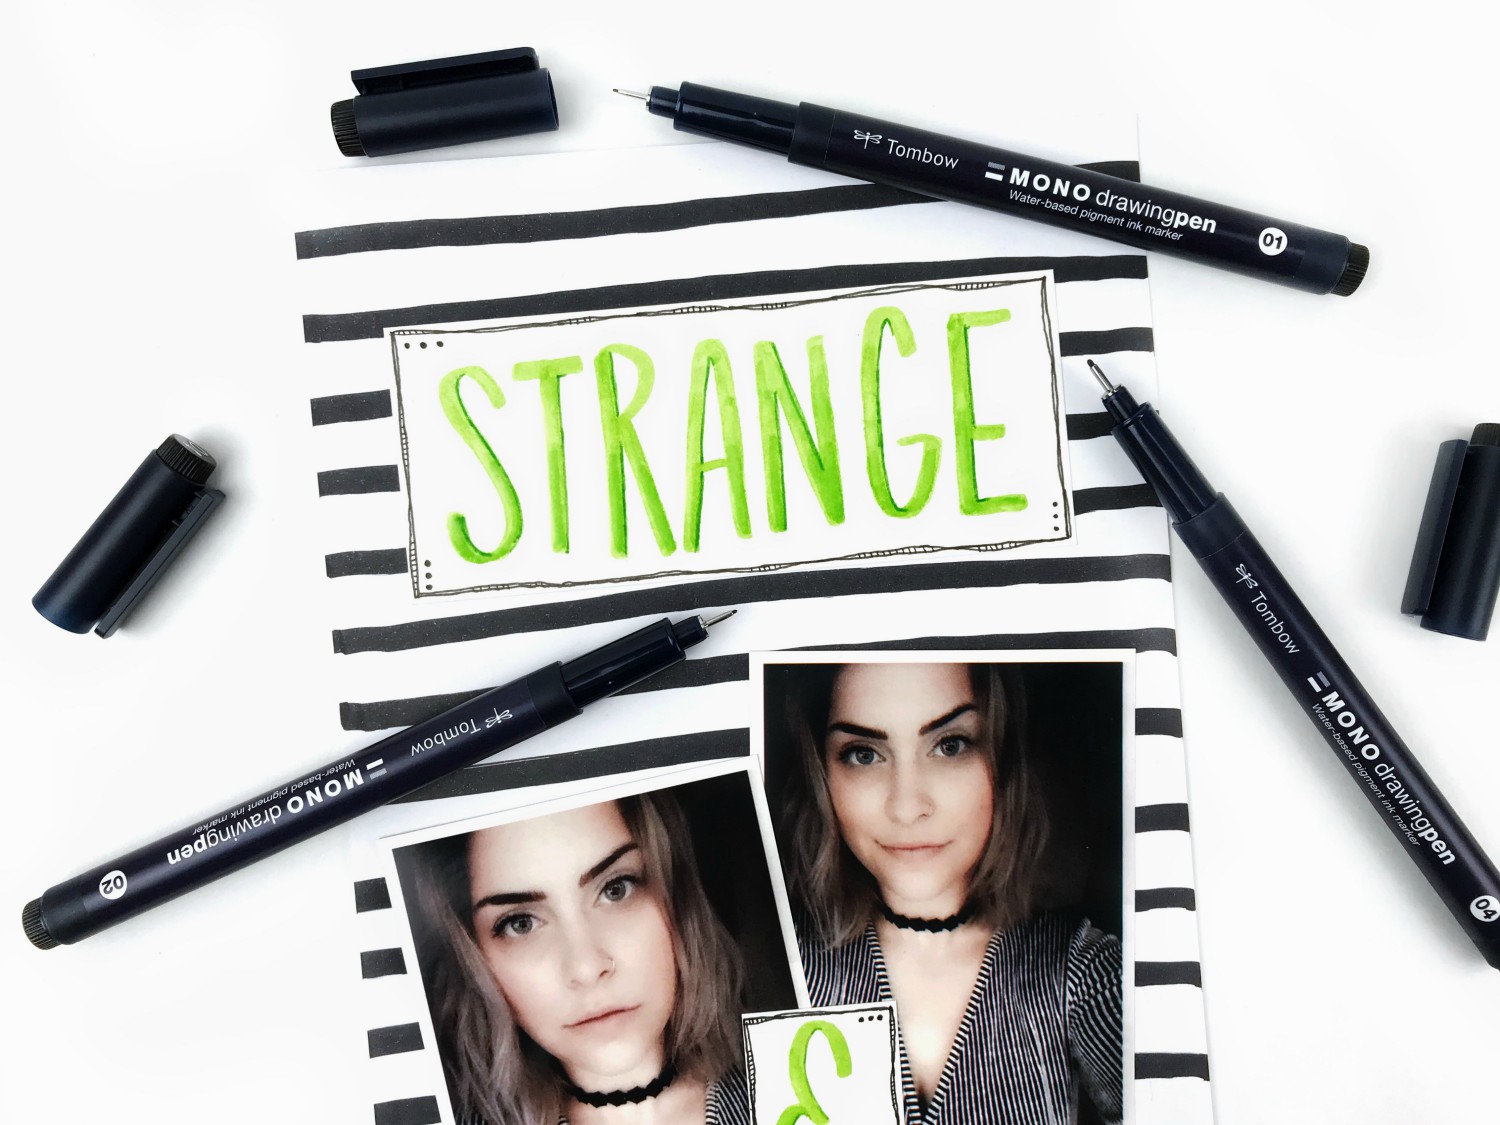
Using the Tombow MONO Drawing Pens in 01, 03 and 04, add some doodles around the title. I created wonky lines using the 03 tip size and created tiny stripe details within those lines using the 01 tip size. To finish off, I added three little dots in random spots using MONO Drawing Pen 04.
Next, let’s create some green splatters. Grab the Blending Palette, the Flat Water Brush and Dual Brush Pen 173 used for lettering. I’m also mixing in a darker shade of green (Dual Brush Pen 195). Scribble some ink on the Blending Palette and use your Flat Water Brush to move the color around.
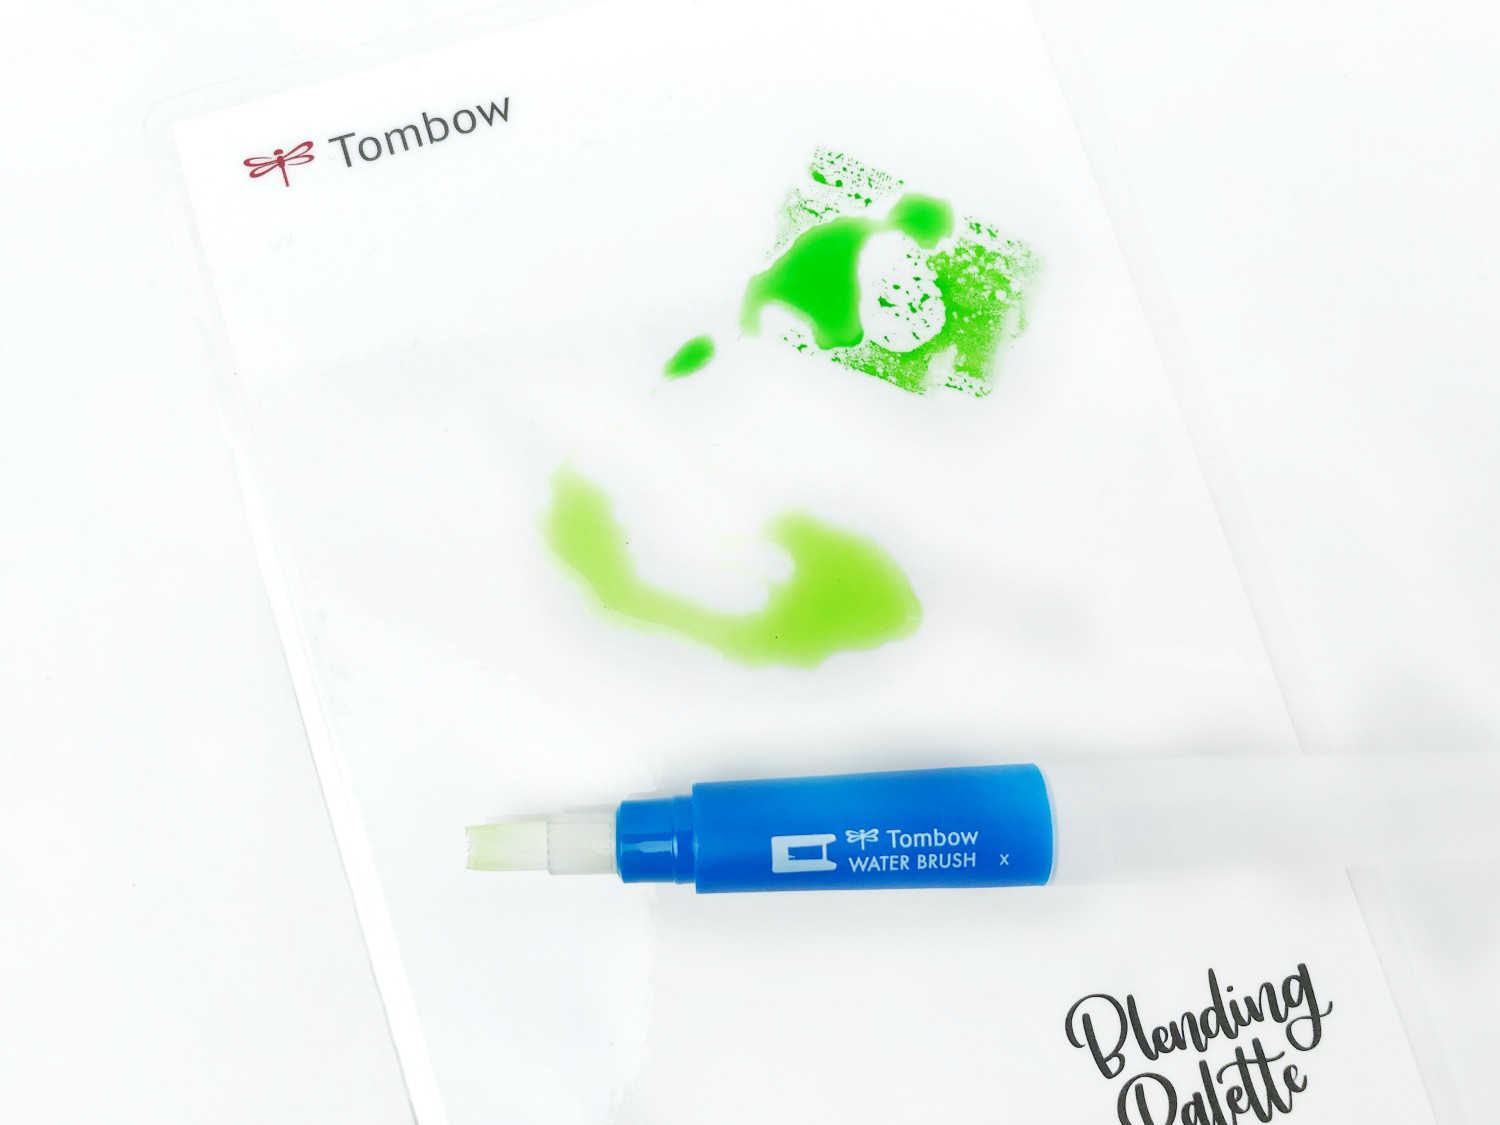
Using your fingers, flick the brush ends to create tiny splatters. Tap directly on the Water Brush barrel with your finger to create larger splatters. I went ahead and added the green splatters on six different spots on my layout. It dries light, creating the perfect subtle finishing touch.
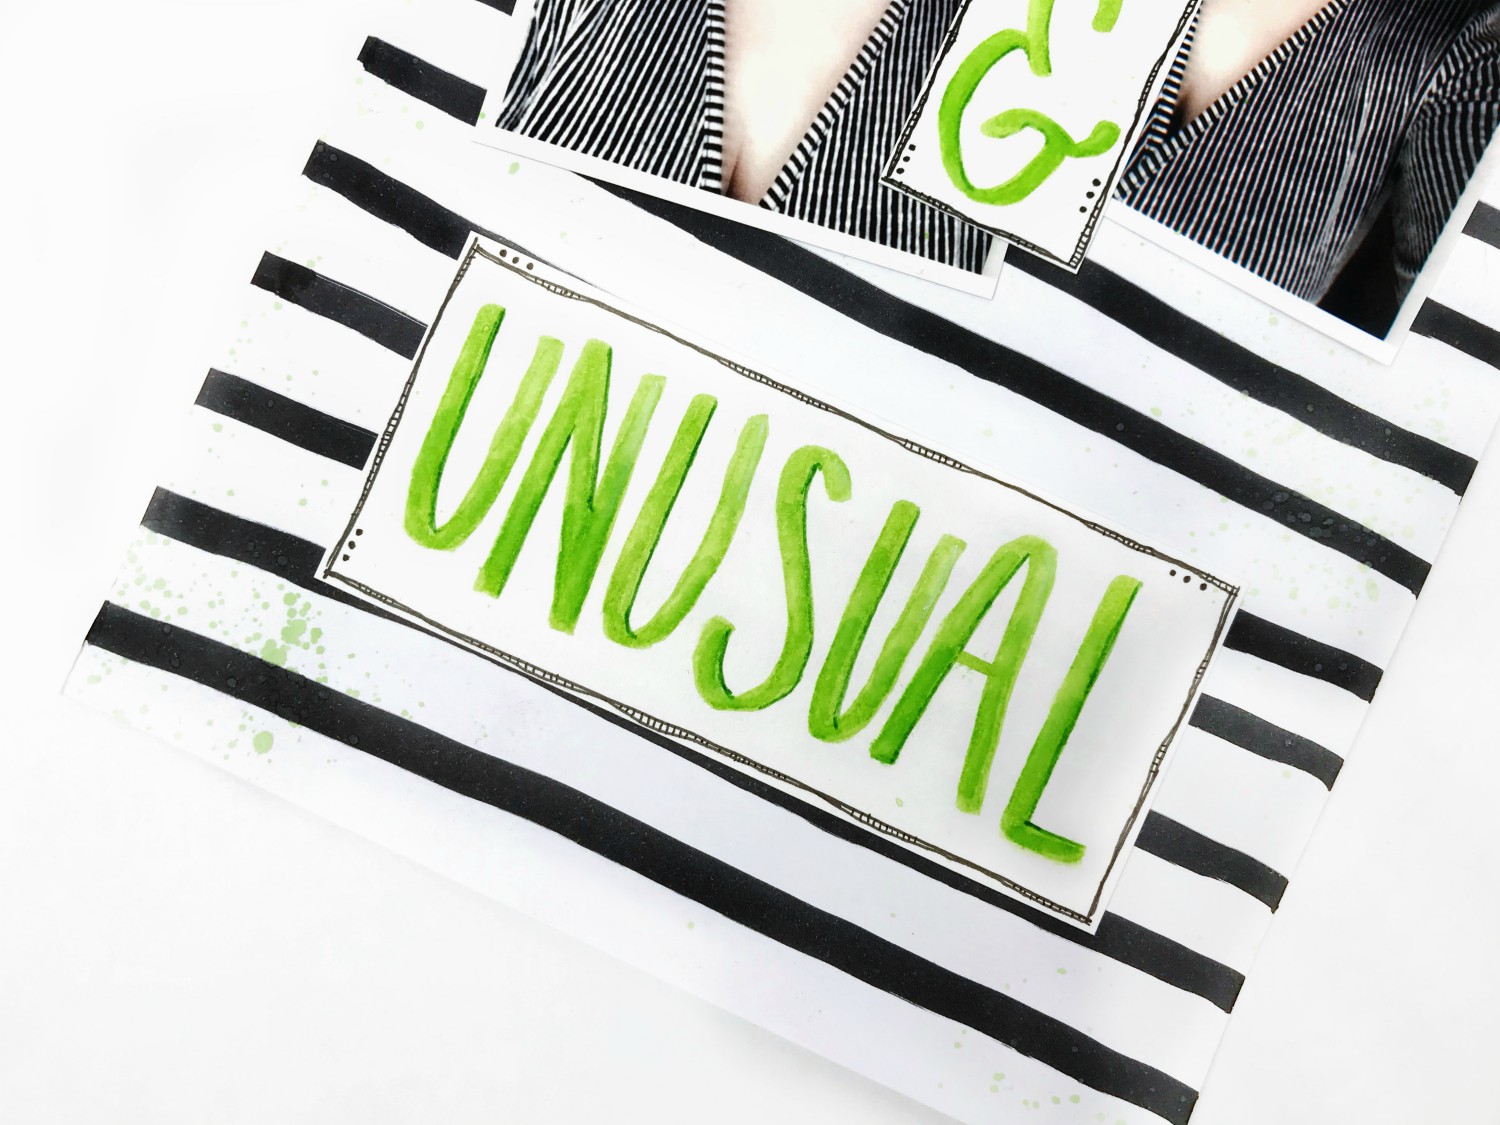
The Final Look
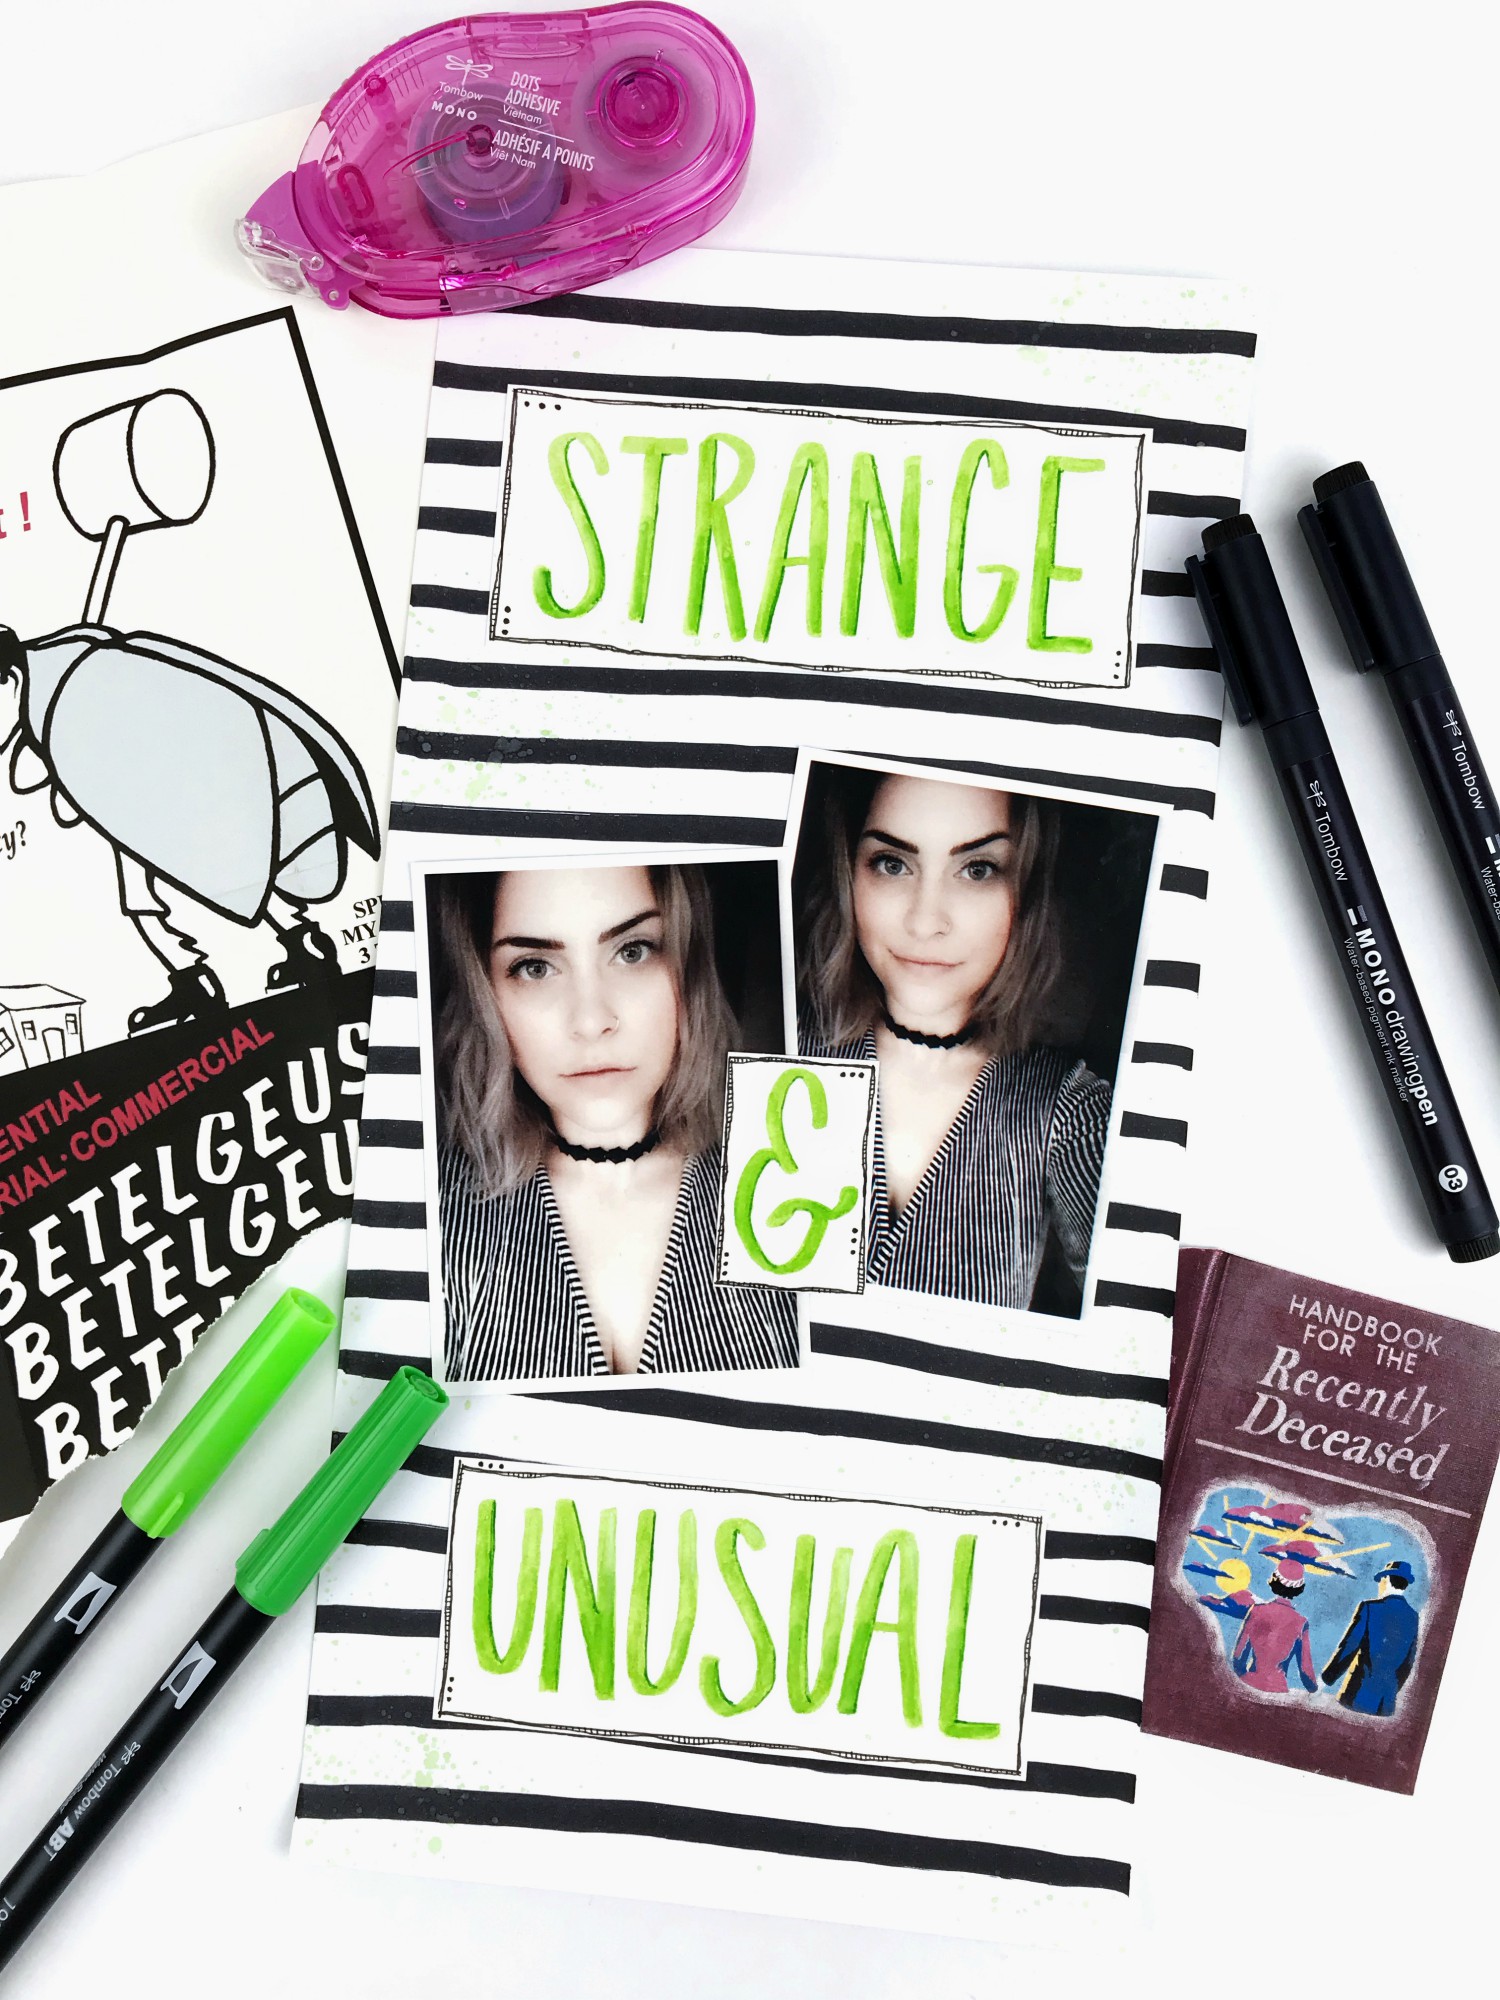
This layout was so much fun to make and came together fairly quick. If you love Beetlejuice too, please reach out and let me know! You can comment below or if you recreate this layout tag me on Instagram, so I can see!
For more inspiration, check out these other great spooky lettering tutorials from the talented Tombow Design Team!
- Jennie’s Tombow Color Palettes Inspired by Halloween Movies
- Adrienne’s DIY Spooky Halloween Candle
- Smitha’s DIY Halloween Cupcake Toppers
If you’d like to see more from me, check out my Youtube channel or join my Crafty Rebelles Community!
Much love,
Serena Bee
Pingback: DIY Gift Box Decor Using Tombow Xtreme Adhesive - Tombow USA Blog
Pingback: Tips and Tricks for Creating a 6×8 Scrapbook Layout - Tombow USA Blog