Hey everyone, it’s Ali LePere here! Today, I’m going to show you how I made a sweet candy heart card! Do you have a hard time picking out cards at the store? I’ve spent more time in the greeting card aisles than I’d like to admit! This is why I like to make cards! This one is perfect for the upcoming holiday!
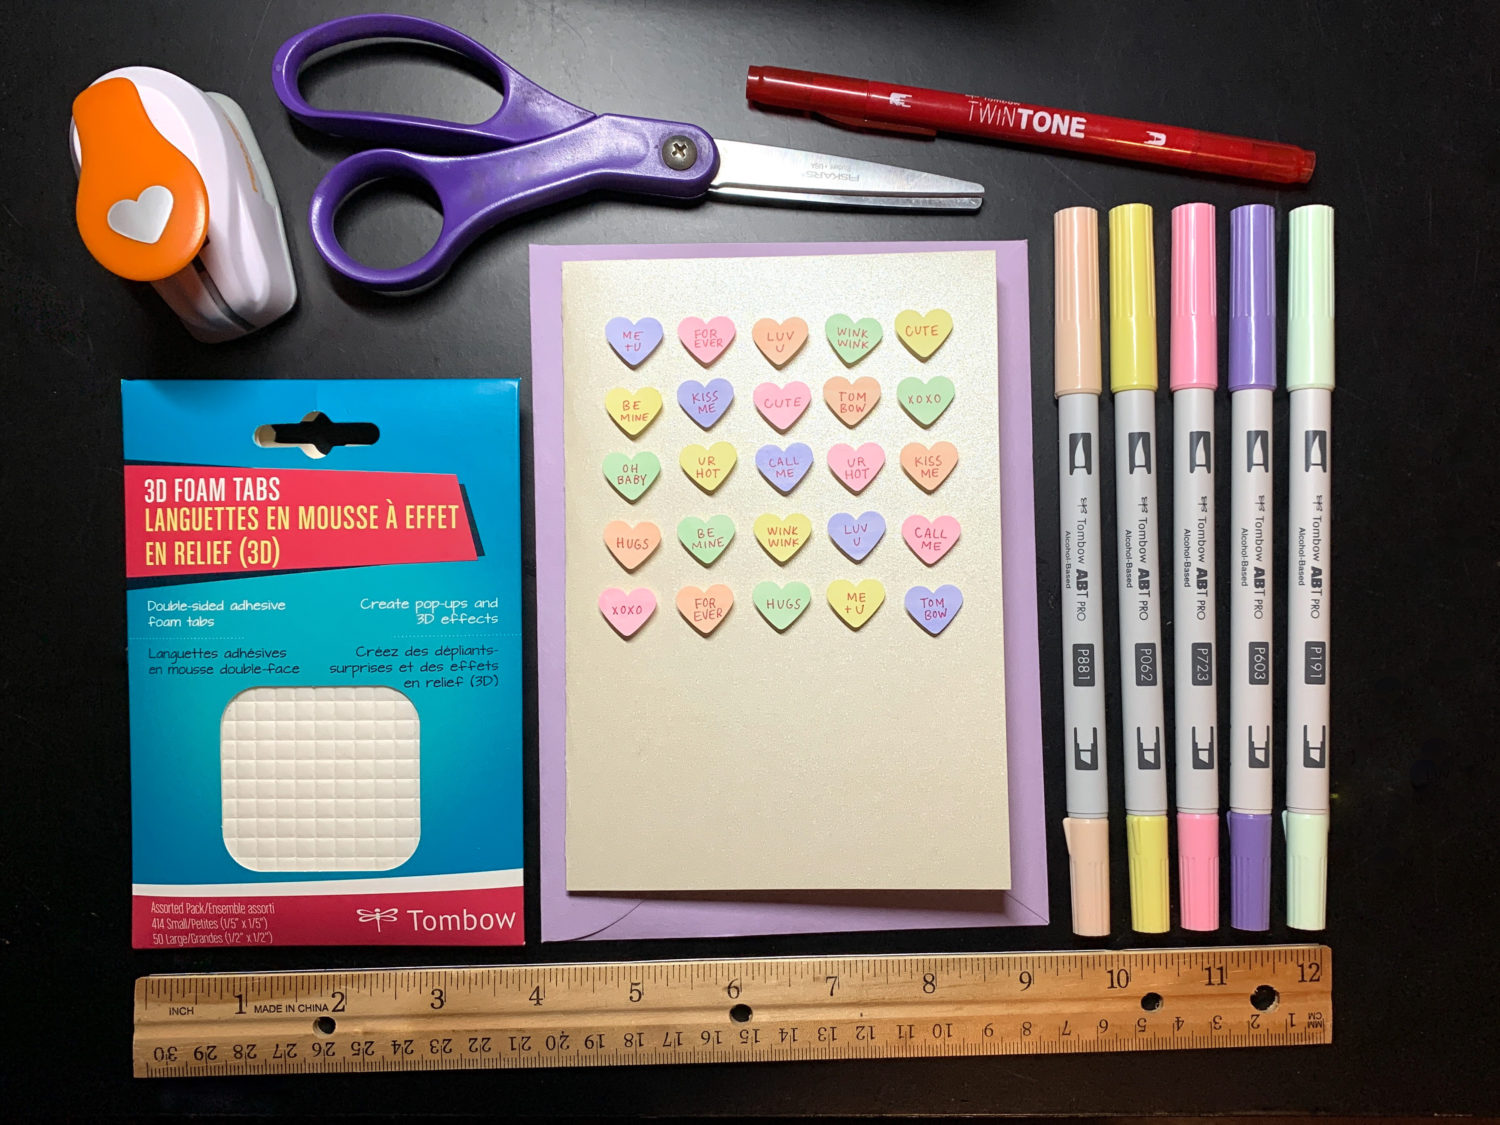
Materials
- Tombow ABT PRO Alcohol Markers in P062, P191, P603, P723, P881
- Tombow 3D Foam Tabs
- Tombow TwinTone Marker in red
- Small piece of thick marker or mixed media paper
- One piece of cardstock paper
- Heart paper punch
- Scissors
- Ruler
Step 1
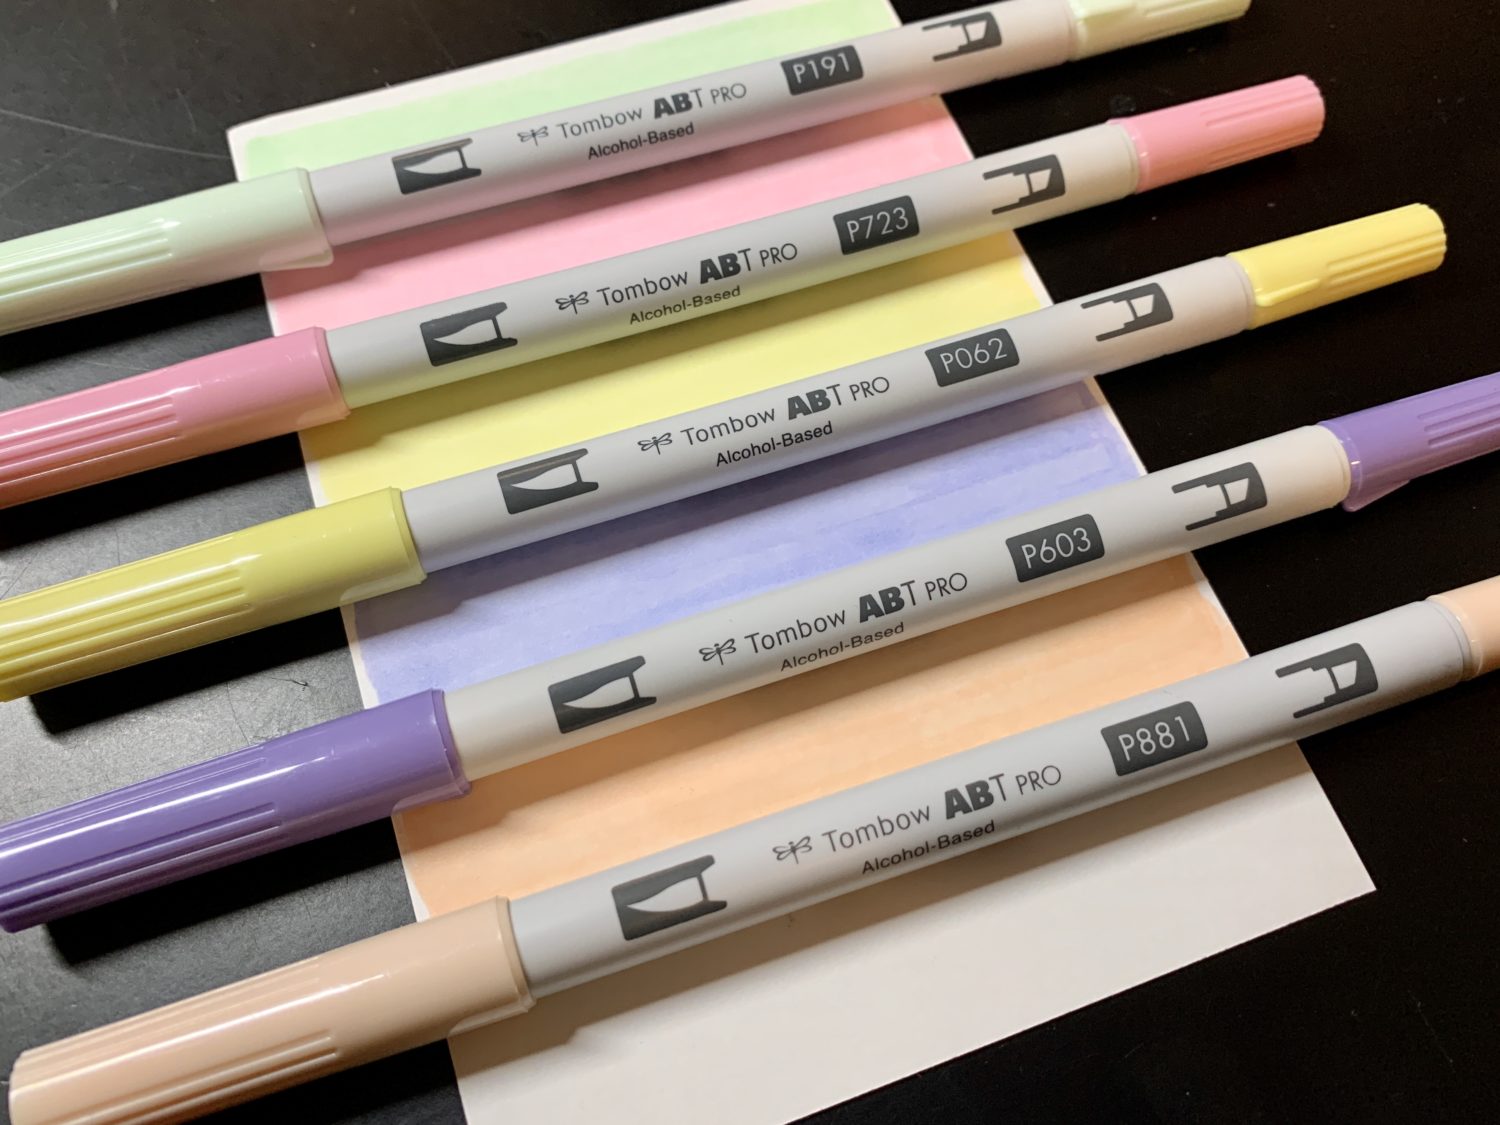
I used the ABT PRO Alcohol-Based Markers because the color payoff is fantastic. Plus, the color selection includes the quintessential candy heart colors! All I had to do here was color large rectangular swatches on my small piece of marker paper.
Since I’m using a small paper punch for this project, my swatches only needed to be an inch or so high and five to six inches wide. If you make your own card, make sure that you make your color swatches big enough to accommodate your paper punch!
Step 2
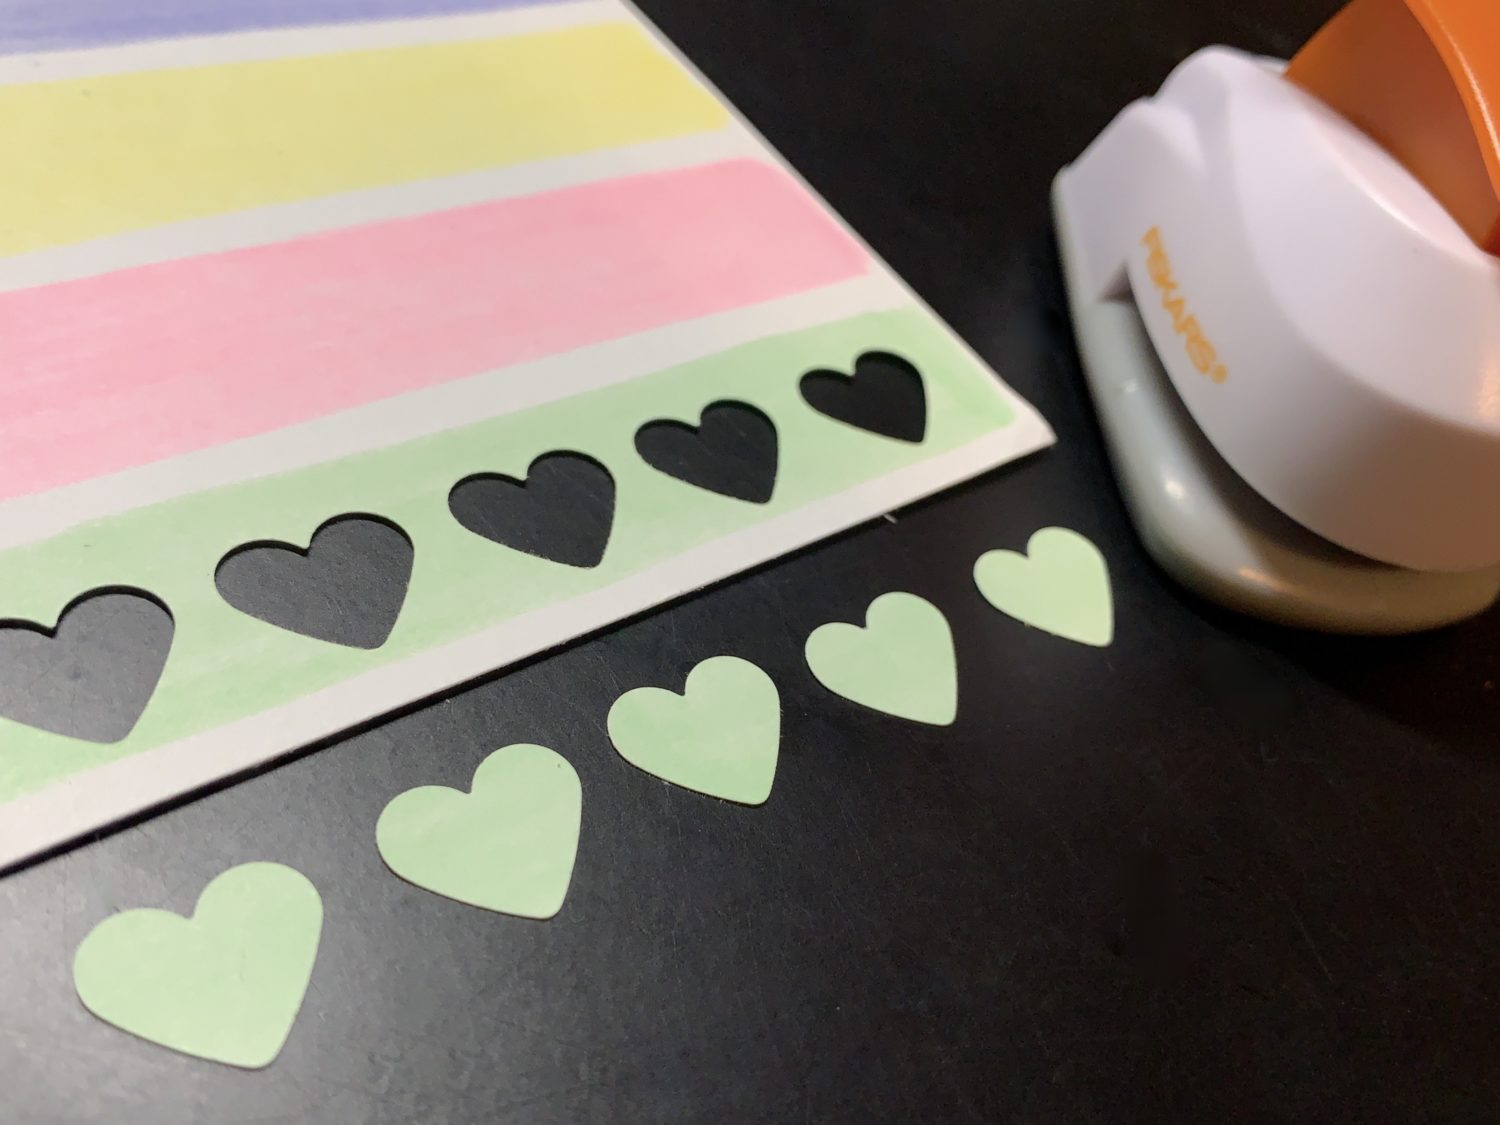
I used my heart paper punch to punch out a row of candy hearts on each color swatch. Since it’s easier to paper punch smaller areas, I’d suggest cutting out each of your color swatches for this step.
Step 3
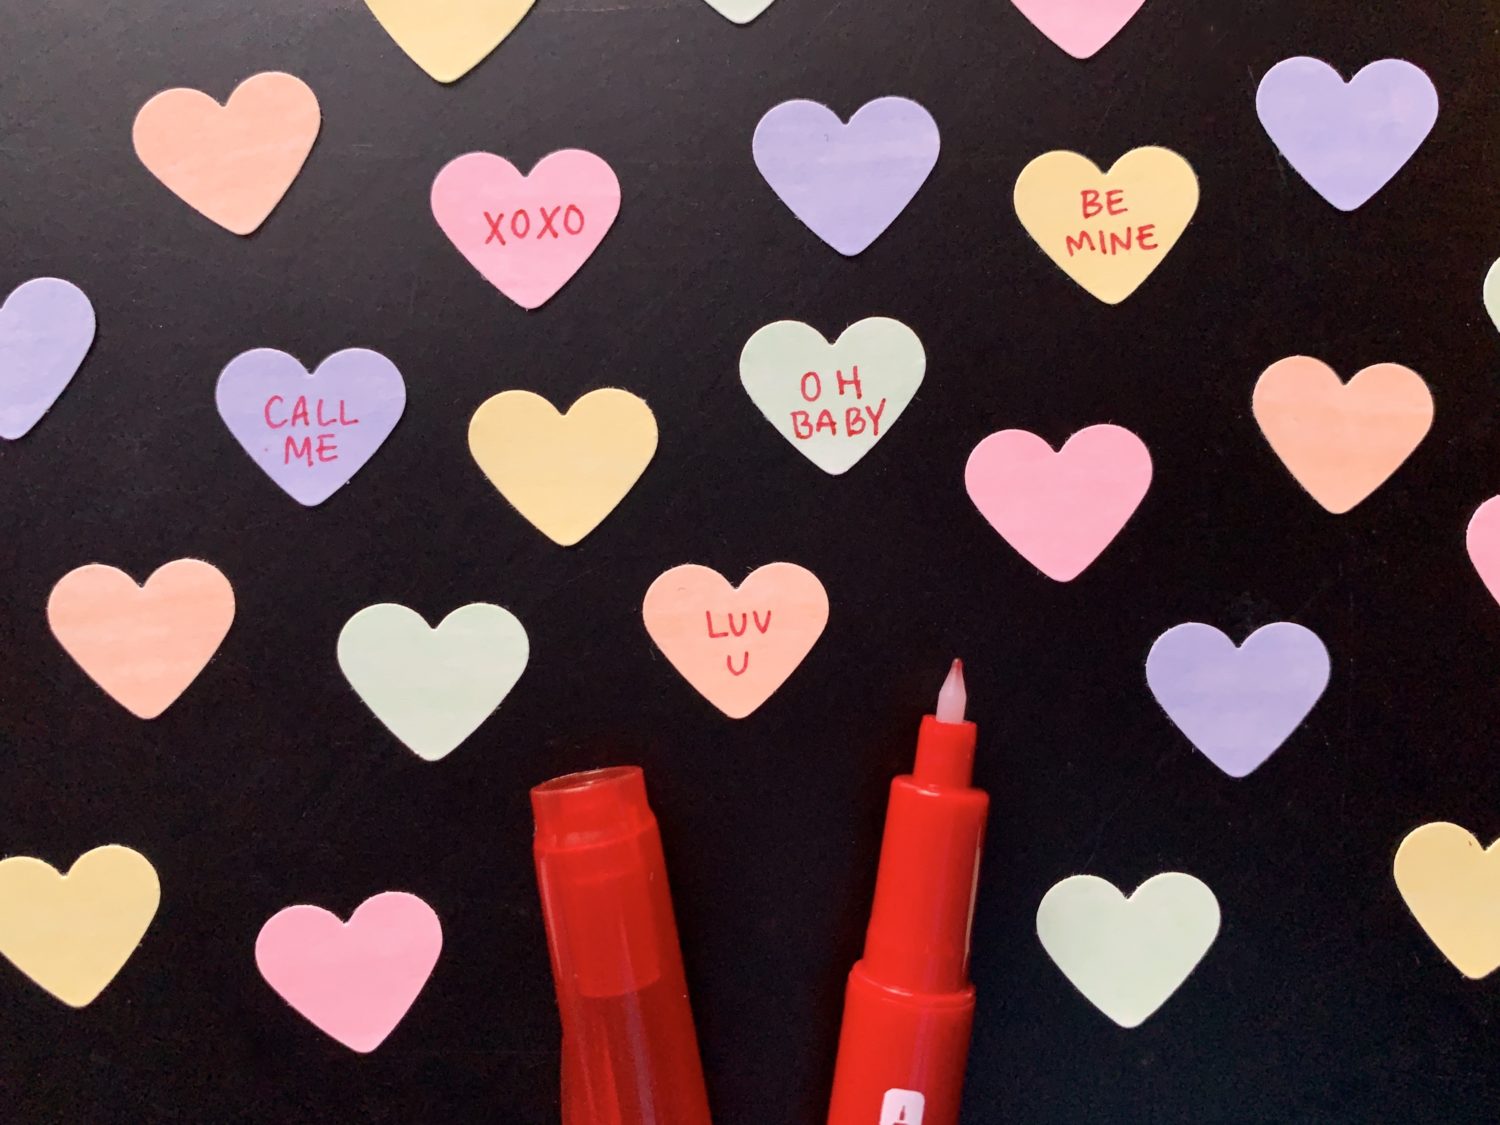
I wrote in some of the basic messages you might normally see on candy hearts with a red TwinTone Marker. Since the TwinTone Markers have an extra-fine tip, adding these messages was simple!
Step 4
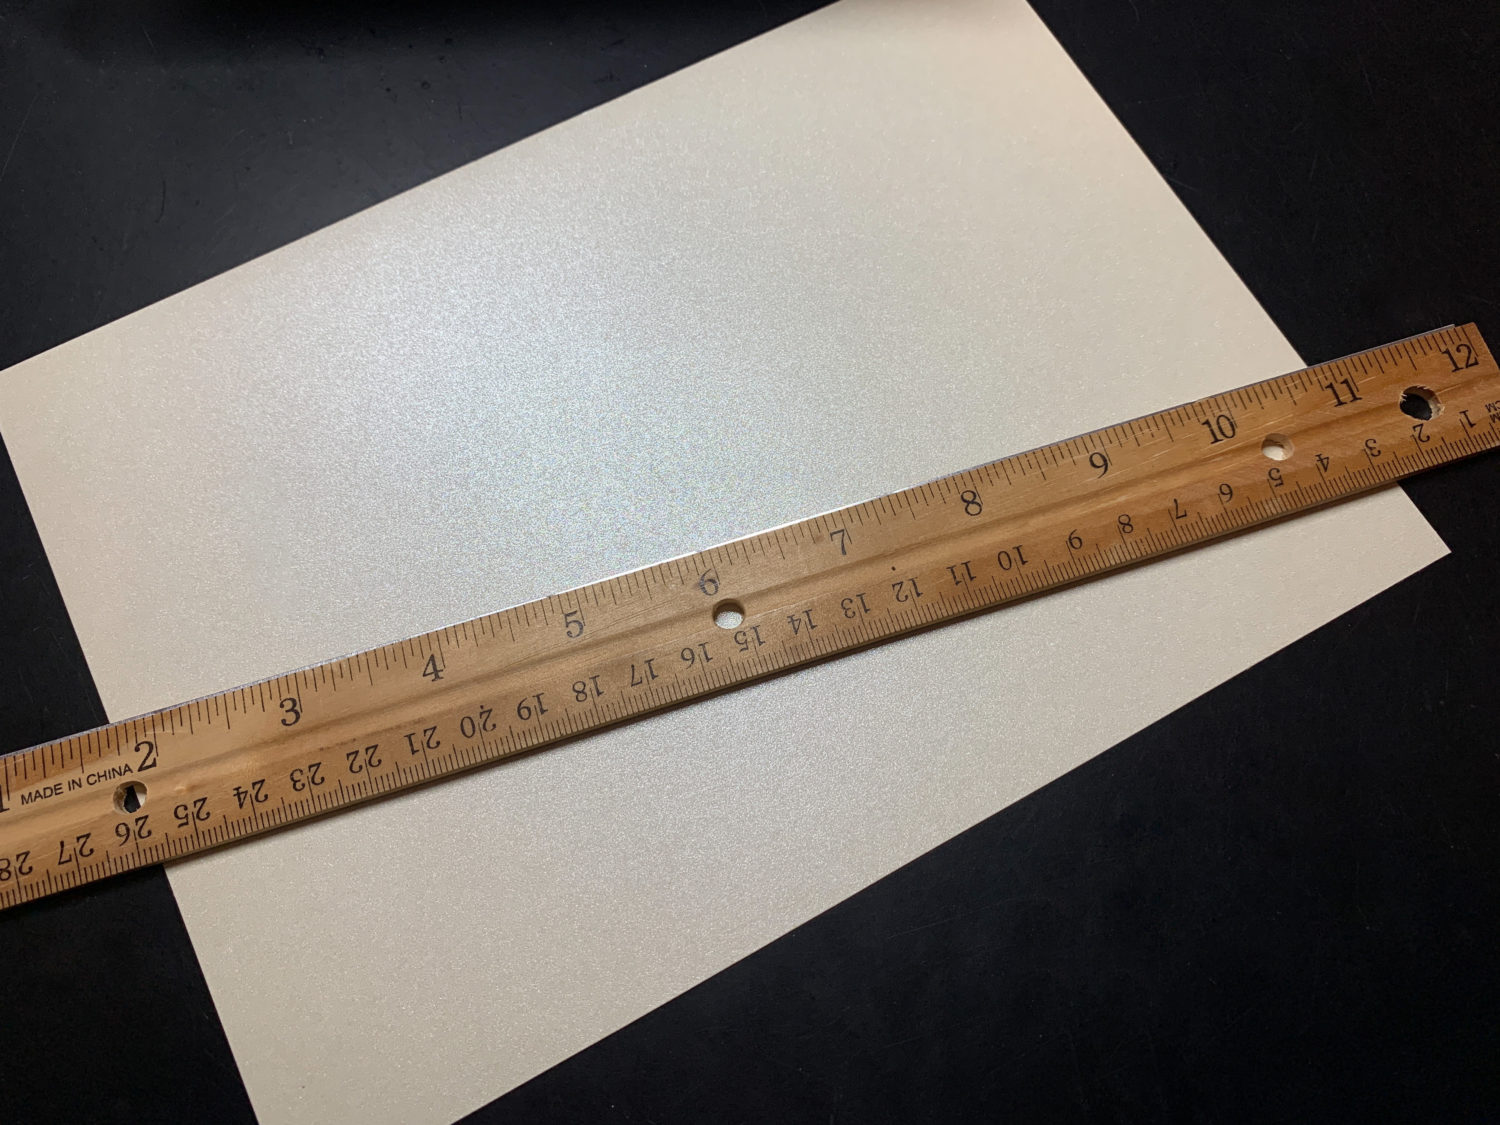
Using my ruler, I measured out my card dimensions onto my card stock and cut it out using my scissors. You can make your card whatever size you’d like. Since I wanted mine to fit into most envelopes, I made my card 6 ½ by 4 ½ inches!
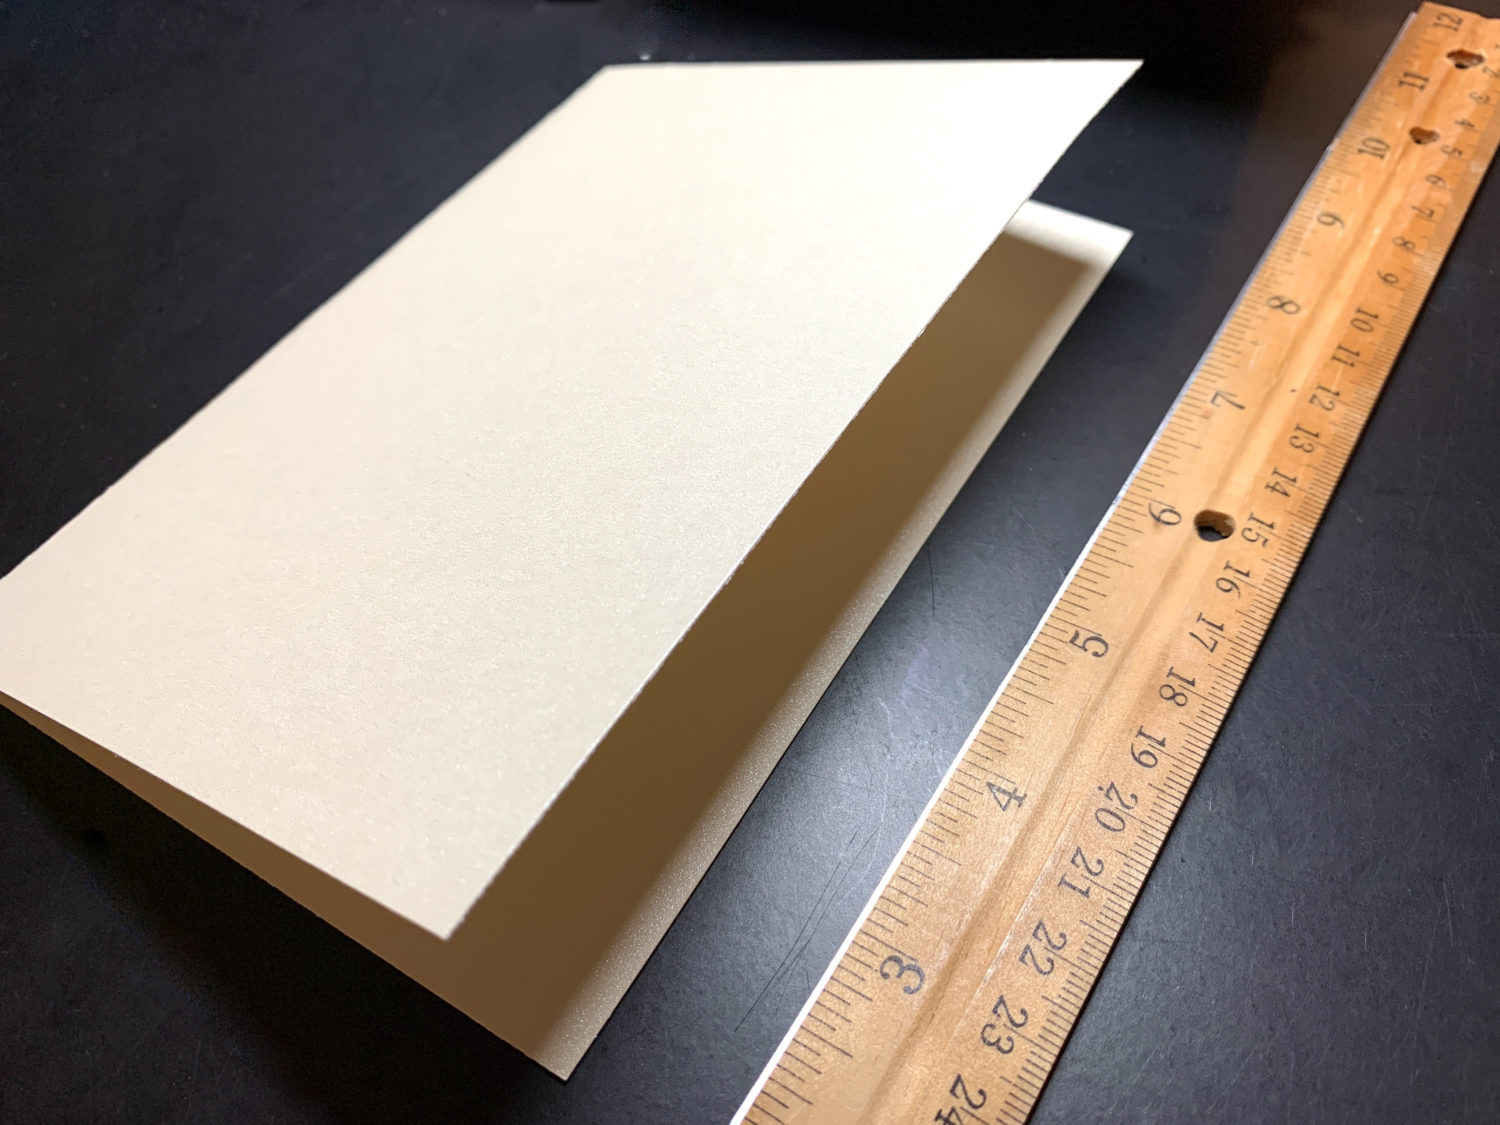
After I cut out my card, I folded the cardstock in half.
Step 5
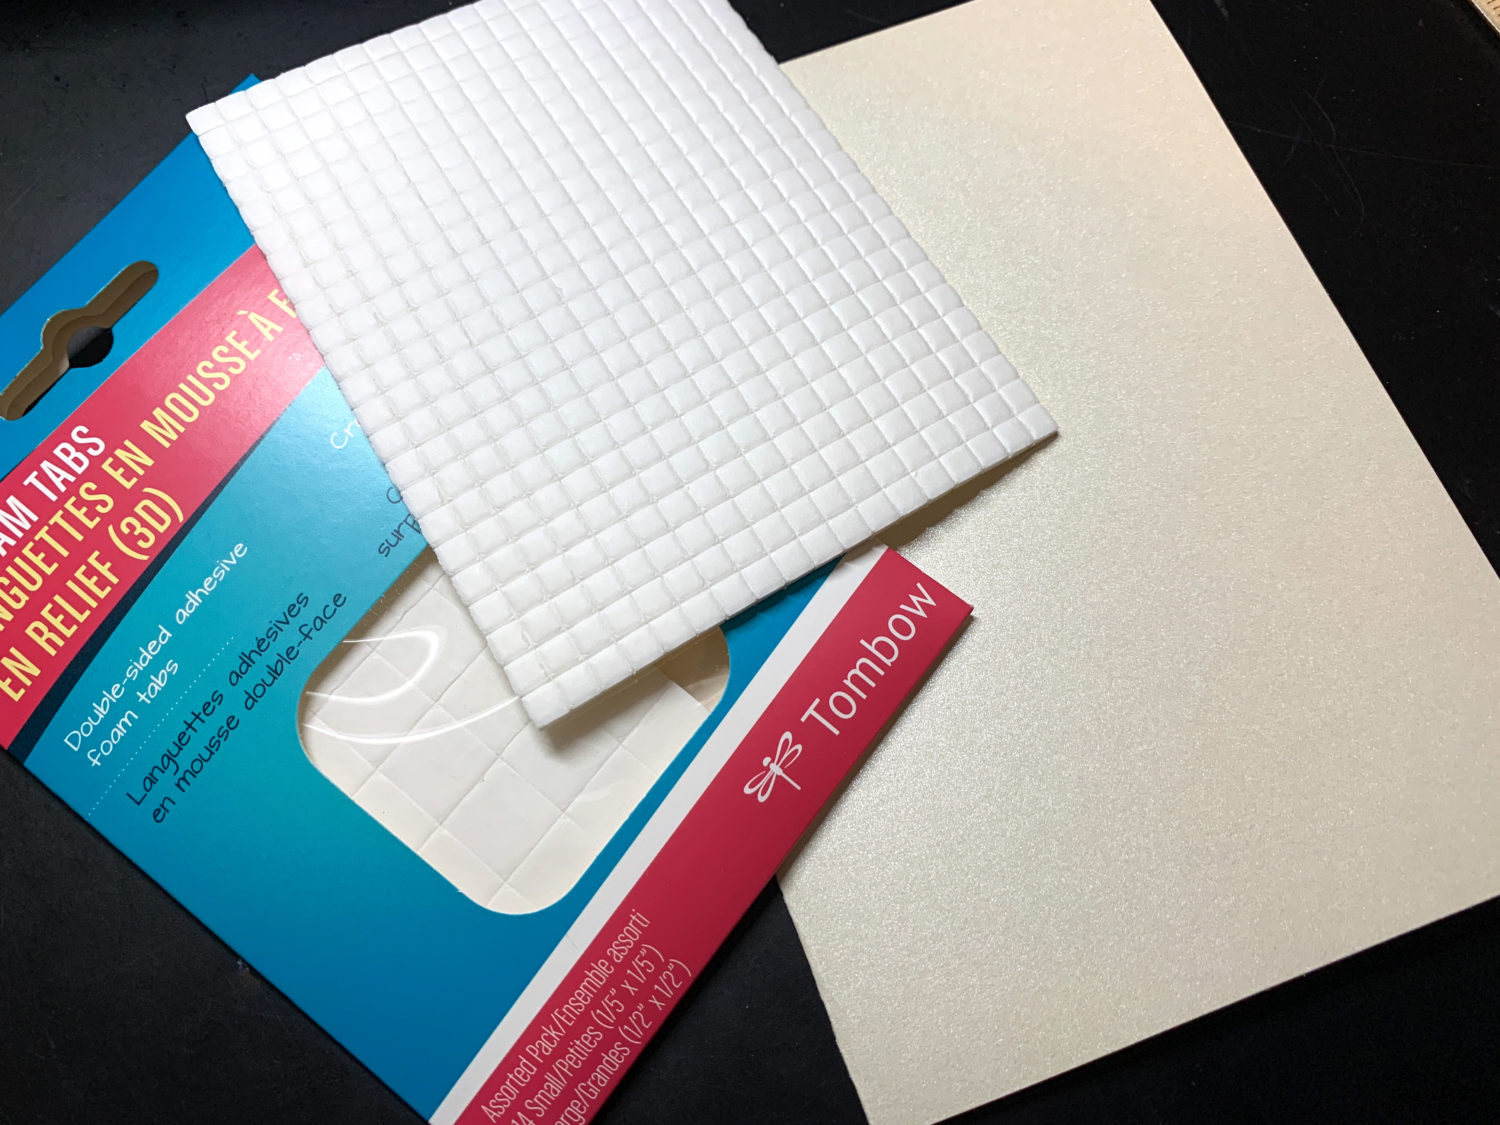
Next, I had to decide how I was going to stick the candy hearts onto the card. Using glue would have been fine, but I wanted to get this done without waiting for it to dry. As a result, I decided on the 3D Foam Tabs for this project. I didn’t have to wait for these to dry because they just stick directly onto the surface like a sticker! Since they are raised, these 3D Foam Tabs will add dimension to my candy hearts! In addition, they’re double sided. This makes them easy to arrange.
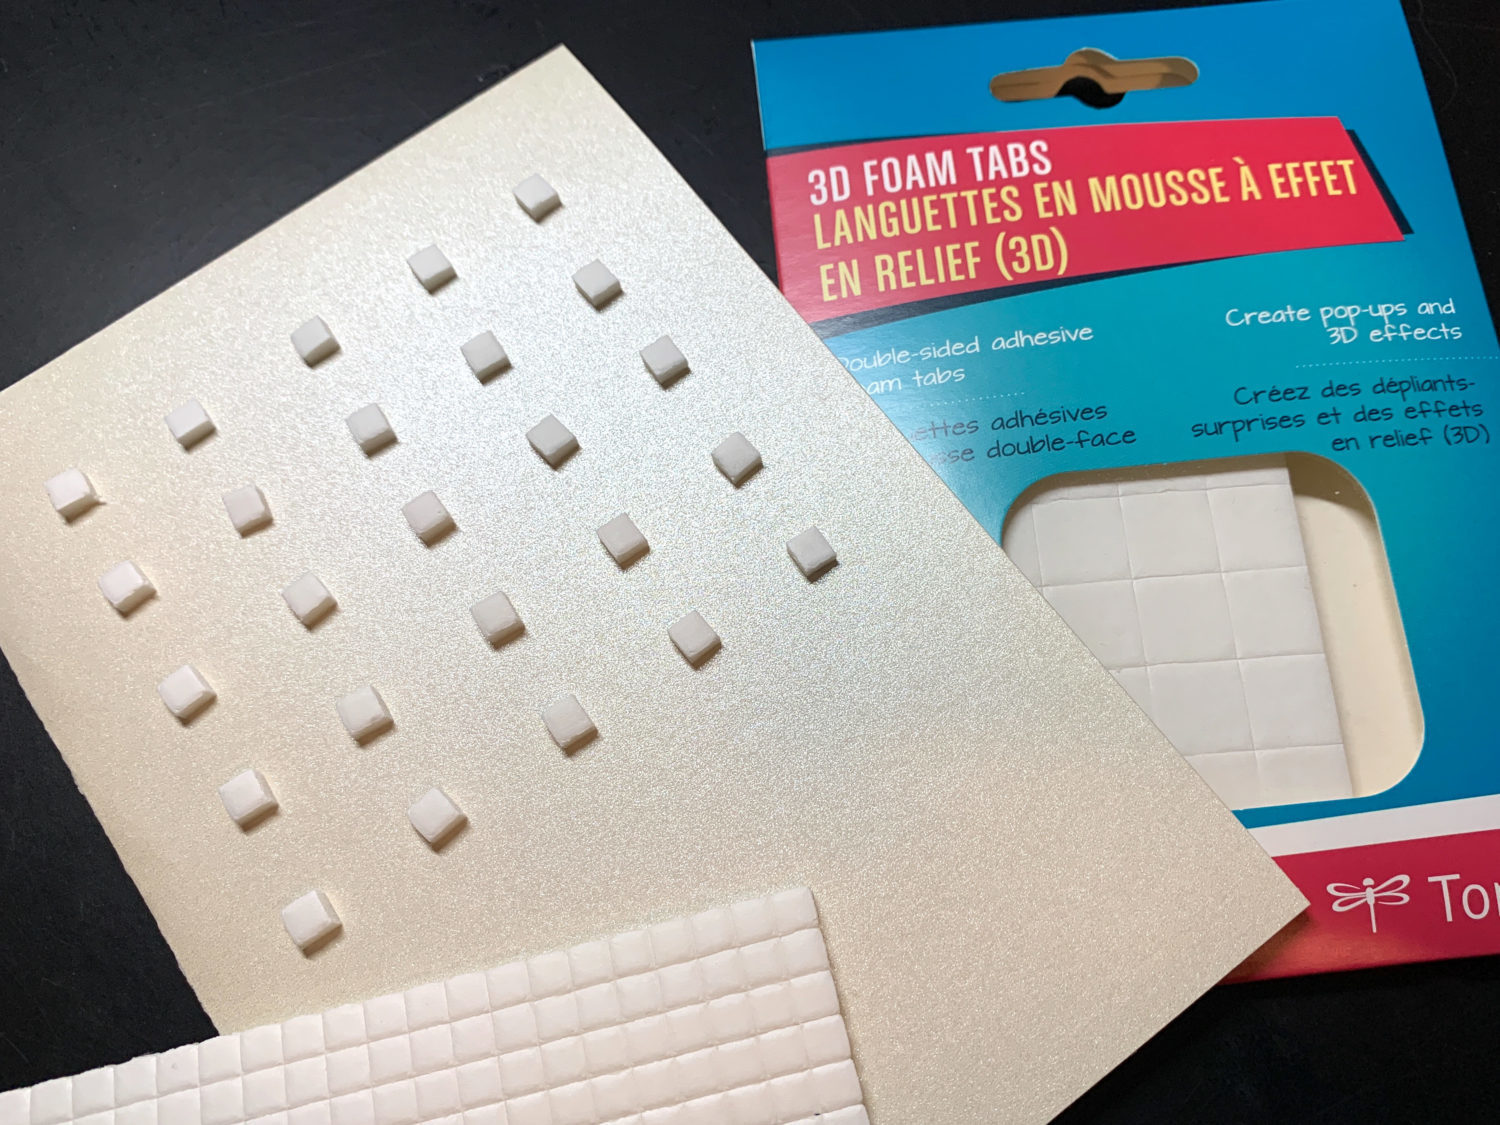
I stuck one side of each 3D Foam Tab to the front of my card, leaving the paper on the other side of the tab. I adhered them in straight rows, adding five hearts to each row.
Step 6
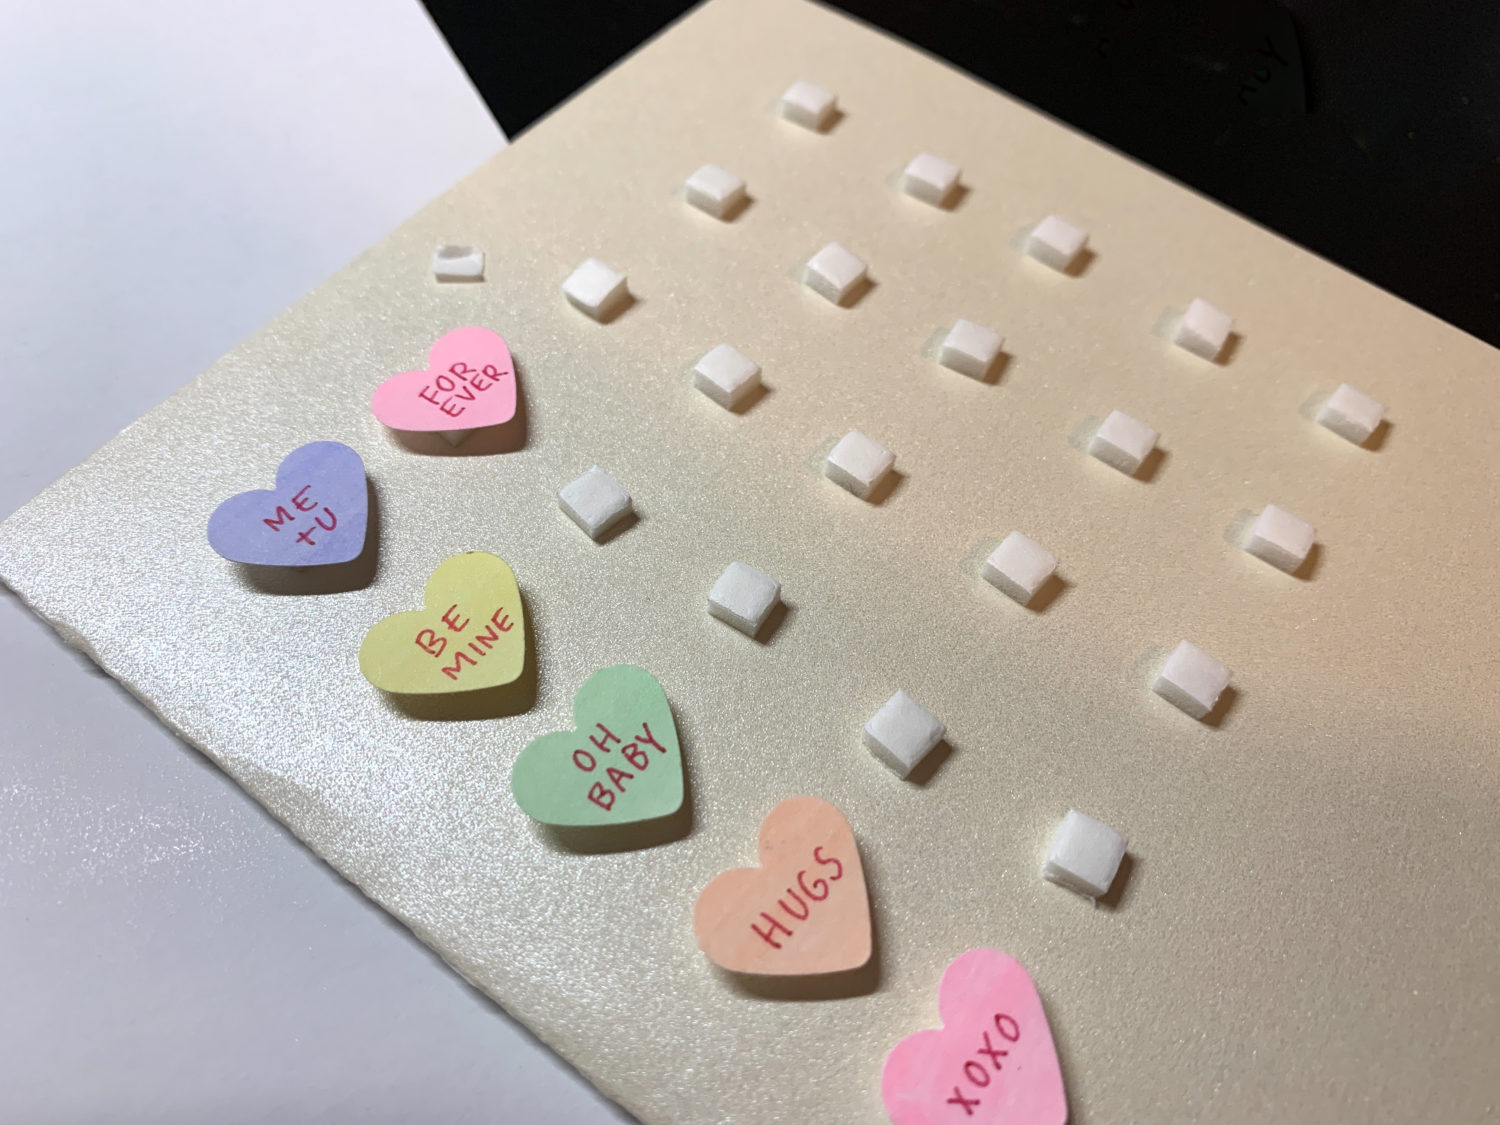
I unpeeled the remaining paper from each of the 3D Foam Tabs. Then, I placed each candy heart down onto the 3D Foam Tabs. Voila! This simple Valentine’s Day card is done!
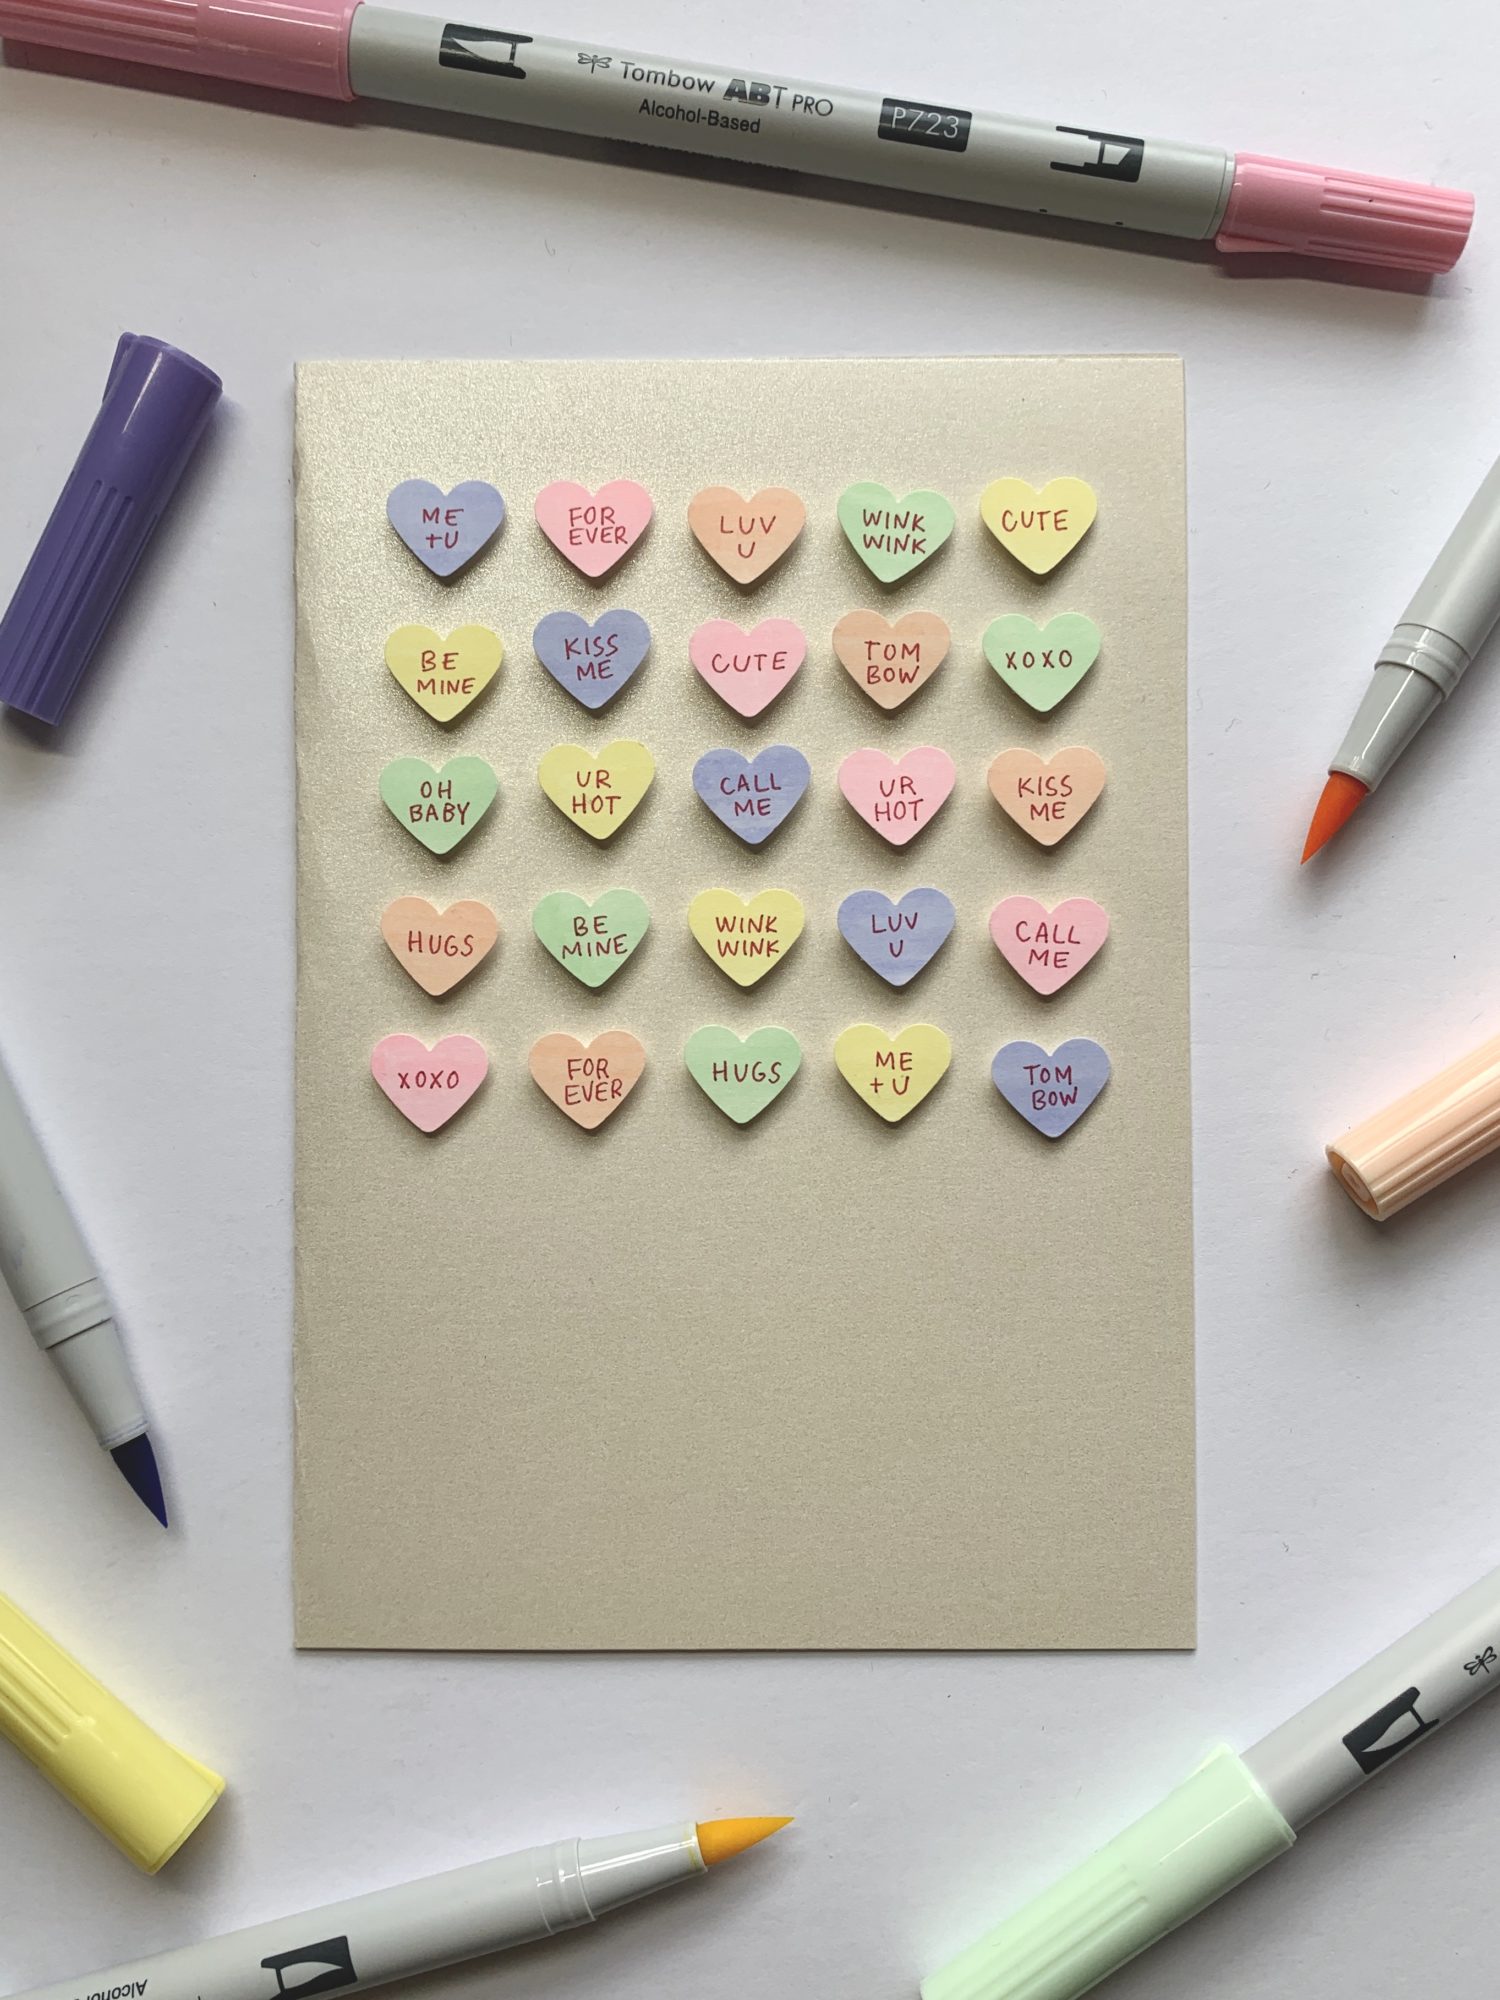
Thanks for following along with this tutorial! If you recreate this card, tag Tombow and me so we can see your work! If you’re also interested in avoiding the card aisle at the store and making more of your cards, check out the following tutorials!
- Card Making with ABT PRO Markers by Serena Bee
- How To Use These Six Tombow Adhesives for Cardmaking by Jennie Garcia
- Create a Foiled Envelope with Stamps and Adhesive by Dani Manning
Hello, my girlfriend’s birthday is coming near and for that I am searching for tips online because I want to gift her a very unique gift. I was reading lemonade stand business plan on http://www.ogscapital.com/article/lemonade-stand-business-plan-sample and also searching for them online. When I was searching for it online, I have found your post.
this is an informative post and it is very beneficial and knowledgeable.
There are no words to express how much I appreciate this post.I’m blown away by this post; whoever wrote it must be an exceptional human being.I appreciate you telling us about this.We appreciate your candor and openness in answering our questions.