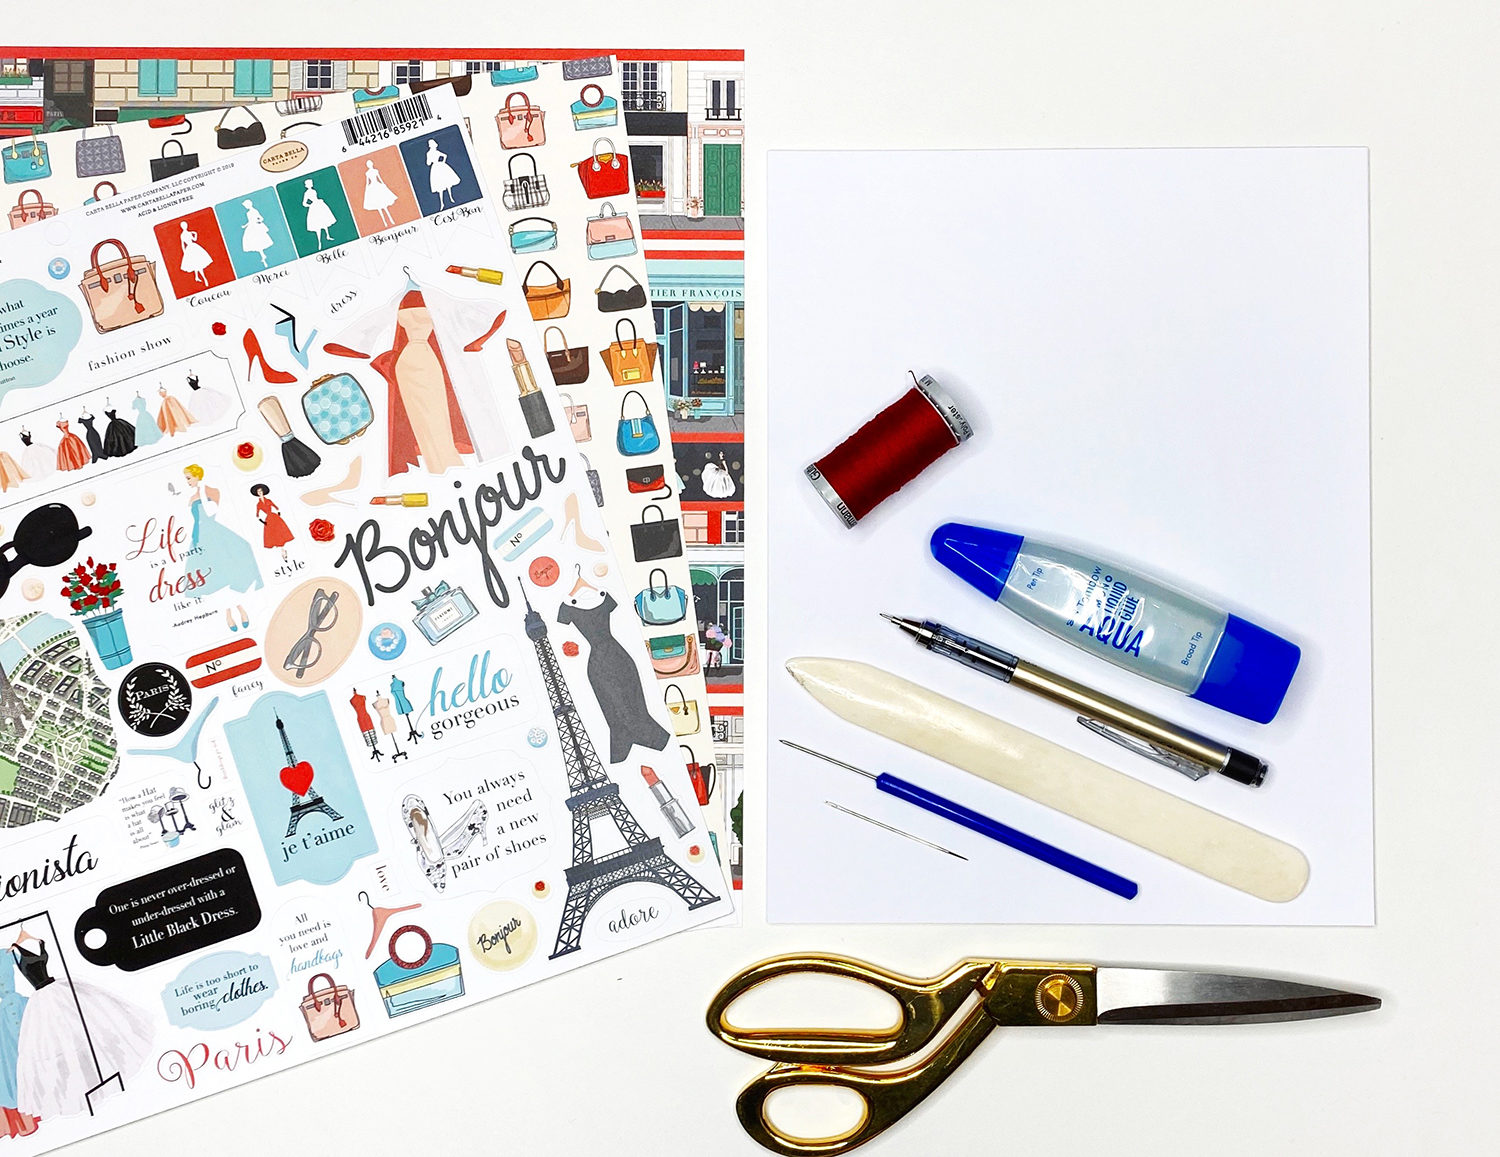
Hi, Jessica from BrownPaperBunny here! There are lots of fun things to do with scrapbook paper that aren’t scrapbooking. Today, I’m going to show you how to make your own notebooks with scrapbook paper! You can use them for note-taking, task journaling, art journaling, shopping lists, etc. Here’s what you’ll need to get started.
Supplies:
- Echo Park Scrapbook Paper and Stickers (I’m using the En Vogue Collection)
- Tombow MONO Aqua Liquid Glue
- Scoring tool
- Sheets of copy paper
- Ruler
- Tombow MONO Graph Mechanical Pencil
- Awl (for punching holes)
- Needle and thread
- Scissors or craft knife and cutting mat
- Tombow Dual Brush Pens
- Ribbon
- Tombow MONO Drawing Pens
Step 1: Fold Your Paper
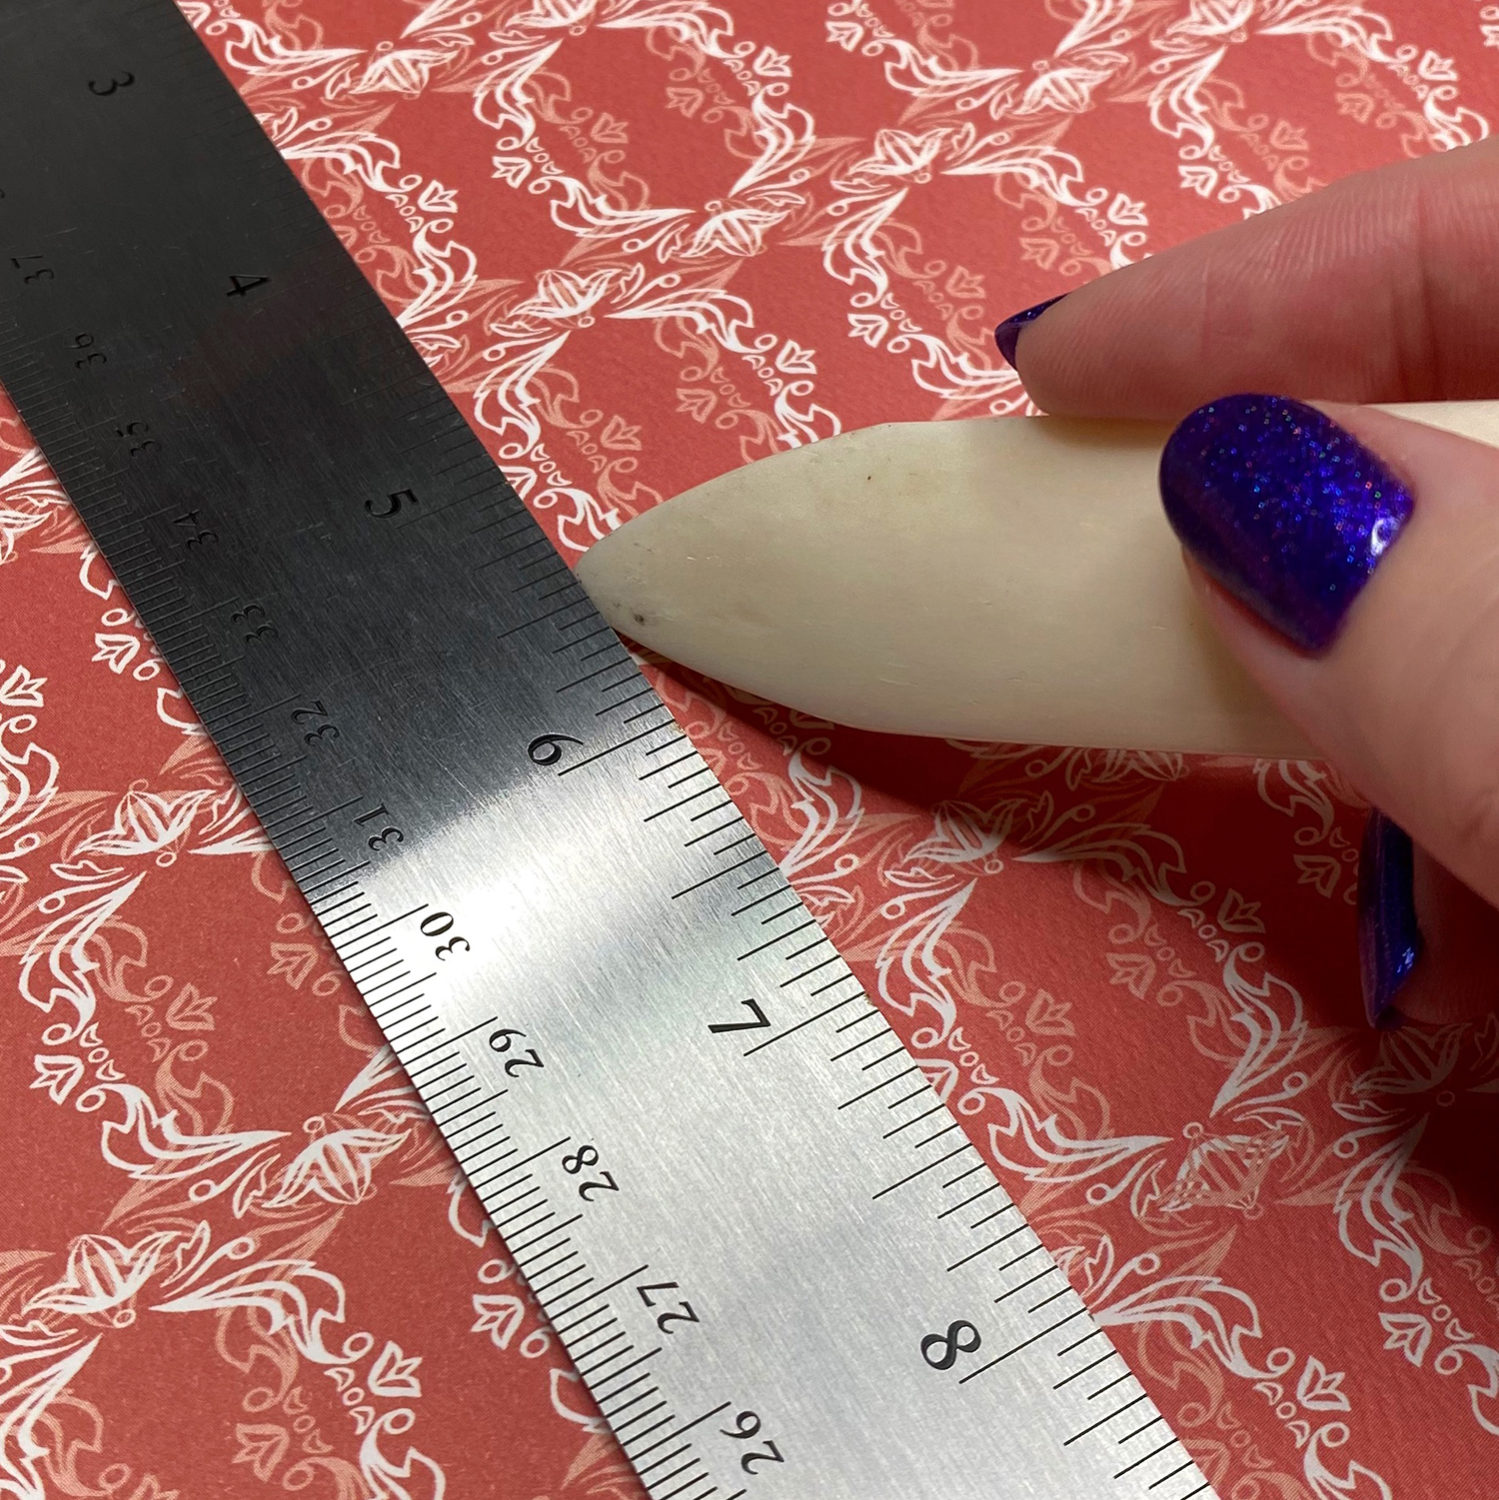
Using your scoring tool and ruler, measure the halfway mark of your scrapbooking paper, score it and then fold it in half. Your scrapbook paper will act as the cover for your book, so you may want to cut it down to the size you want. Next, measure and cut your copy paper in the same way until you have enough pages to fill your book. You don’t want so many pages that it won’t stay closed, but enough that you don’t fill the book too quickly.
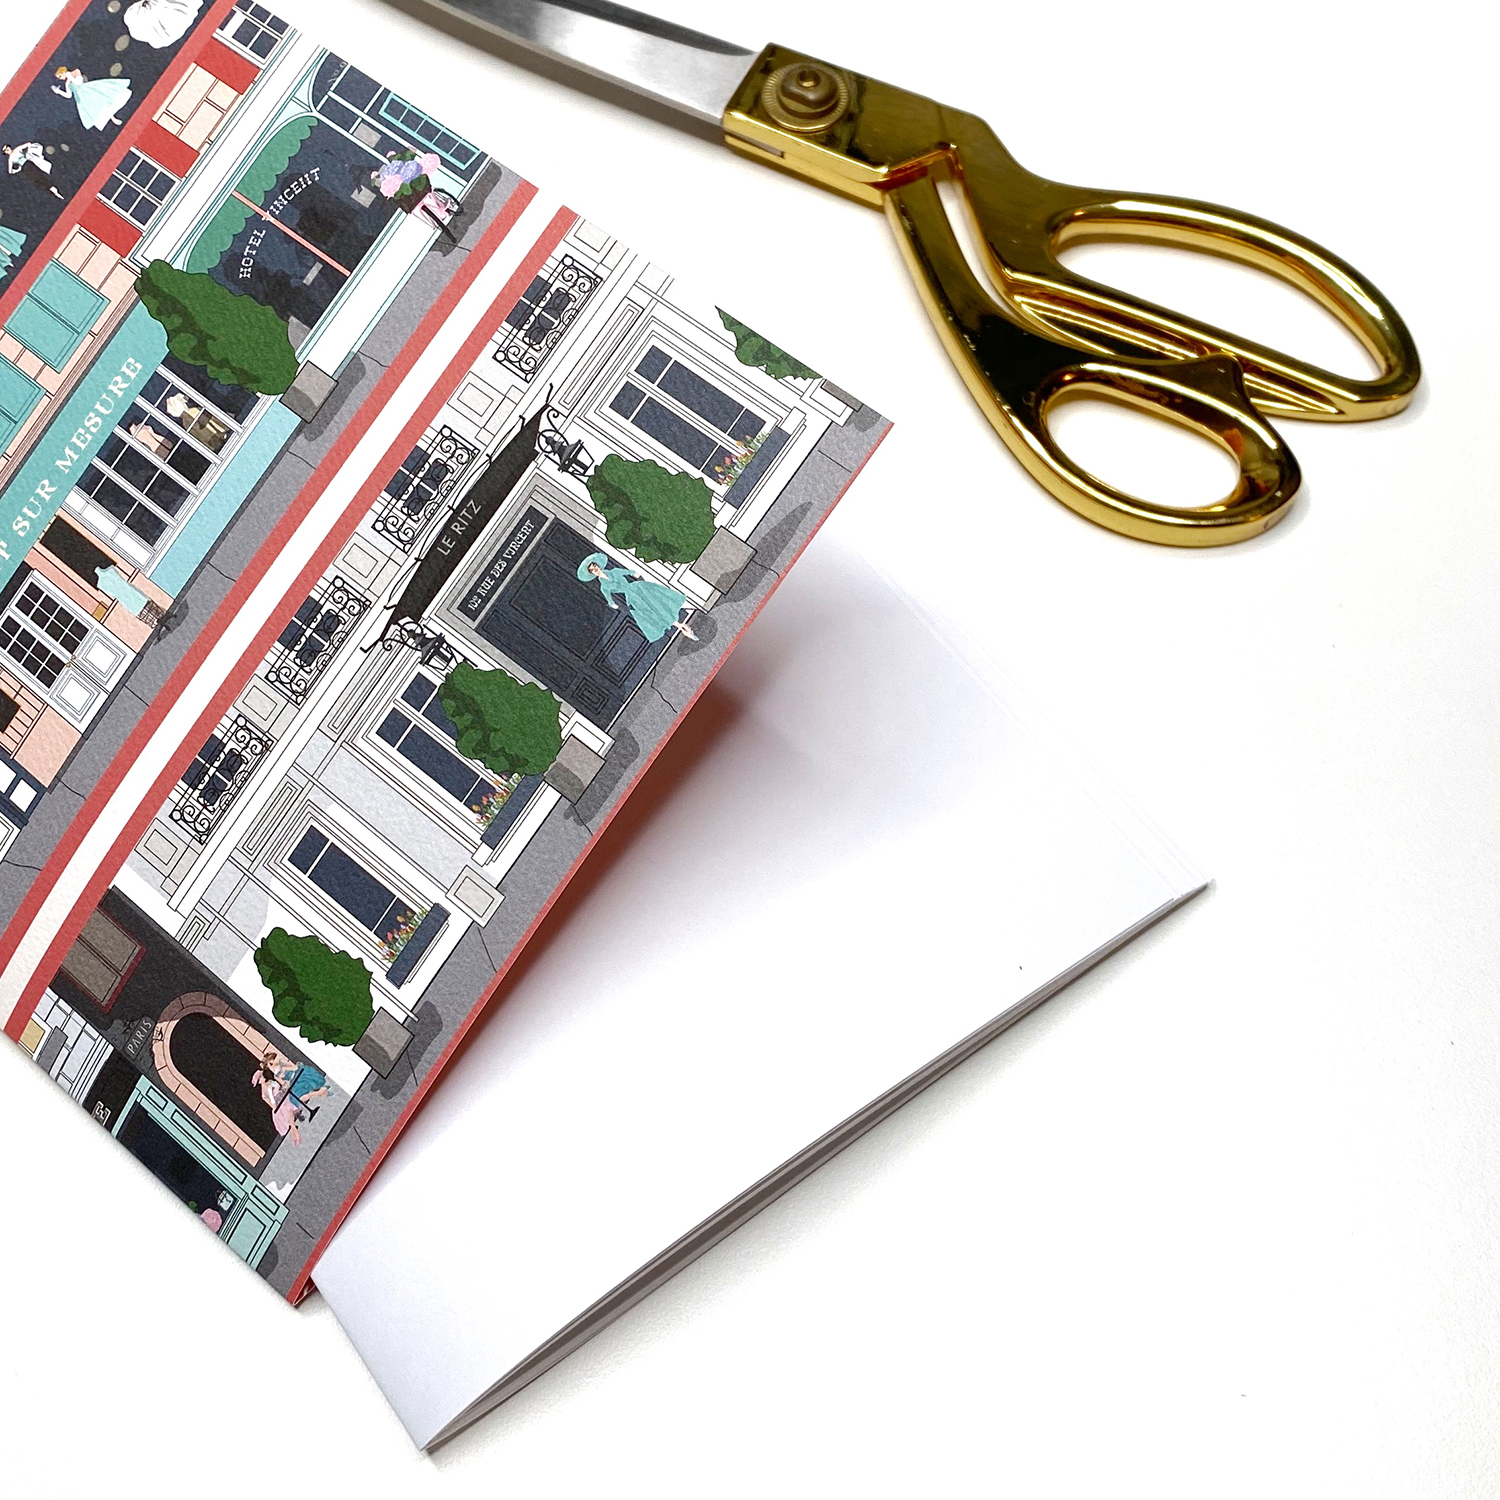
Put all the folded pieces of copy paper inside each other and then trim the edges so they are neat.
Step 2: Make Your Binding Holes
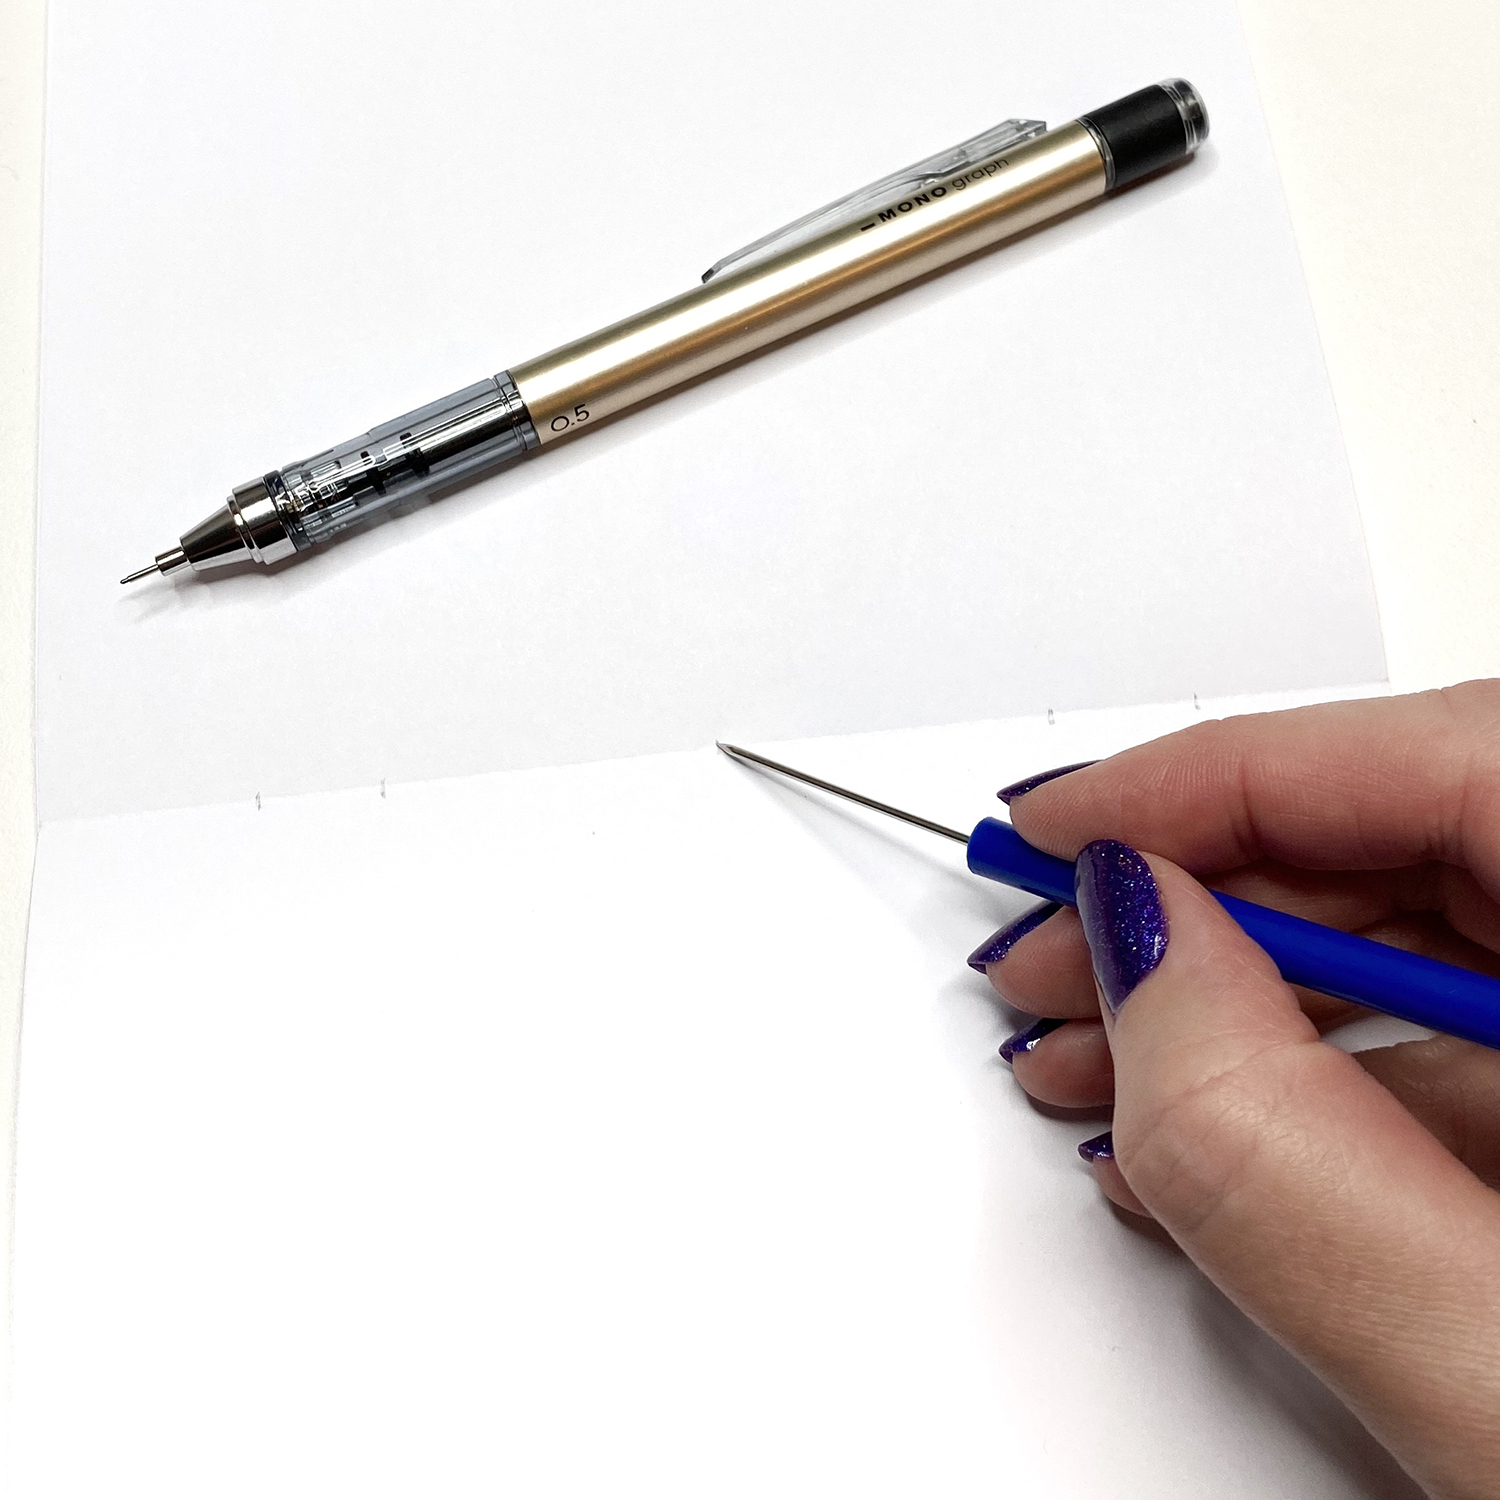
Use your ruler and MONO Graph Mechanical Pencil to mark out five dots on the innermost piece of your copy paper. One needs to be right in the middle, but the others can be spaced out however you like (just make sure they match on each side of the center mark). Next, use your awl to punch through the center crease of your sheets of paper where you made the pencil marks. You should be able to do several sheets at one time. Just make sure they are lined up with your marks each time. Then, punch the same holes through the center crease of your scrapbook-paper cover.
Step 3: Stitch Your pages to the Cover
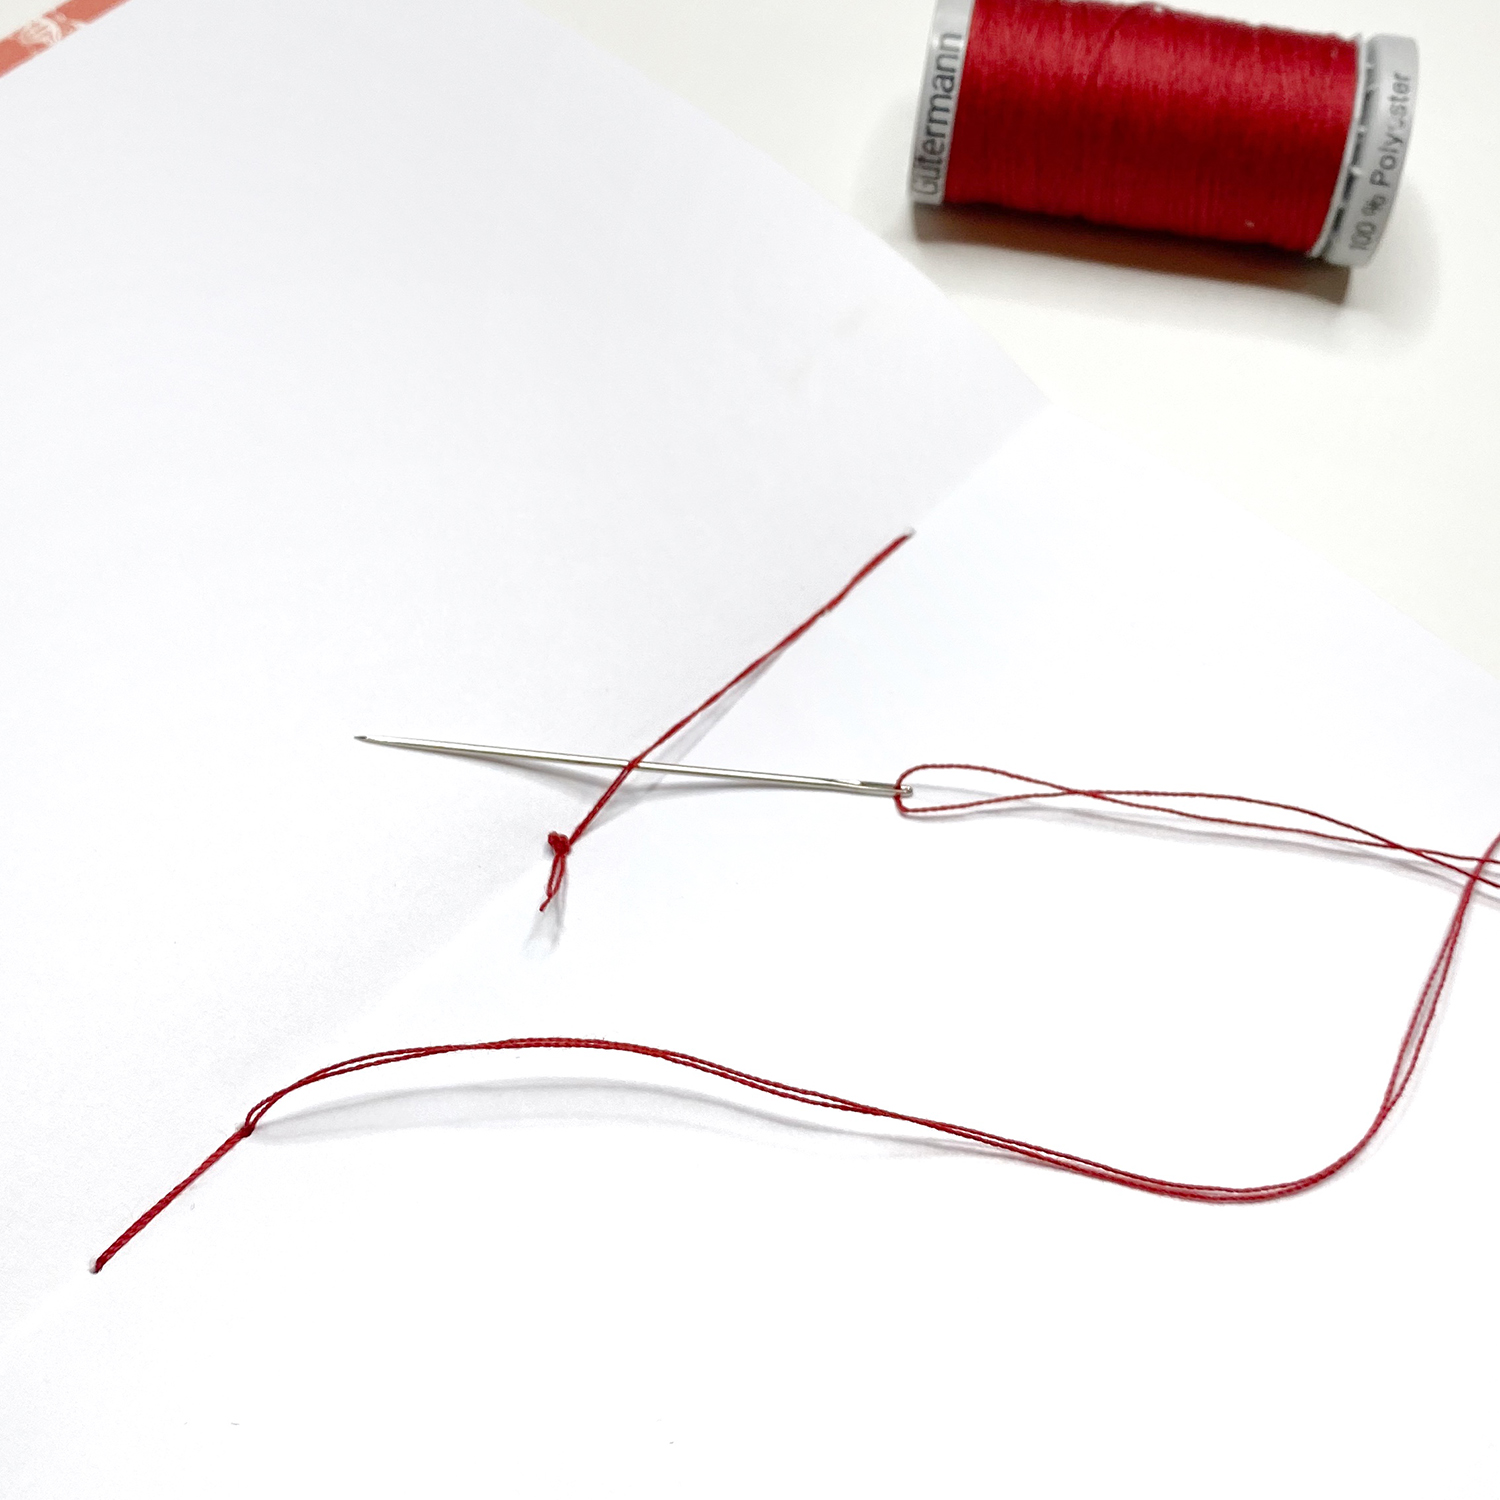
Now it’s time to stitch it all together. Thread your needle and tie a not at the end. Make sure the holes on your paper and cover are all lined up and start by pushing your needle through the center hole from the inside to the outside of your cover. Then, come back through one of the nearest side holes and keep sewing and working your way to the edge. Keep going until you get back to the center again.
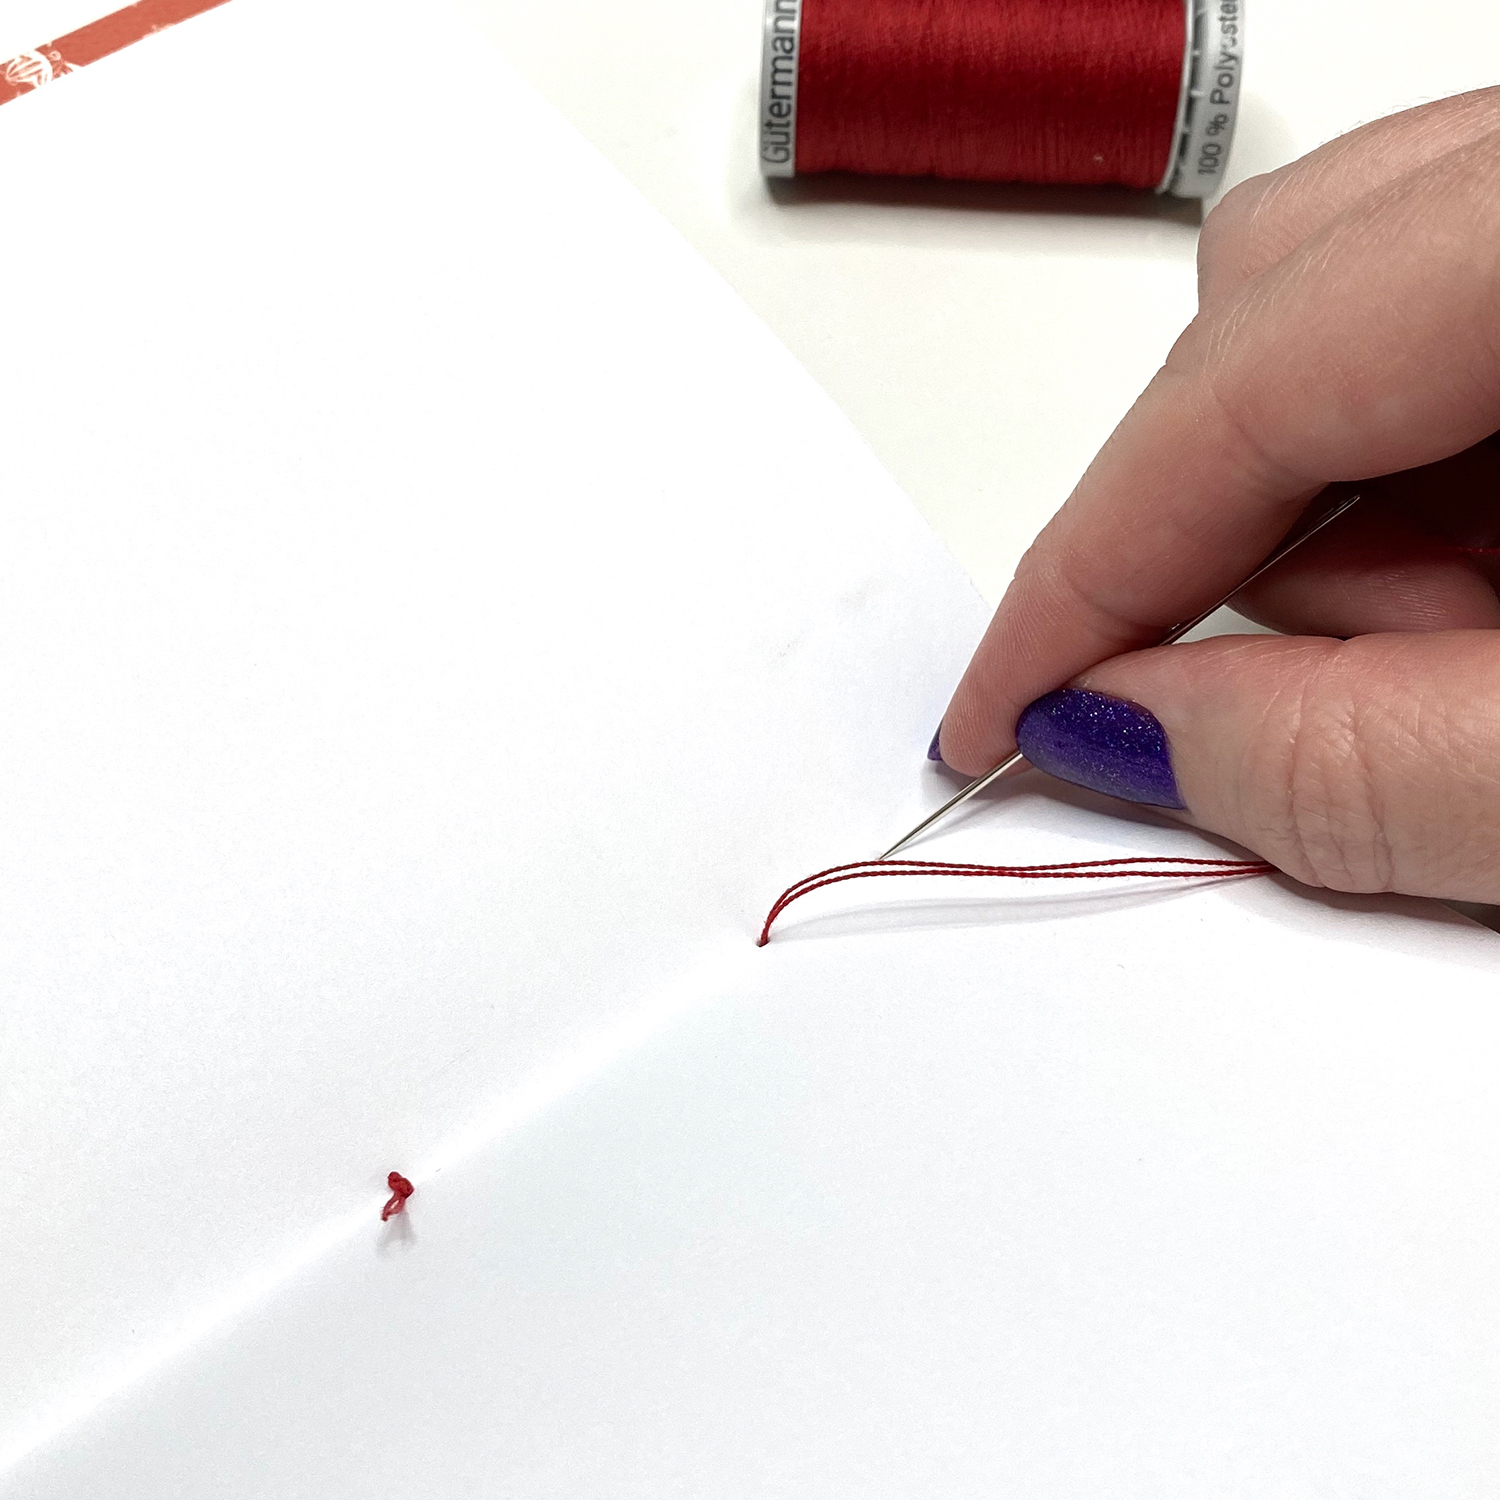
Once you’re back at the center, tie your excess thread to the pieces you already have stitched through the paper. Tie it off a couple of extra times, then trim any excess thread.
Step 4: Make a Bookmark
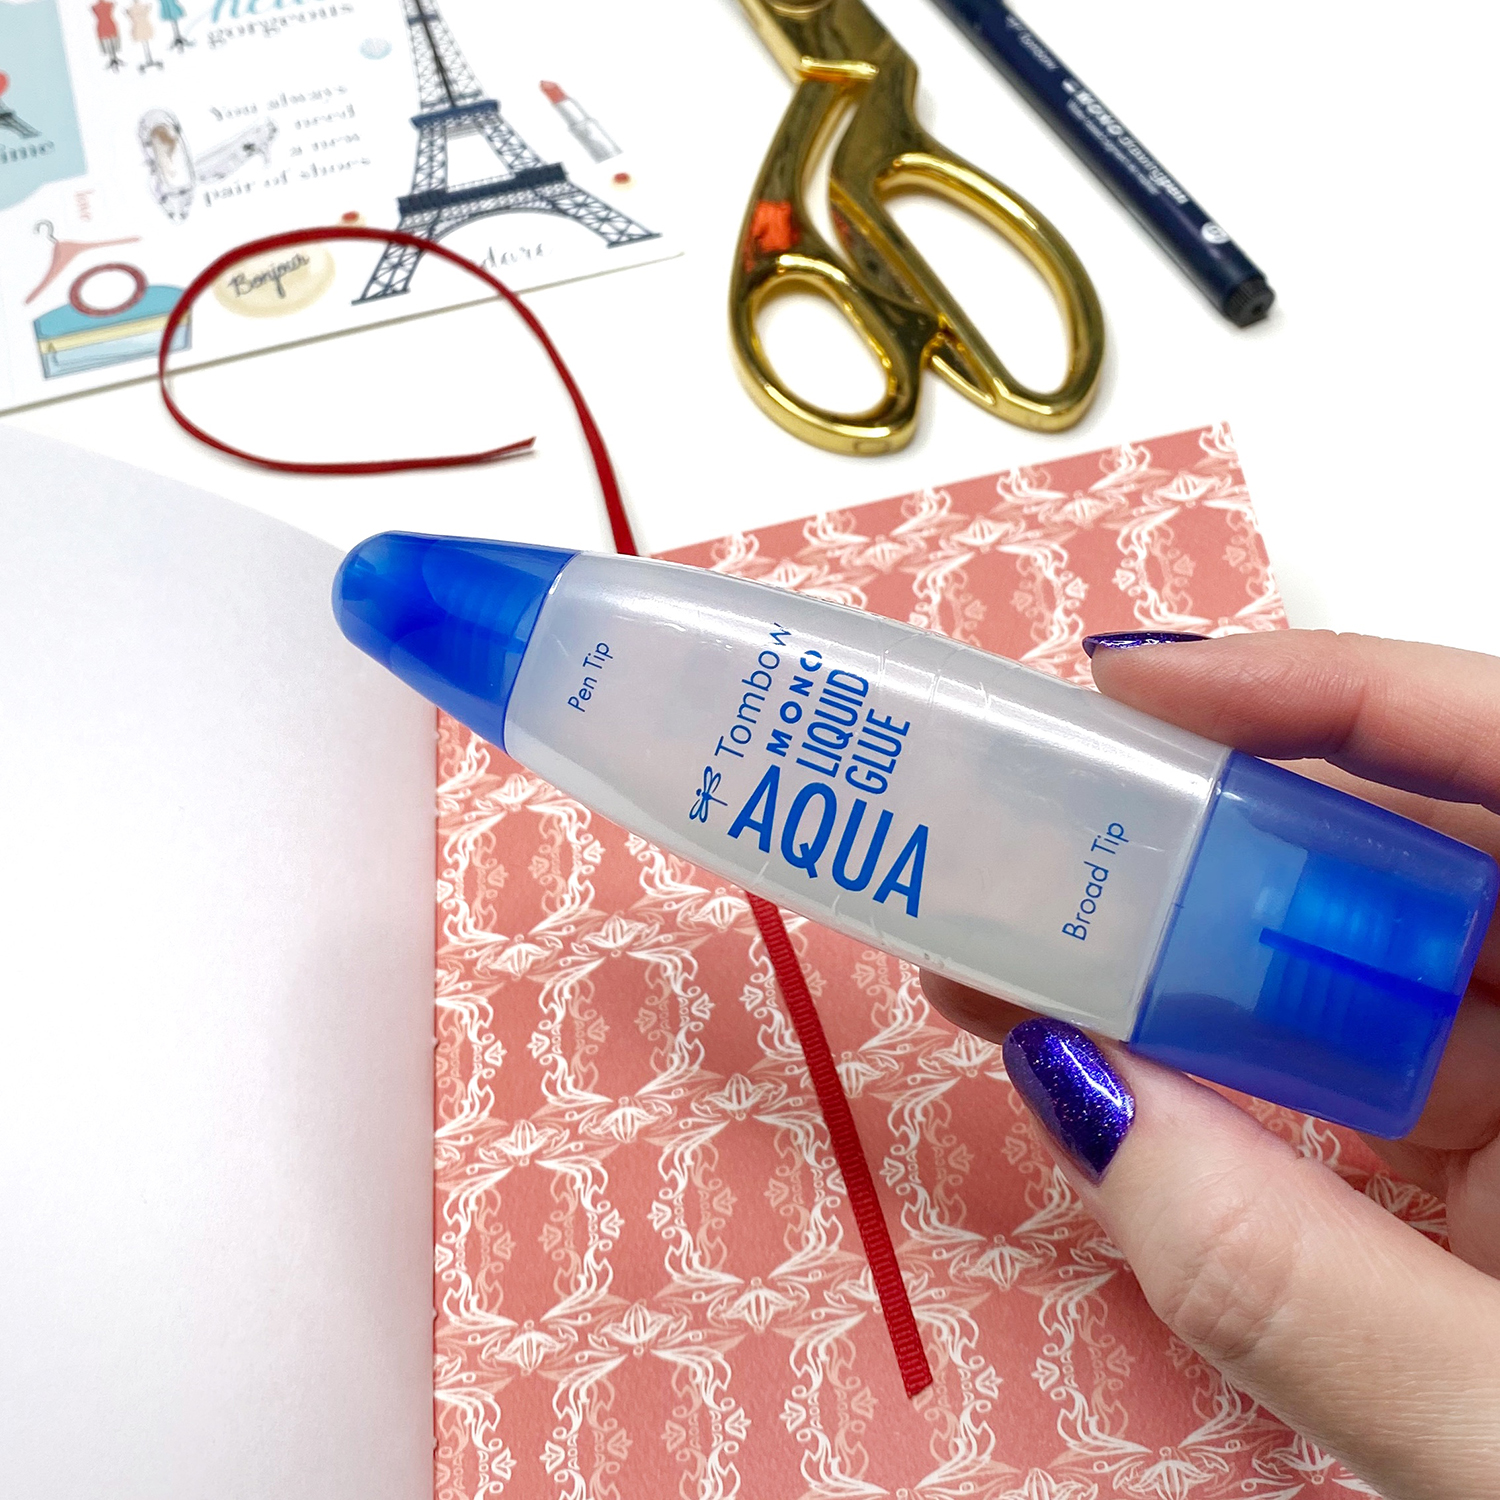
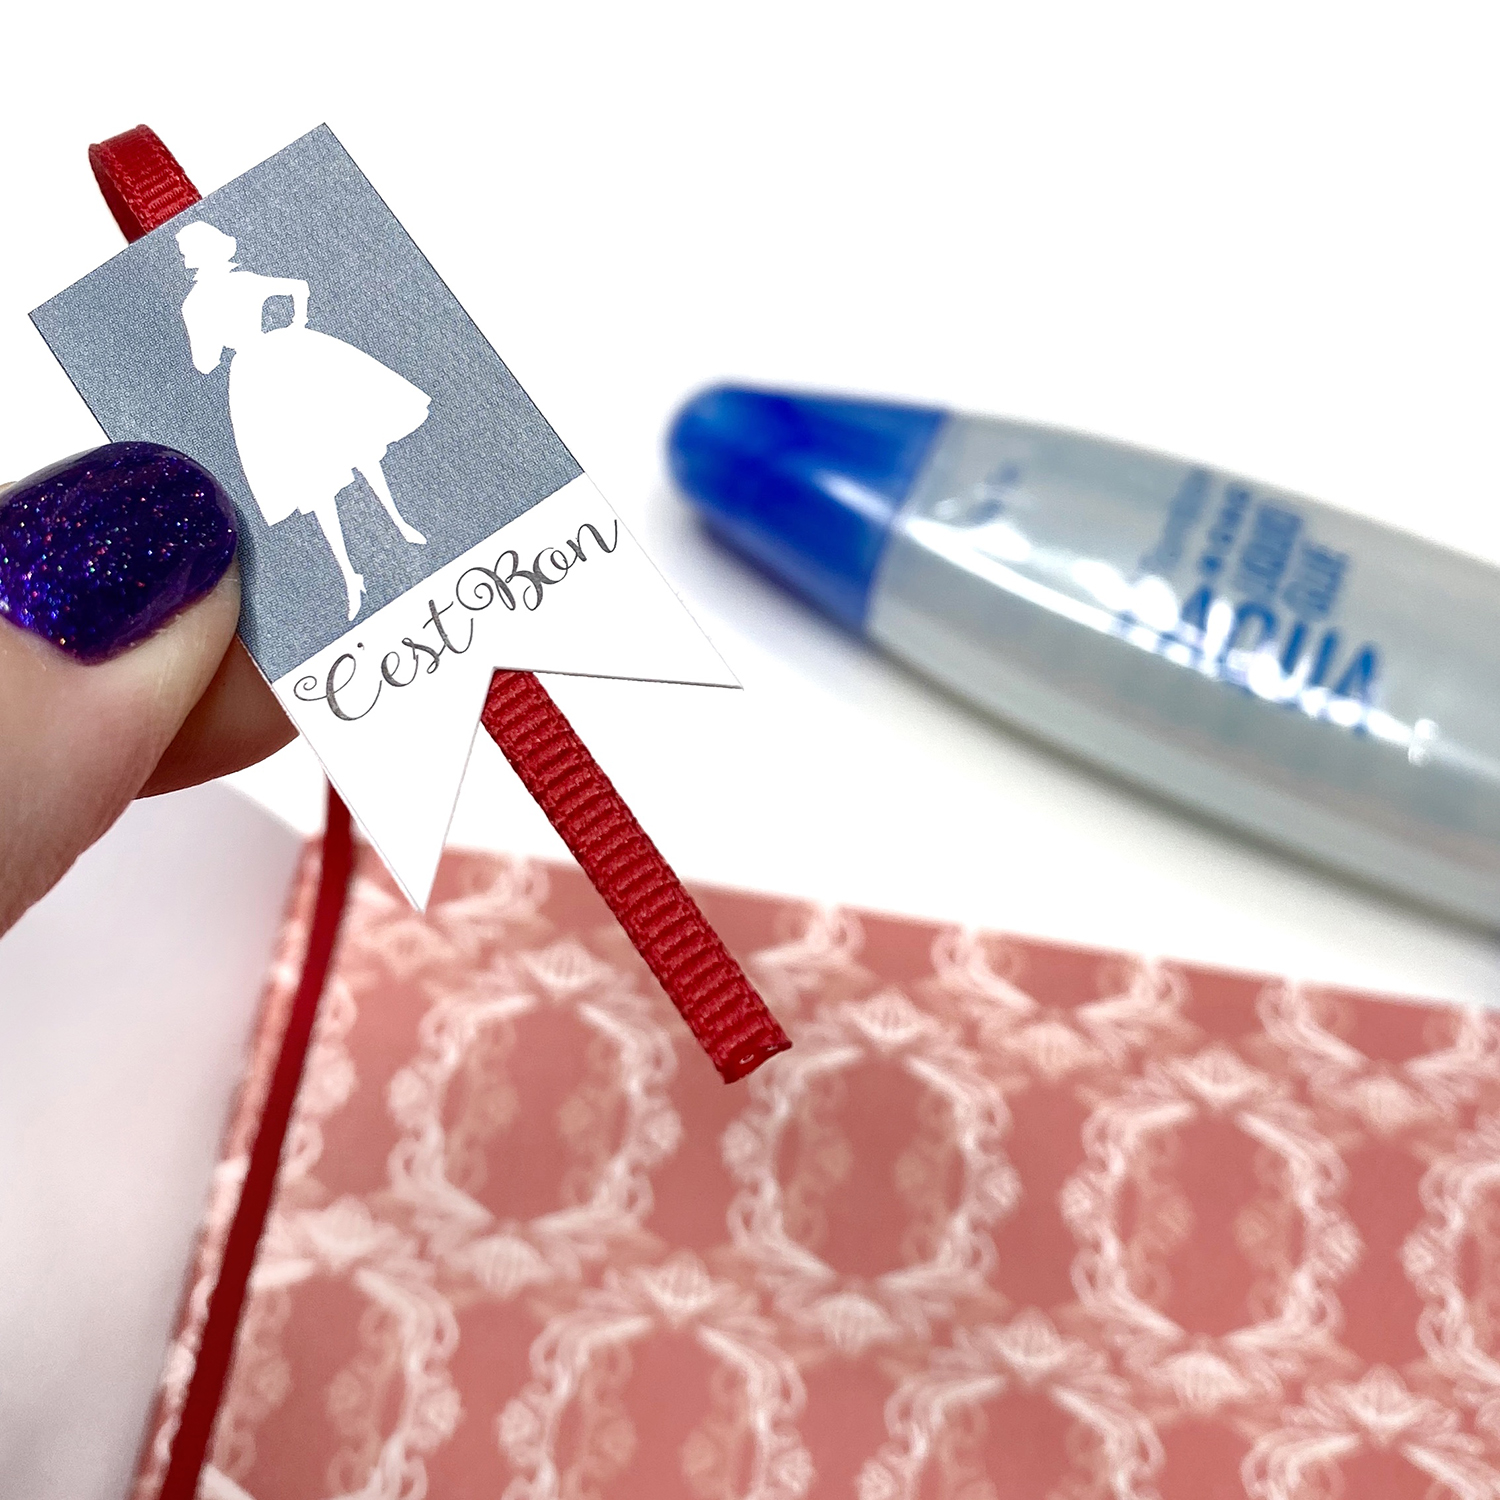
To keep your place in your new notebook, you’re going to need a bookmark. Cut yourself a small length of ribbon and glue one half of it into the back cover of your notebook using MONO Aqua Liquid Glue. Try to keep it fairly close to the middle crease. Let it dry completely.
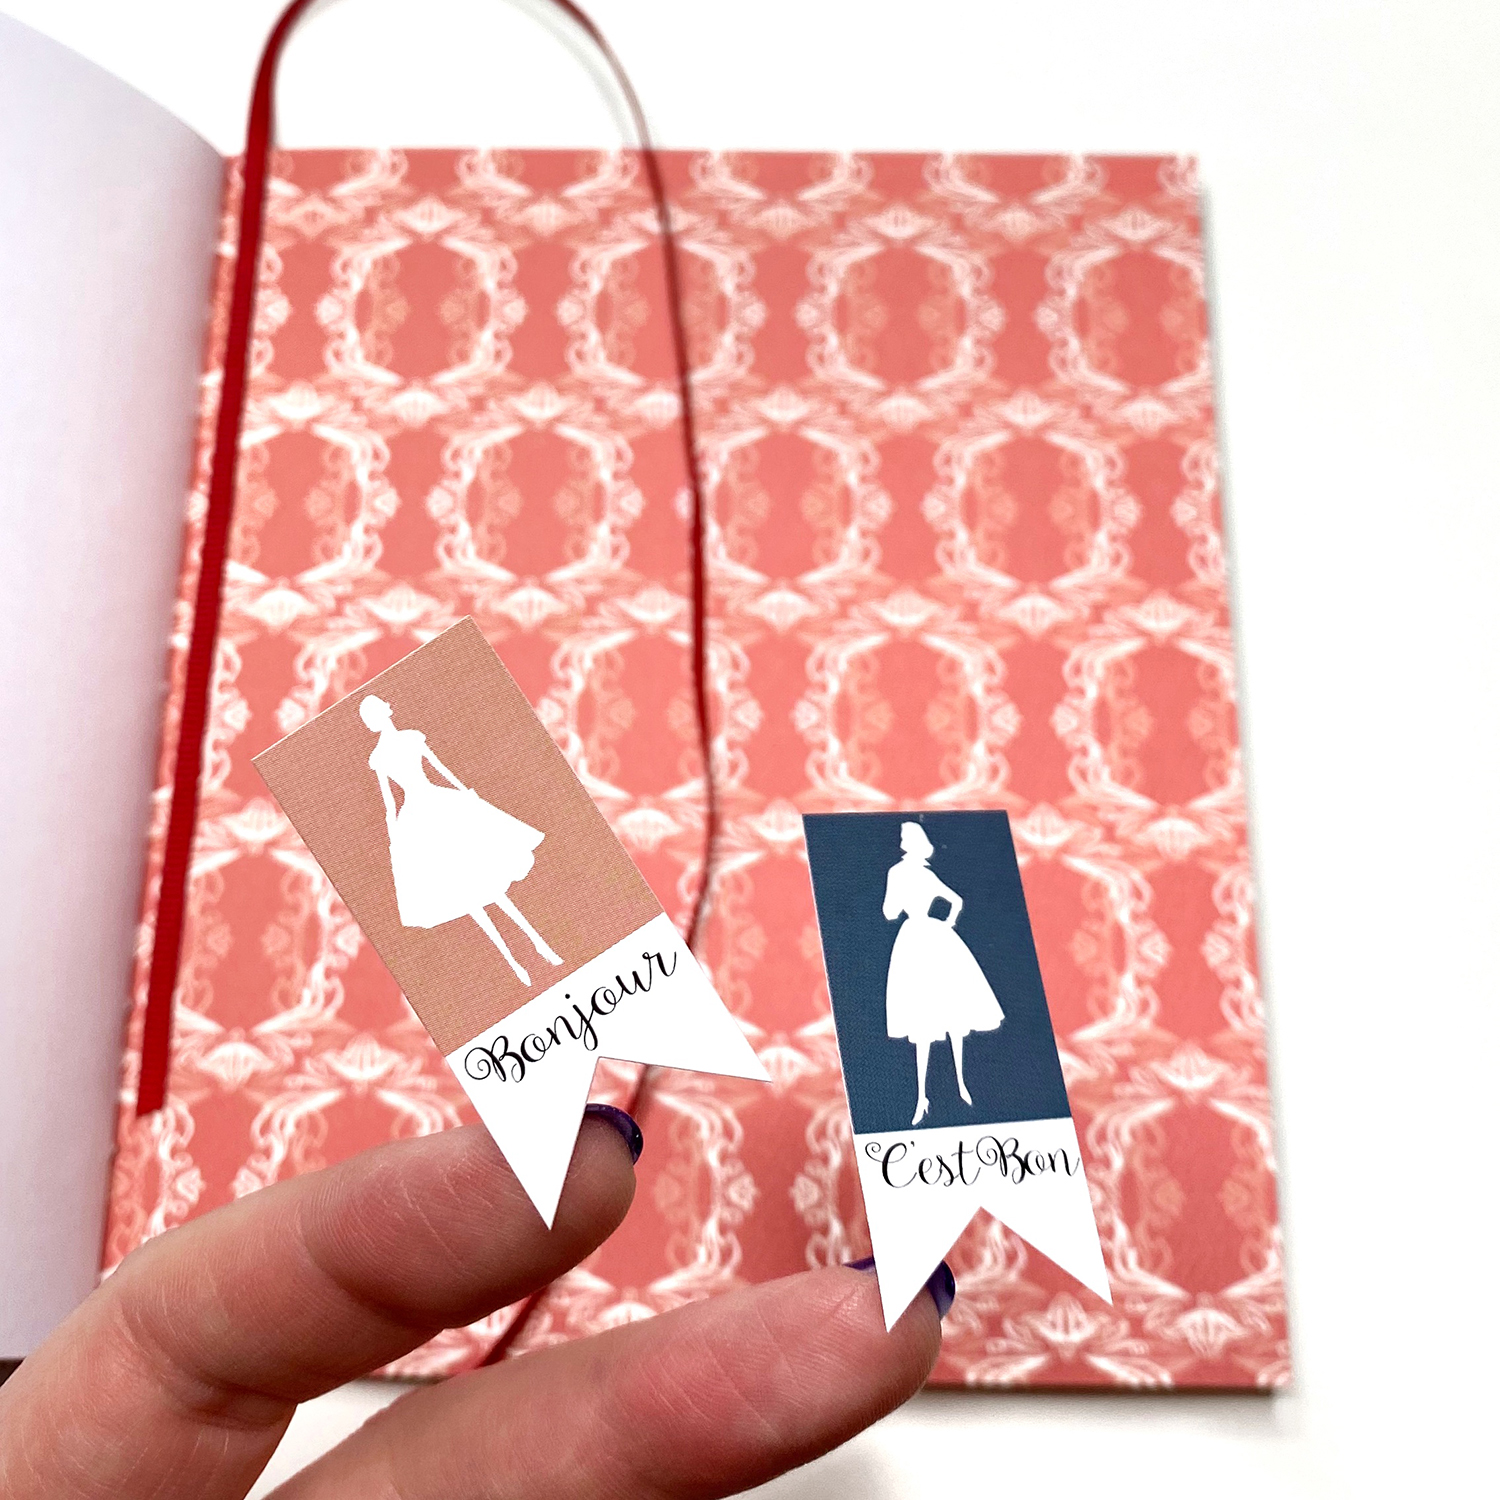
Use two of your matching-sized stickers to create the bookmark on the other end of your ribbon. Stick them sticky-side to sticky-side over the ribbon and trim any extra ribbon sticking out the bottom.
To stop the ribbon from fraying, rub a small amount of MONO Aqua Liquid Glue along the edge and let it dry.
Step 5: Decorate Your Notebook
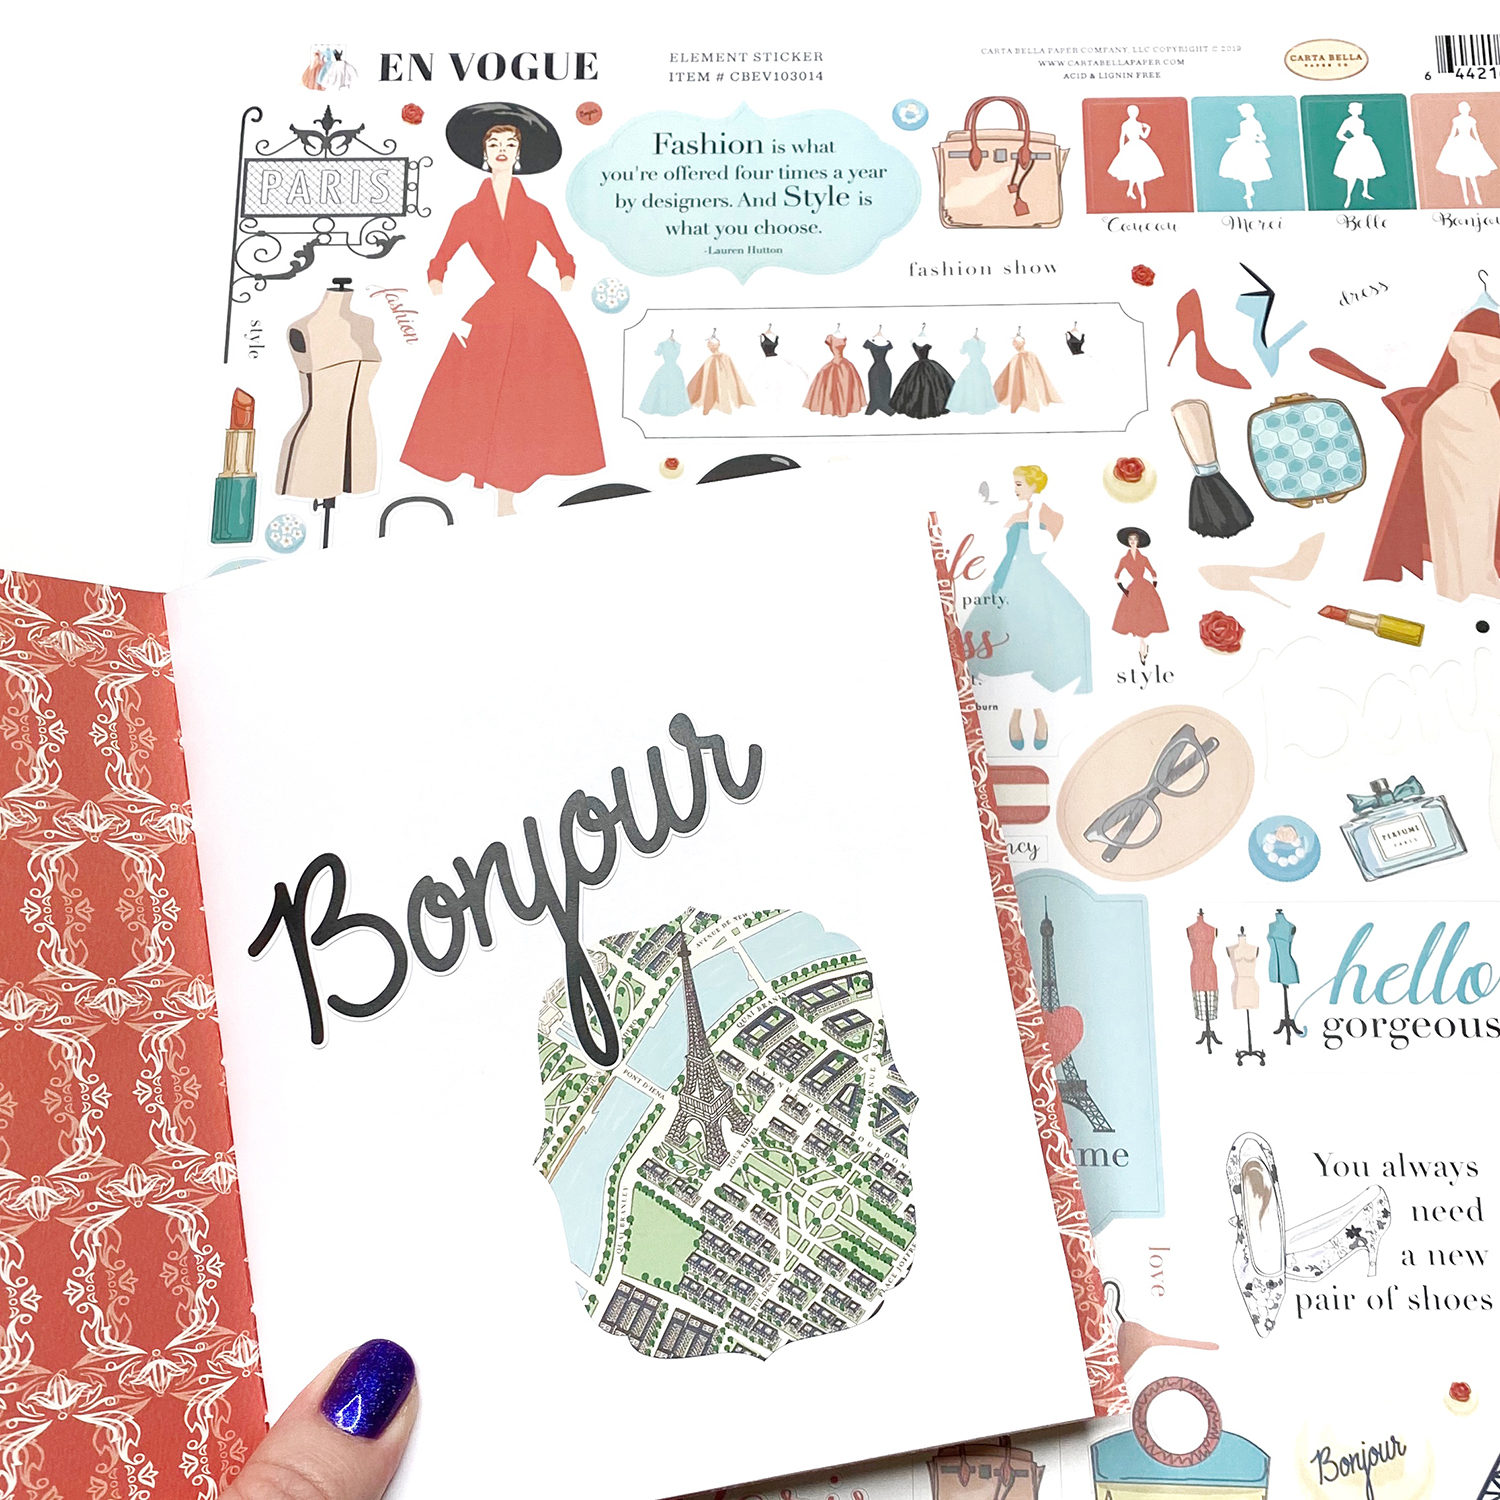
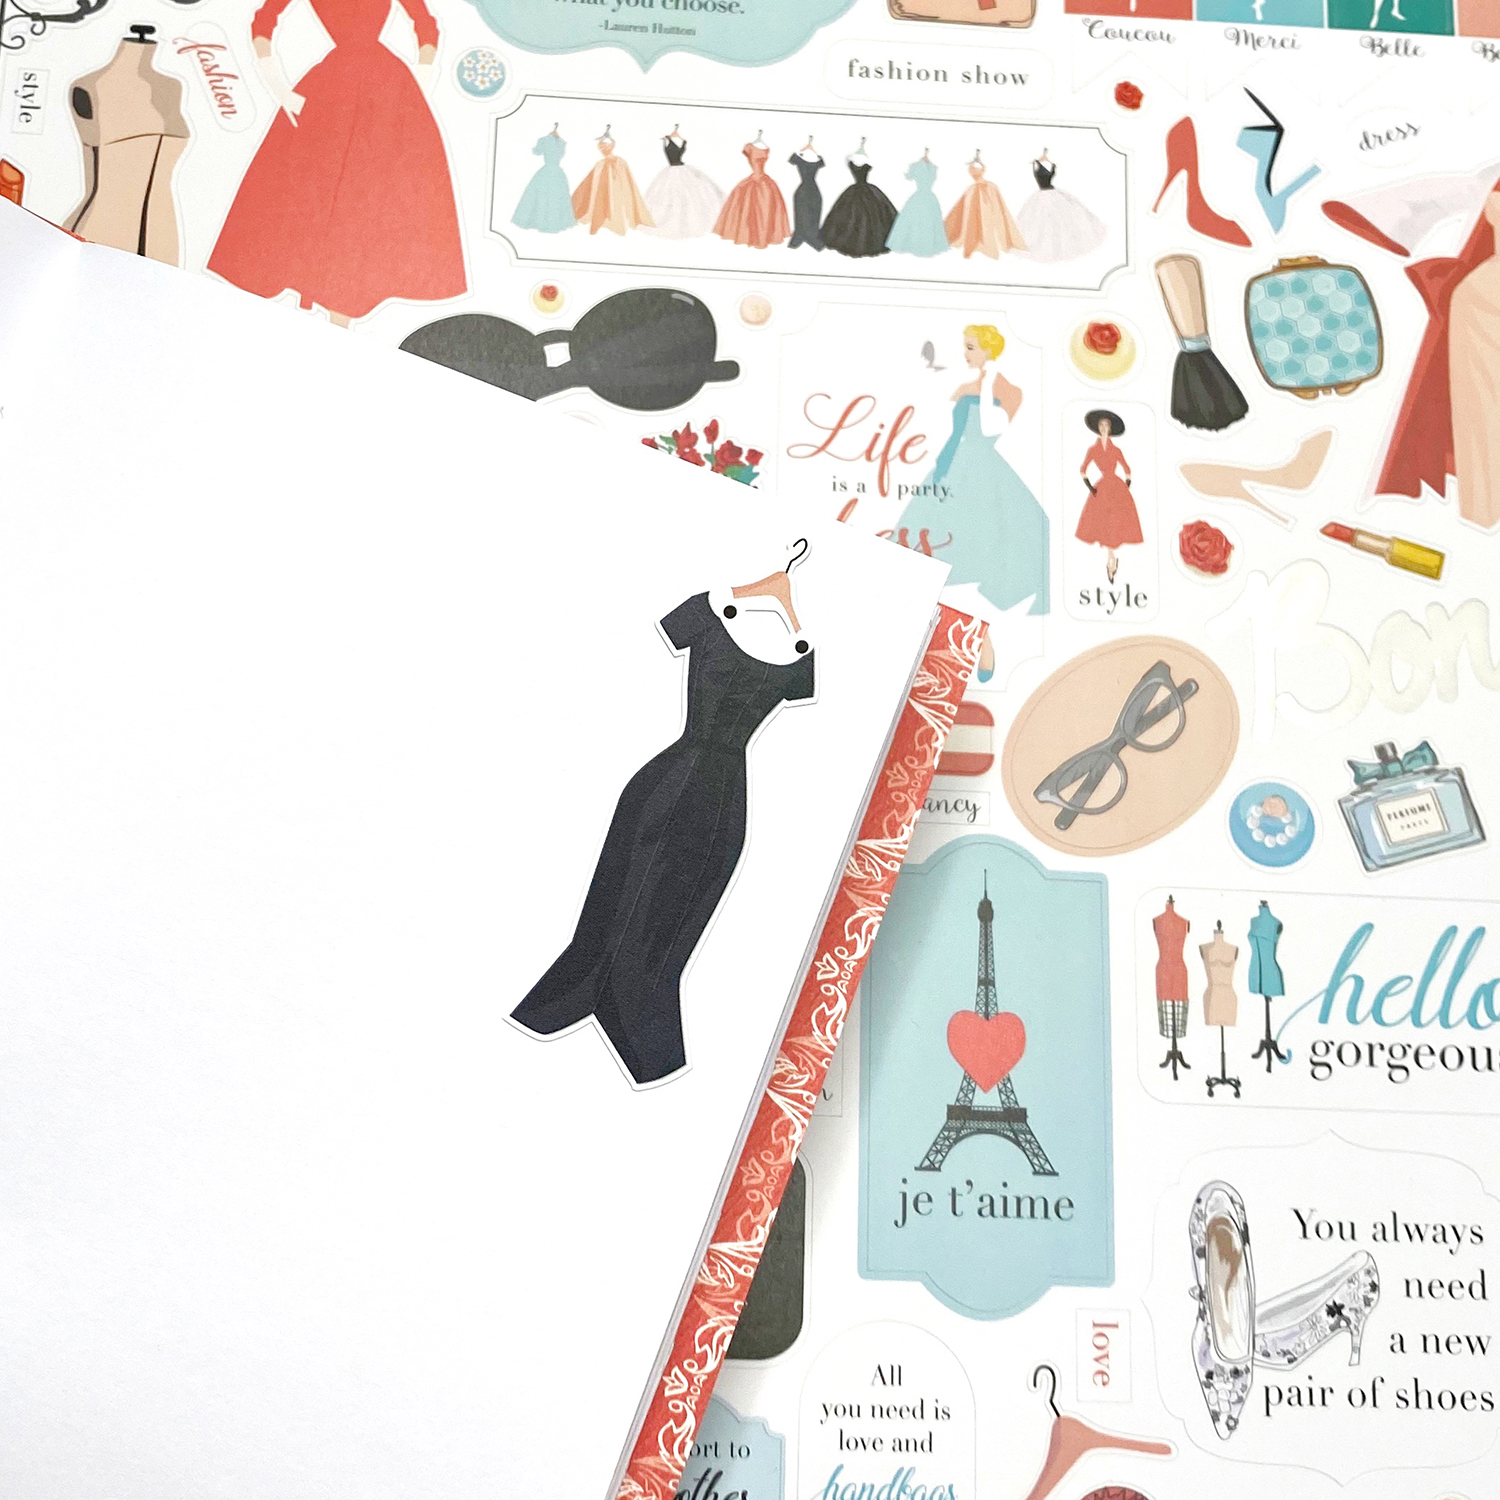
Decorating is the my favorite step of the whole project! Use the En Vogue Stickers every few pages to add a little sass and fun to your notebook.
Step 6: Use Your Notebook
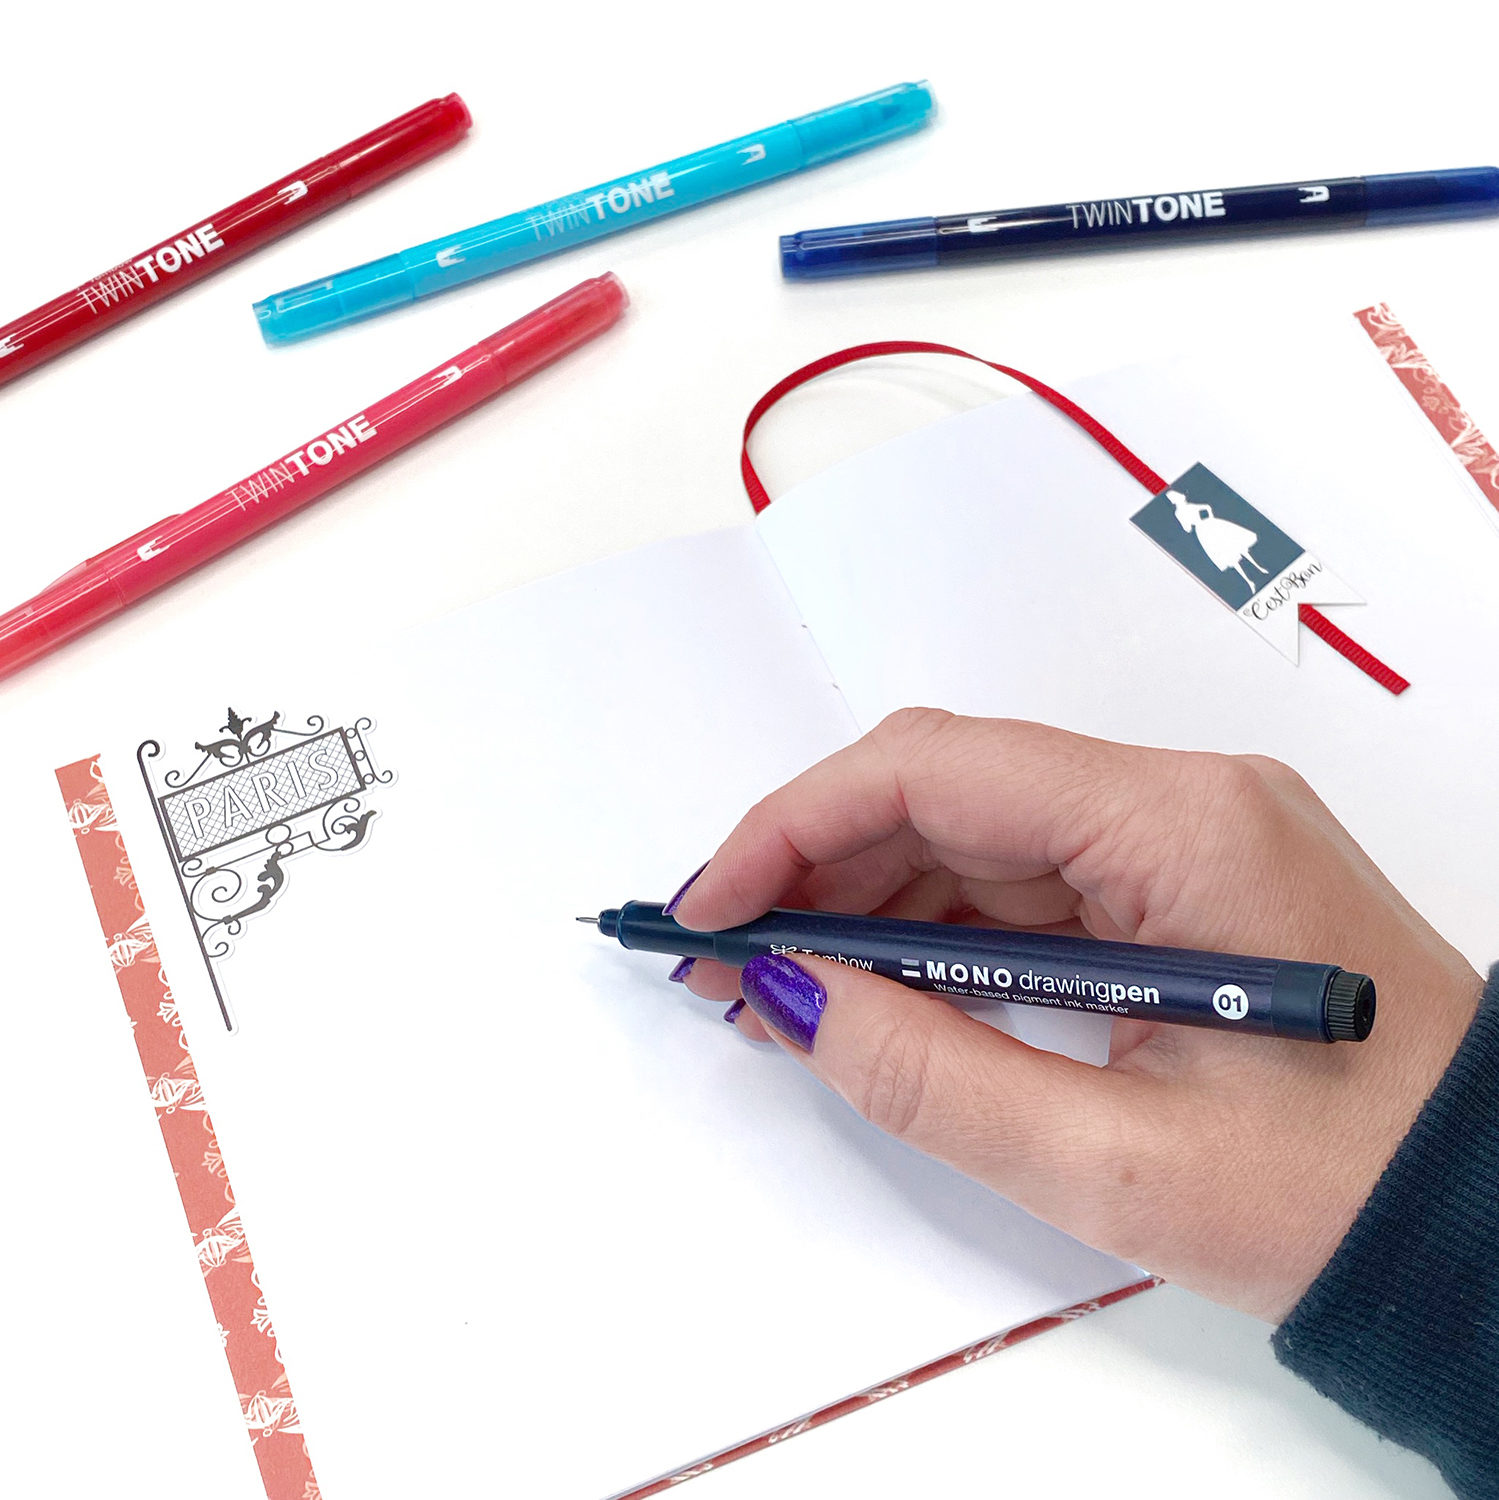
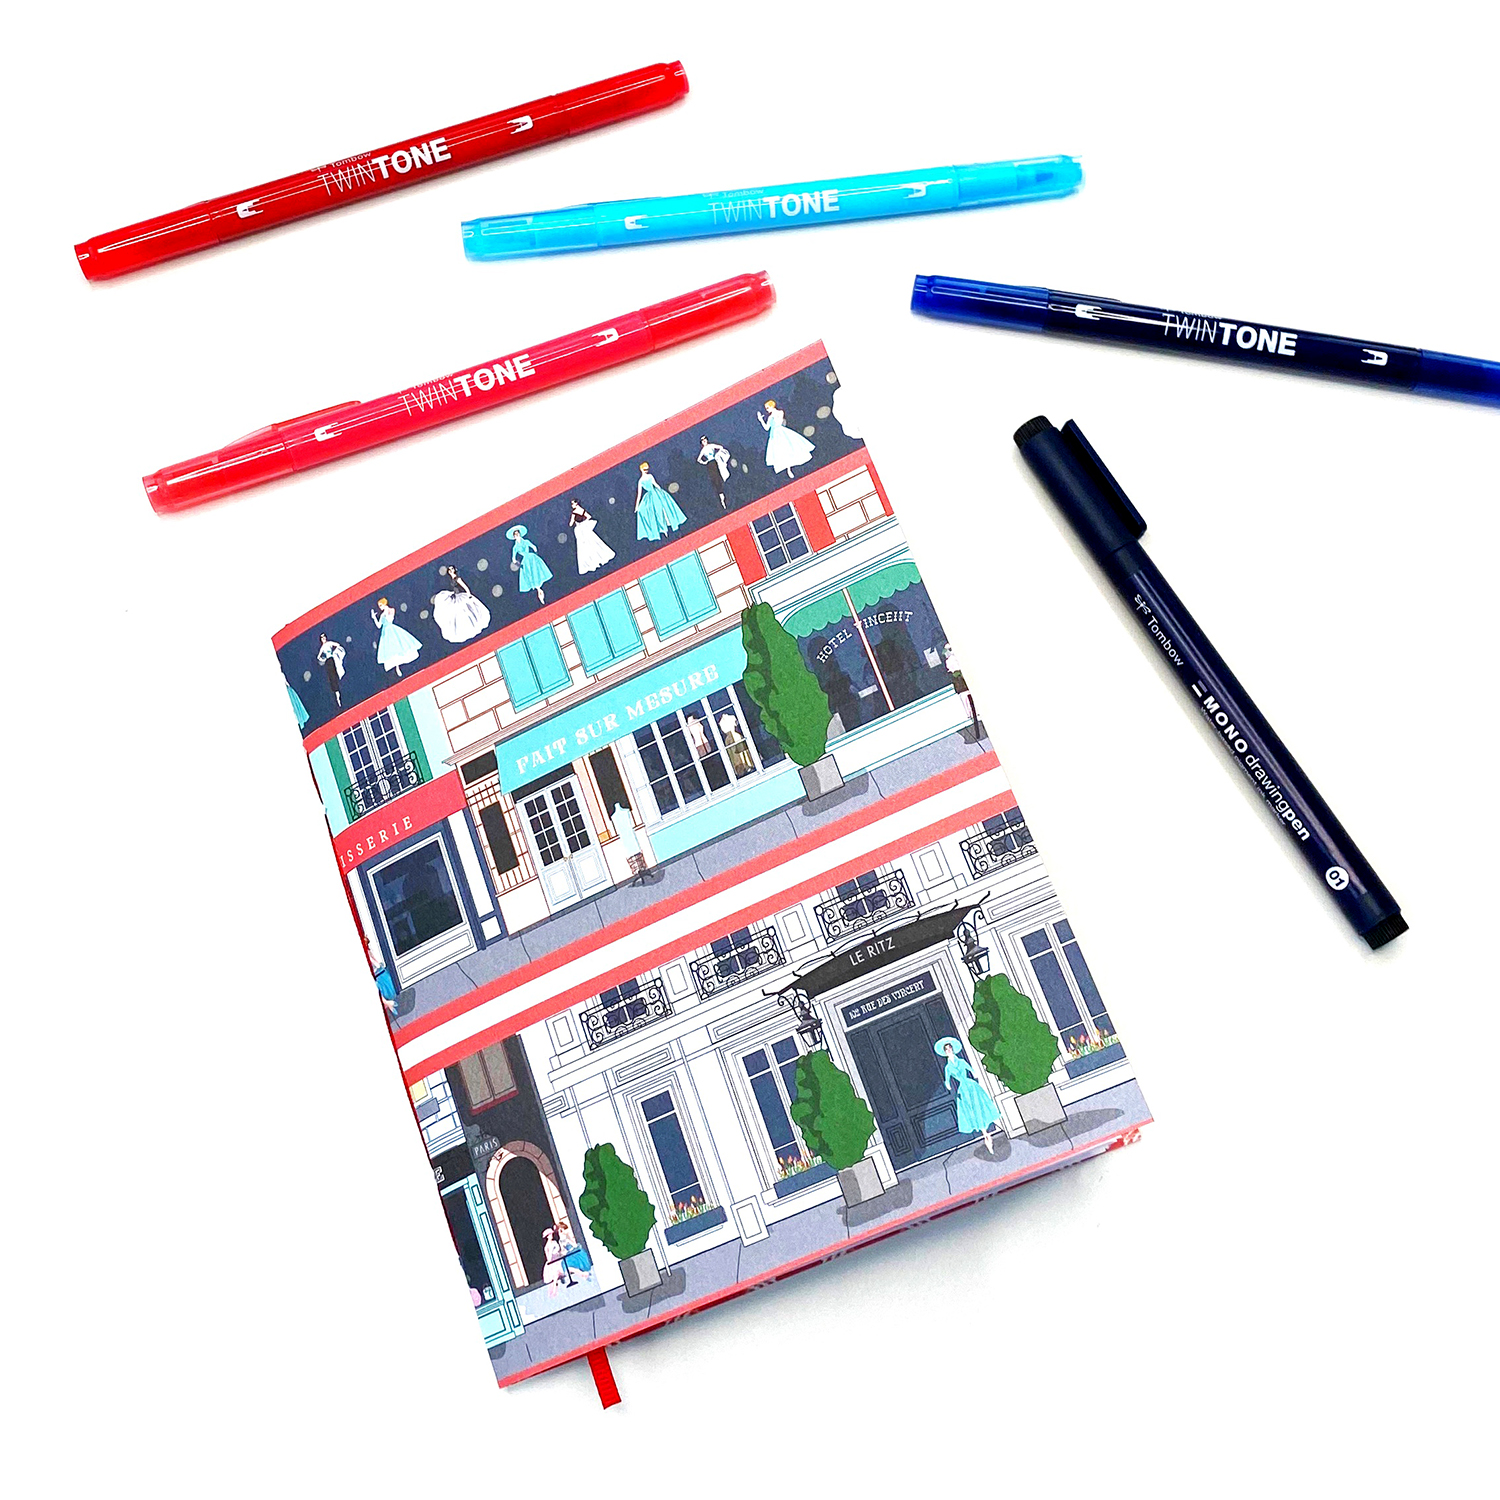
Now it’s time to pull out all your favorite Tombow products and start using them in your new notebook. I’m using TwinTone Markers, Dual Brush Pens and Mono Drawing Pens in mine!
We can’t wait to see what you use your notebook for, so tag @TombowUSA and @BrownPaperBunny on social media! If you’re looking for more journaling projects, check out this post by Design Team member Jennie G: How To Draw A Cactus With The Tombow Irojiten Colored Pencils
Pingback: Monogram Embroidery Hoop Art - Tombow USA Blog