Spring has sprung! Hey Tombow fans, it’s Mandy from @a_heartened_calling! I am here to show you how to create spring florals using the ABT PRO Alcohol-Based Markers and the MONO Drawing Pens! This week, the Design Team is creating spring projects using a pastel palette of colors. One of my favorite spring things is to add some freshly cut flowers to a mason jar for a simple decor piece. So, I thought it would be fun to draw some flowers in a mason jar! Let’s gather our supplies and get started!
MATERIALS
- A piece of bristol paper
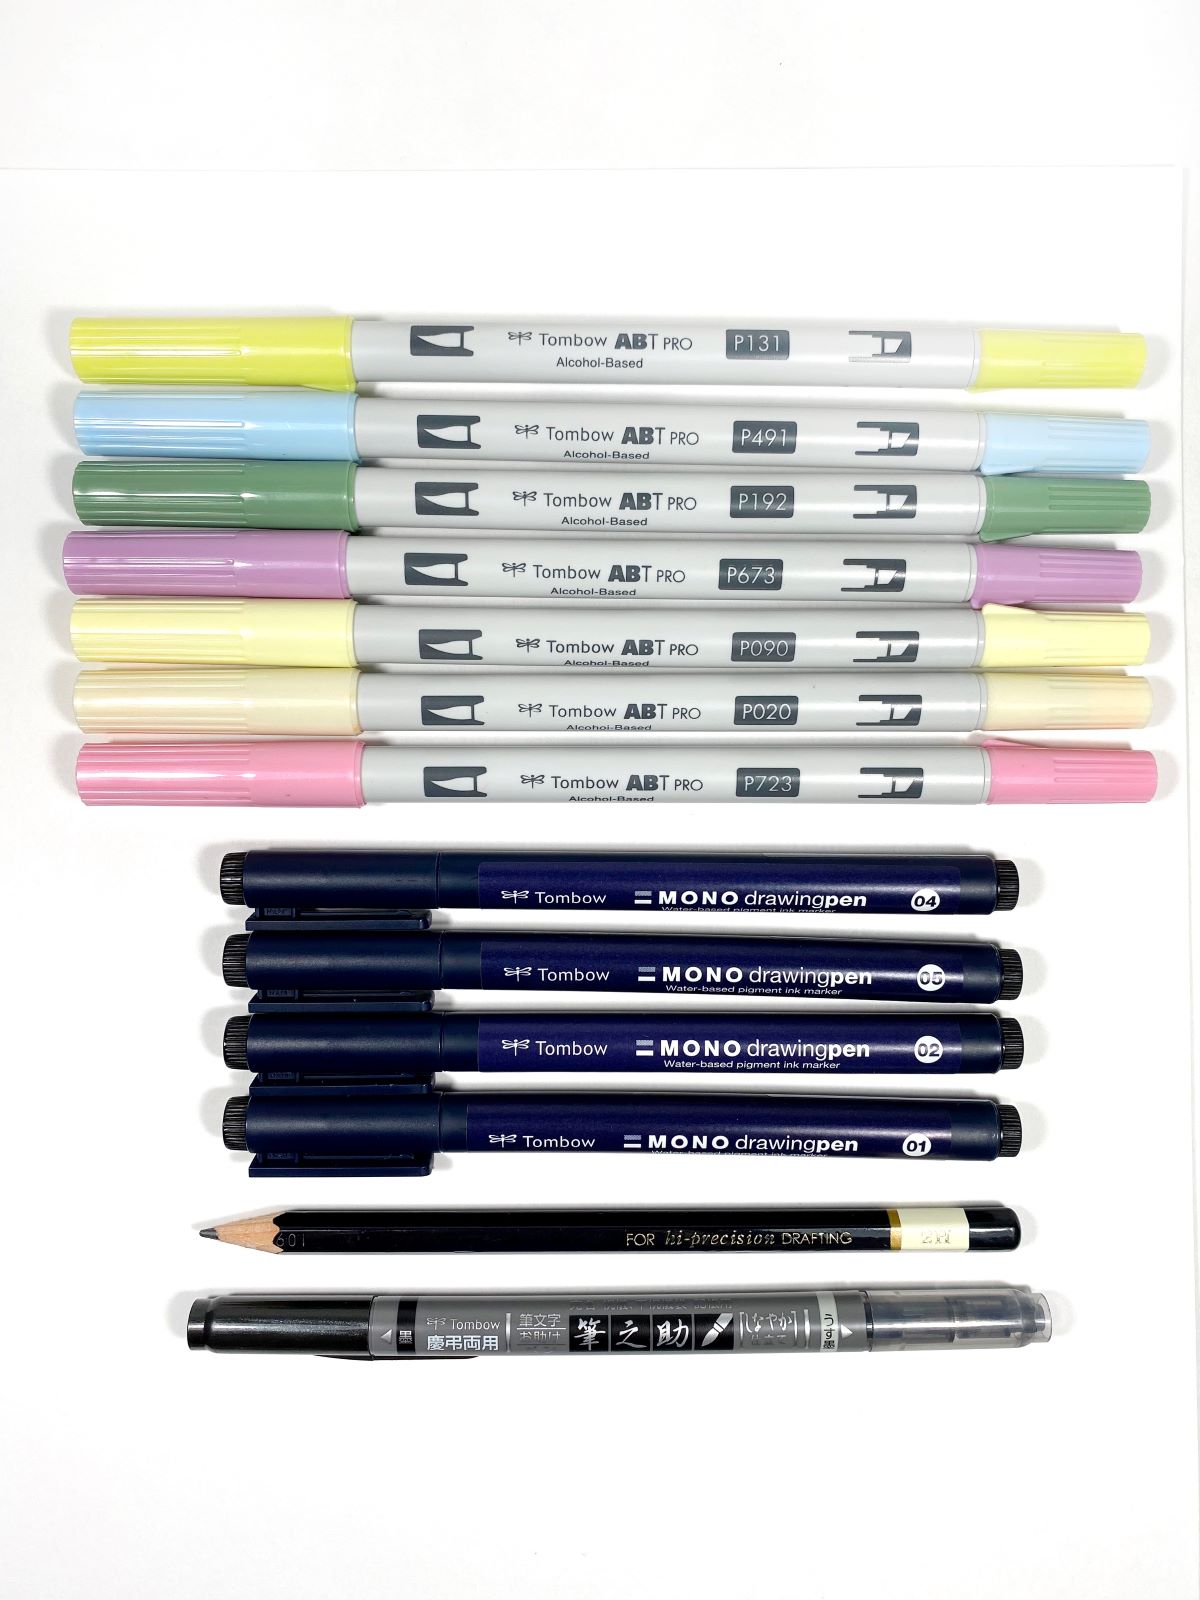
- Tombow ABT PRO Alcohol-Based Markers 673, 723, 090, 131, 491, 192 and 020
- Tombow MONO Drawing Pencil 2H
- Tombow MONO Drawing Pens 01, 02, 04 and 05
- Tombow Fudenosuke Brush Pen, Twin Tip
- Ruler
STEP 1 – Sketch
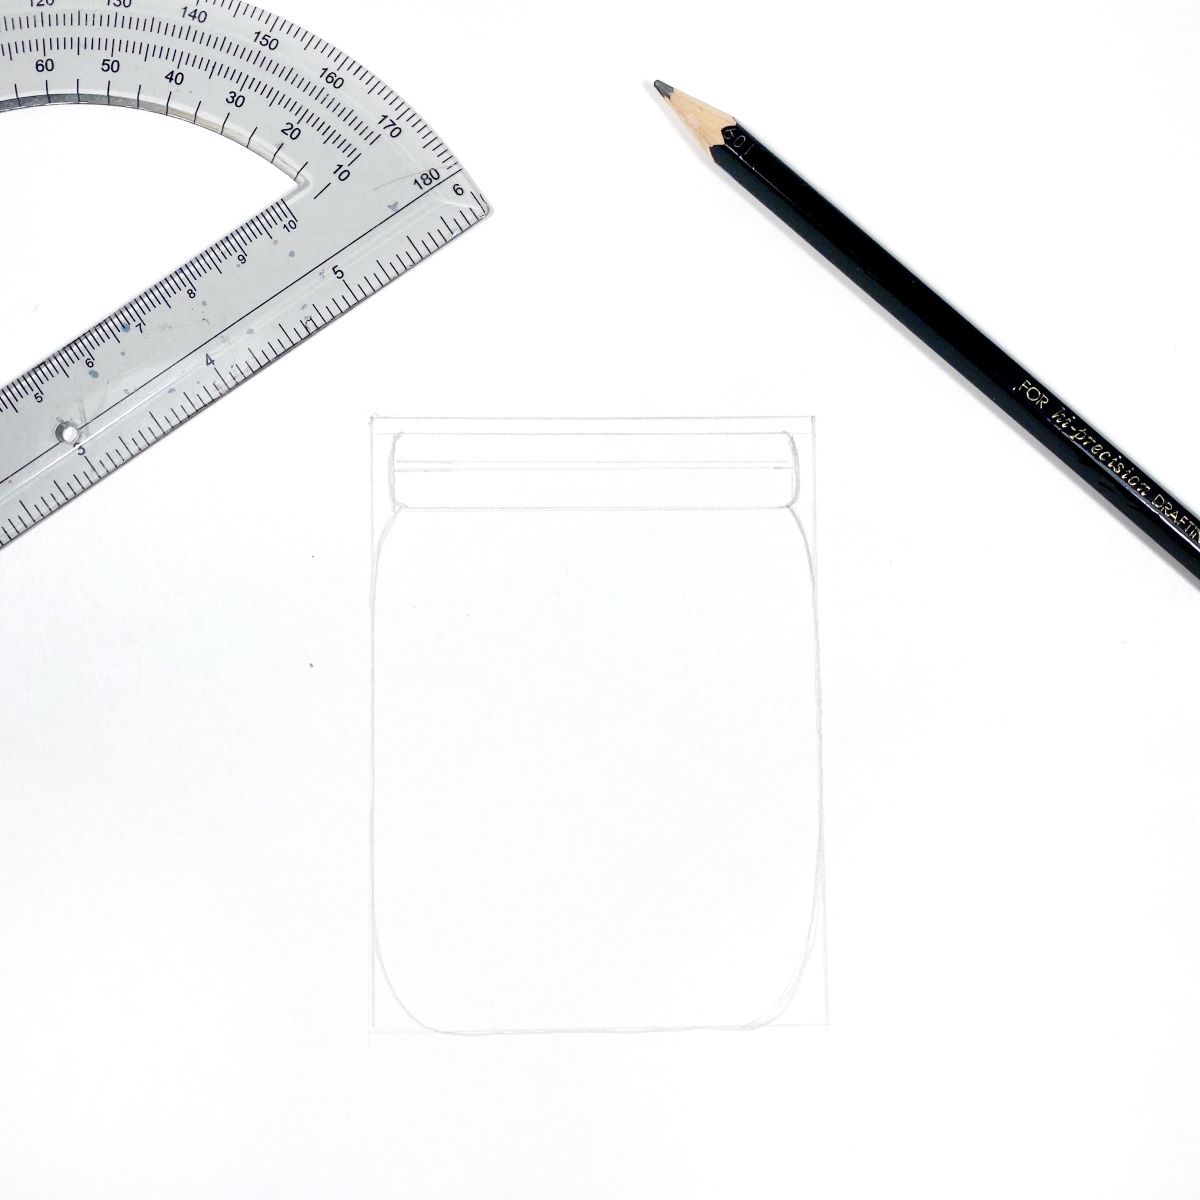
Using MONO Drawing Pencil 2H, sketch out a mason jar. Use a ruler if needed and create a rectangle box to help guide you with the shape of the jar.
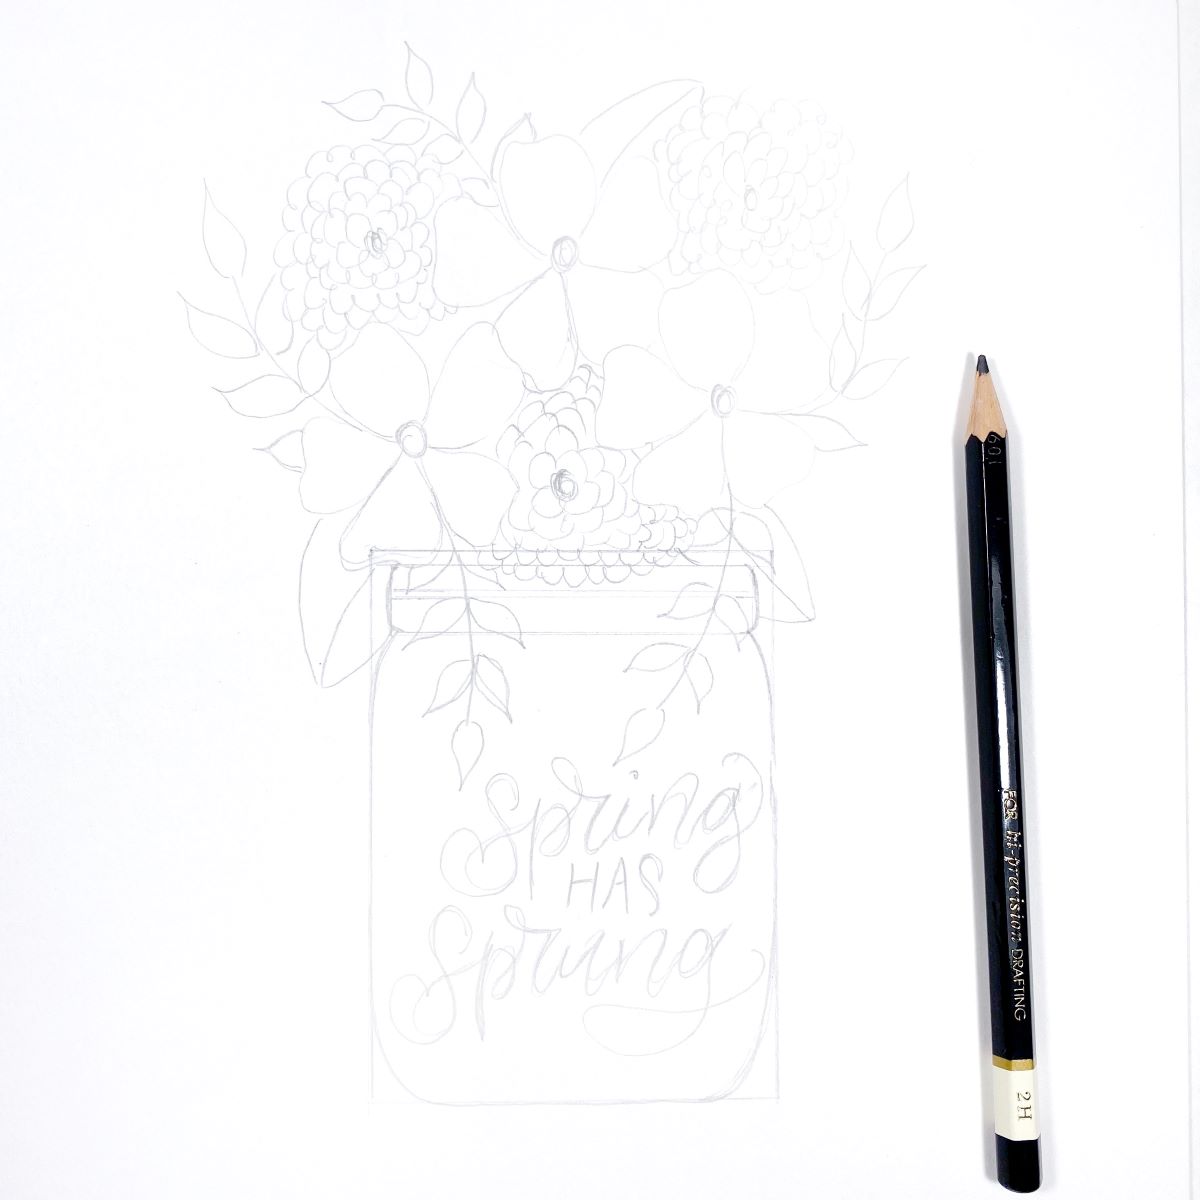
Next sketch out two flower and two leaf shapes on top of the jar. Then sketch out “Spring Has Sprung” on the mason jar.
STEP 2 – Add Color
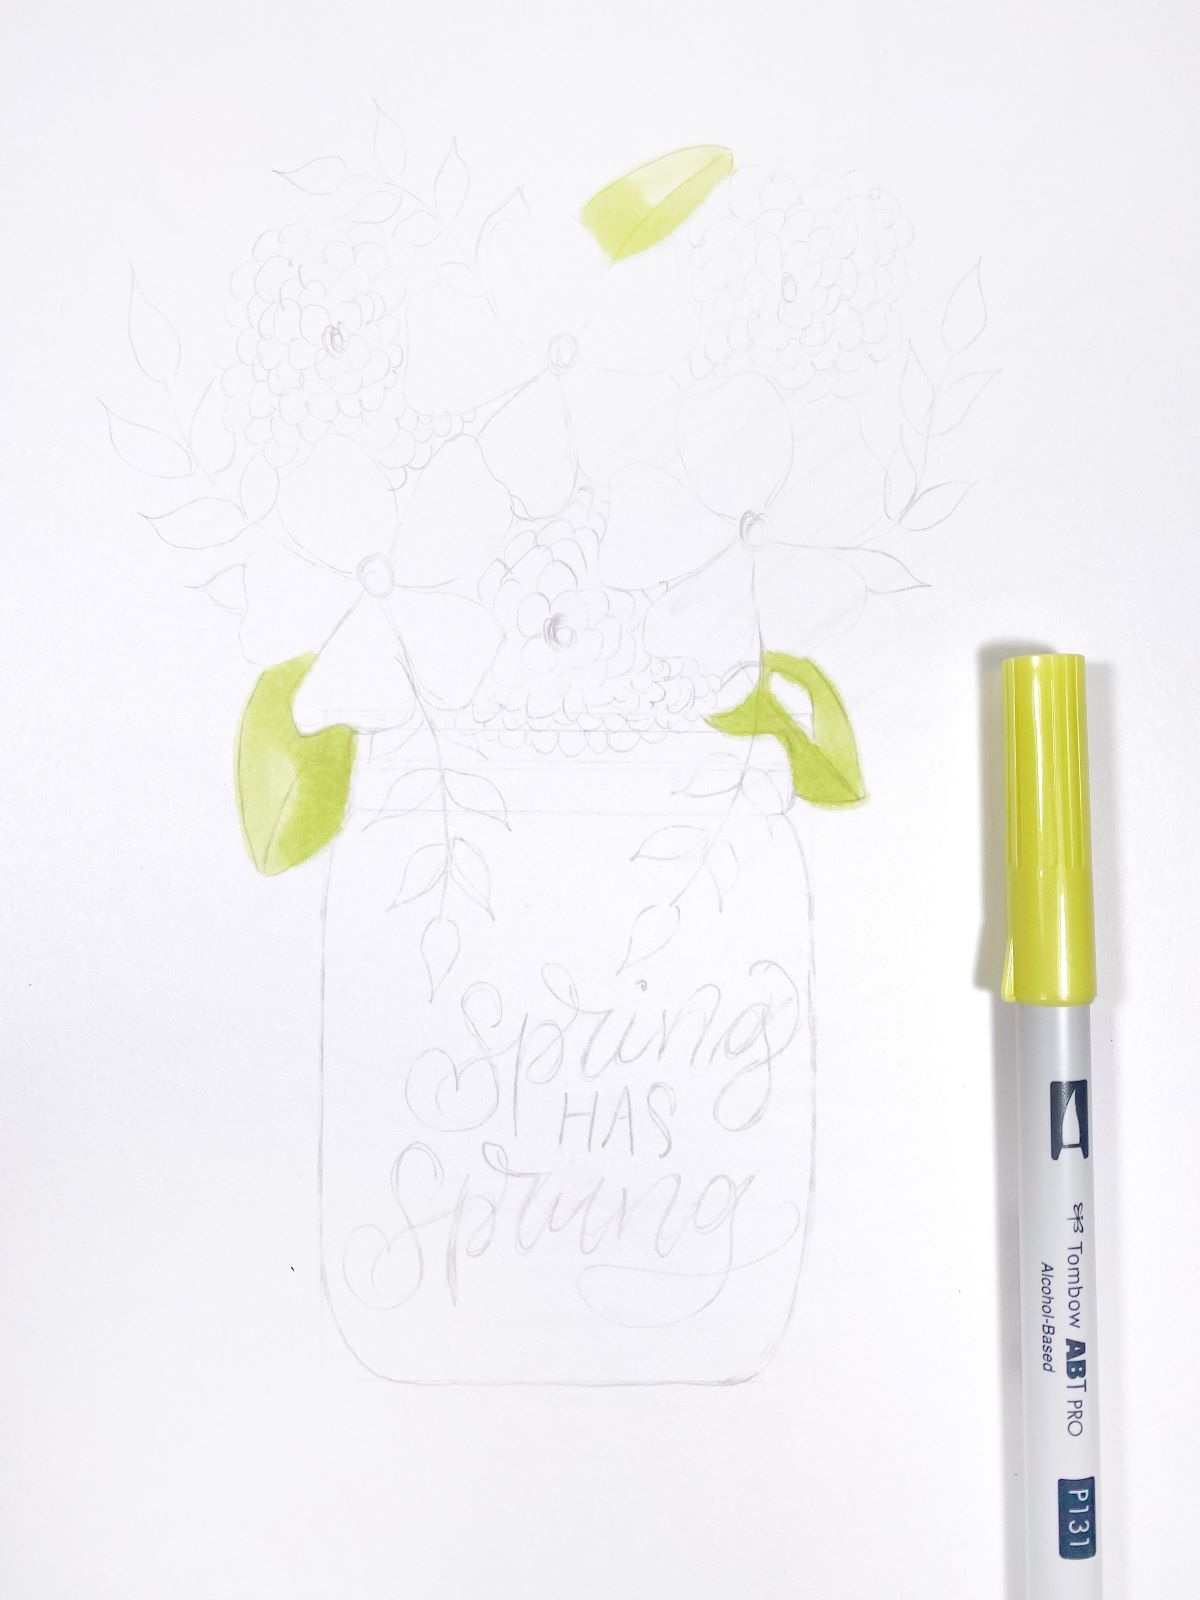
Using ABT PRO Marker 131, color in the leaves. Add several layers to one side of the leaf for added depth and shadow.
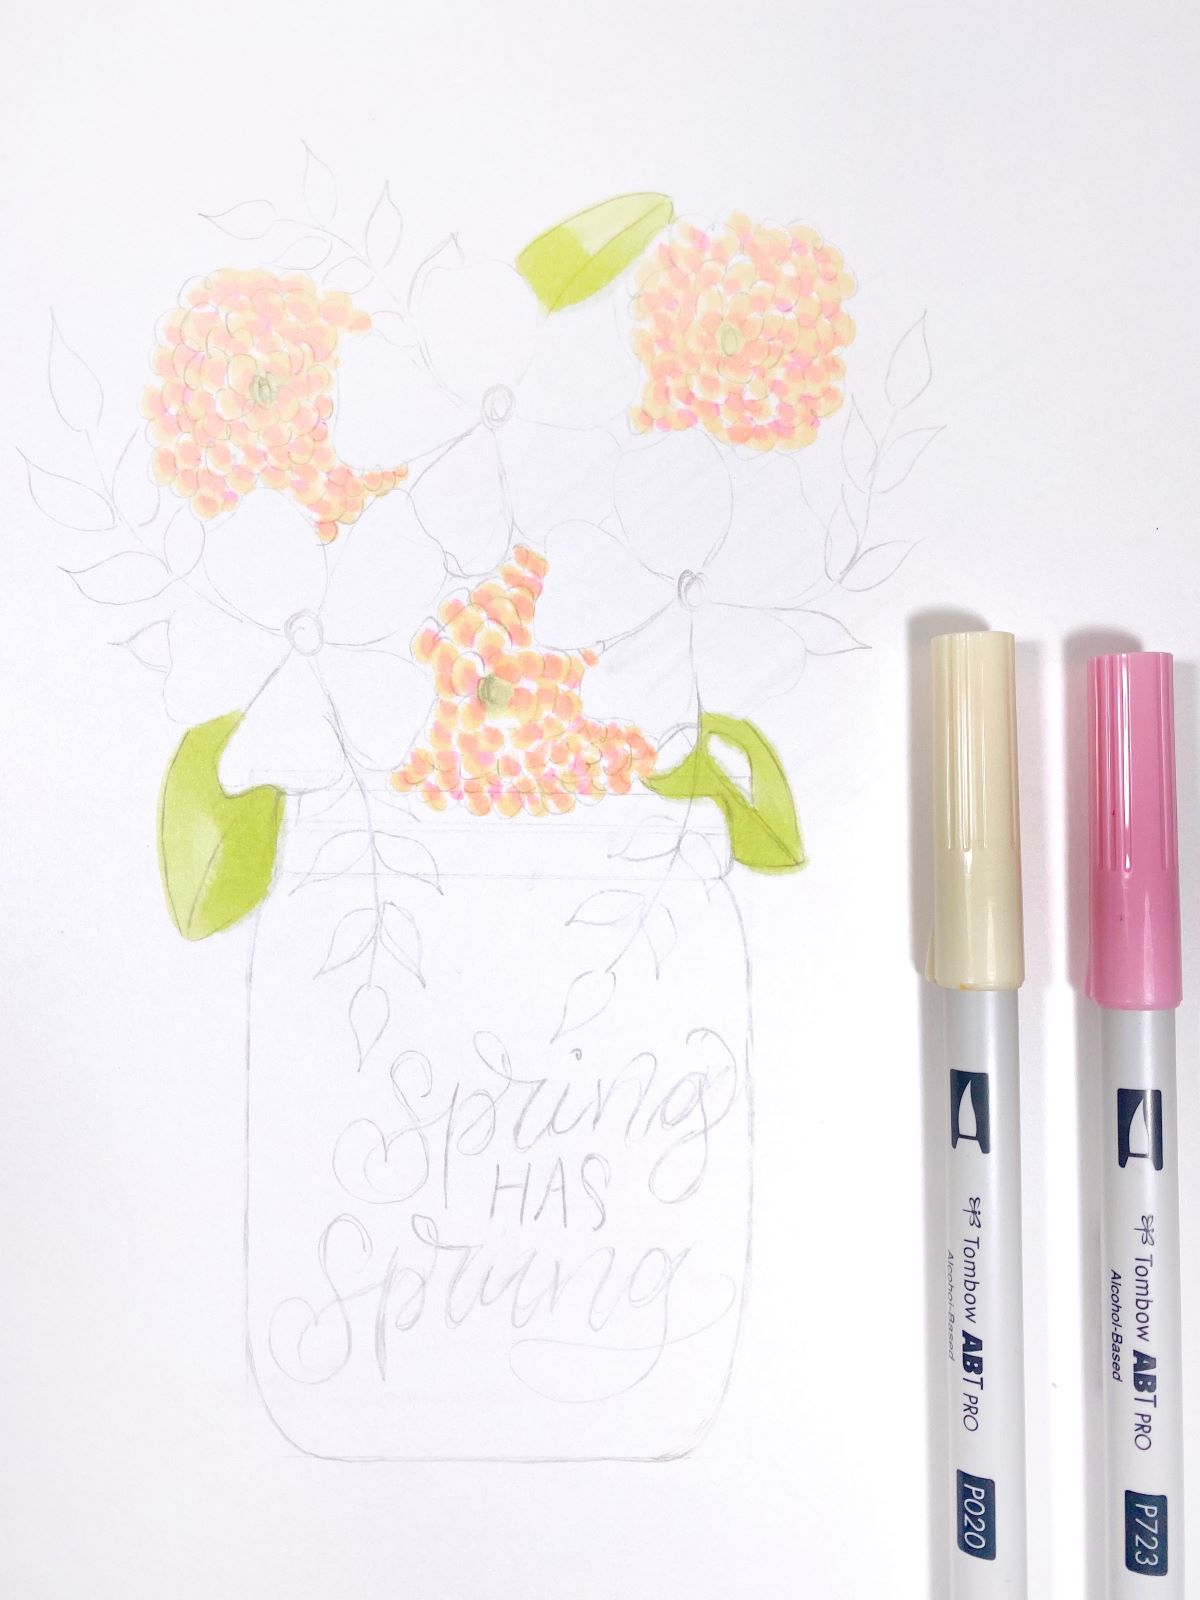
Using ABT PRO Marker 020, color in the first type of flower by adding little half circles of color inside each petal. Then, use ABT PRO Marker 723 to add small little C curves along the bottom edge of each petal.
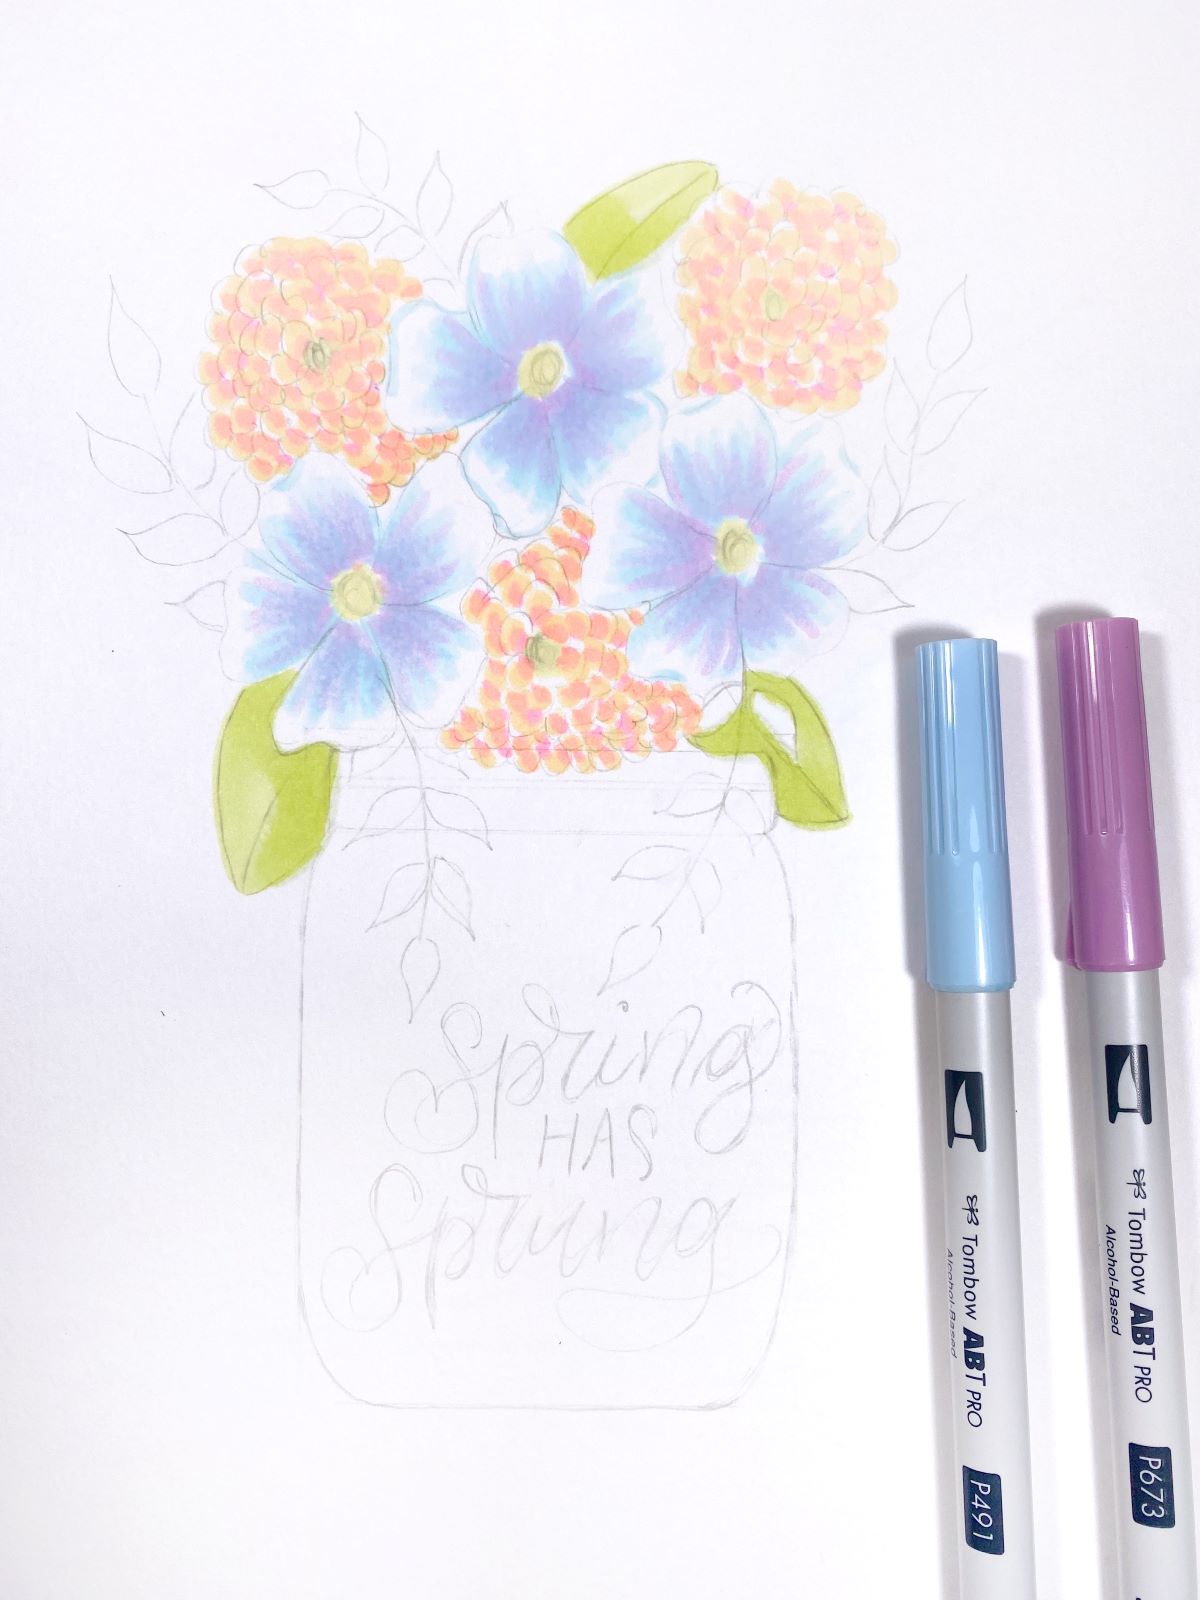
For the second flower, use ABT PRO Marker 491 to color in each petal. Start at the inside edge of the petal and flick color upwards. Do not go all the way to the edge of the petal and leave some white space. Next, use ABT PRO Marker 673 to add depth to each petal. Start at the inside edge and flick color upwards over the blue color you just put down. Then using ABT PRO Marker 491, add another layer of blue on top of the purple by flicking the color upwards.
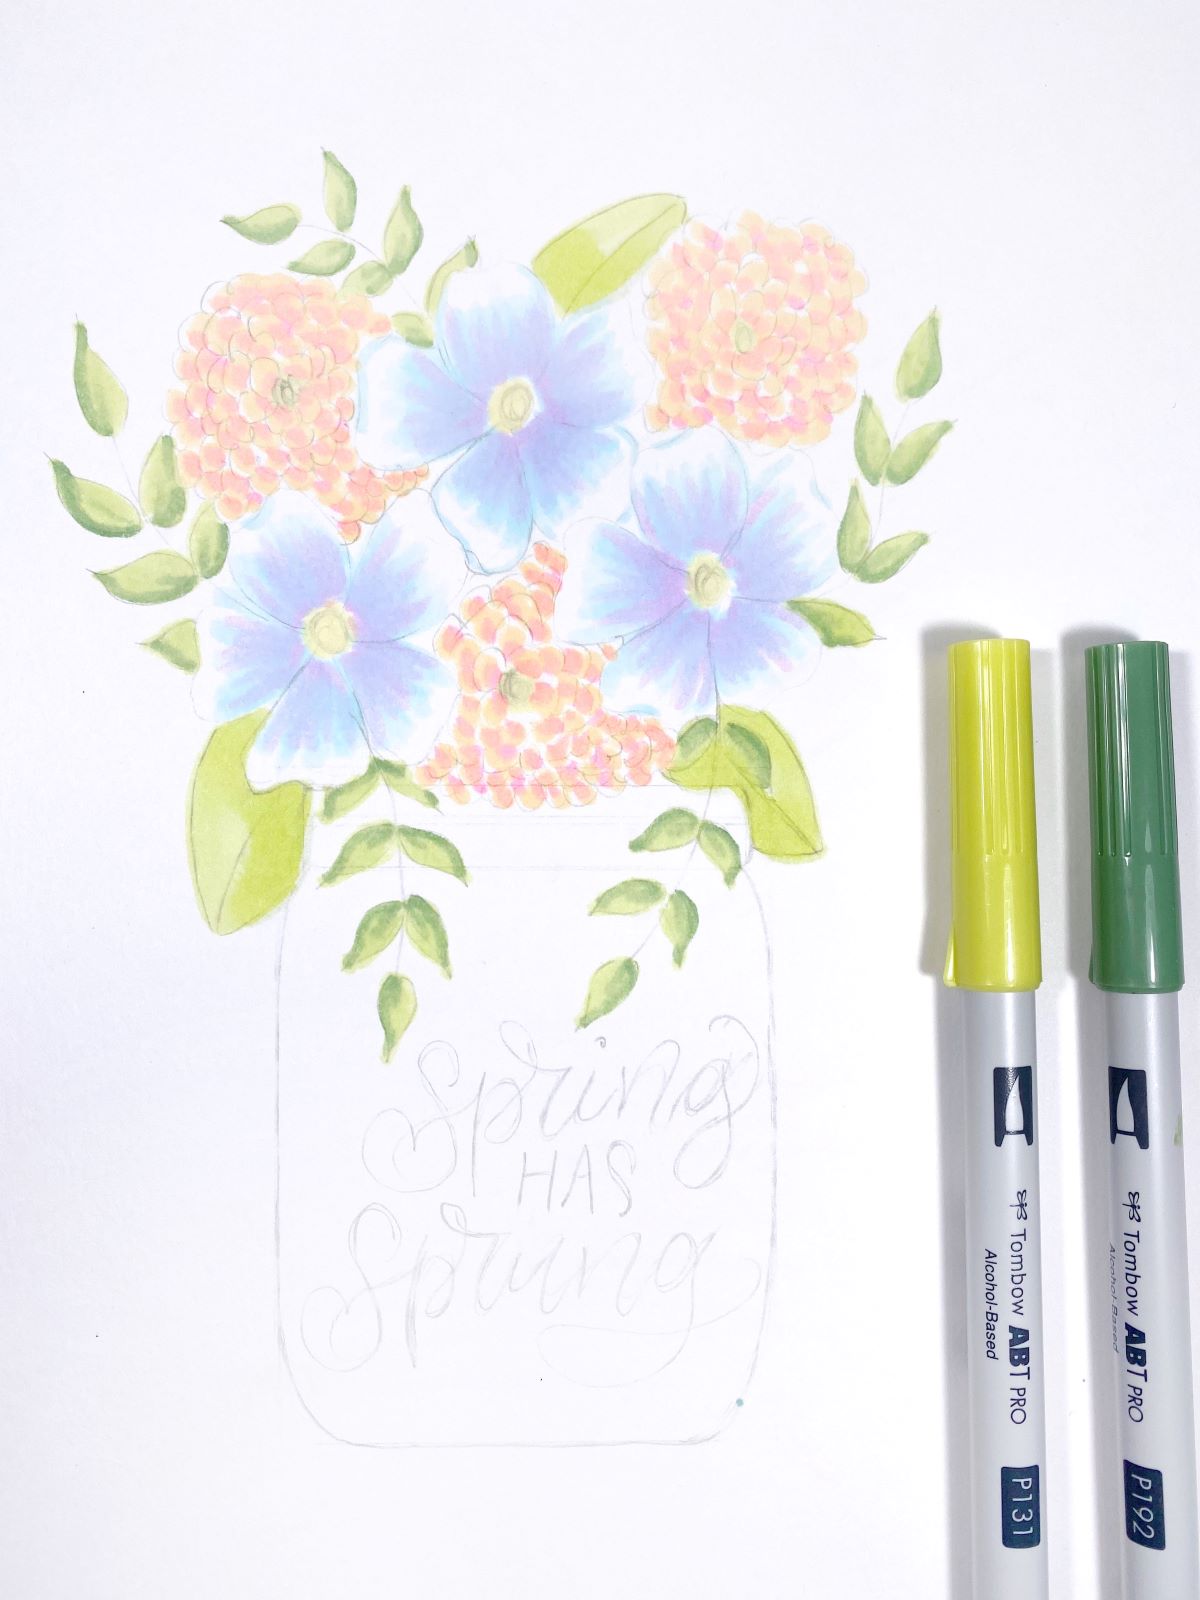
Using ABT PRO Marker 131, color in the second set of leaves. Then use ABT PRO Marker 192 to add color to one side of each leaf. Then use ABT PRO Marker 131 to add another layer on top of the entire leaf.
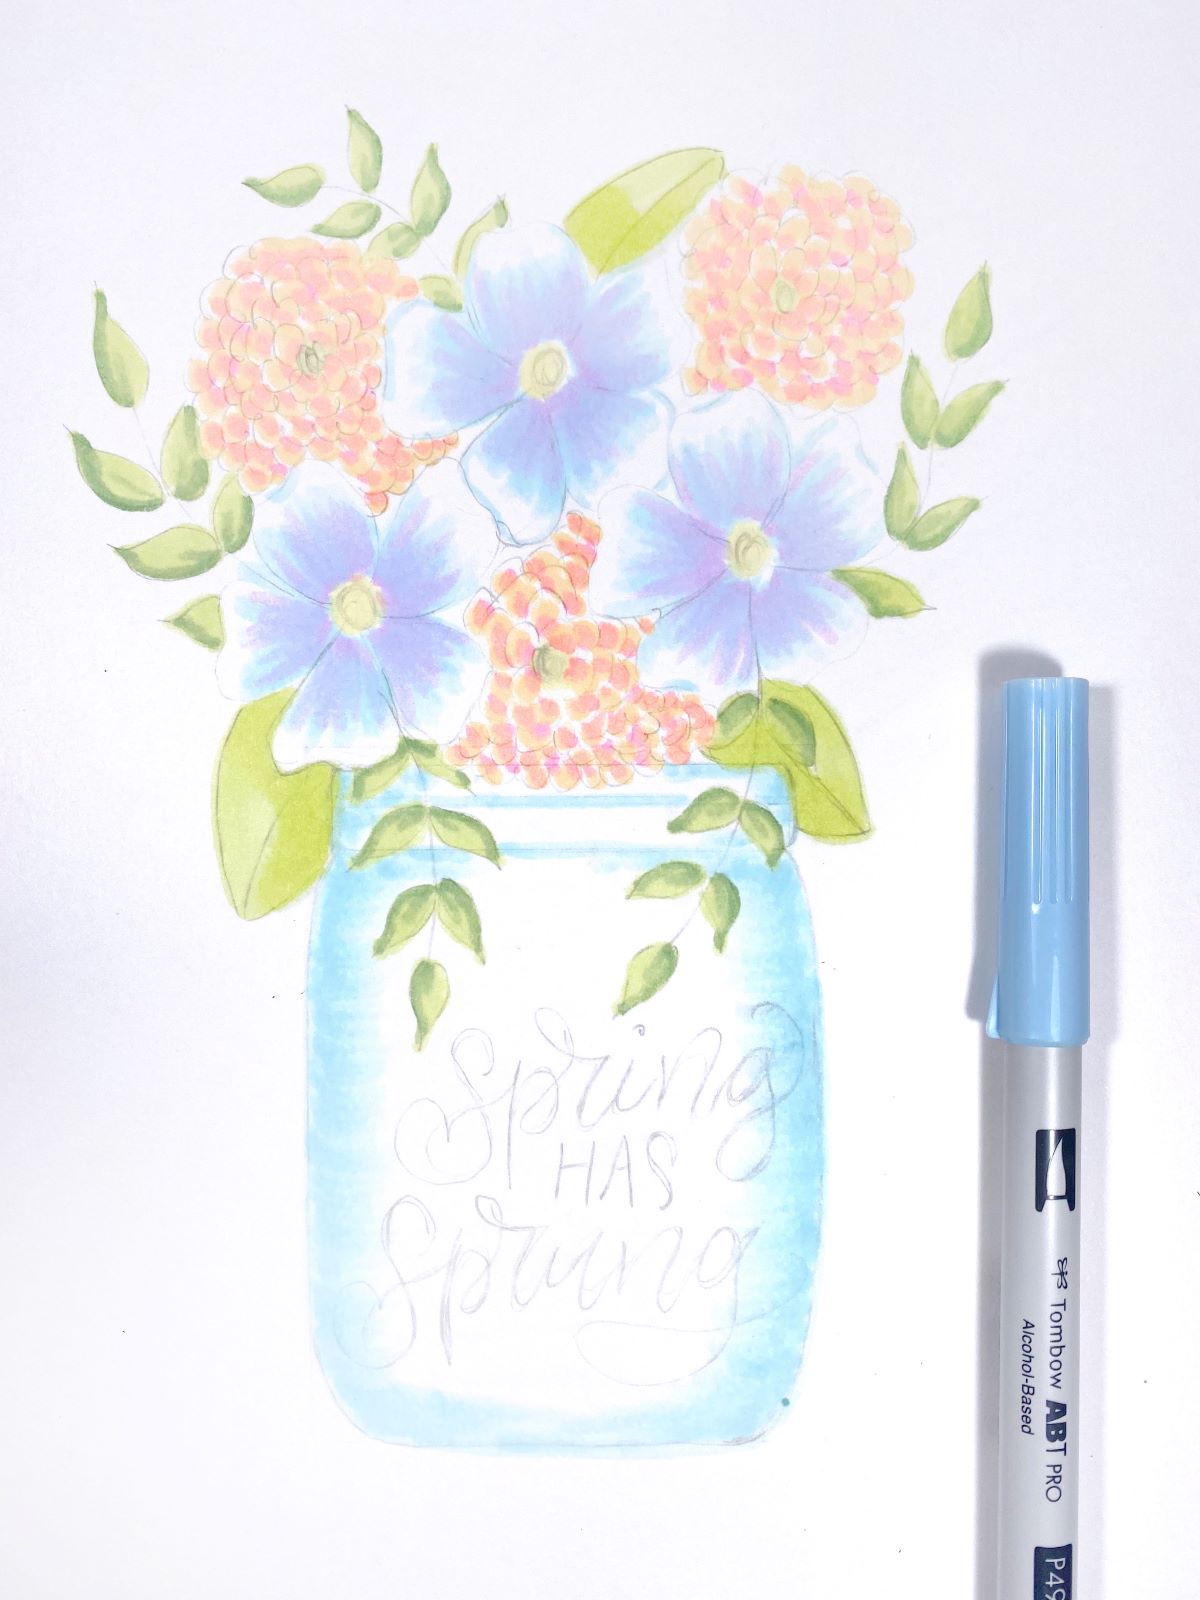
Next, use ABT PRO Marker 491 to color in the mason jar. Starting from the outside edge, add color by quick strokes that curve upward. This gives it a rounded edge look. Add color to the bottom and the top of the mason jar.
STEP 3 – Add Details
This is where we add the loose sketchy details to our project! Using MONO Drawing Pen 01, loosely trace over each petal and center in your first flowers. Keep the strokes as light as possible to help give that sketchy look. Then, add some darker detail to a few petals in each flower by tracing over it repeatedly.
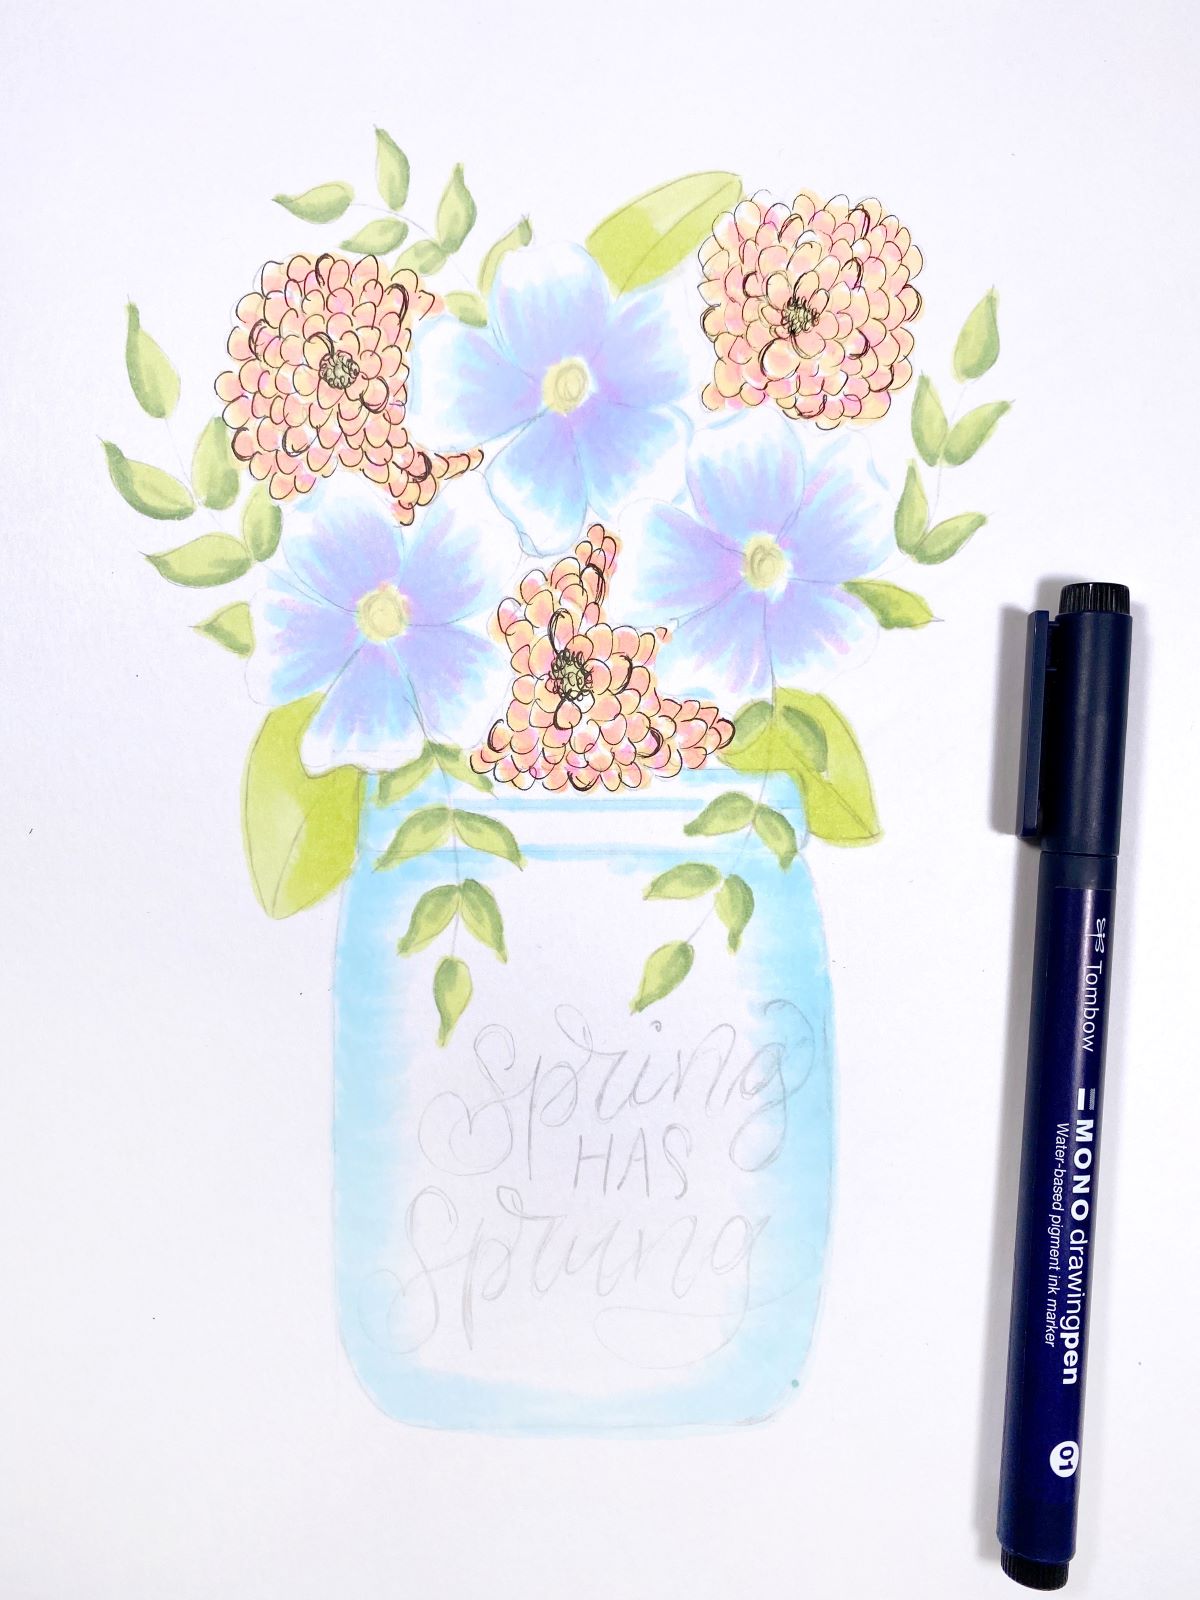
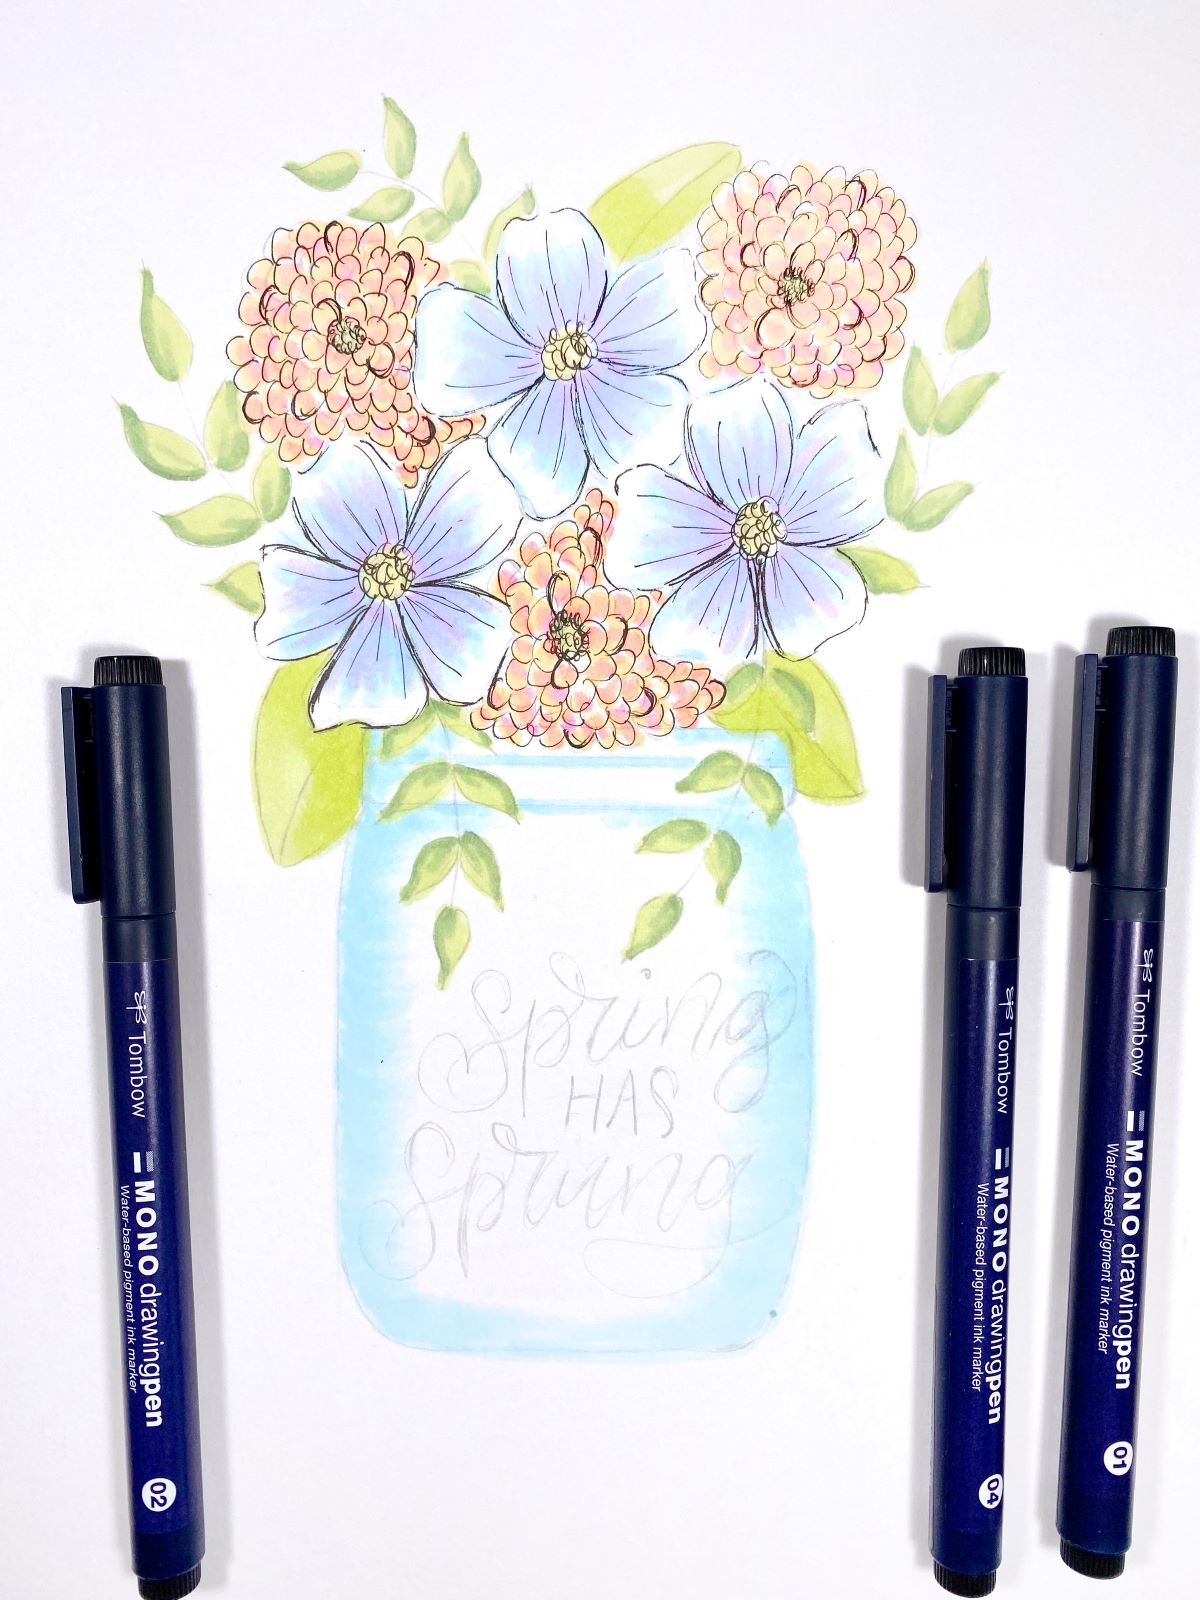
Using MONO Drawing Pen 04, trace over the second flower set. Since this flower is white along the outside edges, lightly add ink to this area. Do not trace the entire petal. Instead, start tracing and then leave some empty space along the petal edges. Also, trace over the edge of a few petals repeatedly to give it that sketchy look. Use MONO Drawing Pen 02 to add detail to the center. Then, use MONO Drawing Pen 01 to add detail to each petal.
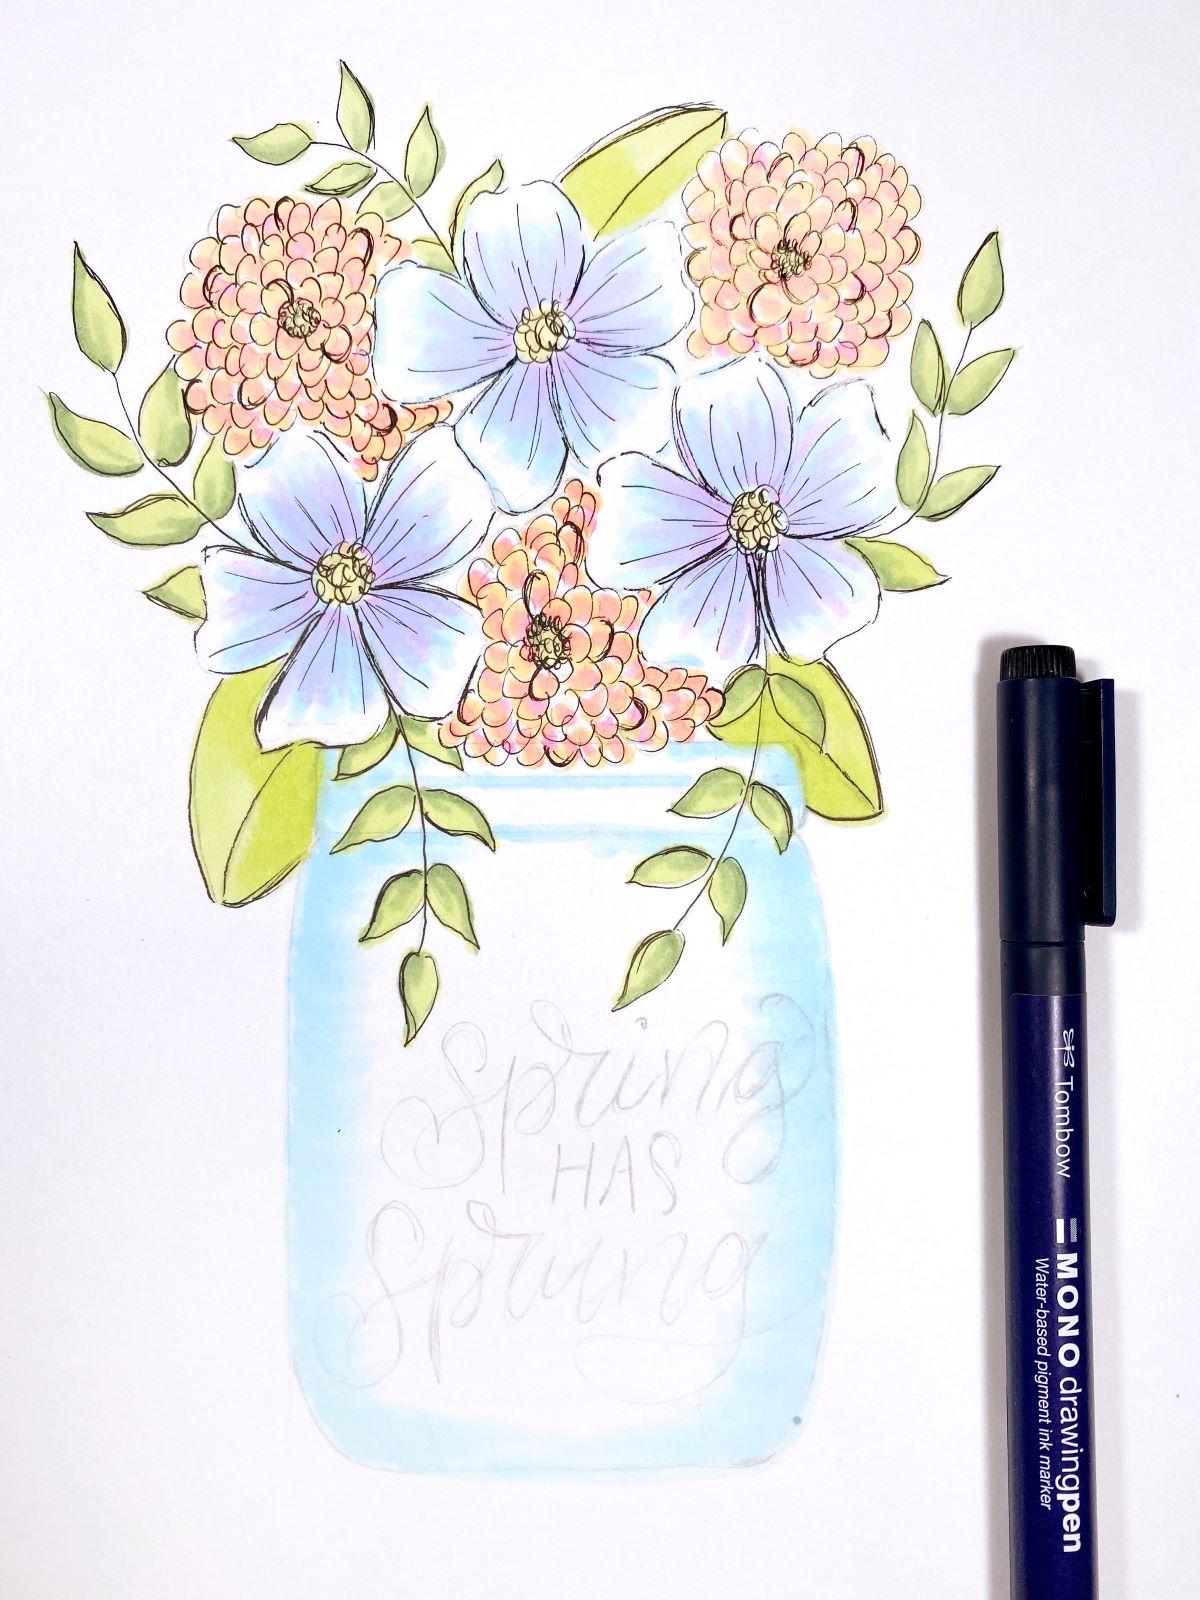
For the leaves, use MONO Drawing Pen 05 to trace the outside edges. Trace over some of the edge repeatedly to add more sketchy detail.
Lastly, use the black end of the Twin Tip Fudenosuke Brush Pen to trace over “Spring Has Sprung.” Then, use the gray end of the Twin Tip Fudenosuke Brush Pen to add a shadow to the letters. Then, use MONO Drawing Pen 01 to trace over the mason jar with light repeated strokes to add more detail. Your spring florals are done!
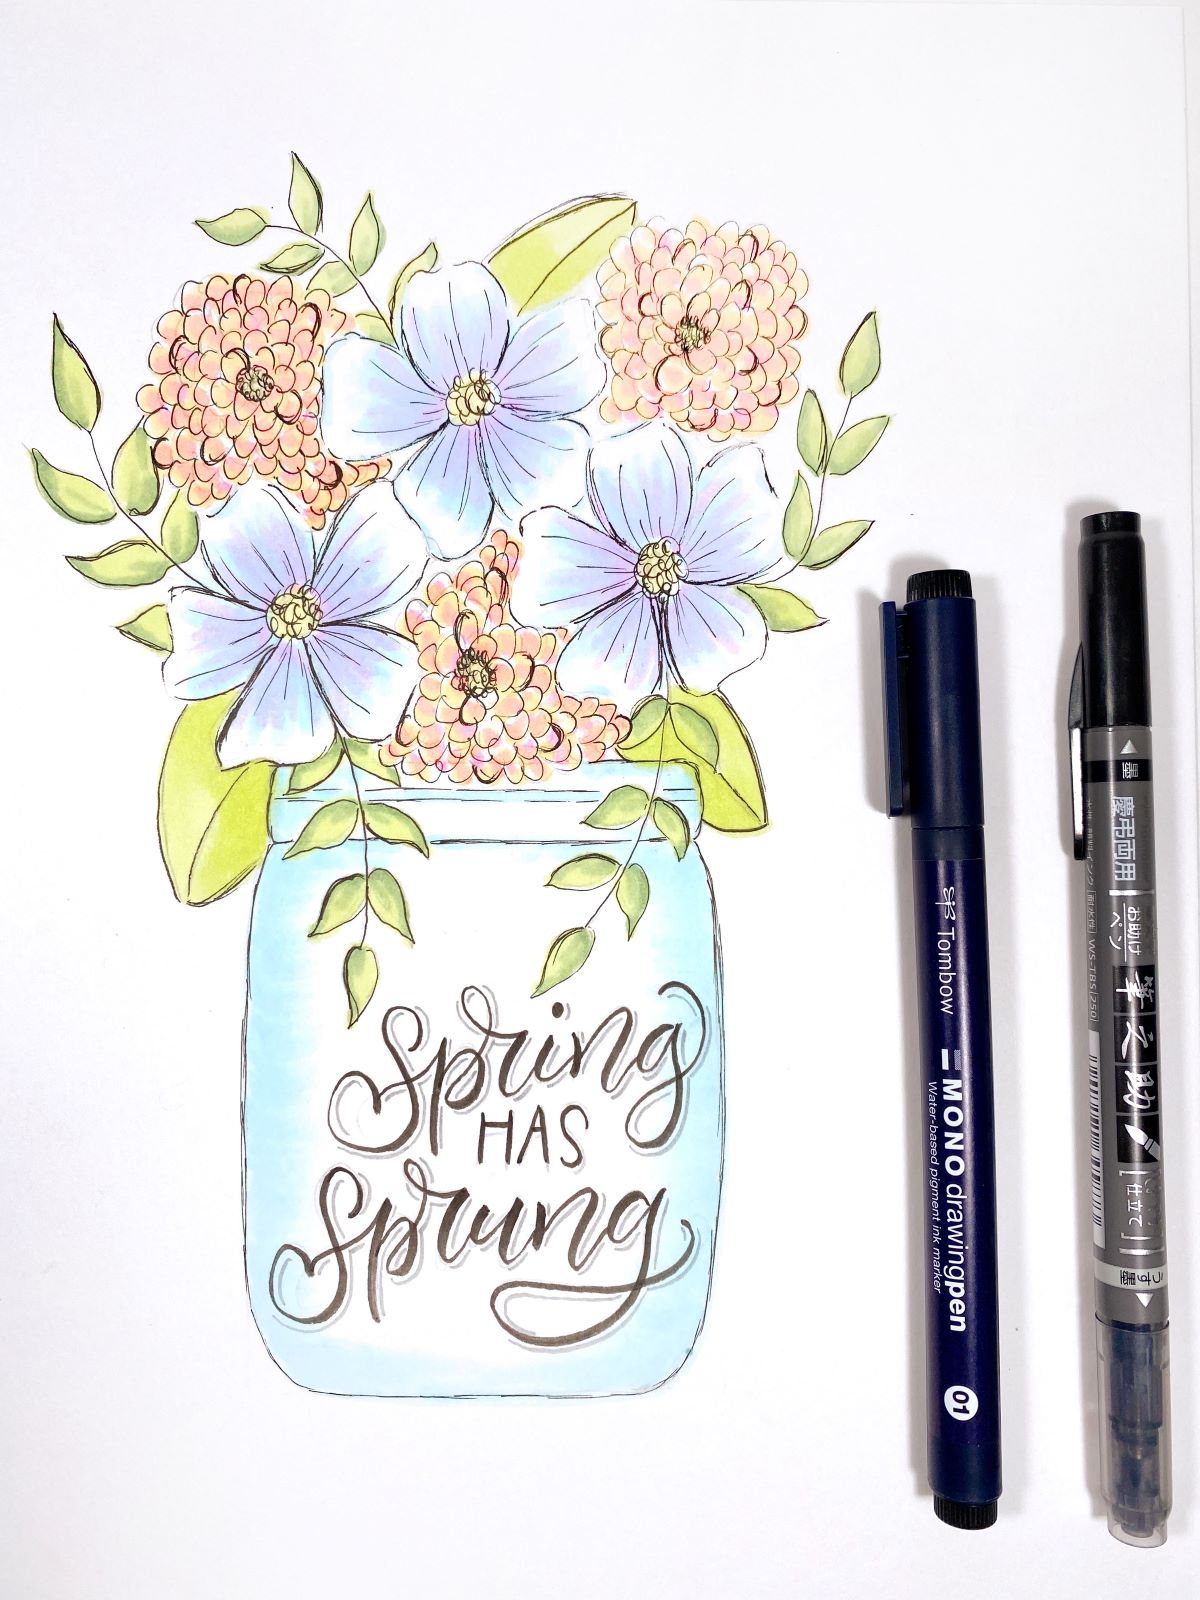
I hope you enjoyed this project! If you give it a try, be sure to tag us at @tombowusa and @a_heartened_calling so we can see your amazing work! If you’d like more spring inspiration, check out these posts!
- Spring Letters With Dual Brush Pens with Jessica
- DIY Spring Bucket List Journal Spread with Katie
- Draw Springtime Succulents Using Tombow’s 1500 Colored Pencils with Bonnie
Have fun creating and see you next time!
Mandy