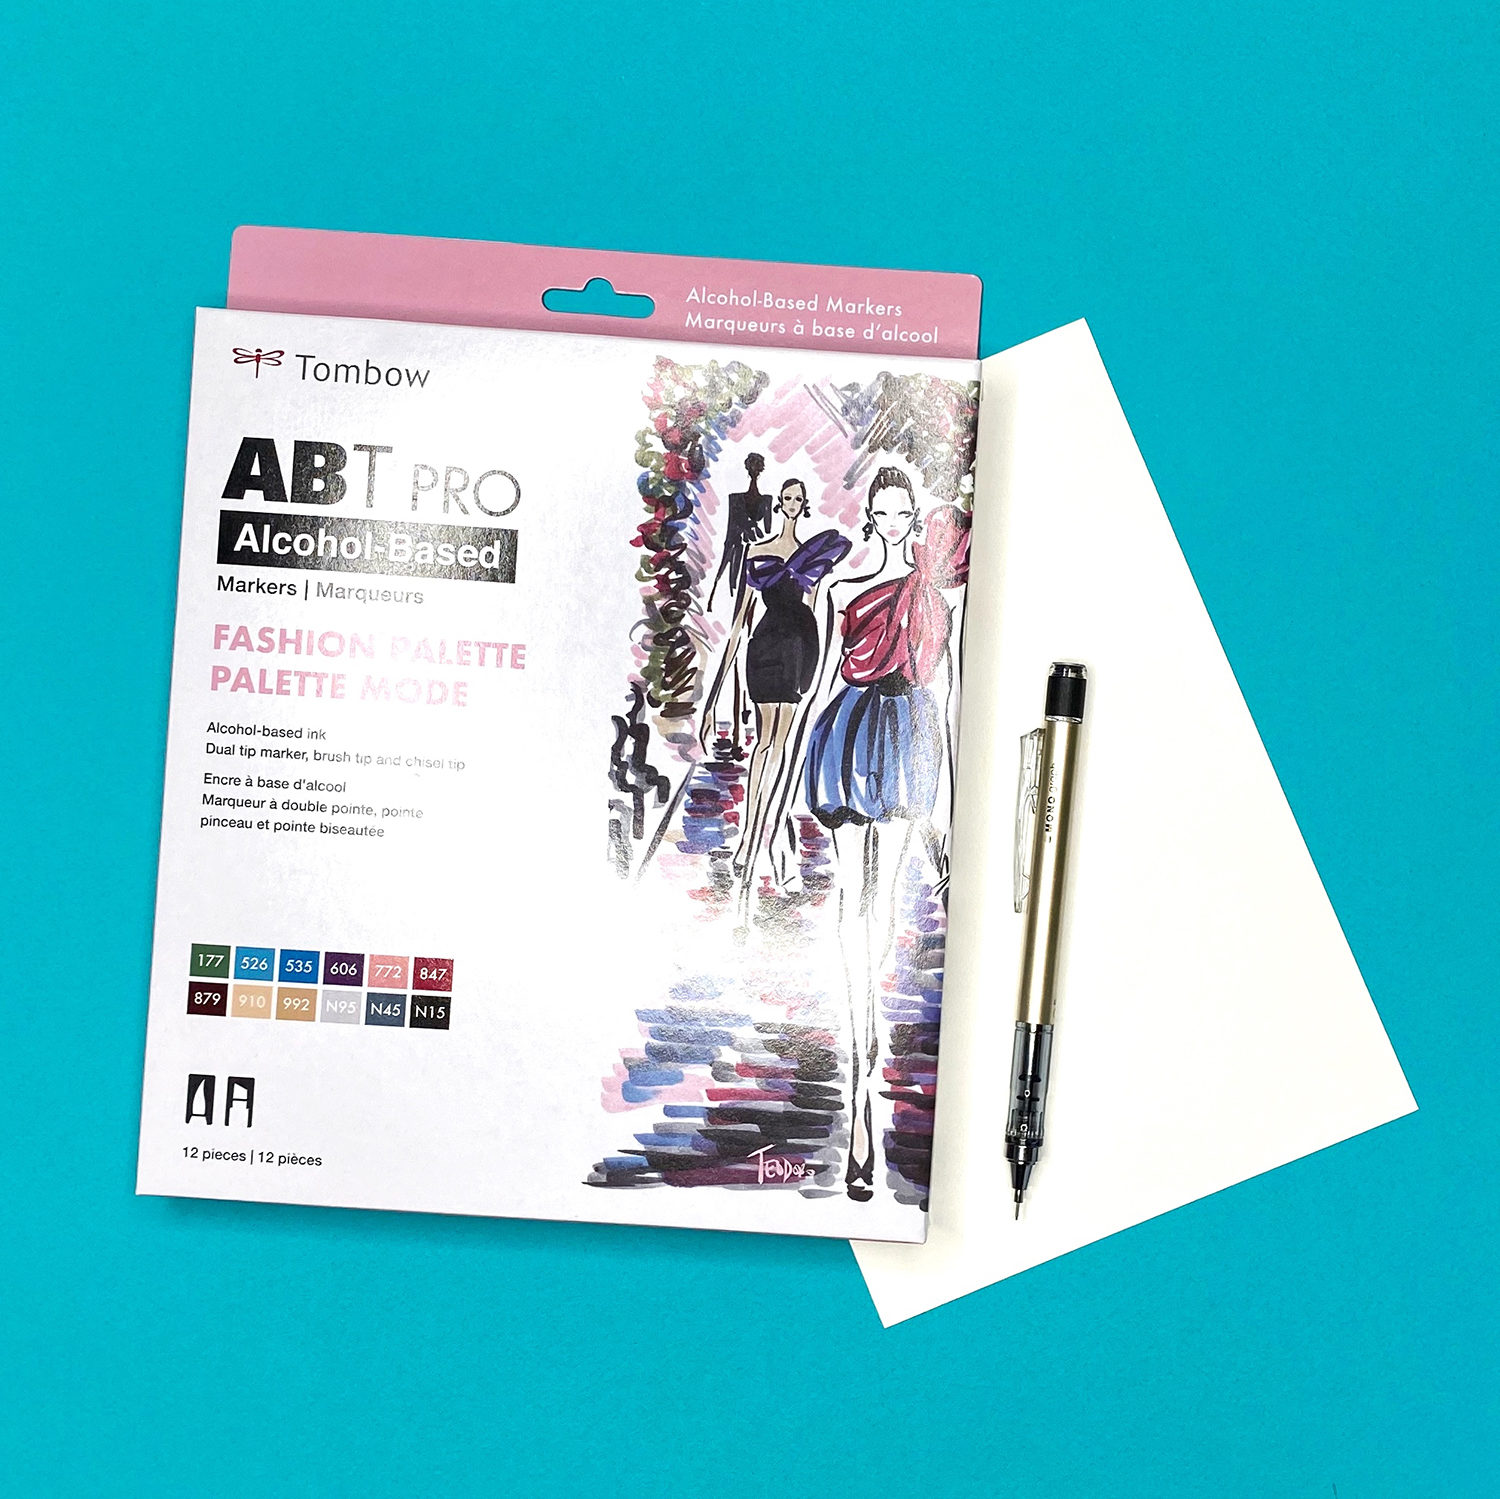
Hi, Jessica from BrownPaperBunny here to show you one of my favorite Tombow products: the ABT PRO Alcohol-Based Marker 12pk Fashion Palette! I’m going to walk you through a few tips, tricks and help you get to know this set as I create a fashion illustration. If you’d like to create one with me, here’s what you’ll need.
Supplies:
- Tombow ABT PRO Alcohol-Based Markers (Fashion Palette)
- White card
- Tombow MONO Graph Mechanical Pencil
Step 1: Sketch Your Design
Using your MONO Graph Mechanical Pencil, sketch out your figure onto a piece of a card. If you’re not confident drawing people, you can download my templates here.
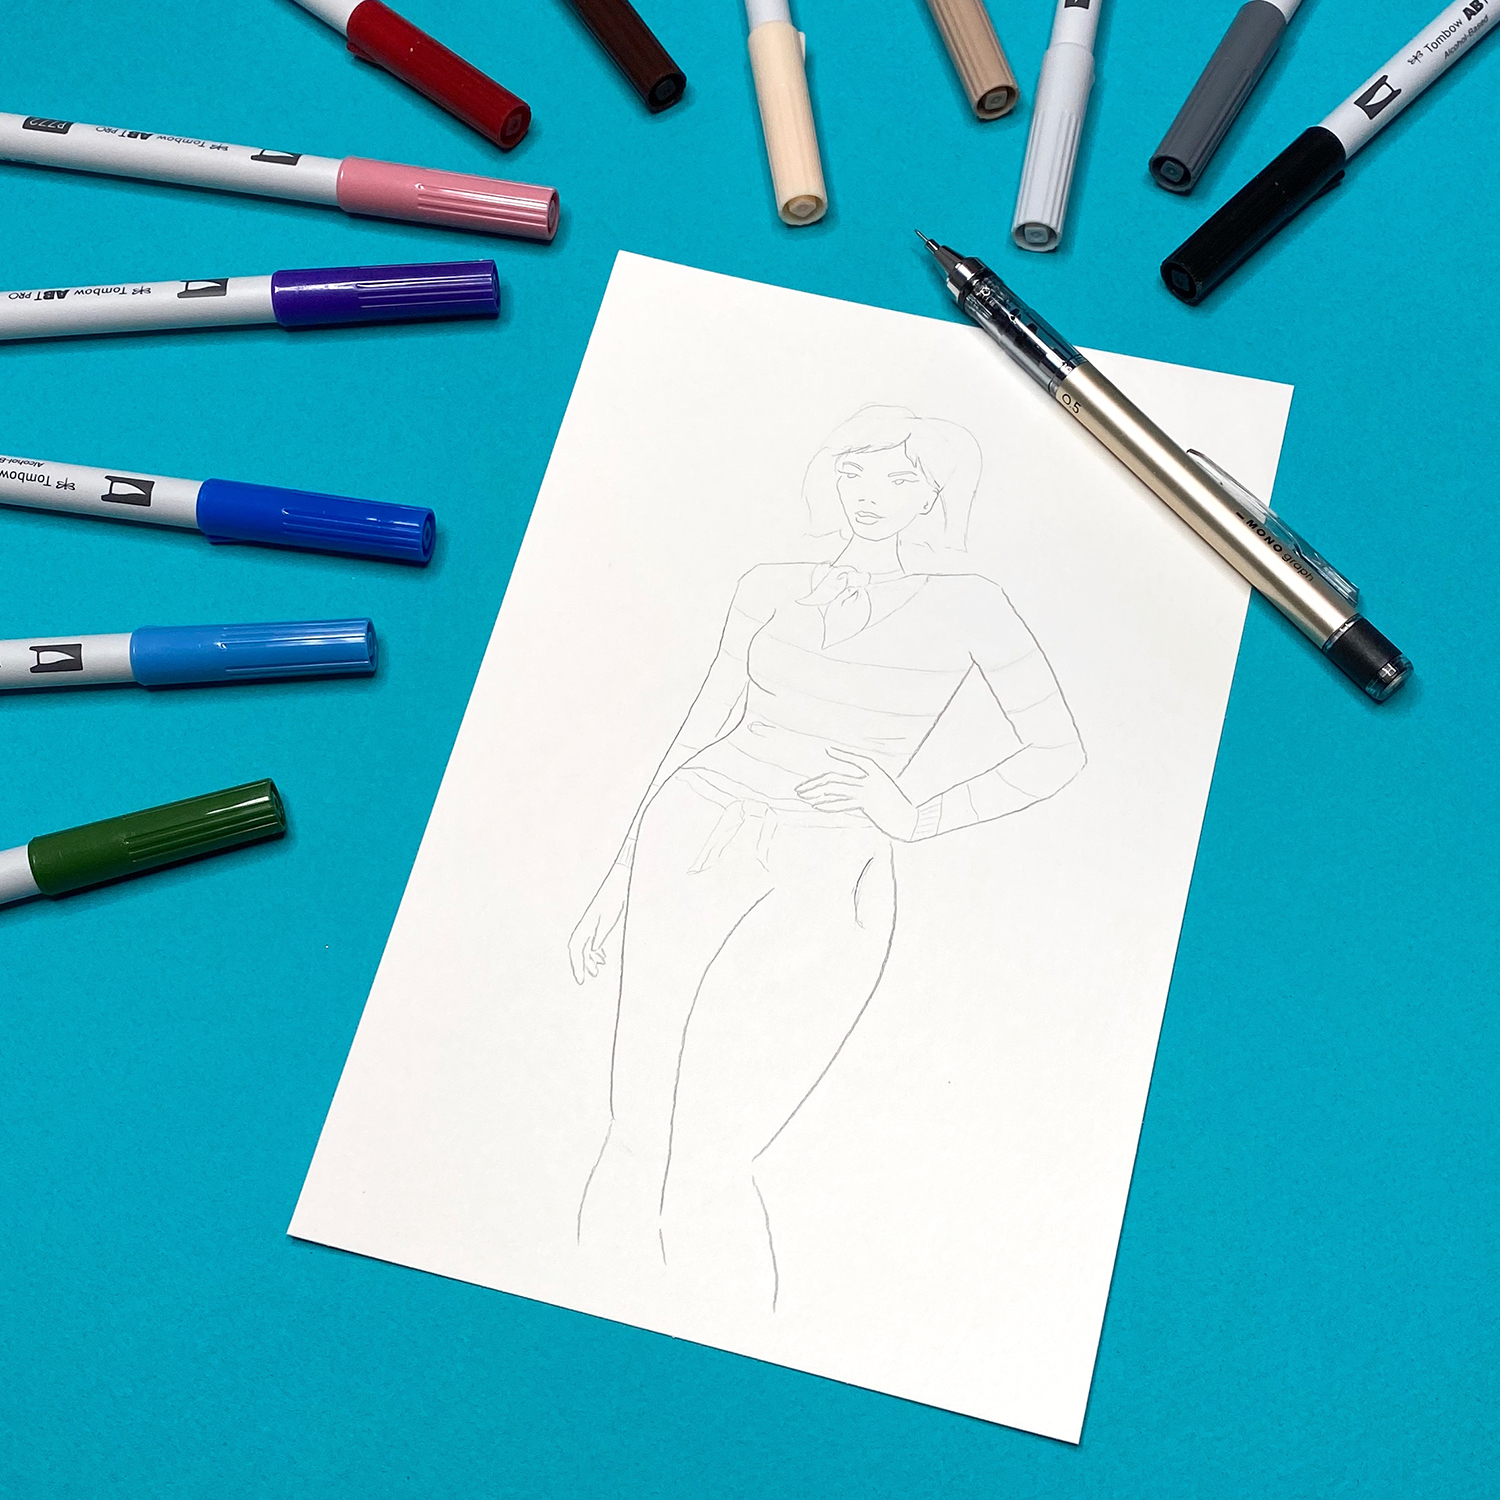
Step 2: Apply Your Base Layer
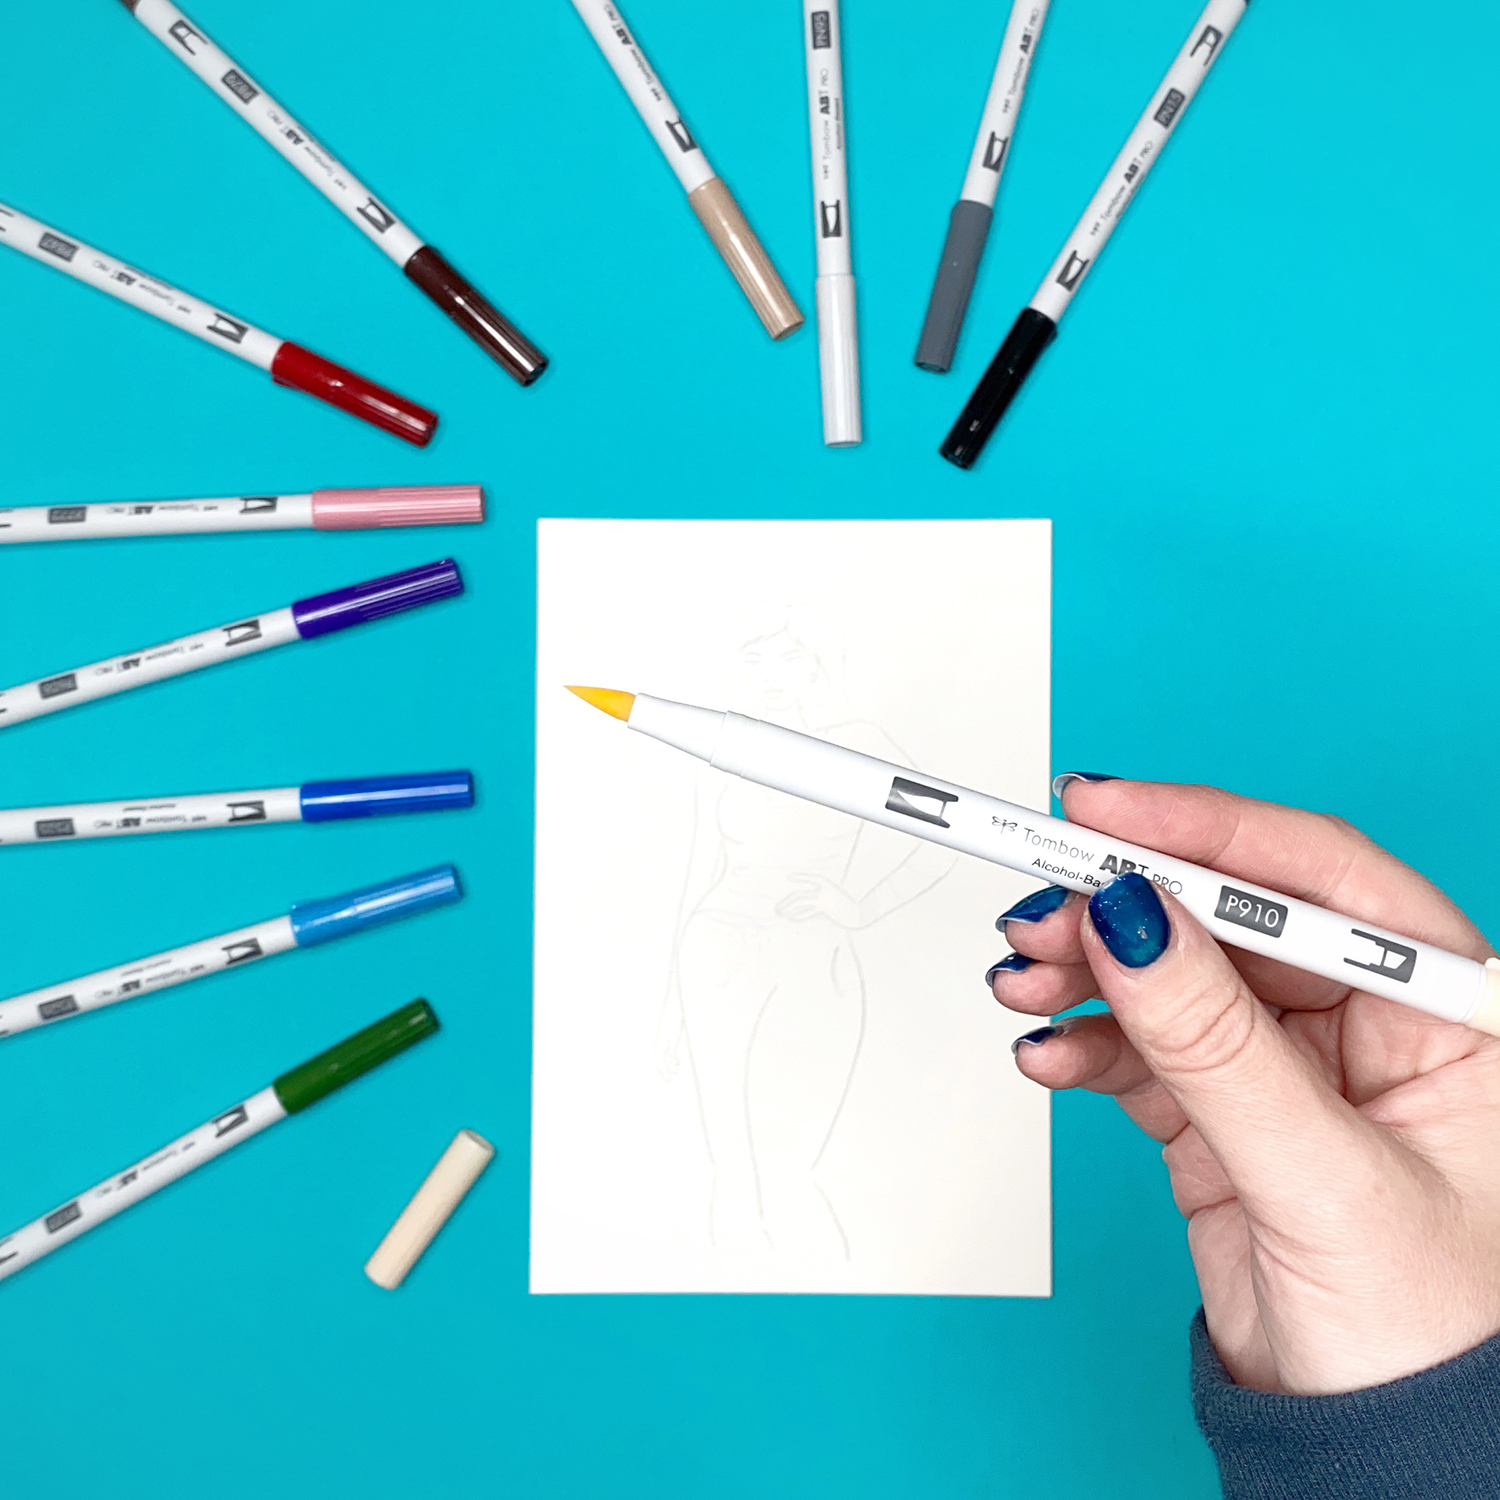
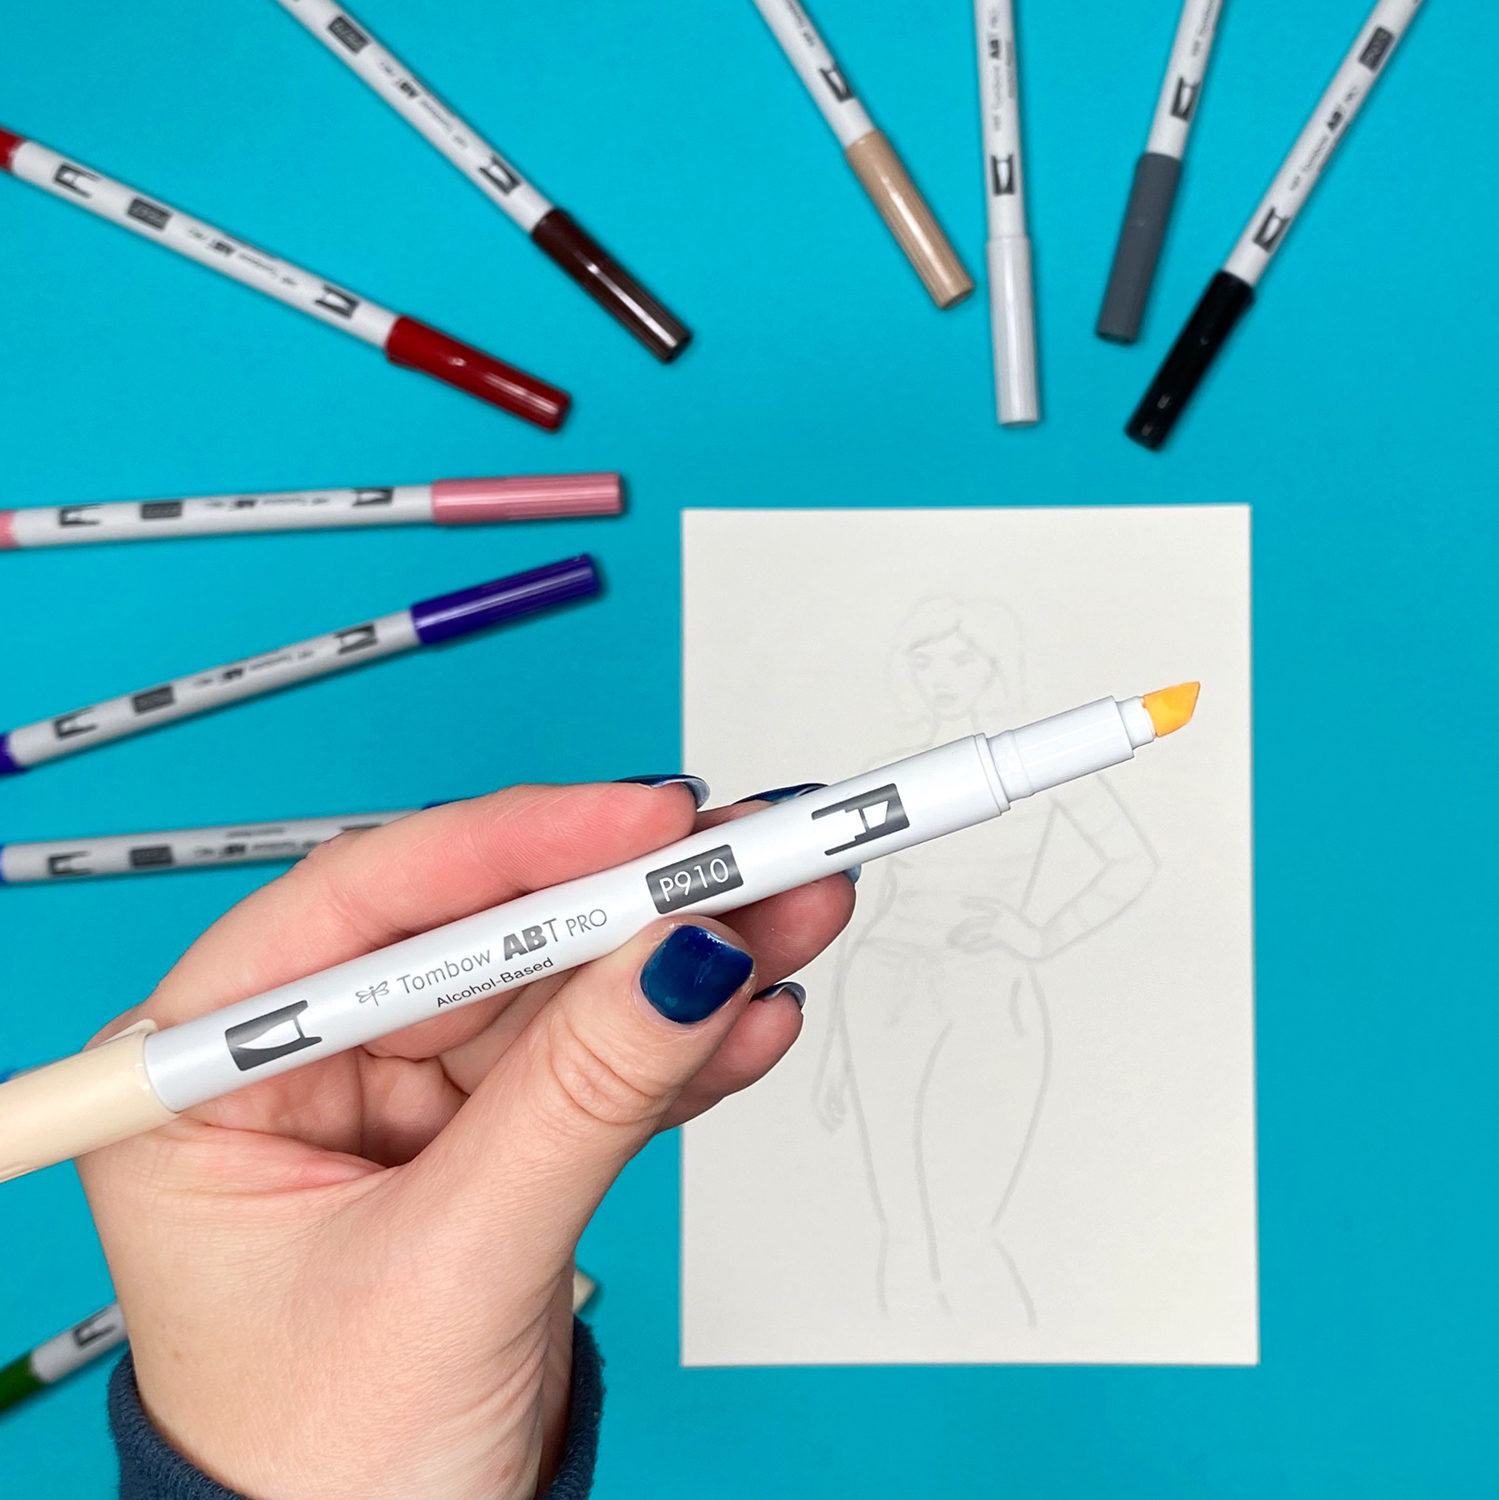
One of the great things about the ABT PRO Markers is that they have a brush tip on one end and a chisel tip on the other. I love the brush tip for smaller details and variable-width line work. The chisel tip is great for blocking in larger areas of color or lines that I want to be a consistent width. See below for pictures of each tip.
First up, let’s color any skin that is showing. No matter what skin tone I’m trying to replicate, I always start with my lightest colors first. It’s easy to build up color and depth with the ABT PRO Markers. It’s harder to take it away if you start out darker than you intend to.
You can use the same marker to create shadows and depth too. Just wait for the first layer of ink to dry and then apply a second or third layer in the areas you want to appear darker. Before deciding if you need another layer, wait at least 60 seconds to get a good indication of what the shade will look like. This is becasue the color will change slightly as it dries and the ink tends to look darker while it is still wet.
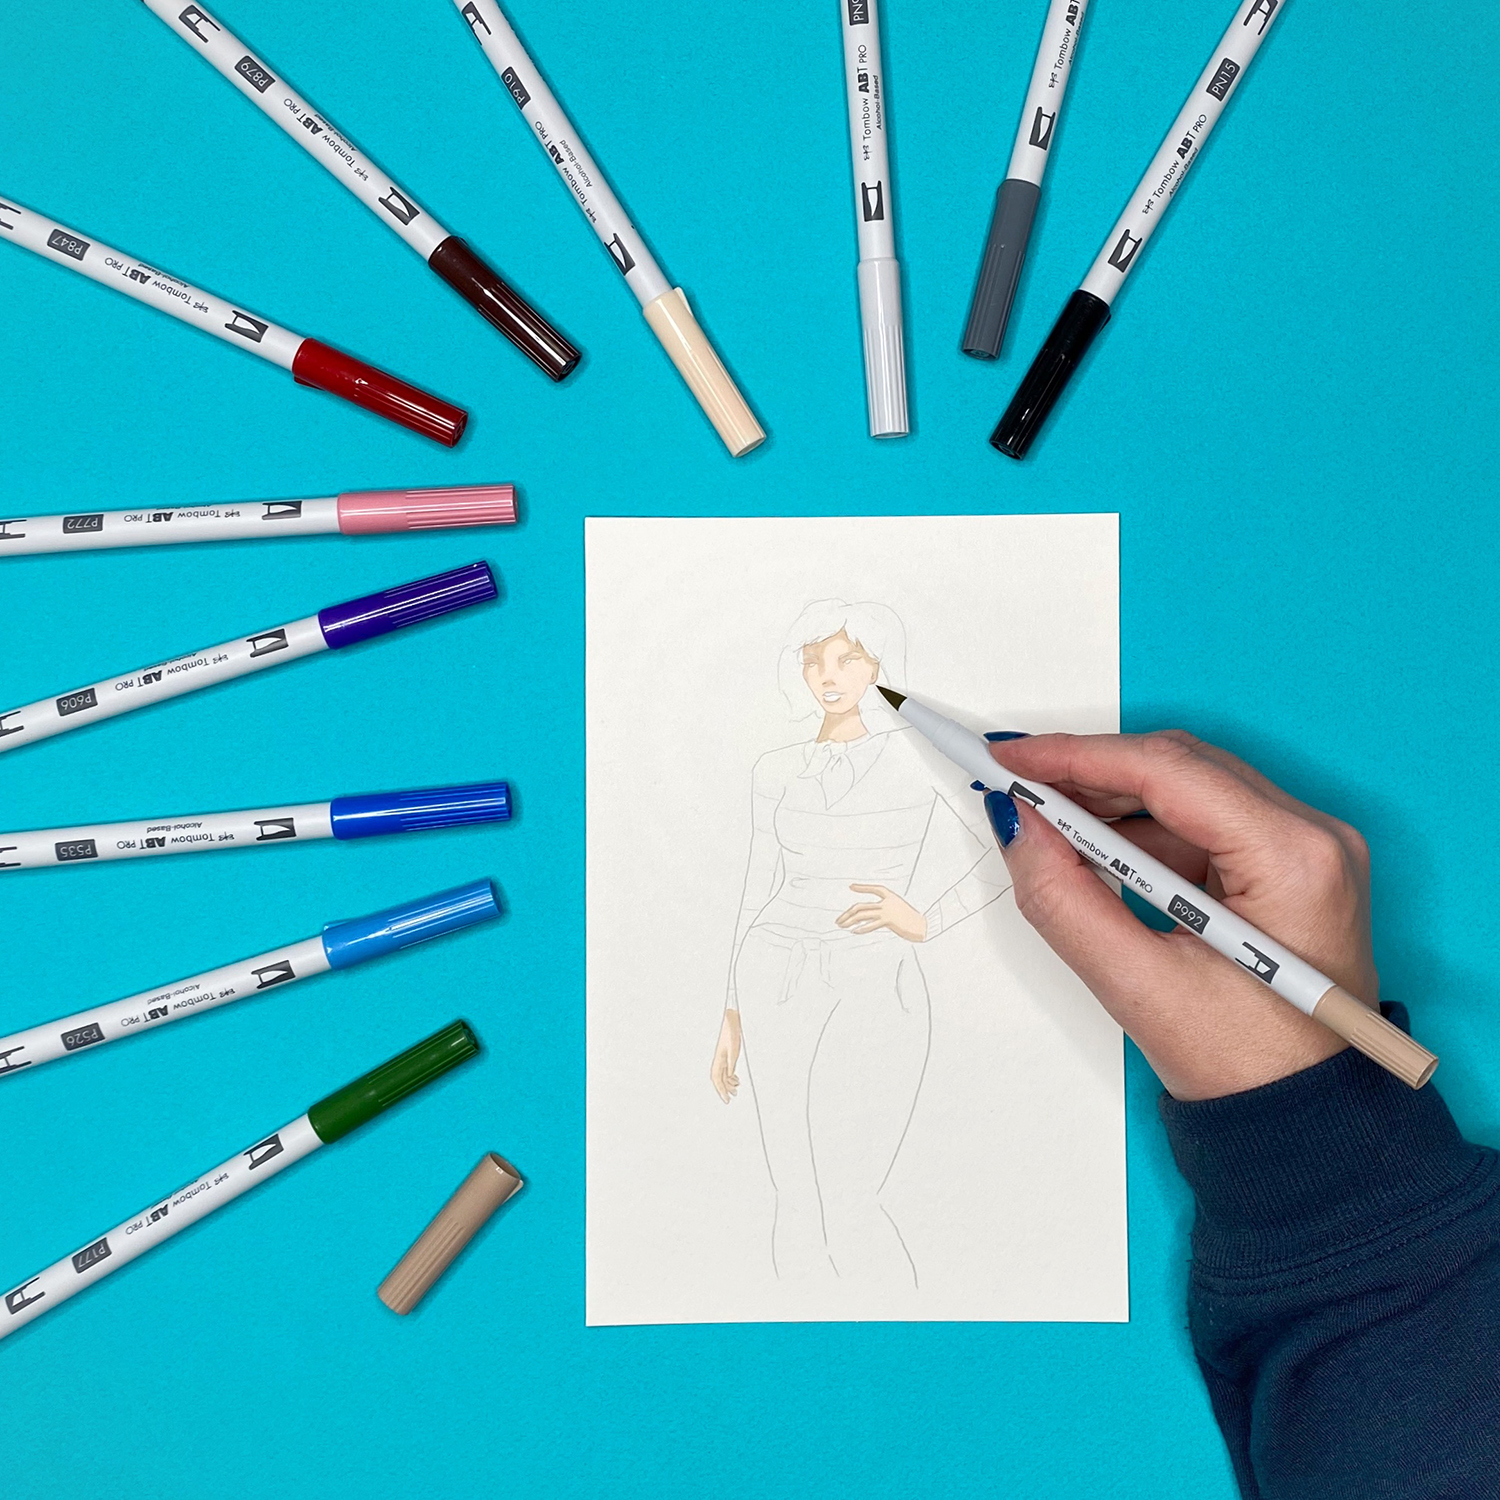
Next, use the chisel tip of your ABT PRO Markers to block in a base layer of color for the clothes. The chisel tip will allow you to work faster over a large area of color. You can angle it to use just the point when moving into any tighter areas.
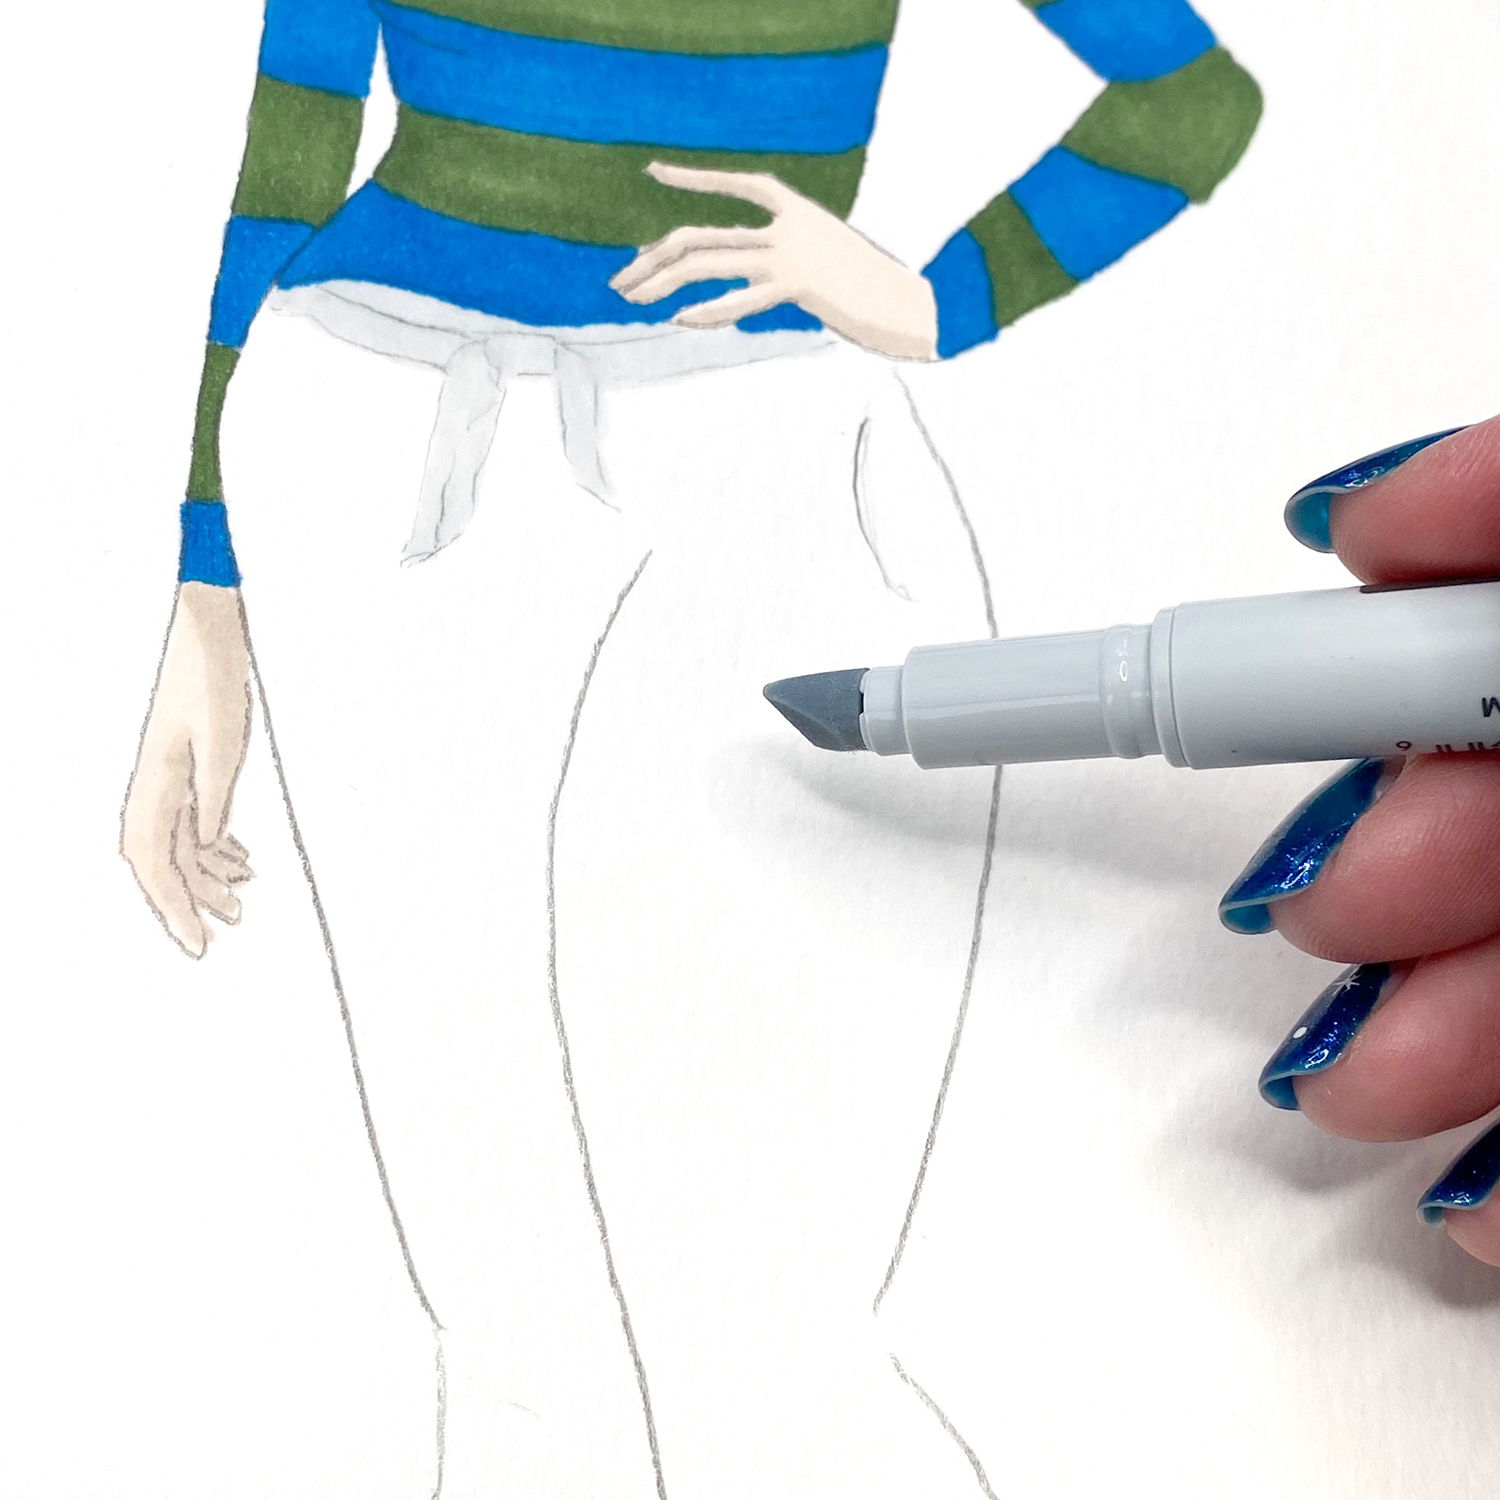
Step 2a: Using Grey Tones
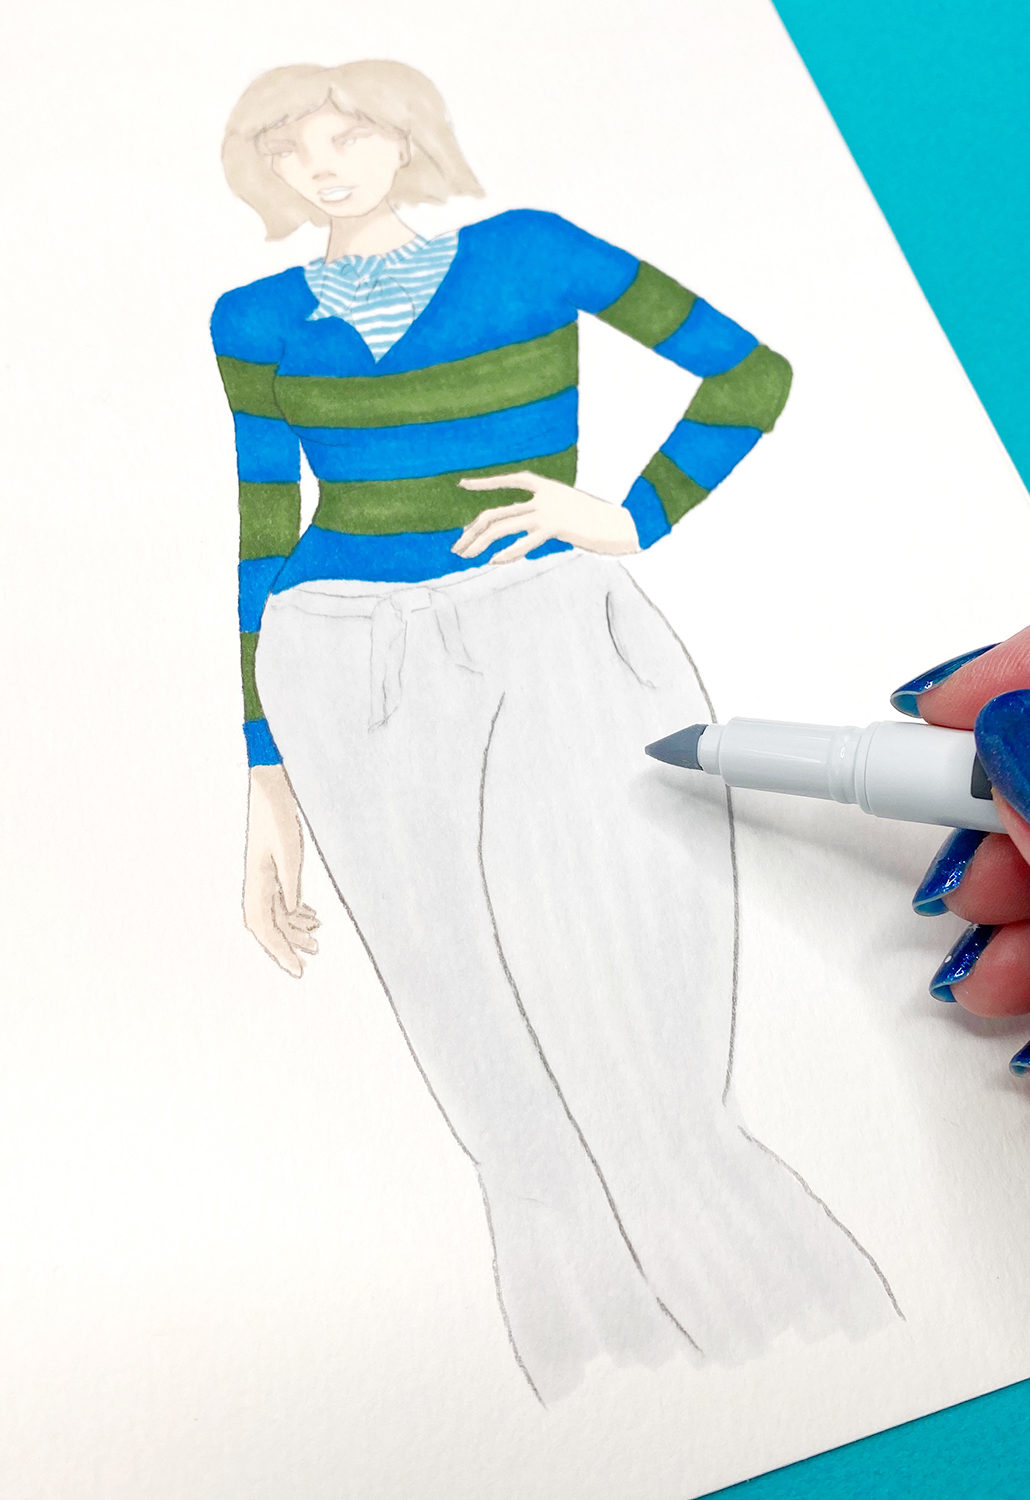
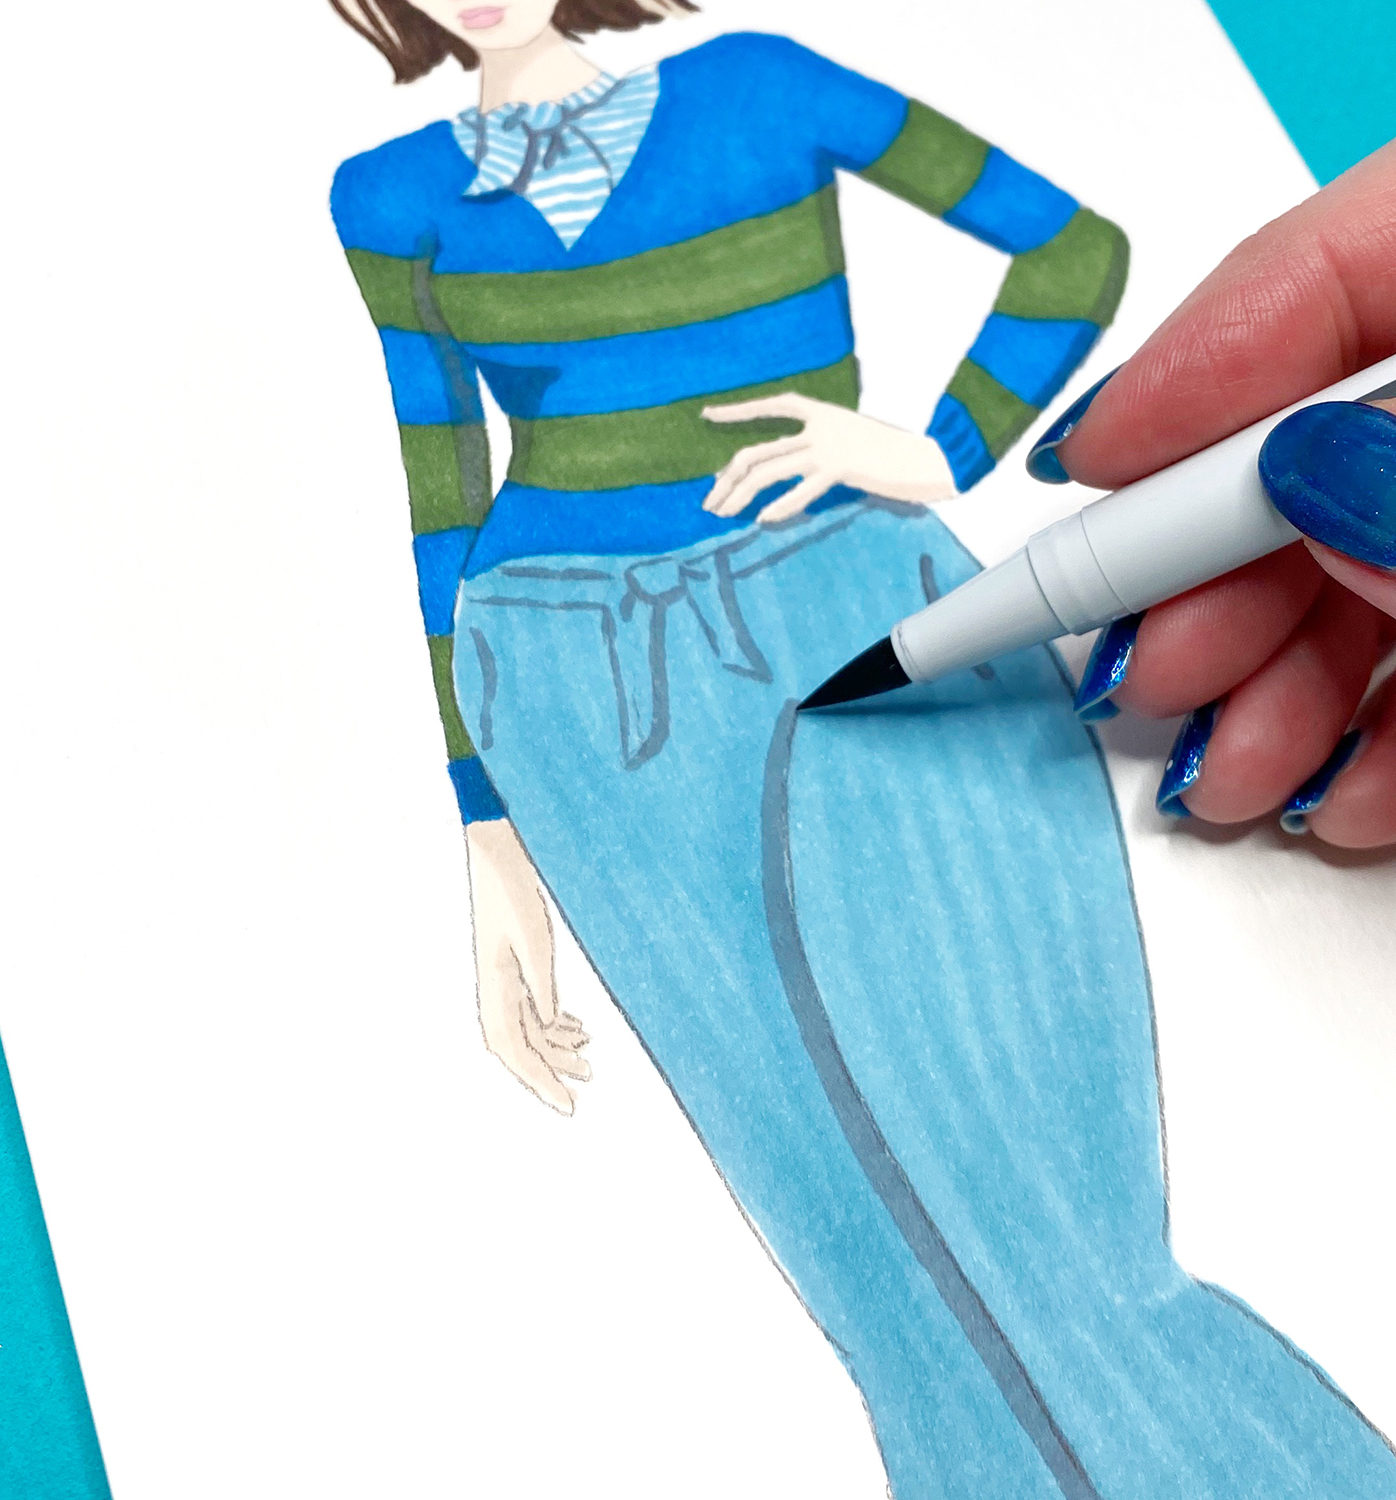
You can also use grey tones underneath colored ink to achieve a darker tone. For example, I want to use the light blue (P526) for her striped shirt, and I want to use the same color for her jeans. I want it to appear a little darker, so I’m putting down a base layer in N95 first.
Step 3: Add Details and Shading
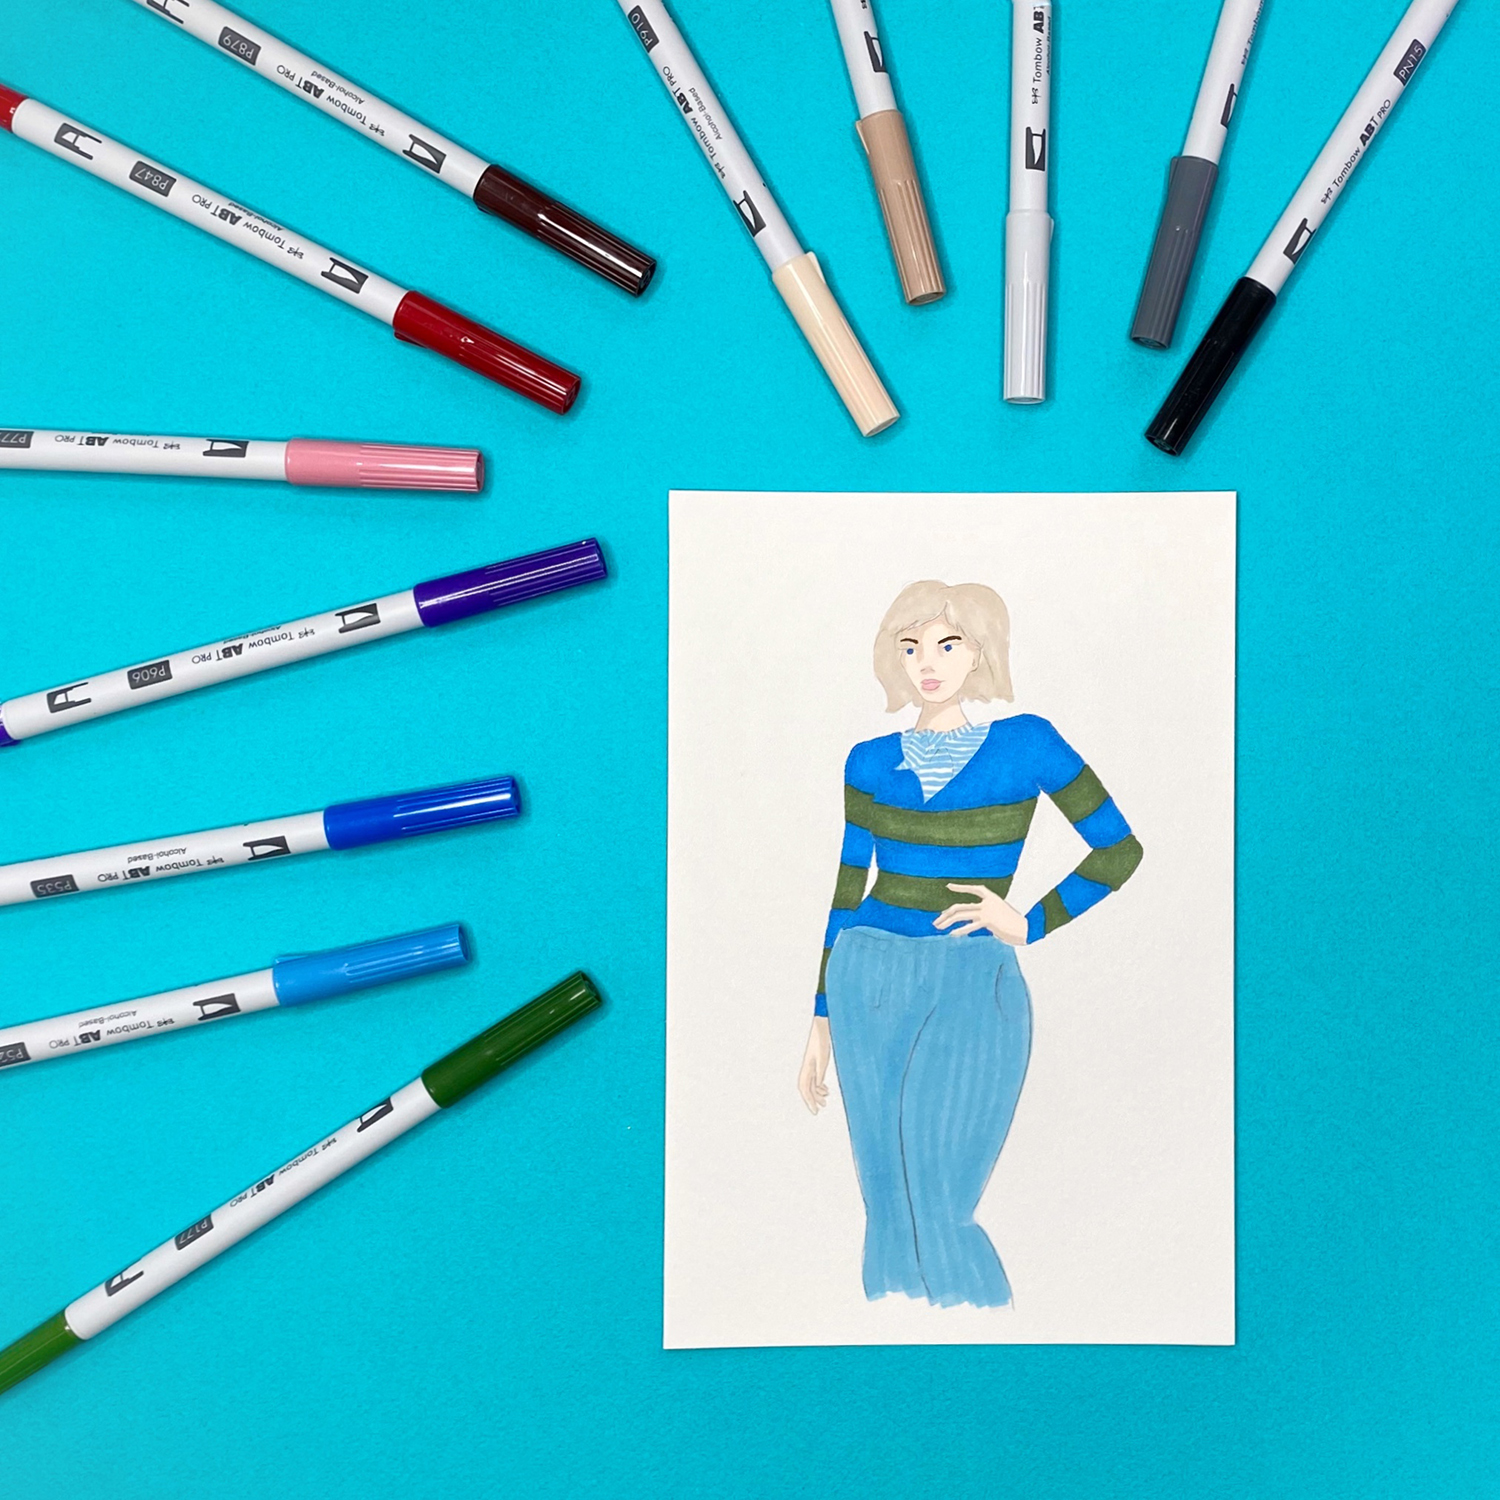
Once your base layers of color are dry, it’s time to add some shading and details to give your illustration a little more dimension. As I mentioned earlier, for subtle shading you can use the same colors as a second or third layer. Alternatively, you can use your grey tones (N95 and N45) to add details and shadows. The brush tip is great for this detail work. You can draw really tiny by just using the tip or angling the brush and applying more pressure for a thicker line.
The ABT PRO Markers also pair really nicely with the MONO Drawing Pens. I’m going to use them on top of the dry ABT PRO Marker ink to add a few smaller details and linework.
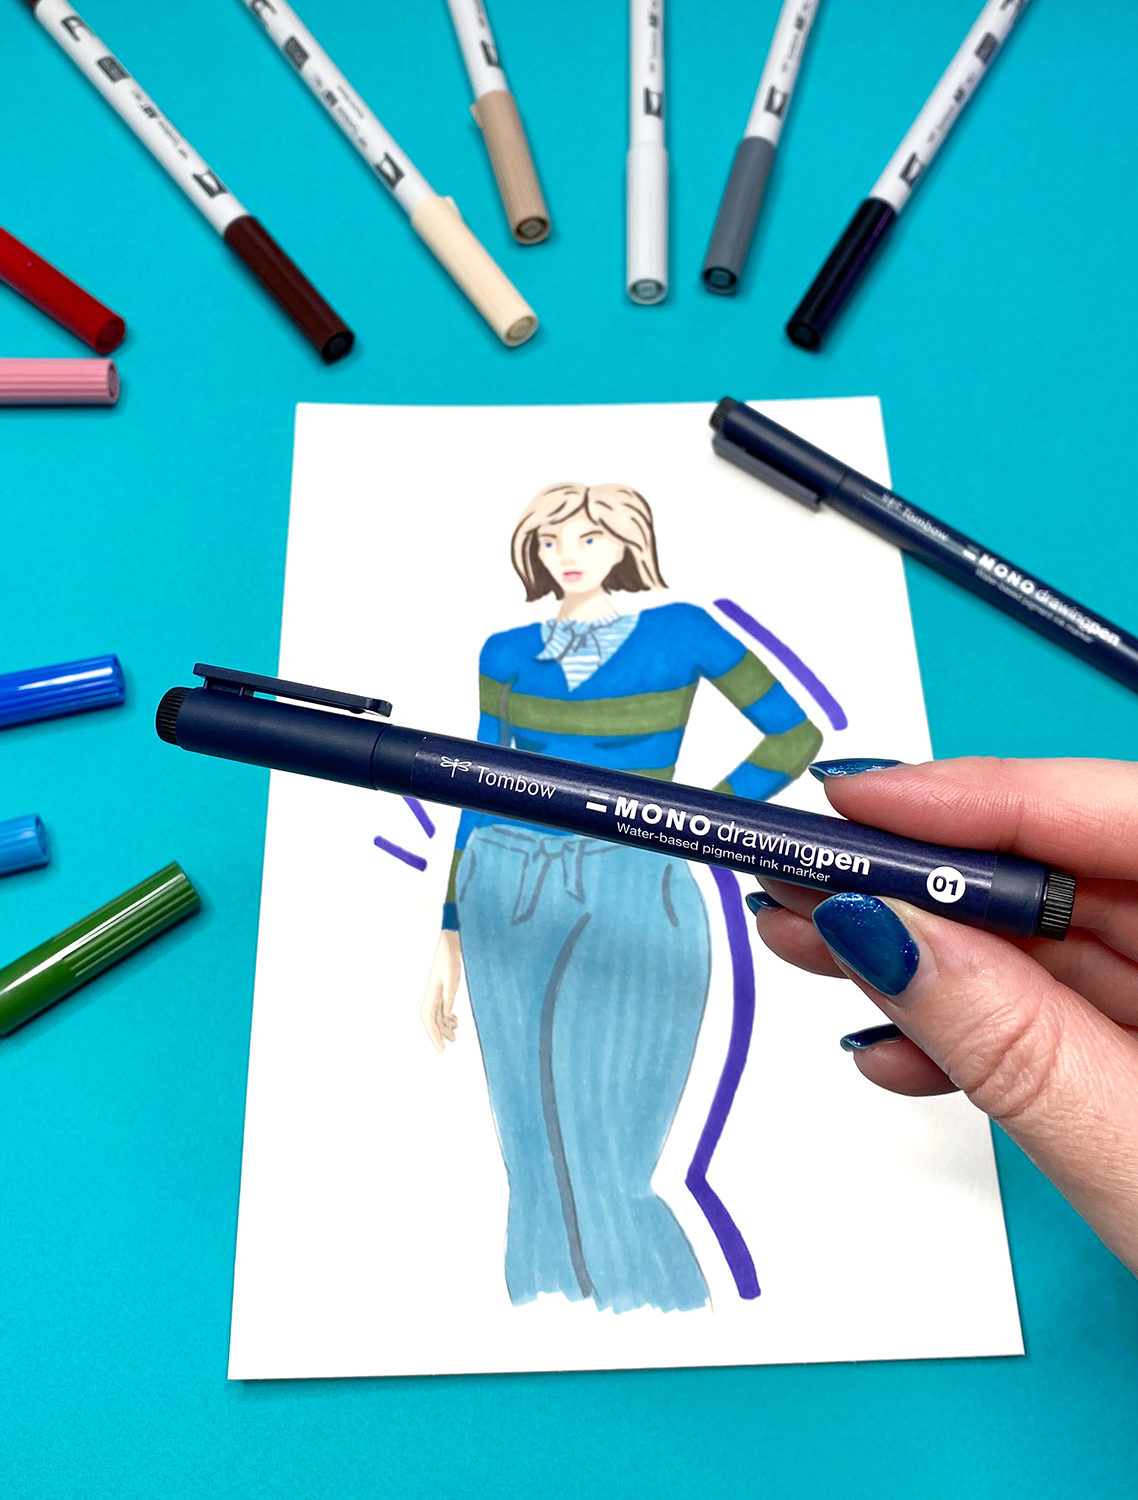
Feel free to add some flair or a bit of a background to your illustration. Then, you’re finished!
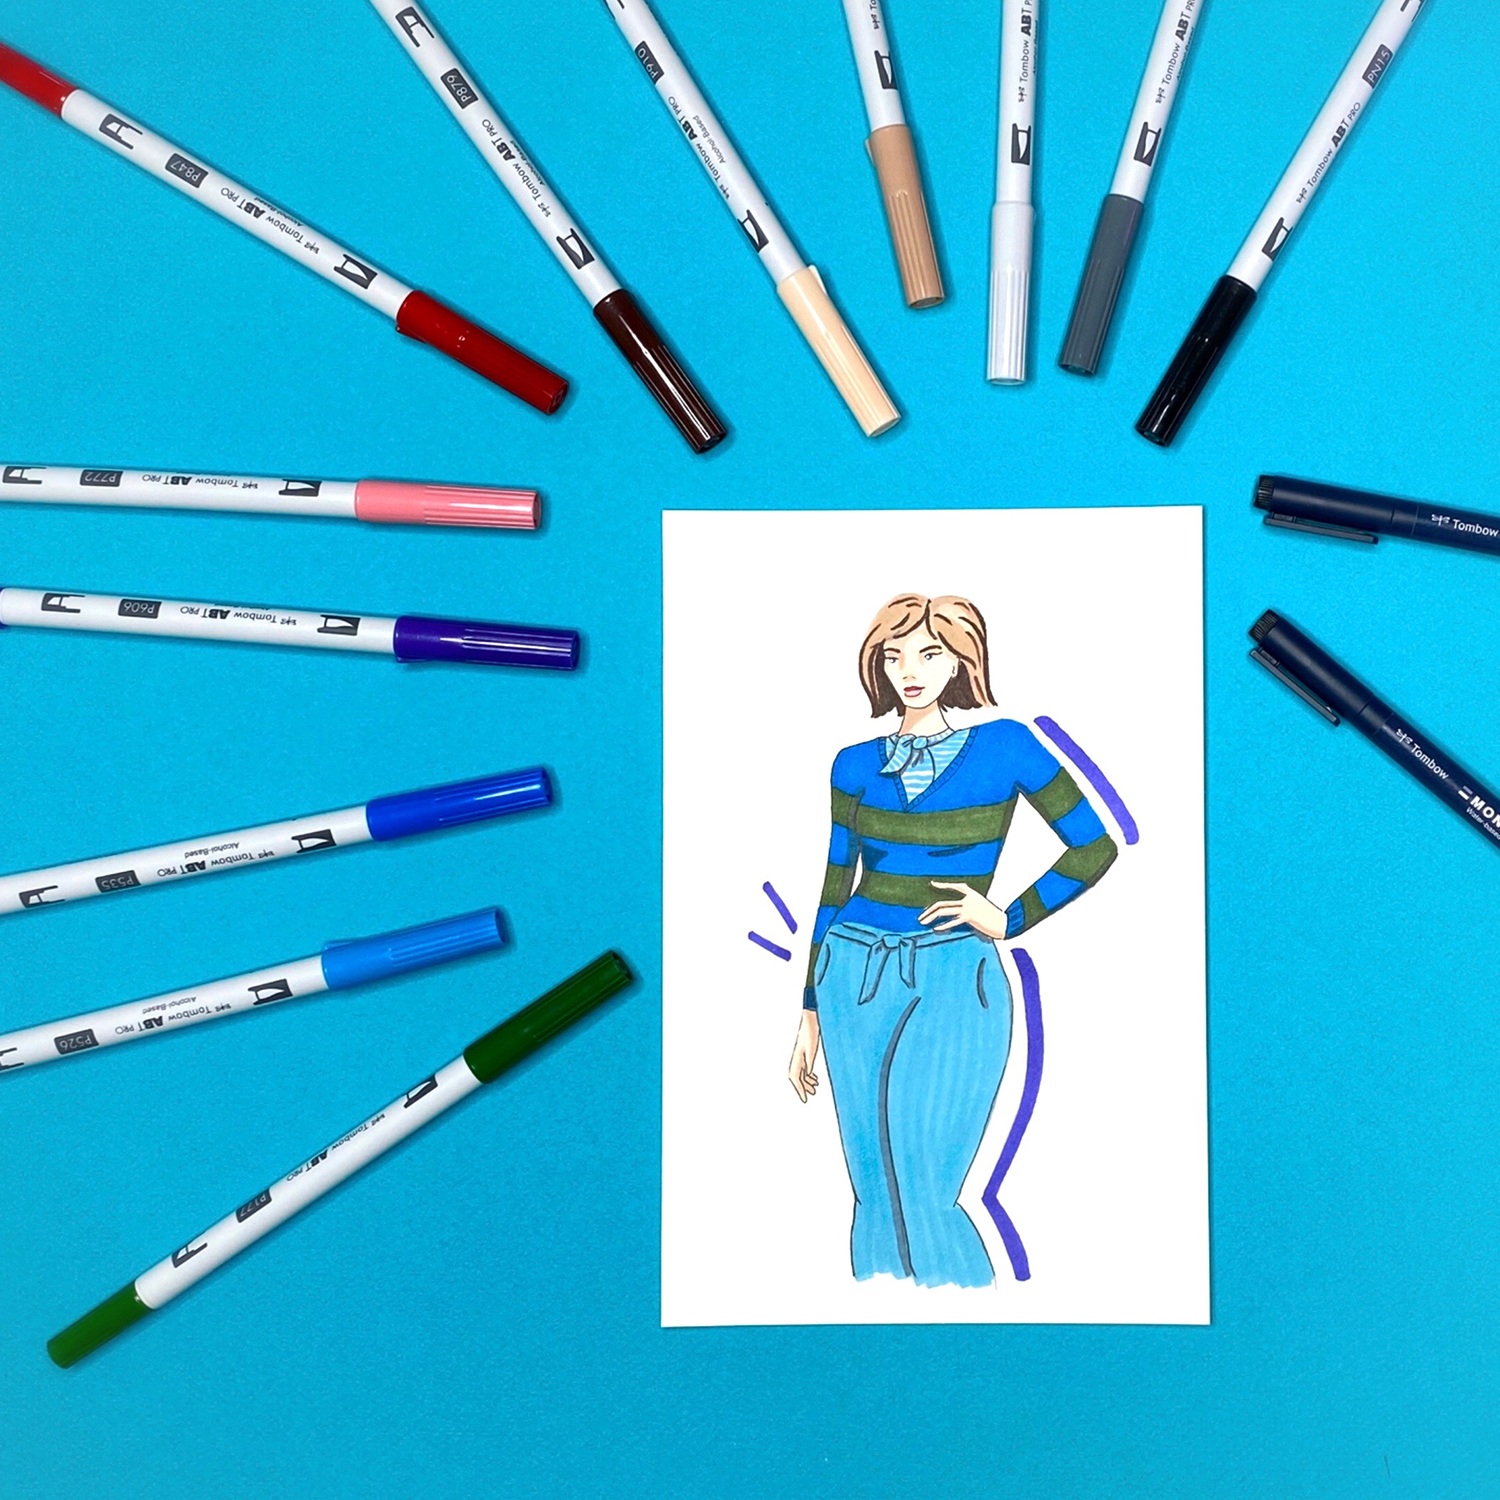
We’d love to see your creations with the ABT PRO Fashion Palette, so tag @TombowUSA and @BrownPaperBunny on social media. And if you’re looking for more fun projects, check out How to Color Lips Using ABT PROs.
Oooh I love this!
2
Pingback: Make a Fashion Illustration from Found Objects - Tombow USA Blog
Pingback: Create a Lighthouse in a Loosely Sketched Style - Tombow USA Blog
Pingback: Creating With the ABT PRO Alcohol-Based Marker Fashion Palette 12-Pack - Tombow USA Blog
Pingback: Fall Doodle Lettering - Tombow USA Blog
I have a strong affinity for this particular subject matter.