Hi y’all, it’s Grace from Grace Anne Studio! If you’ve seen any of my posts before, you know that drawing flowers intimidated me and really stressed me out. HOWEVER, I’ve been working to find my style of drawing flowers and I finally found one that I love! Today, I’m going to walk you through how to create your own stress-free watercolor florals using the Tombow Watercolor Set. It’s easy, fun, and perfectly, imperfect.
Supplies
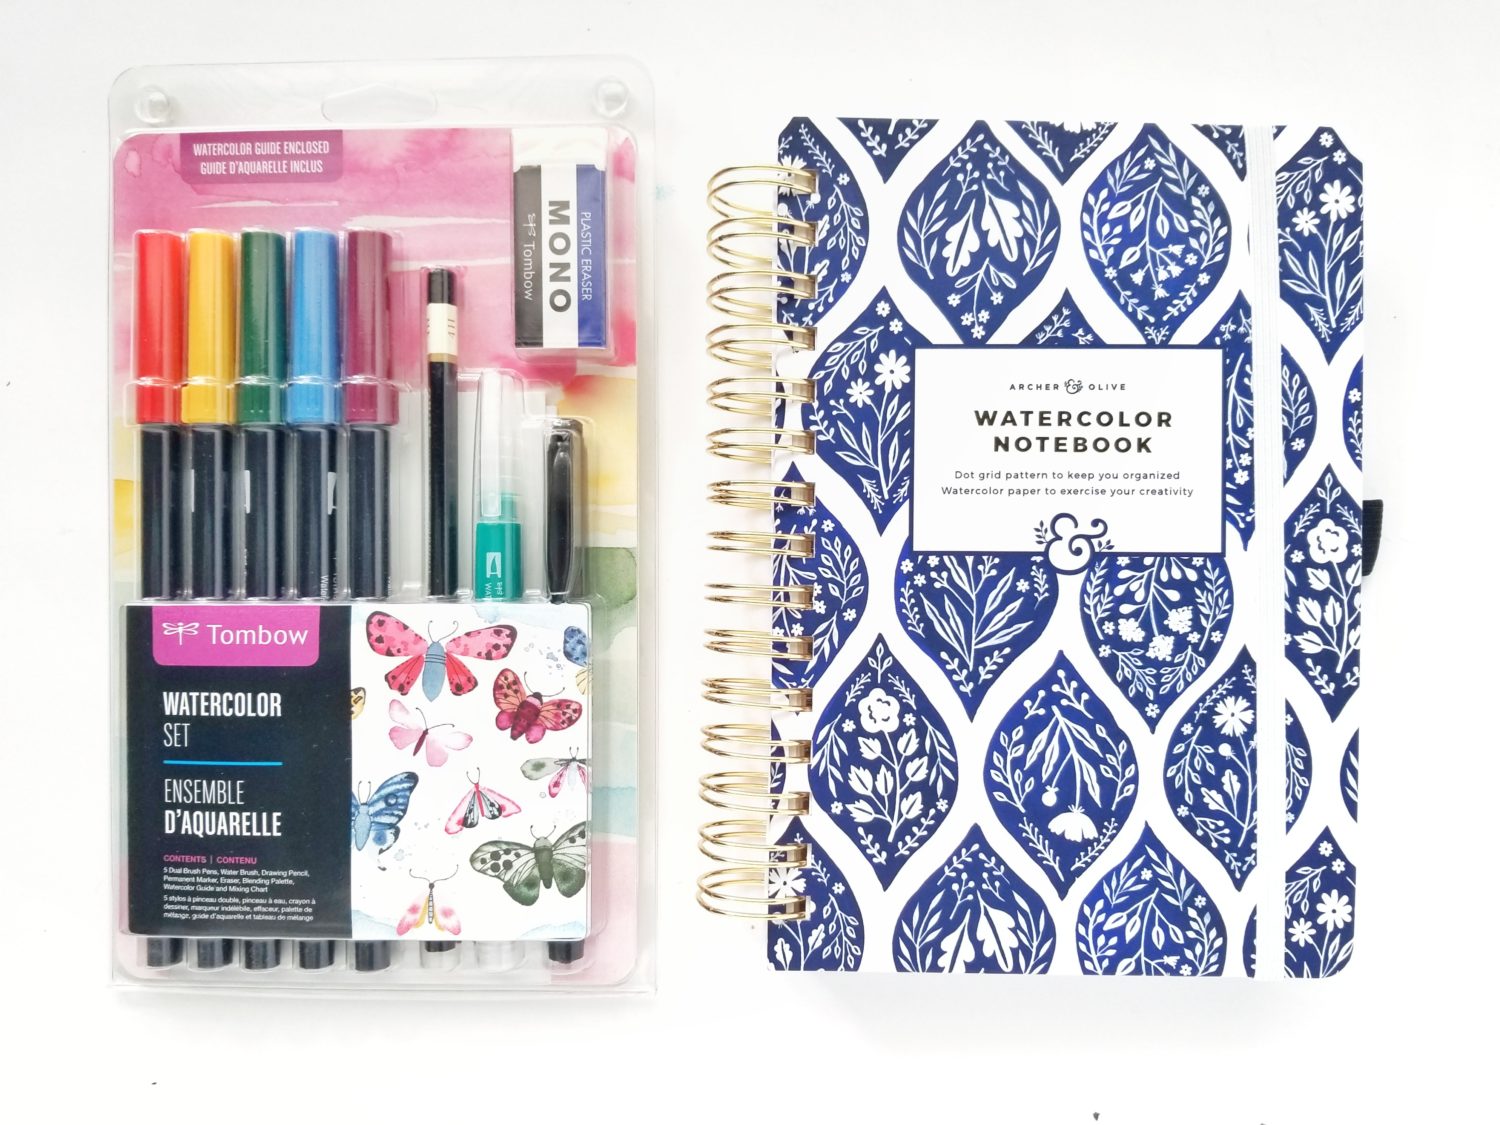
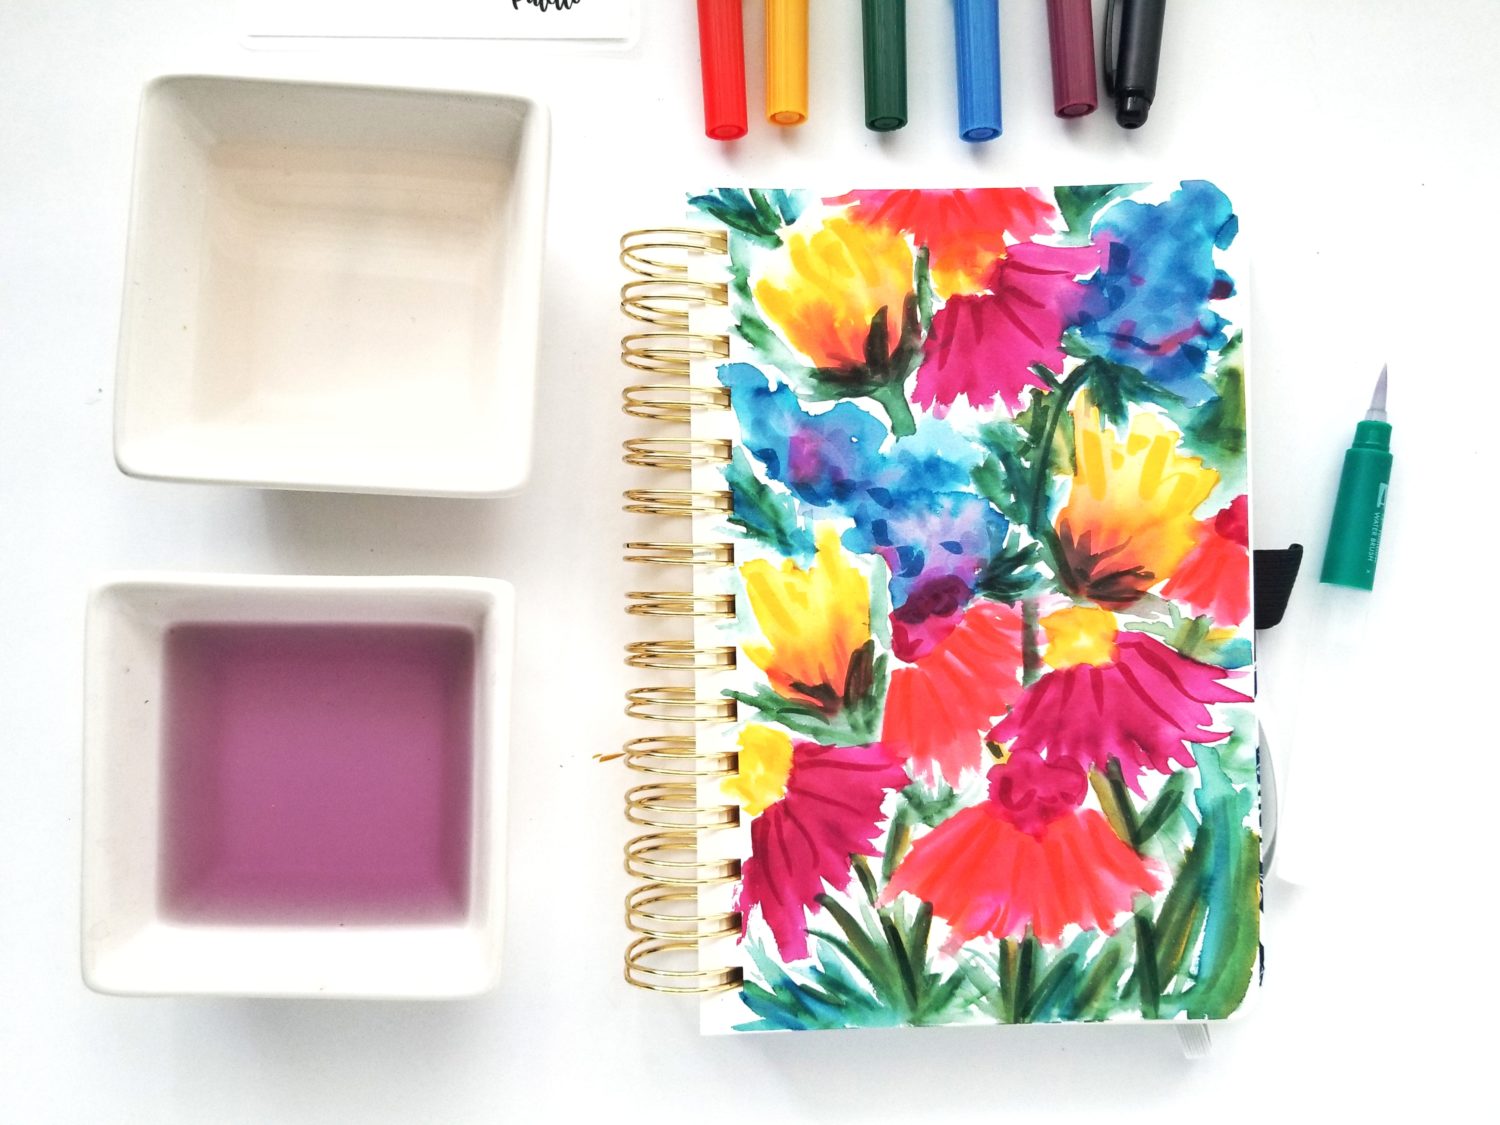
- Tombow Watercolor Set
- Watercolor paper or notebook
- Two dishes of water
- Paper towel or something to dry your brush
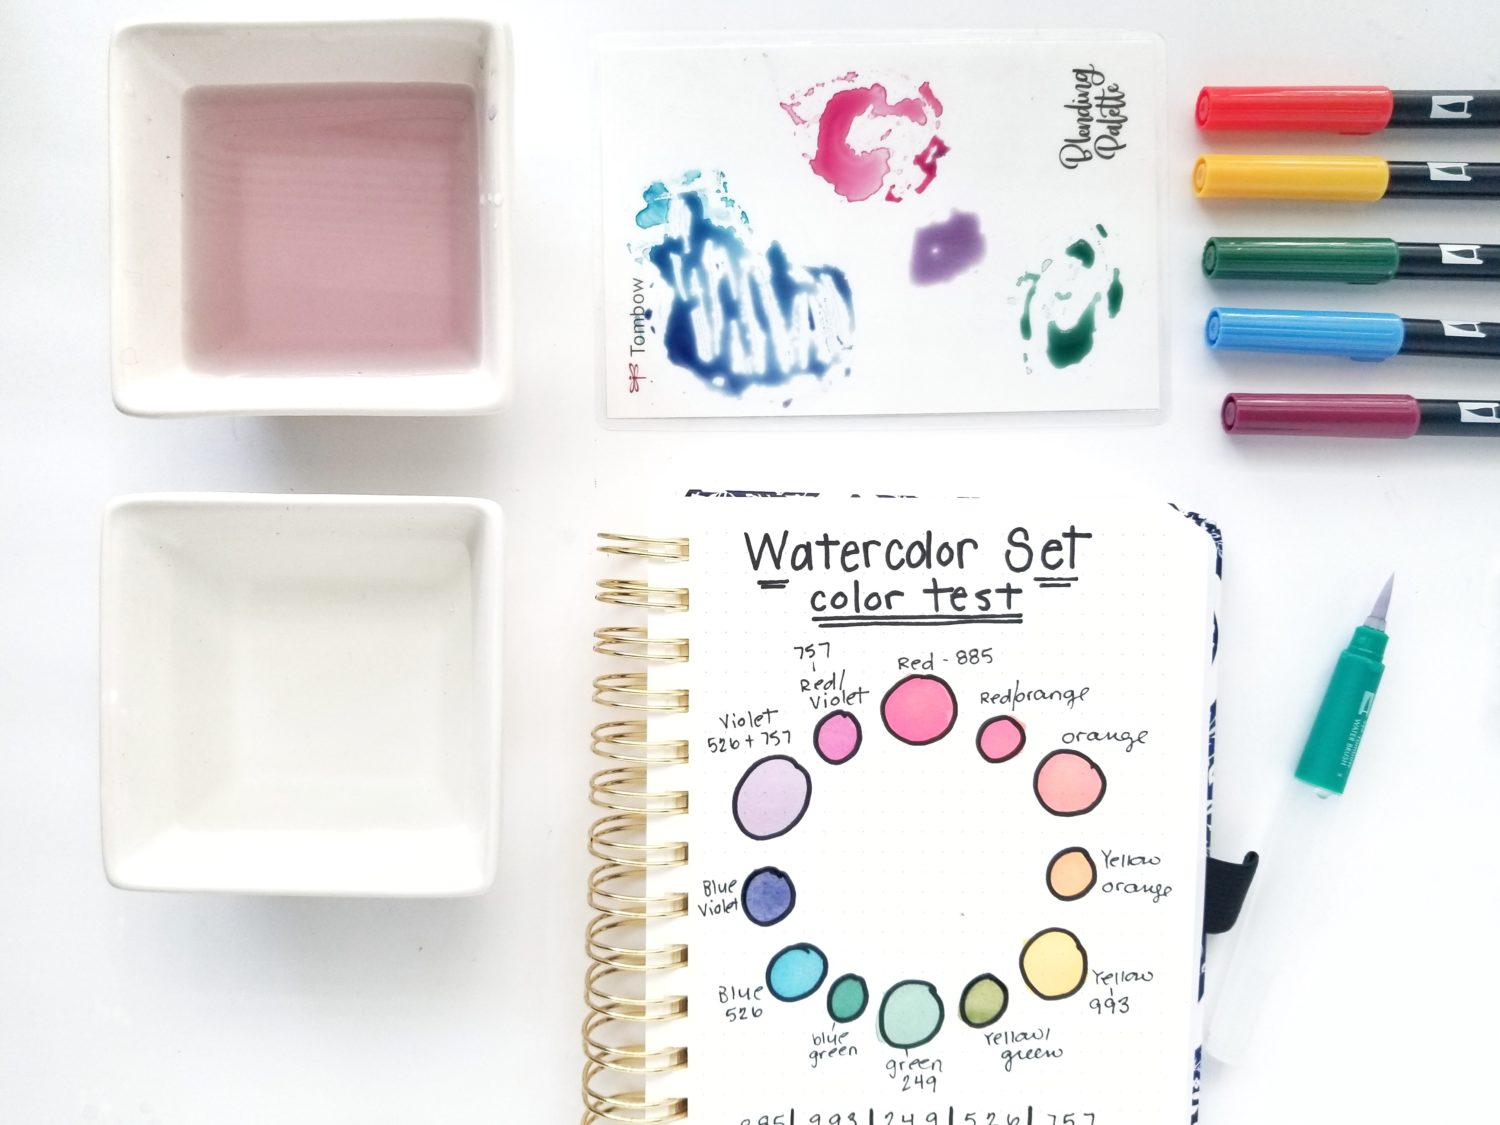
Step 1: Test the Colors
The first thing you should always do for every project is test your products. Different pens react differently with different papers. Even if you’ve used all of the materials before, it’s always a good idea to do a quick color study. Here I used the insert in the Watercolor Set as a guide to testing the colors. I drew the basic layout in my Archer and Olive Watercolor Dot Grid Notebook and tested the colors.
You can easily create your own watercolors using the Dual Brush Pens by scribbling some color on the Blending Palette. Then with your Water Brush, squeeze a drop or two of water onto the Blending Palette and mix the colors. From there you can watercolor directly on the paper or continue mixing colors on your Blending Palette until you find the right combination for your project.
You should also have two water dishes in use by now. One to rinse cool colors in and one to rinse warm colors in. This helps keep the colors you created clean and pure. When you need to add clean water directly to your project, you can squeeze water from the barrel of your Water Brush.
Another watercolor method using the Dual Brush Pens is the direct to paper approach. This technique works by coloring with the Dual Brush Pen directly on the paper and then adding water on the page to dilute and spread the color. Paper choice is important here. The longer the color takes to absorb into the paper, the longer you have to move it around. I used this technique for the color swatches at the bottom of the color test page.

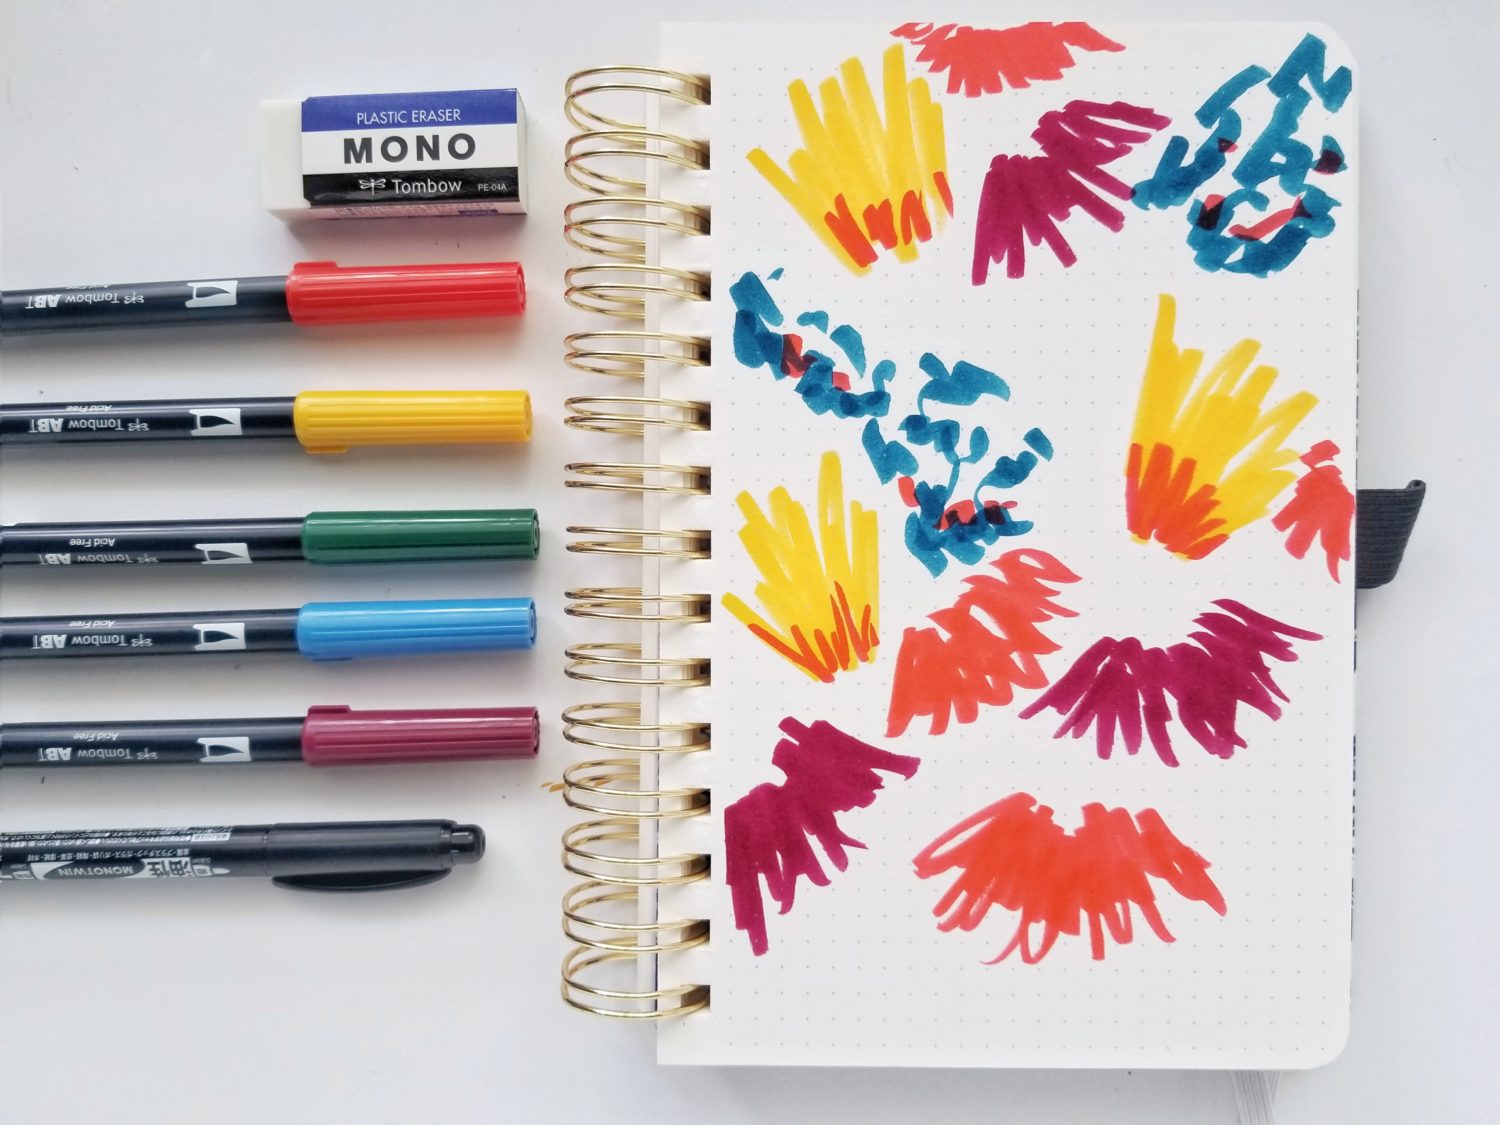
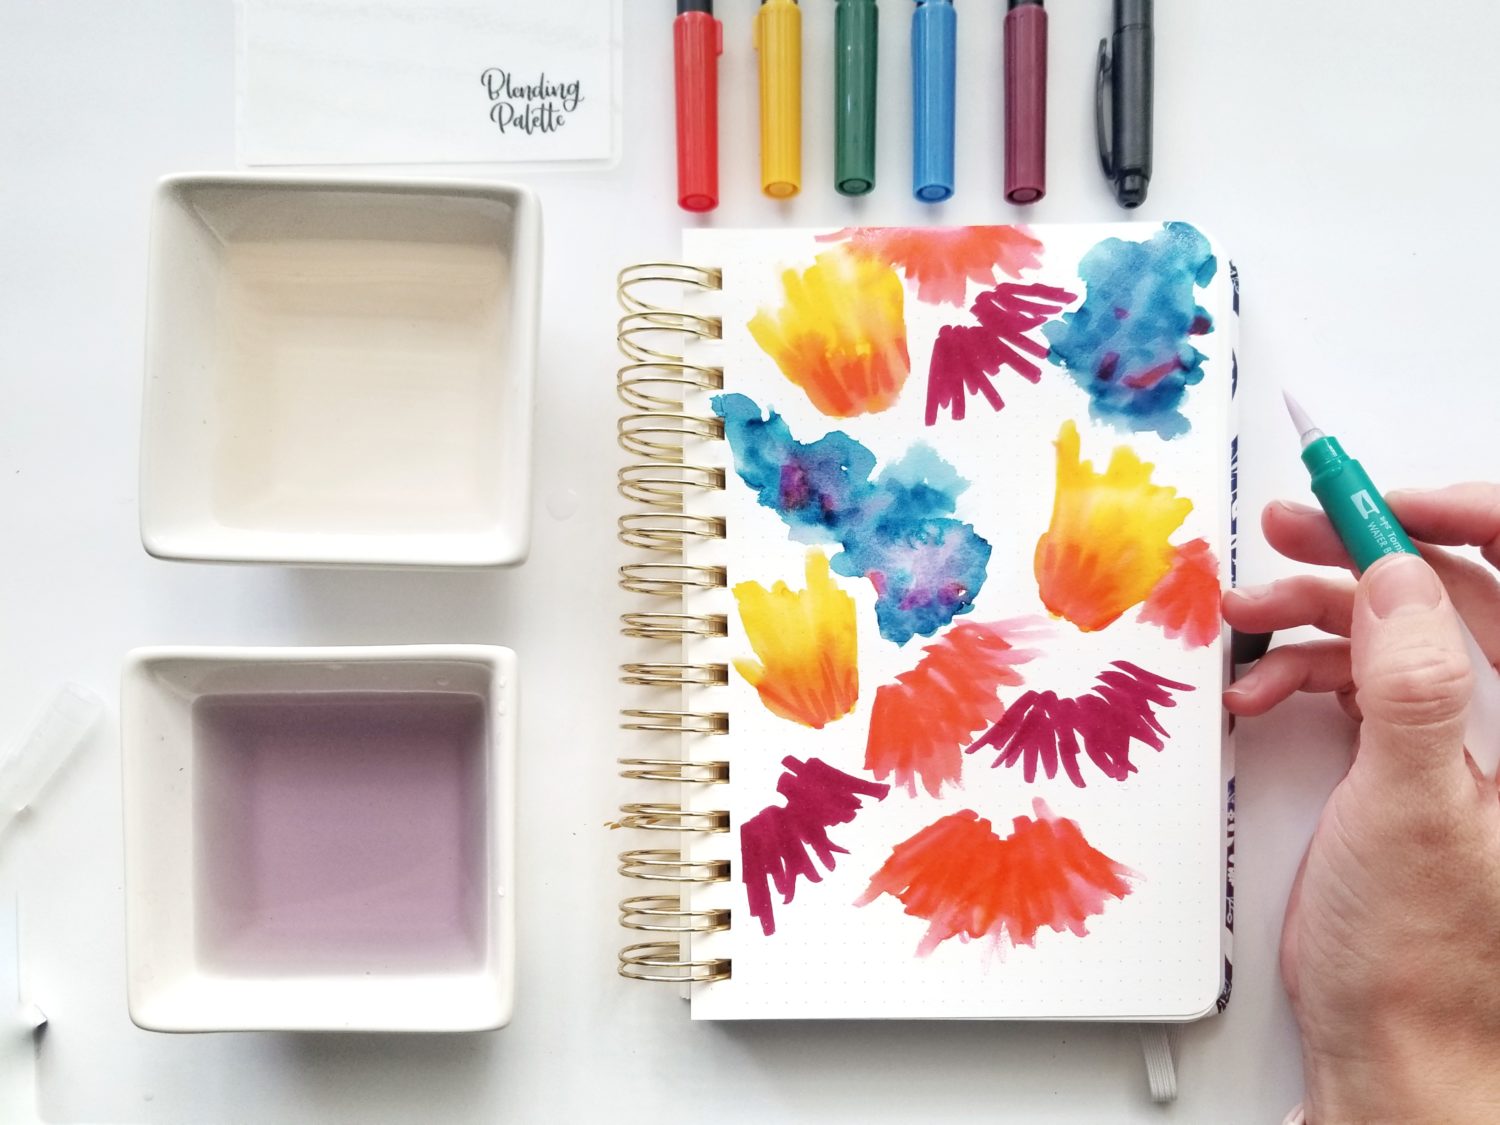
Step 2: Add Dual Brush Pen Color for Flowers
Now that we’ve tested the colors, let’s make our flowers. Start by scribbling the colors around the page in the general shape of flowers. You can use any shapes you’d like! I layered the colors in a few places to mix them directly on the page. Don’t forget to leave some space between the blooms for the greenery.
Step 3: Add Water
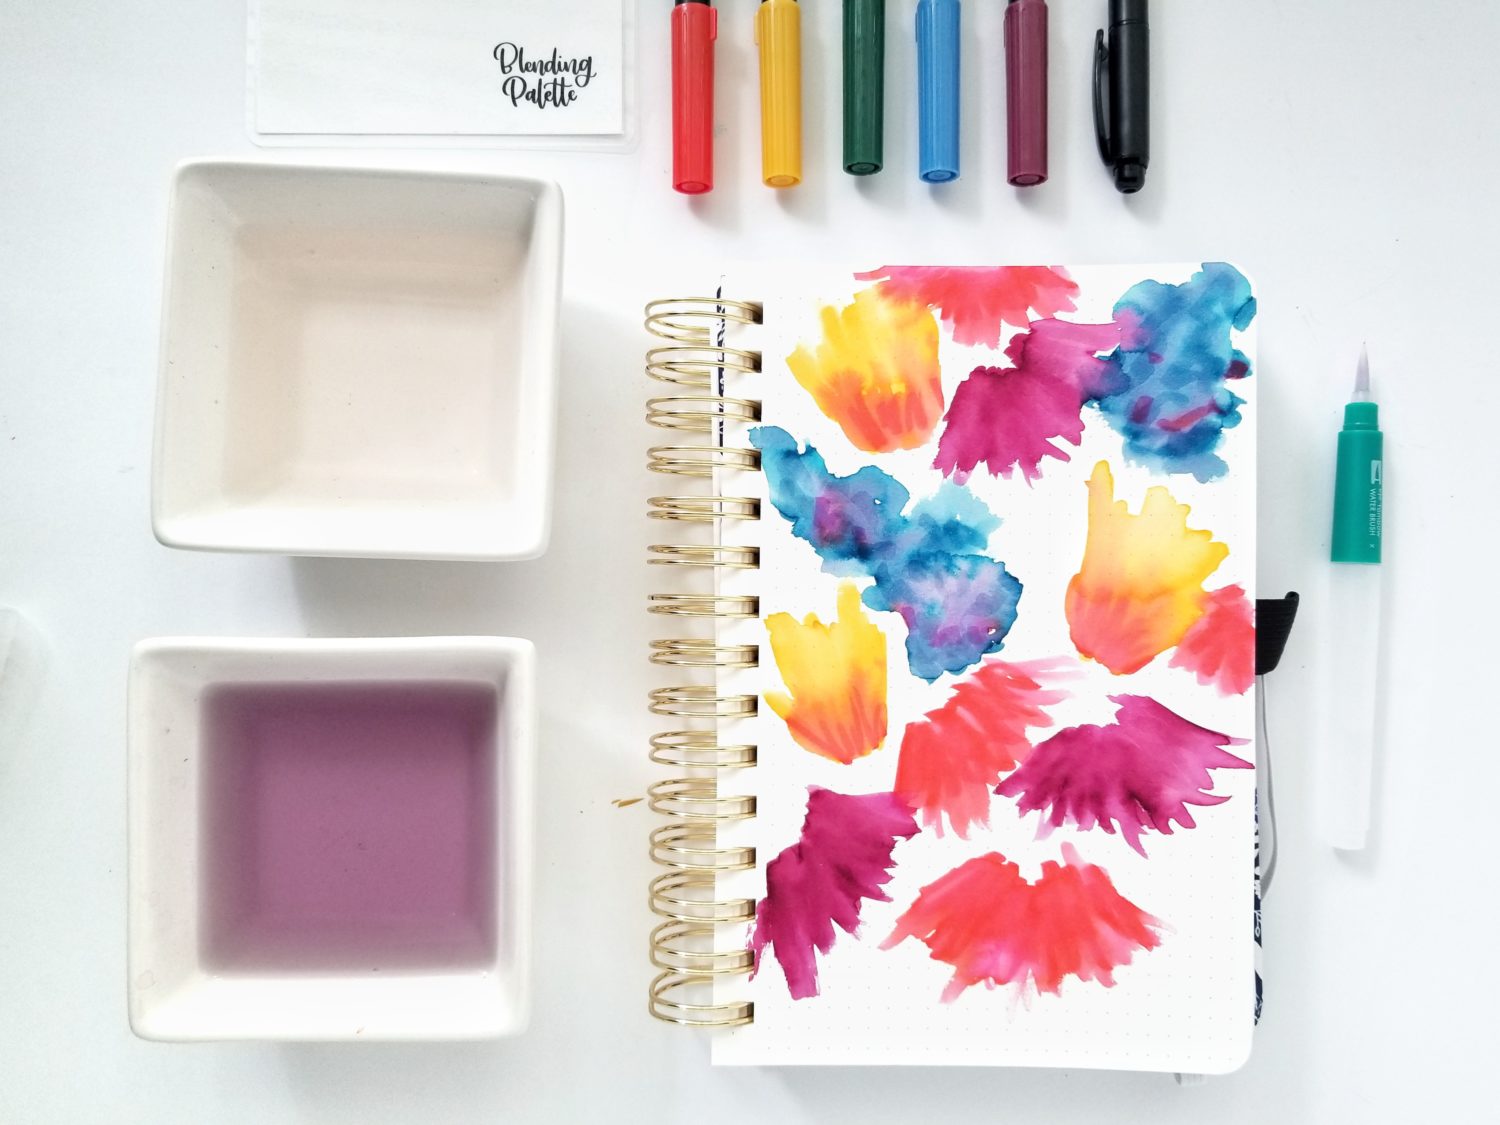
Next, use your water brush to add water. Gently squeeze the barrel to release a drop or two of water directly on the Dual Brush Pen color on your page. Then use your Water Brush to move the color around and create the shape of the flowers. Depending on how the flowers are laid out, you may need to let them dry a bit before adding water to all of the flowers. This will help keep the bleeds from spilling into different blooms. Let the blooms dry.
Step 4: Add Greenery
Next, use the same direct to paper technique to add stems and leaves to the flowers. I used a green (included in the Watercolor Set) Dual Brush Pen and layered yellow and blue in some areas for a variety of greenery. Then, use the Water Brush to add water and paint the stems and leaves. Let the greenery dry.
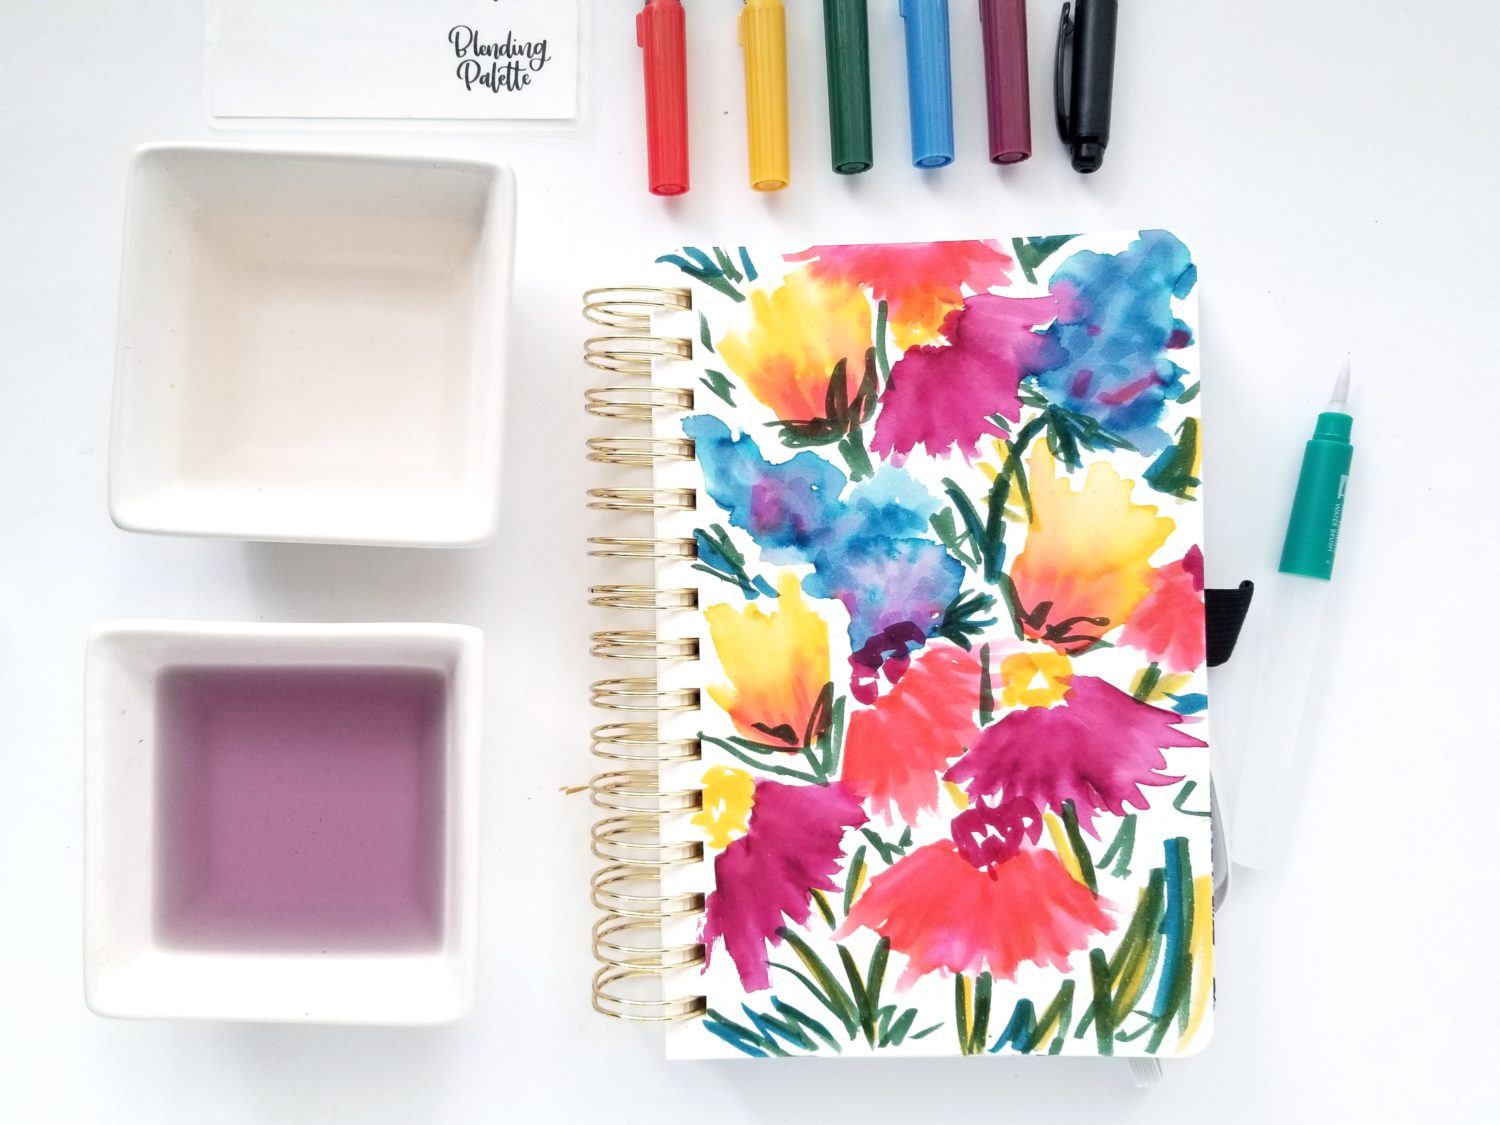
Step 5: Layer
Use the Dual Brush Pens to layer color and further define some areas of the flowers. I added more to the stems and some of the petals to add a bit of shadows to the piece. Next, use just the wet Water Brush to wet the colors a bit. Don’t add a drop of water at this point. It will dilute everything around it and you’ll lose the definition you just added. Let it dry.

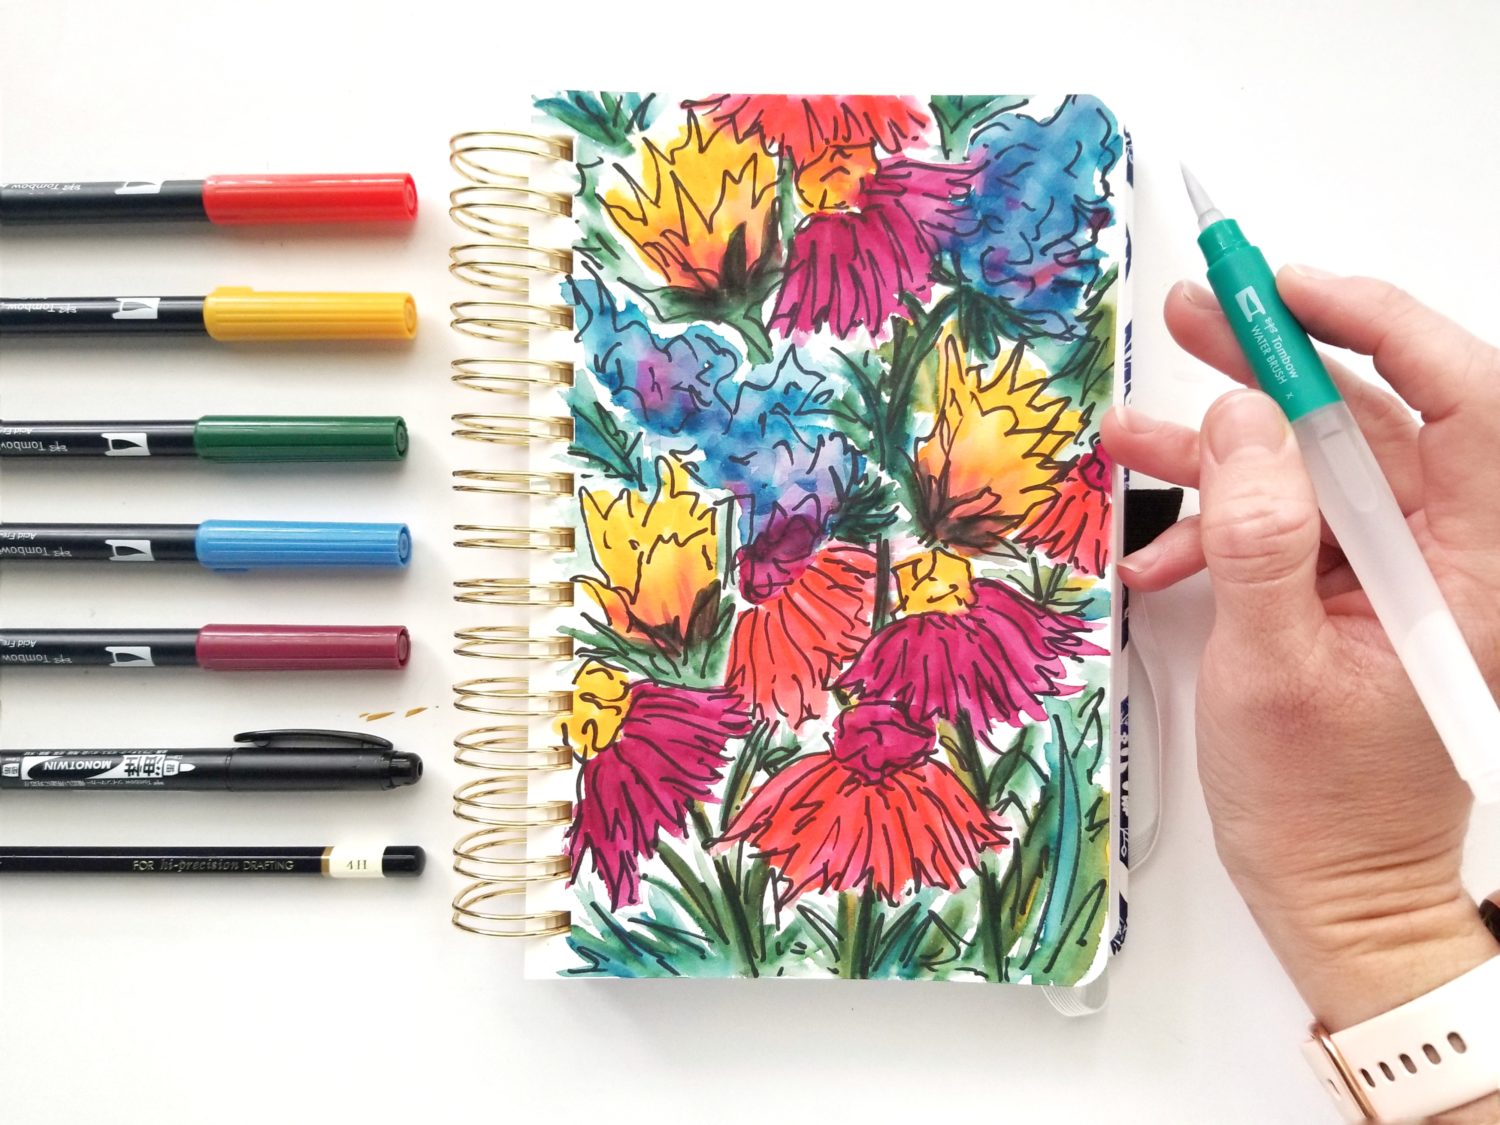
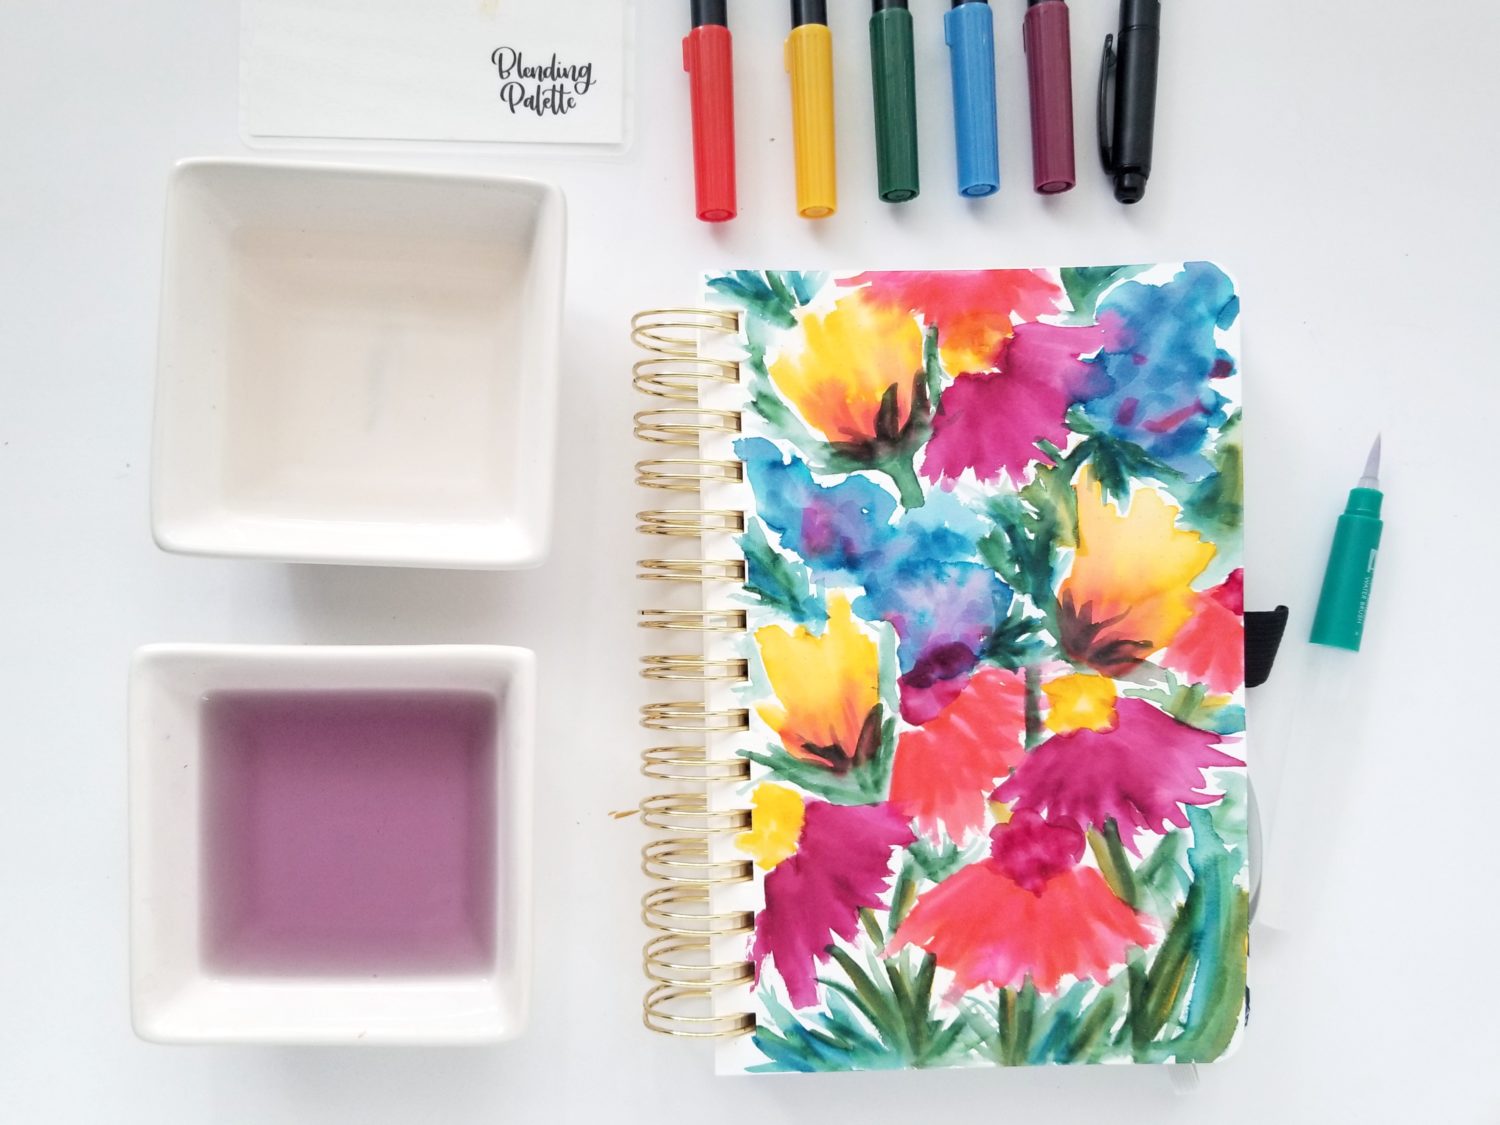
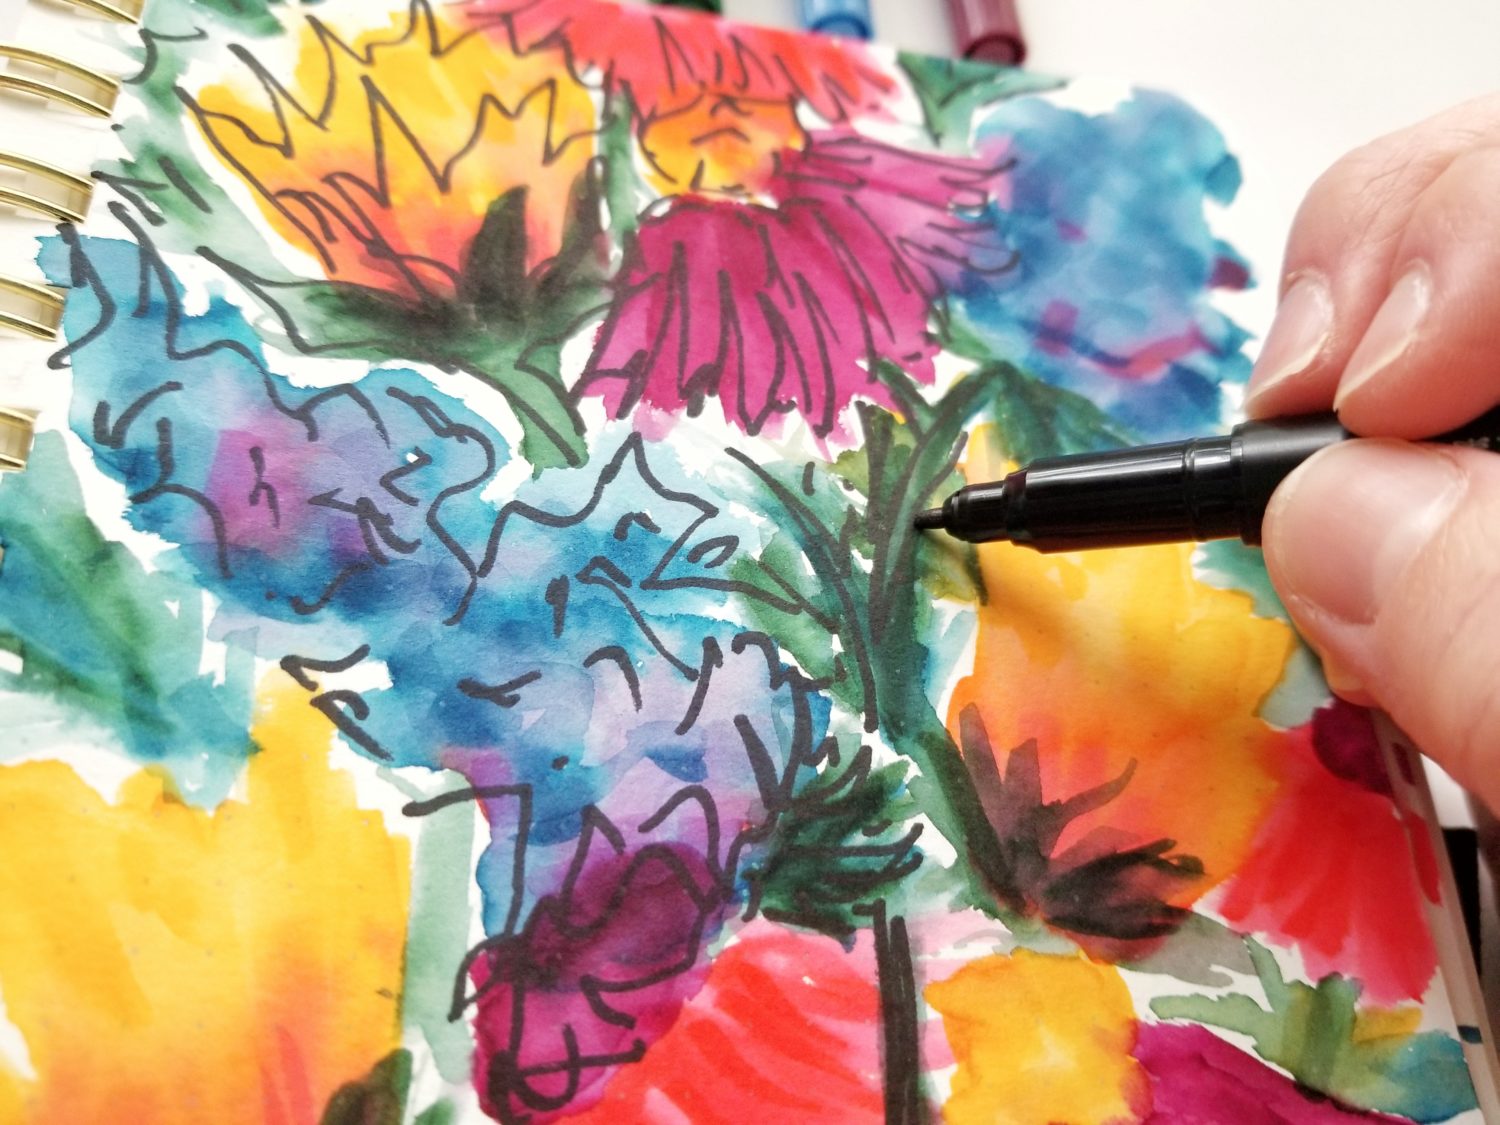
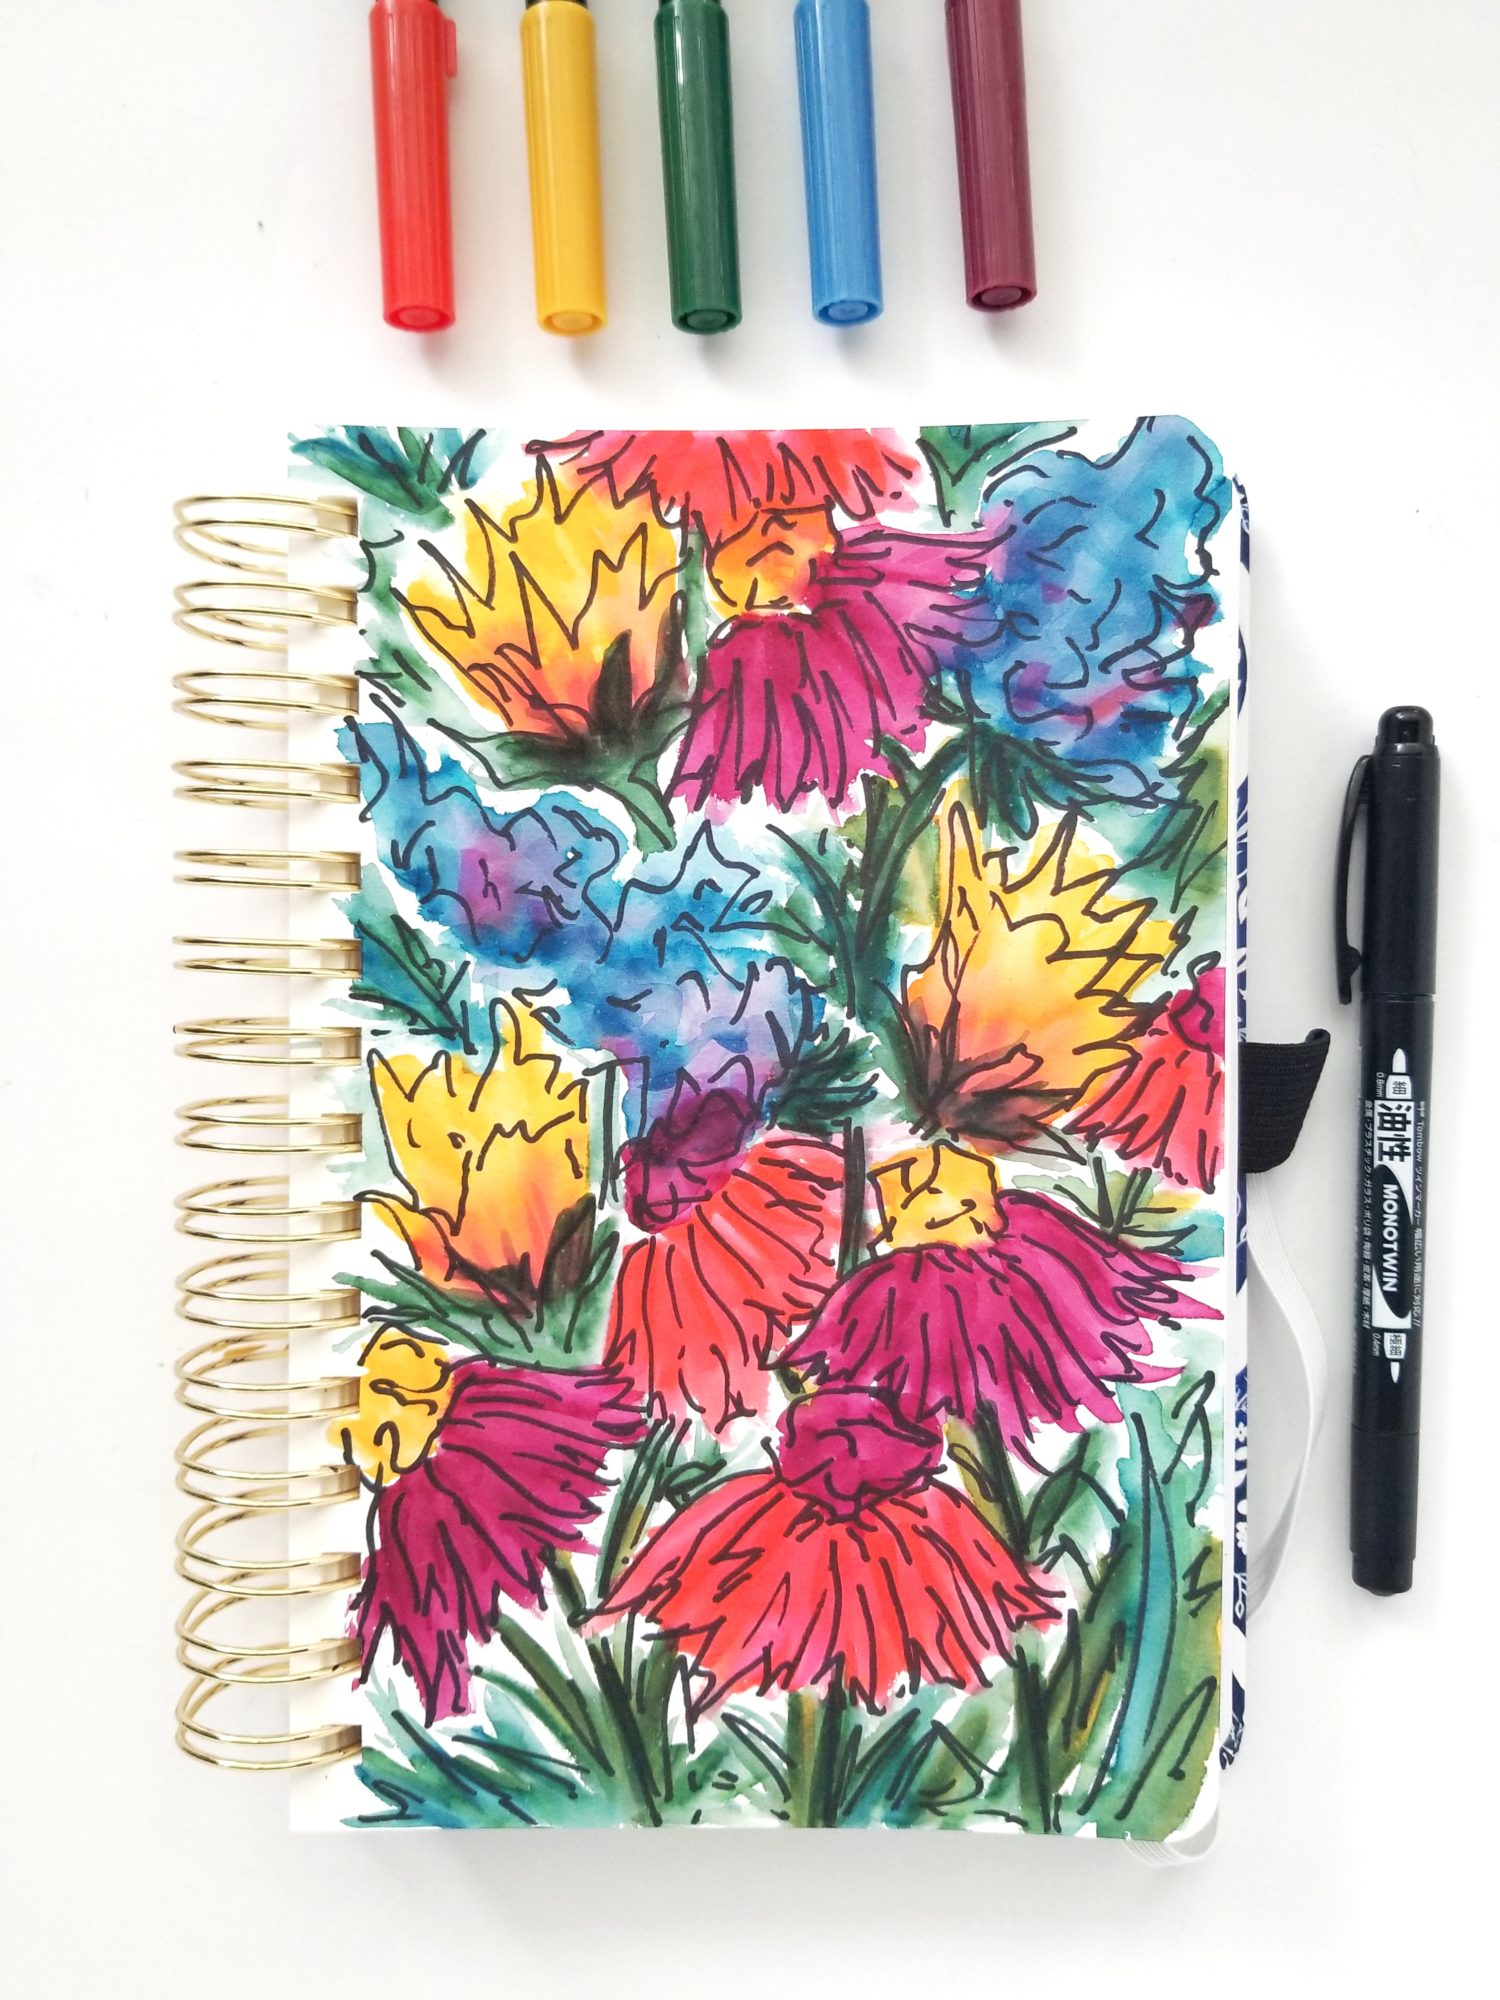
Step 6: Add Line Drawing
Finally, finish the floral art by using the MONO Twin Permanent Marker to add very loose line drawing around each flower. Less is more when you’re adding these details. This is where your own style can really shine. My style is this rough and sketchy look that I love. Yours may be more detailed. As you fill more pages and practice, you’ll find your stress-free watercolor florals style too!
Thanks for following along today! If you create your own stress-free watercolor florals, be sure to tag @tombowusa and @graceannestudio on social media so we can cheer you on! For more art journaling and watercolor projects, check out these posts:
- Three Ways to Paint Watercolor Shibori Designs
- Watercolor Quilt Tutorial with Dual Brush Pens
- Watercolor Quote Art Tutorial
Happy painting!
Grace
Pingback: Three Step “Friends” Inspired Journal Spread - Tombow USA Blog
Can such activities and hobbies help overcome depression and improve mental well-being?