Hello friends, I’m Ali LePere! Today, I’ll be showing you how to make a super simple paper quilt!
I decided on trying to come up with a tutorial for a project that I think anyone can follow. ANYONE. I wanted to do this because I think it’s important that everyone knows that they’re capable of making art. One of the many reasons why I think Tombow’s new Sharing Art Matters campaign is so great is because it encourages EVERYONE to make art. This isn’t a campaign just for self proclaimed artists. It’s also for the person who says they don’t have a creative bone in their body!
If that person is you, get ready to make some art! It’s about to happen!
Supplies
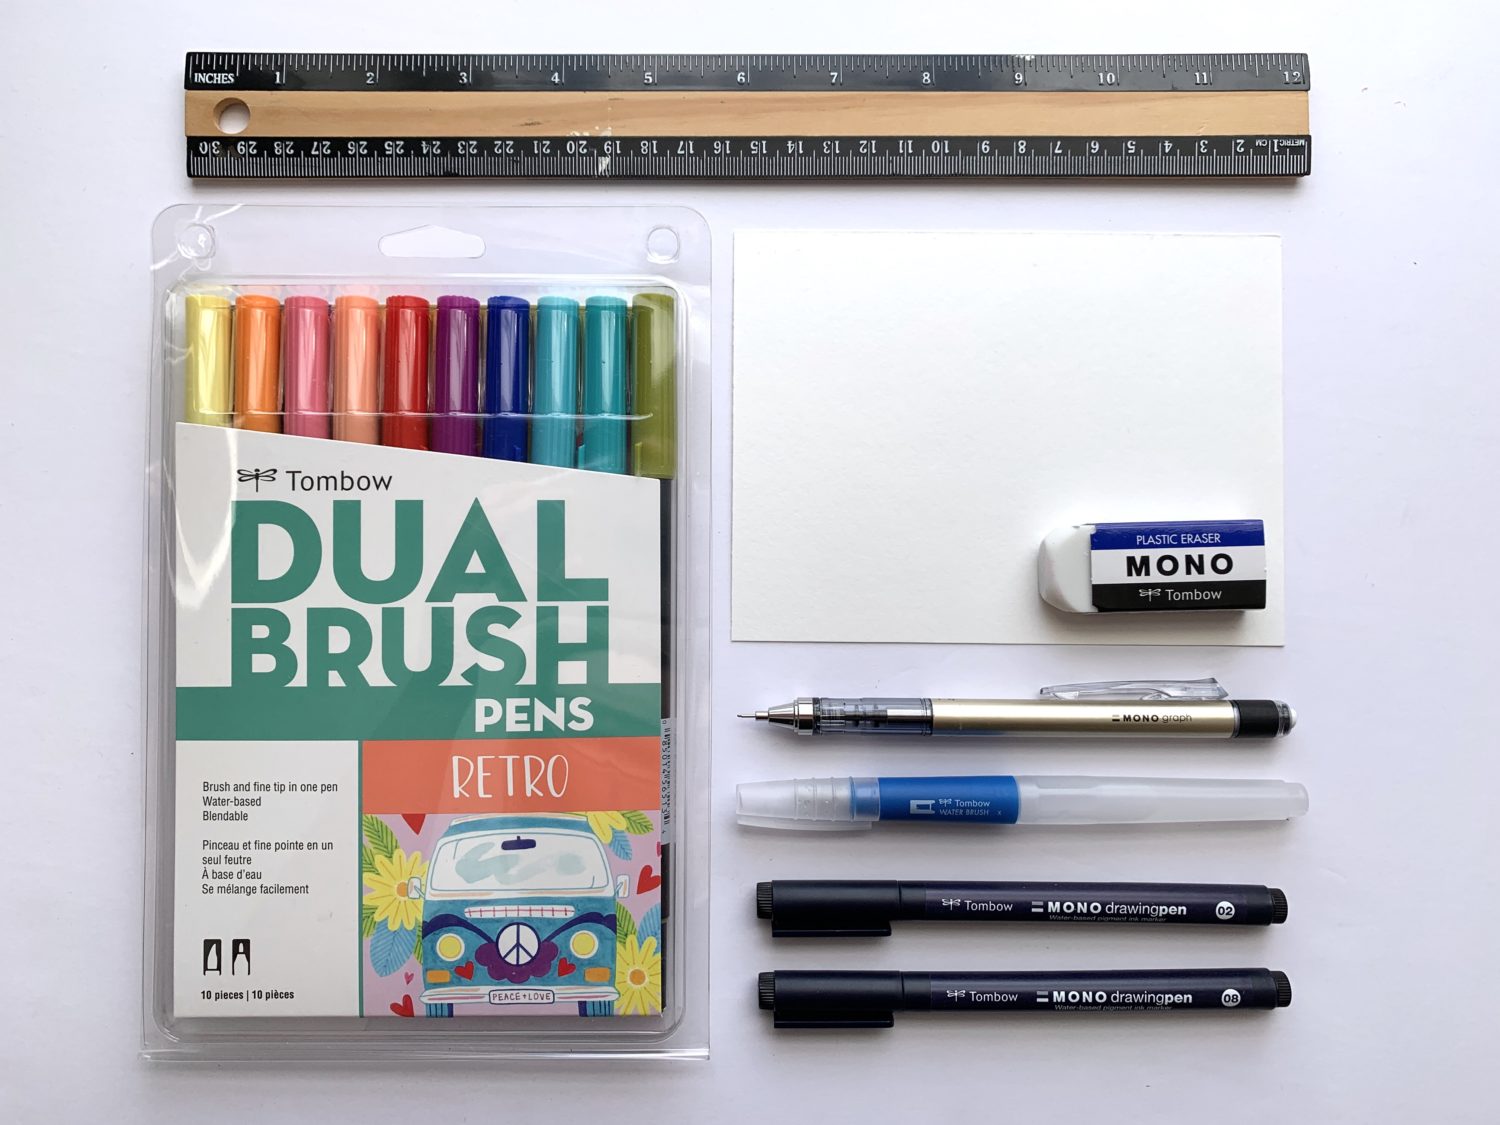
- Watercolor paper
- Tombow Water Brush Pen – Flat Size
- Tombow MONO Graph Mechanical Pencil
- Tombow MONO Drawing Pen – Size 2 and 8
- Tombow Retro Dual Brush Pen Palette
- Tombow MONO Plastic Eraser
- Scissors or [aper cutter
- Ruler
Step 1
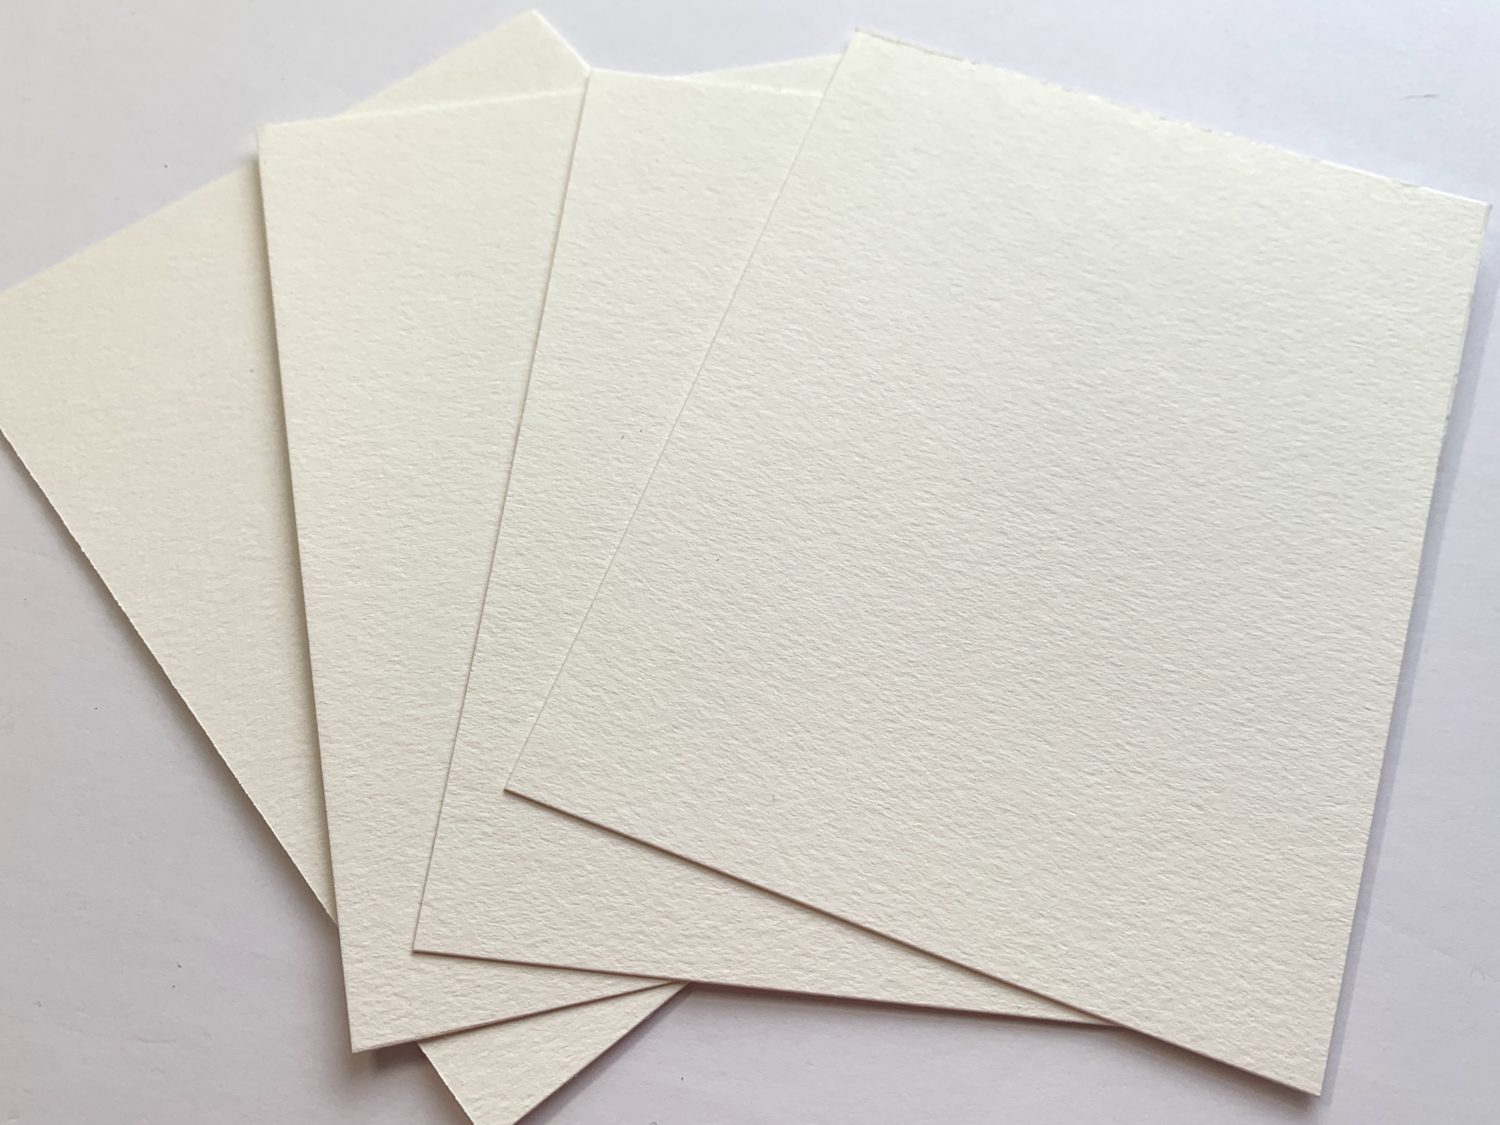
I cut my watercolor paper into several pieces. My full sheet was initially 9 by 12 inches. Measuring and cutting a line through the middle vertically and horizontally resulted in me having four pieces that were 4.5 by 6 inch in dimension. If you’re following along, remember that you can make your own project whatever size you want!
Step 2
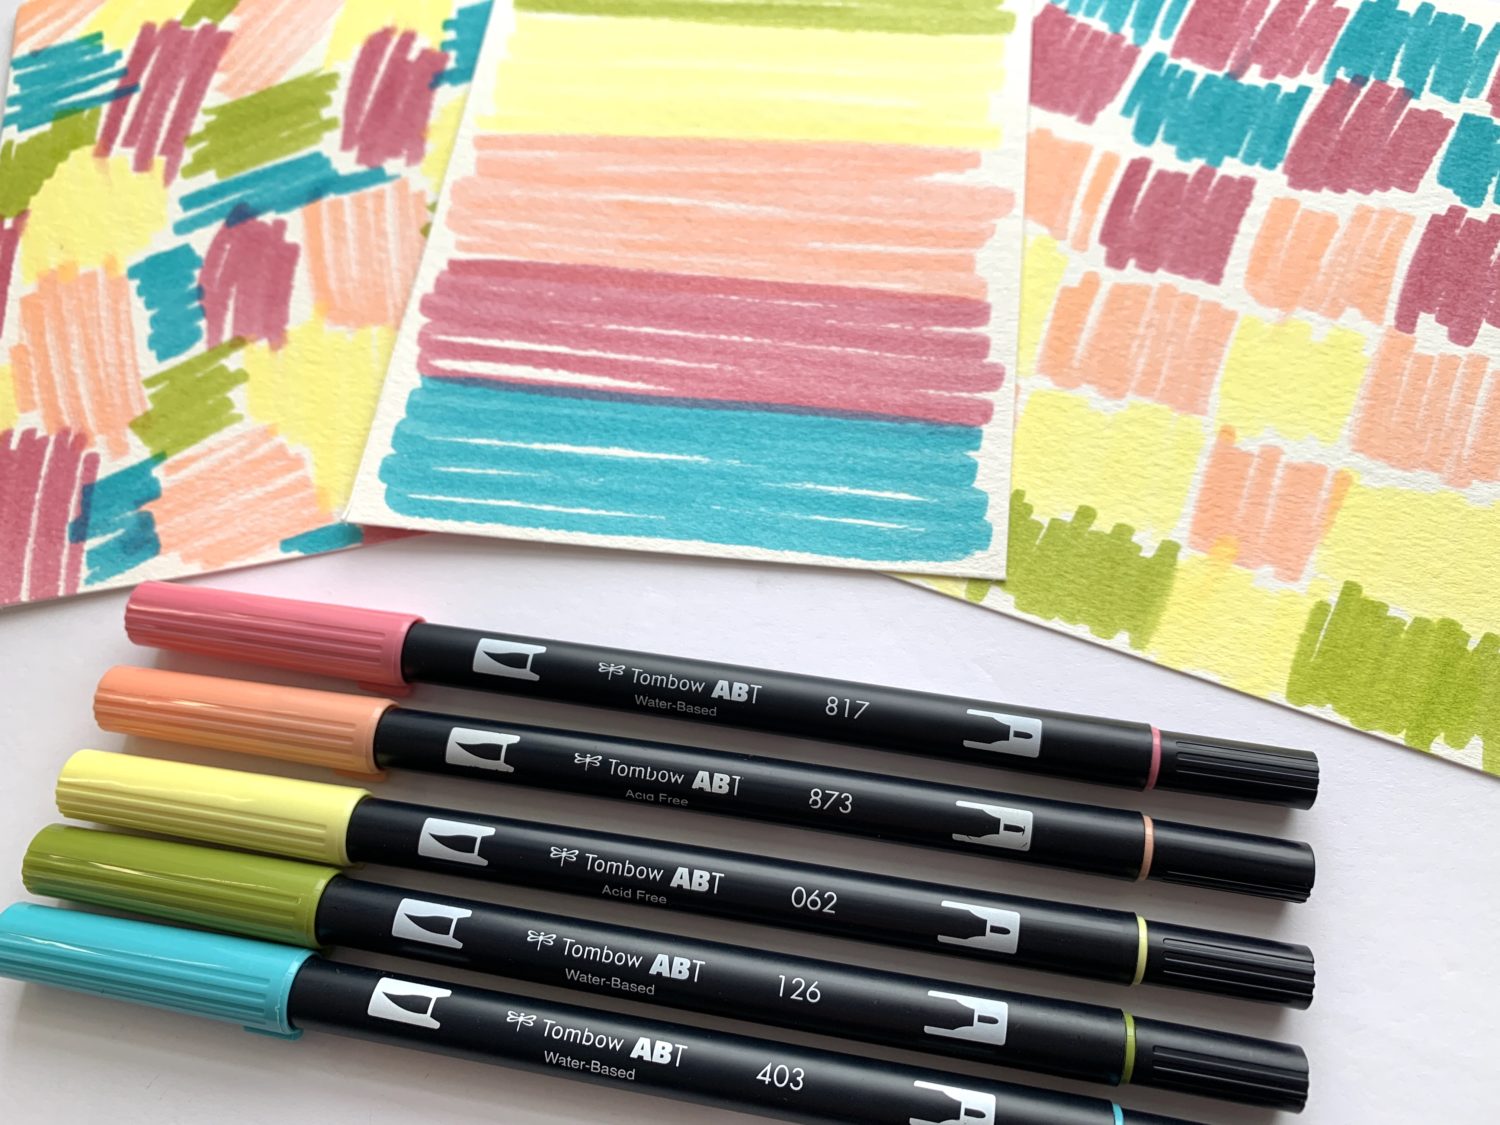
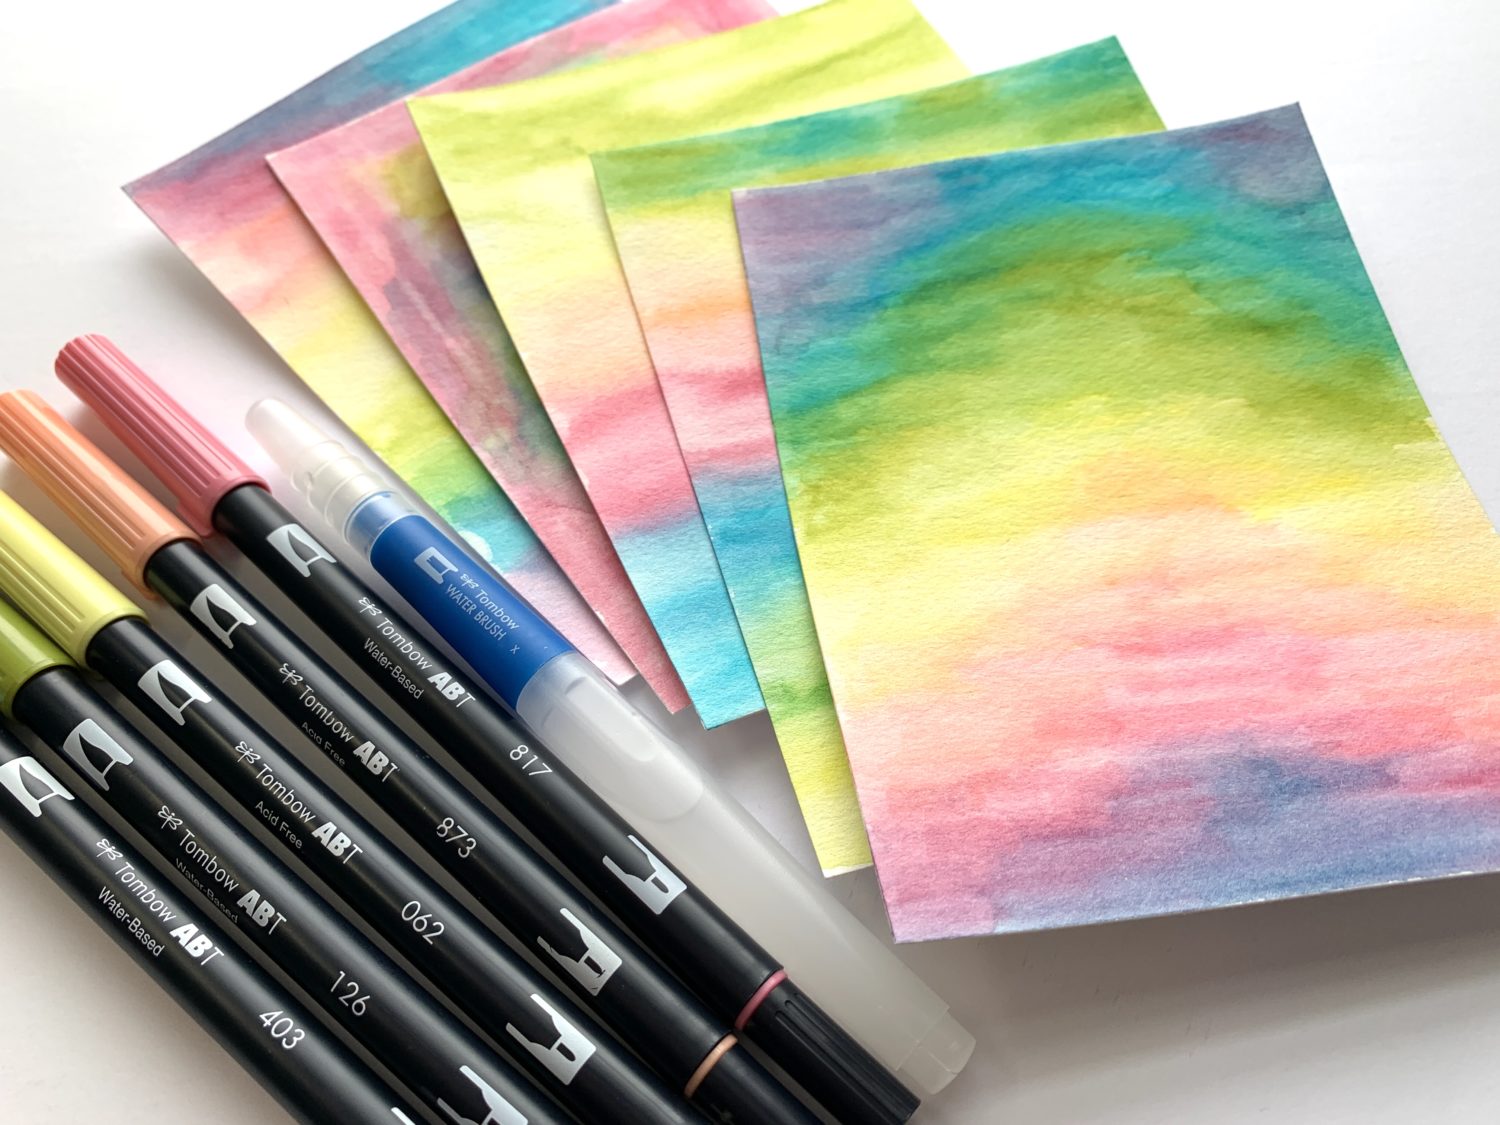
To start on the background, I started by coloring big swatches on the watercolor paper with the brush side of Dual Brush Pen colors 062, 817, 873, 403 and 126.
Step 3
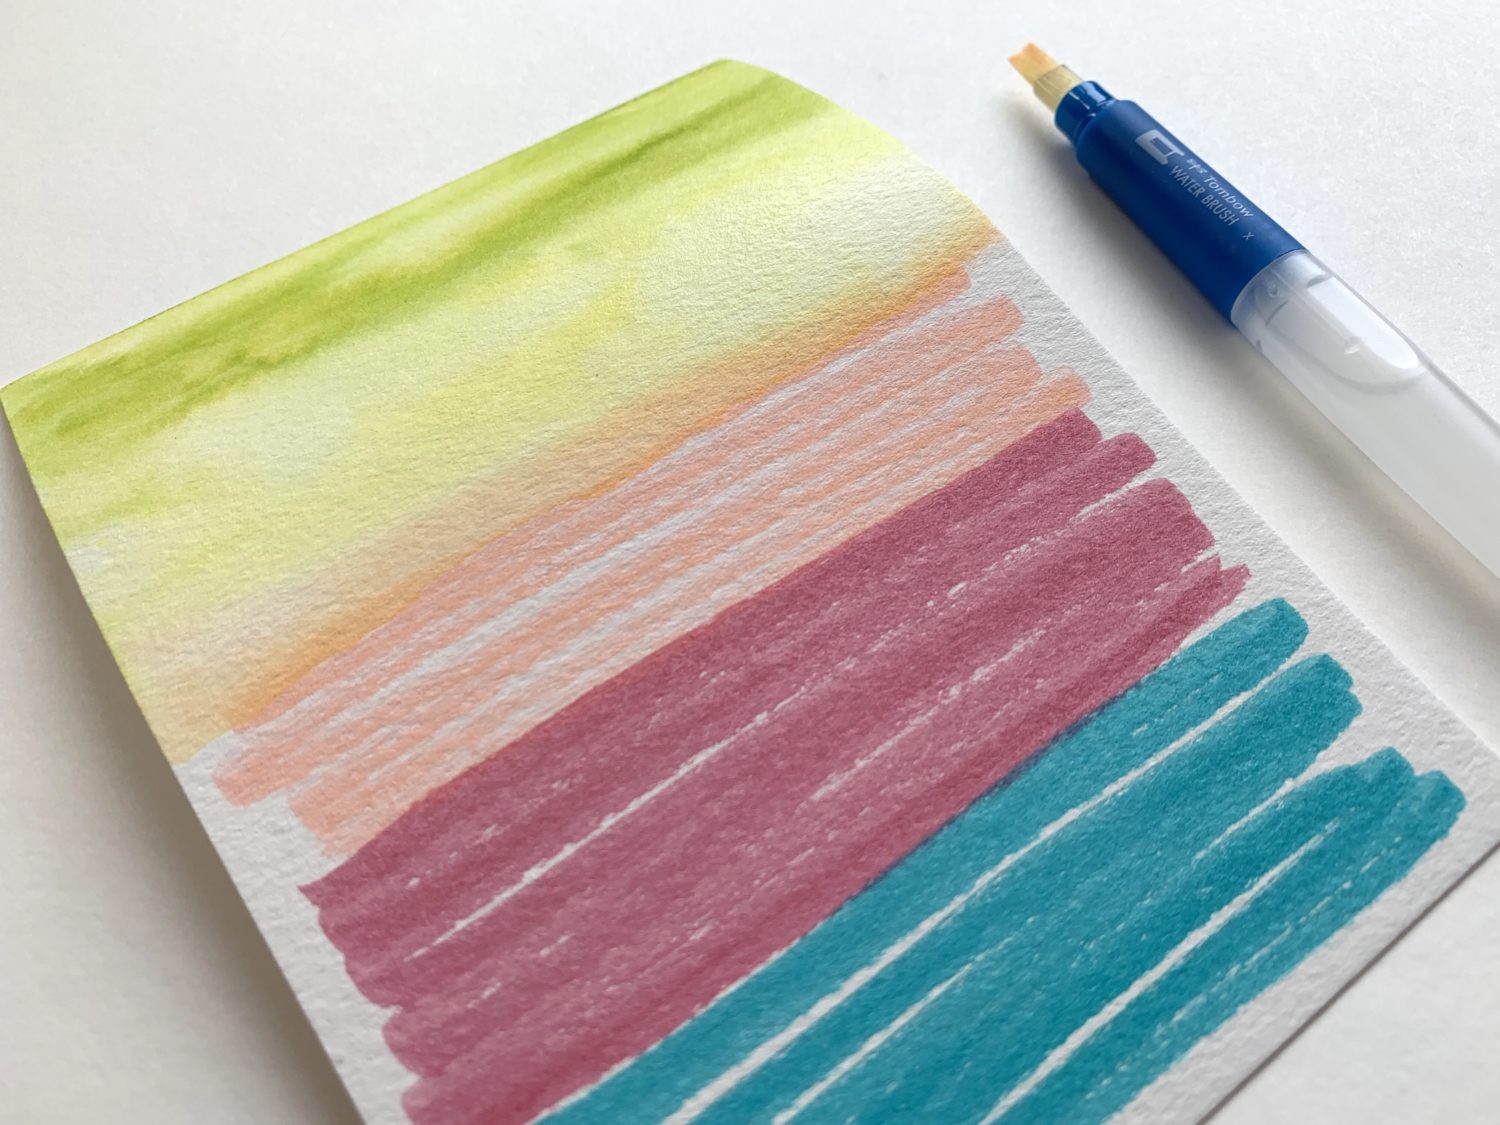
Next, I used the Flat Water Brush Pen to wet those big swatches from the previous step. By using the Flat Water Brush, I was able to paint these bigger areas. I chose colors from the Retro Dual Brush Pen 10-Pack because they’re light. I’ll be able to draw the quilt details on top with the darker colored markers from the palette!
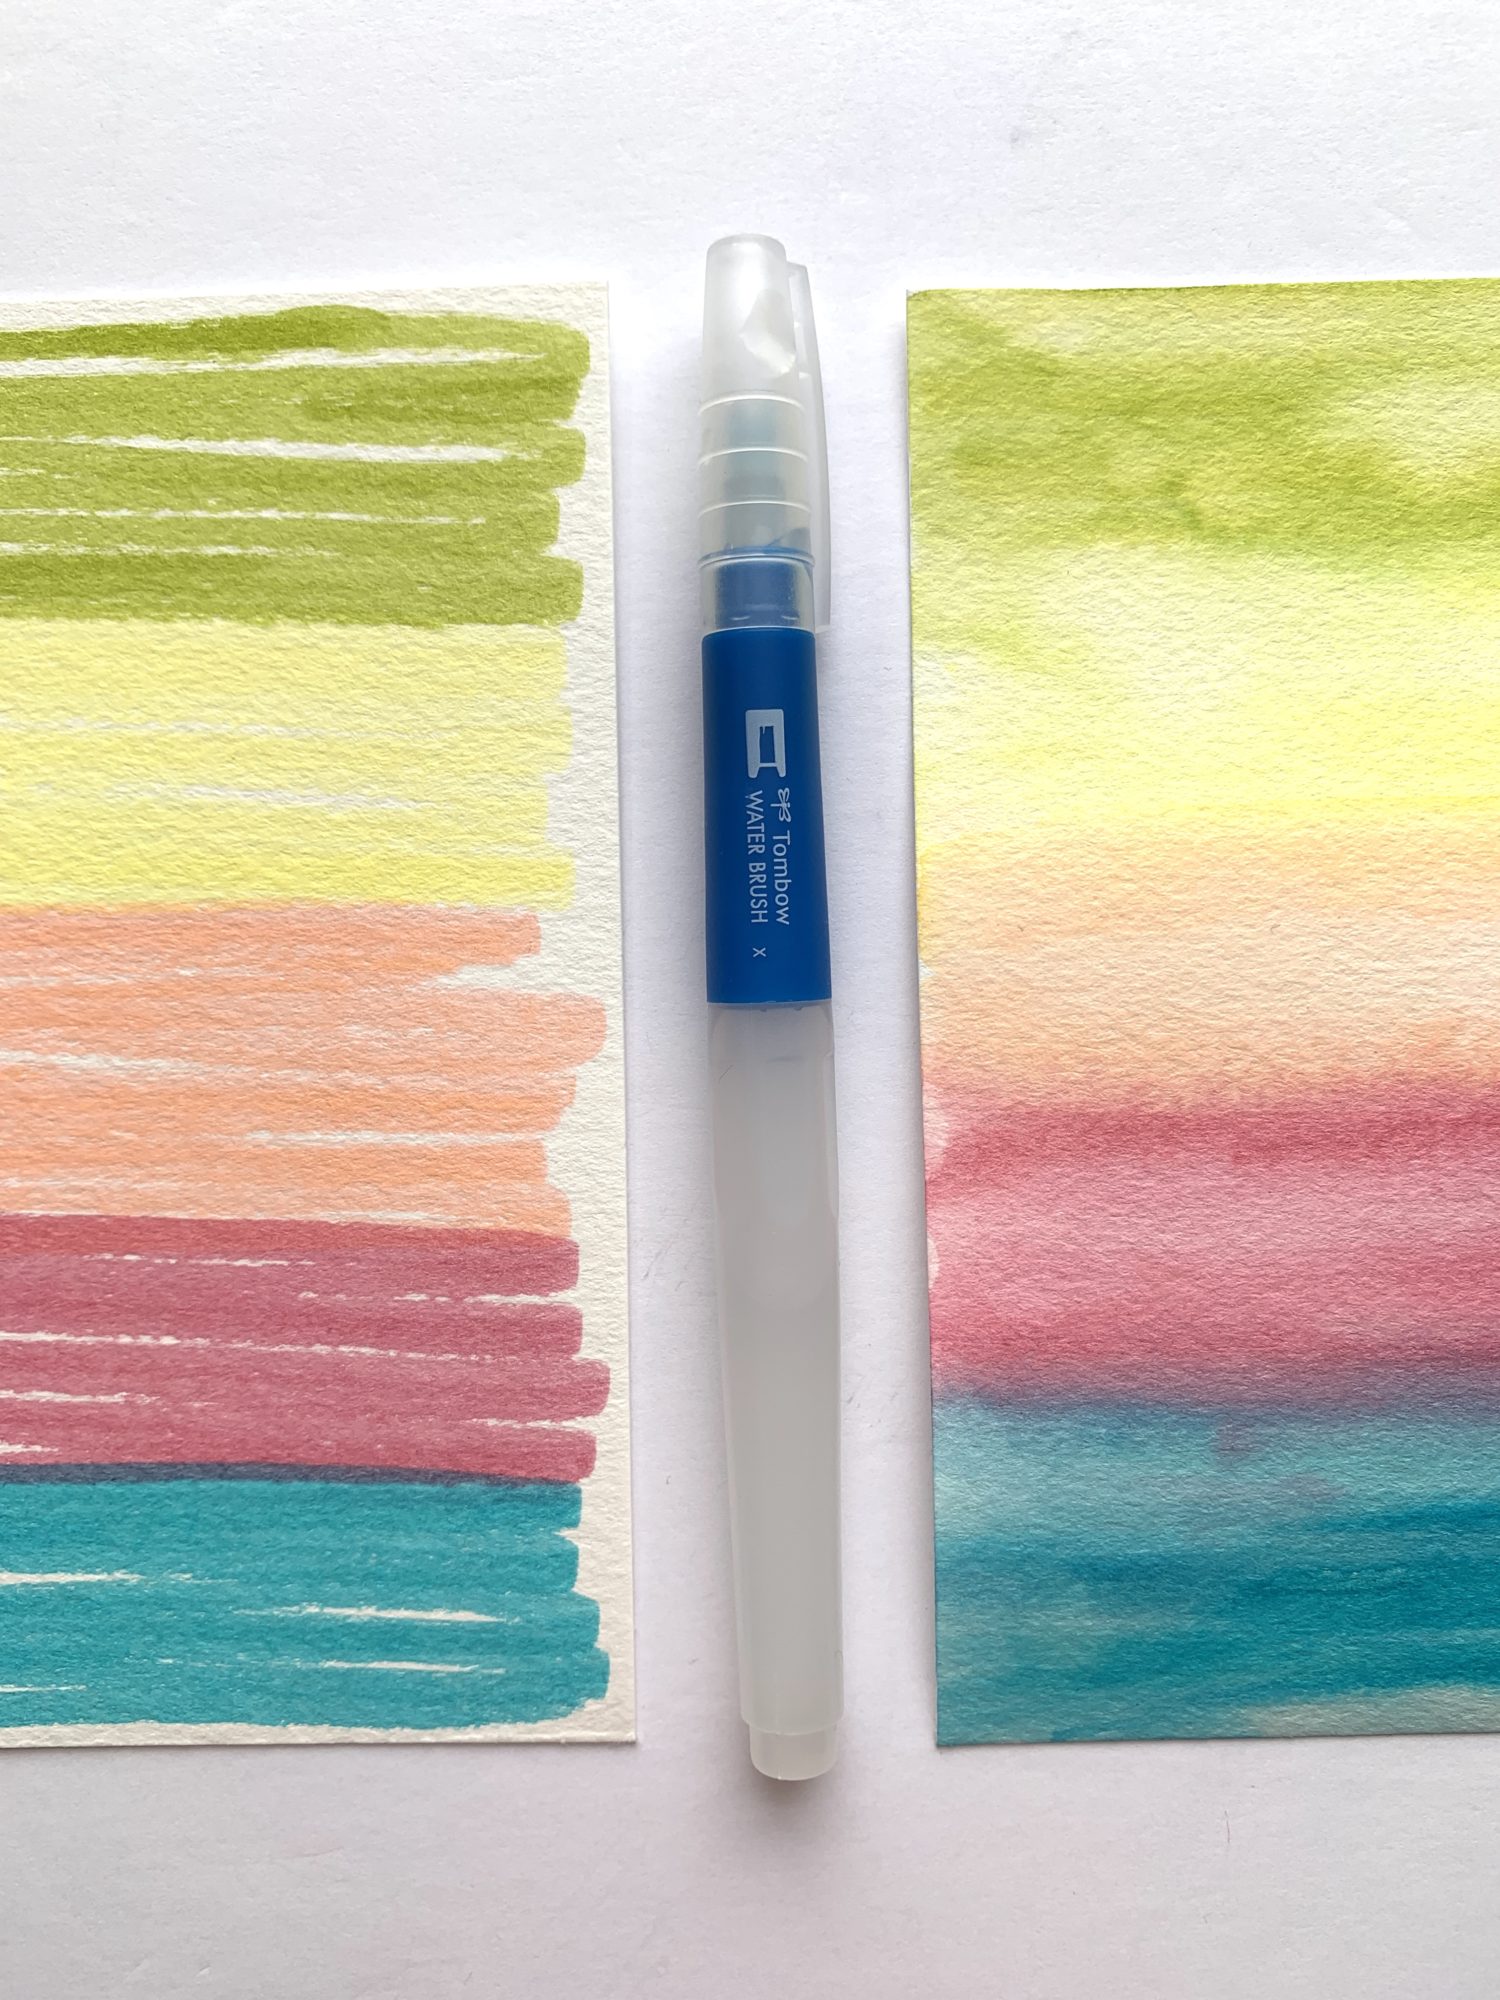
As someone whose main area of expertise is hand lettering, I wasn’t at all familiar with watercoloring techniques when I first tried to use Dual Brush Pens with the Water Brush. However, using the two products together really is simple! The colors practically blend themselves. I still consider my watercoloring knowledge very limited, but I was thrilled with my results!
Tip: I waited for my watercolors to air dry, however you can use a hair dryer to speed up the process if you’re impatient!
Step 3
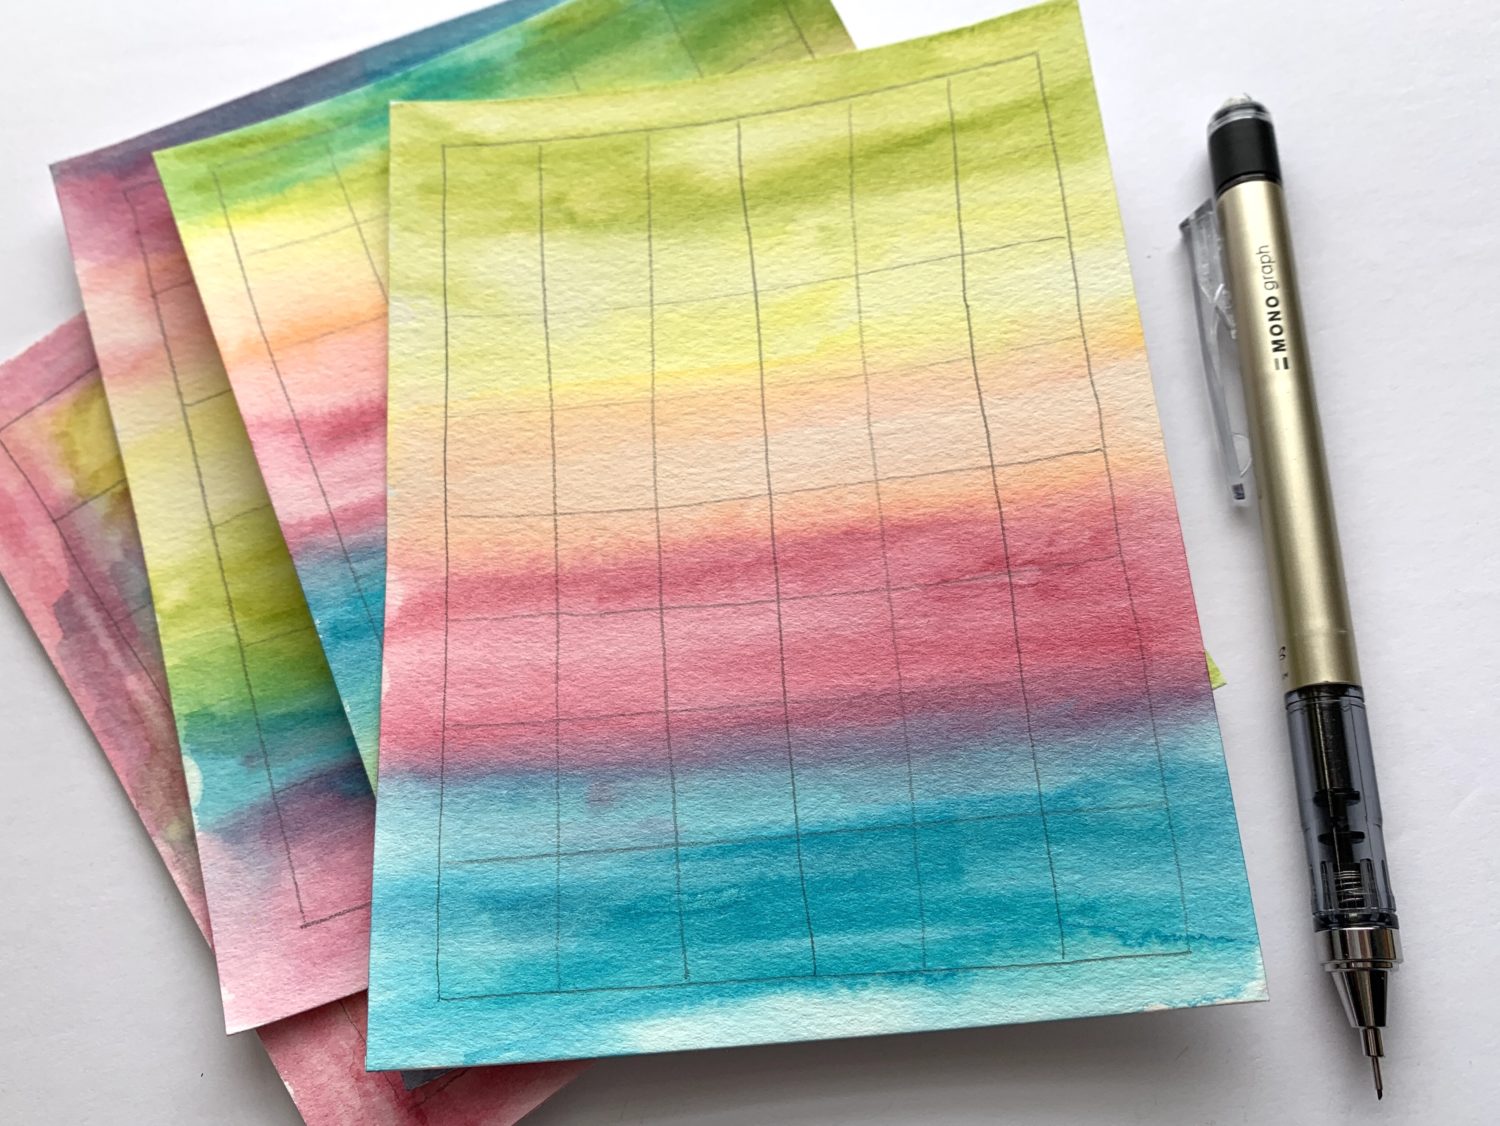
Next, I took my MONO Graph Mechanical Pencil and lightly sketched in a border and boxes on top of the watercolor area. In the spirit of keeping things simple, I didn’t bother measuring out dimensions for the sizes of the squares on my quilts. I drew some (mostly) straight lines to make columns and rows, which formed the squares for my doodle patches.
Remember that art doesn’t need to have perfect lines and measurements!
Step 4

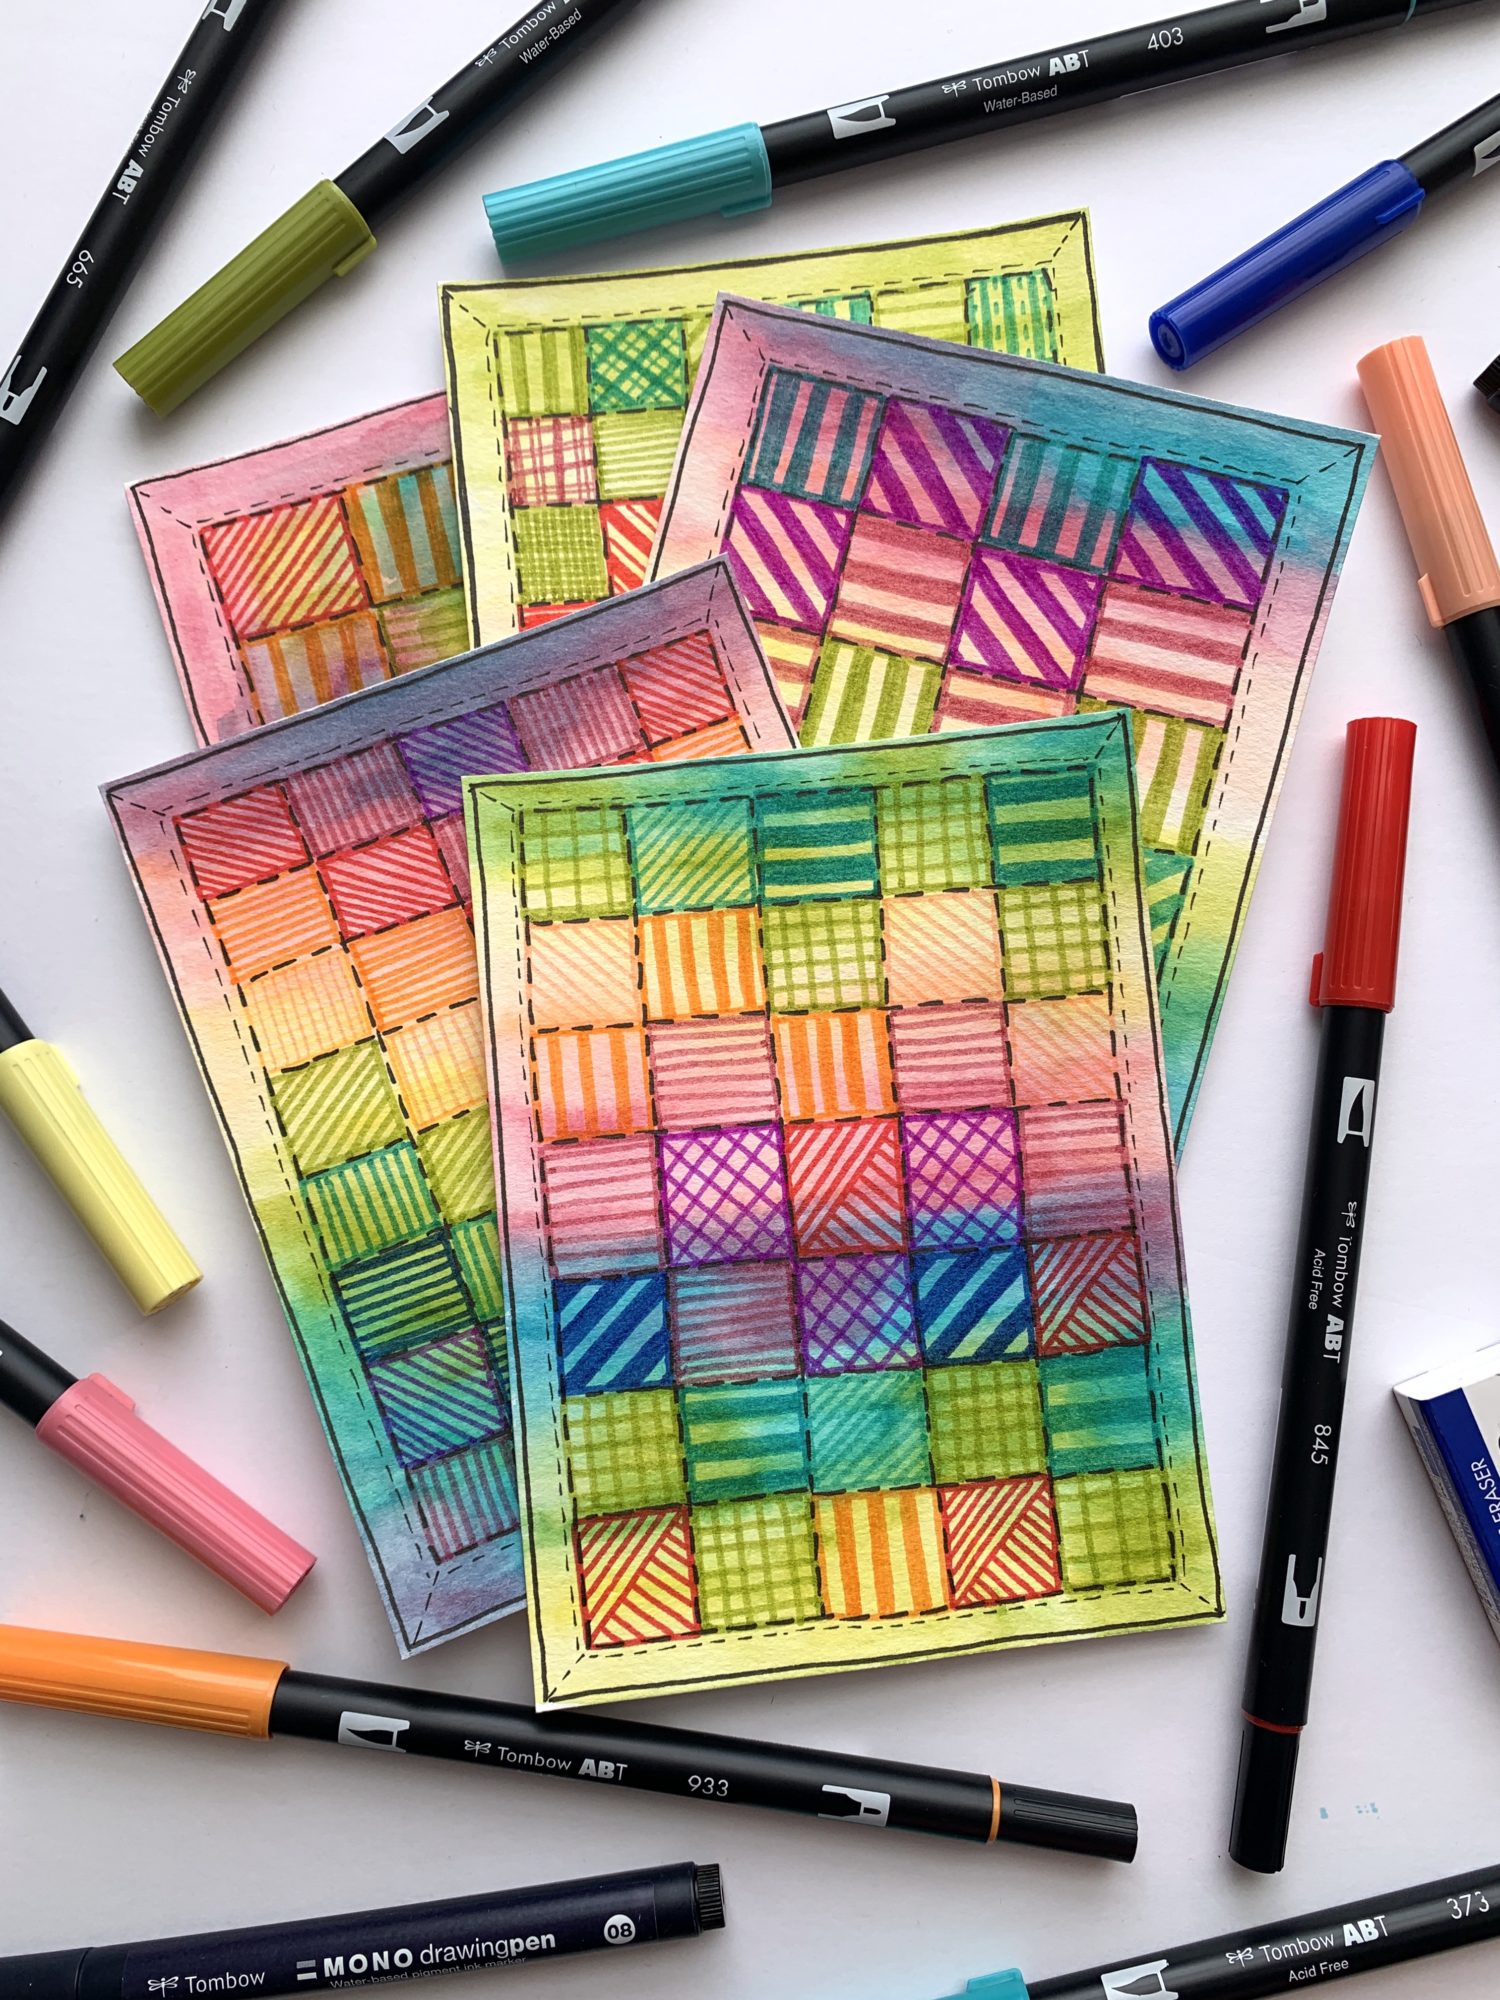
Using the remaining colors in my Retro Dual Brush Pen palette (933, 845, 665, 555 and 373), I started doodling in the squares of my quilt using the bullet tip! I started by drawing a border around the squares in a color. Then, I filled up that square with my design. To stick to our simplicity theme, I made sure that every single design I made in a square was comprised of lines. They are thick, thin, intersecting and dotted!
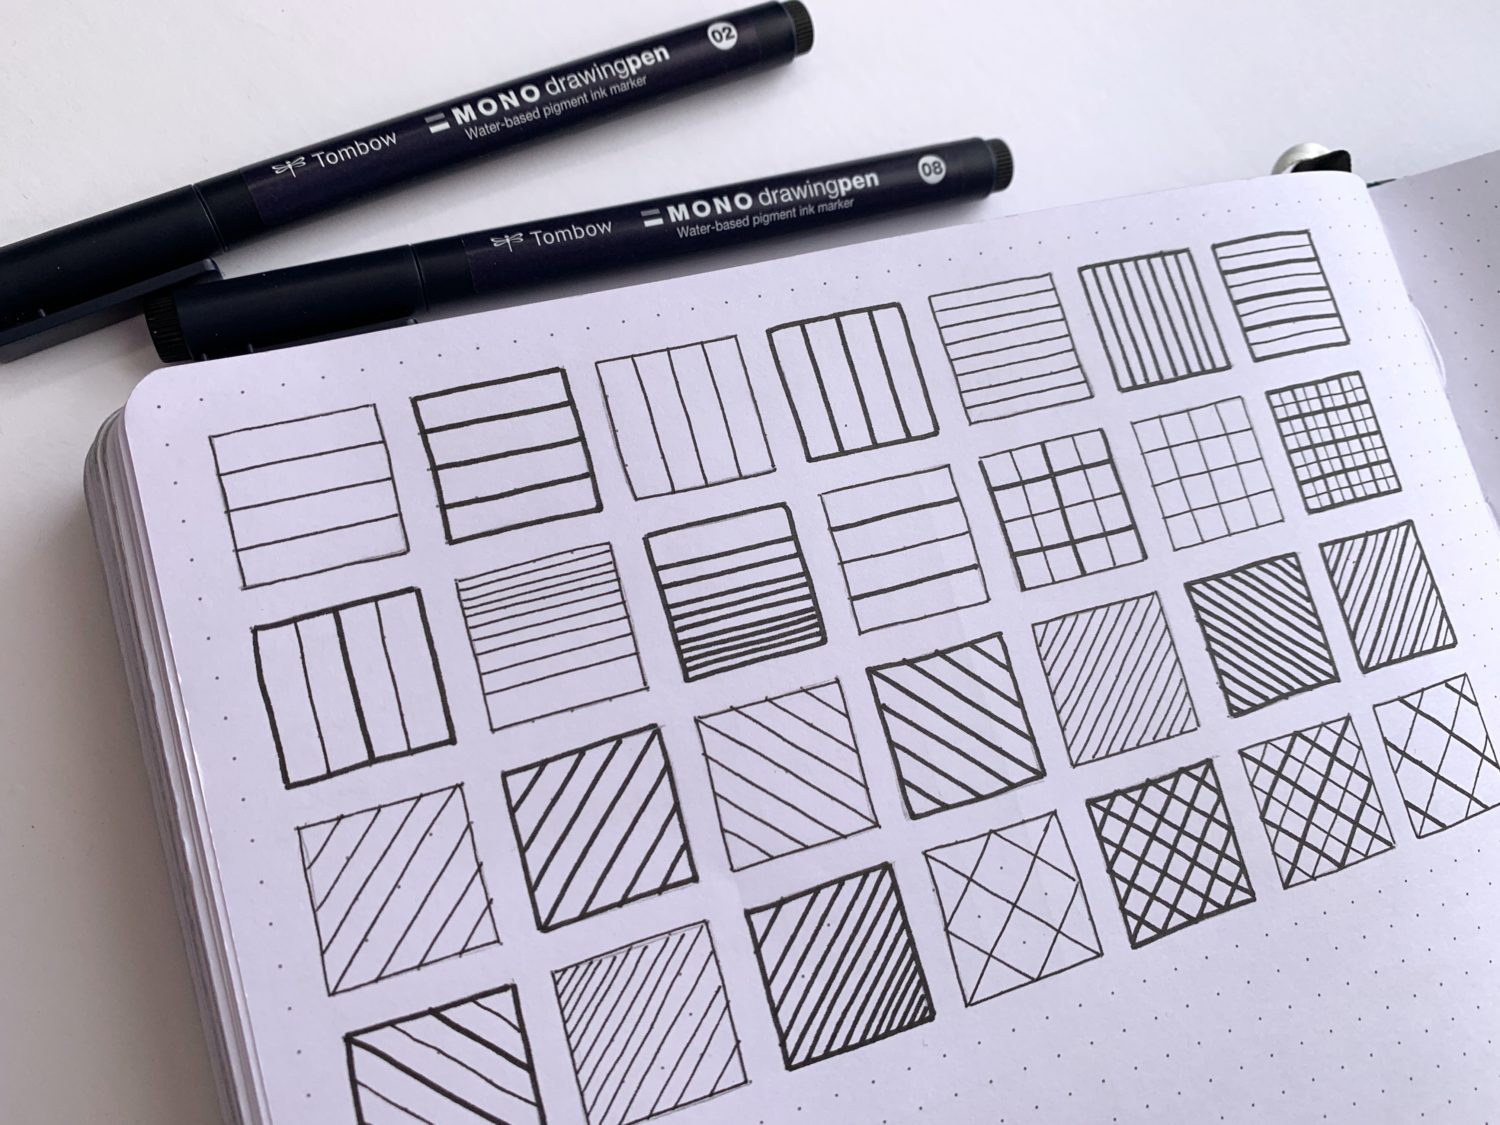
Knowing that this project would eventually be a tutorial for this blog, I thought I would throw in a picture of some doodle references for anyone who would like a visual resource for their own project!
Step 5
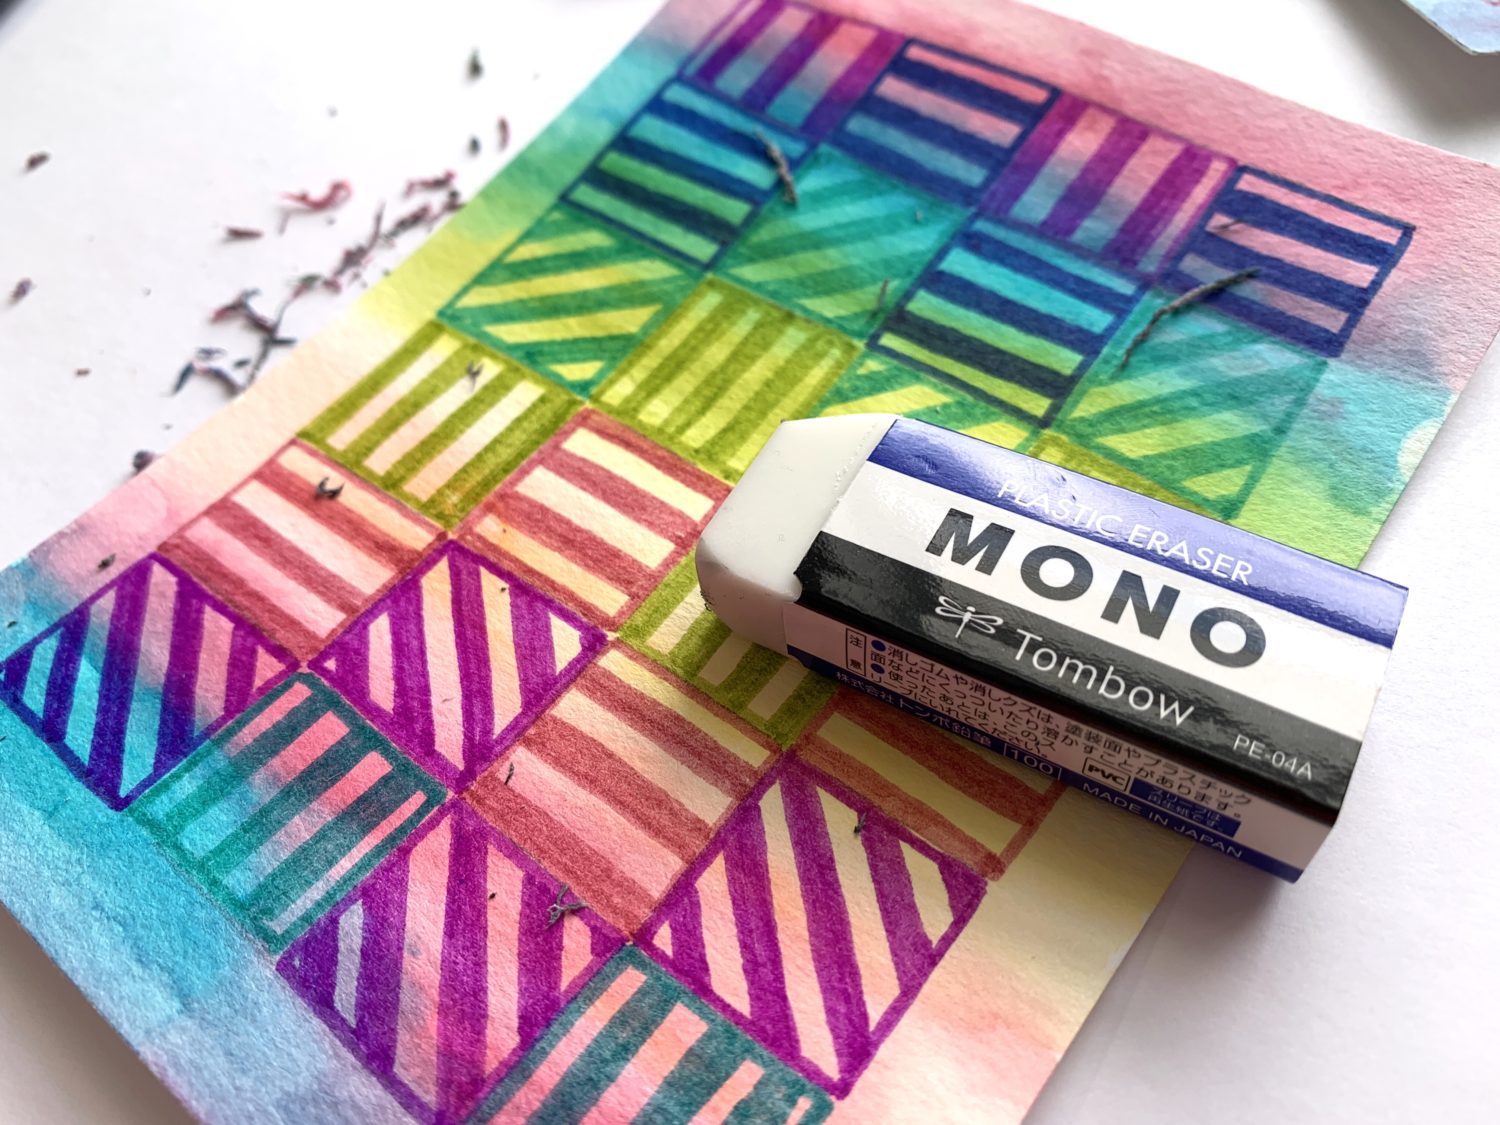
Next, I used my MONO Eraser to get rid of the pencil lines that were still showing.
Step 6
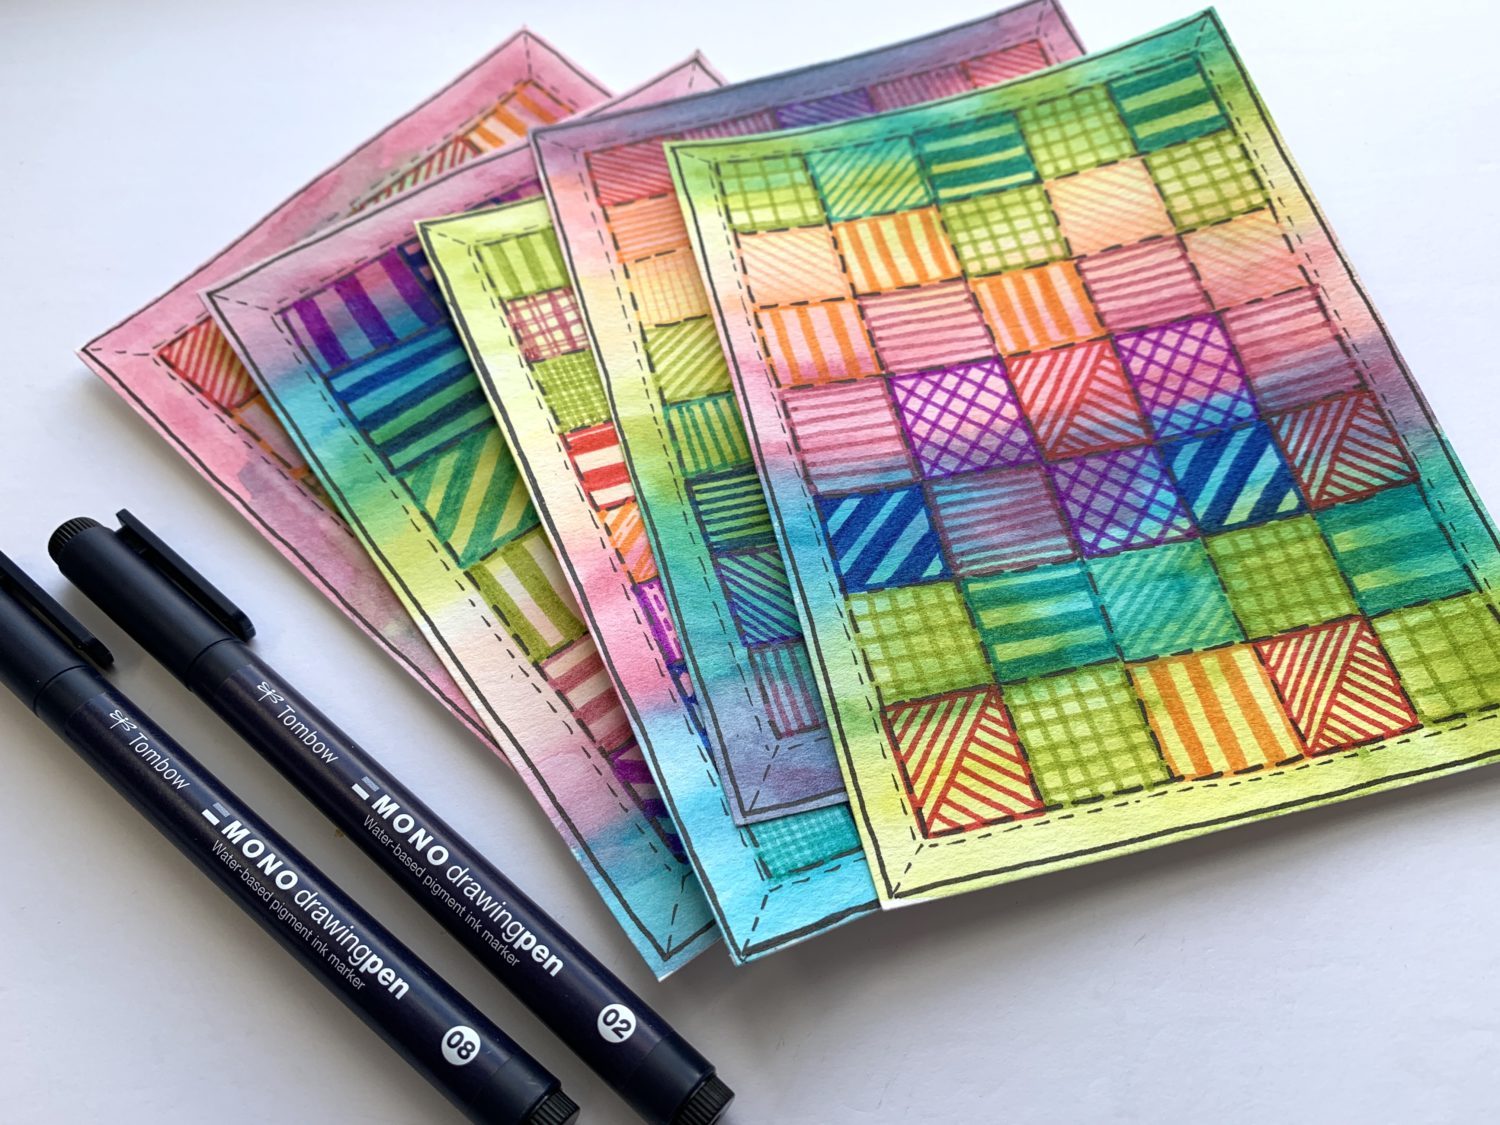
Once I completed filling in my patches, the time came to add a few more details. I kept it (and you probably could have guessed it by now) simple! Using MONO Drawing Pens 02 and 08, I added some stitching (or dotted lines) to each quilt. MONO Drawing Pen 08 was great for drawing large stitching between each square and adding a thick border around the very outside of the quilt. I used MONO Drawing Pen 02 to make some smaller stitching border around the patchwork area and in each corner of the quilt!
Step 7

For my last step, I prepared these little quilts to be left where other people can find them. I included #SharingArtMatters, my Instagram handle and a link to Tombow’s Sharing Art Matters landing page. Hopefully adding in these details will help other people learn about the campaign while they’re out in the wild!
So often I hear people tell me that they wish they were creative. I tell everyone who says that they aren’t creative can make art, too! If we stopped comparing ourselves to others, stopped putting pressure on ourselves to be a certain way and stopped telling ourselves that we can’t do something, we free ourselves to be uniquely creative. It’s intimidating to get started, but remember that we all start at the beginning.
Creativity is something to be developed and nourished. Join in the Sharing Art Matters campaign and start nourishing your own creative spark and encouraging other people to find their own creativity!
If you want to follow along with any other tutorials, new posts go up on this blog regularly! Here are a couple more simple tutorials:
I was looking for an idea about quilts. Love this idea. Thanks for the tutorial.
Cool idea! I have a book of quit patterns I can photo copy on to watercolor paper.
On an another note, in1998, I was making designs for hand-lettered signs. I still have a few that have not worn out like the more expensive markers..
What a cool way to share an art technique! I happen to love quilts, as my Mother and Mother-in-law were both quilters. I once designed a quilt for a group at Michigan State University, which was done in stages by potential
students and their Mentors. It eventually hung in one of the dorms at MSU. This style of quilt is fascinating and I appreciate you sharing the technique and your talent!
Pingback: Create Blended Bubble Letters - Tombow USA Blog
Pingback: DIY Mini Purses - Tombow USA Blog