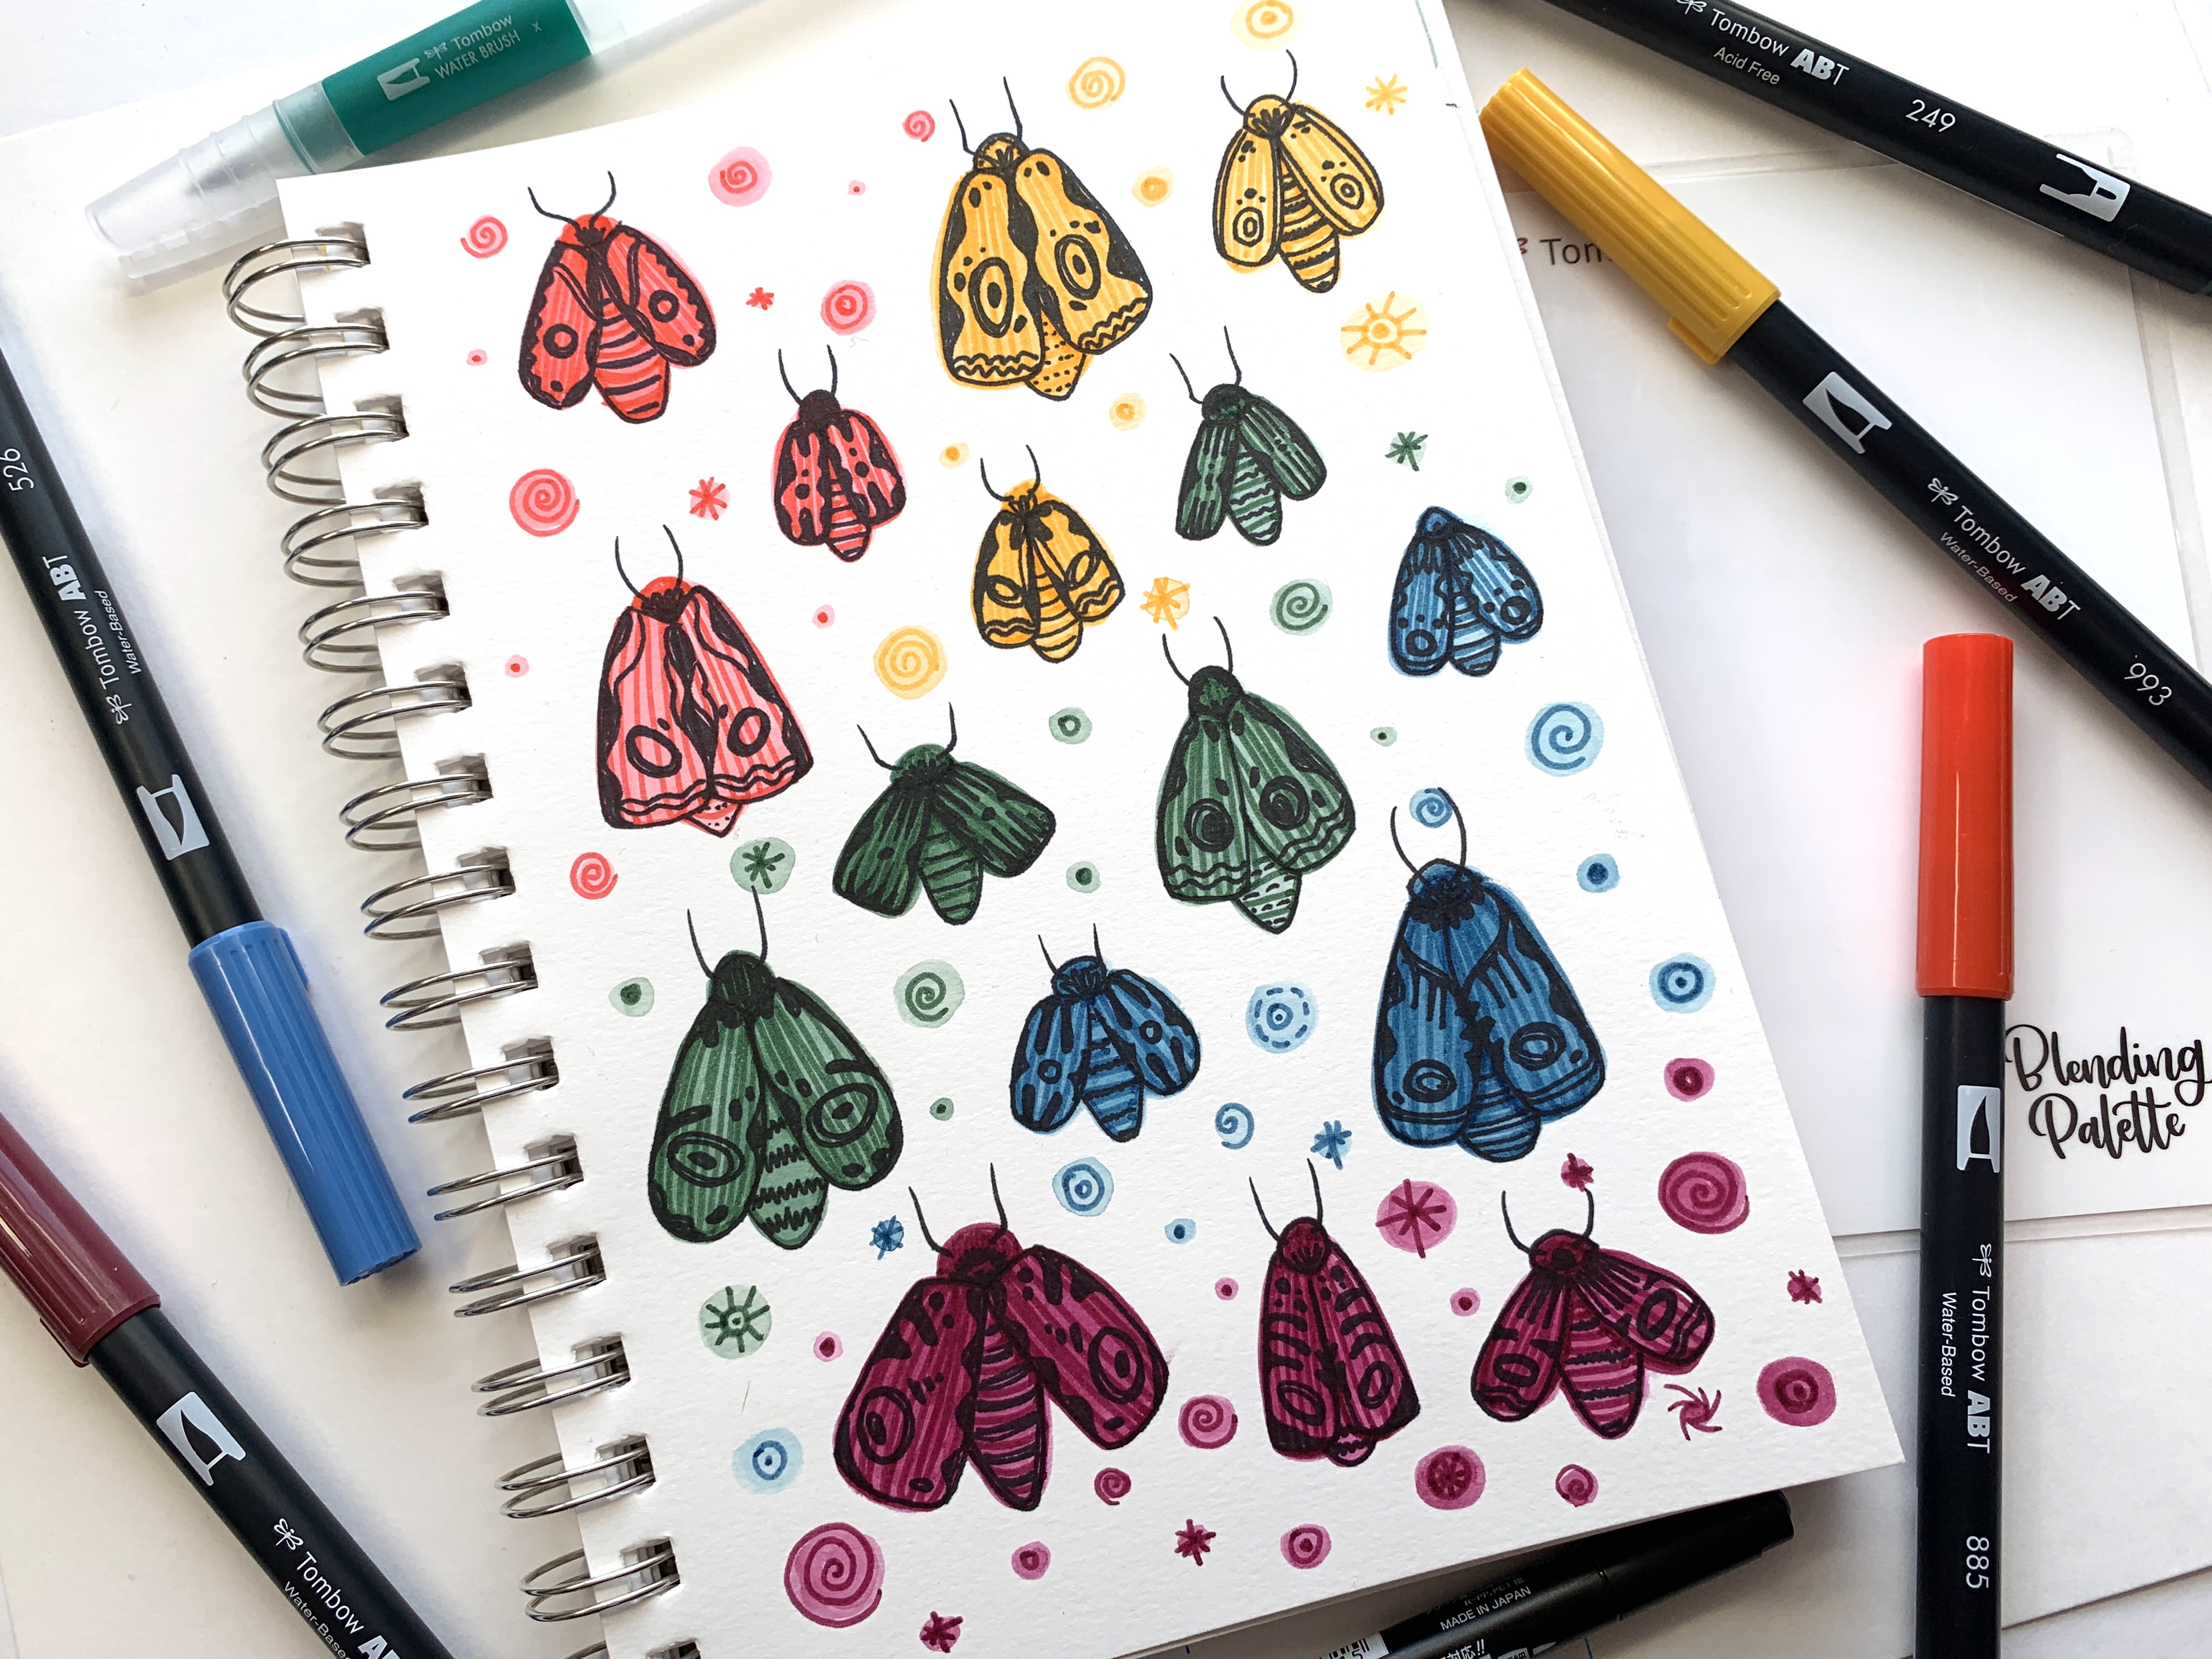
Hello everyone, Ali LePere here! I’m back to show you how I used the Tombow Watercolor Set to make some whimsical watercolor moths! I love how the Watercolor Set comes with everything you need to make complete watercolor projects.
Materials
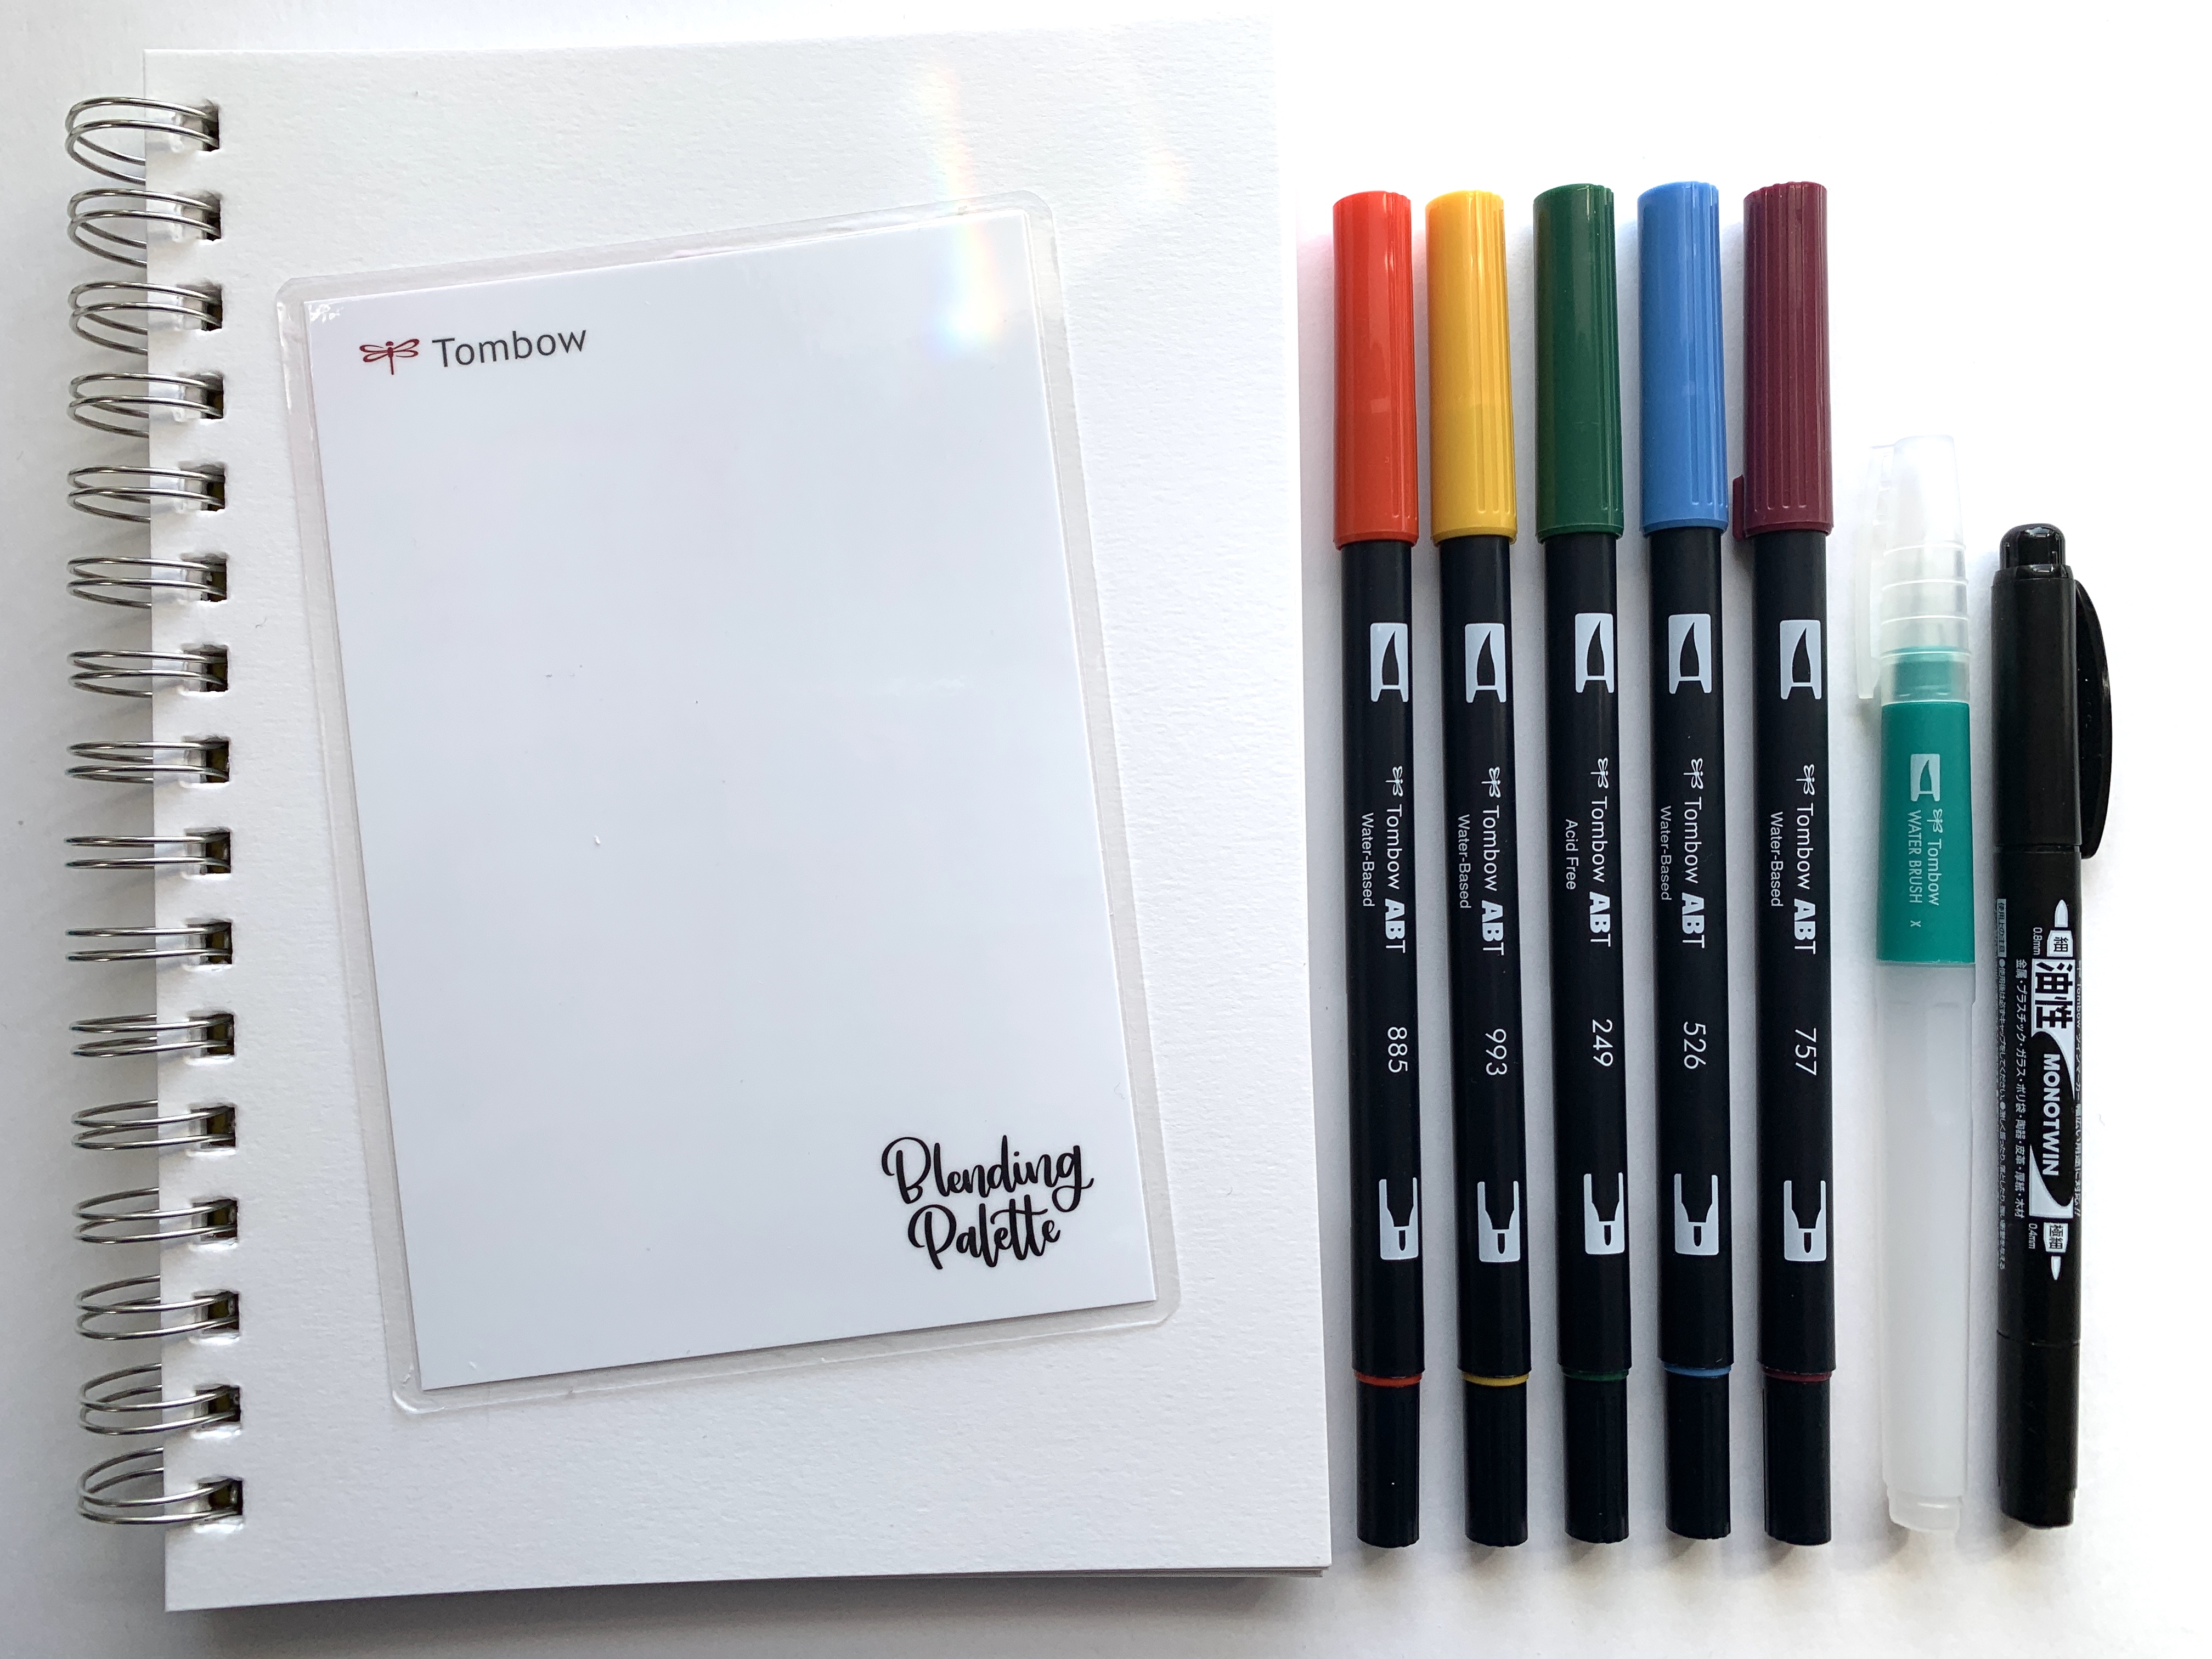
- Tombow Watercolor Set
- Mixed media or watercolor paper
Step 1
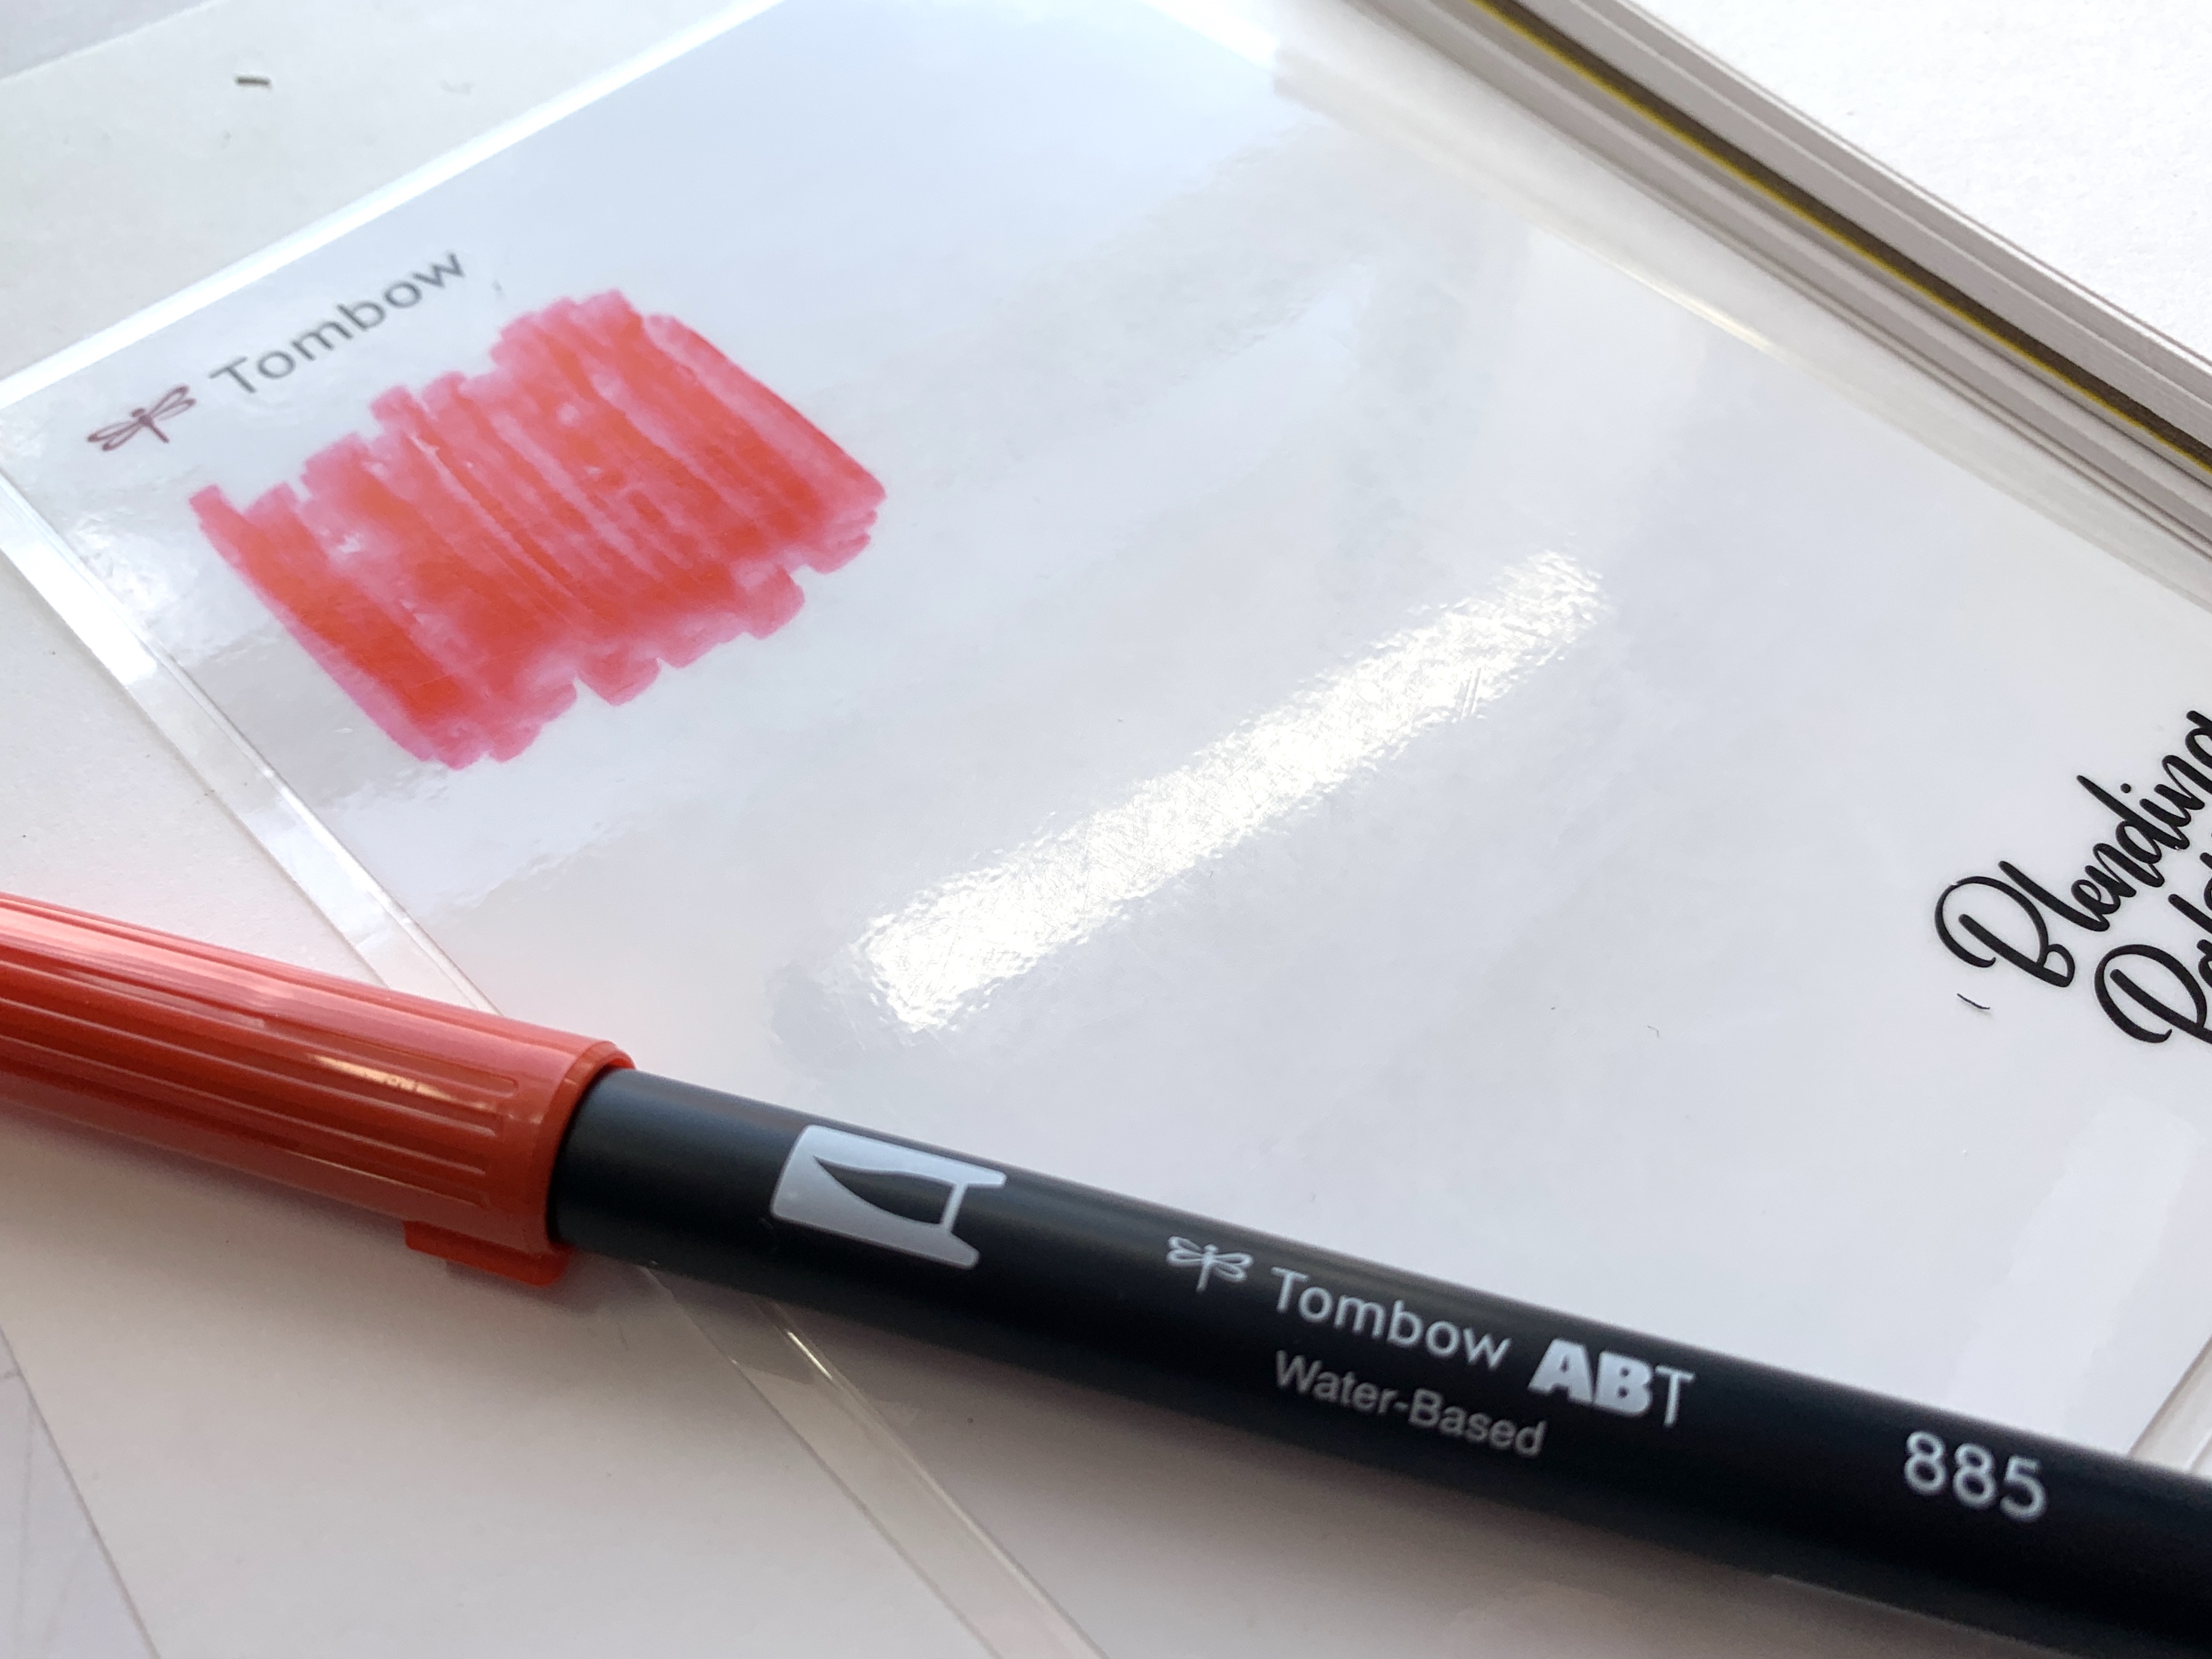
Using Dual Brush Pen 885, I made a decent sized color swatch right on top of the Blending Palette. I made sure not to make the swatch too big because I knew I’d be adding the remaining colors in the pack later.
Step 2
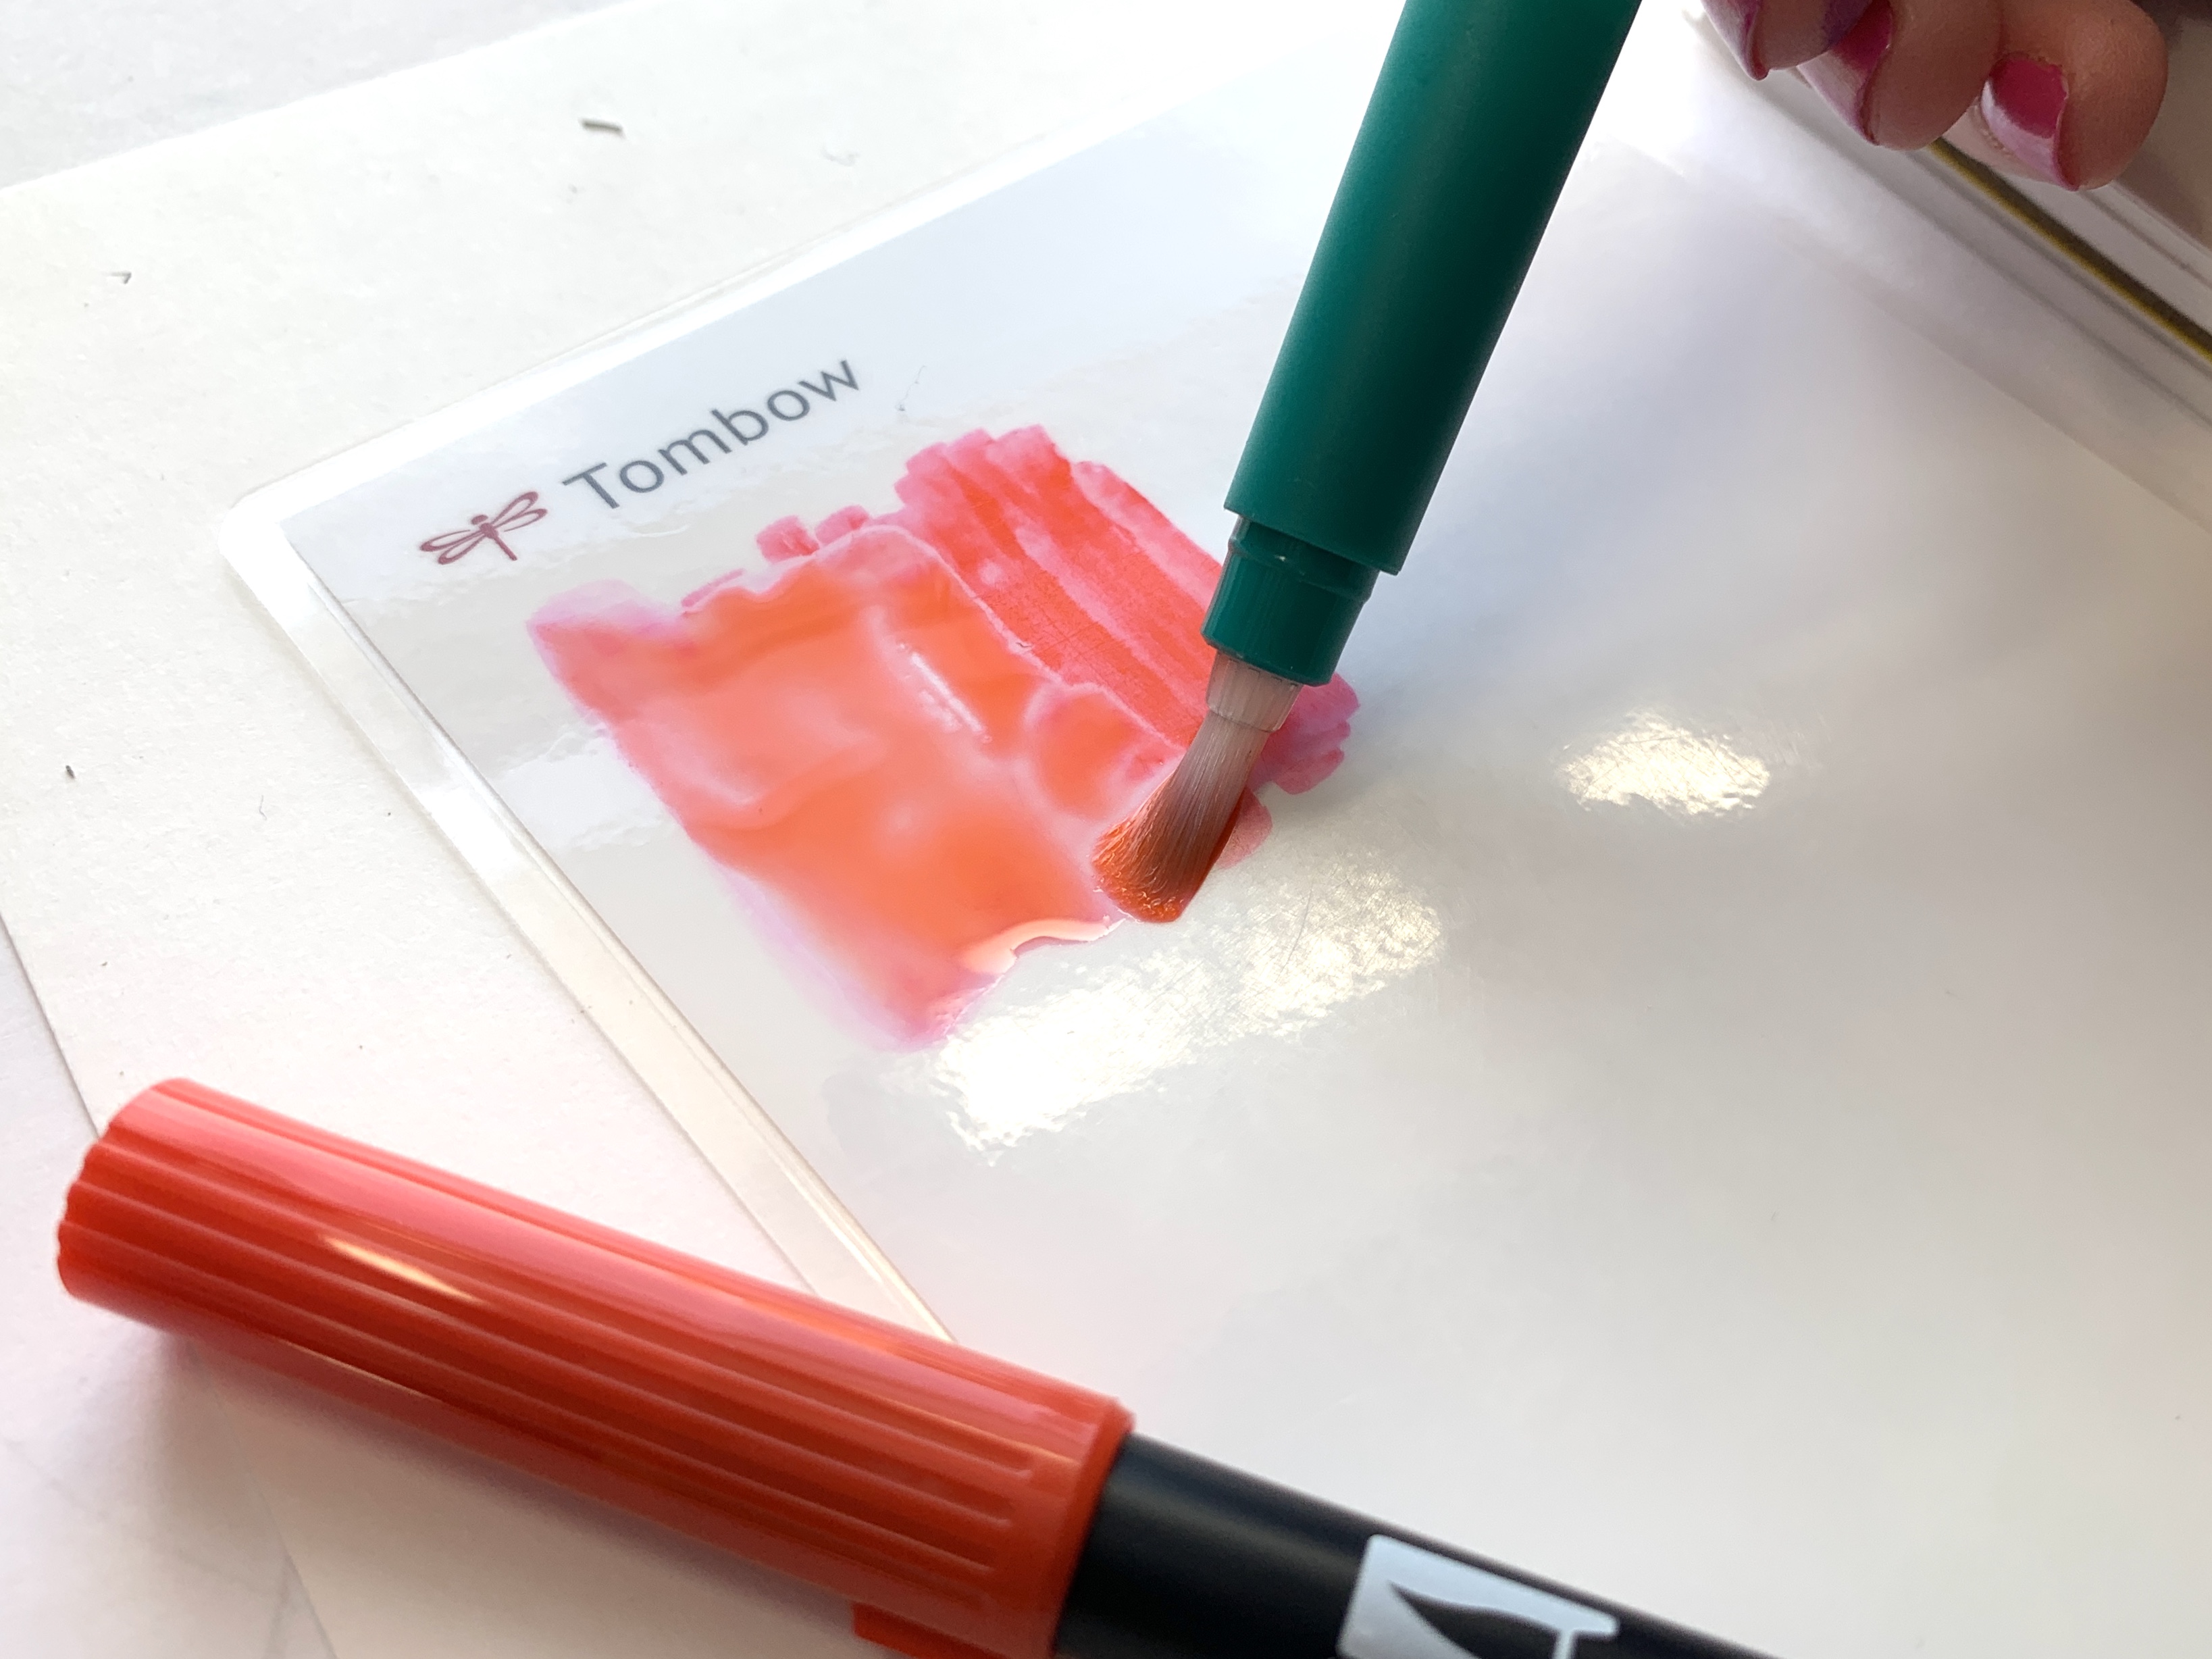
After I filled the Water Brush up with water, I used it to wet the color swatch I just made on the Blending Palette. Keep in mind that the more water put onto the color swatch, the more diluted the color will become.
Step 3
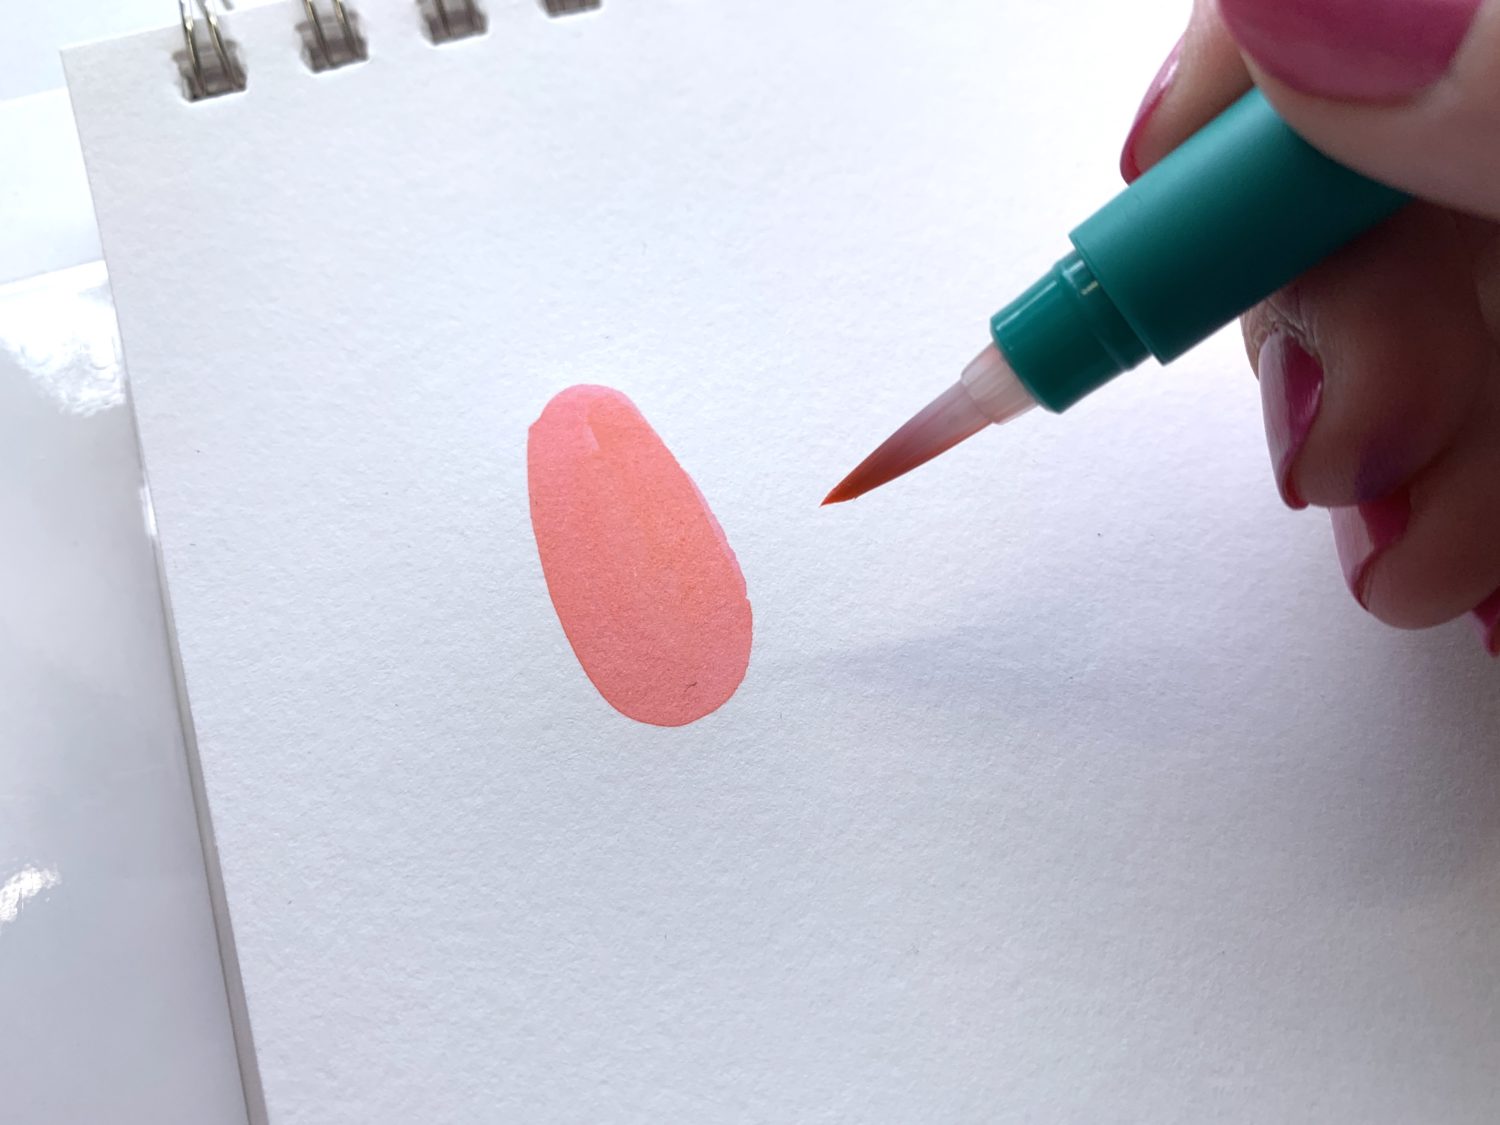
Using the color I picked up from the color swatch, I paint the body shape of the moth onto my paper. I made mine roughly the size and shape of a large thumbprint.
Step 4
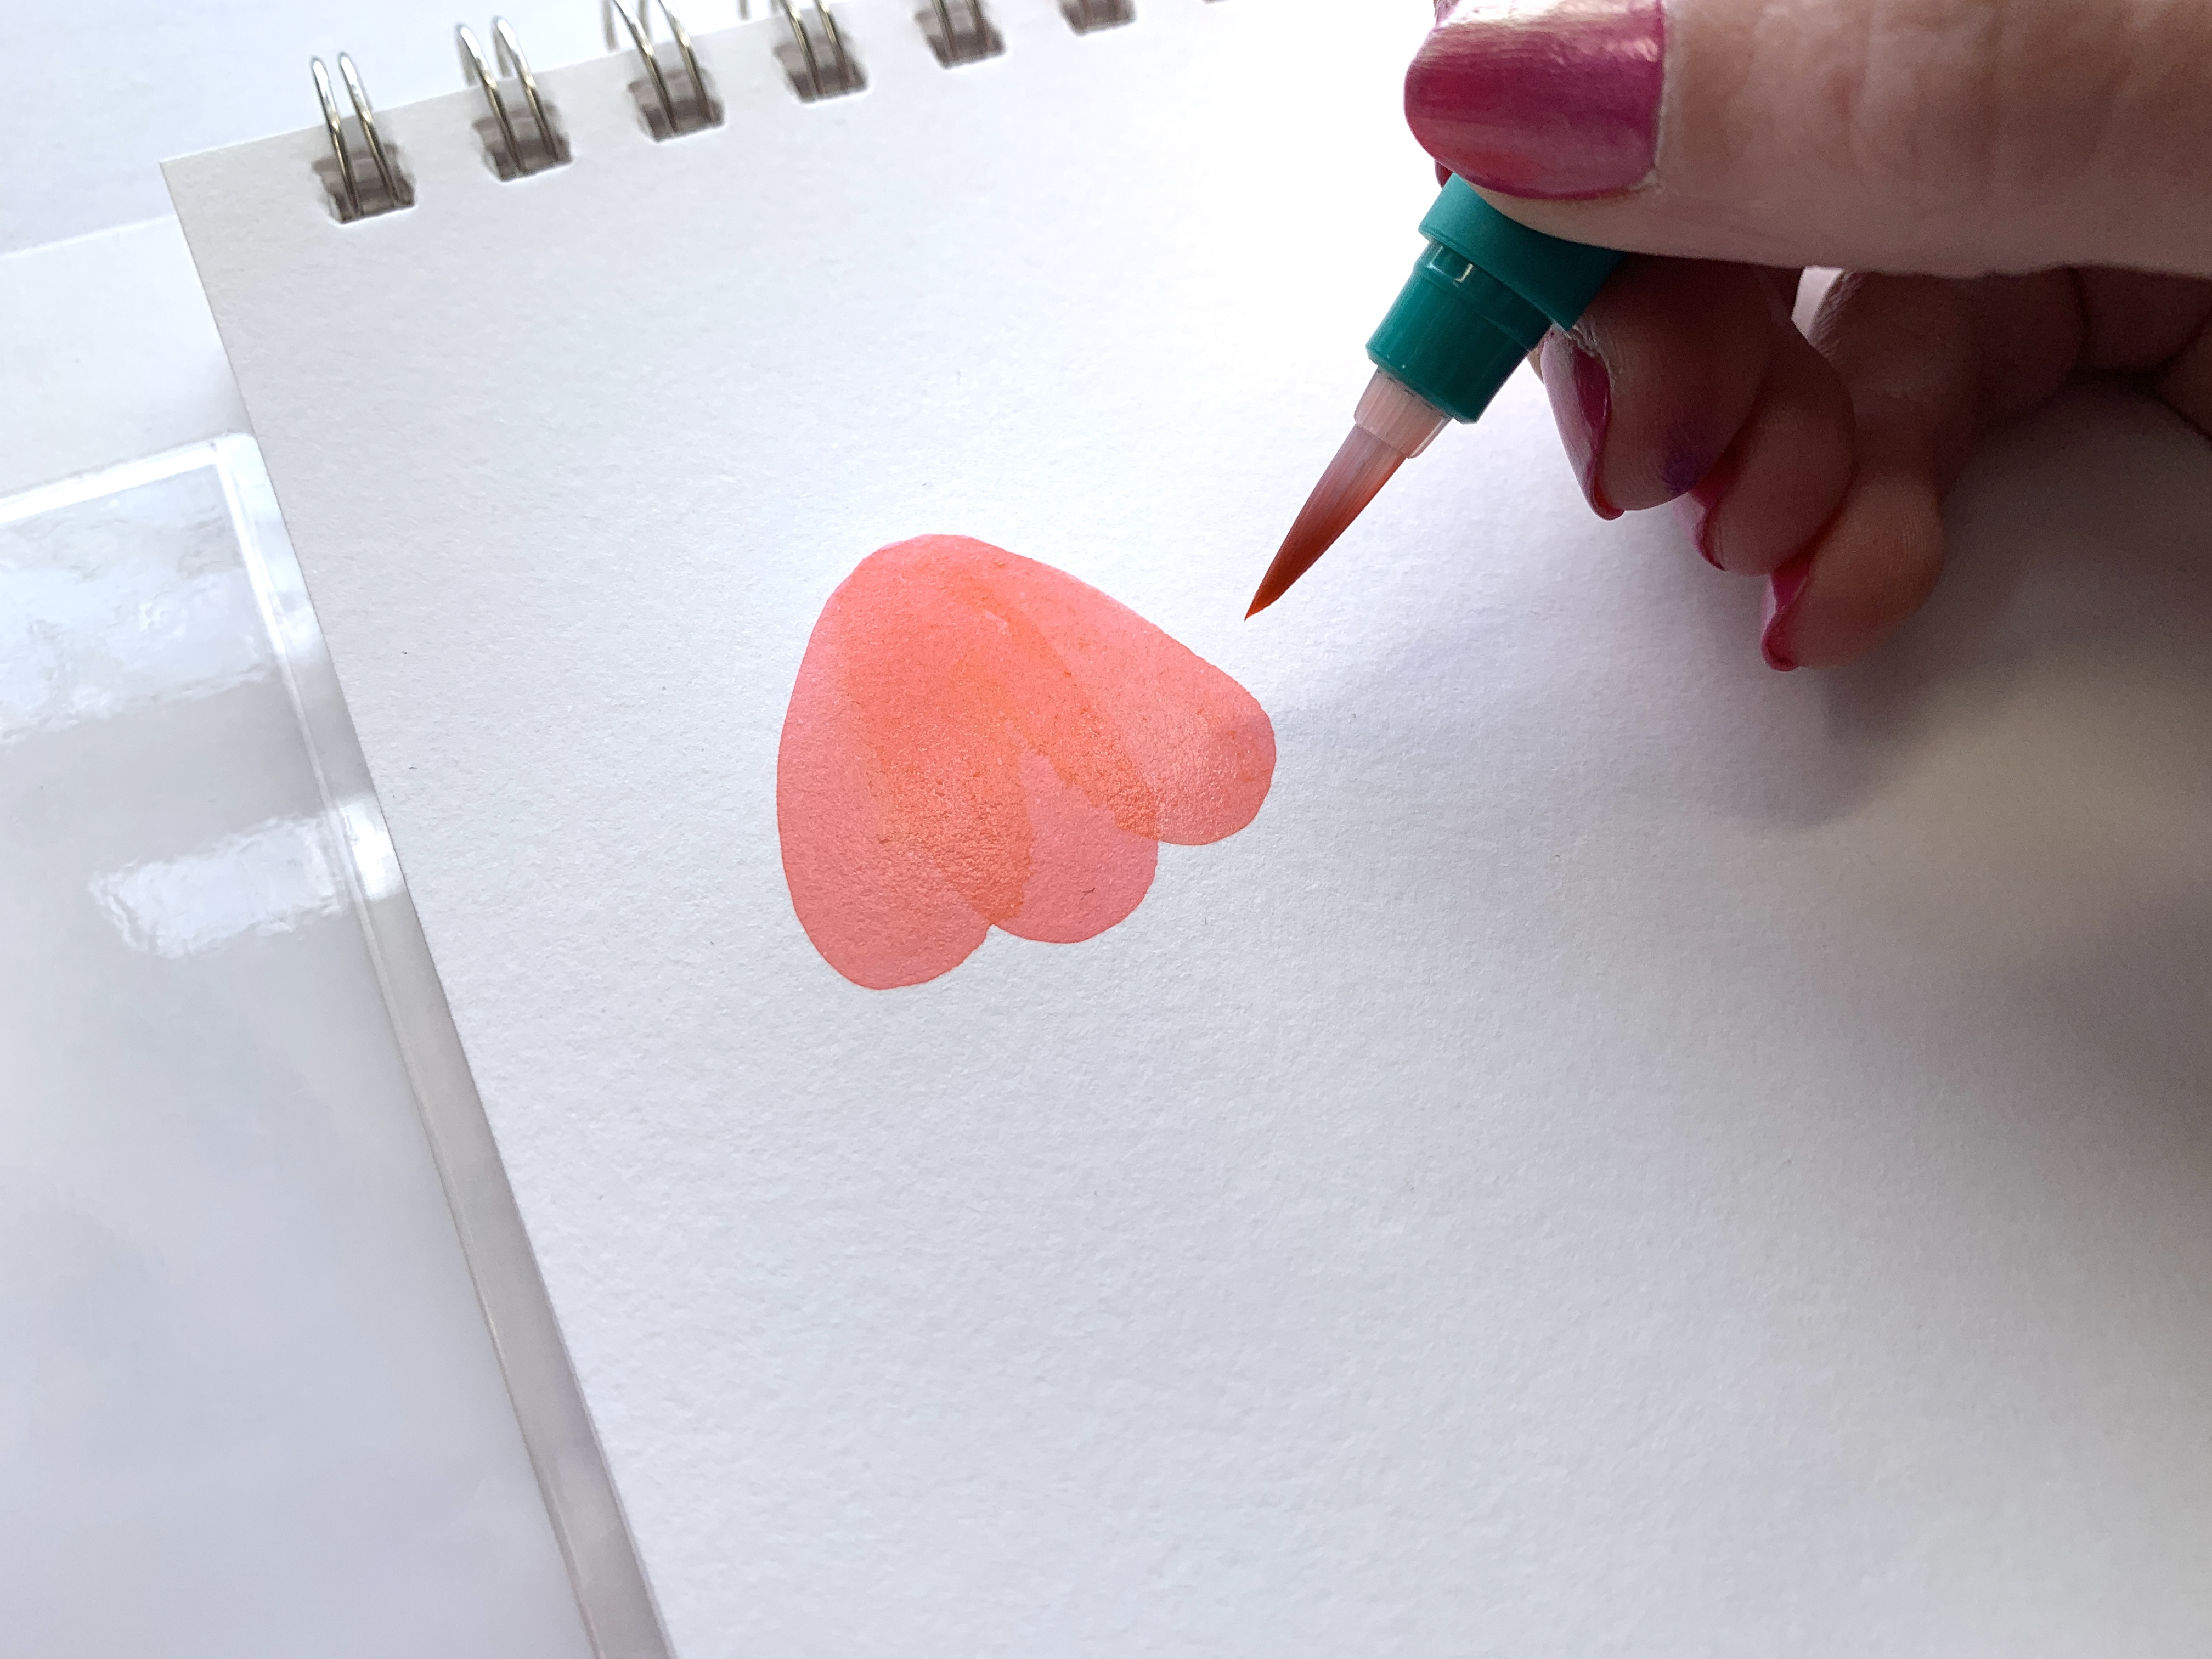
Similarly to the previous step, I add wings to the body using that same thumbprint shape. Remember, making a basic shape and small size for each moth will make it easier to fill up the page with illustrations. I played with the shape of the bodies and wings a little from moth to moth, but the goal was always to keep things simple!
Step 5
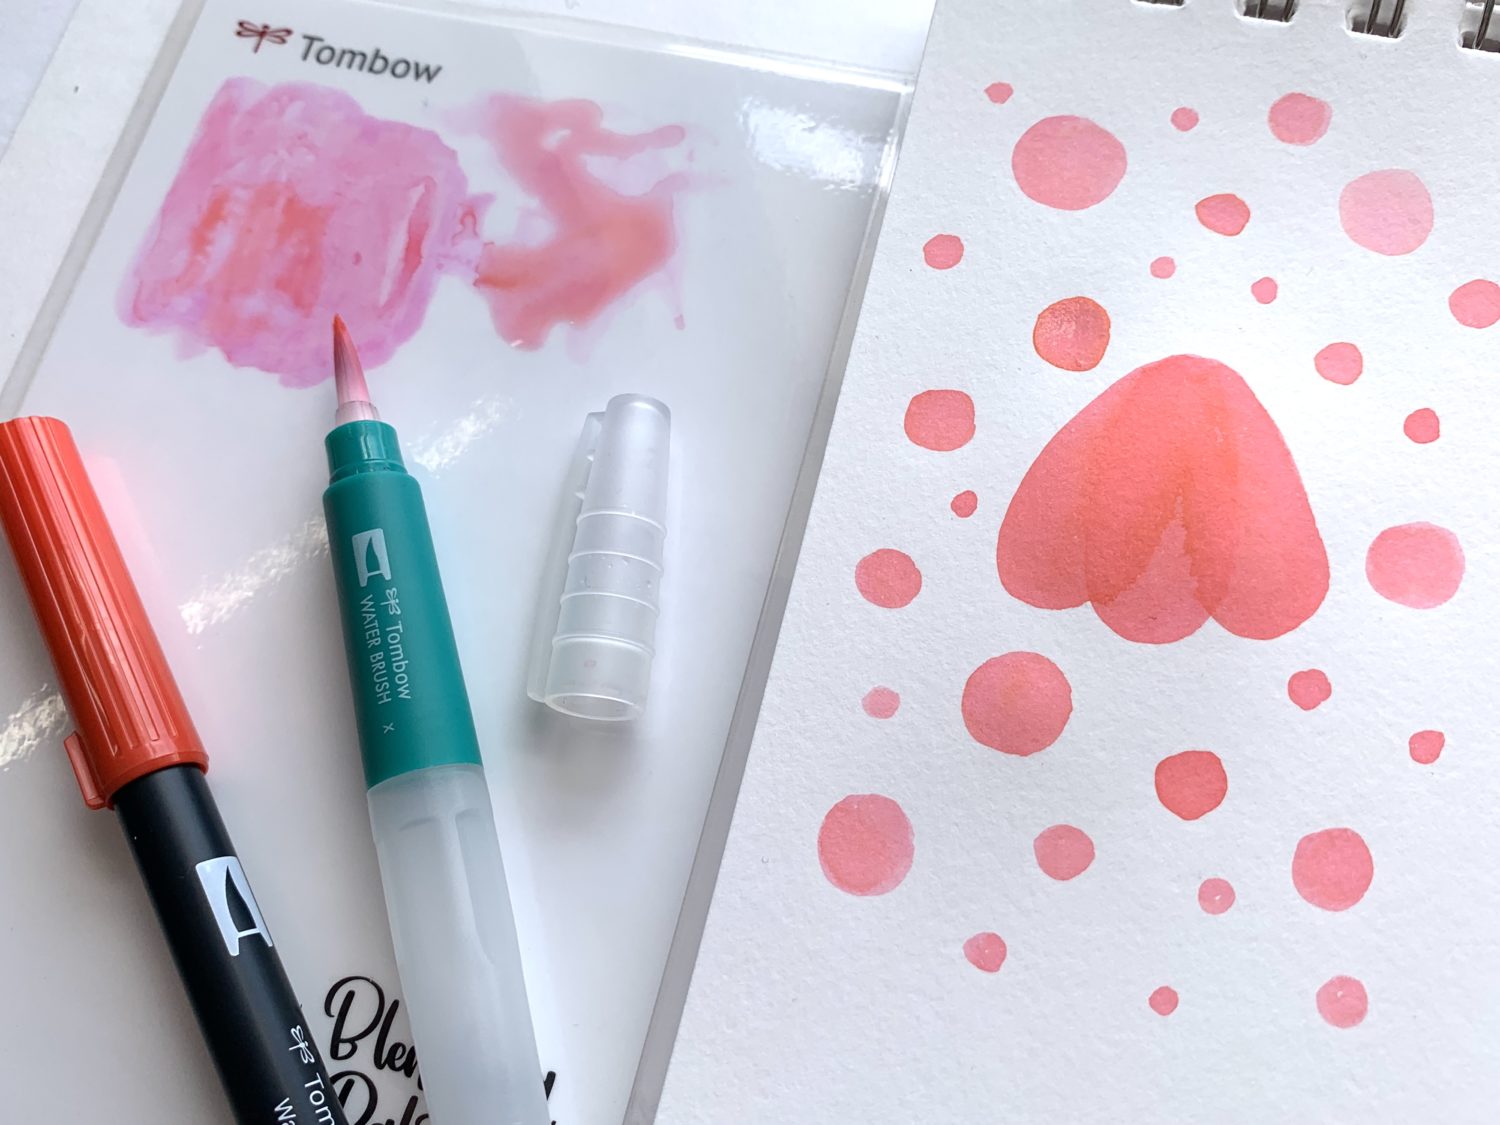
Next, I added little watercolor circles all around the moth.
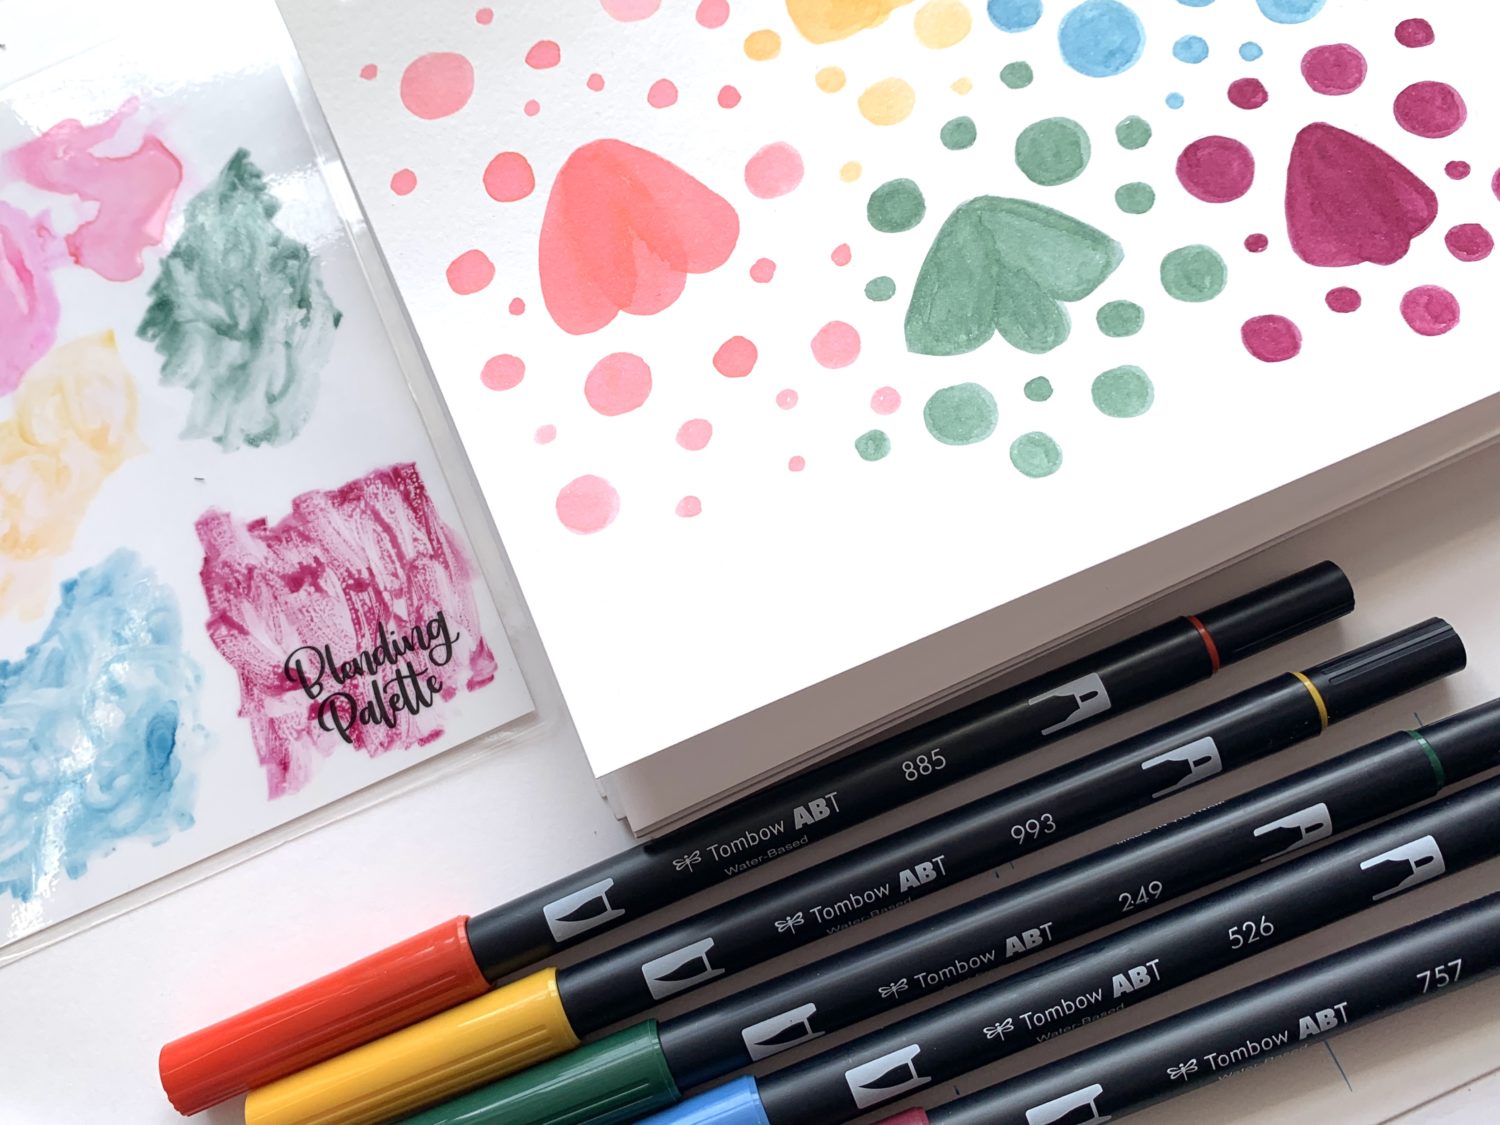
I continued doing steps 1-5, but with all the Dual Brush Pen colors in the Watercolor Set. The colors that come in this set are great for a number of reasons. First, I personally love a warm and whimsical rainbow palette. Second, on top of being able to get a ton of shade variation with each individual color, this palette allows for artists to mix the colors!
Step 6
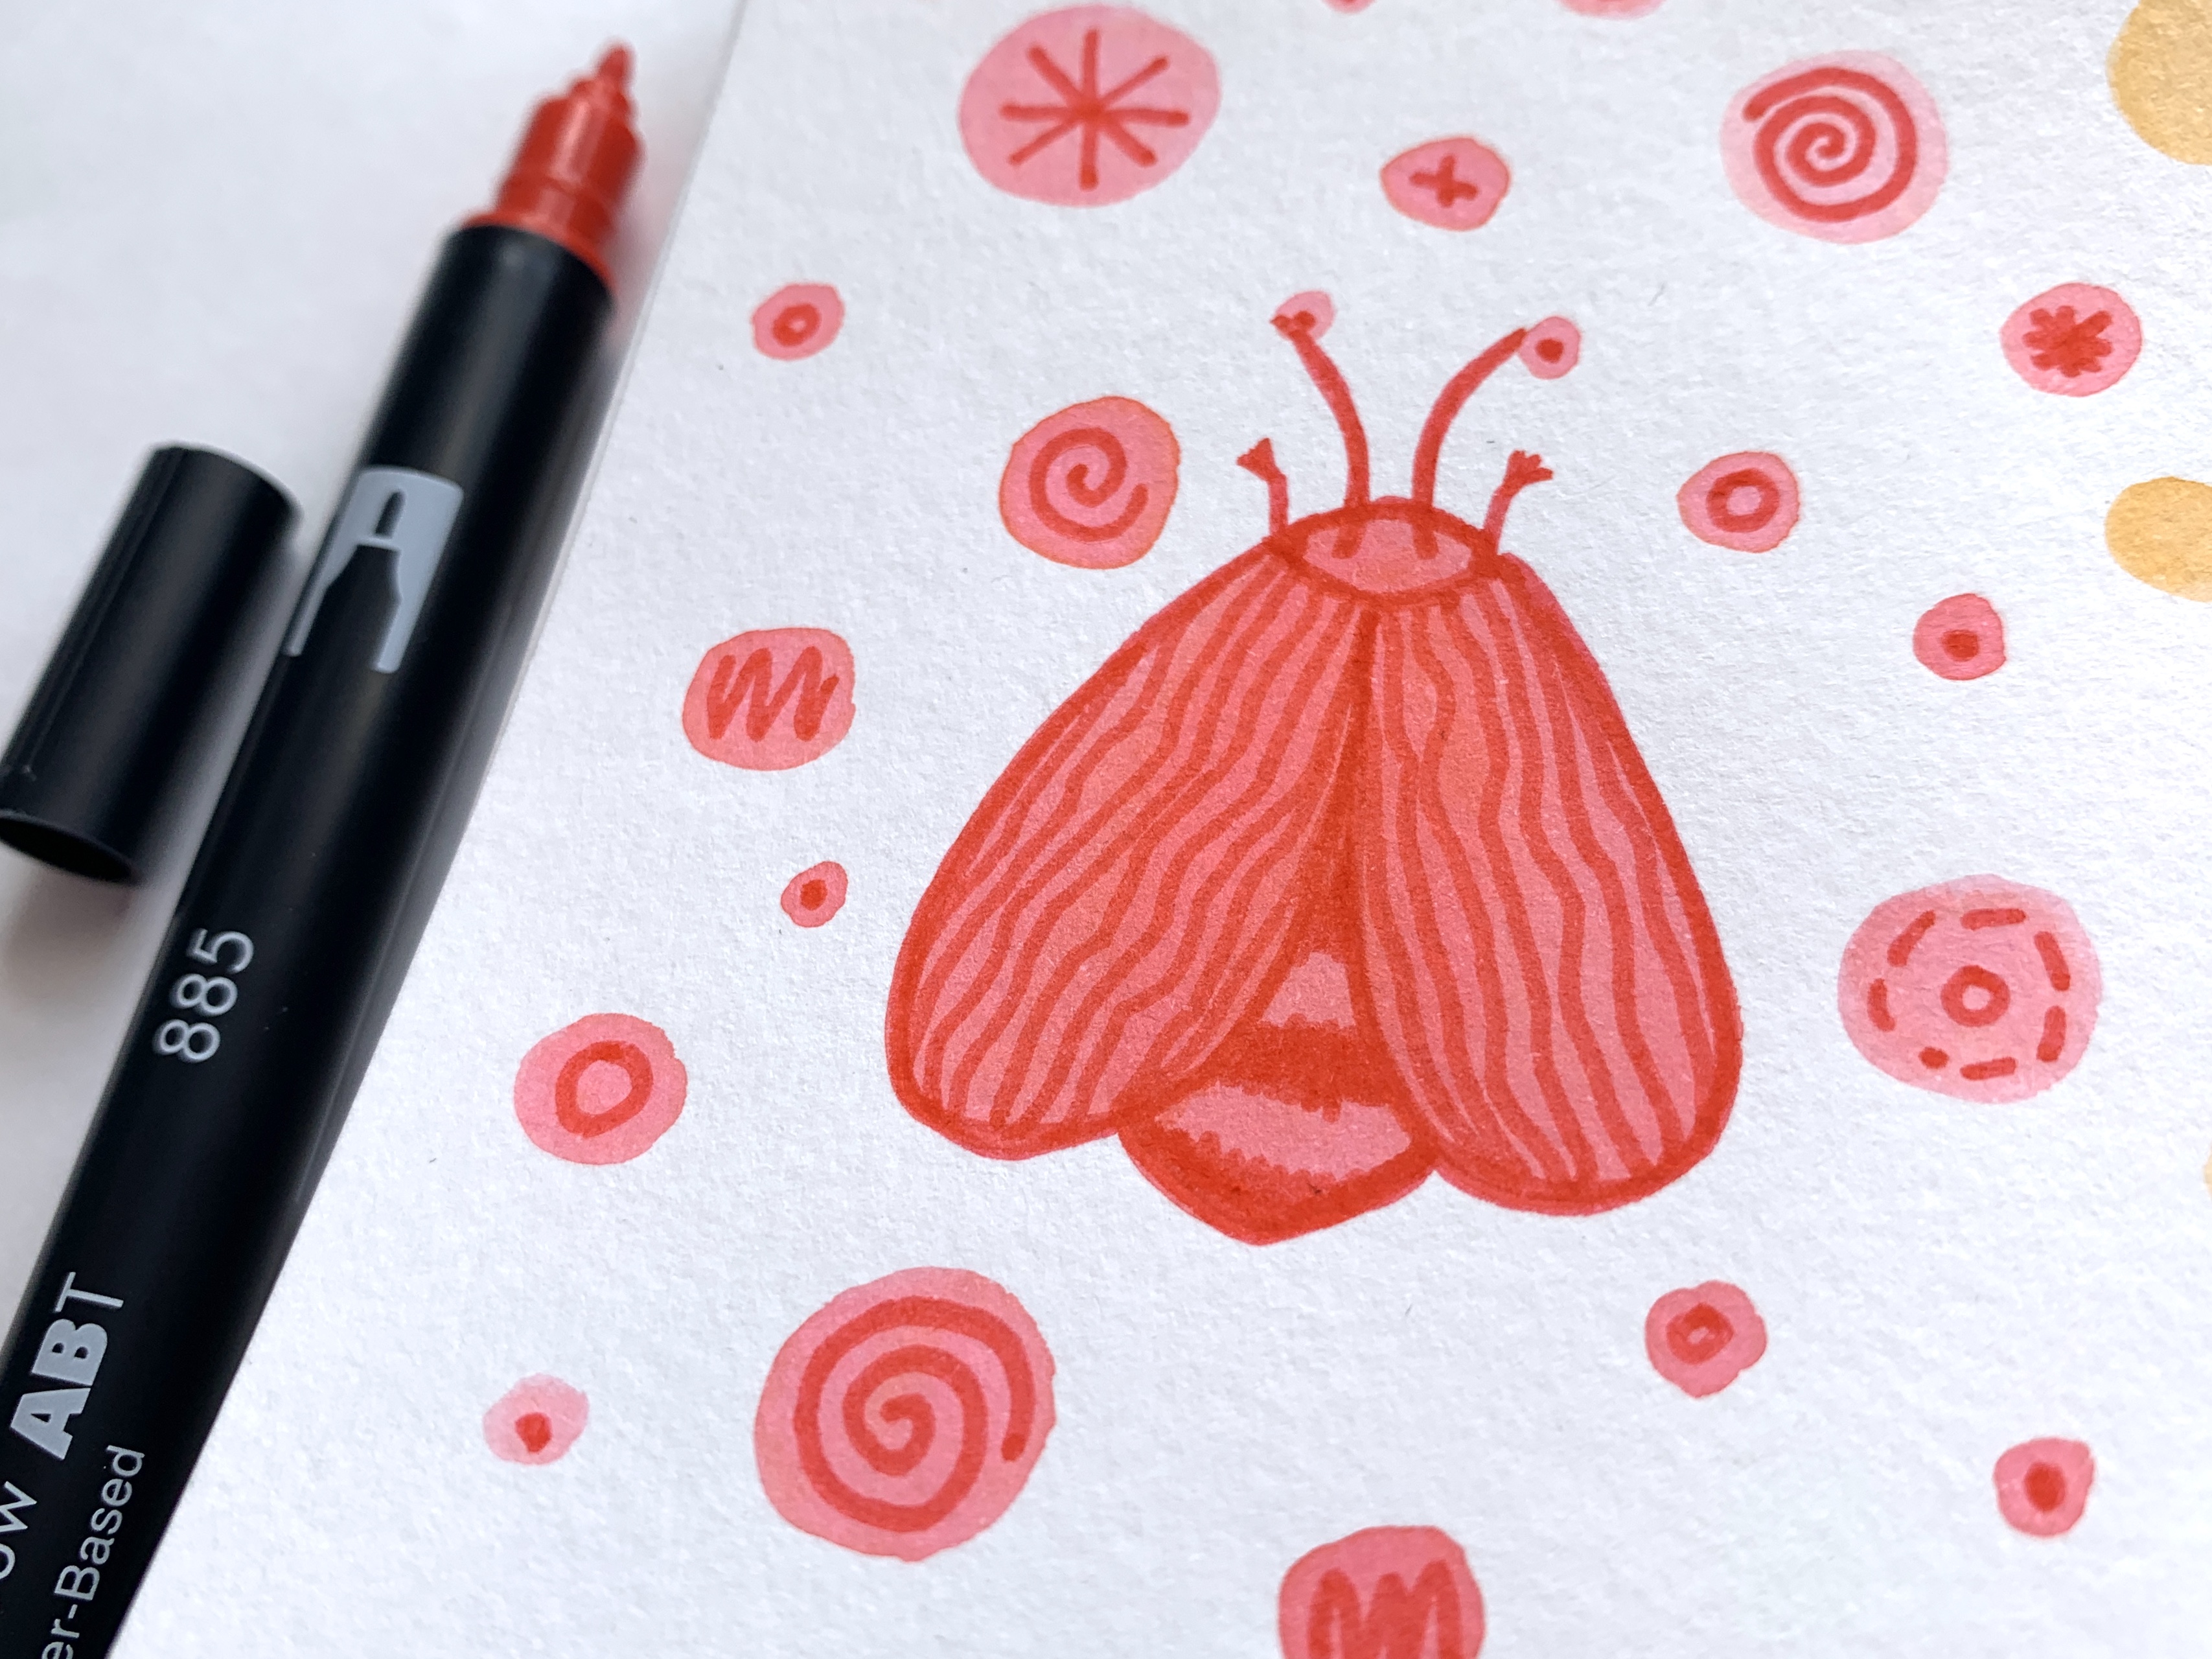
Using the fine tip of the Dual Brush Pen, I added details on top of my watercolor shapes. Most importantly, I gave the wings and body some definition and also added antennas and legs. The watercolor circles needed some small details too.
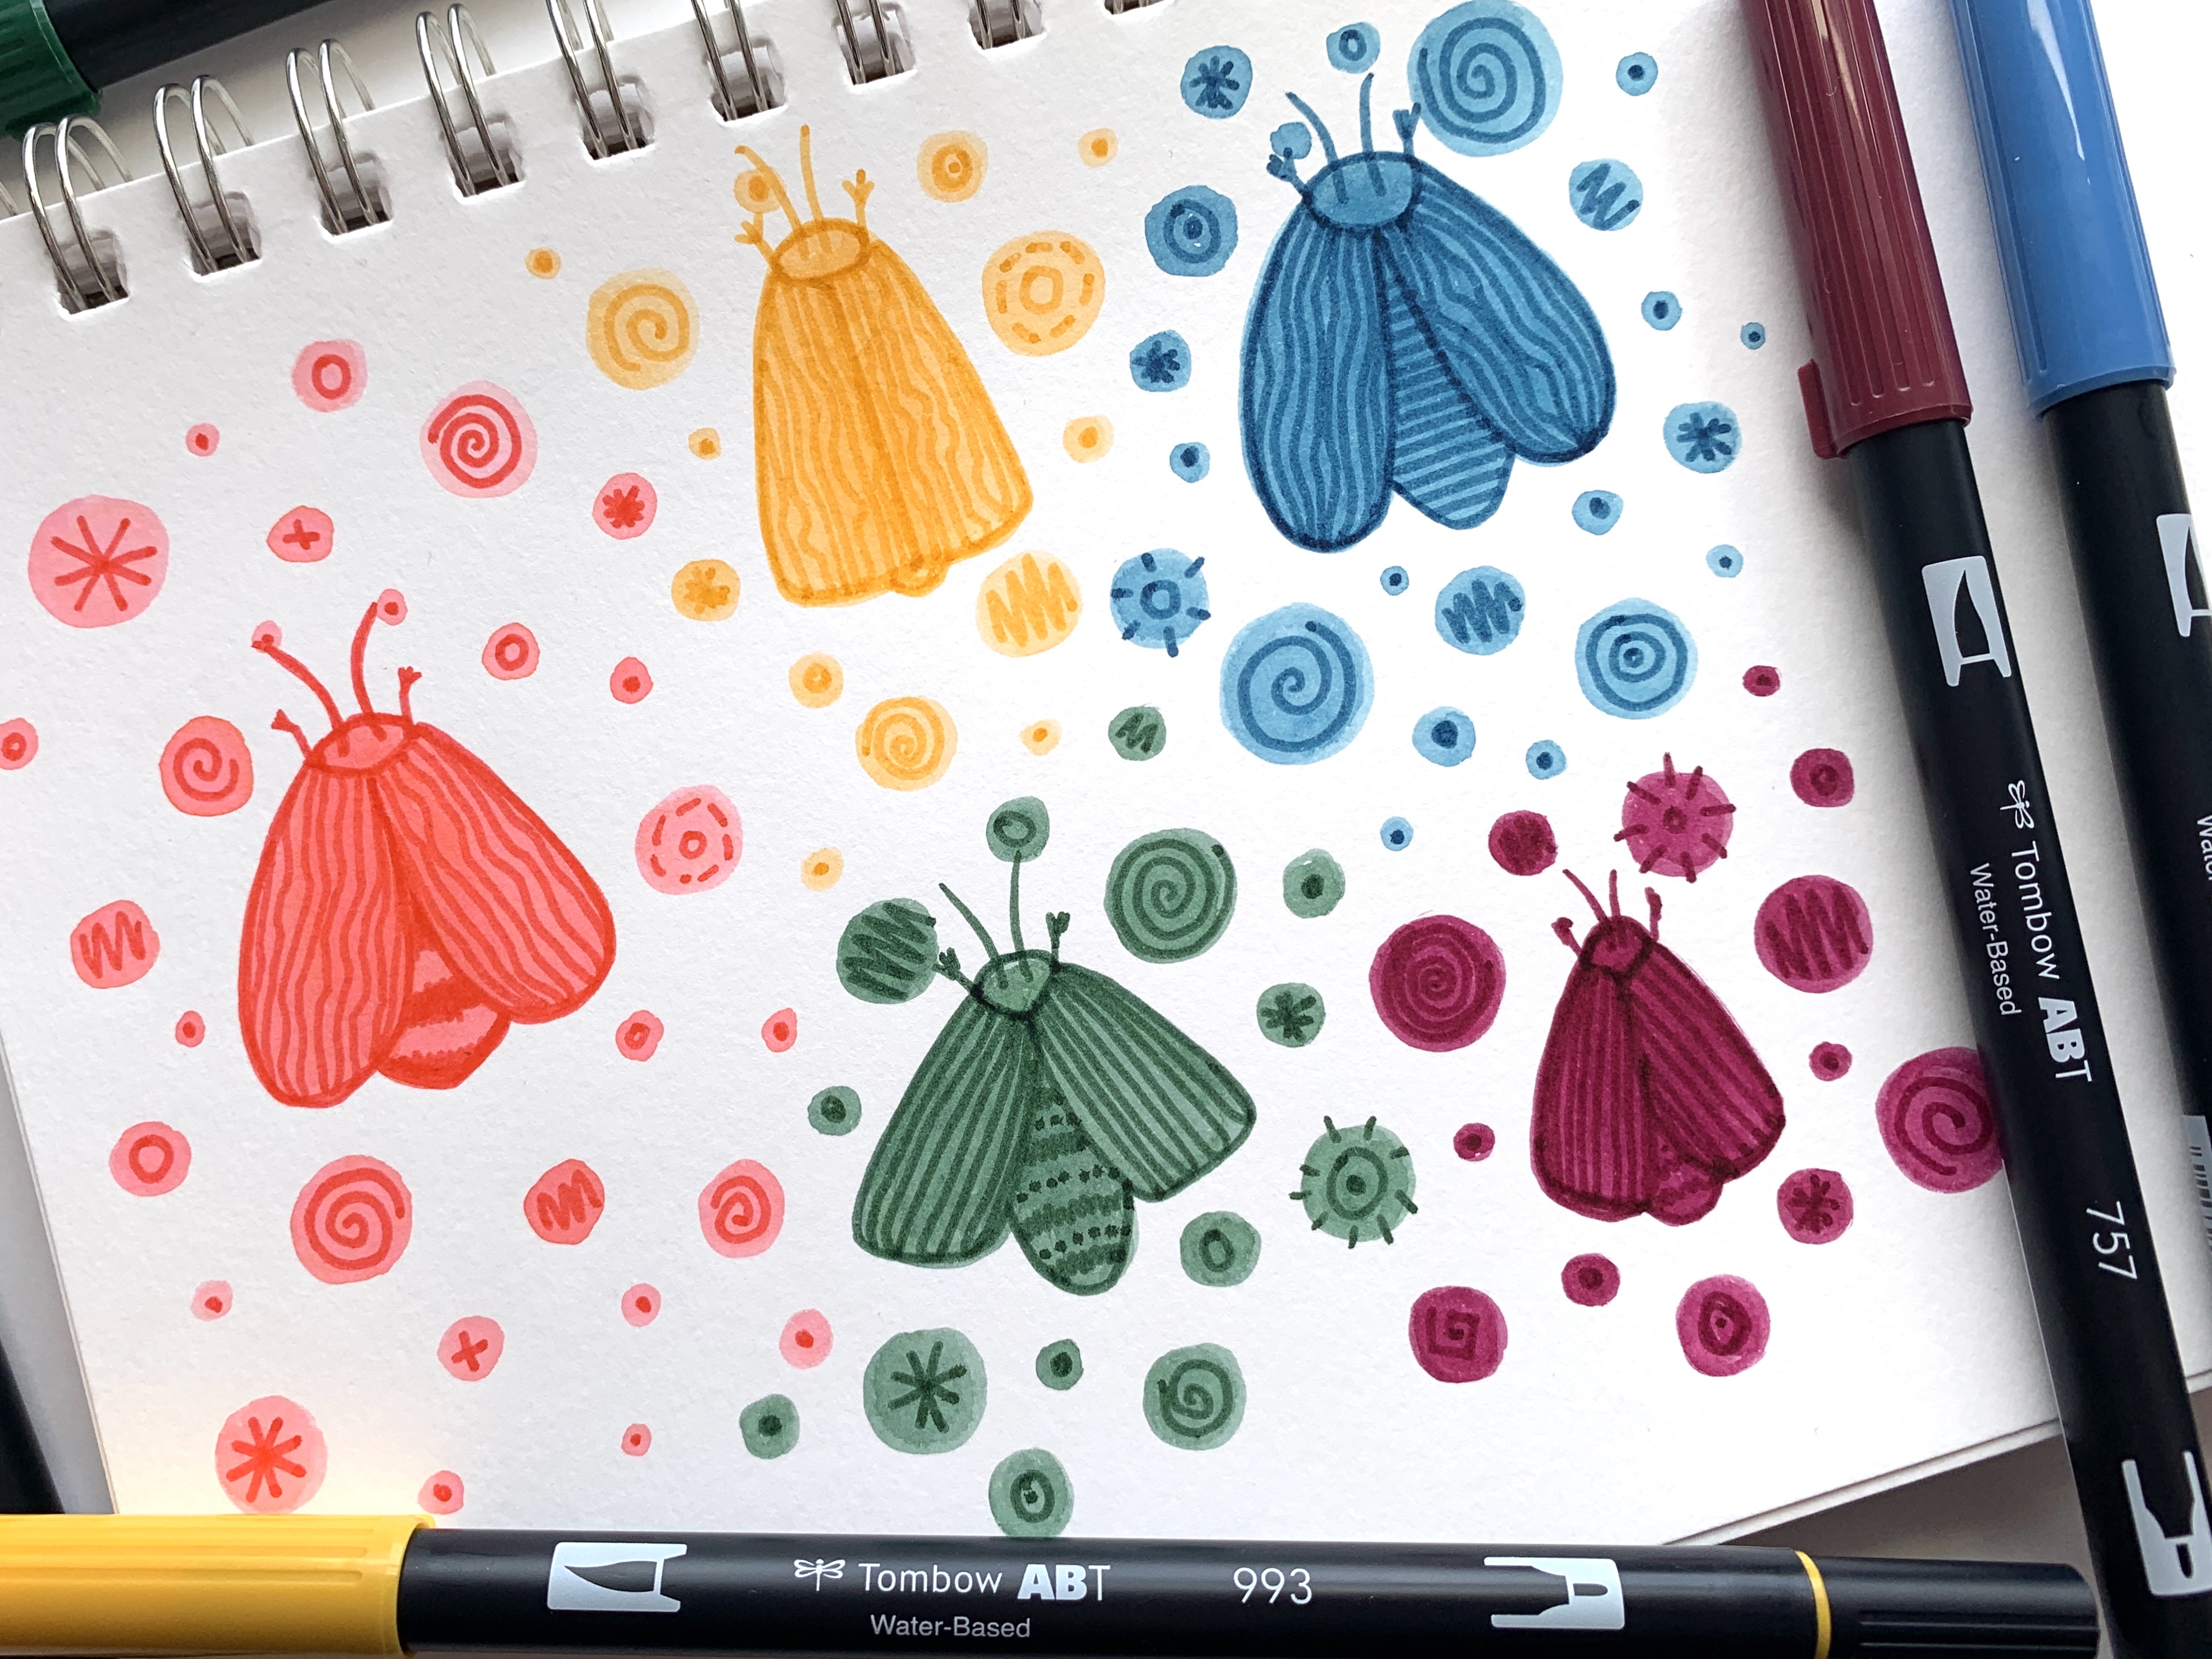
Because the watercolor shape is more diluted than the original marker color, the bullet tip details showed up beautifully. The details are dark enough to contrast and pop off the water colored areas but light enough to look almost natural!
Once I was done adding details with all of the colors, I was ready to move on!
Step 7
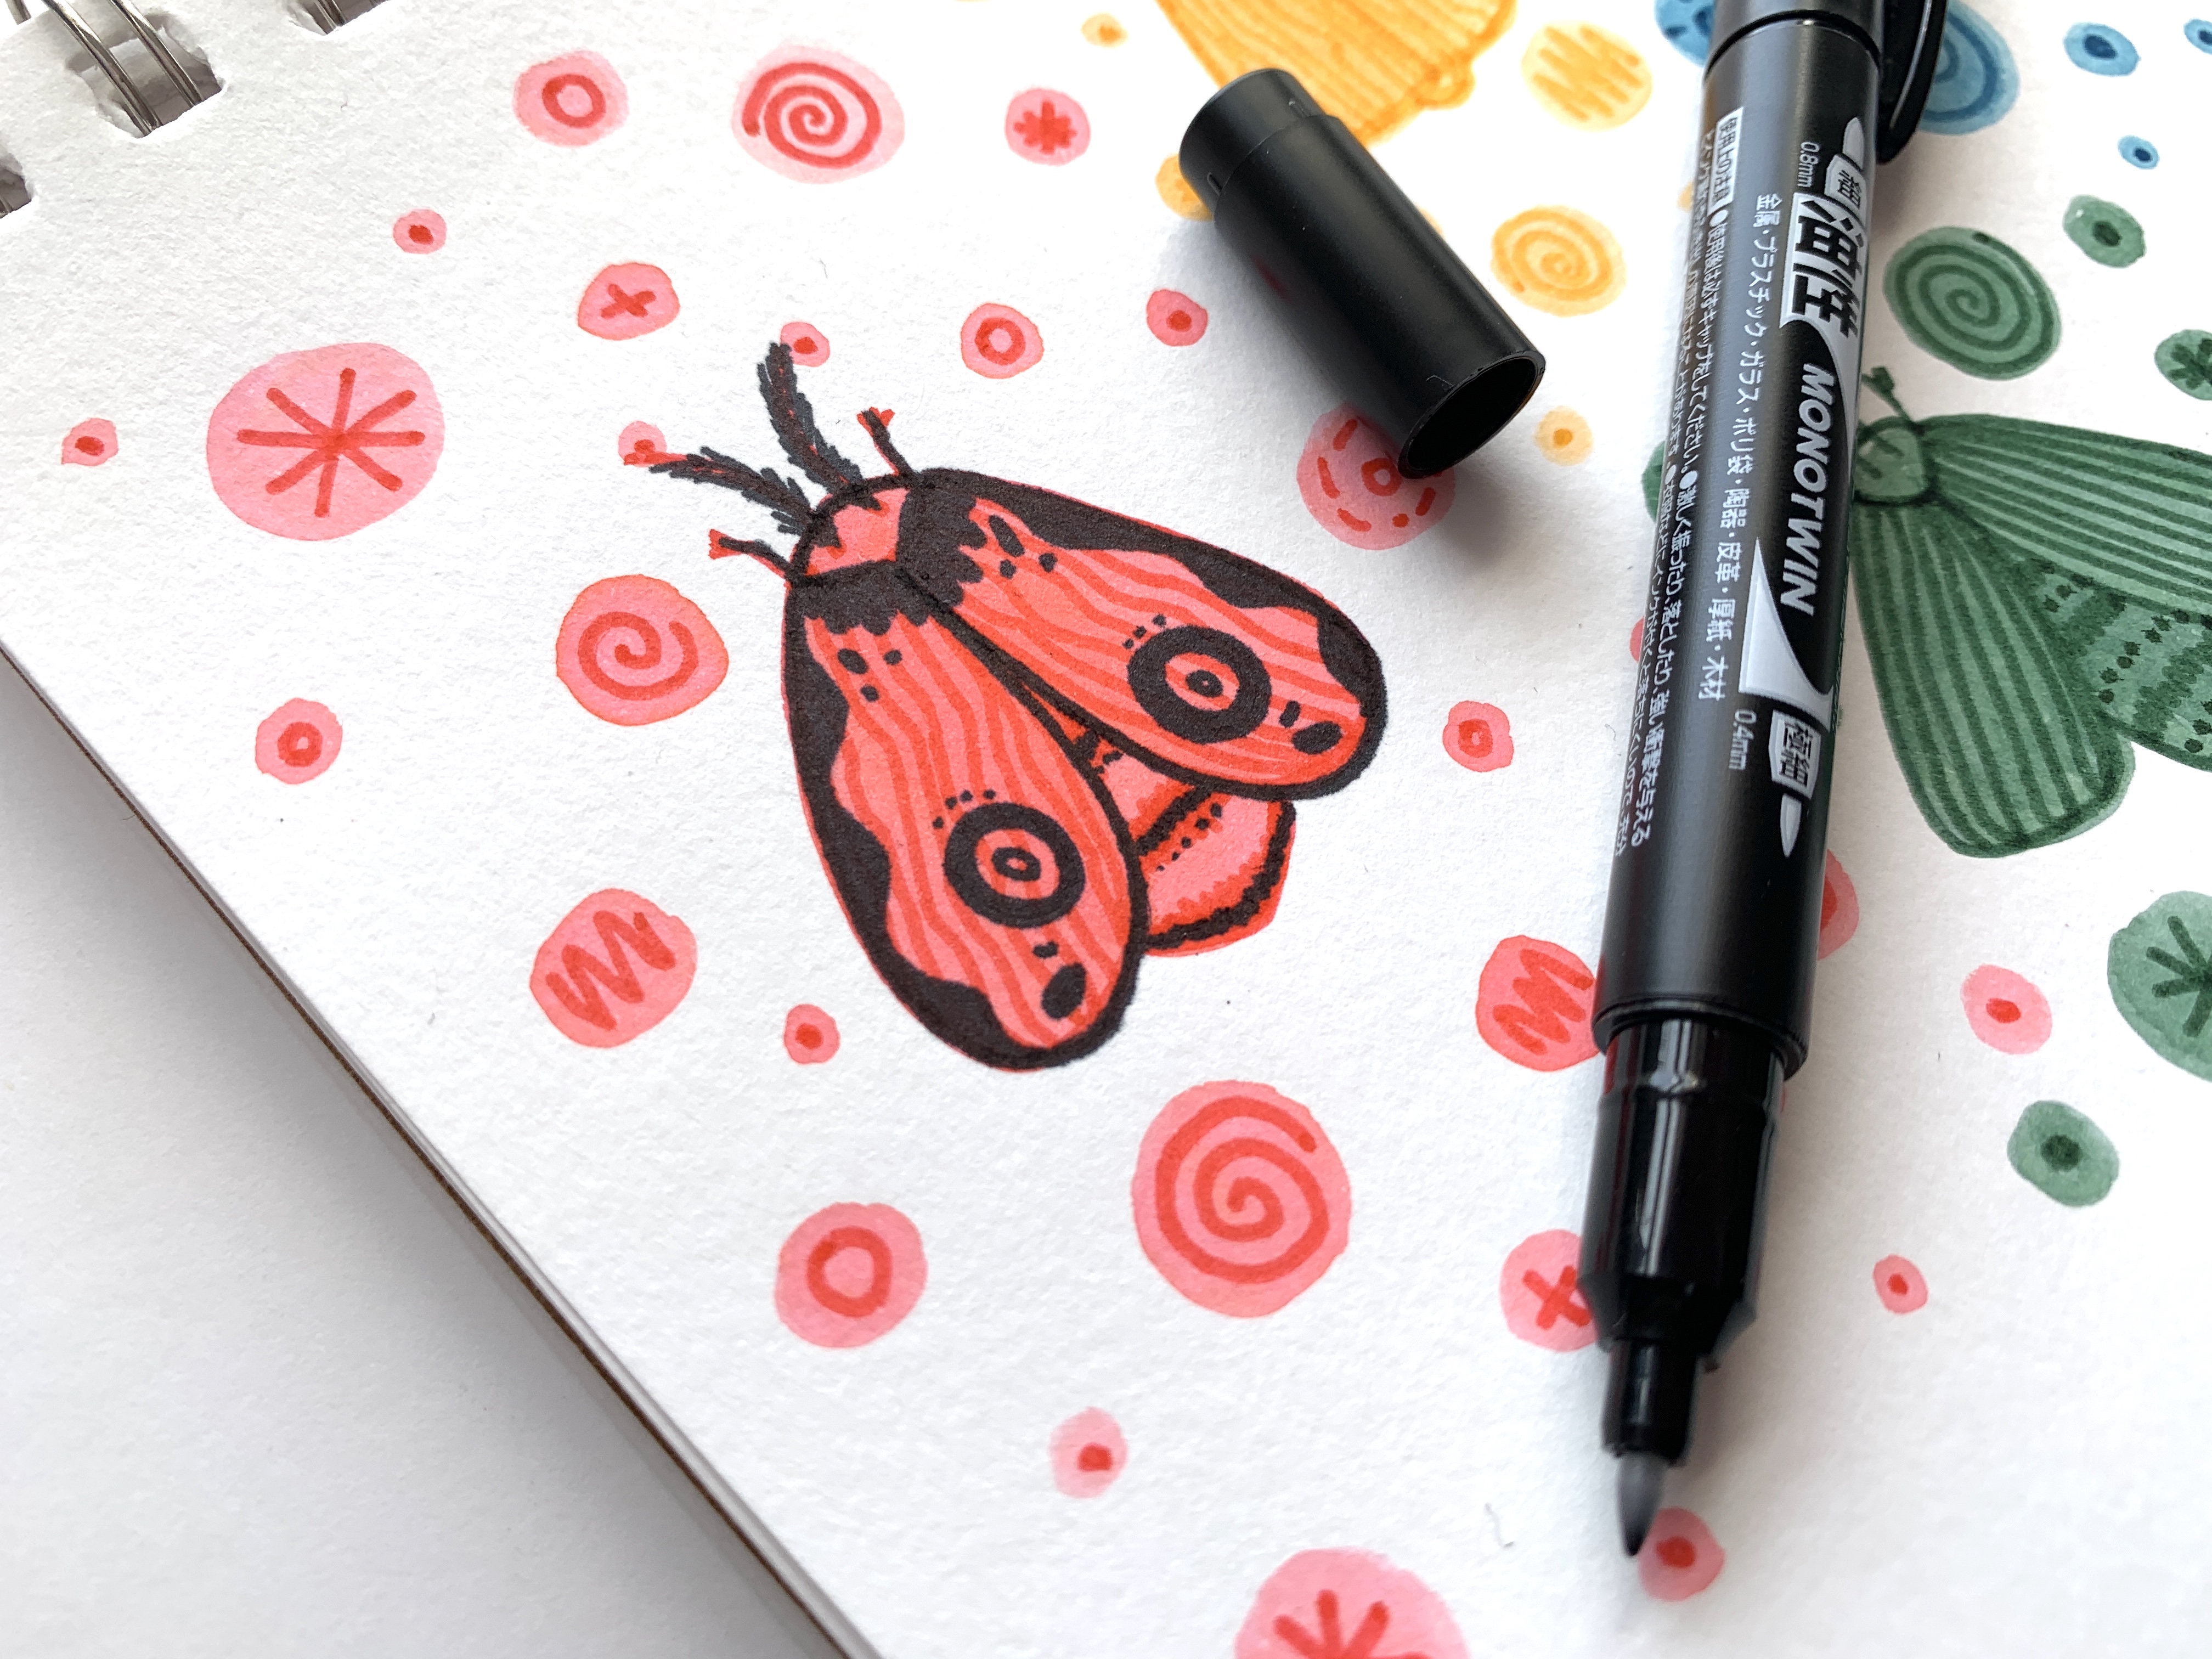
Much like step six, this step is also about adding details. This time, I used the broad tip of the MONO Twin Permanent Marker. I added these black, high-contrast details to all of my moths.
This marker doesn’t bleed when water is used with it. While I used this marker to add contrast to my watercolor illustrations, I can also use it to make fine line illustrations and color them in with the Water Brush and Dual Brush Pens. The MONO Twin Permanent Marker is just another reason this Watercolor Set is so versatile!
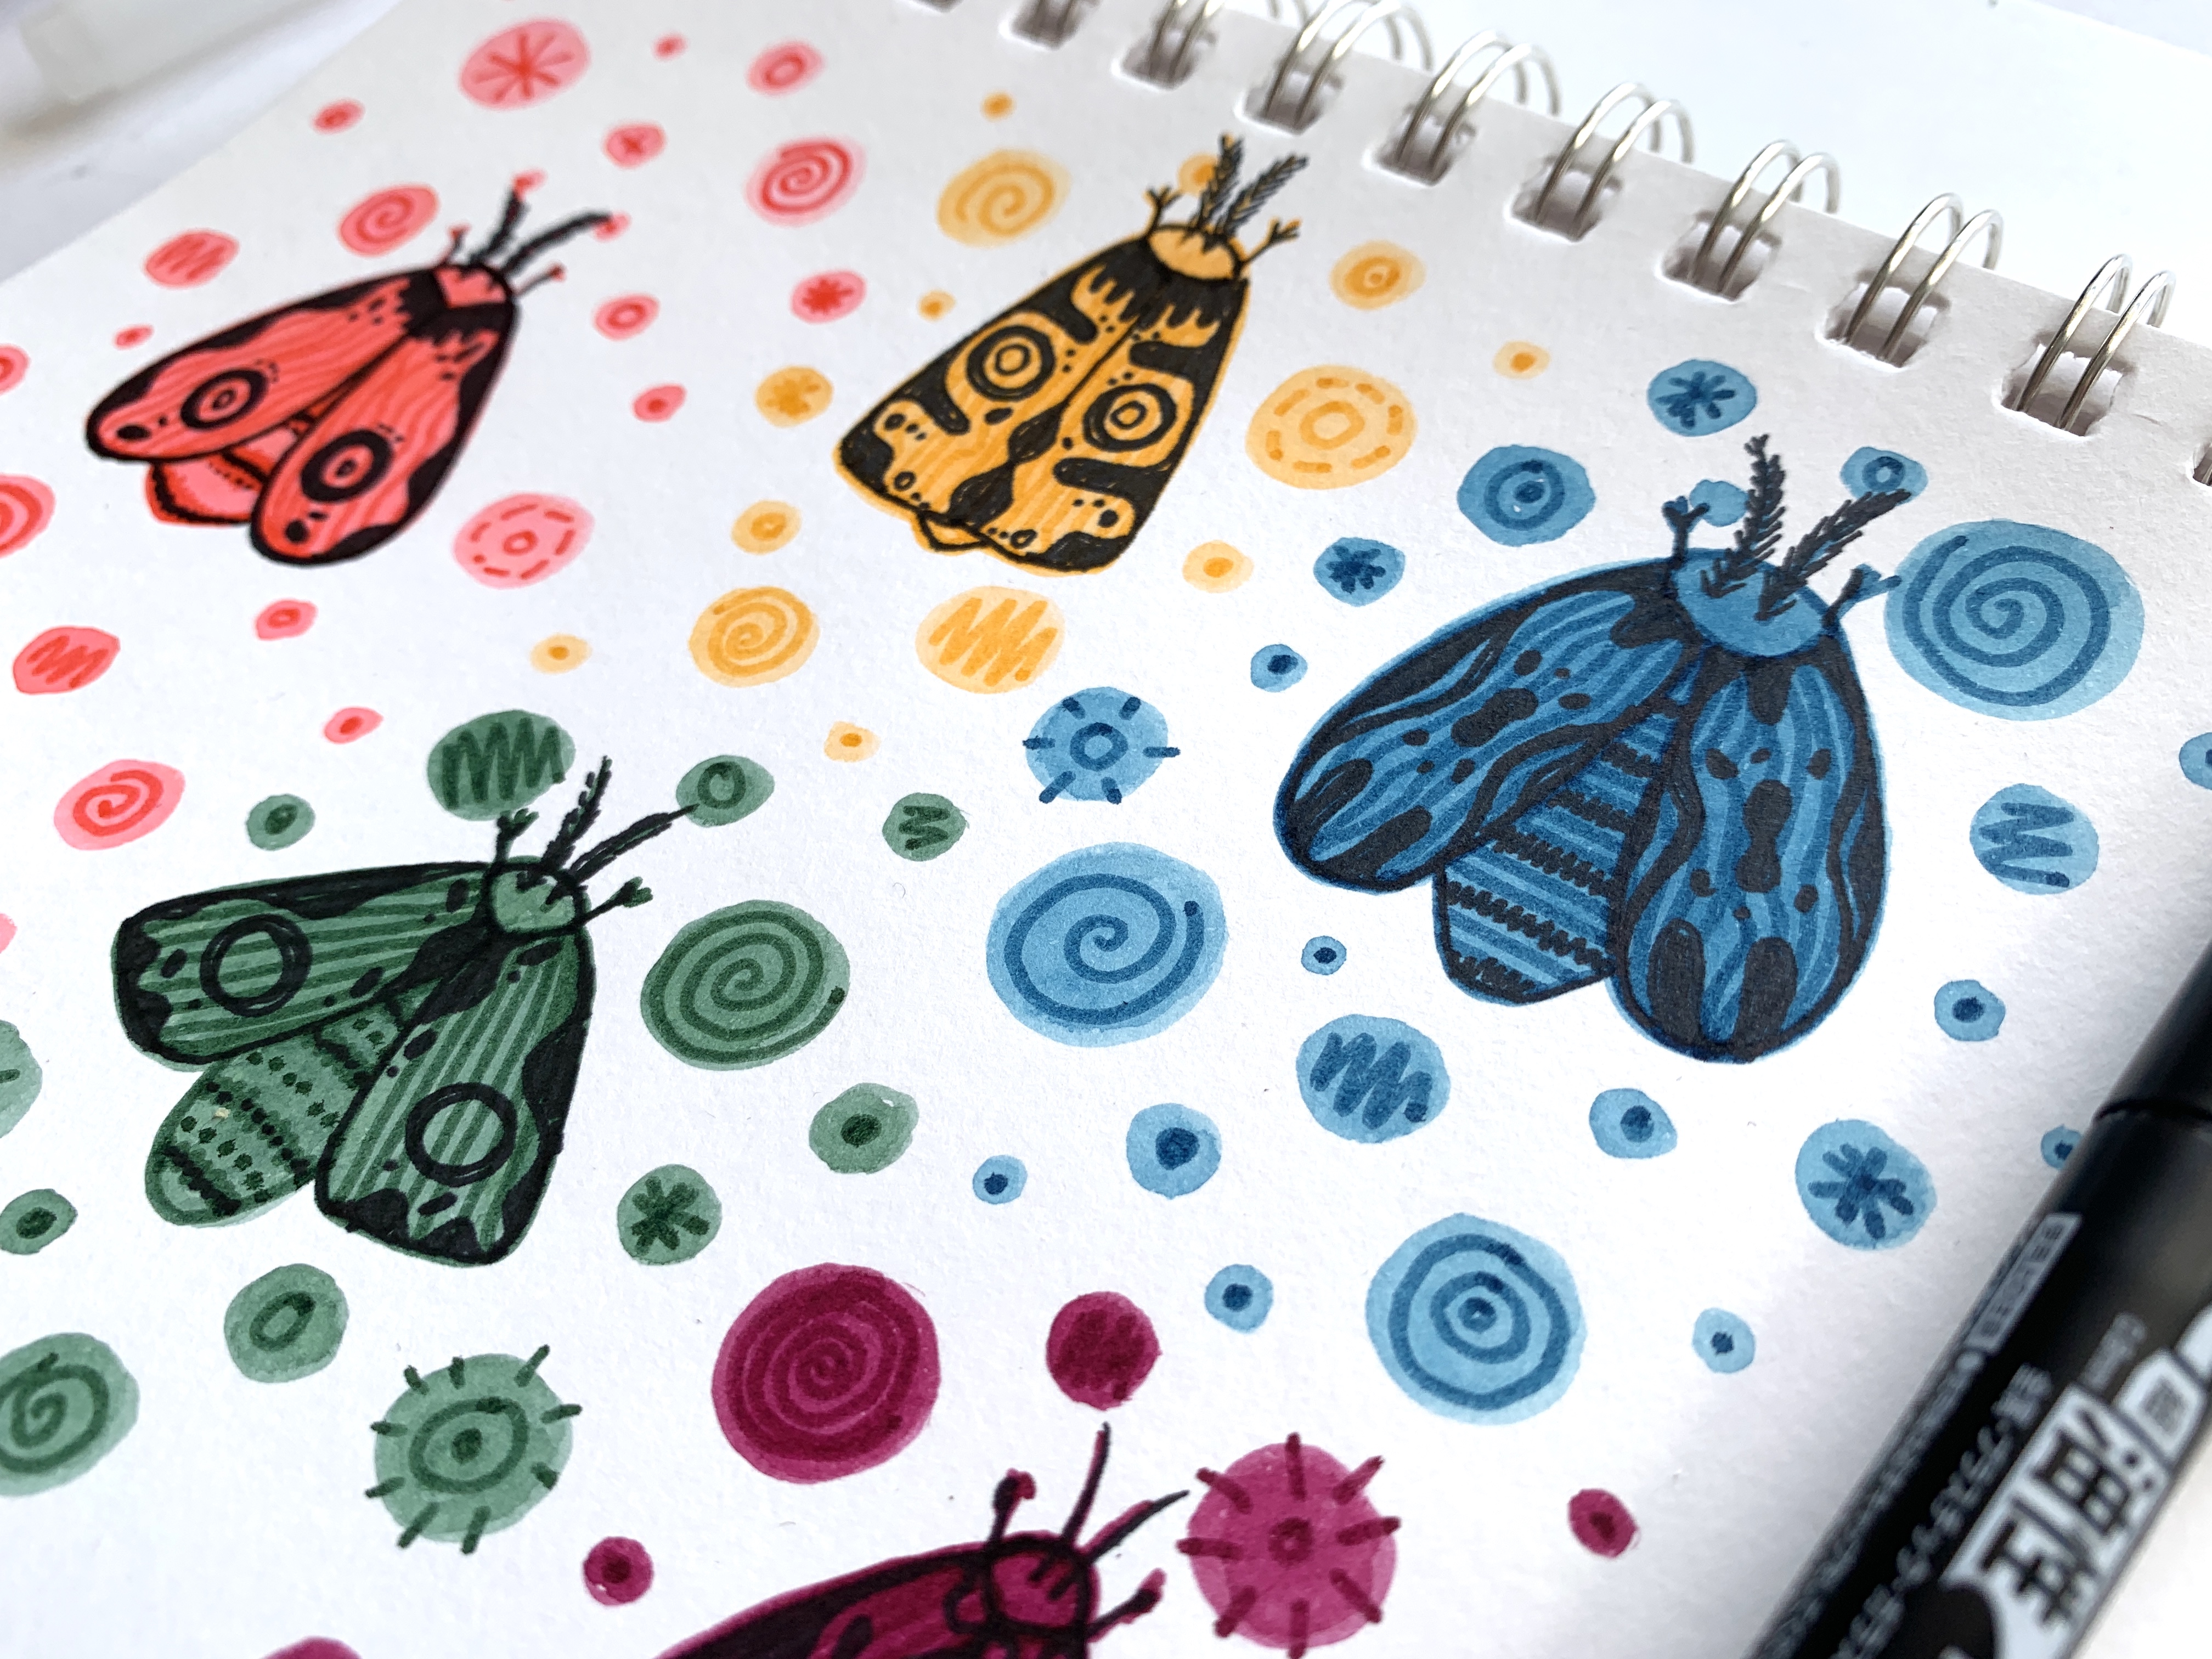
That’s all! It’s a really simple and stress free way to fill a page up in an art journal. The Watercolor Set makes it easy to create these kinds of simple projects, but I hope I’ve made it clear that this set is versatile enough for artists of all skill levels. If you want to see how else this set is being utilized, I recommend checking out Katie Smith’s Mixing Dual Brush Pens for Watercolor Illustration post. This is a fantastic look at what this set is capable of.
For more watercolor inspiration, I’d also check out Smitha Katti’s Watercolor Roses Tutorial and Jennie Garcia’s Watercolor Tropical Flowers With Tombow Dual Brush Pens post!