Hi friends, Adrienne from @studio80design here! Today, I’m sharing all my thoughts about the ABT PRO Alcohol-Based Art Marker Basic Palette 12-Pack! These markers can be used in a variety of ways, including coloring, blending, basic drawing, adding a base color to your projects and abstract drawing. These markers are great for artists, designers and crafters! This palette is so great because the colors are bright and vibrant. The possibilities for this palette are endless! In this post, I’ll tell you my reasons for why I love this palette, some of my tips for using this palette and then show you a fun project you can make with it!
Reasons why I love the ABT PRO Basic Palette:
- Permanent and Fast Drying: These markers have permanent ink and are fast drying! Can’t ask for much more in a marker!
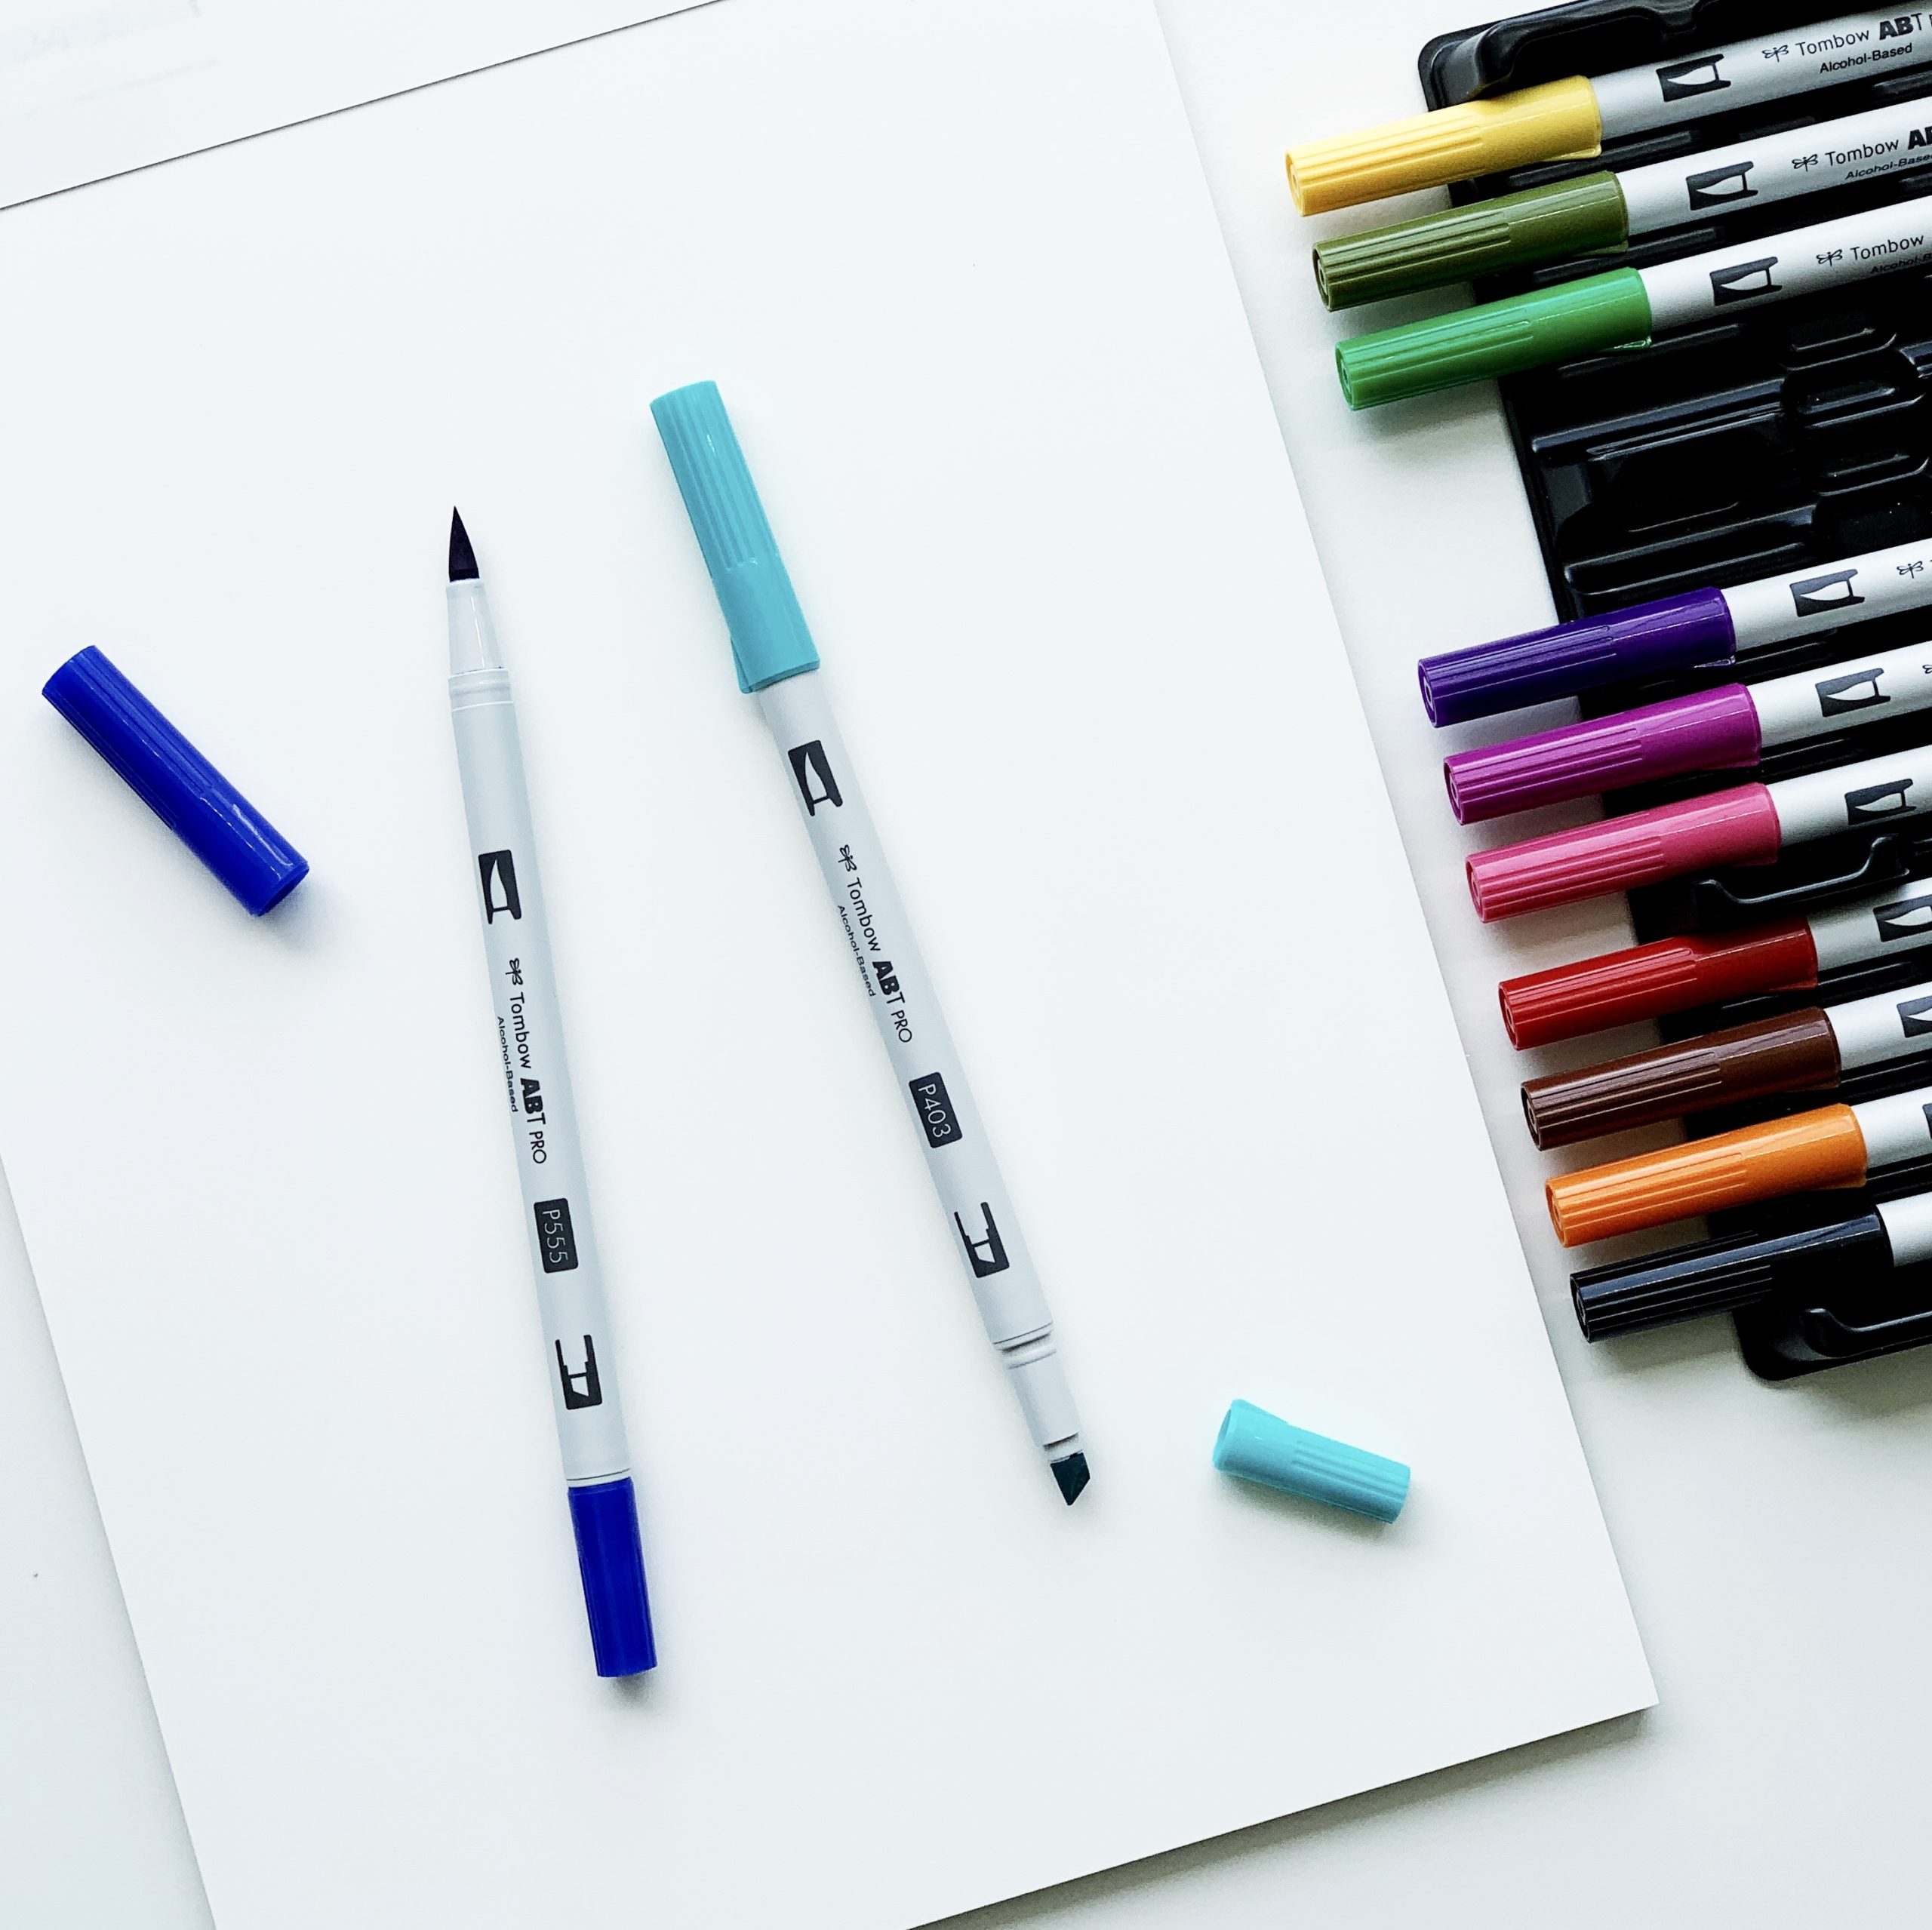
- Dual-Tip Markers: The ABT PRO Markers come with a nylon flexible brush tip and a polyester chisel tip. I love using the chisel tip to color in large areas and the brush tip for blending and detail work. I have worked my markers pretty hard and I’ve never had a problem with the tips fraying or losing their shape!
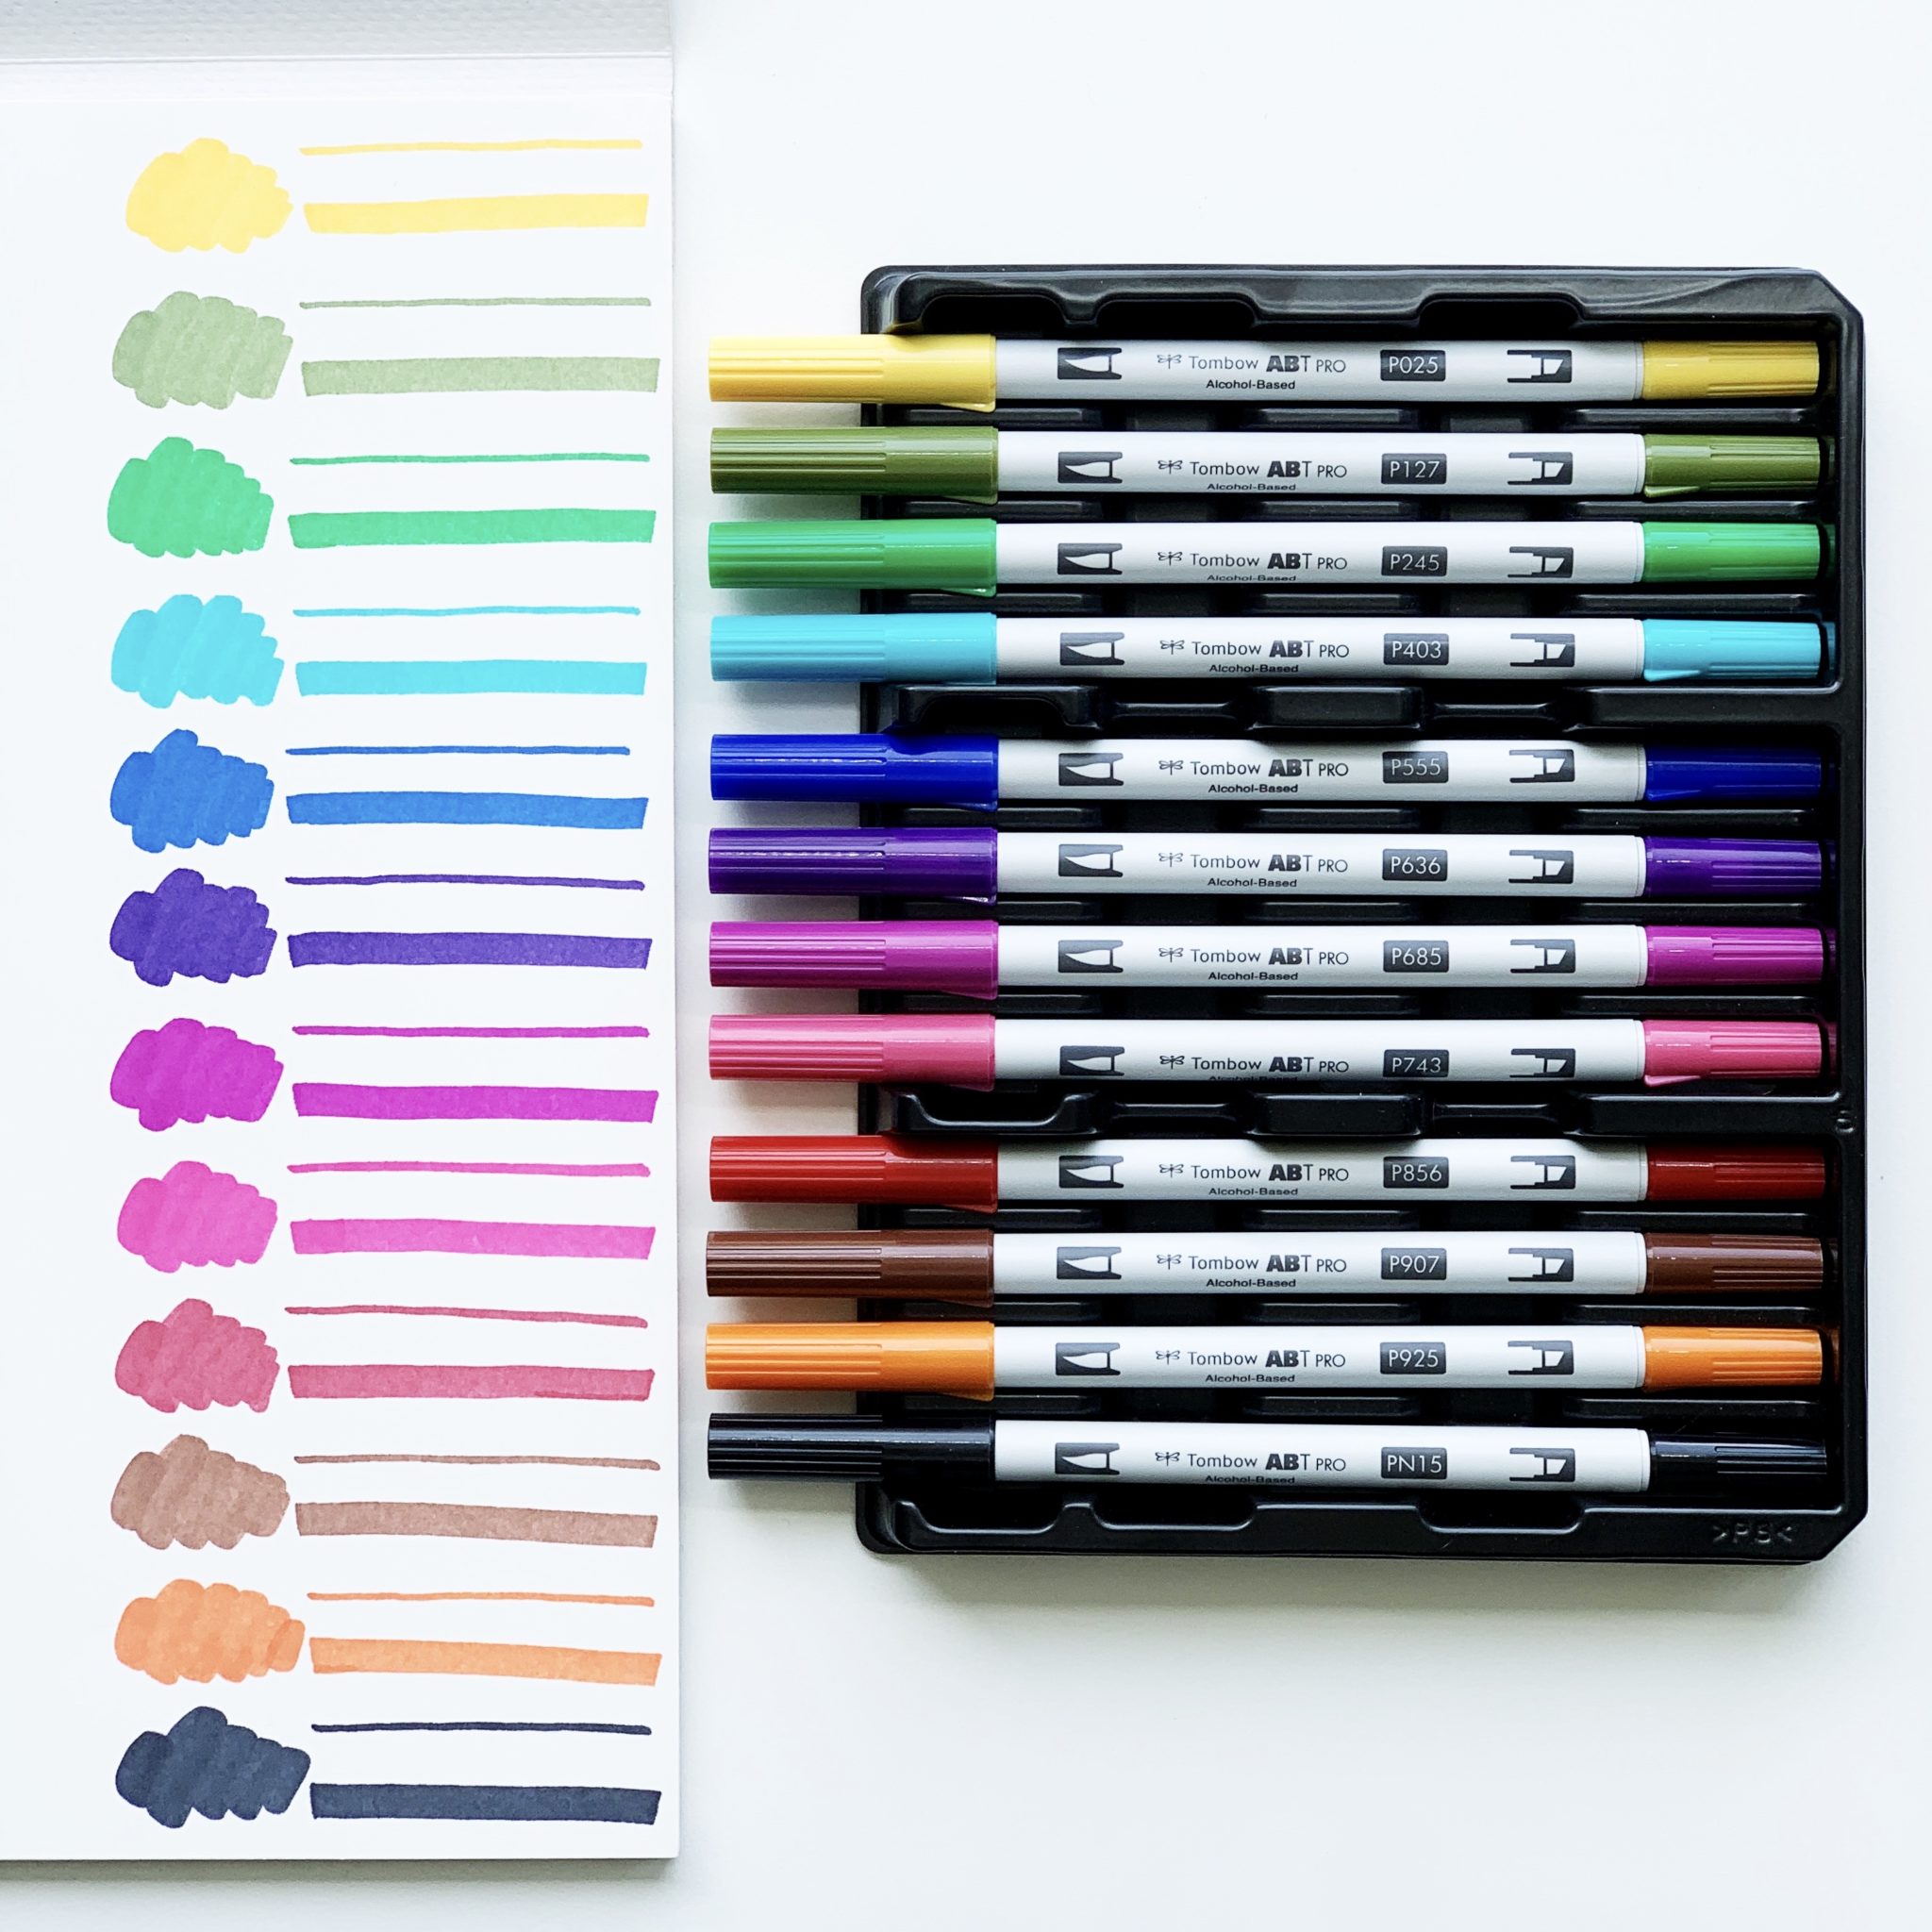
- Color Choice: The colors in this palette are grouped very well together! You get twelve beautiful and bright colors with at least two close shades that blend well together. This makes it easy to blend colors together to create three dimensional objects! Colors Included: P025 Light Orange, P127 Artichoke, P245 Sap Green, P403 Bright Blue, P555 Ultramarine, P636 Imperial Purple, P685 Deep Magenta, P743 Hot Pink, P856 Chinese Red, P907 Spice, P925 Scarlet and PN15 Black.
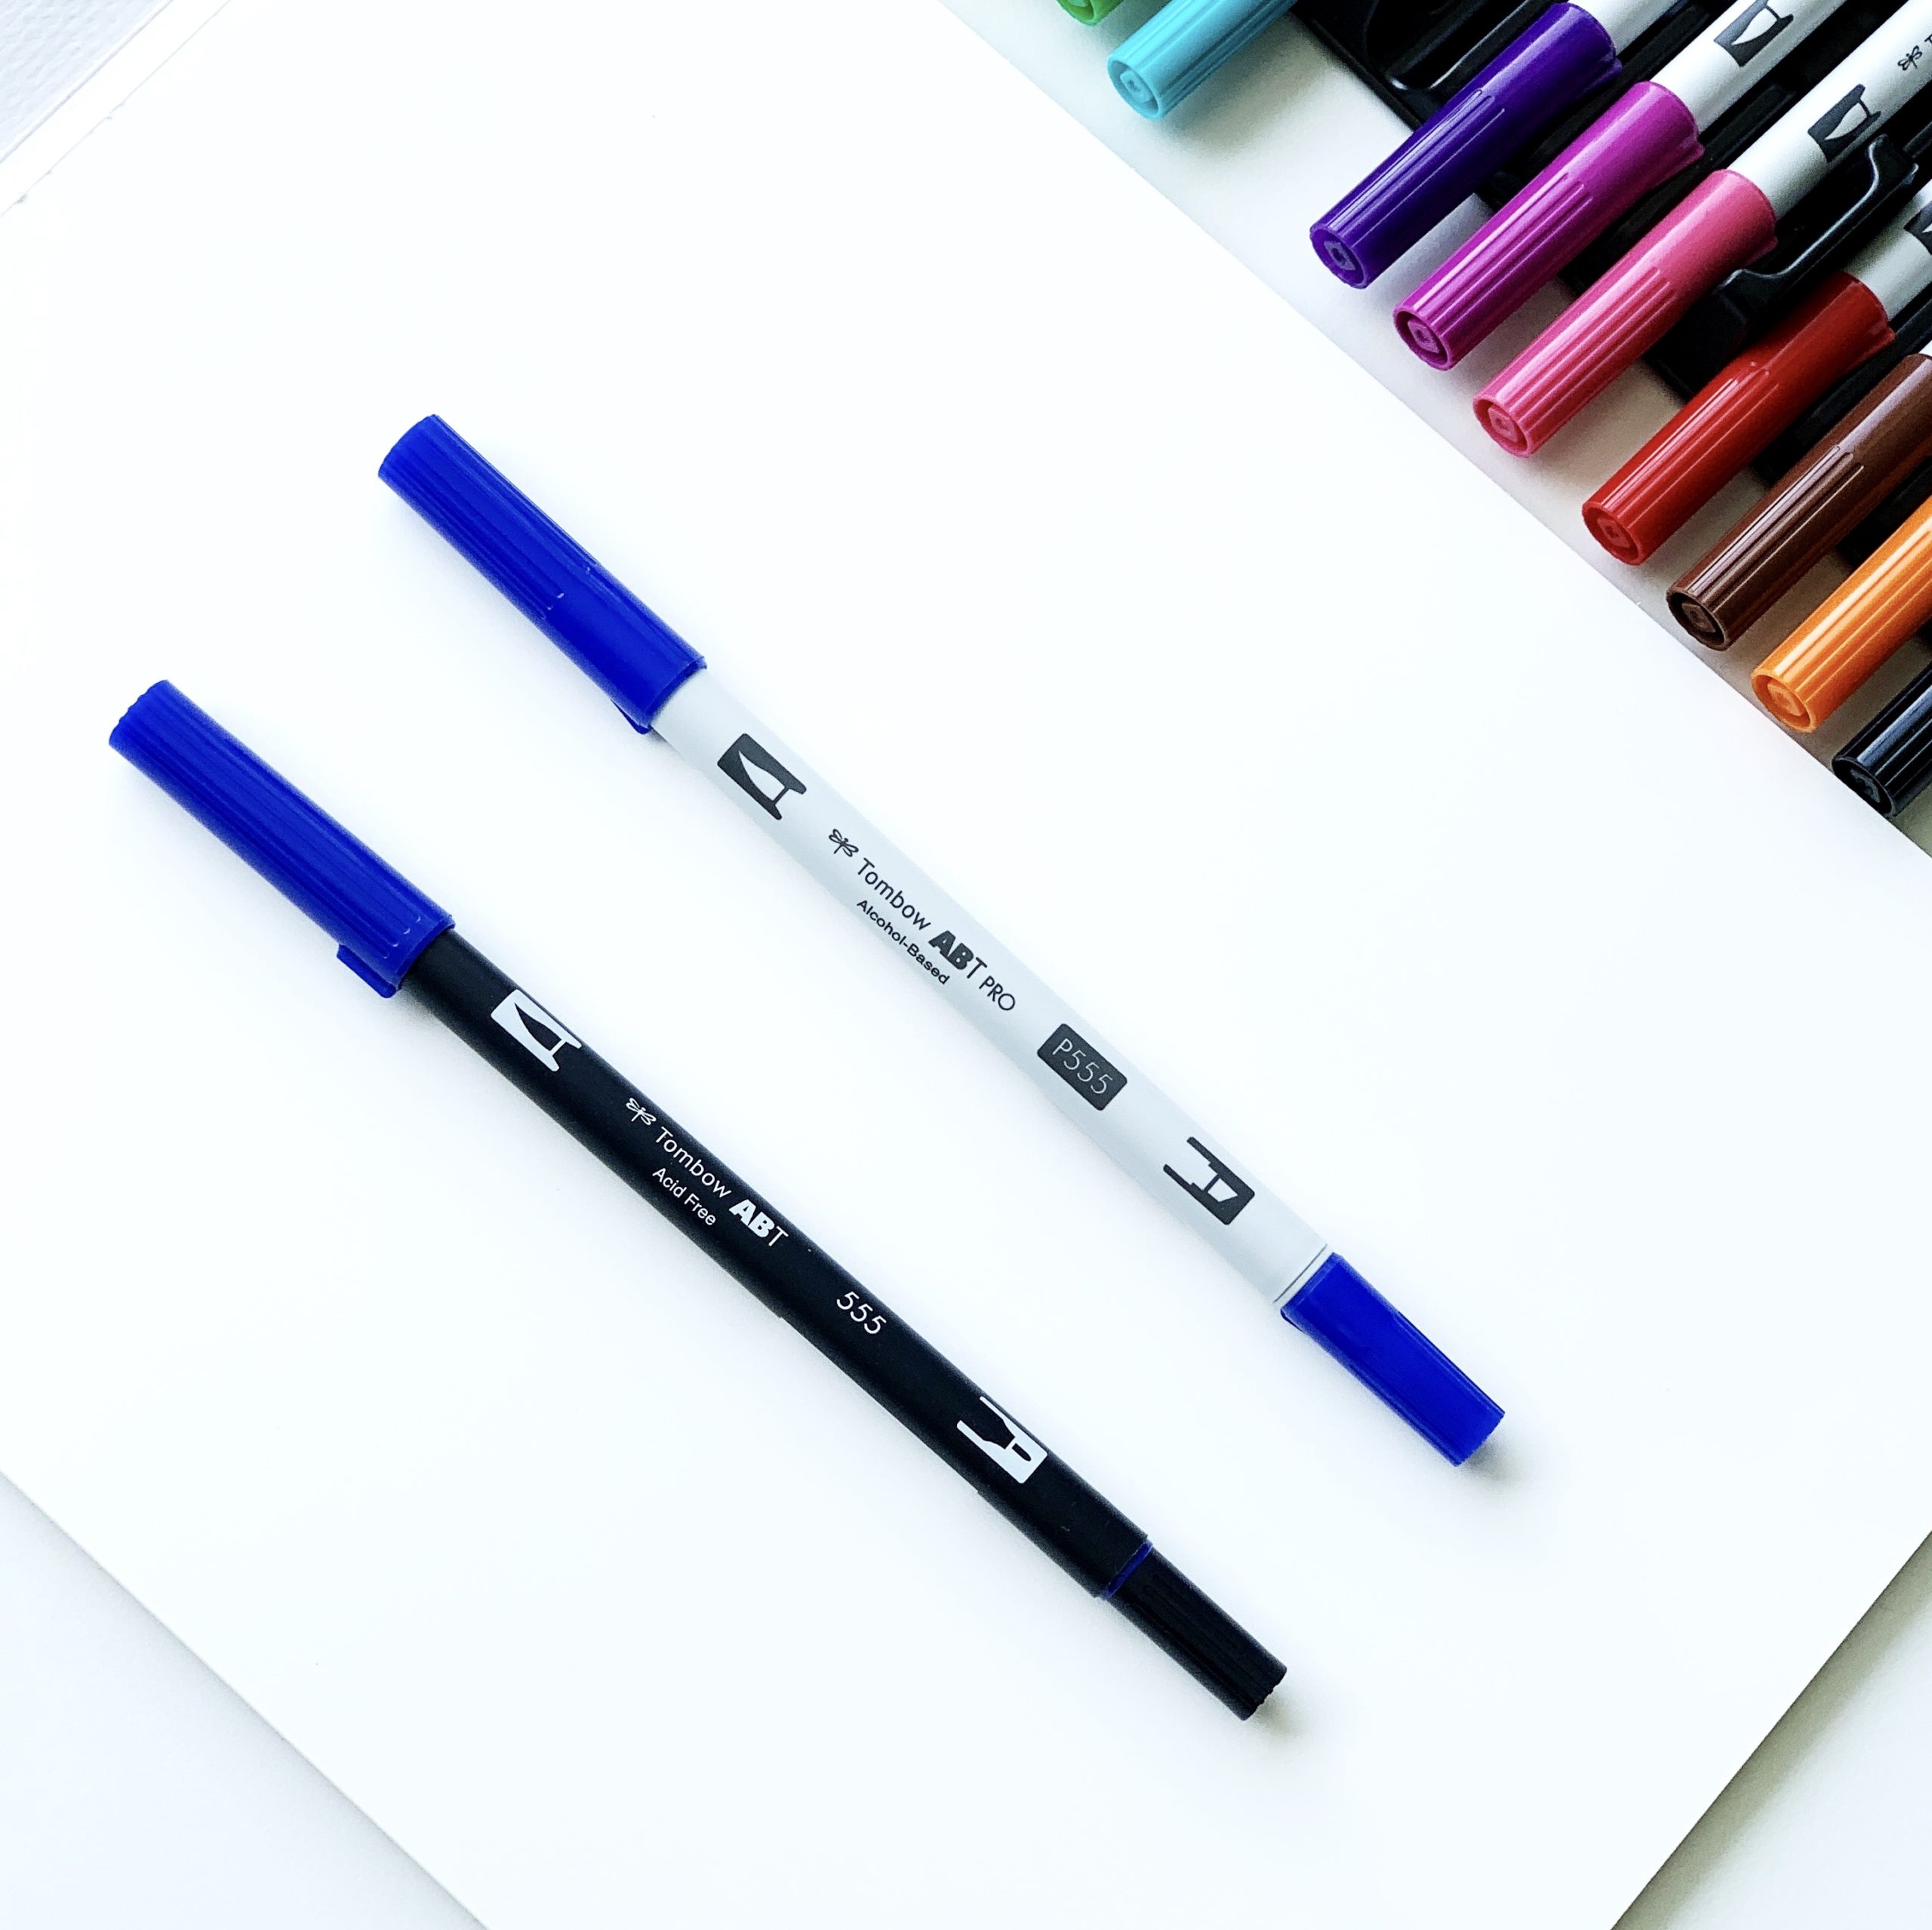
- Design: The design of the marker is beautiful and chic! I love that the barrels are a light gray to easily distinguish from the black-barreled Dual Brush Pen. The barrel is small and fits comfortably in my hand. There’s no awkward or bulky shape to try to work around. Here is a side-by-side comparison of the 555 Dual Brush Pen to the P555 ABT PRO Marker. The colors are identical but you can tell from the barrel color which marker you’re looking for!
Tips for using the ABT PRO if you are new to alcohol markers:
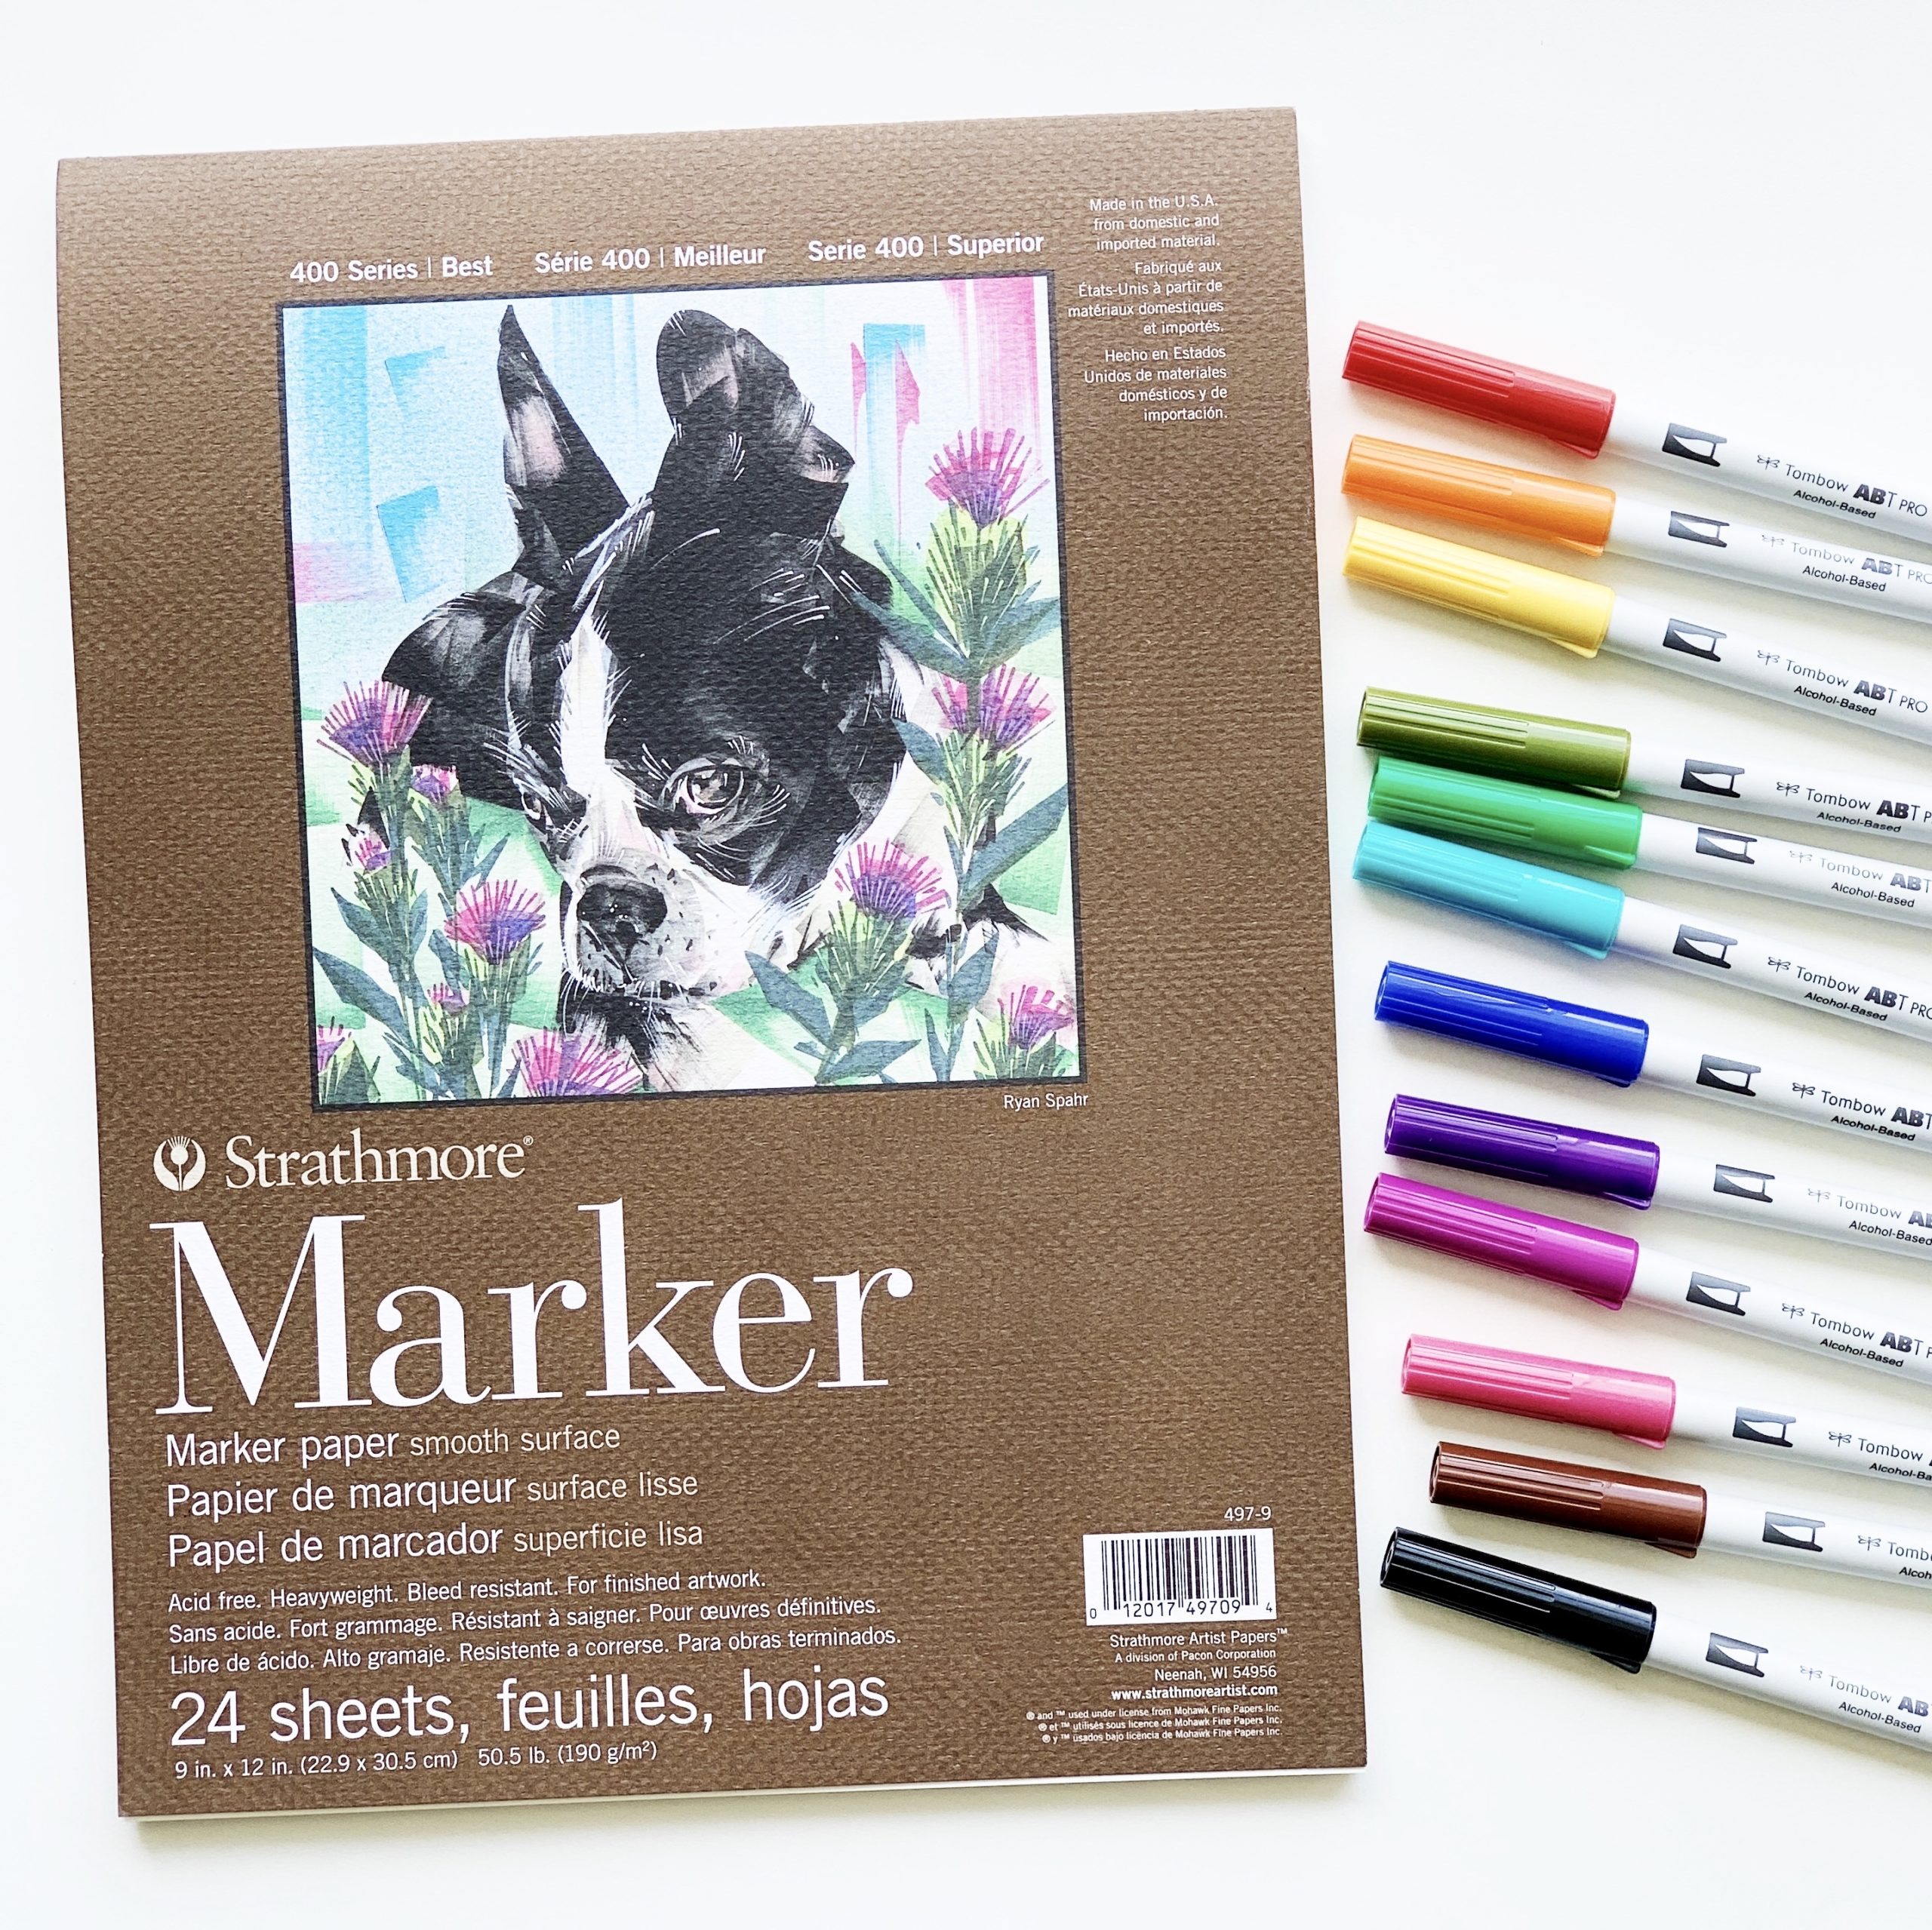
- Get the right paper! Paper makes a HUGE difference when working with alcohol-based markers. Choosing the wrong paper can lead to marker bleeds, lack of blending or soaking up too much of your ink from your markers. My favorite paper to use is the Strathmore Marker Paper 400 Series. Seriously, save yourself the headache and frustration and just buy yourself some nice marker paper. You’ll thank me later.
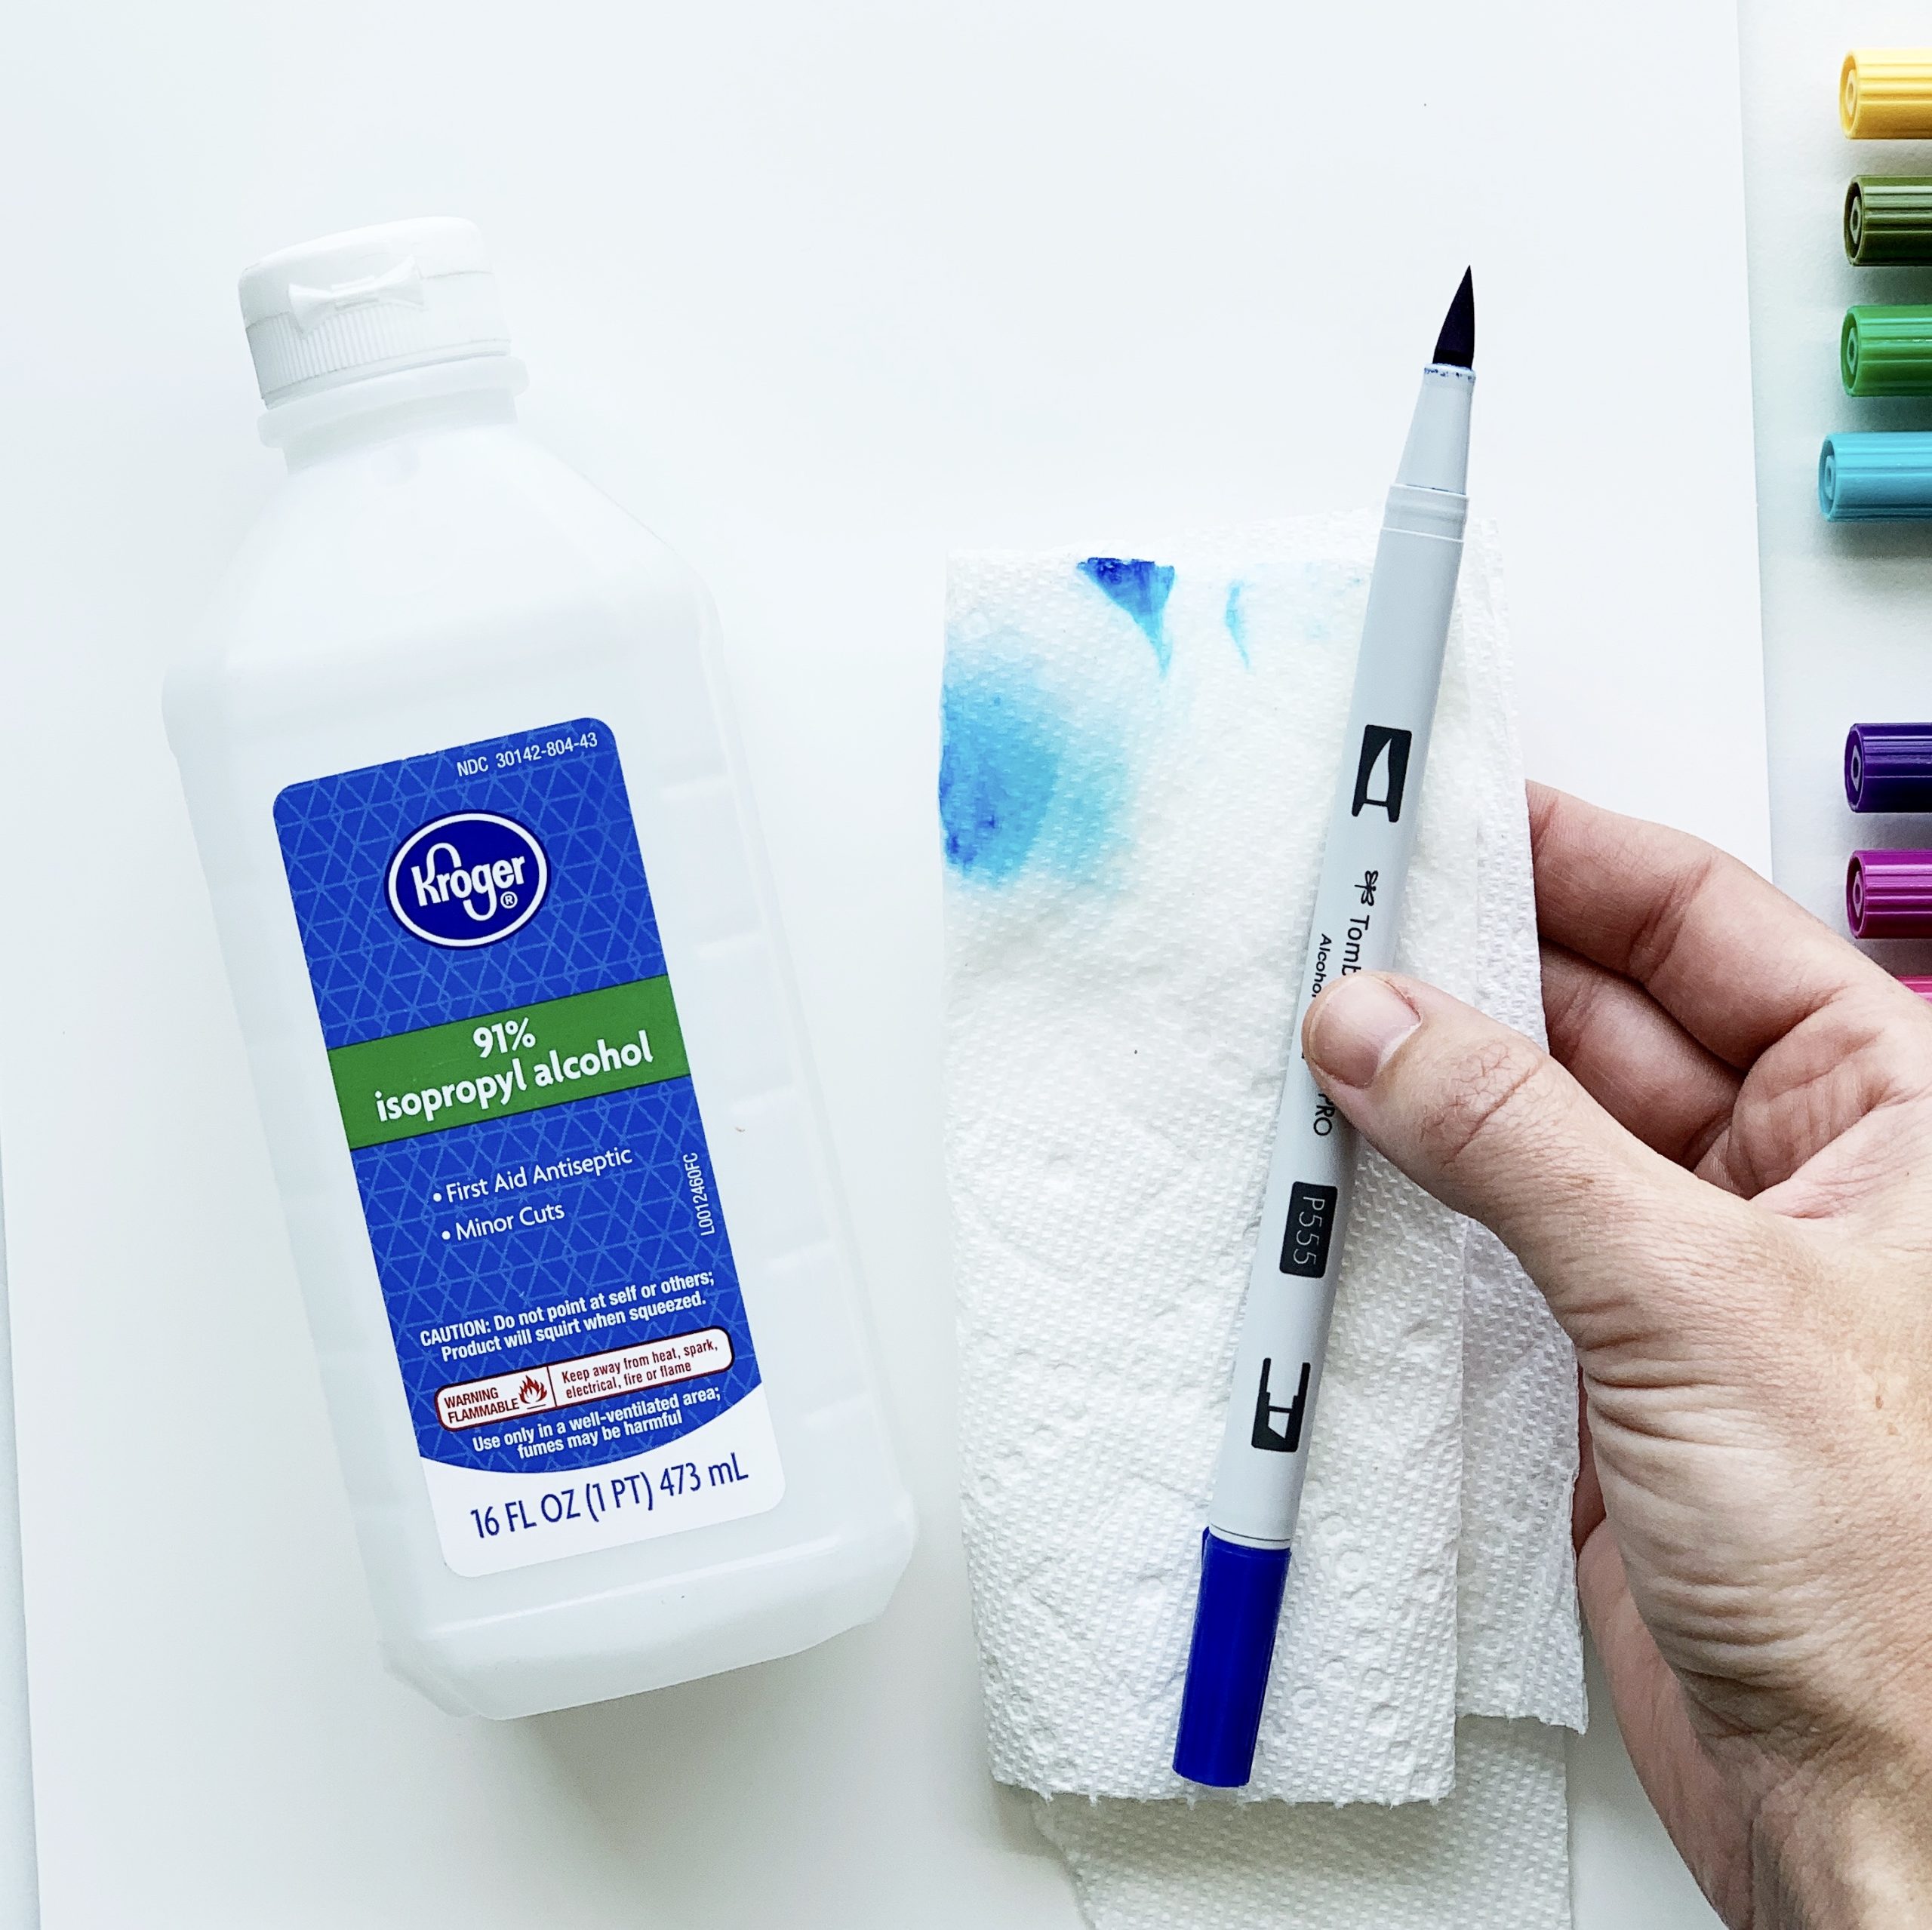
- Marker barrel getting covered in ink? Since the ink is permanent, you won’t be able to wash or wipe the ink off the barrel. Instead, put a little isopropyl rubbing alcohol onto a paper towel and simply rub off the extra ink! Works like a charm.
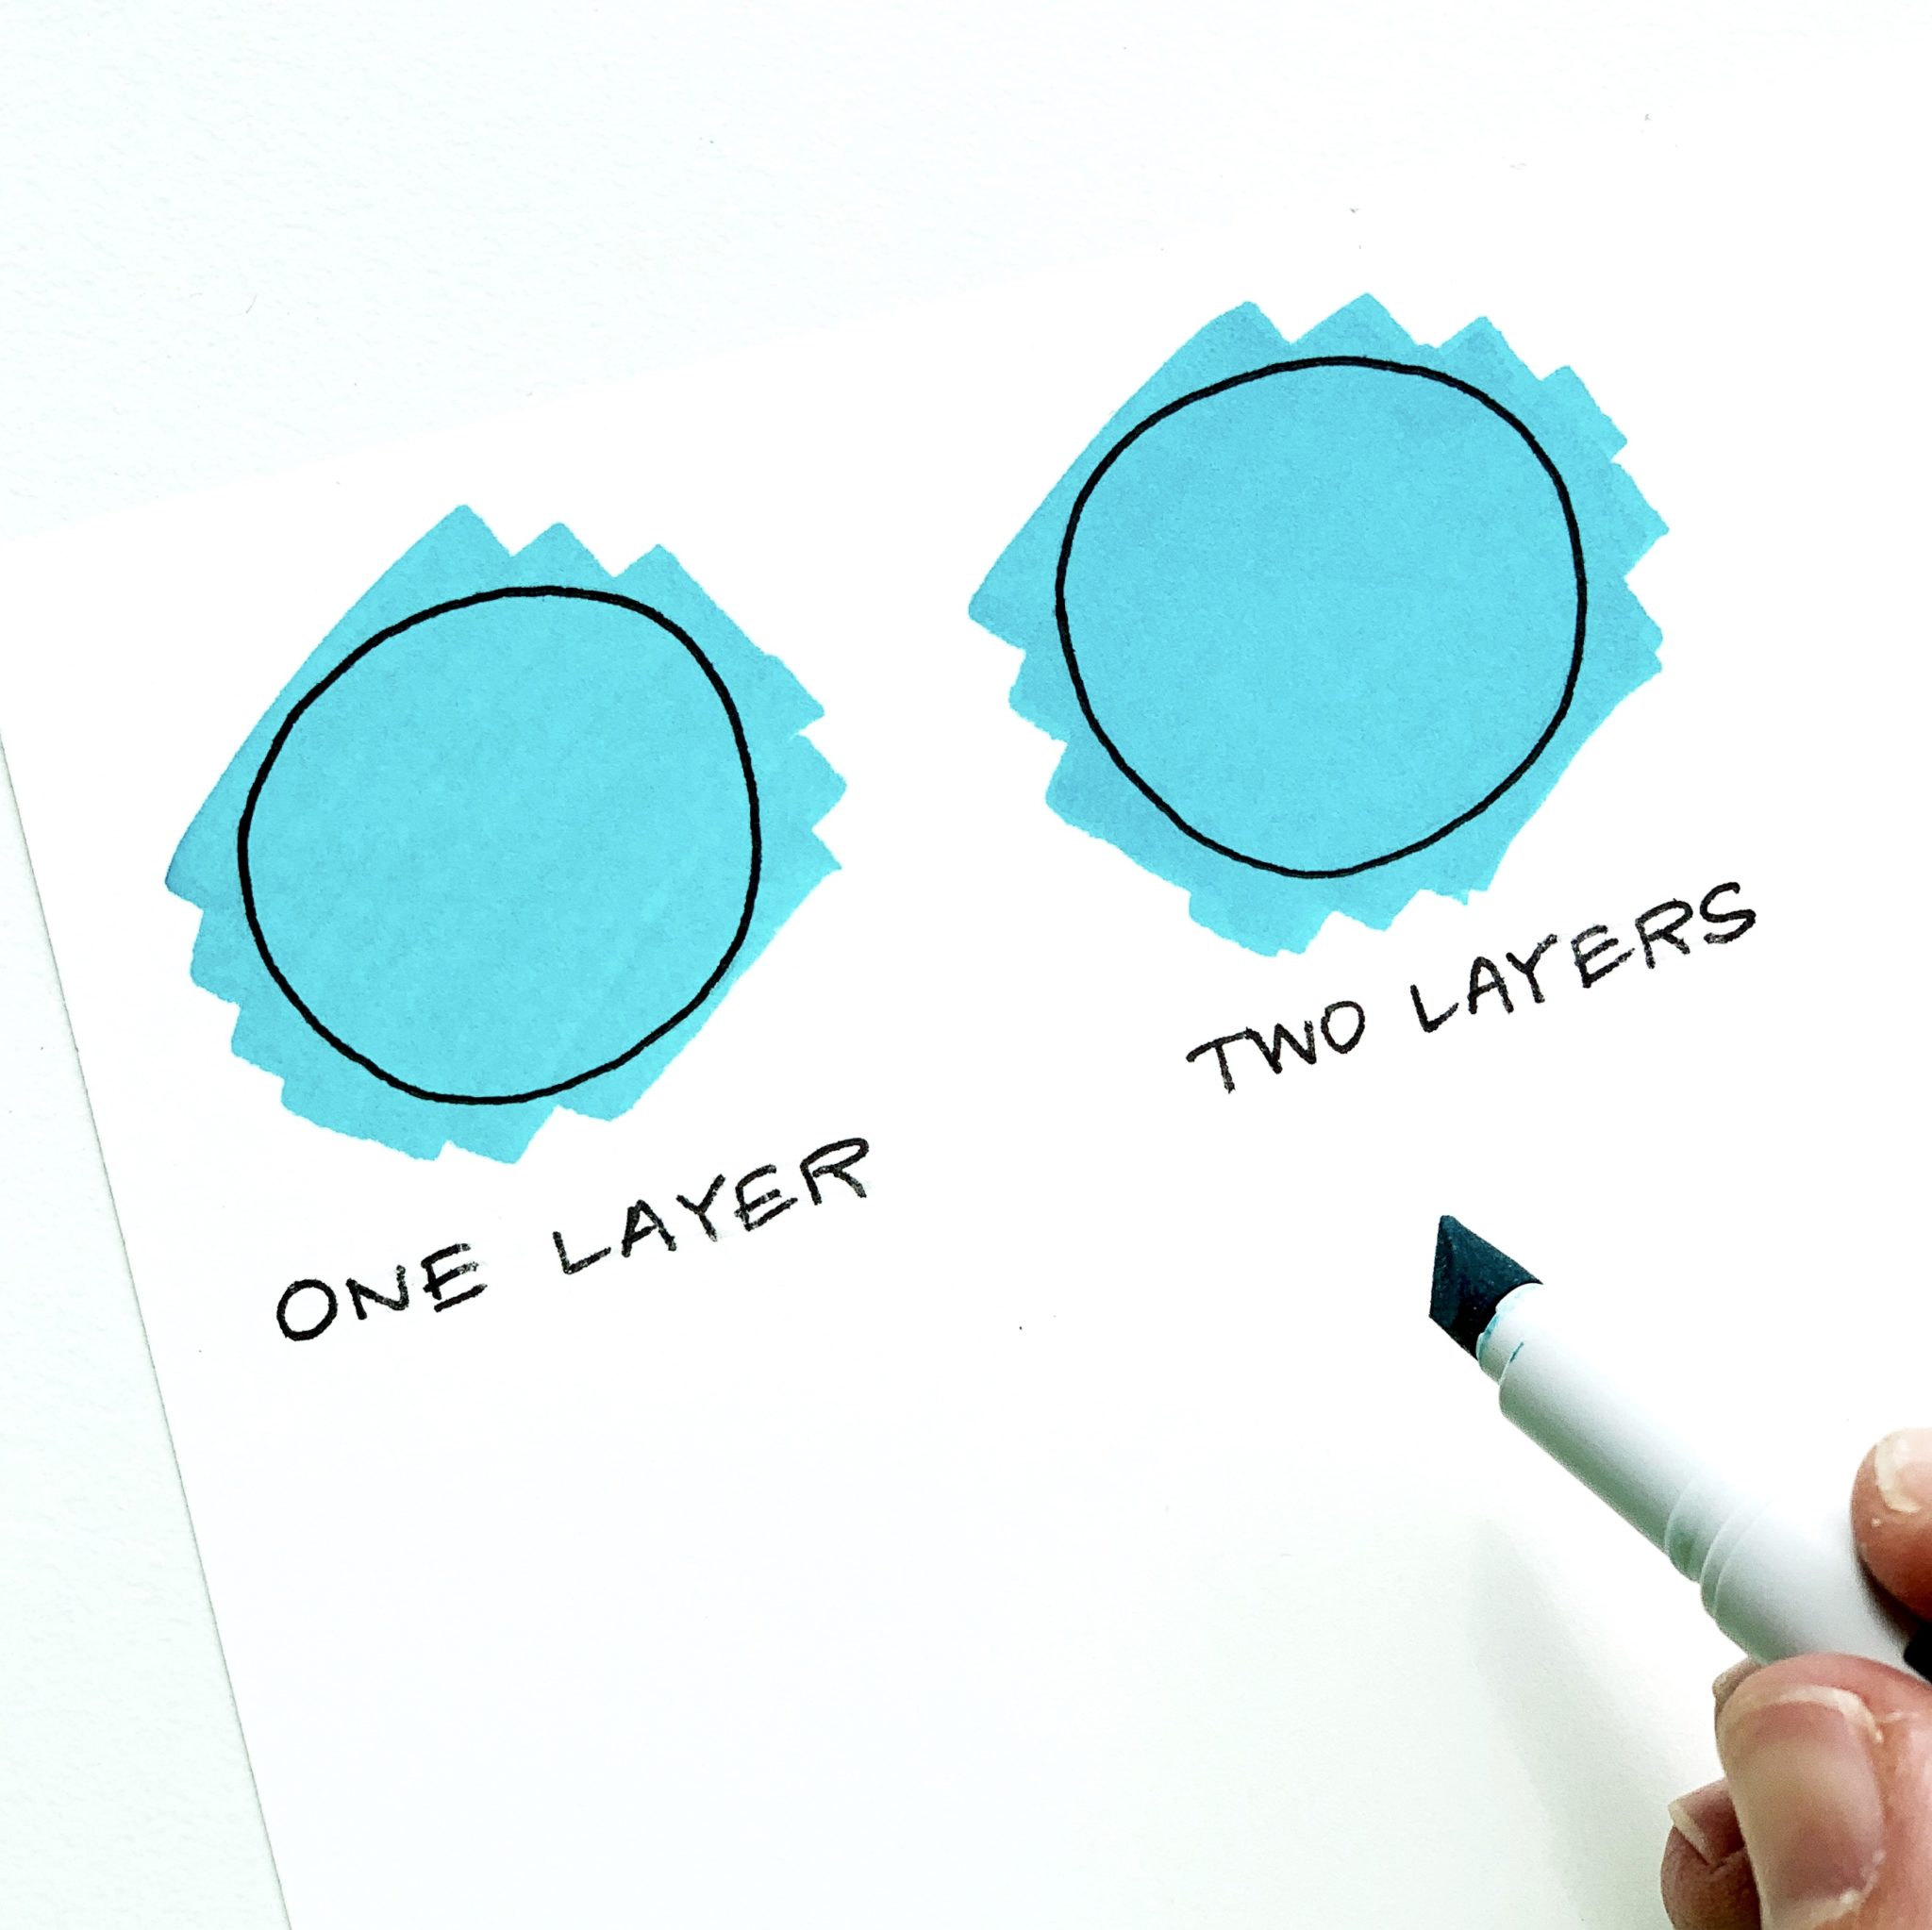
- If you want streak-free coloring, apply two layers! The ink will blend beautifully together, leaving you with streak-free color! I love using the chisel tip to color in large areas because you get broad and consistent lines!
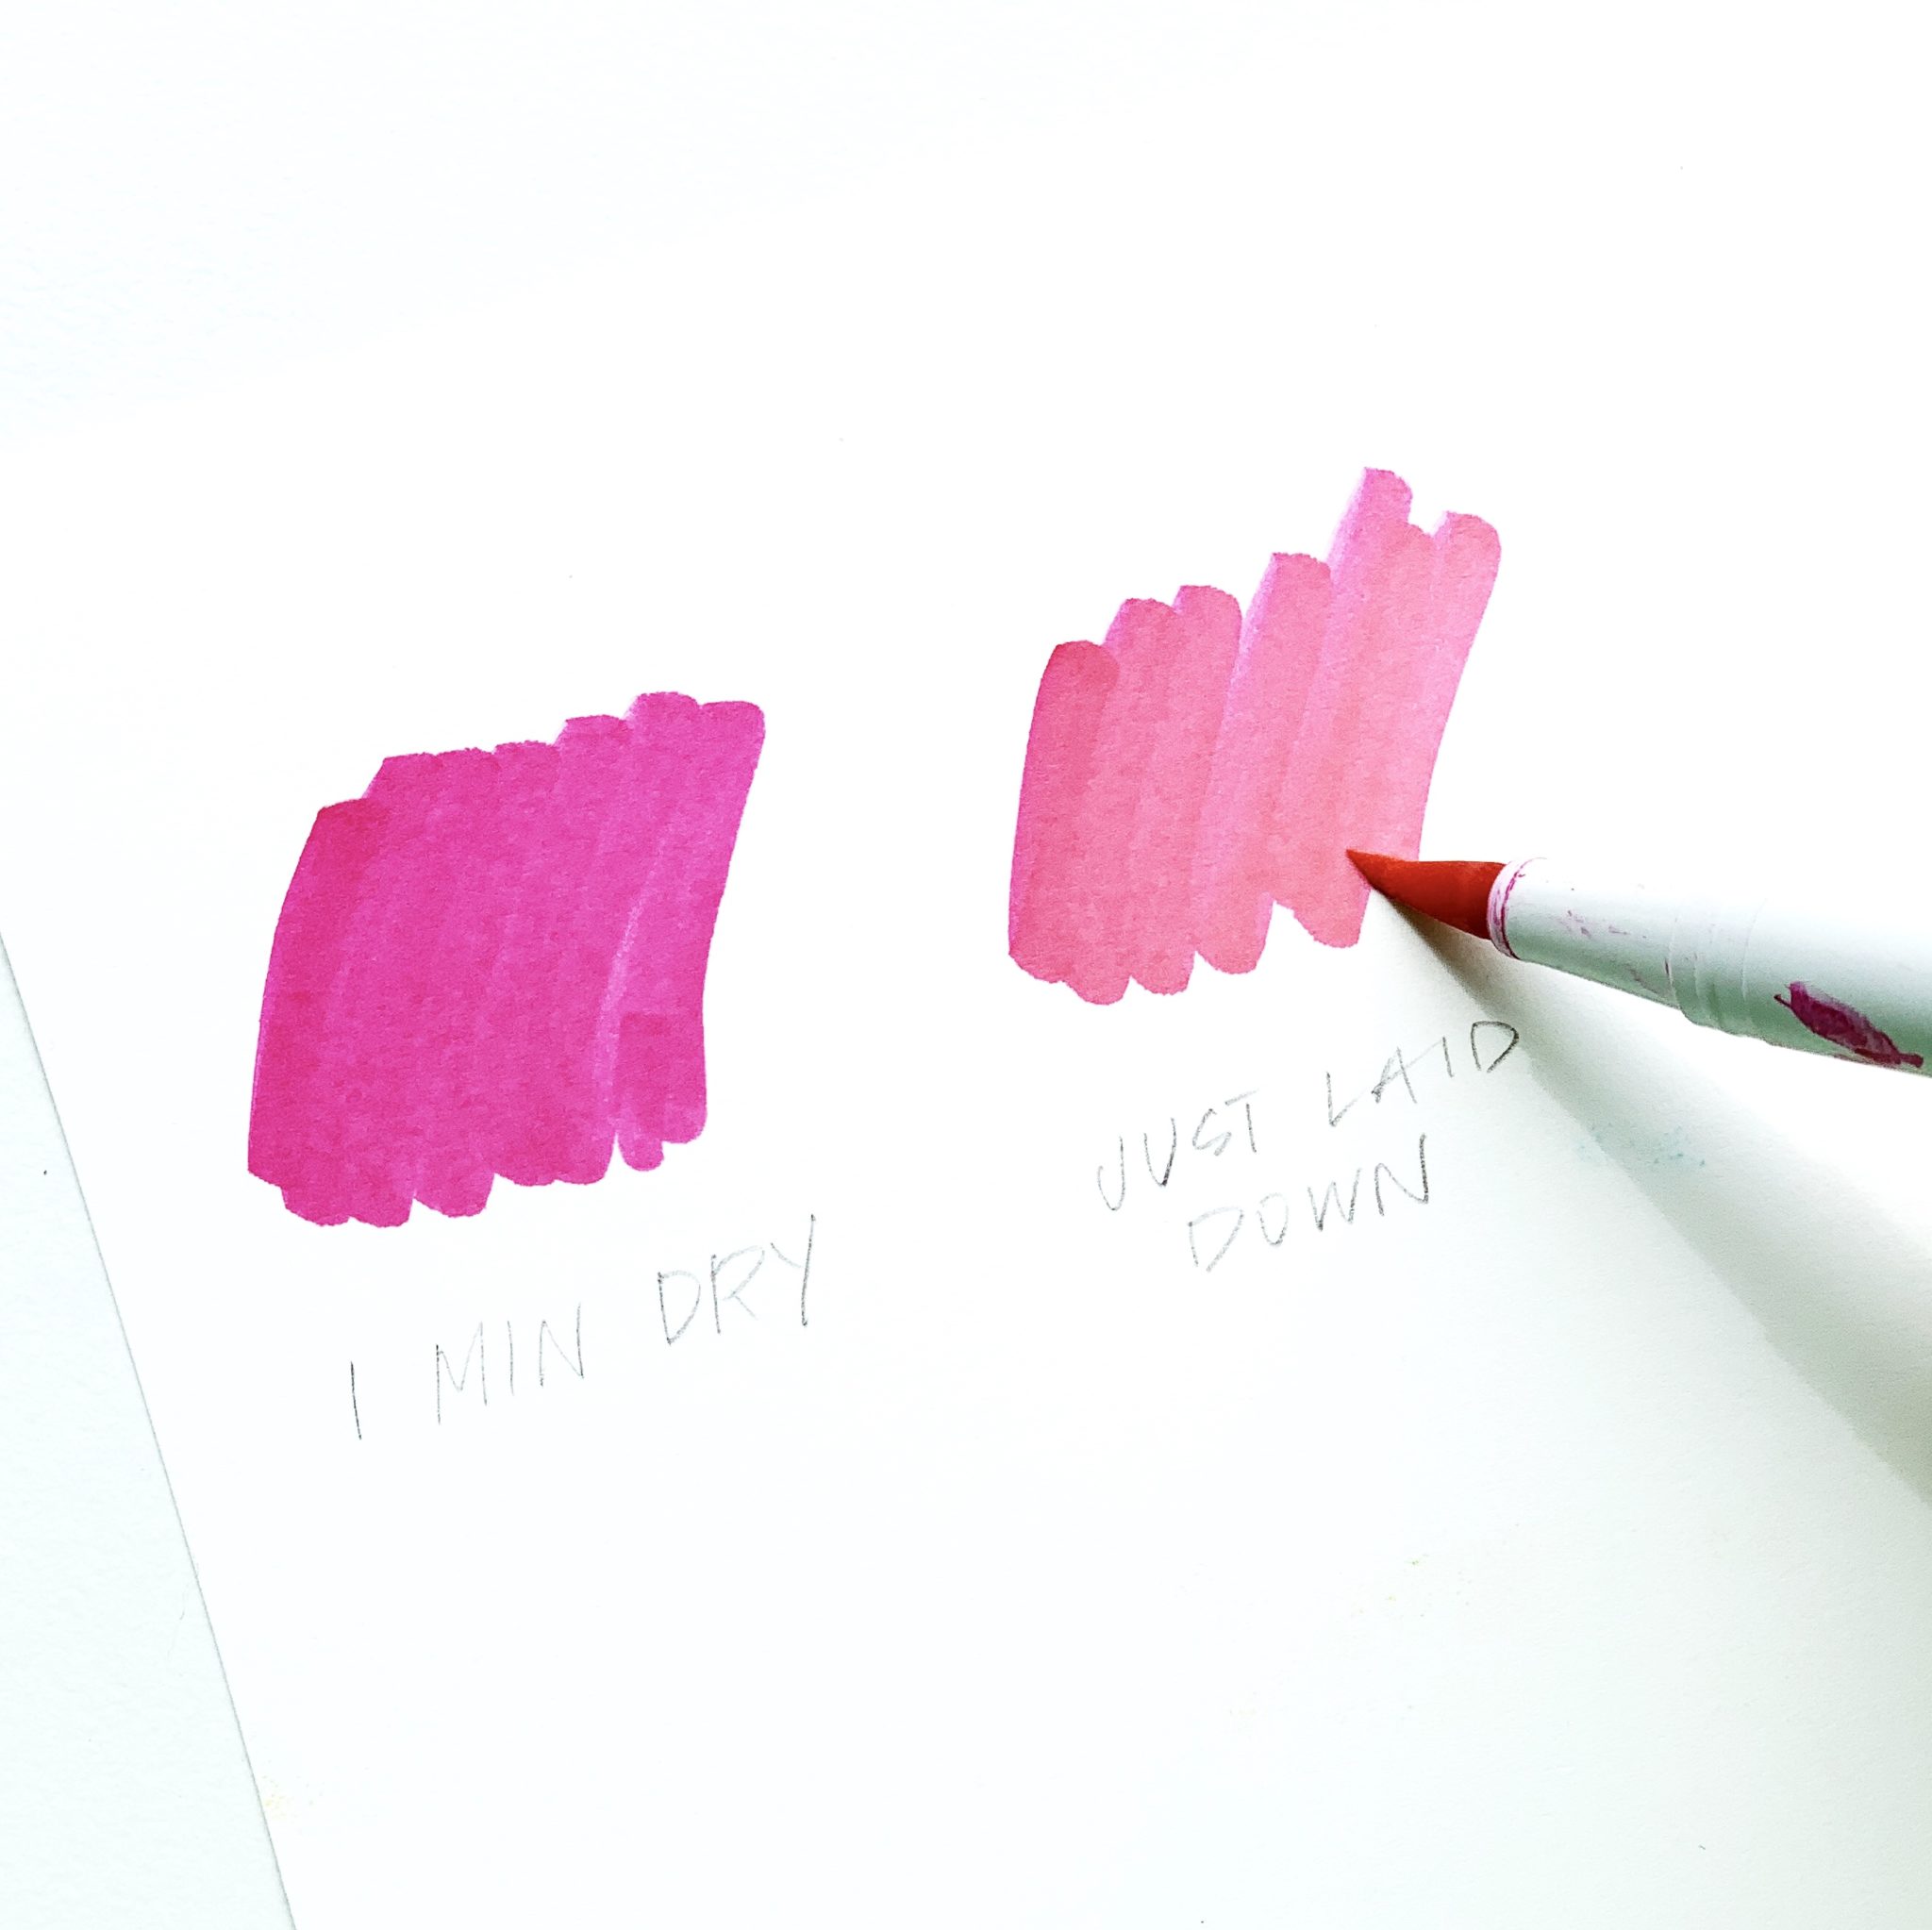
- Some colors will change slightly as they dry! If a color looks really bright or neon when you first lay it down, give it a few minutes and it’ll dry down!
Rainbow Cloud Tutorial:
Step 1
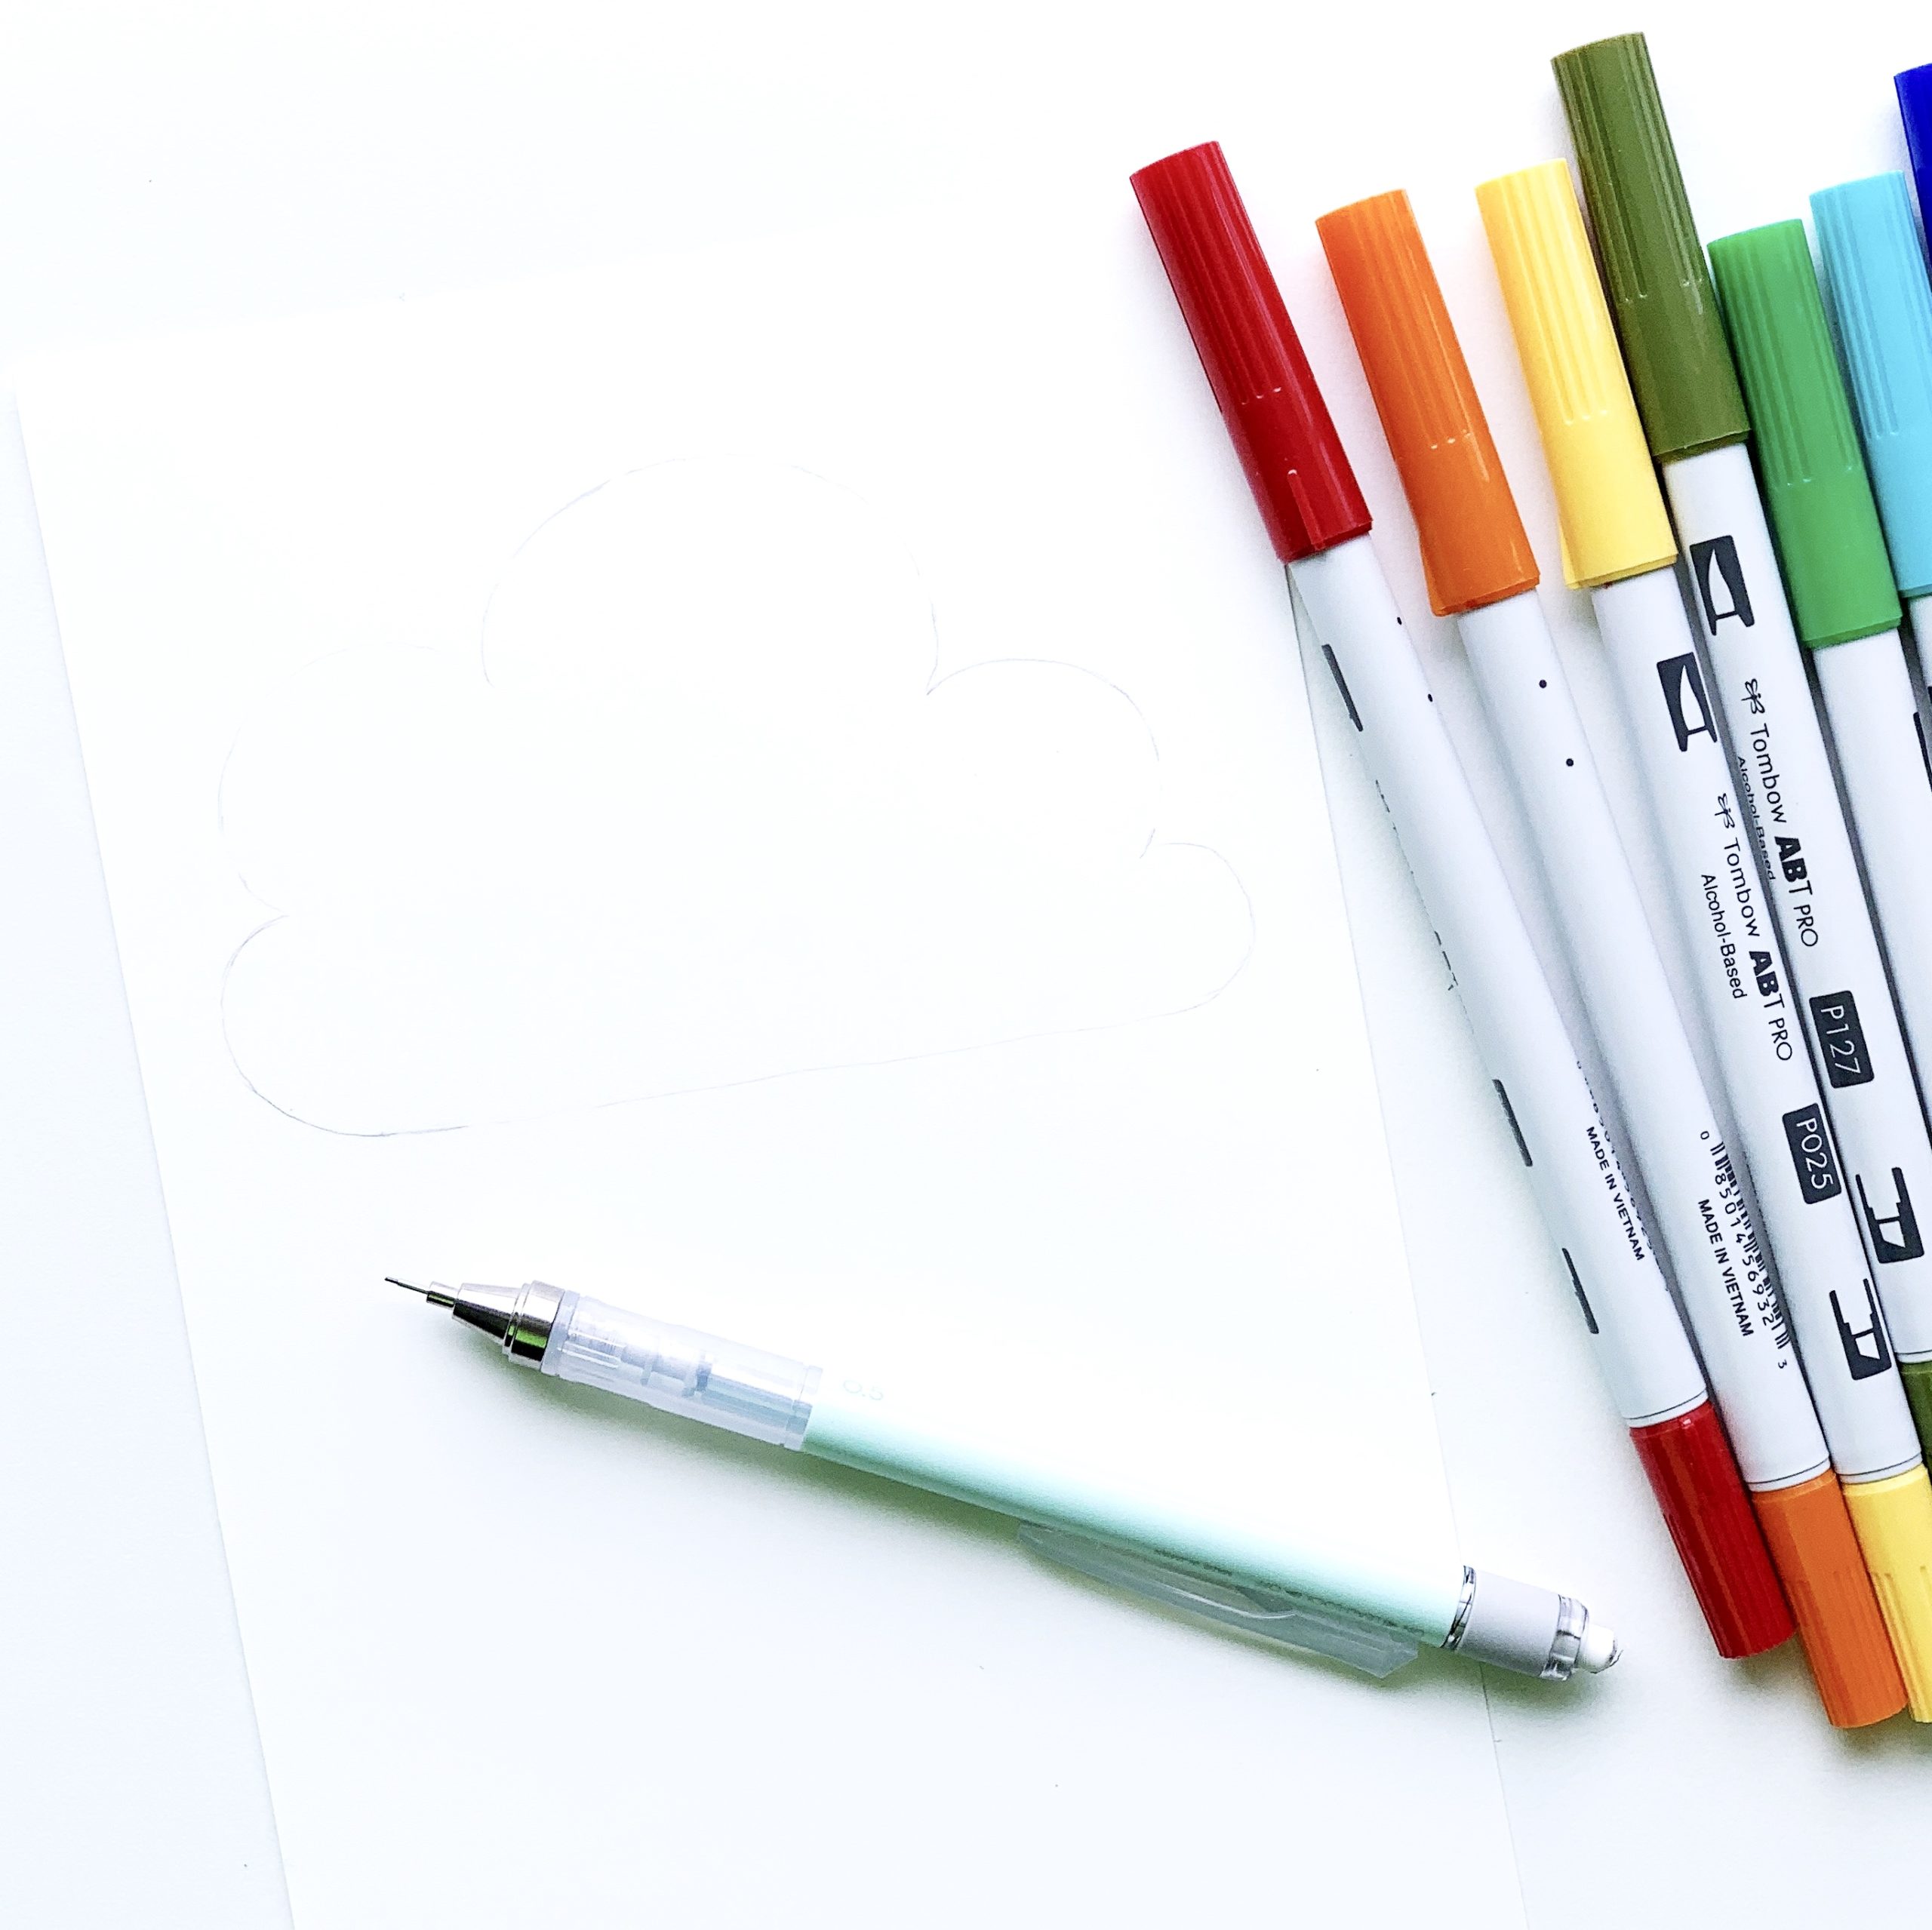
Sketch out a cloud with a MONO Graph Mechanical Pencil onto Strathmore Marker Paper 400 Series. Once you get a shape you like, lightly erase it so you can just barely see the lines.
Step 2
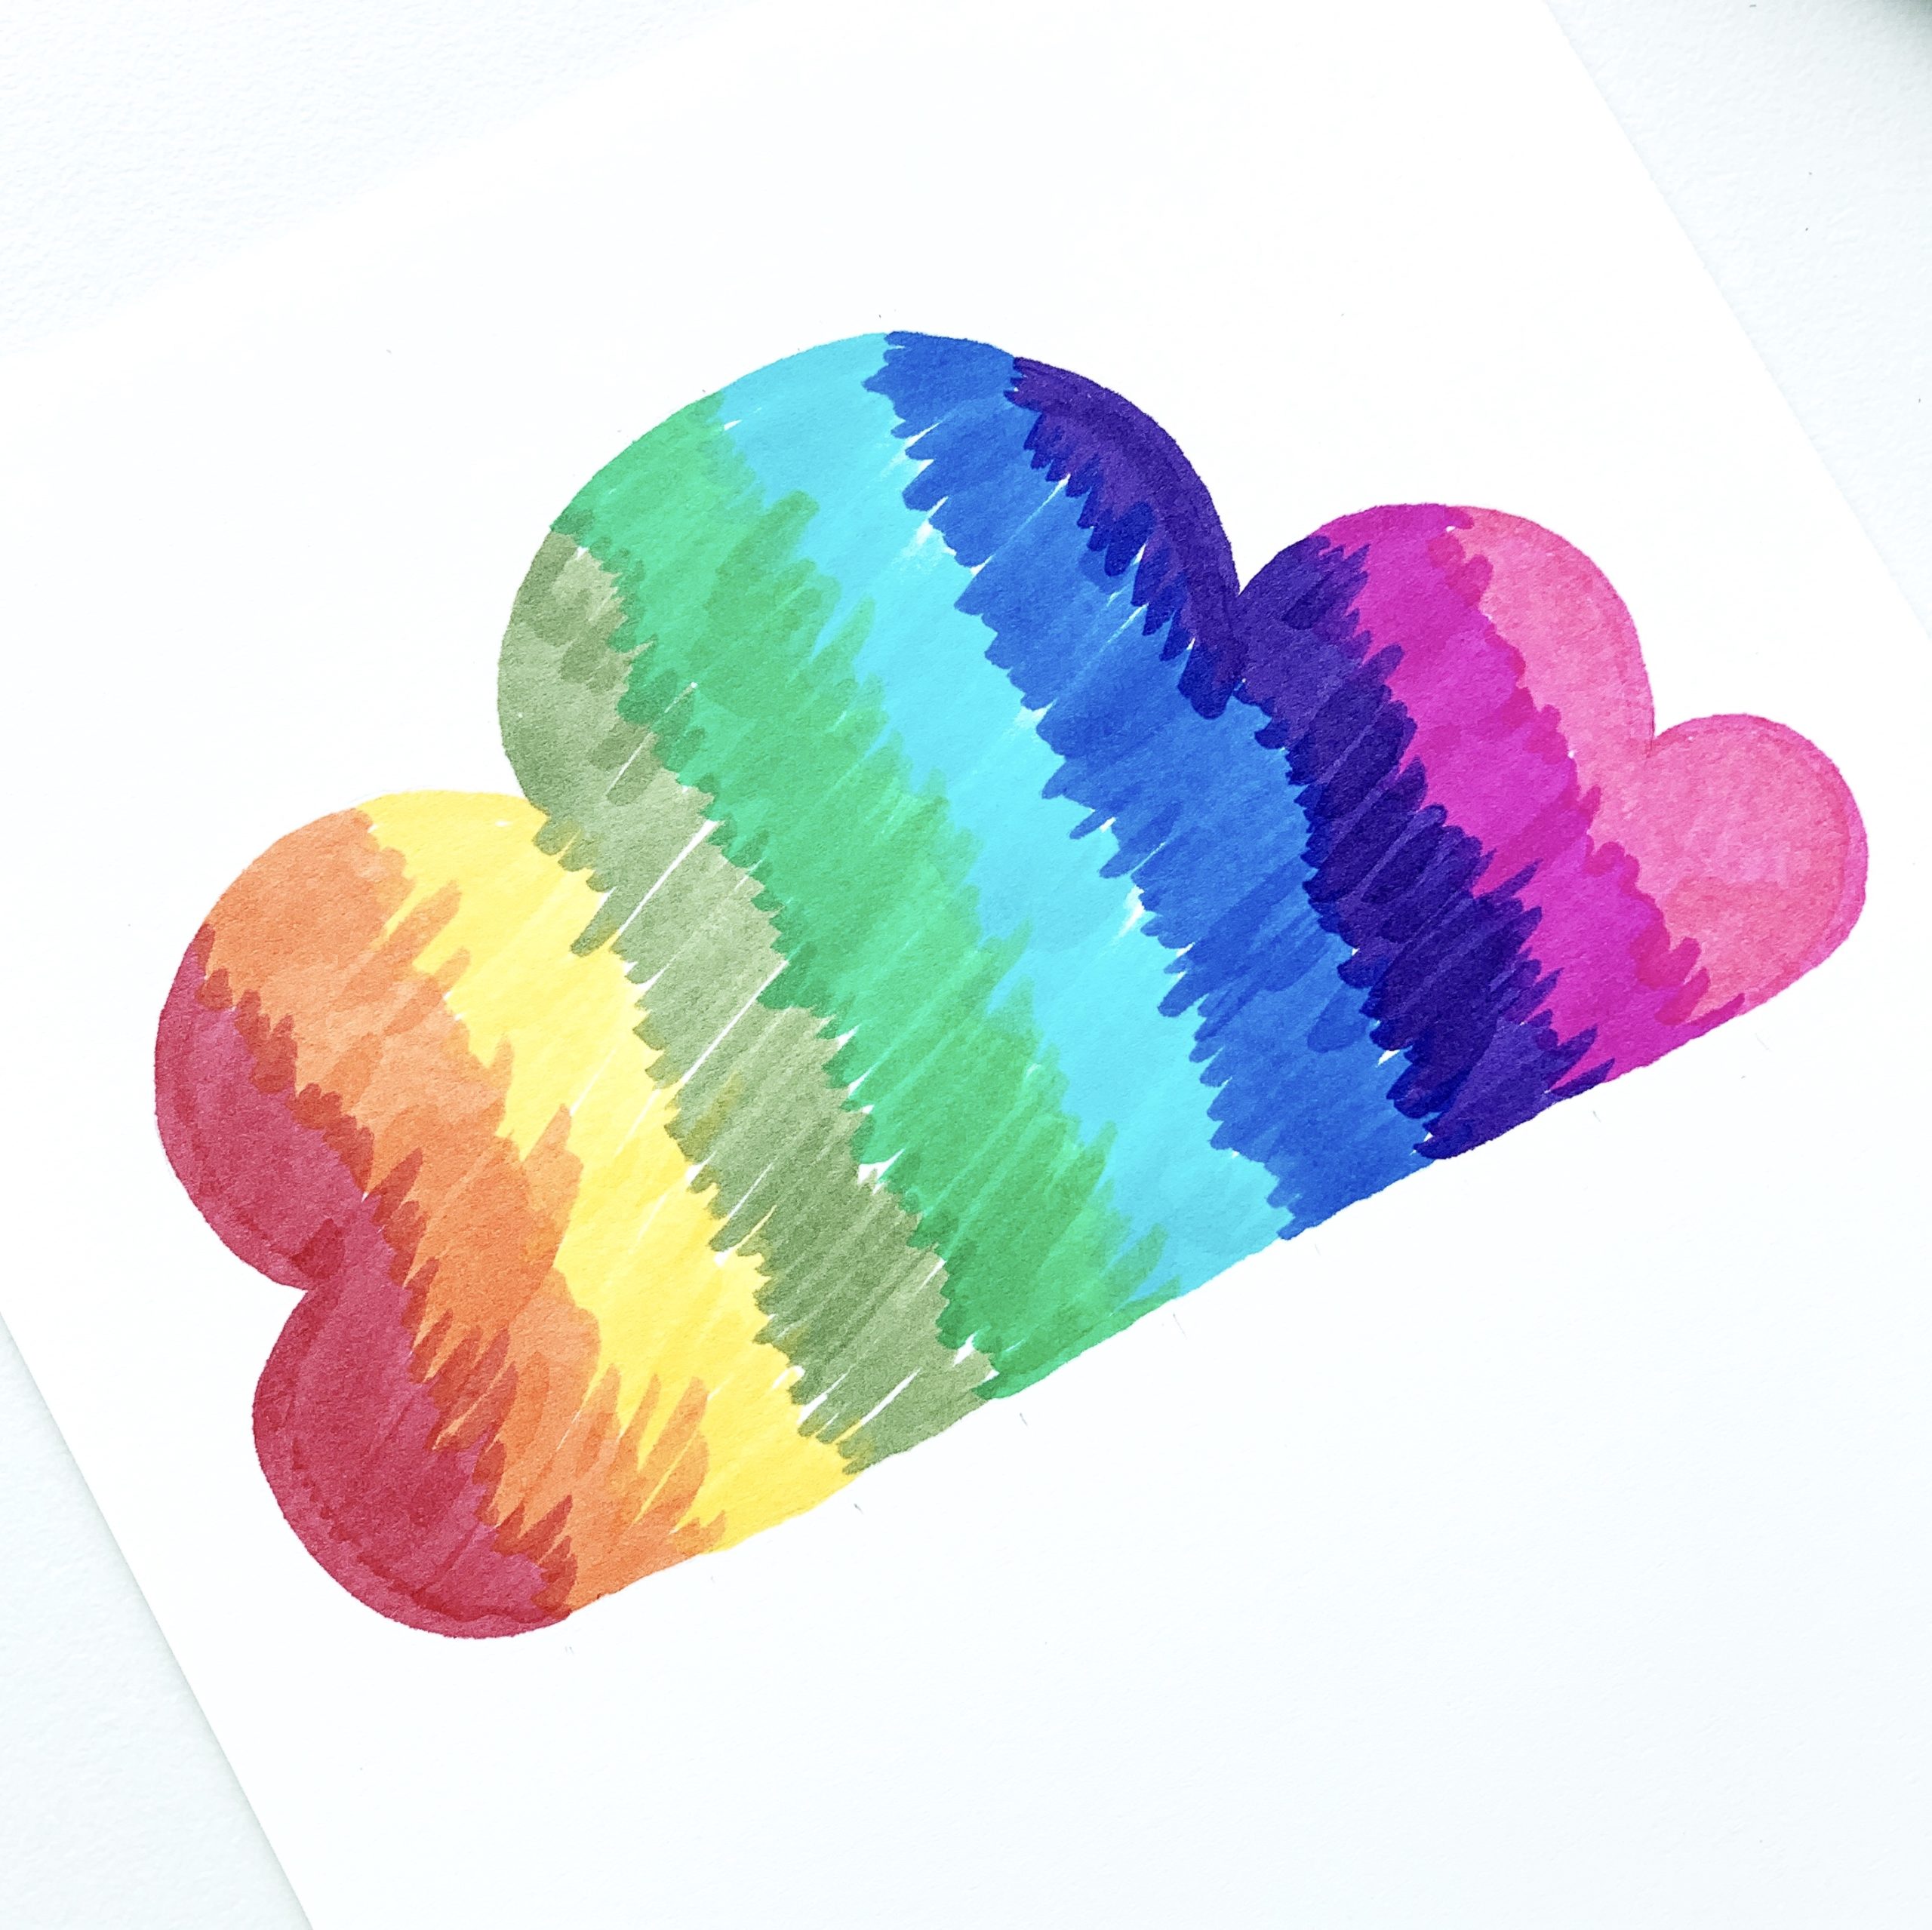
Lay down all the rainbow colors from the ABT PRO Alcohol-Based Art Markers Basic Palette 12-Pack. Keep the colors inside the cloud you sketched, trailing off each color with a flicking motion. It’ll be easer to blend the colors later if each color doesn’t end with a harsh line!
Step 3
Go back to the beginning and start to blend the colors together. You can push pretty hard with the markers. Both the brush and chisel tip will hold their shape! Use the two colors that are right next to each other. To blend red and orange, I put red down again and then blended the orange right away so it would blend together. When you blend, you don’t want colors to sit long on the page or else they’ll dry too fast and it’ll be more difficult to blend together. Here’s a tip: Always lay your darker color down first and then use the lighter color to blend the colors together. The lighter color will work to lighten and push away the darker color so you get a blend between the two colors.
Step 4
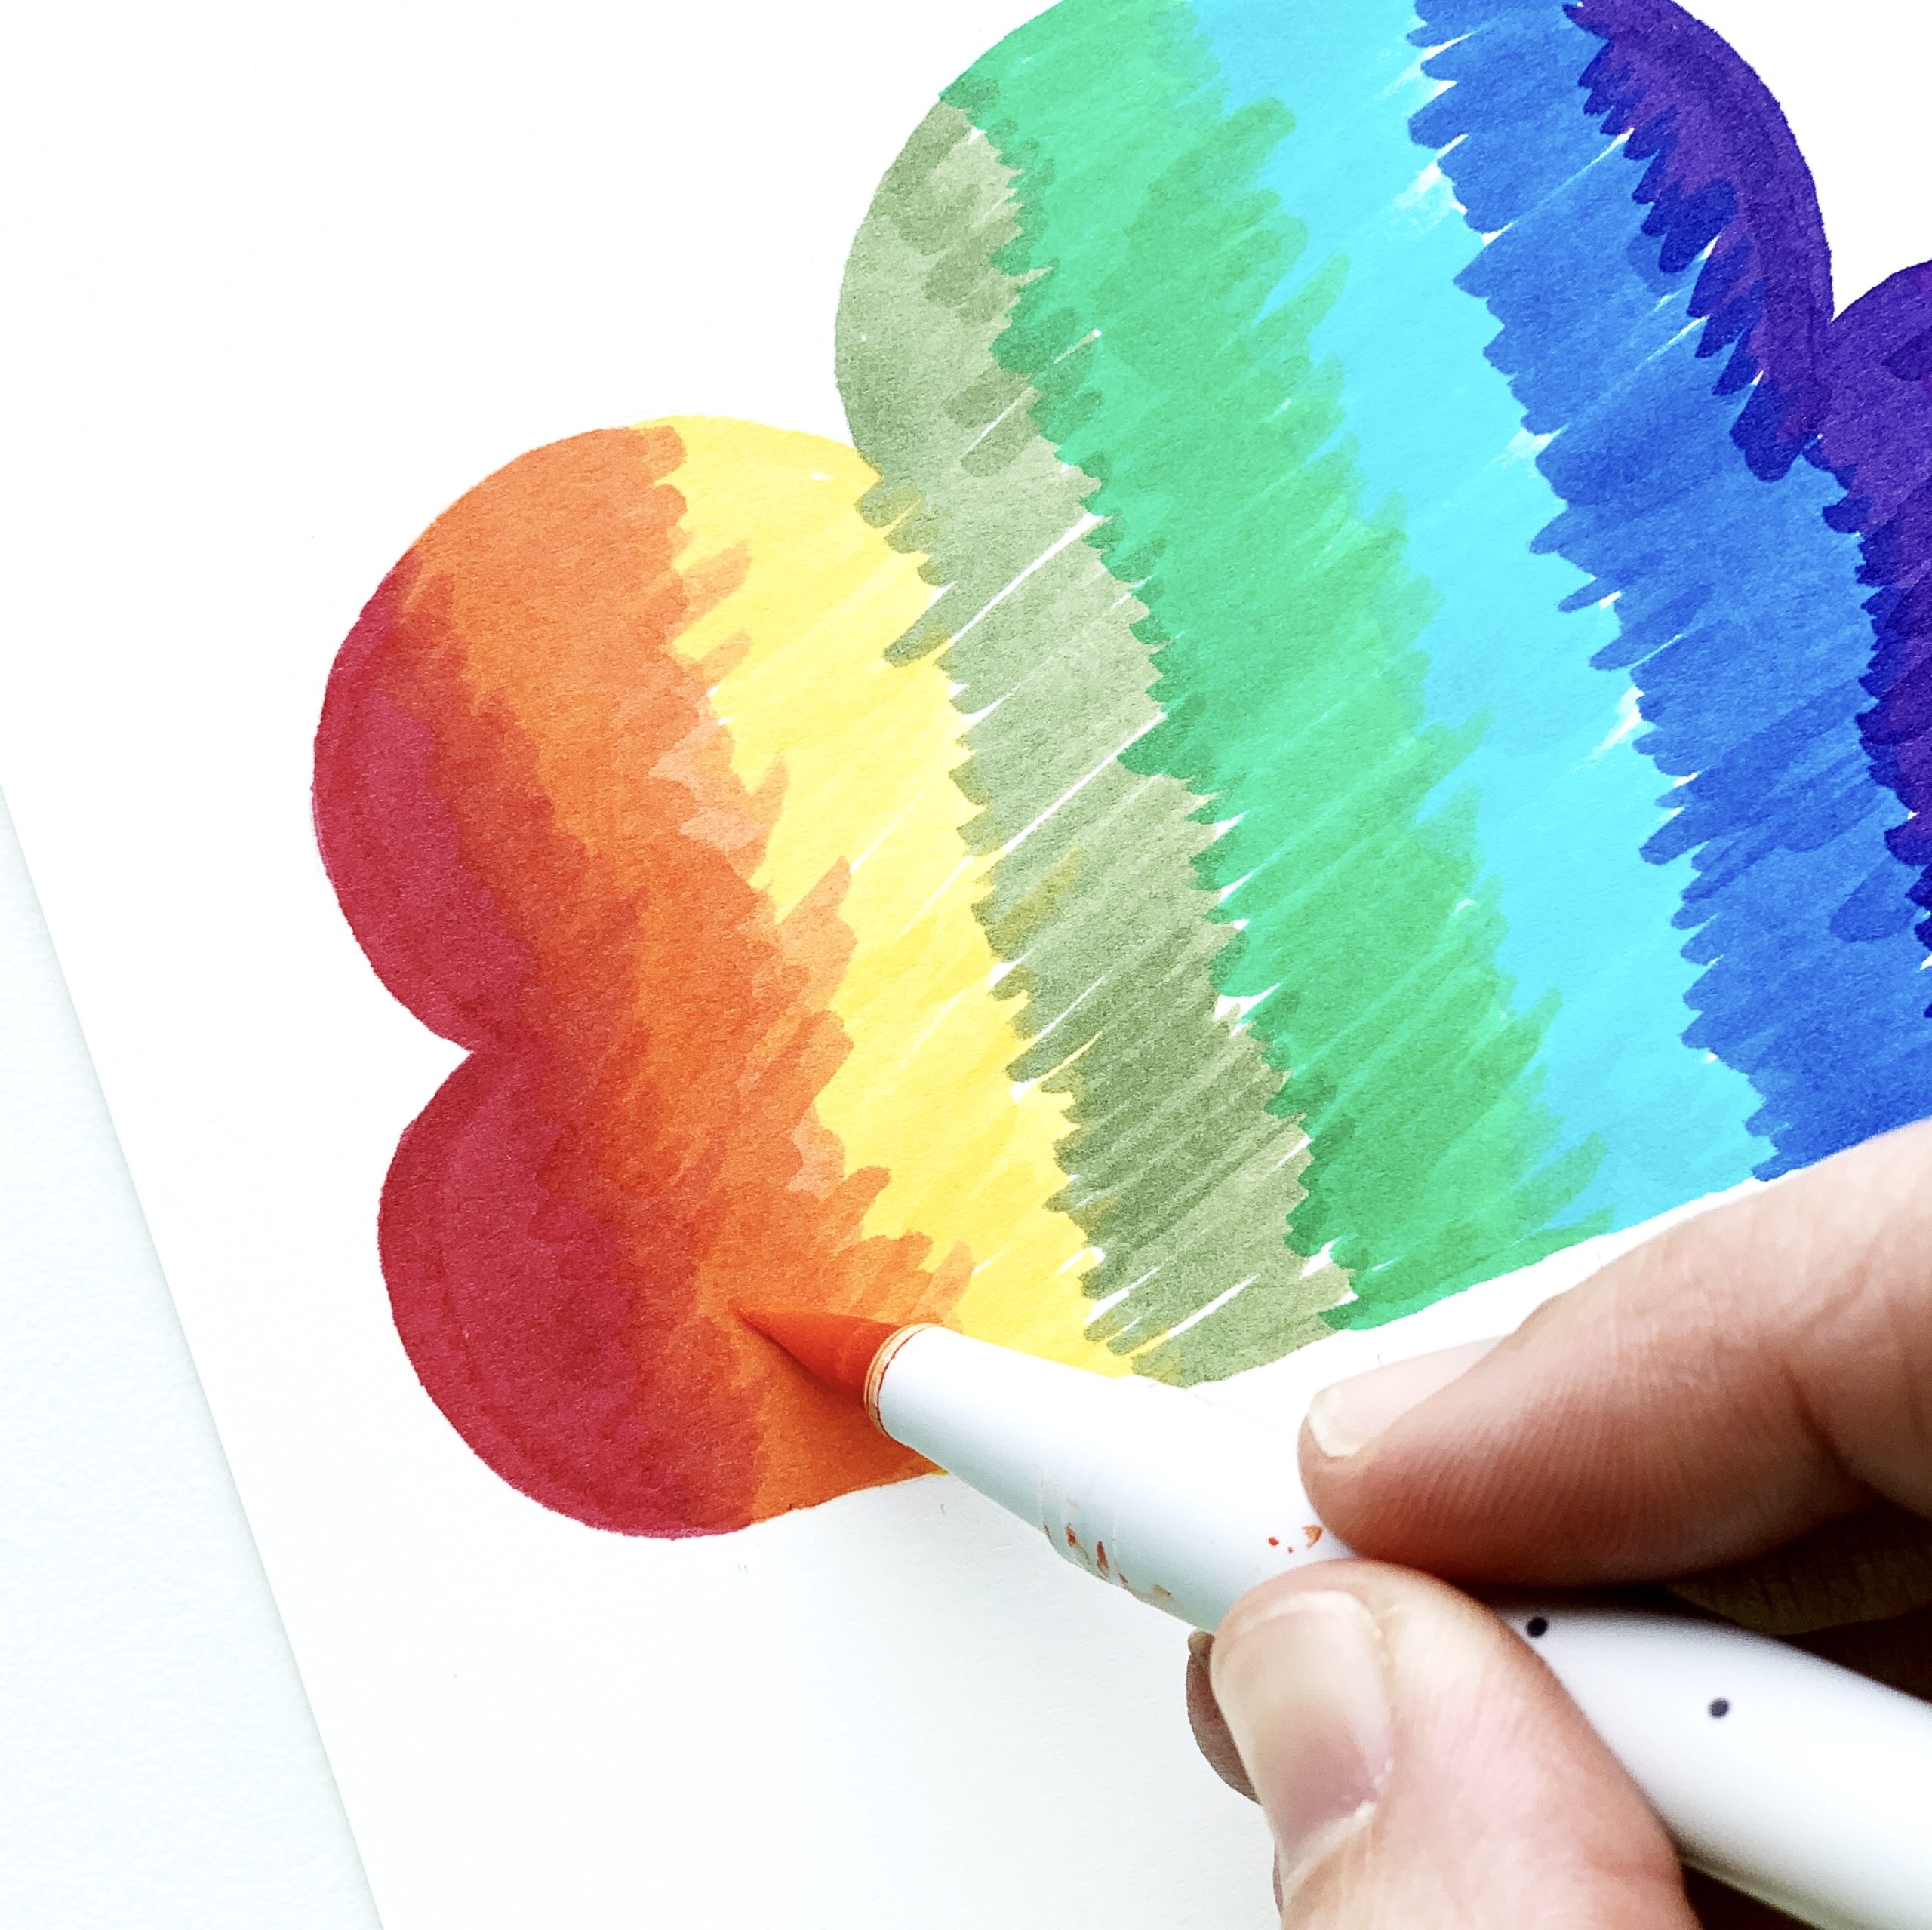
The key to blending alcohol markers is to layer, layer, layer! Only taking one pass at it isn’t going to work. Here’s is my second layer of color on my cloud.
Step 5
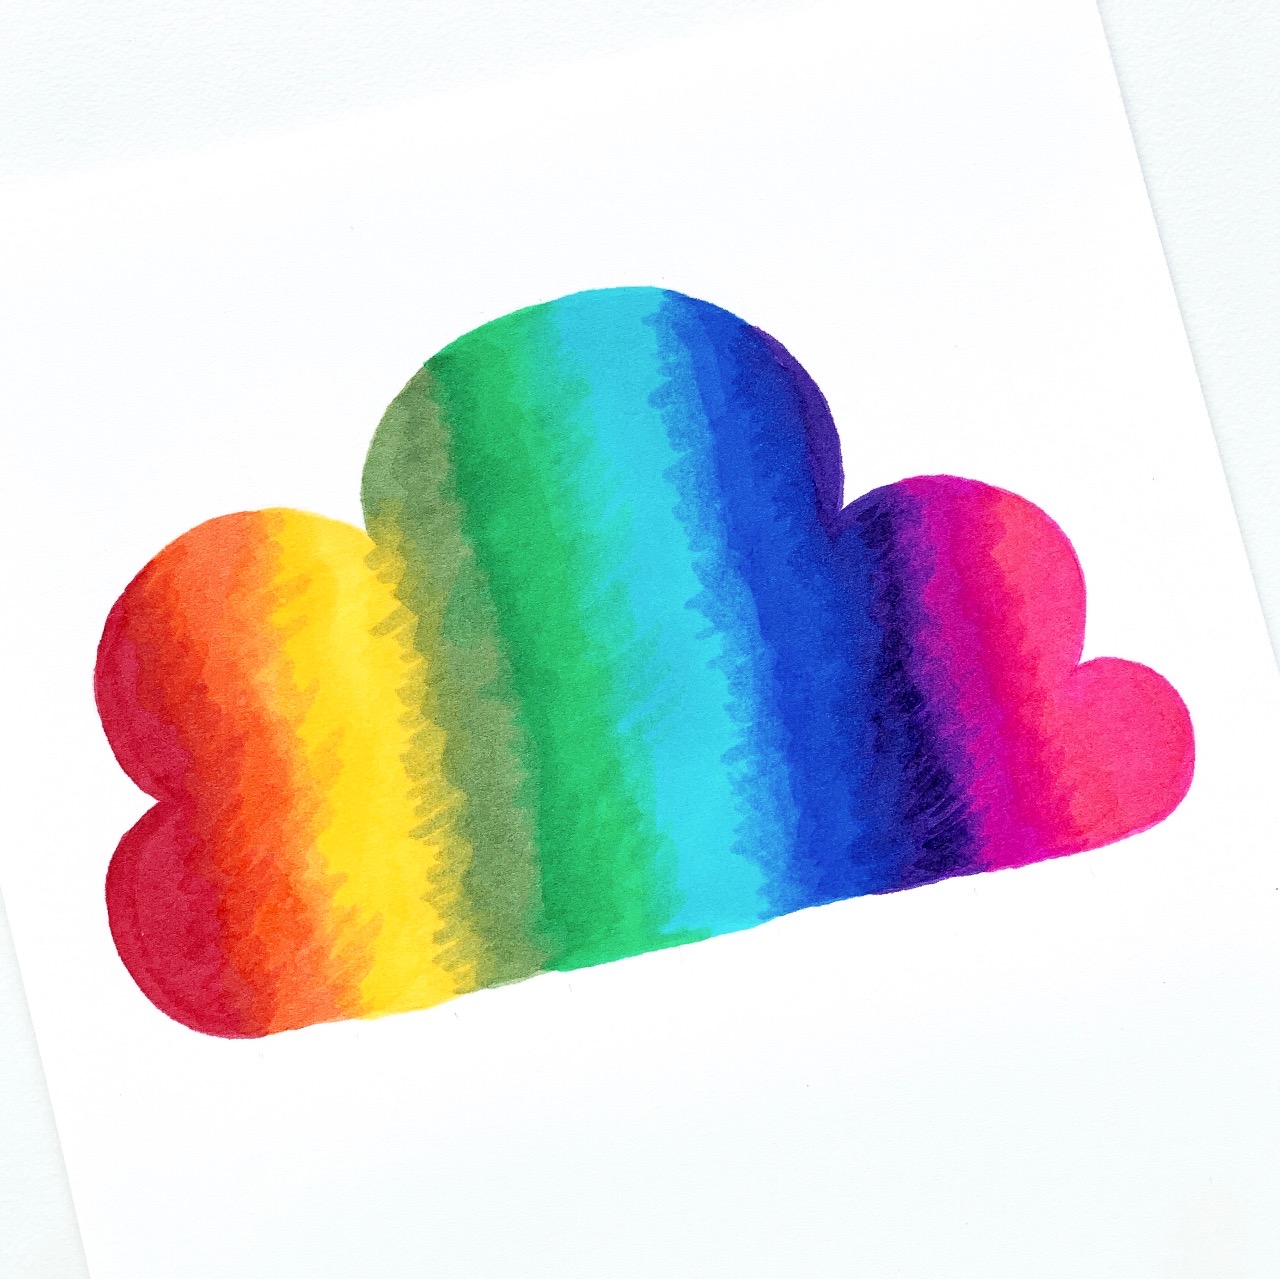
Keep layering and blending! At this point, when you add color with your darker colors, try using circular motions and then using the lighter color to blend the two together. This will make the blending lines less harsh. Here is my third layer of color!
Step 6
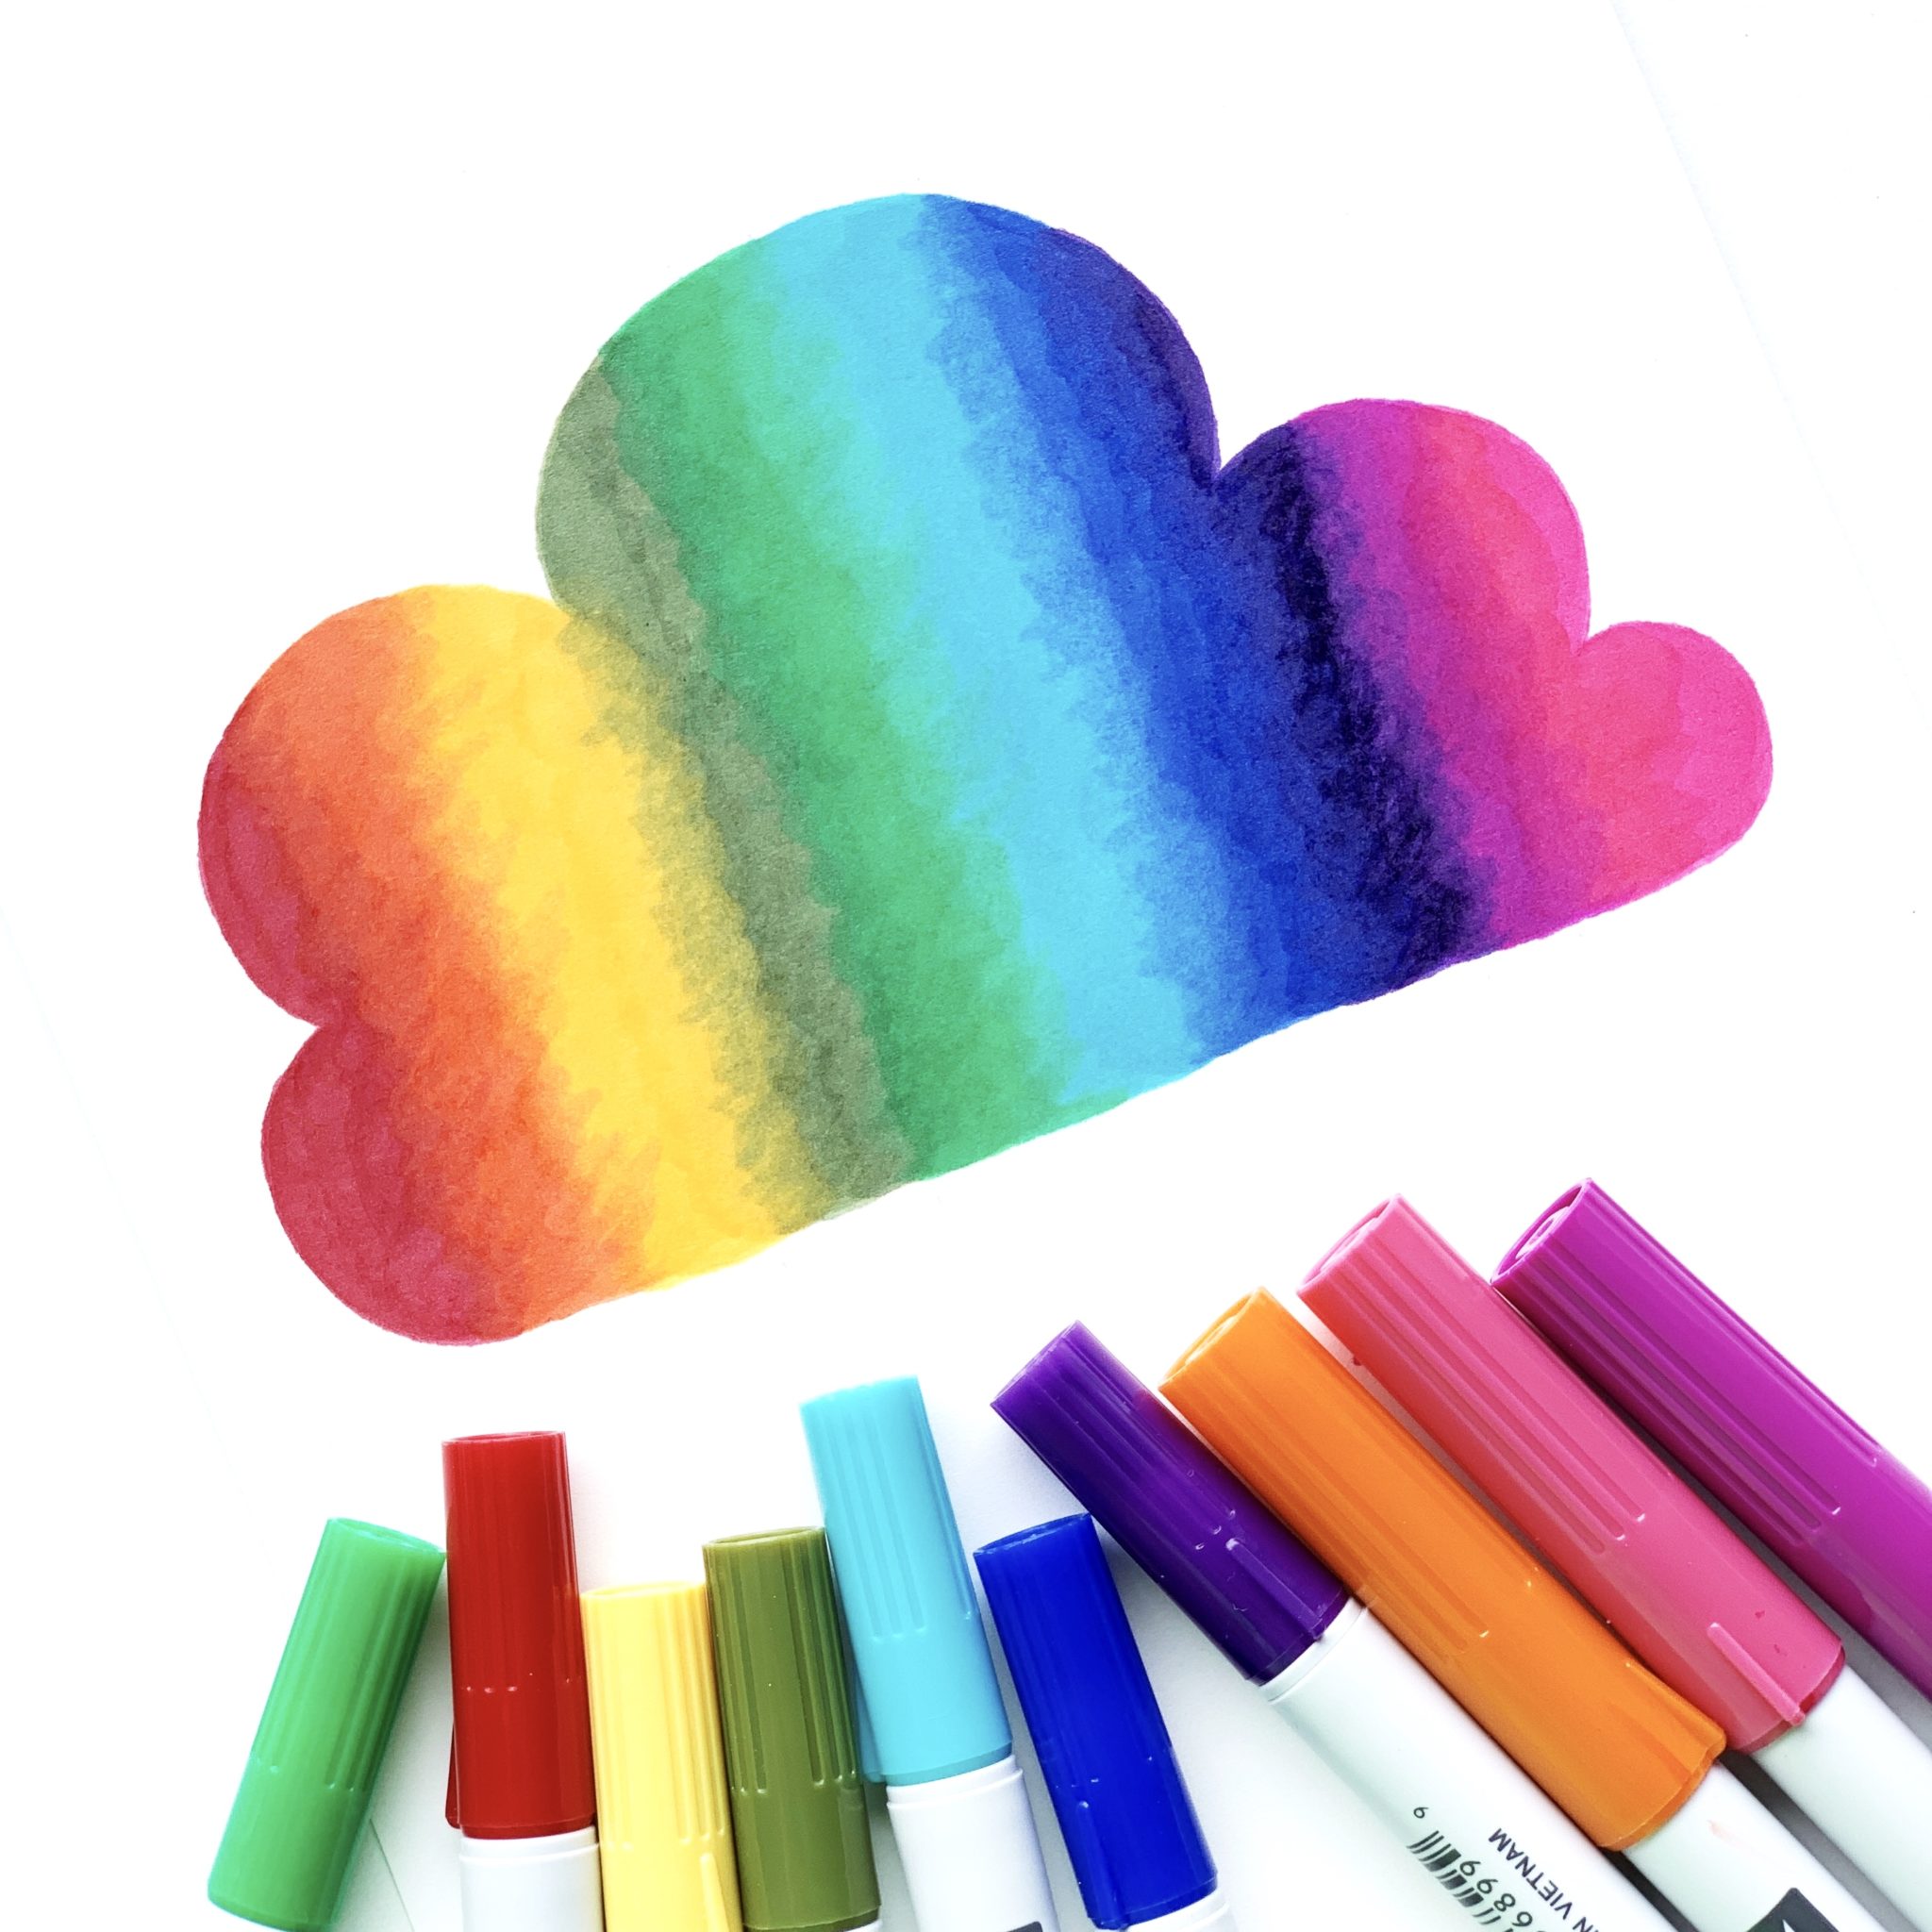
Here is my fourth layer of color! I think it looks pretty good at this point. There are no harsh lines and all the color blend together nicely!
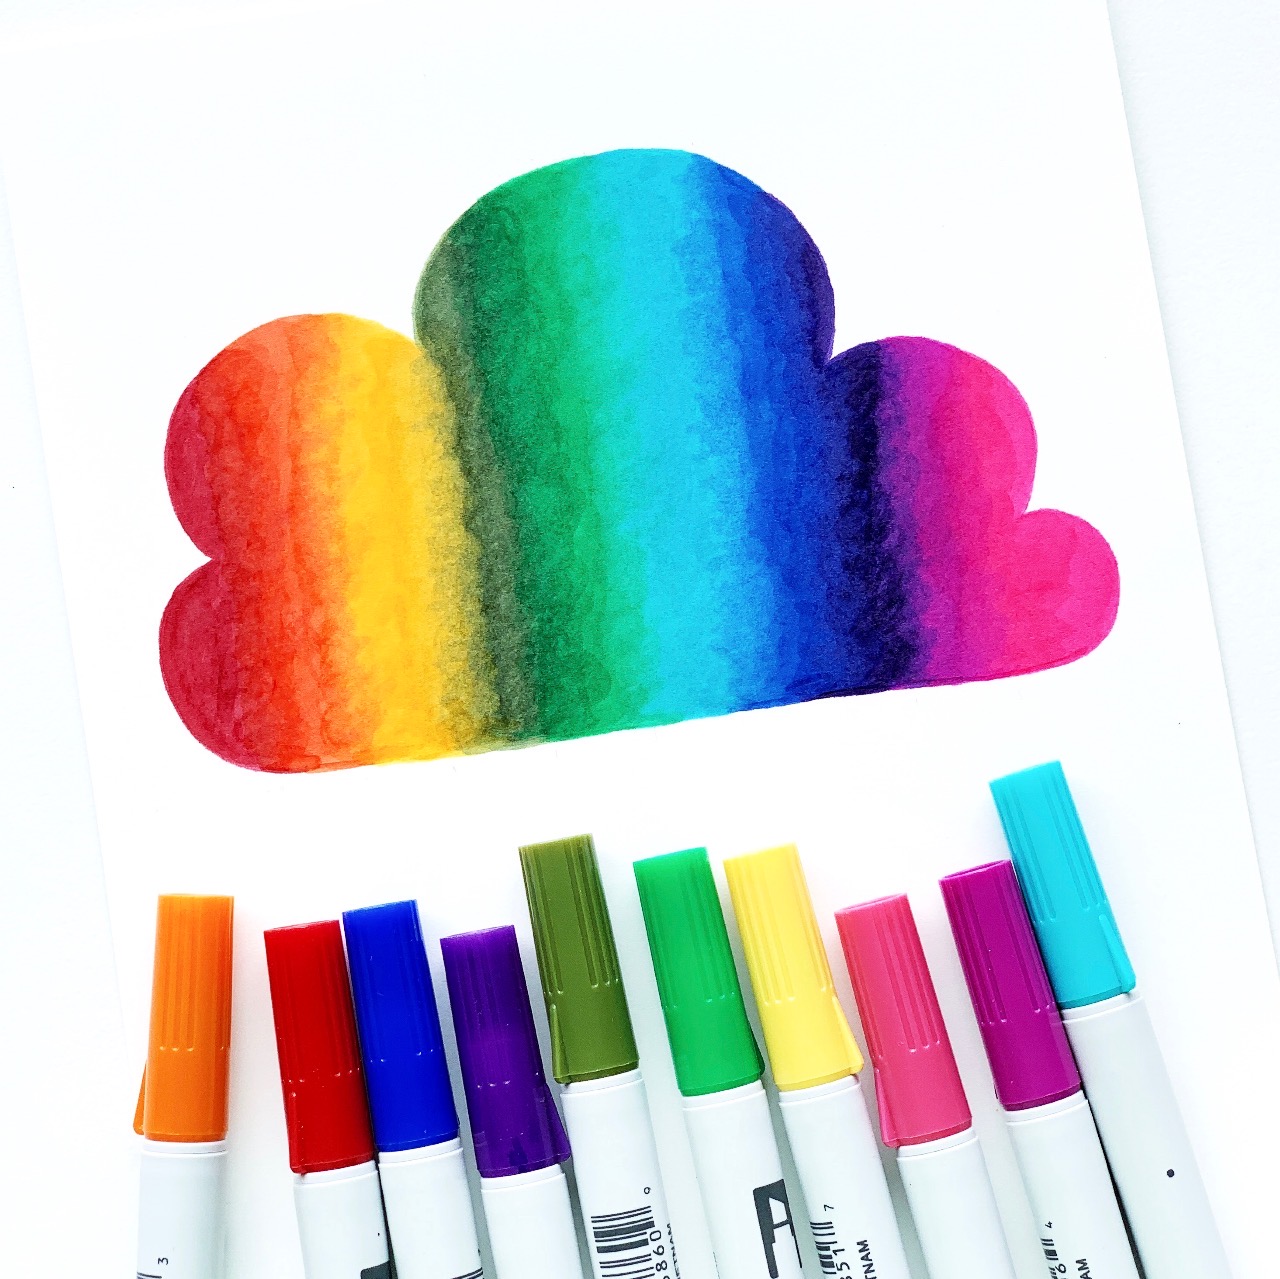
Step 7
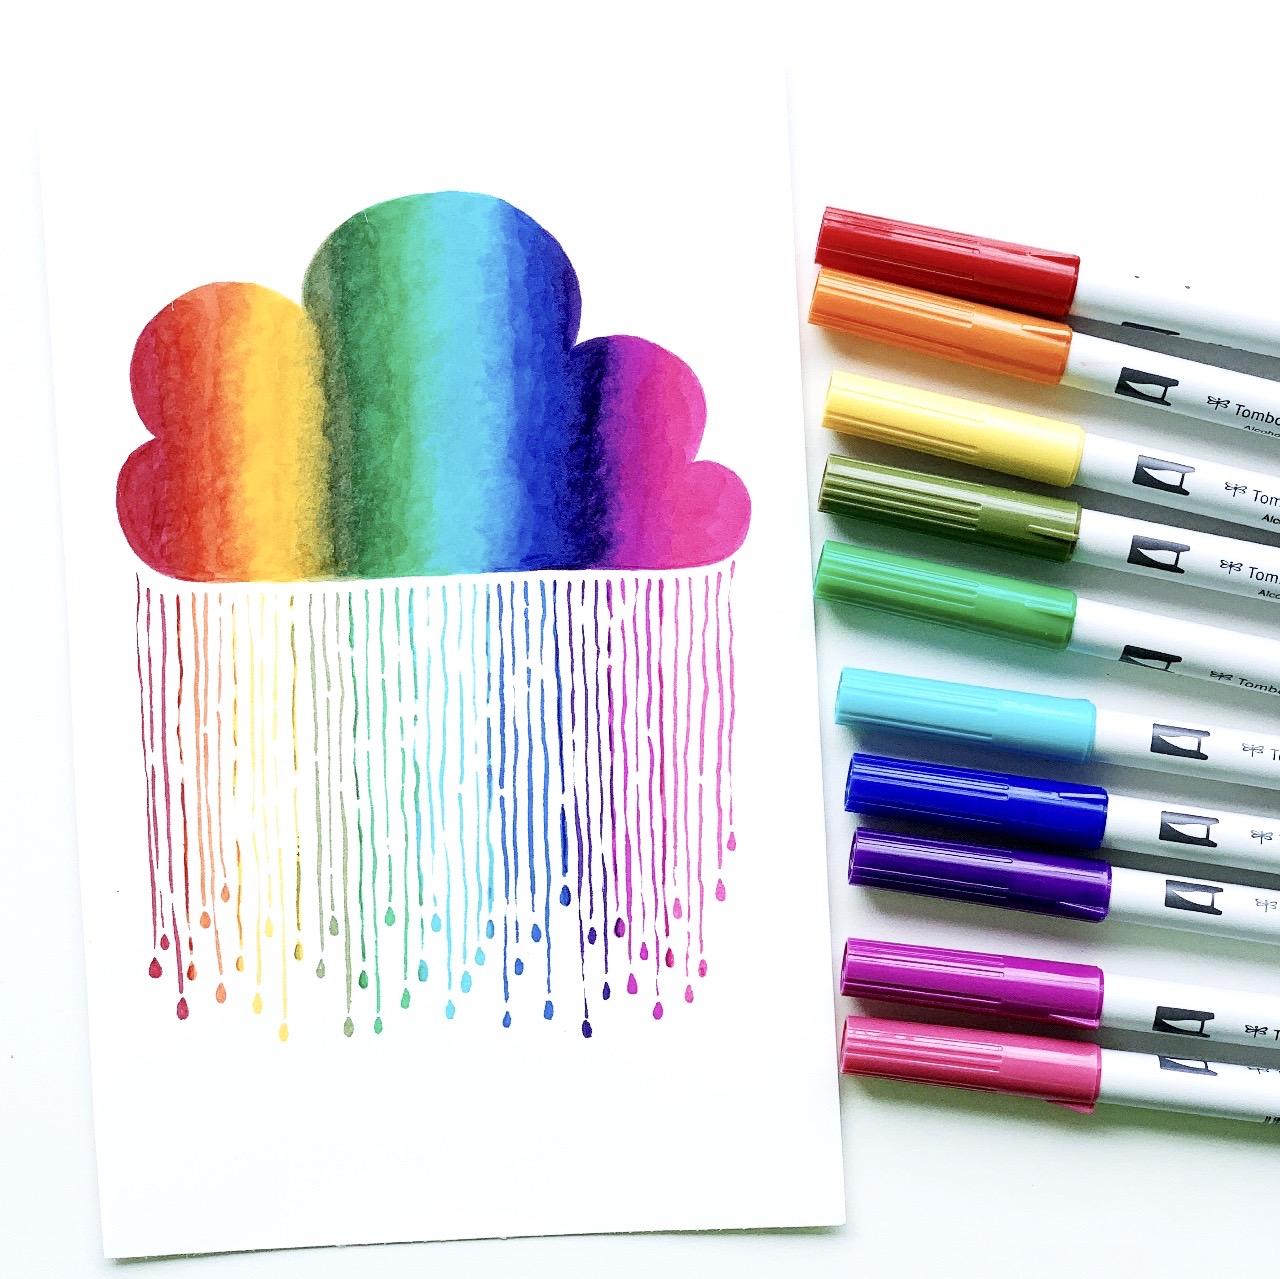
Now use the coordinating colors and draw raindrops coming down from the cloud. When the colors blended together, I did a blended raindrop in between each of the colors! You’re done!
Thank you so much for visiting today! I hope you found this post on the ABT PRO Alcohol-Based Art Markers helpful. I hope it motivates you to try it out! For more inspiration like this, make sure to follow me @studio80design!
I love reading all your blogs! Hey, just wanted to let you know that there are folks like me who really dig your stuff! This post is totally awesome! 👍 Cool!