Hello, it’s Ali LePere here! Not too long ago, if someone asked me to draw a mountain, my finished product would look like a triangle. I’ve been trying to get better at illustrations and my mountains have definitely improved! They’re not hyper realistic, but they’re certainly better than the triangles I used to draw. If you’re interested in learning how to add depth to your mountain doodles, keep reading!
Using Drawing MONO Drawing Pencils
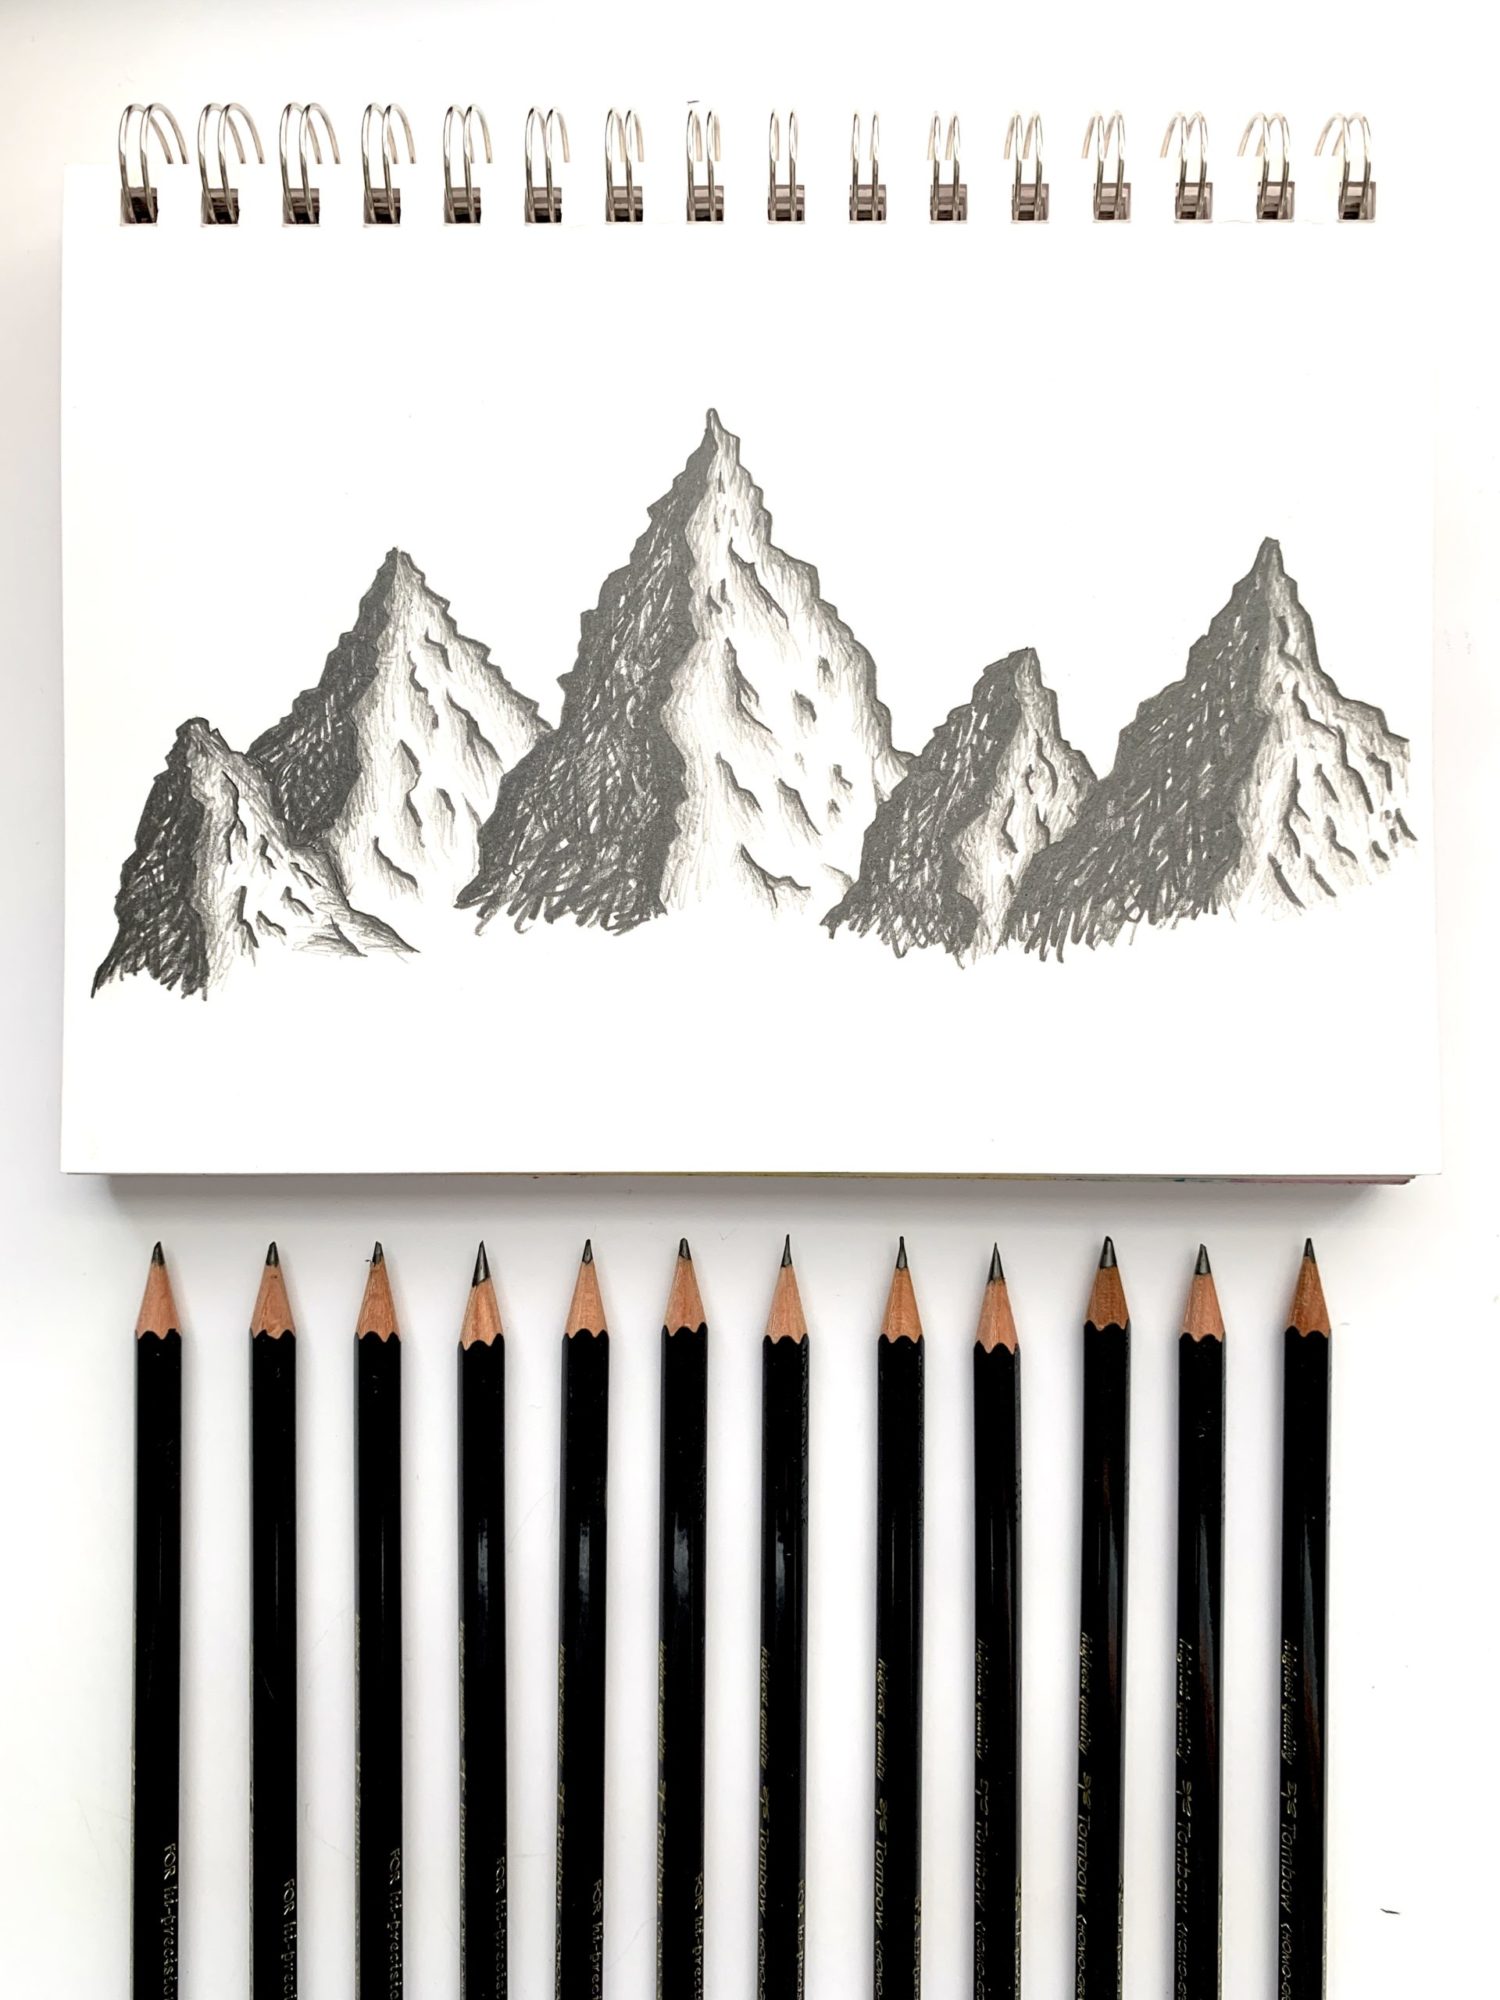
The Tombow MONO Drawing Pencil Set has pencils that come in a variety of strengths. Even though I’m only going to use two strengths in today’s tutorial, I wanted to show you what the various strengths look like. Below you can see how each pencil from the MONO Drawing Pencil Set looks when it is used.
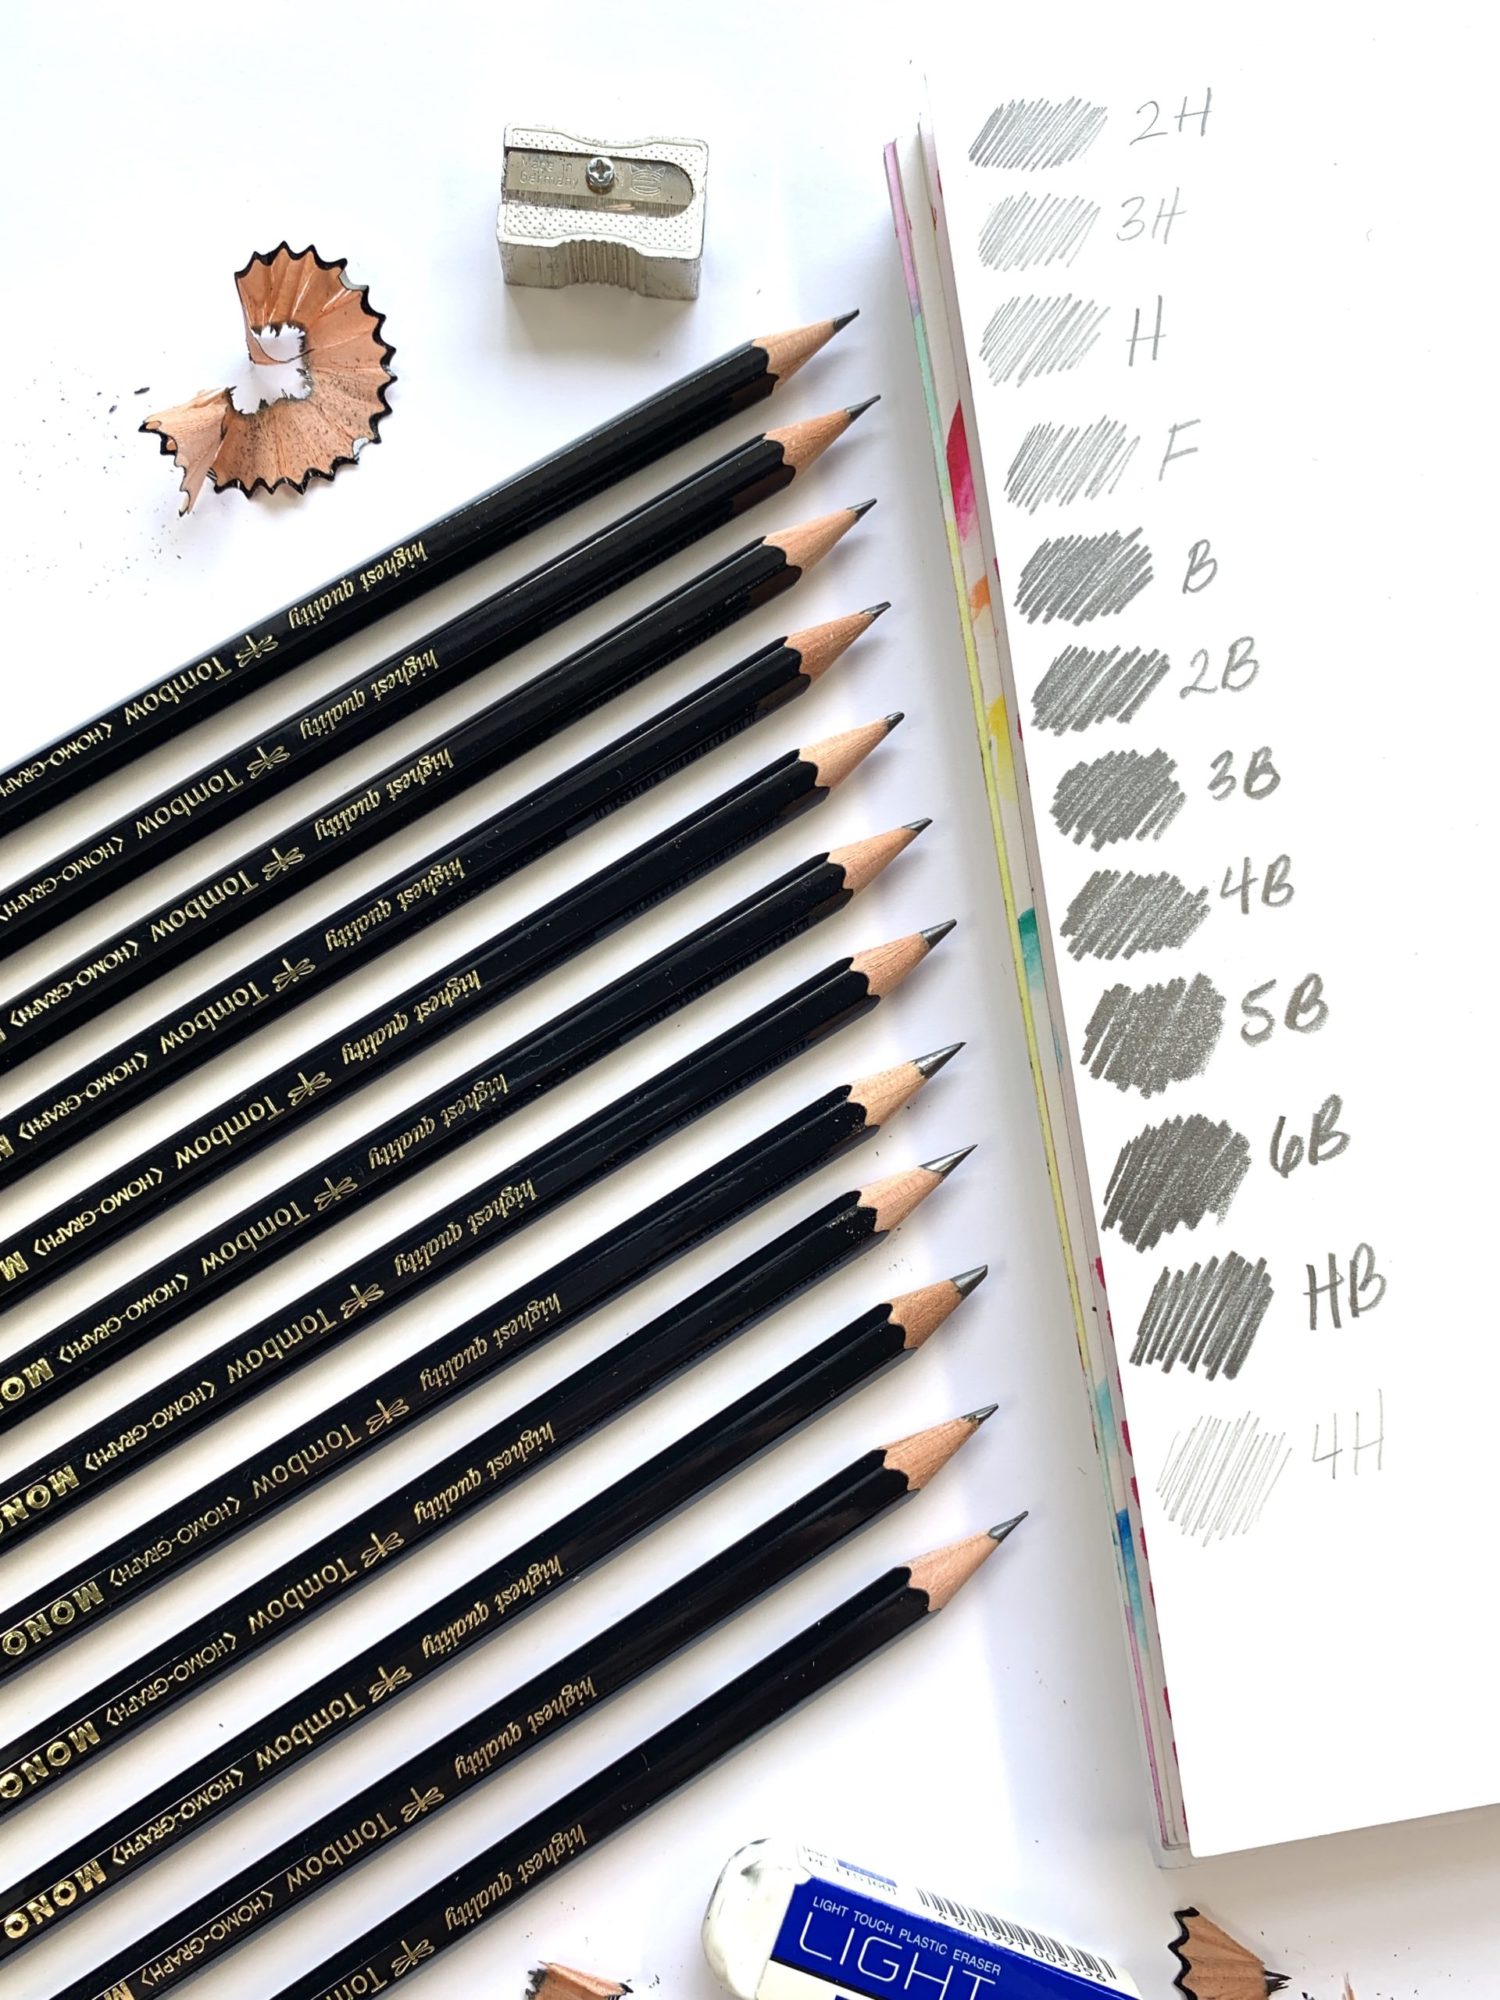
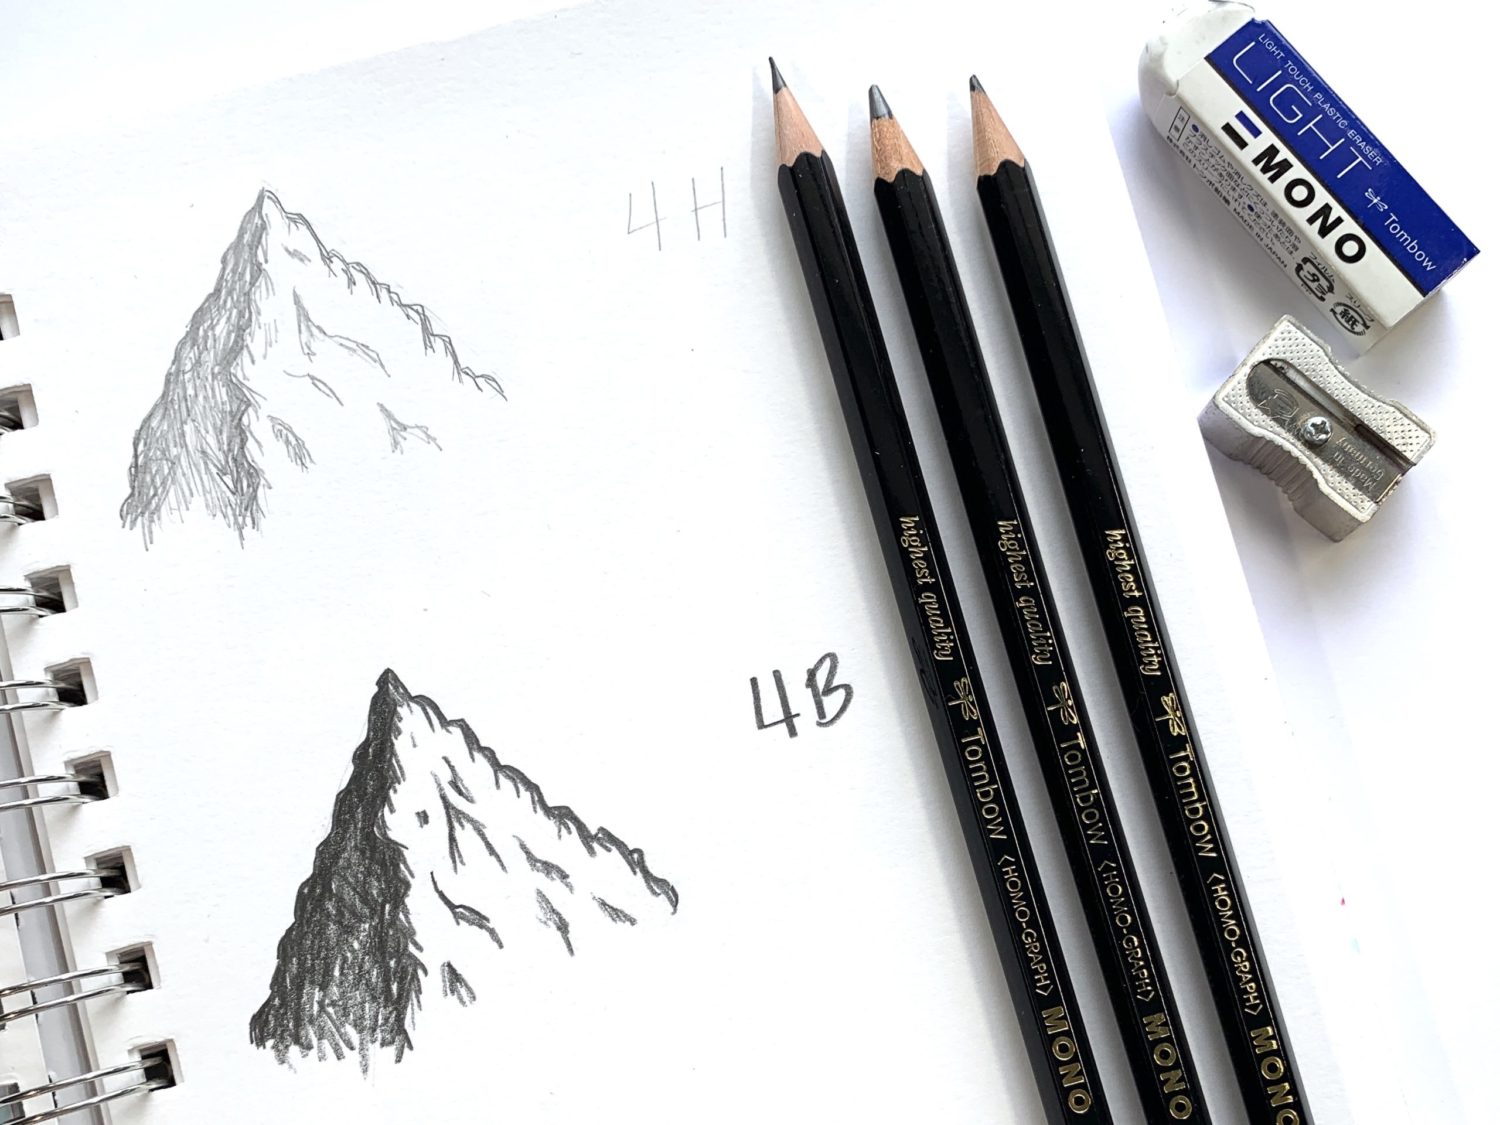
Each pencil has letters and some have numbers. The higher the number, the darker the pencil. The H and B on each pencil help indicate the hardness of the graphite in each pencil. The H means the pencils will leave light and thin lines. The B indicates that the pencil has softer graphite. Those pencils will leave heavy and bold lines. Below are examples of an H and a B strength pencil drawing. There is quite a difference between the two drawings!
Now that we’re a little more familiarized with drawing pencils, let’s draw some mountains!
Materials
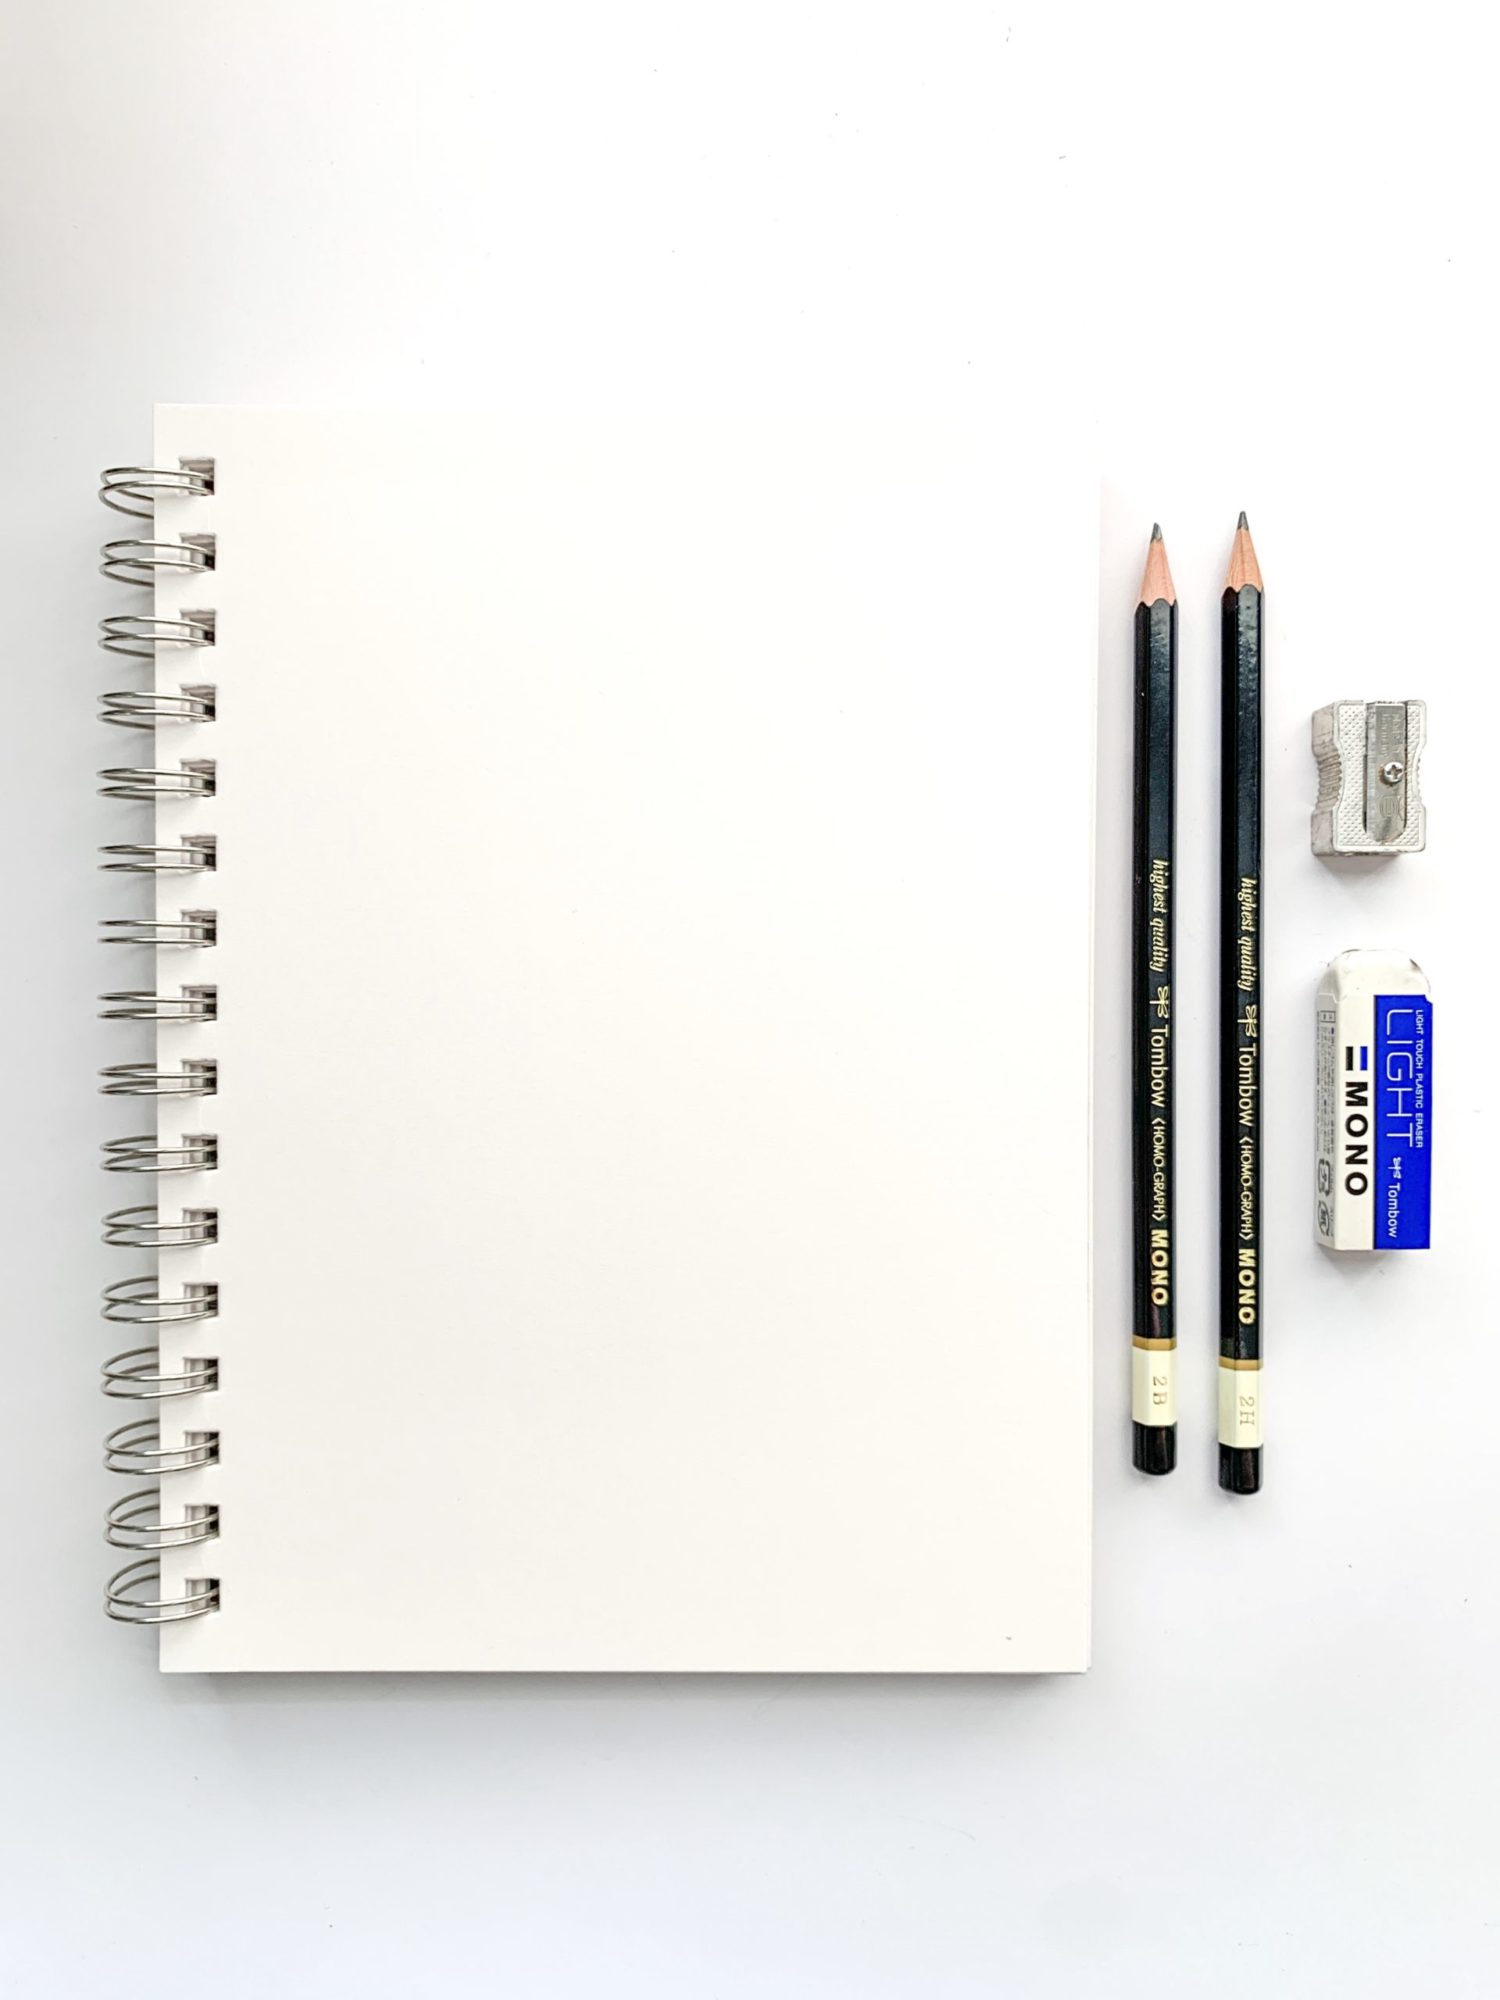
- Tombow MONO Drawing Pencils – Strength 2H and 2B
- Tombow MONO Light Eraser
- Pencil sharpener
- Mixed media paper
Step 1
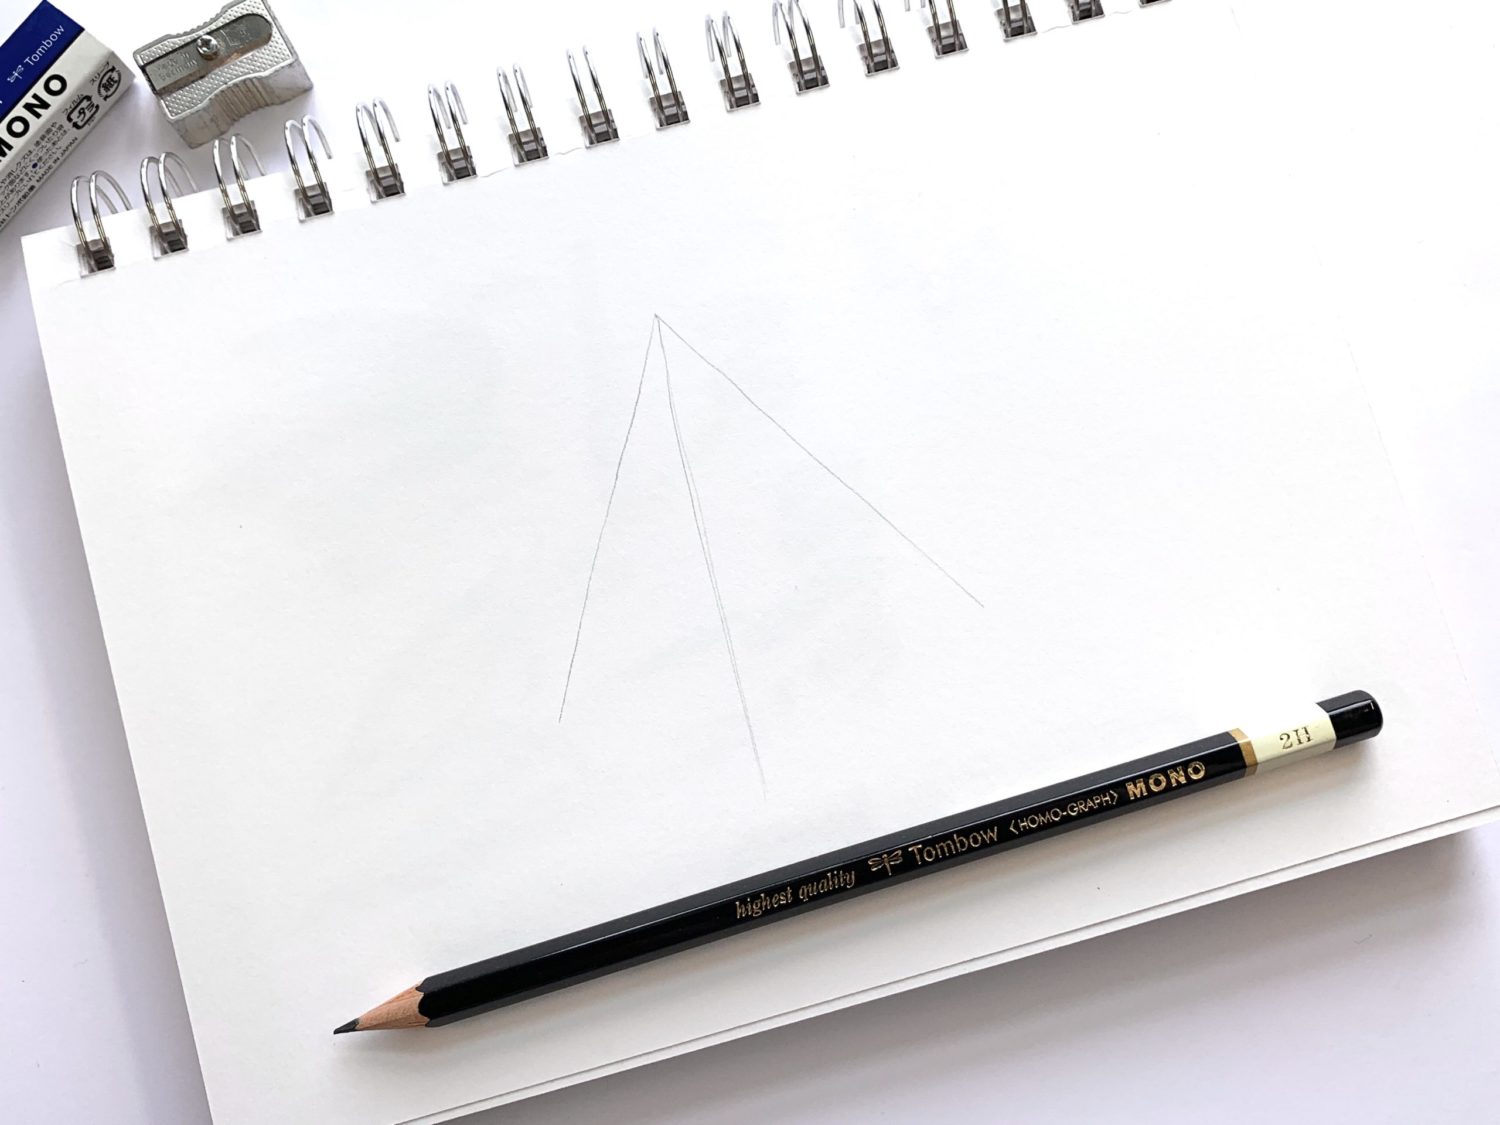
I lightly drew a basic pyramid shape with MONO Drawing Pencil 2H.
Step 2
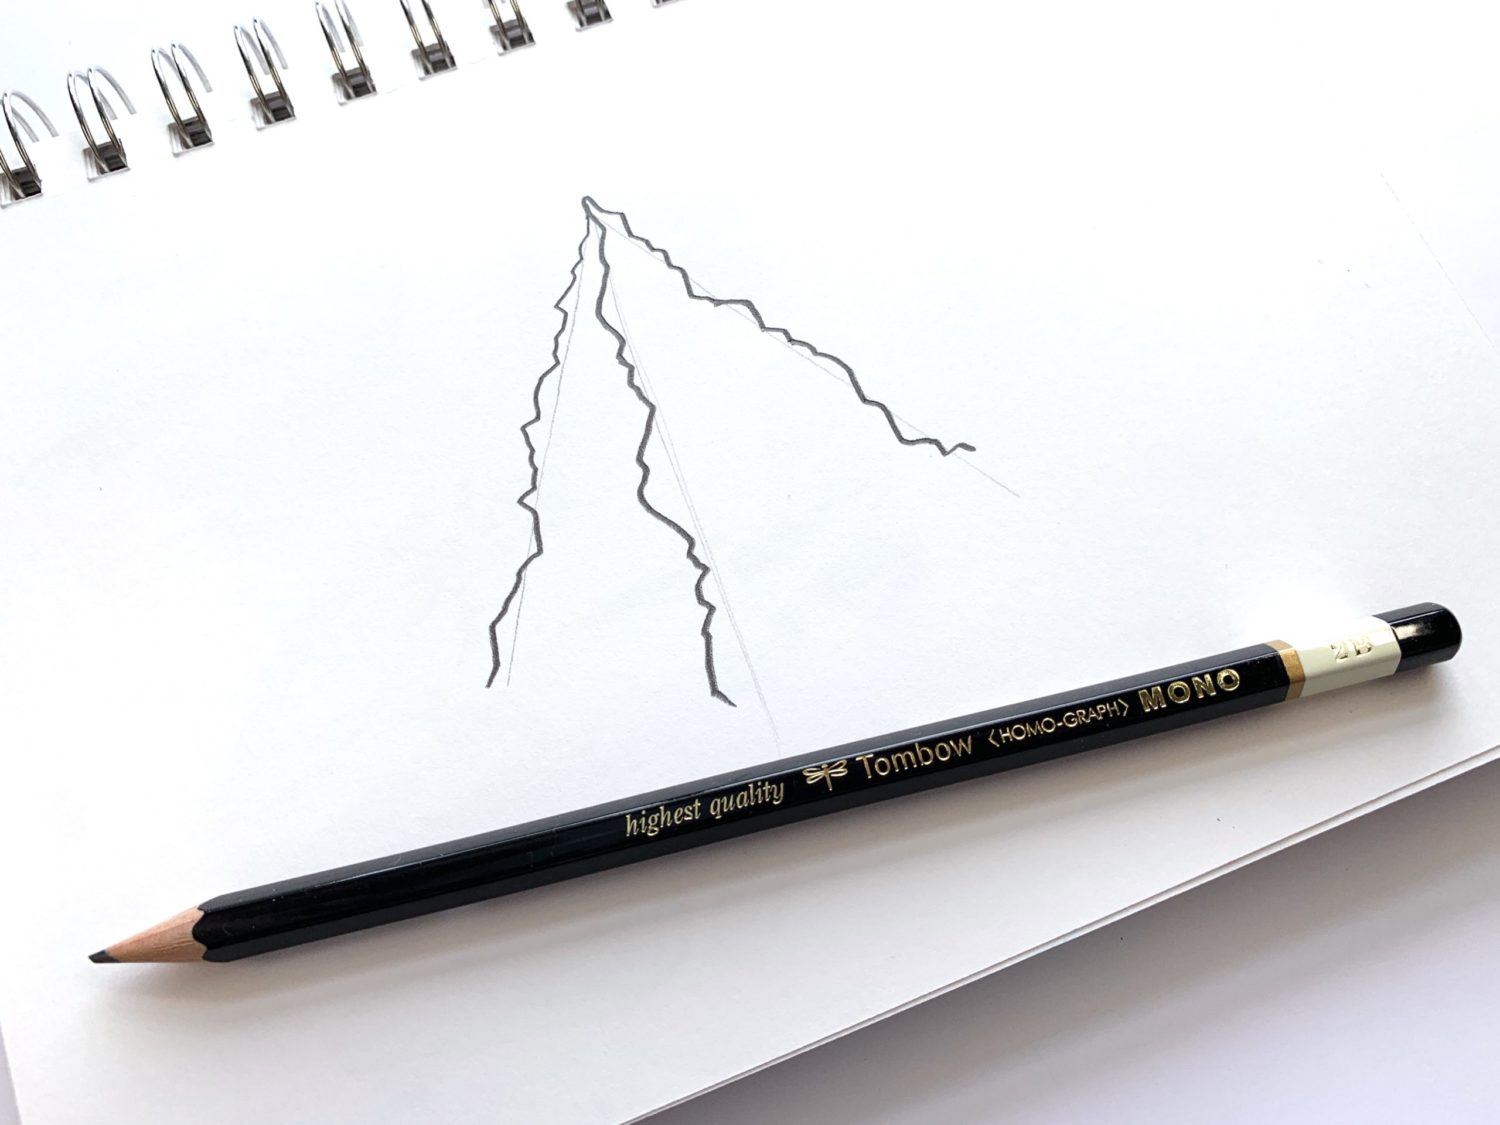
Next, I drew jagged lines over the lightly sketched pyramid shape from step one. This time, I used MONO Drawing Pencil 2B.
Step 3
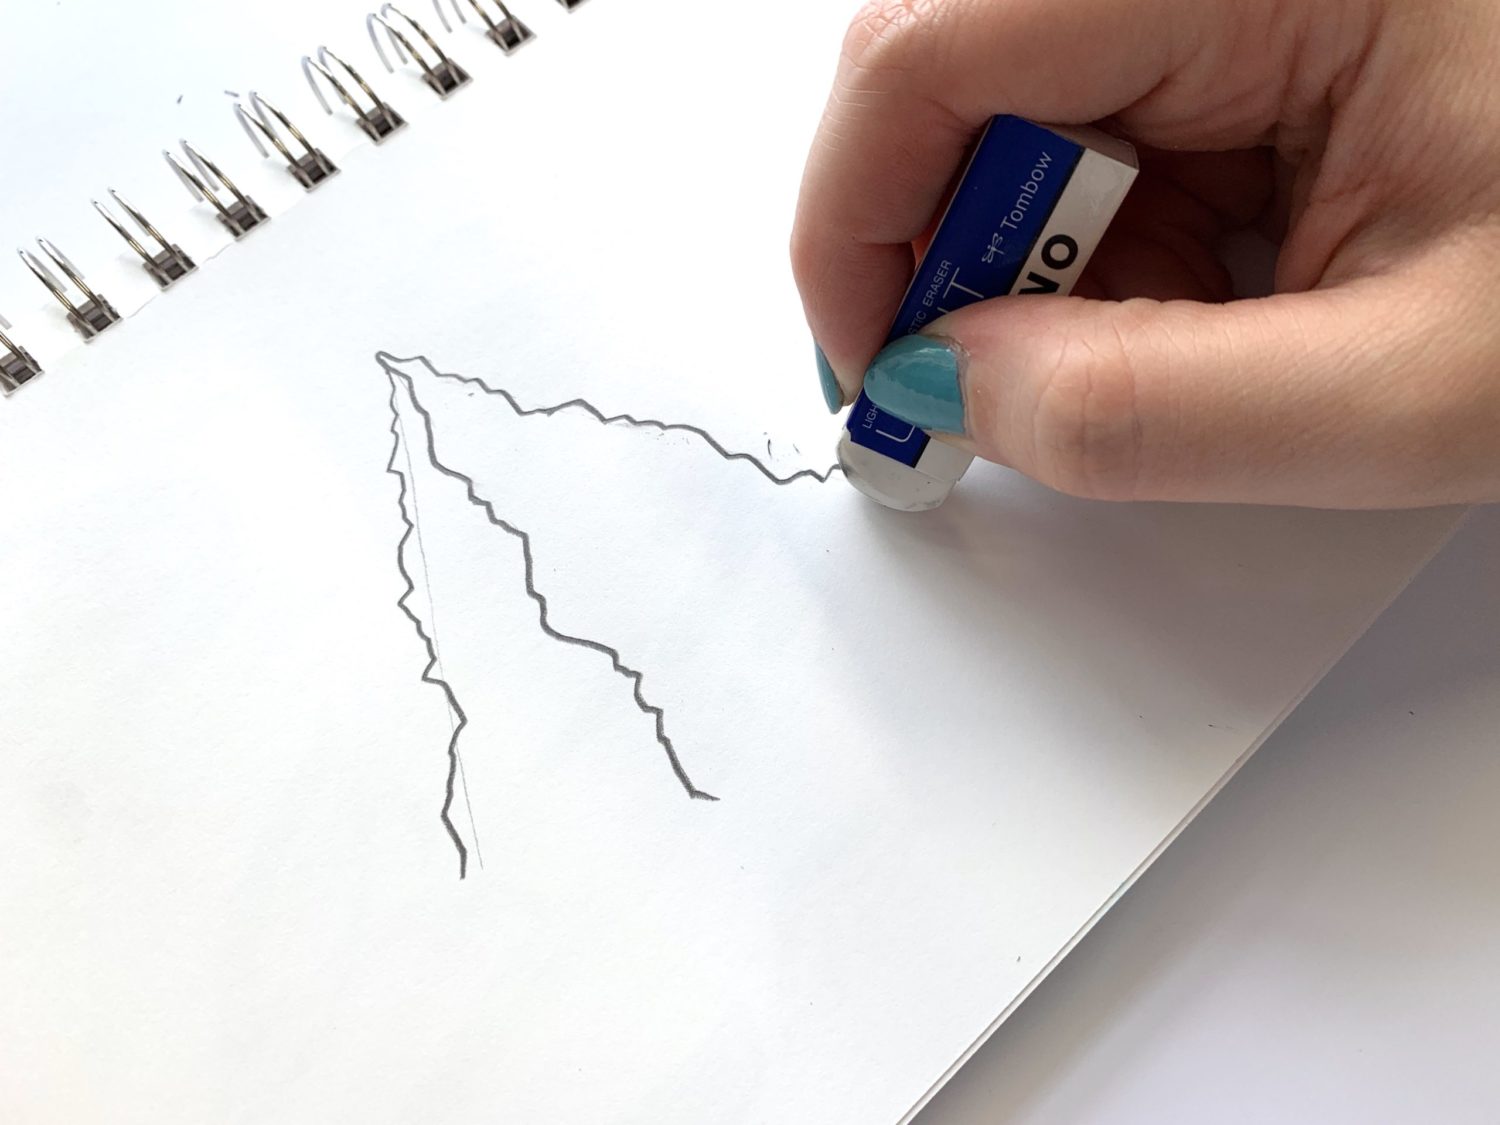
I used the MONO Light Eraser to erase the light sketch from step one.
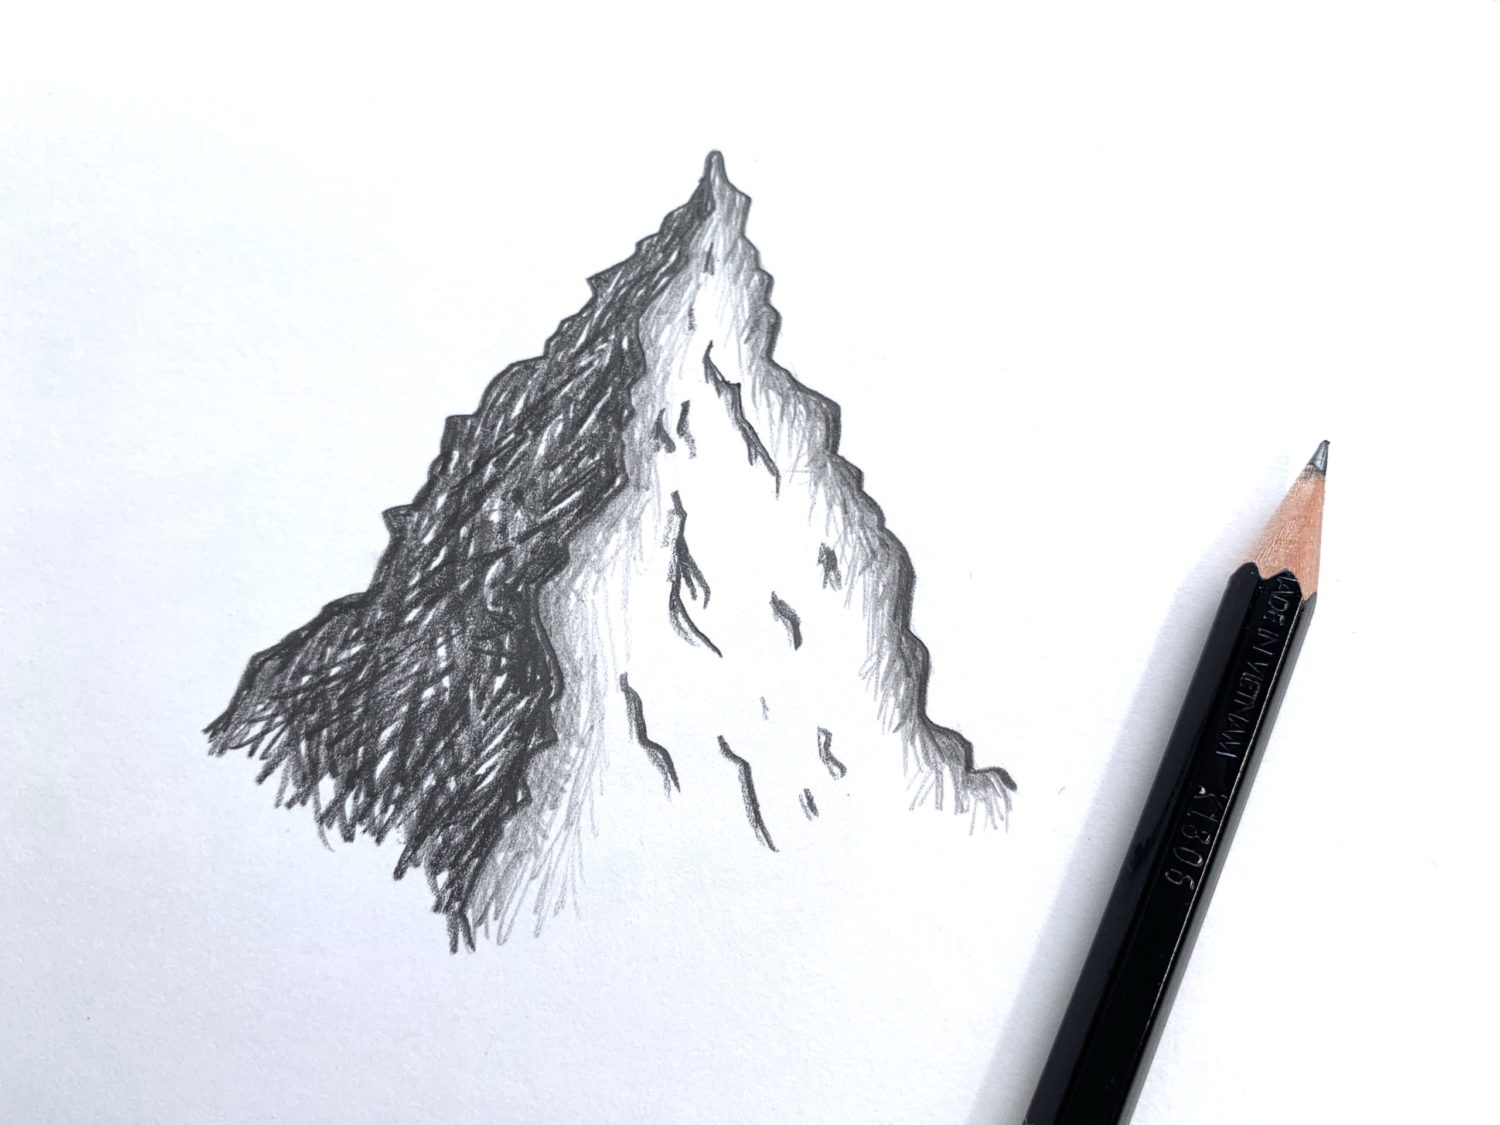
Step 4
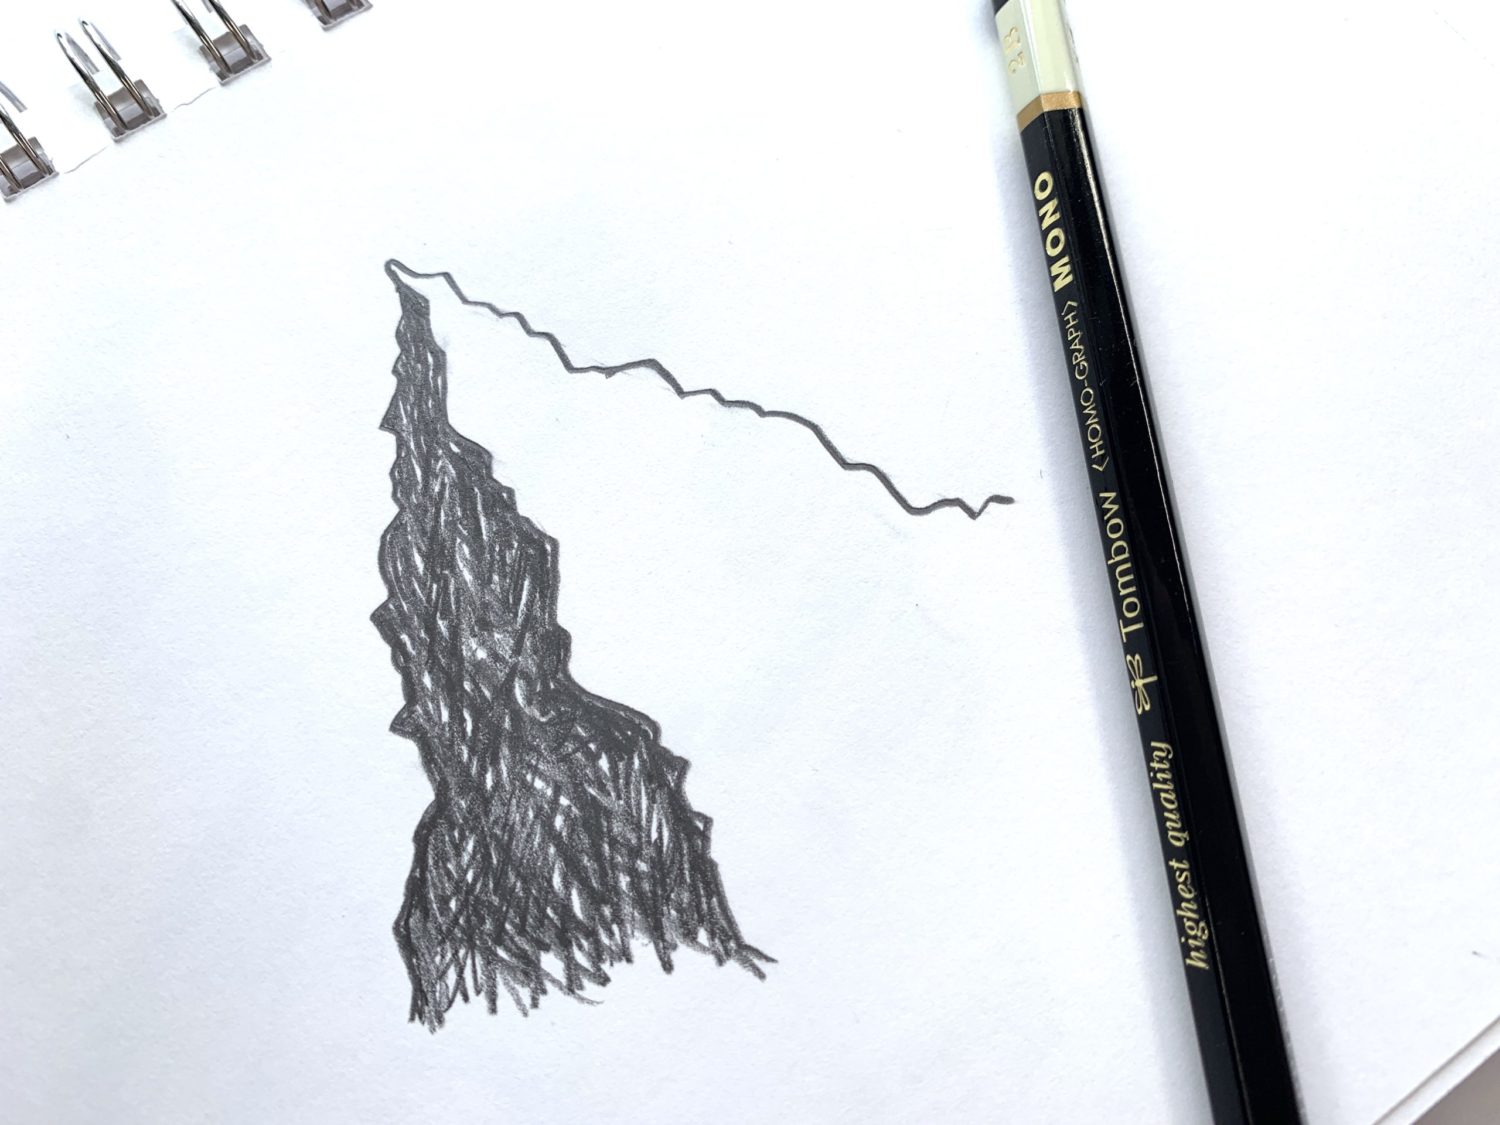
Using MONO Drawing Pencil 2B, I started filling in the left side of the mountain shape. Essentially, I did this by scribbling lines in every direction. I left the tiny white spaces empty. Doing this added texture helped it look more mountain-like.
Step 5
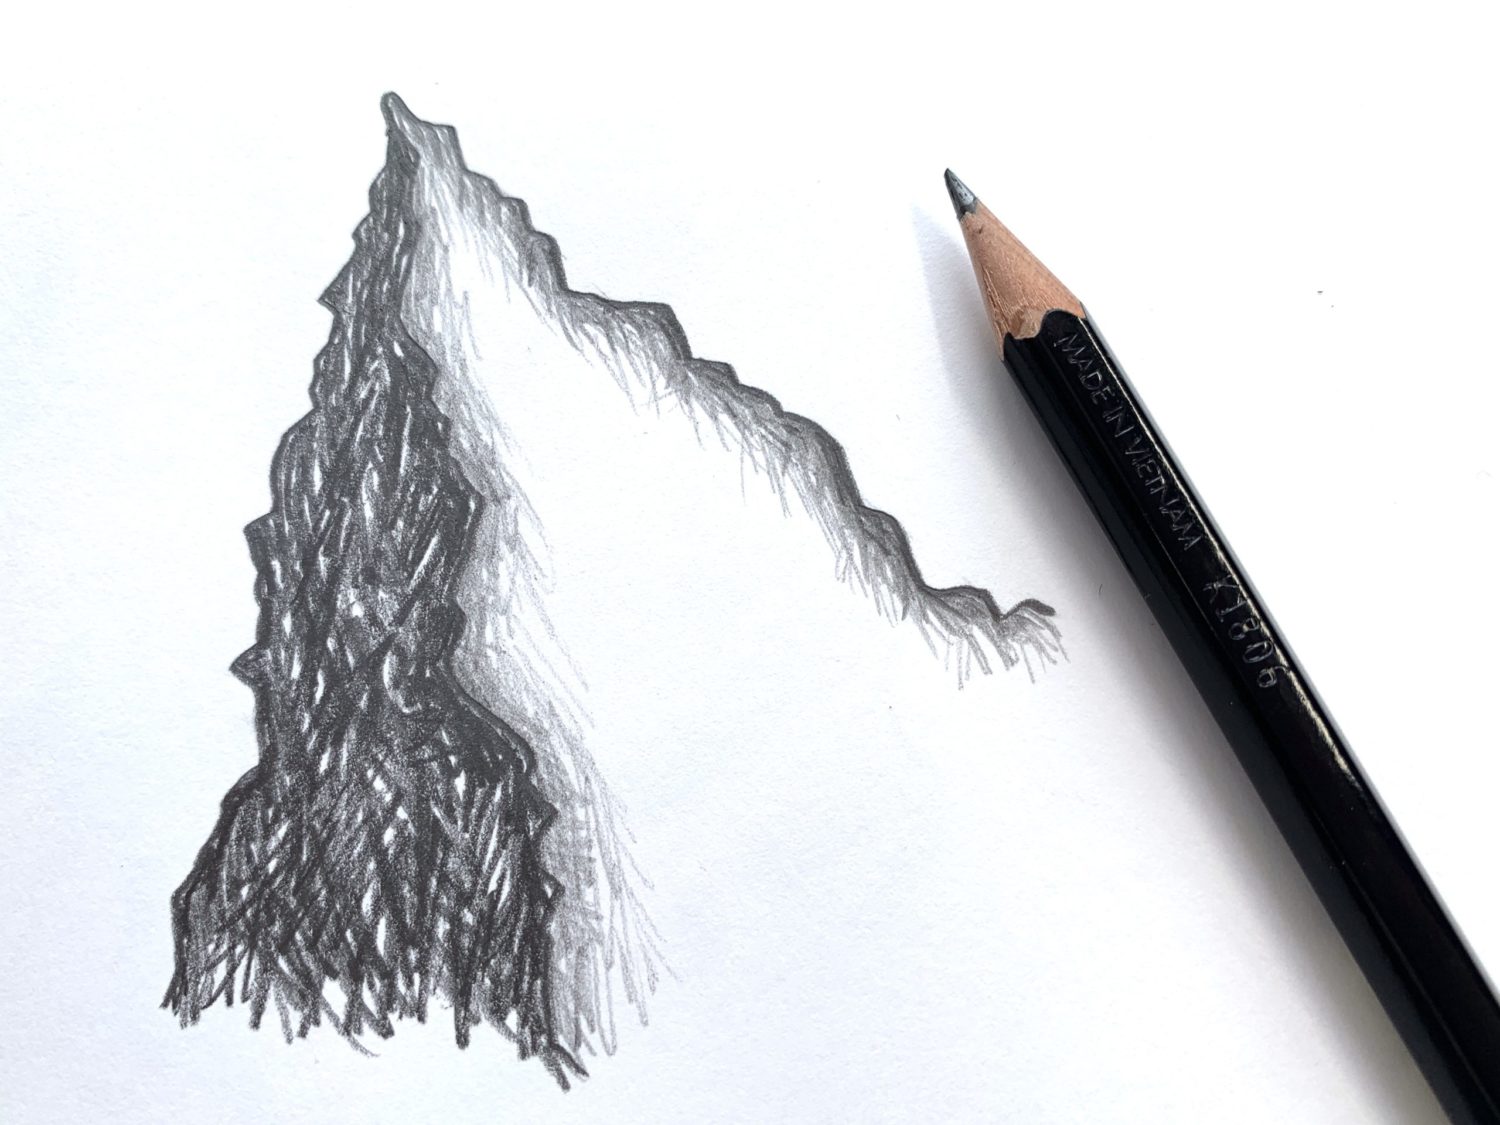
I switched back from the 2B strength pencil to the 2H. Then, I drew some light and sketchy lines on the inside edges of the right side face of the mountain.
Step 6
Switching back to MONO Drawing Pencil 2B, I drew some jagged lines on the right side face of the mountain.
Step 7
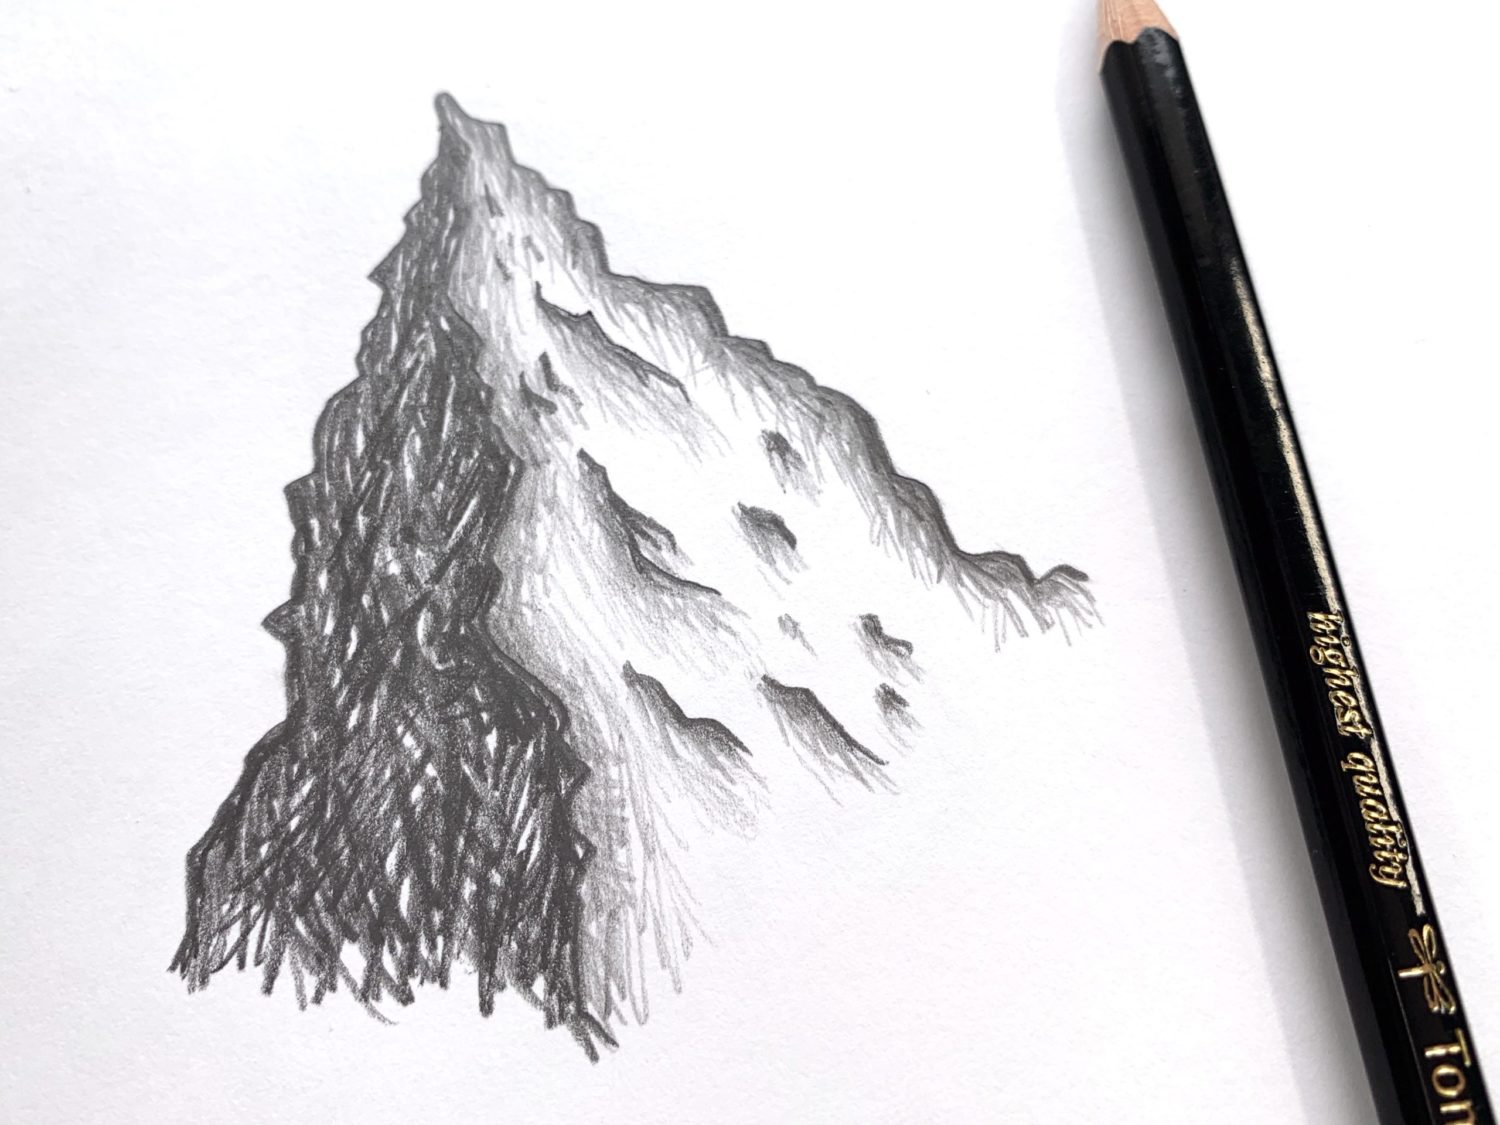
I did one last pencil switch and used the 2H strength pencil one more time. Underneath the jagged lines from step six, I drew light and sketchy lines to add depth and texture.
Once I finished that mountain peak, I decided to make it a mountain range!
Thank you for stopping by and drawing some mountains today. I hope you liked the tutorial! If you’re interested in learning how to draw more, Check out How to Draw a Peony With The MONO Drawing Pencil Set by Adrienne Castleton or Jessica Mack’s Make a Housewarming Card Using MONO Drawing Pencils post! See you again soon!
I have read a lot of articles. However, this article has distinct and very profound points. I hope to visit your other posts
I have never come across such an article. Glad to have read it. It is very helpful for me
I have read a lot of articles. However, this article has distinct and very profound points. I hope to visit your other posts
Thanks..
very good article, I’m from Indonesia enjoy reading your article, waiting for the latest update. Thank You
very good article, I’m from Indonesia enjoy reading your article, waiting for the latest update. Thank You
nice
Fantastic article.Really looking forward to read more. Awesome.
We have never come across such an article. Glad to have read it. It is very helpful for me
Wow, Ali LePere! Your mountain tutorial with MONO Drawing Pencils is a game-changer. Can’t wait to try it out and turn my triangles into masterpieces! Thanks for the awesome tips!
nice thanks Appreciate it for this post, I am a big big fan of this internet site would like to continue updated
Browsing your blog post is a real wonderful experience. Thanks again for thinking of readers like me, and I hope for you the best of achievements as being a professional discipline.
Pingback: A Guide to Drawing Realistic Mountains Using Shading and Perspective – YouTalent® Educational Blog