Hello Tombow fans, Serena from @SerenaBeeCreative here! This week, the Tombow Design Team is focusing on lettering. I’m no seasoned letterer, but today I want to show you my trick at some simple and easy blending that any beginner can master! Let’s get started.
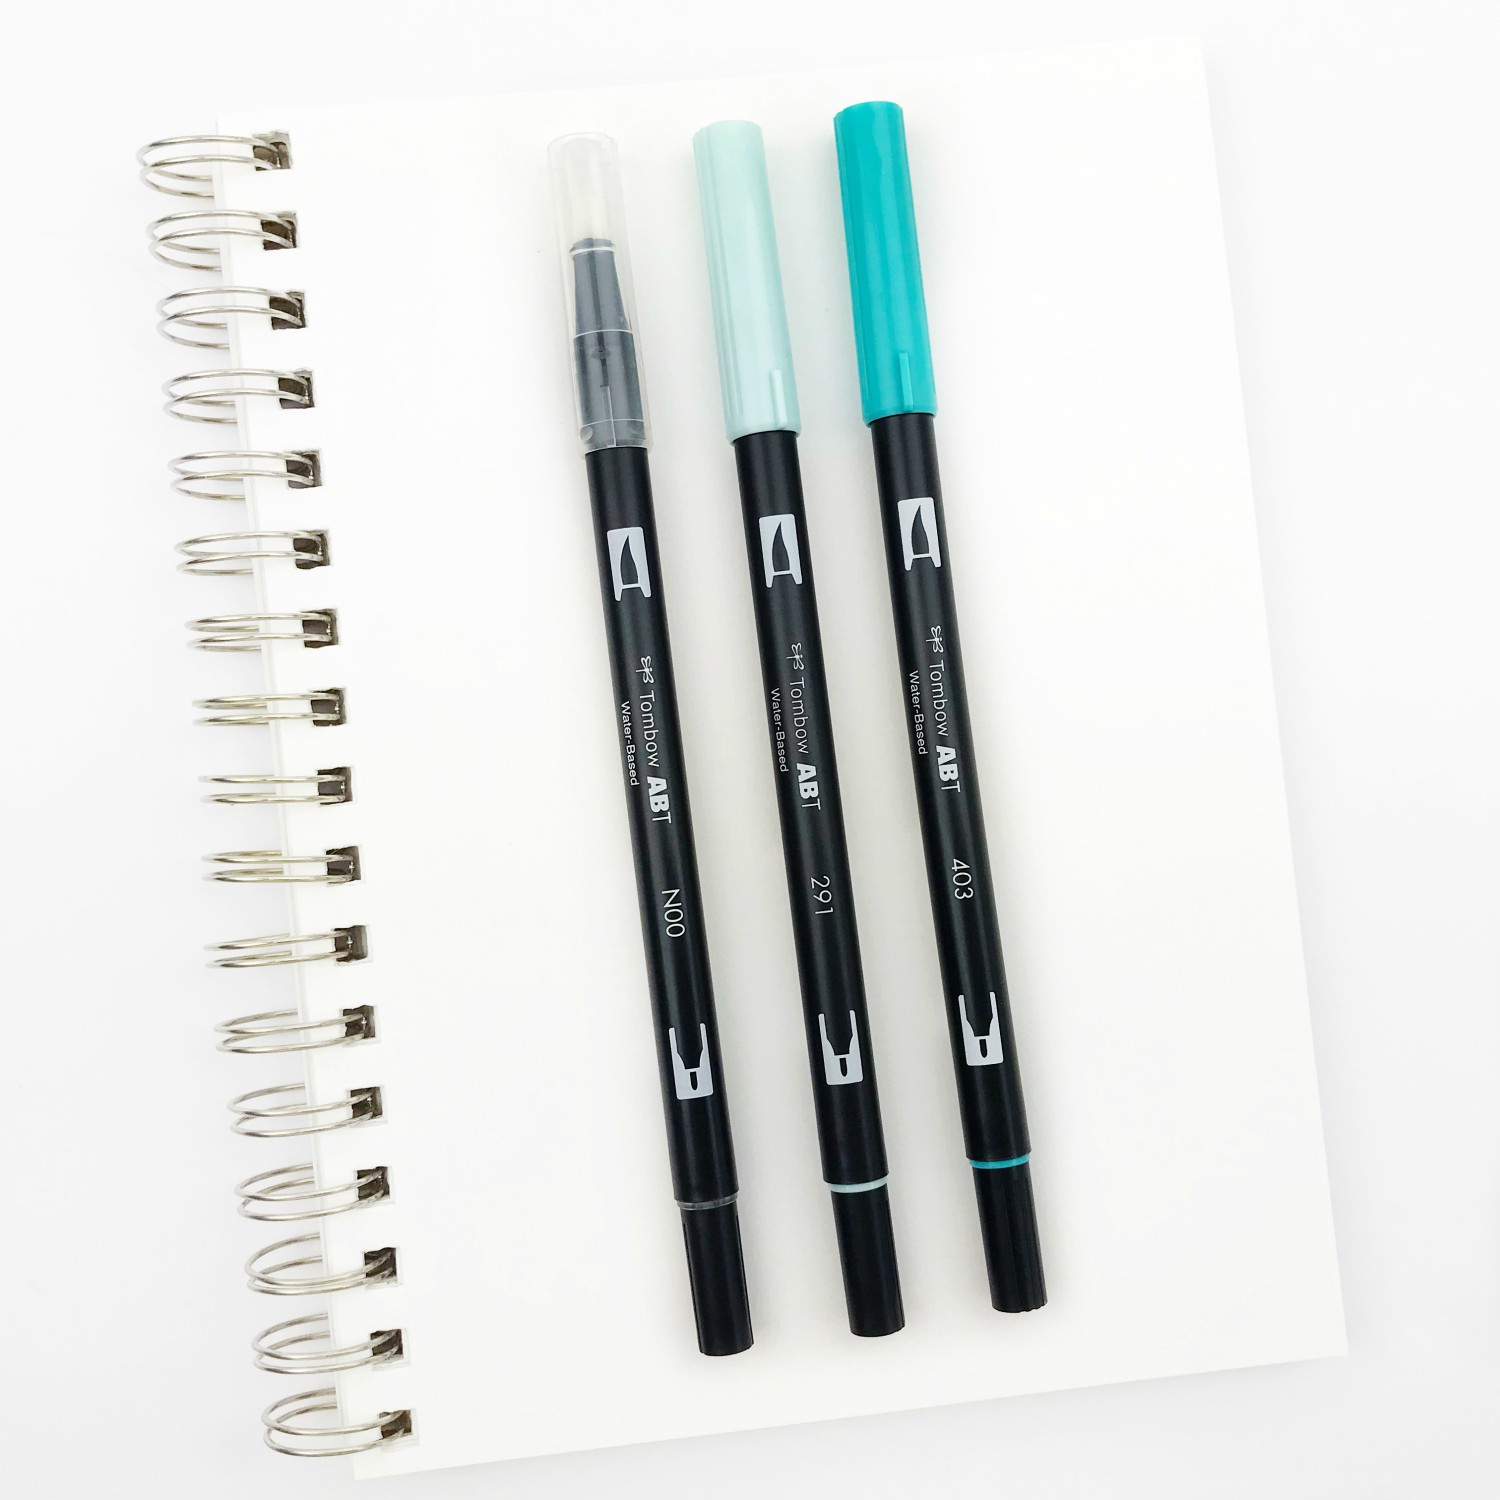
SUPPLIES:
- Dual Brush Pens (291 and 403)
- Colorless Blender Pen
- White cardstock for lettering
STEP 1:
Begin by selecting two shades of Dual Brush Pens in a color you like, preferably one lighter and one darker shade. I’m using Dual Brush 291 and 403.
If you’re just starting off with lettering, I recommend you pick a short word to practice with. Your name is a great place to start!
As I mentioned earlier, I’m not a hand letterer so my simple go to “font” to letter and practice with is tall and skinny! You can’t go wrong with this type of lettering! You can also bring a unique flair to it based on your own personal handwriting style.
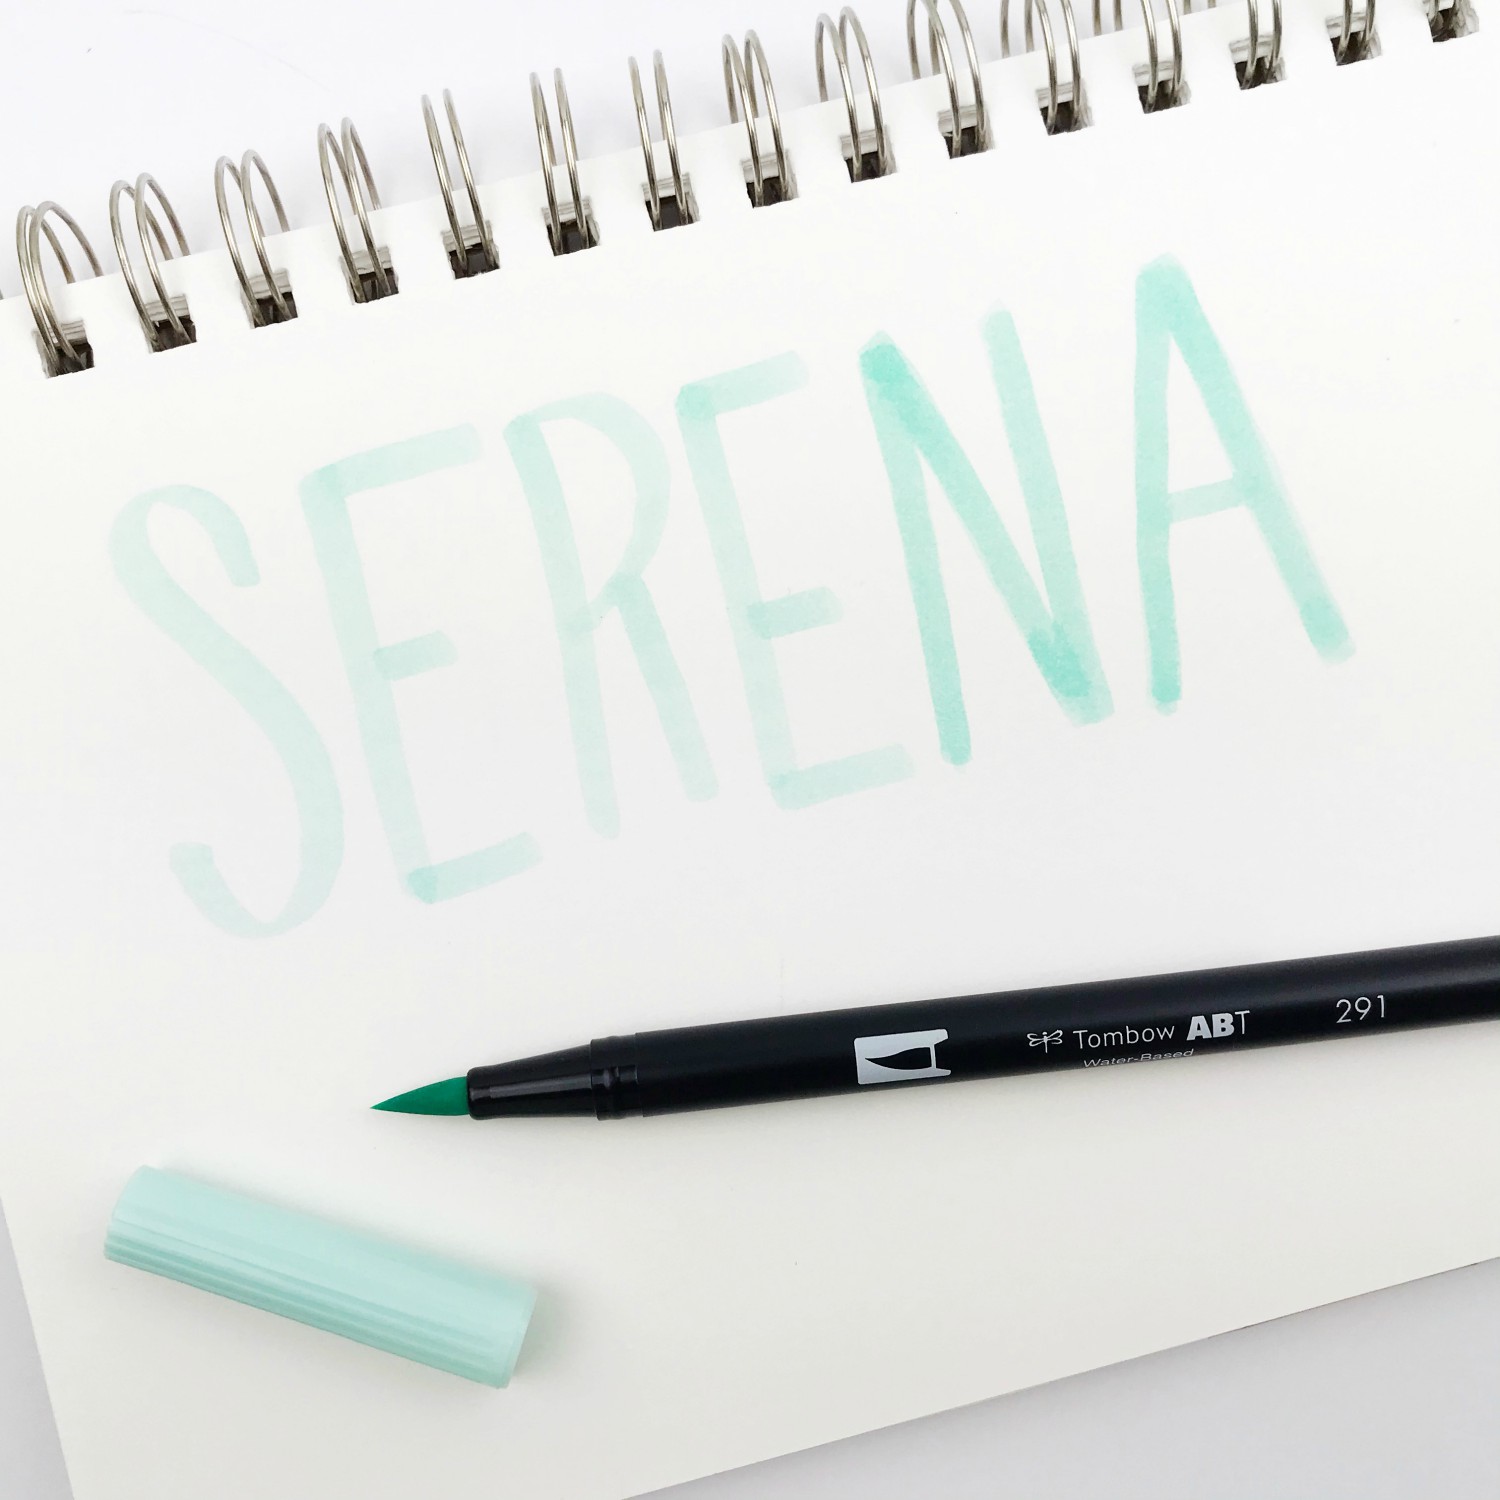
First, I like to write out my full name. In the example above, you can see that the ‘N’ and ‘A’ is a little darker than the rest of the letters. This is because I wanted to show you that when using a lighter shade, you can add blending and shading simply by layering the same color over top. This is a perfect beginners trick if you are a little wary about mixing and blending two colors together.
STEP 2:
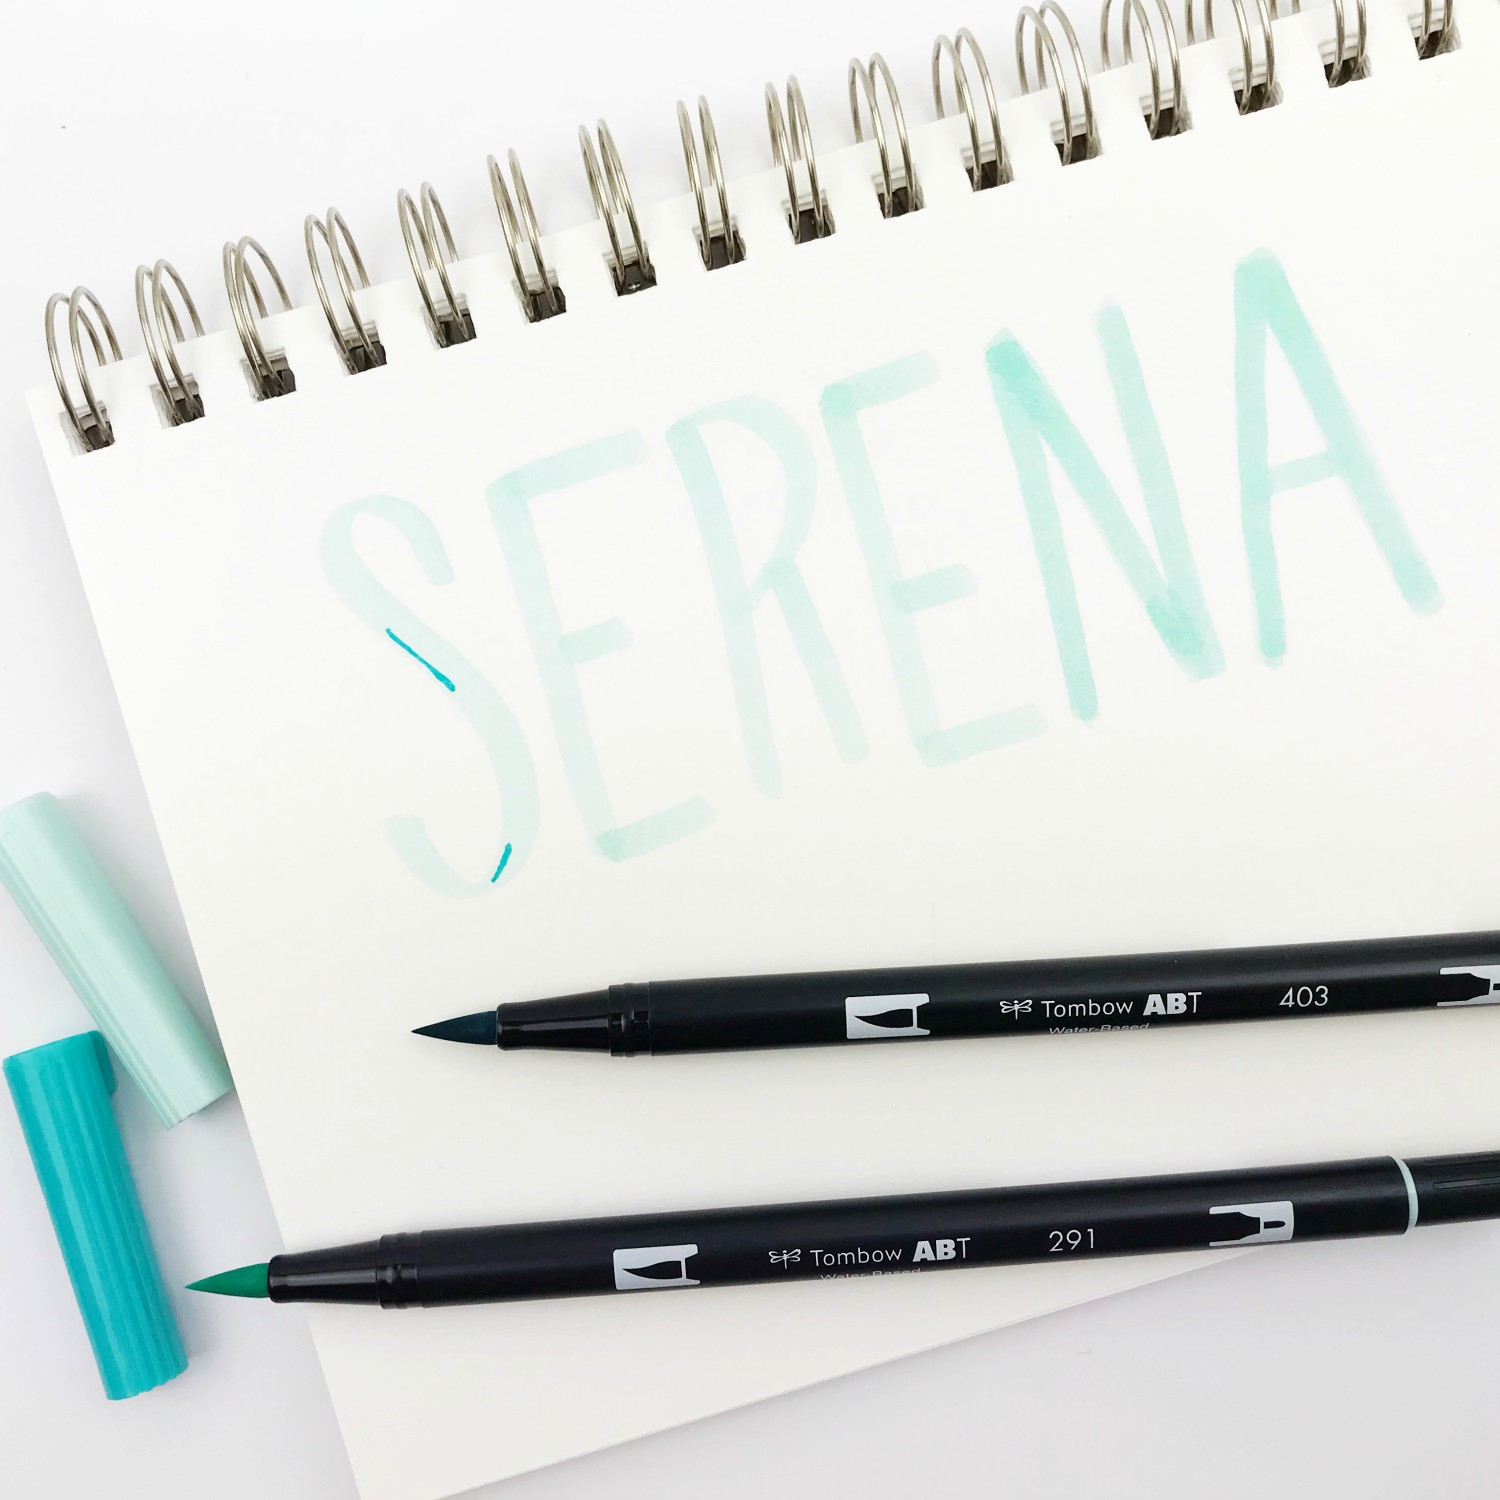
Using your darker shade (403), add in some thin lines along the bottom and “shaded” areas of your first letter.
STEP 3:
Next, take your lightest shade again (291) and start blending both colors together. I like to start at the bottom and use a flickering motion with the brush tip. You can see in the example below how it looks when both colors are blended.
TIP: You can also use the Colorless Blender Pen to blend out both colors if you’d like. Just keep in mind, using the Colorless Blender Pen will create a different blending effect. Try it out for yourself!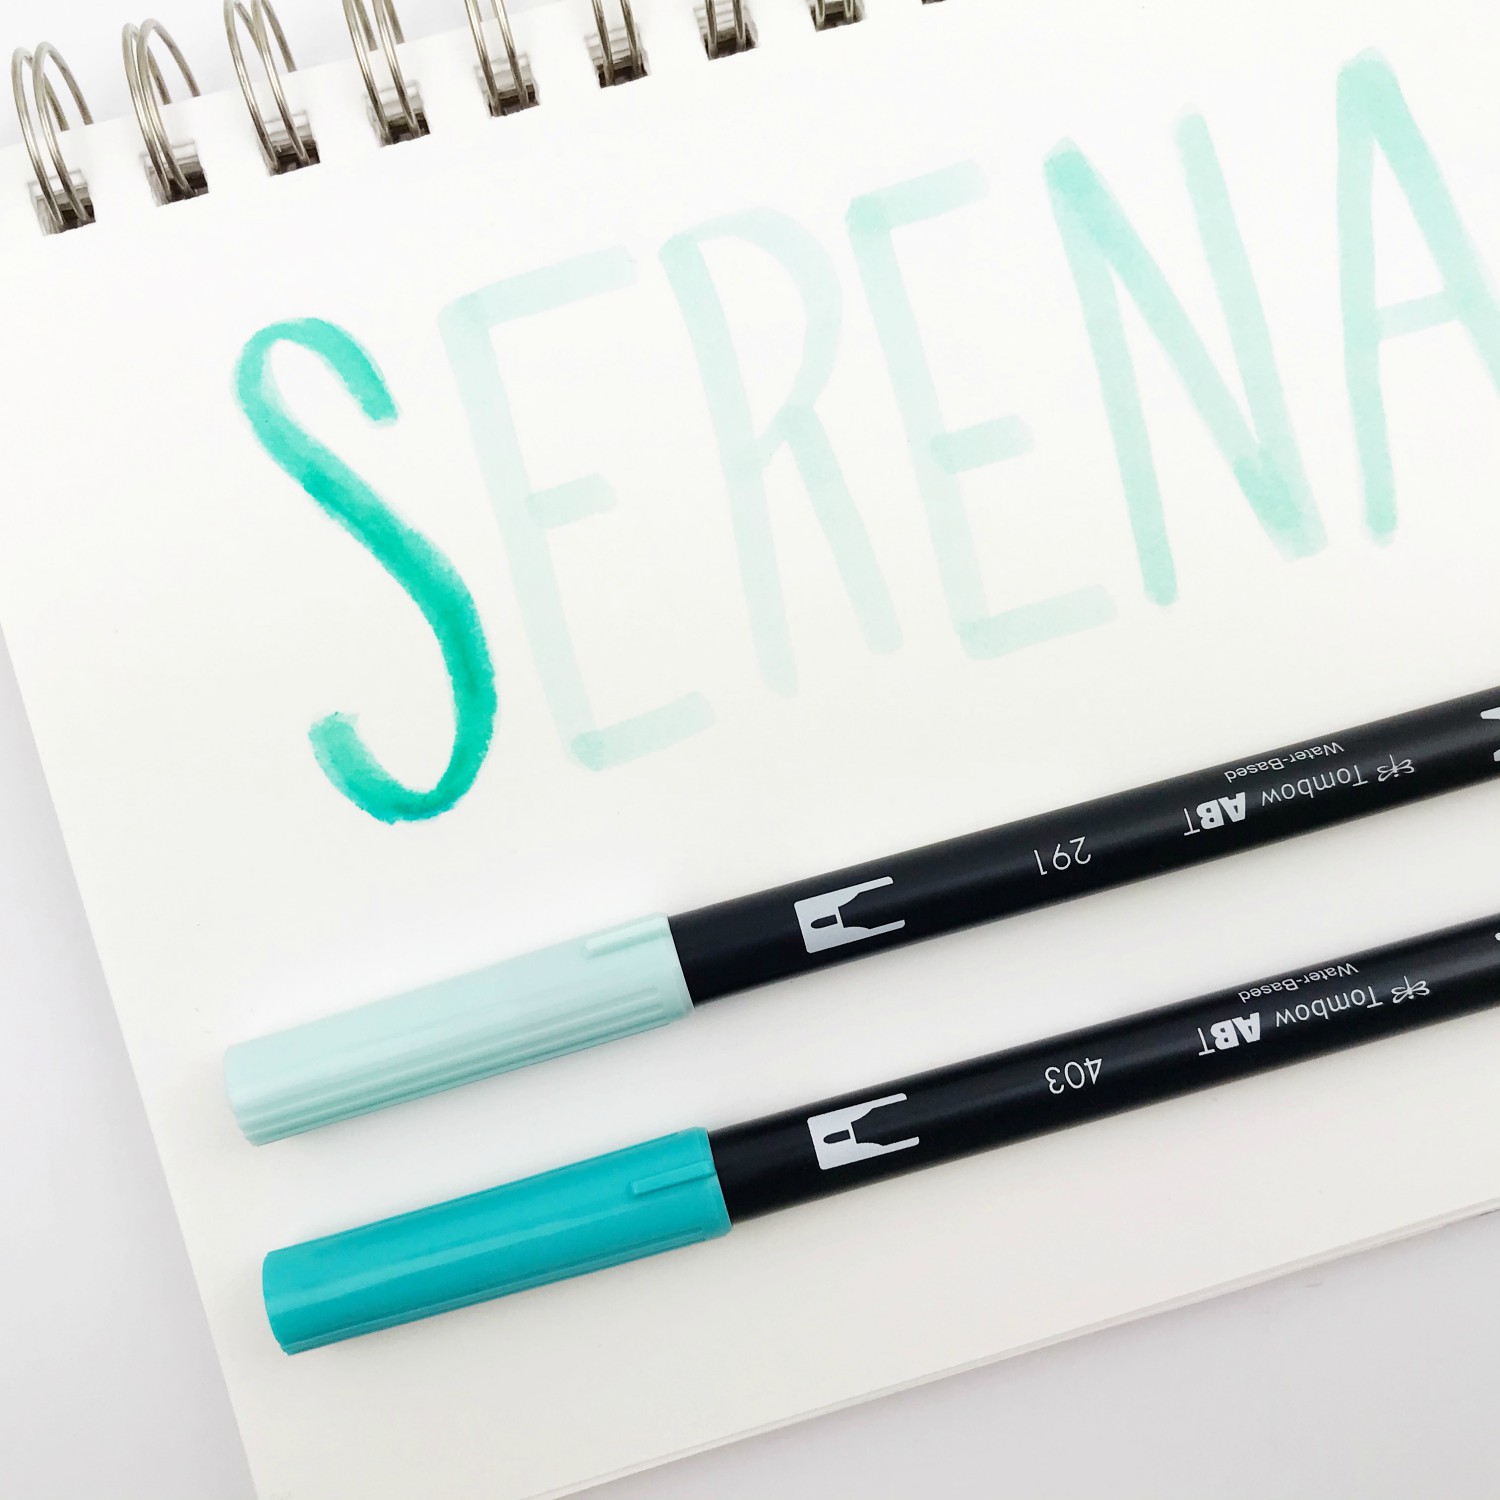
STEP 4:
Continue doing this same technique for the other letters in your name. Here’s another look at how I blend these two Dual Brush Pen colors together.
For the letter ‘R’, I added the darker shade on the bottom of the letter.
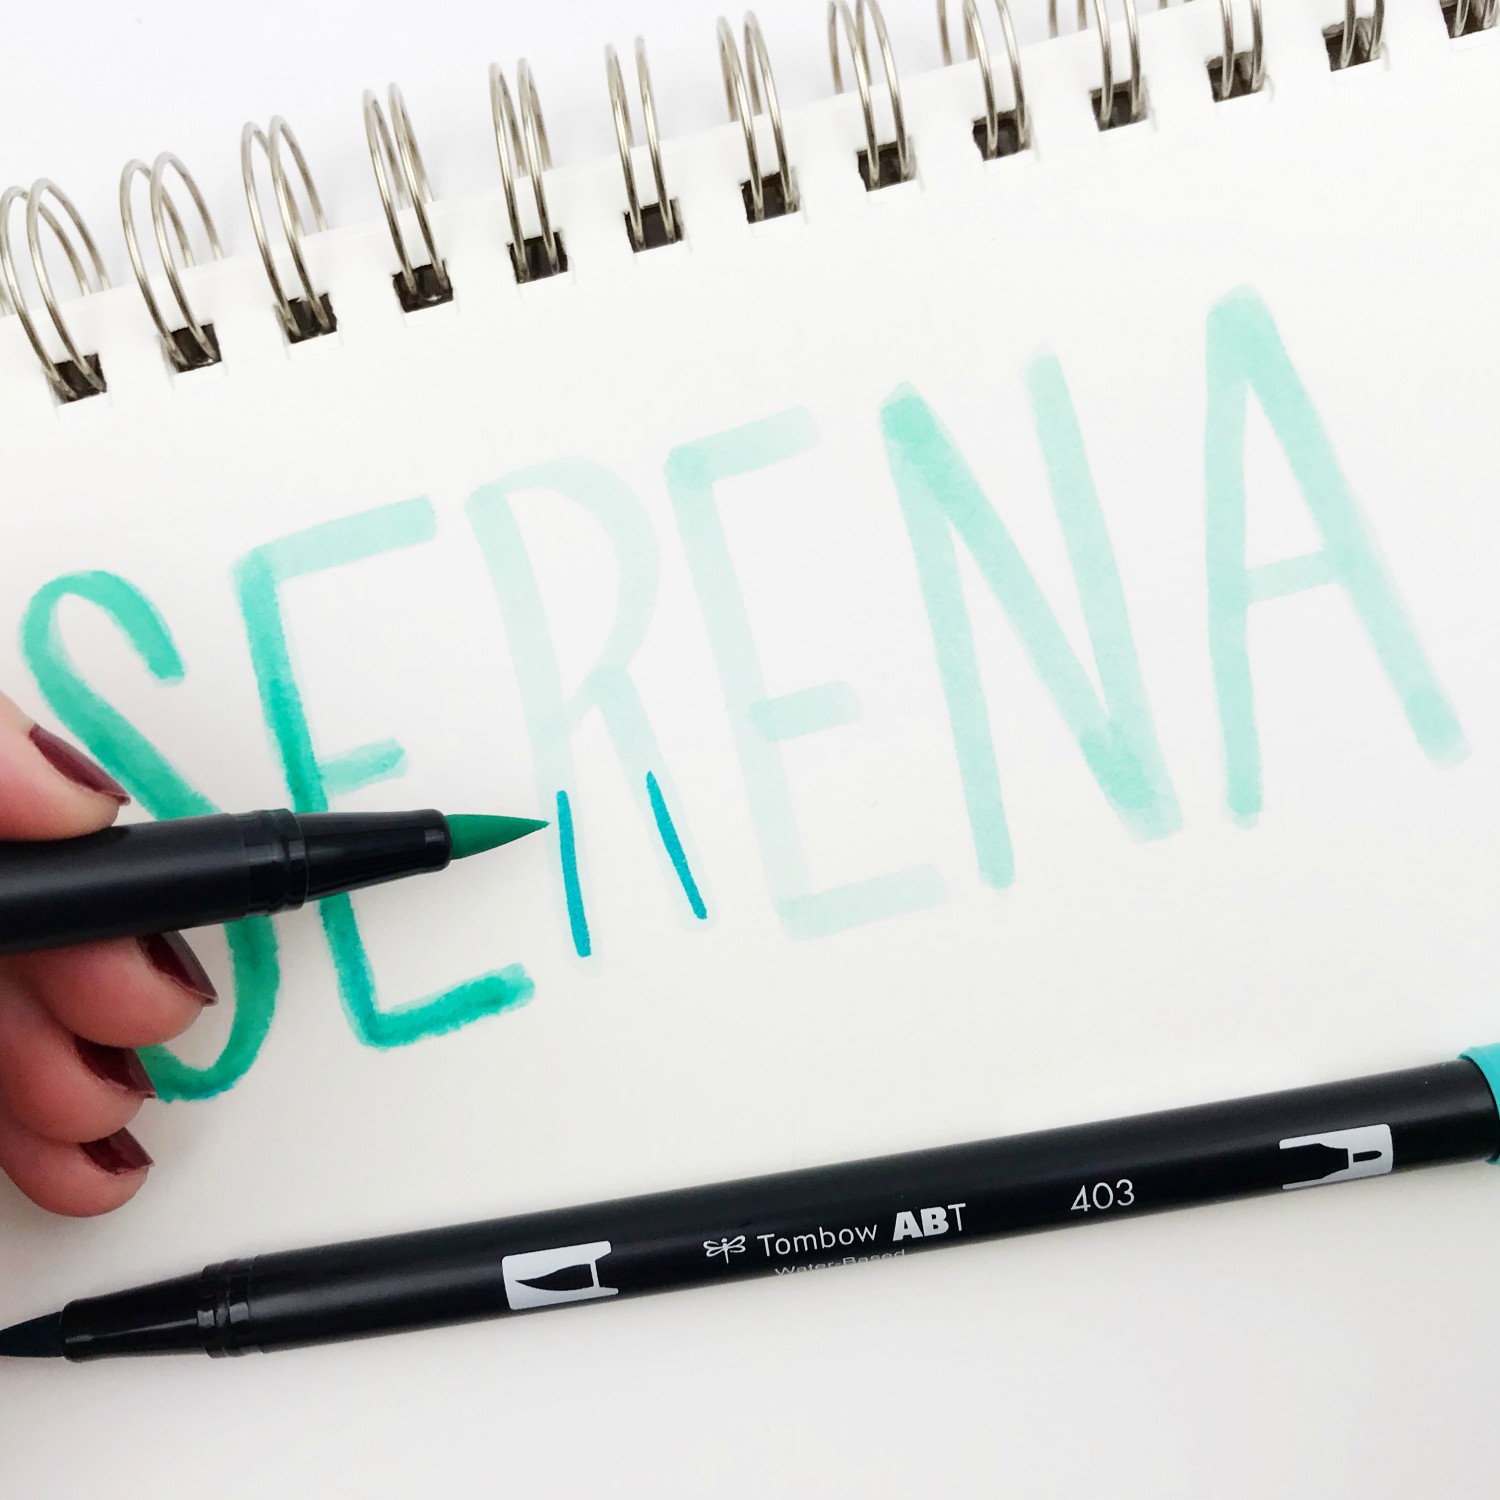
Using the lighter shade, I went over the darker color and start blending them out by using an upwards/flickering motion.
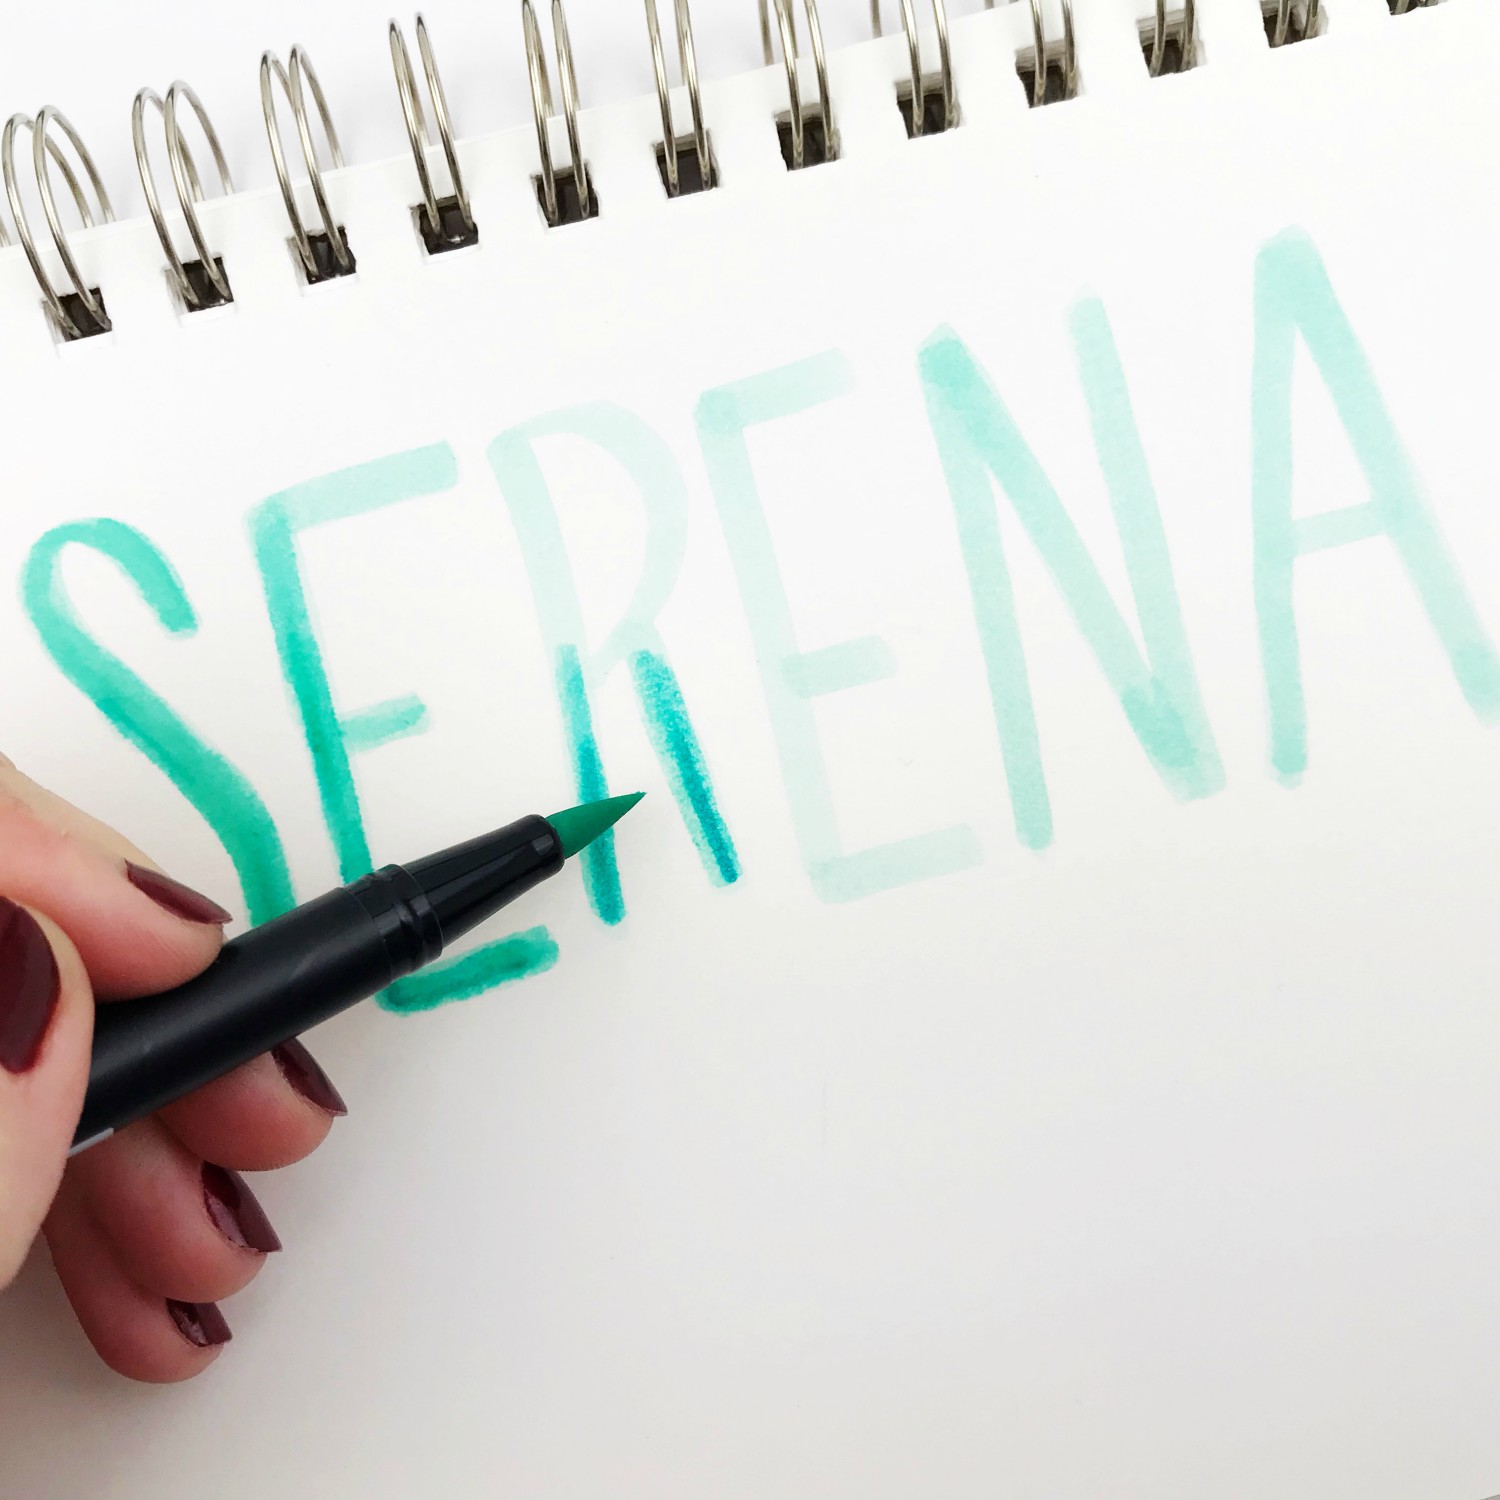
Continue this technique on the remaining letters of your name.
FINAL LOOK:
Here’s a final look at how it all looks together! This is such an easy technique that any beginner hand letterer can practice!
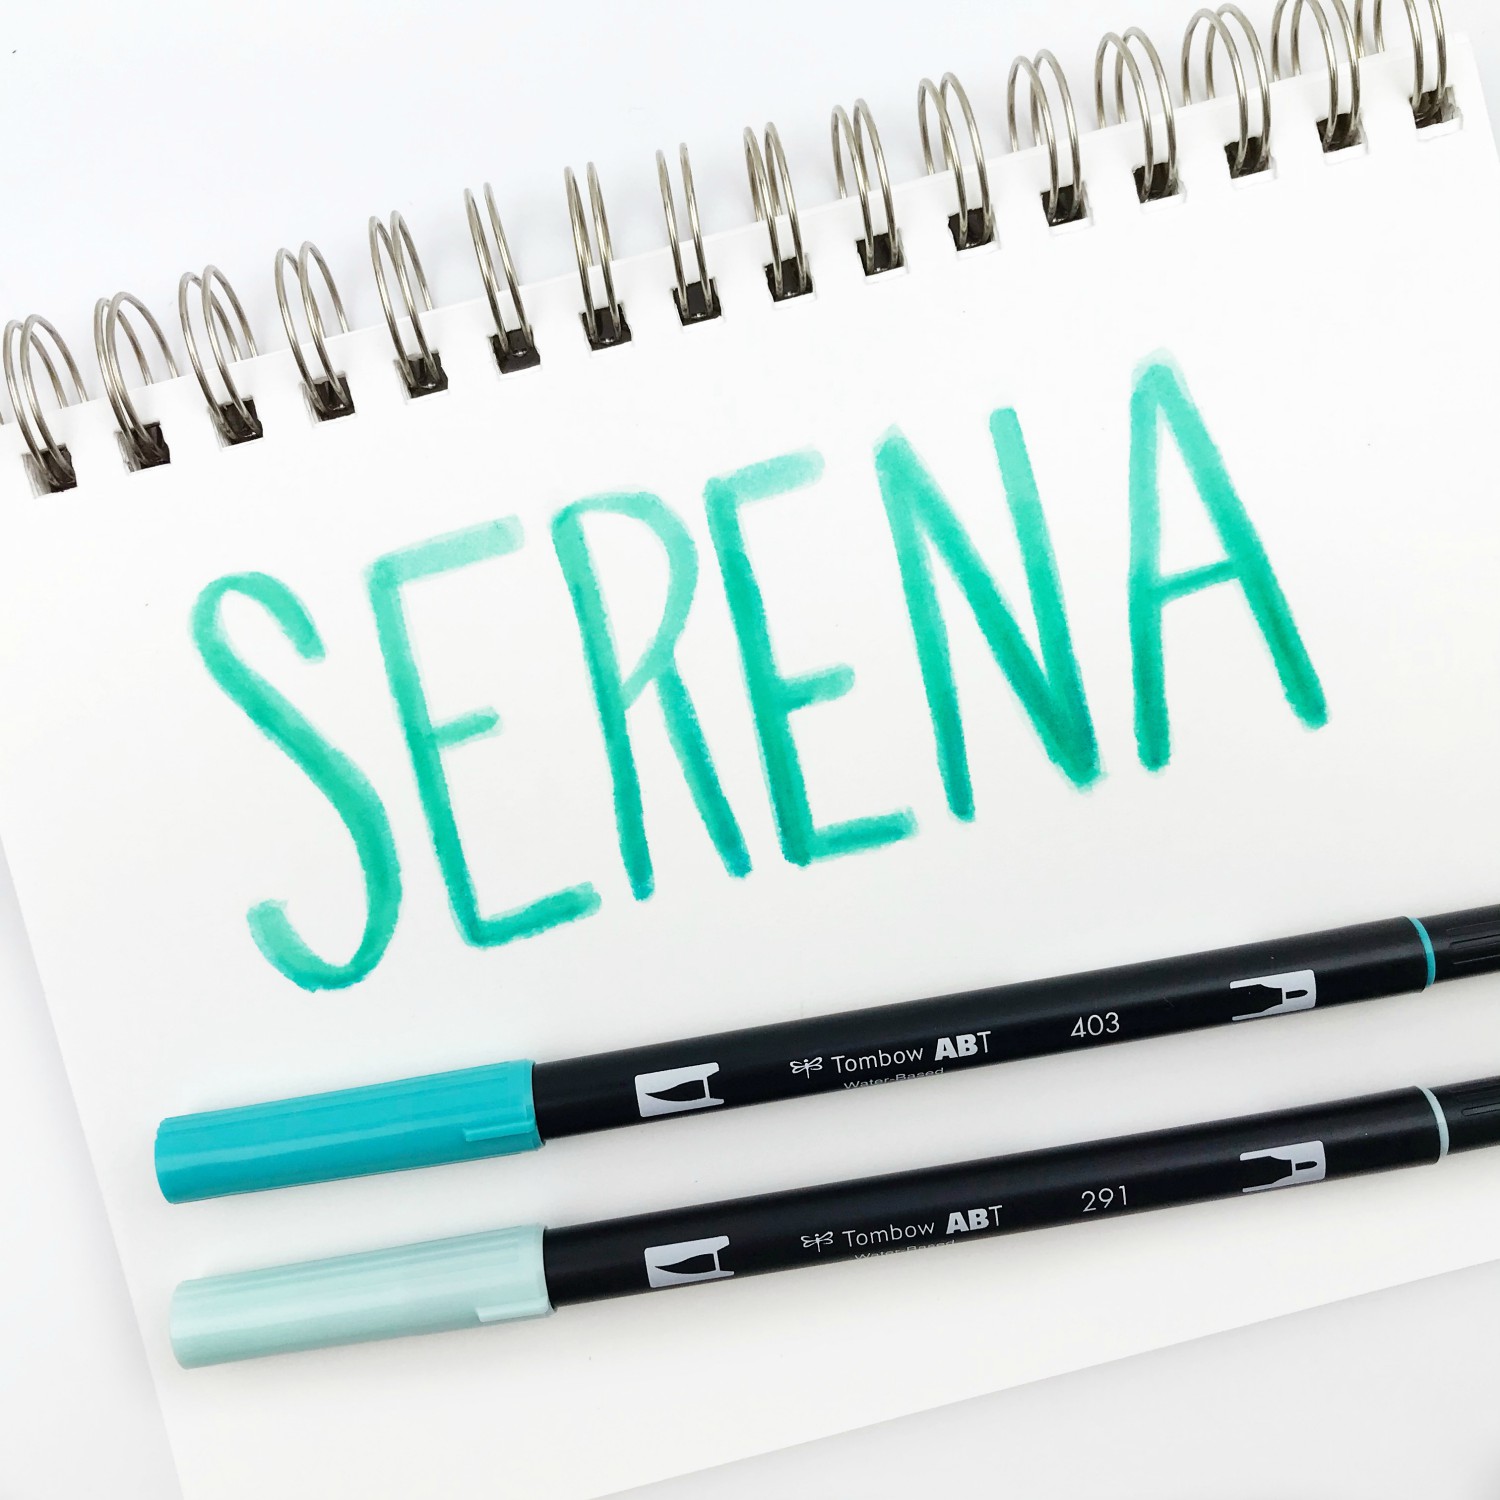
I hope you enjoyed this tutorial! If you give this a try, make sure to tag @serenabeecreative and @tombowusa so we can see!
For more blending inspiration check out this post: Blending and Shadowing Technique by Mandy Faucher.
If you’d like to see more from me, check out my Youtube channel or join my Crafty Rebelles Community!
Much love,
Serena Bee