I see a crafty future… Hey Tombow friends, this is Jennie! I am going to show you how to make a really easy DIY crystal ball!
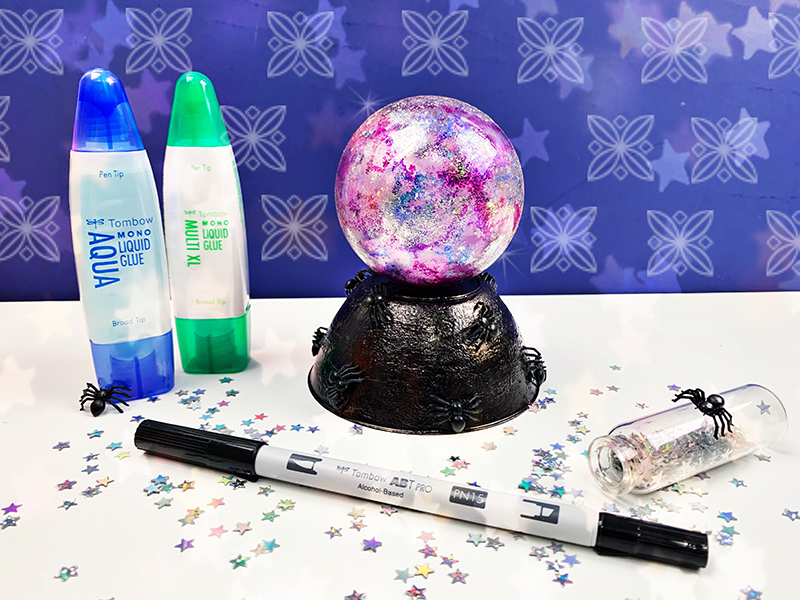
Supplies:
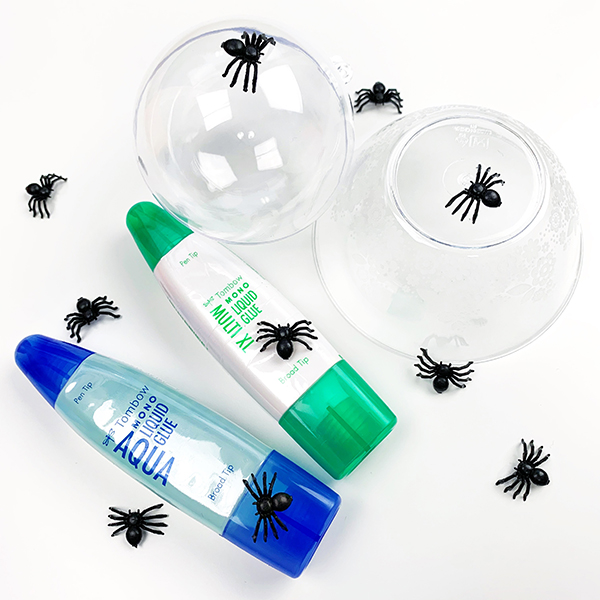
- Tombow MONO Multi XL Liquid Glue
- Ornament ball
- Tombow MONO Aqua Liquid Glue
- Plastic decorative dish for the bottom of the crystal ball
- Tombow Adhesive Dots
- Foil
- Tombow ABT PRO Alcohol Based Markers
- Cotton balls
- Glitter, star sequins, ink and foils
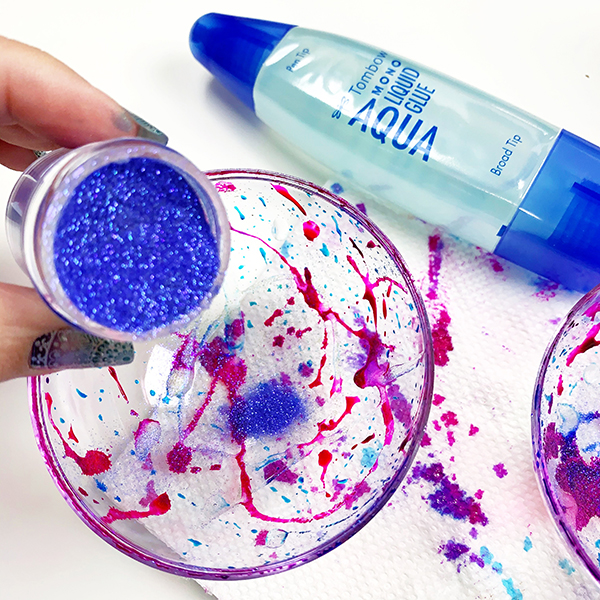
Step 1:
Use a clear plastic ornament to create the crystal ball. I used one that opens in half which makes the process a lot easier. I got it last year after the holidays at the clearance section from Michael’s for $0.50! This DIY is really inexpensive too! Add drops of ink and shake the ball so the colors can travel inside the ball. I used blue and magenta. Open it and add drops of the Tombow MONO Aqua Liquid Glue. Then, add glitter and star sequins. Close it and shake it. To create a cloud inside the crystal ball, deconstruct cotton balls and place them at the center.
Step 2:
Use a cotton ball to apply the Tombow MONO Multi XL Liquid Glue on select areas outside the ball. Don’t apply heavily. You still want to look inside the ball. Let it dry.
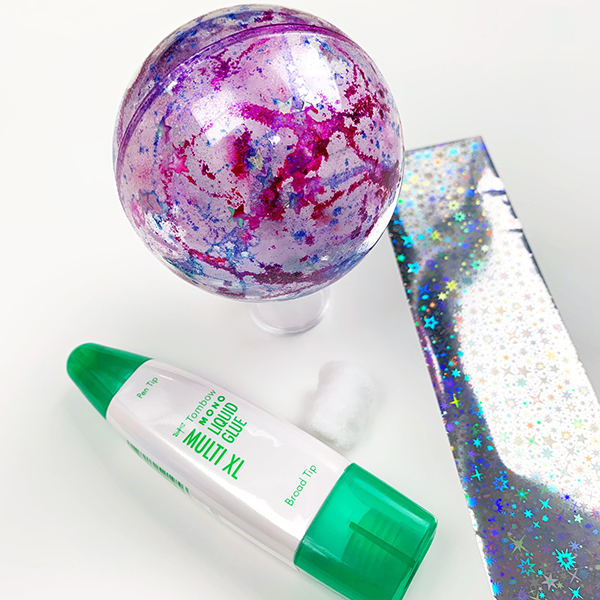
The Tombow MONO Multi XL Liquid Glue dries tacky. Apply the foils. You want light shine on the outside. You can add more glue if you want more. It’s better to add little by little than add too much and regret it later.
Step 3:
Let’s work on the base of the crystal ball! I got a pack of these little dishes at Dollar Tree. Make a hole on the bottom of the plastic dish. I used a fuse tool to melt the plastic. When I started this project, I realized that my black paint was dry. I decided to use bronze and I blotted the paint with a paper towel to create a texture. Unfortunately, the color did not go well with the ball. I got the sudden idea to color the bronze with the Tombow ABT PRO Alcohol Based Marker PN15.
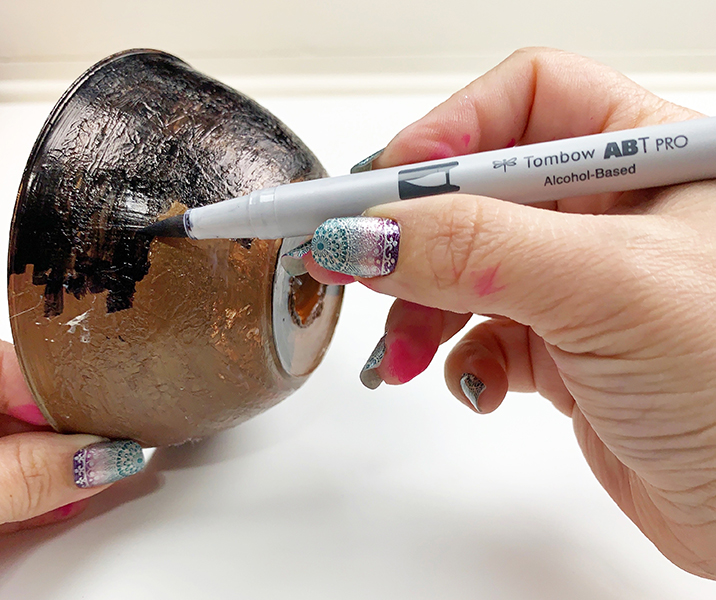
It was perfect because the bronze was showing lightly through the texture! I love when I change my plans and they turn out even better!

Step 4:
Add the extra details on the crystal ball! I used the Tombow Adhesive Dots to glue embellishments like spiders. I tried to space them evenly around the dish.
Step 5:
Apply the Tombow MONO Multi XL Liquid Glue around the circle of the dish and let the ball rest on top while it dries.
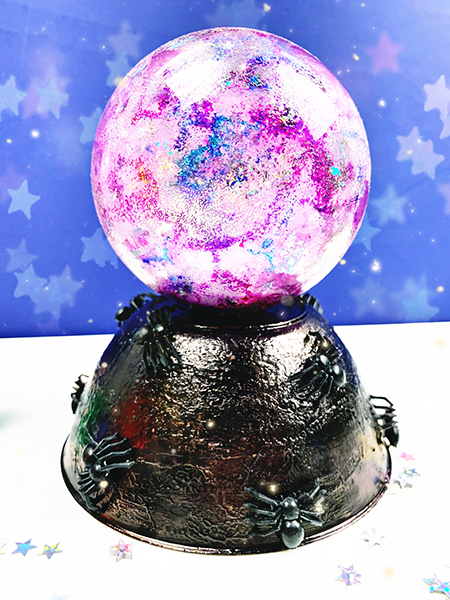
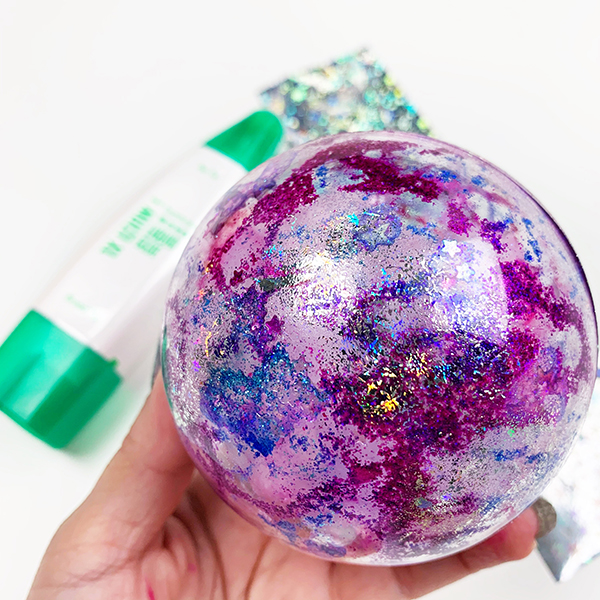
I had so much creating this crystal ball! I hope you give it a try!
Share your Tombow Halloween projects with us using the hashtag #tombowusa !
Pingback: Make Easy Magical Pastel Lettering with Tombow - Tombow USA Blog
Pingback: Make Easy Magical Pastel Lettering - Tombow USA Blog