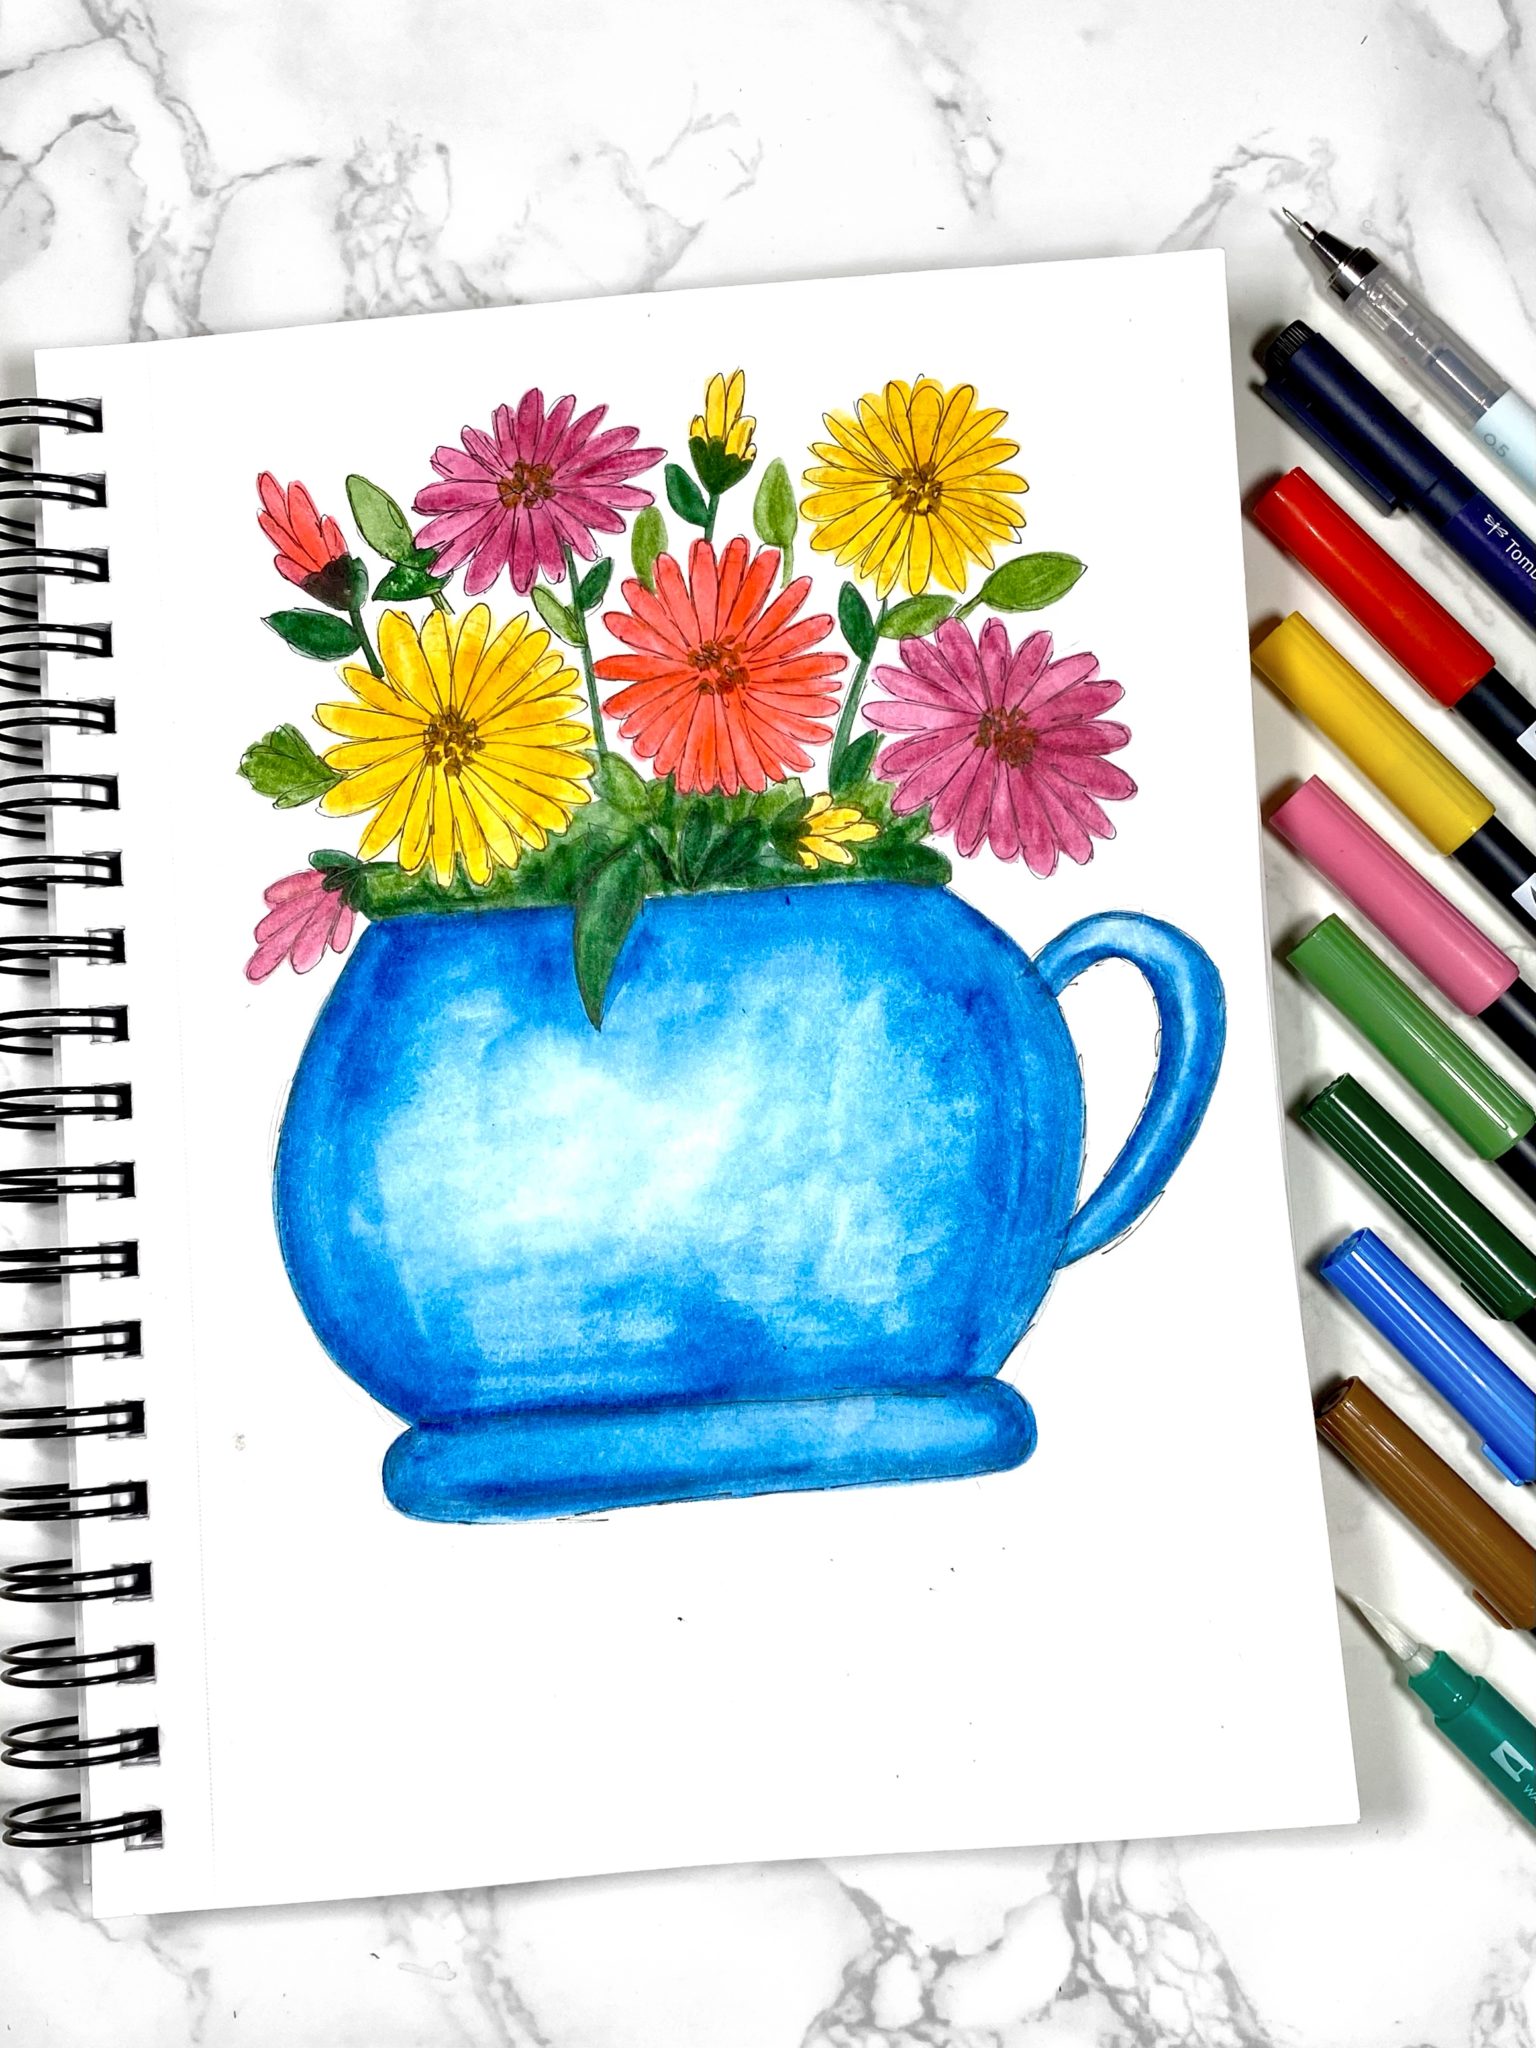
Hi everyone, Marcella from Lovable Letters here! The Tombow Design Team is excited to celebrate Black artists for Black History Month. I’m creating floral art inspired by Clementine Hunter (1886/1887-1988). She is an American artist known for her colorful paintings depicting plantation life, religious scenes, and nature. I found Clementine’s art through her paintings of zinnias in vases, which inspired this watercolor tutorial.
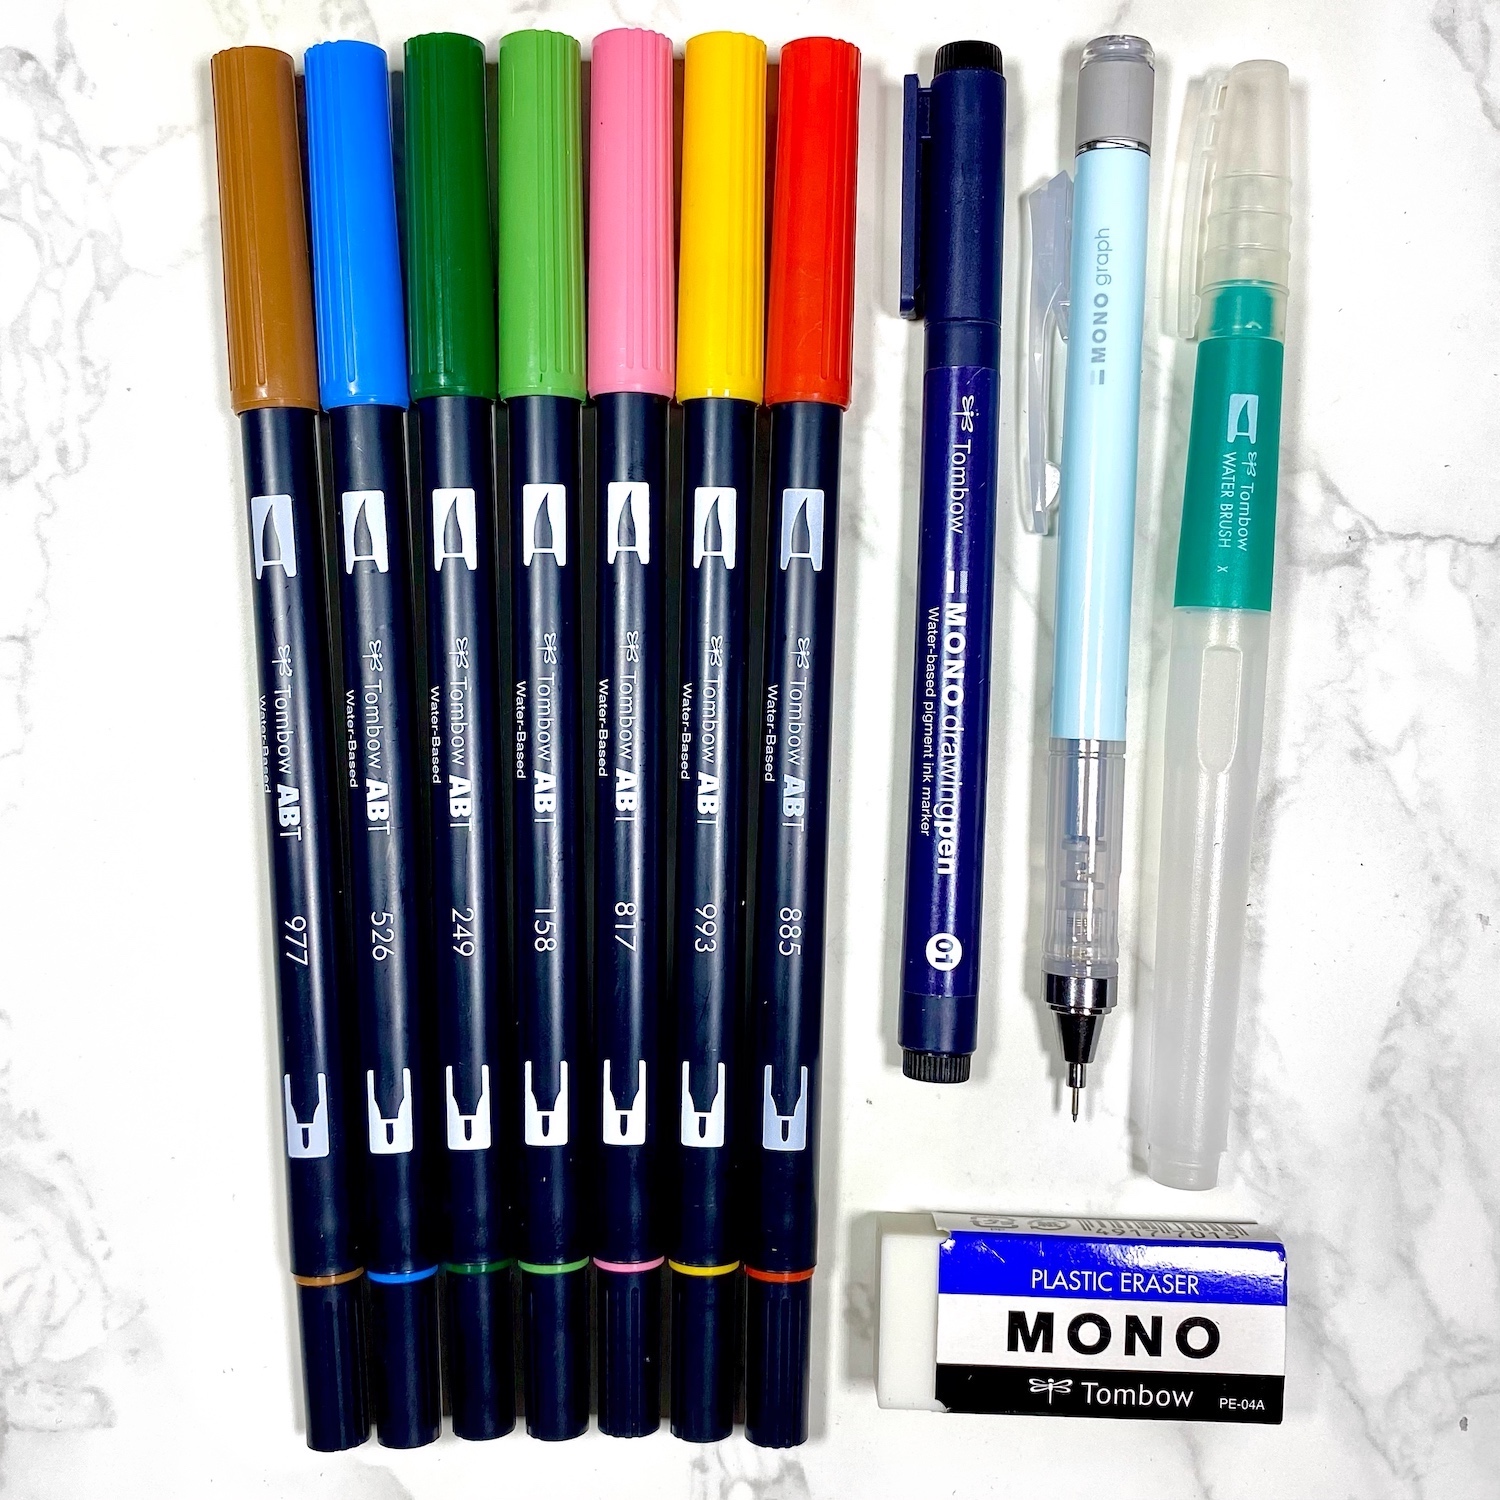
Materials Used:
- Tombow Dual Brush Pens– 977, 526, 249, 158, 817, 993, 885
- Tombow MONO Drawing Pen 01
- Tombow MONO Graph Mechanical Pencil
- Tombow Medium Water Brush
- Tombow White Medium MONO Eraser
- Mix media or watercolor paper
Step 1:
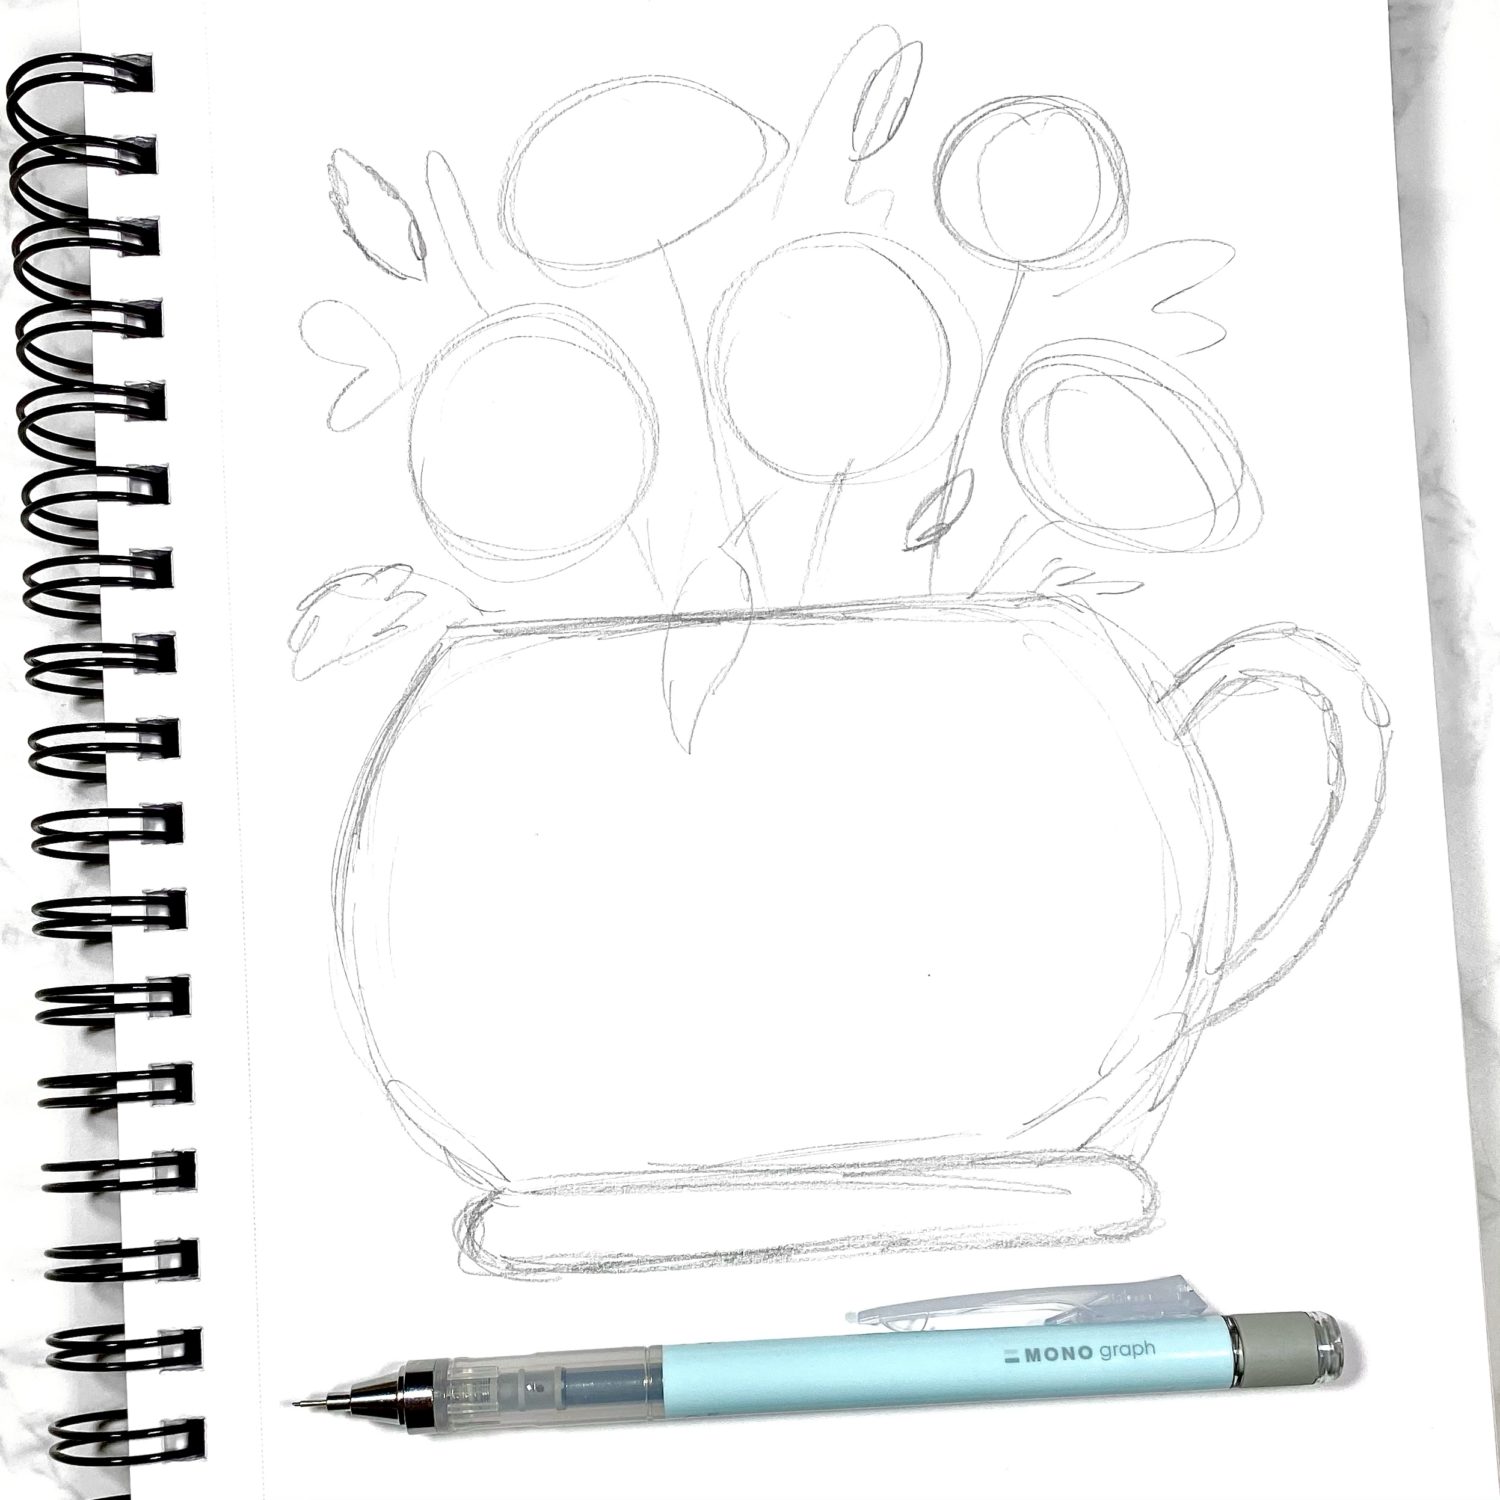
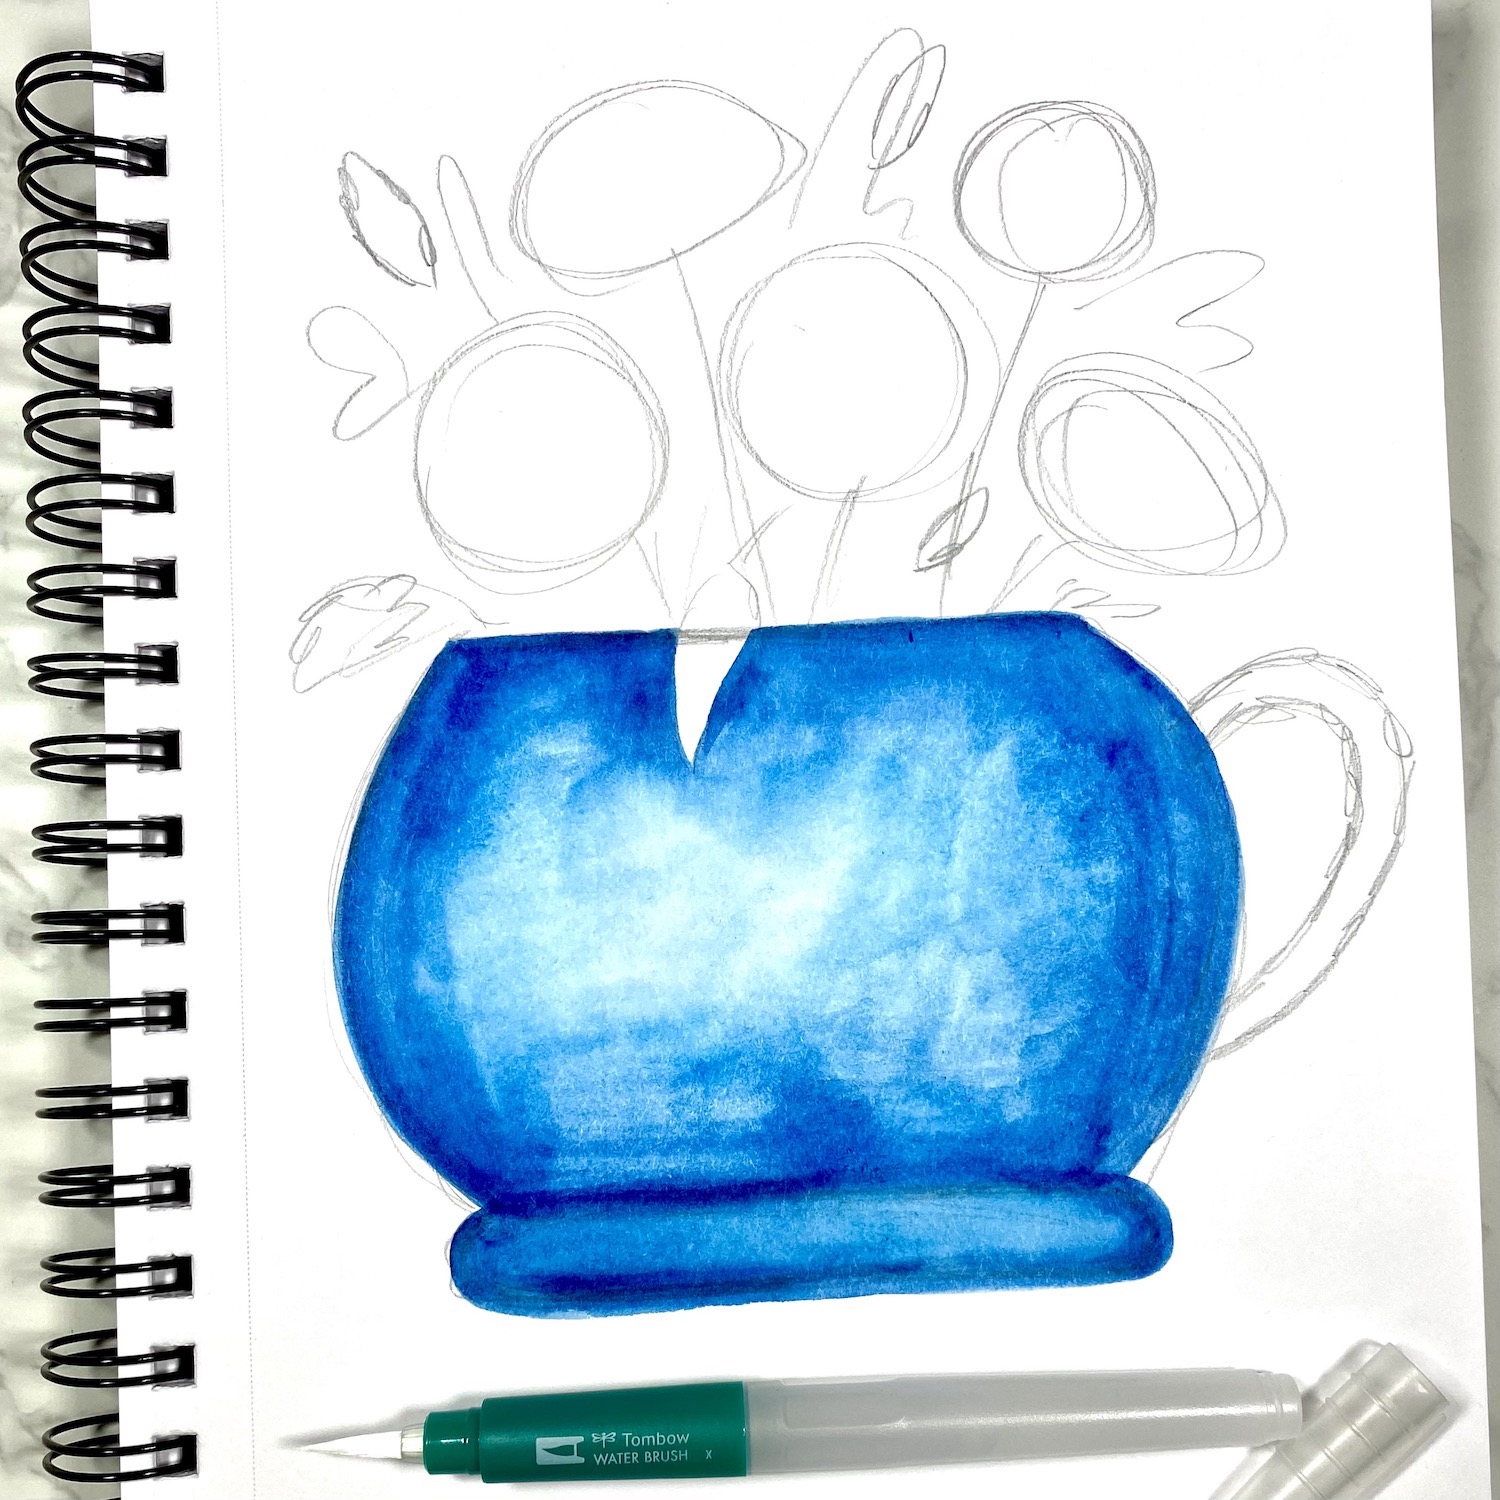
First, I sketched my piece using my MONO Graph Mechanical Pencil. I made my vase short and circular like the ones in Clementine’s paintings. I also added a small handle on the side. Then, I drew circles and ovals as placeholders for the flowers. I also added a few leaves and general guides for how far up and out I want my leaves to go.
Step 2:
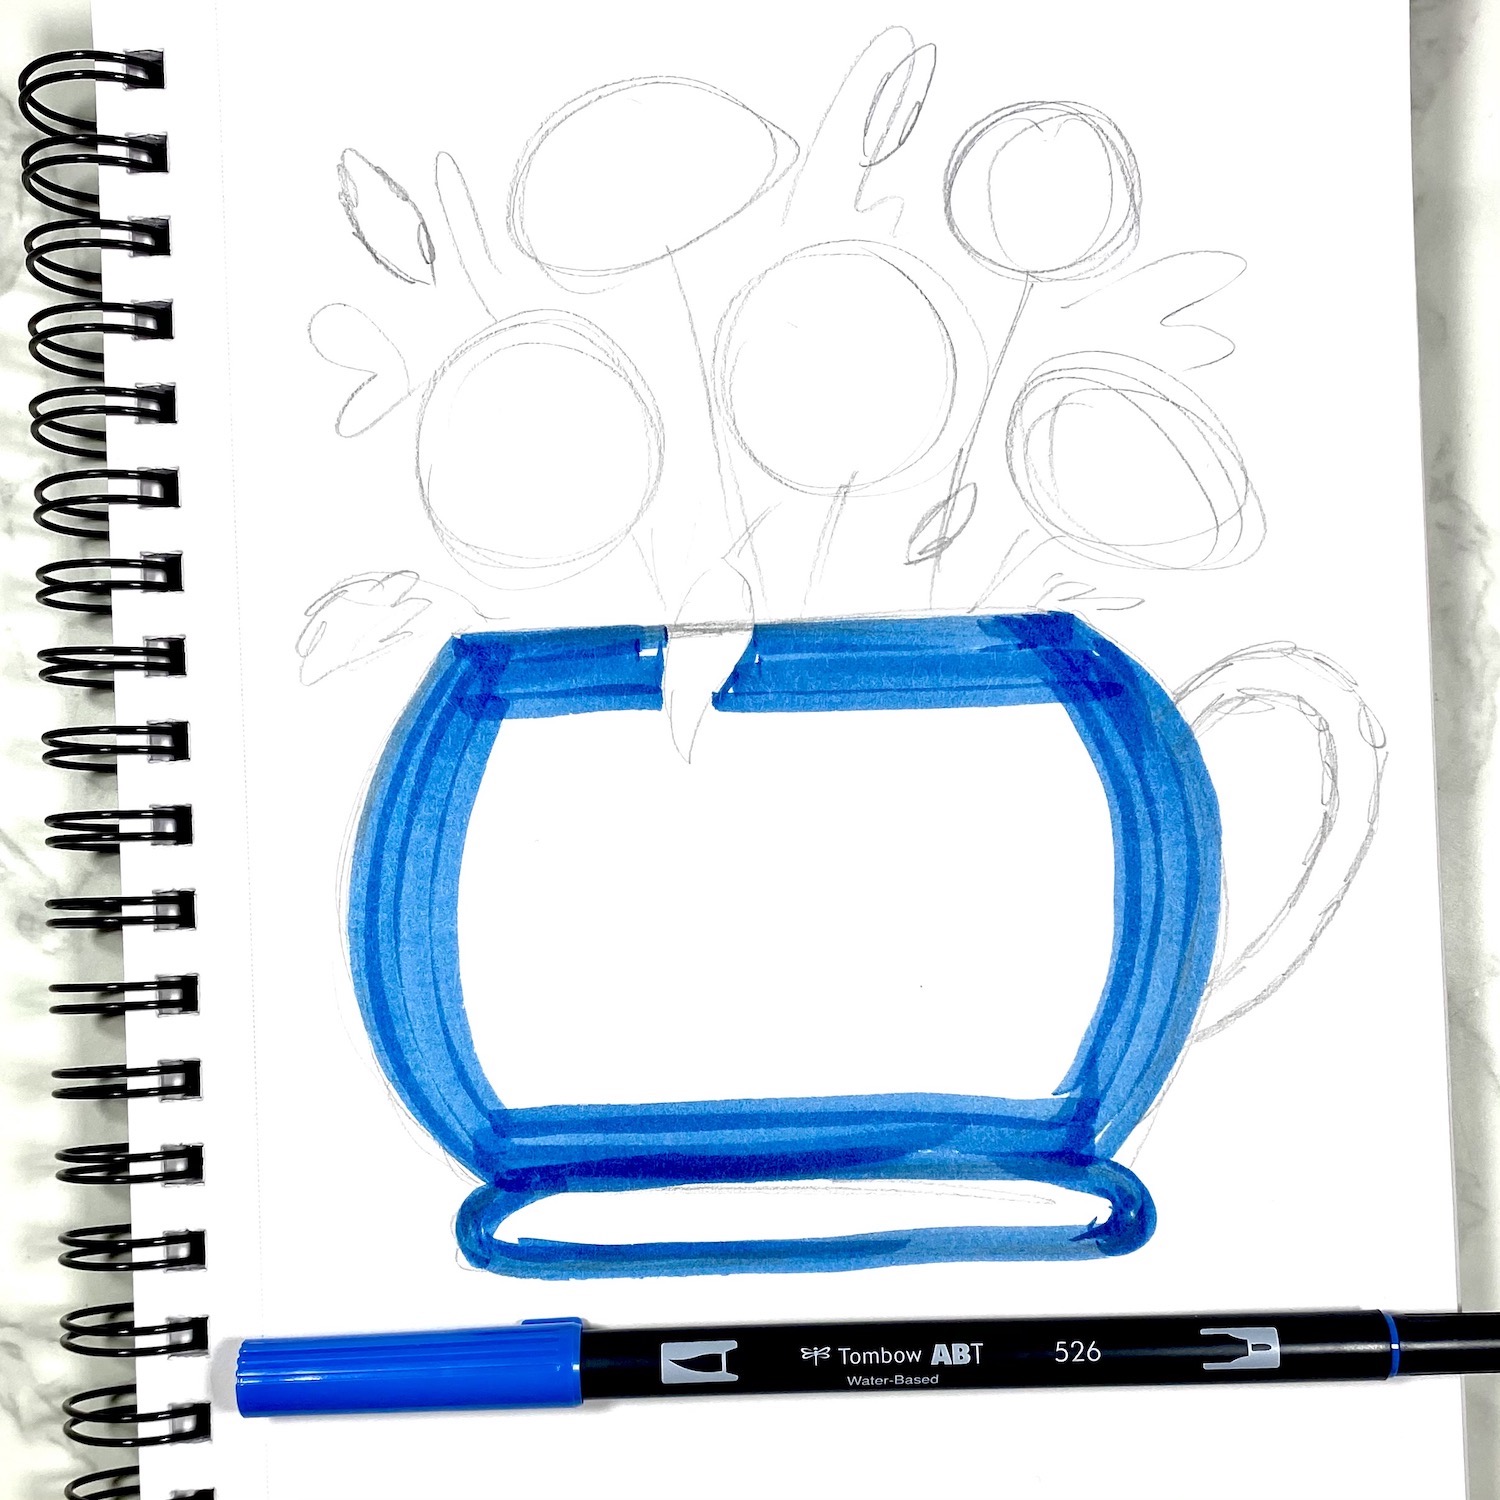
Next, I outlined the vase using Dual Brush Pen 526. When using Dual Brush Pens for large areas, I like to add a thick outline around the shape rather than fully color it in. I do this so that once the color is blended with water, the color is naturally darker on the edges and lighter in the middle. At the top of the vase, I left a small section white so that I can add a leaf hanging over the vase later on.
Step 3:
Then, I blended the Dual Brush Pen ink using my Medium Water Brush. I kept most of the ink towards the outer edges and only brought some of the color towards the middle to create the lighter blue shades and give the impression that light is hitting the vase. In order to achieve this, I like to add water to the entire blank center section before going over the outer edges. This makes the ink bleed towards the center.
Step 4:
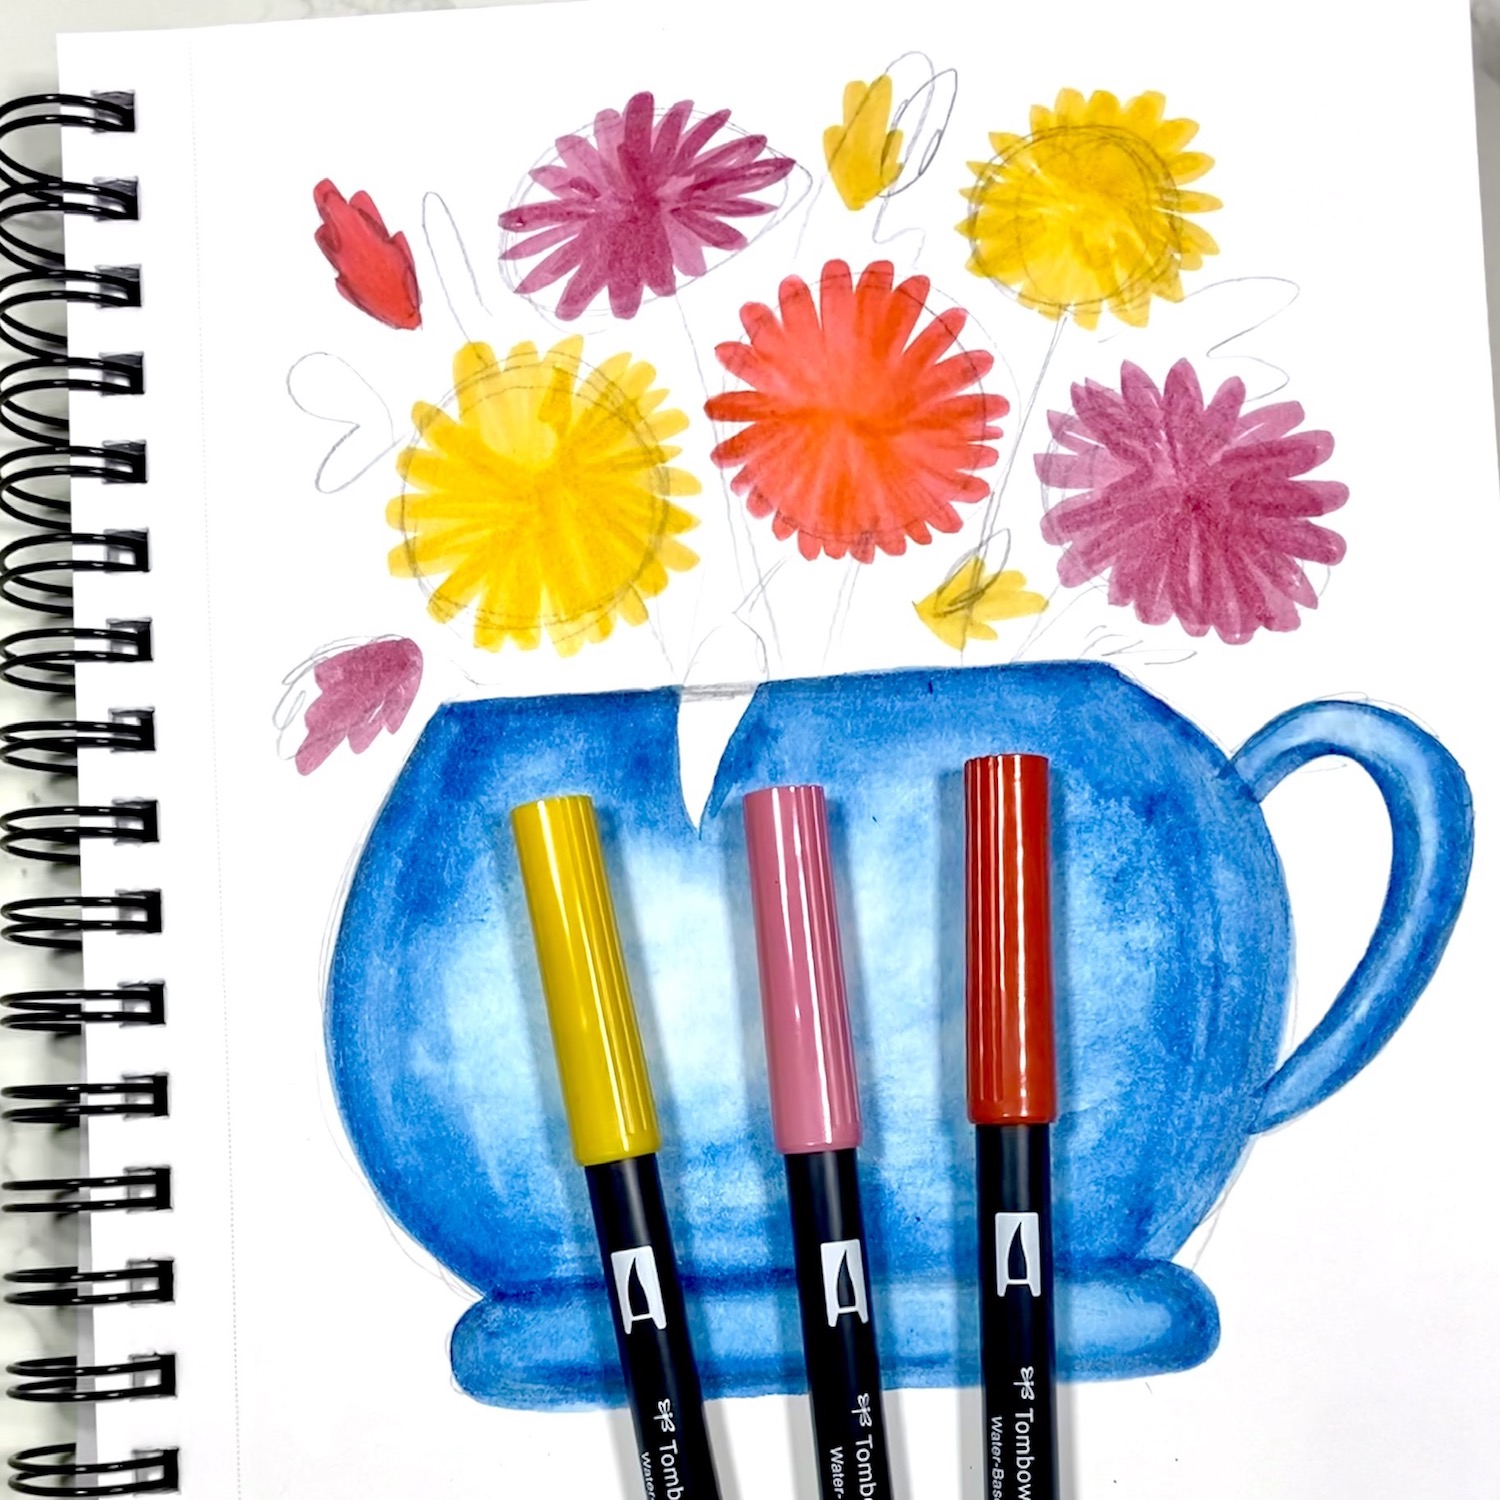
Next, I used Dual Brush Pens 817, 993, and 885 to add color to the flowers. I started at the center and drew small and long ovals for the petals. I moved clockwise until the flower was a full circle. For some flowers, I made the petals on the top and bottom shorter than the ones on the sides to create an oval. This gives the impression that some of the flowers are facing other directions. I also added some budding flowers by using the same technique of drawing long ovals from the center. However, this time I only added 4-5 rather than filling an entire circle.
Step 5:
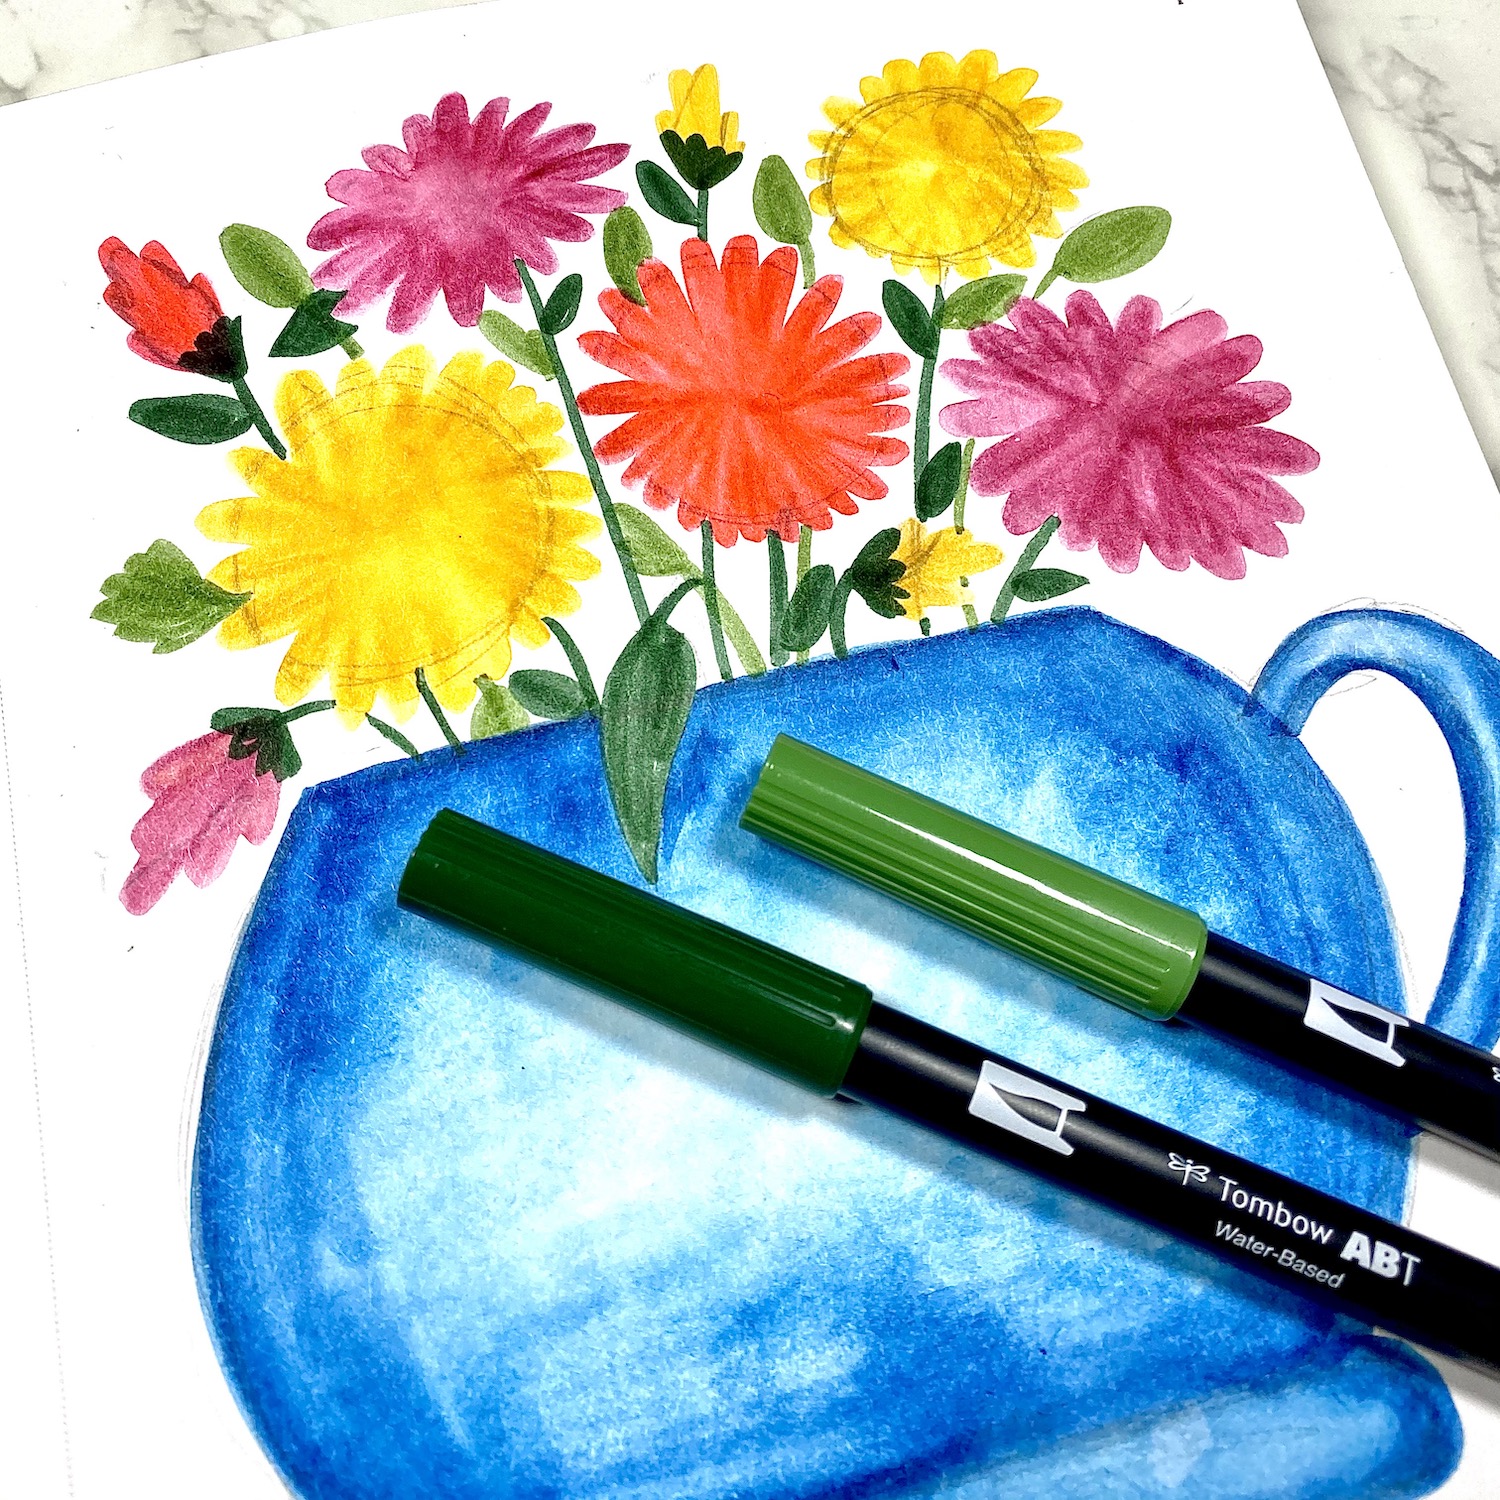
Then, I added color to the leaves. For this step, I used Dual Brush Pens 158 and 249. For the leaves at the bottom, I didn’t worry too much about the shape or placement. The lower section of leaves will be blended together in the next step.
Step 6:
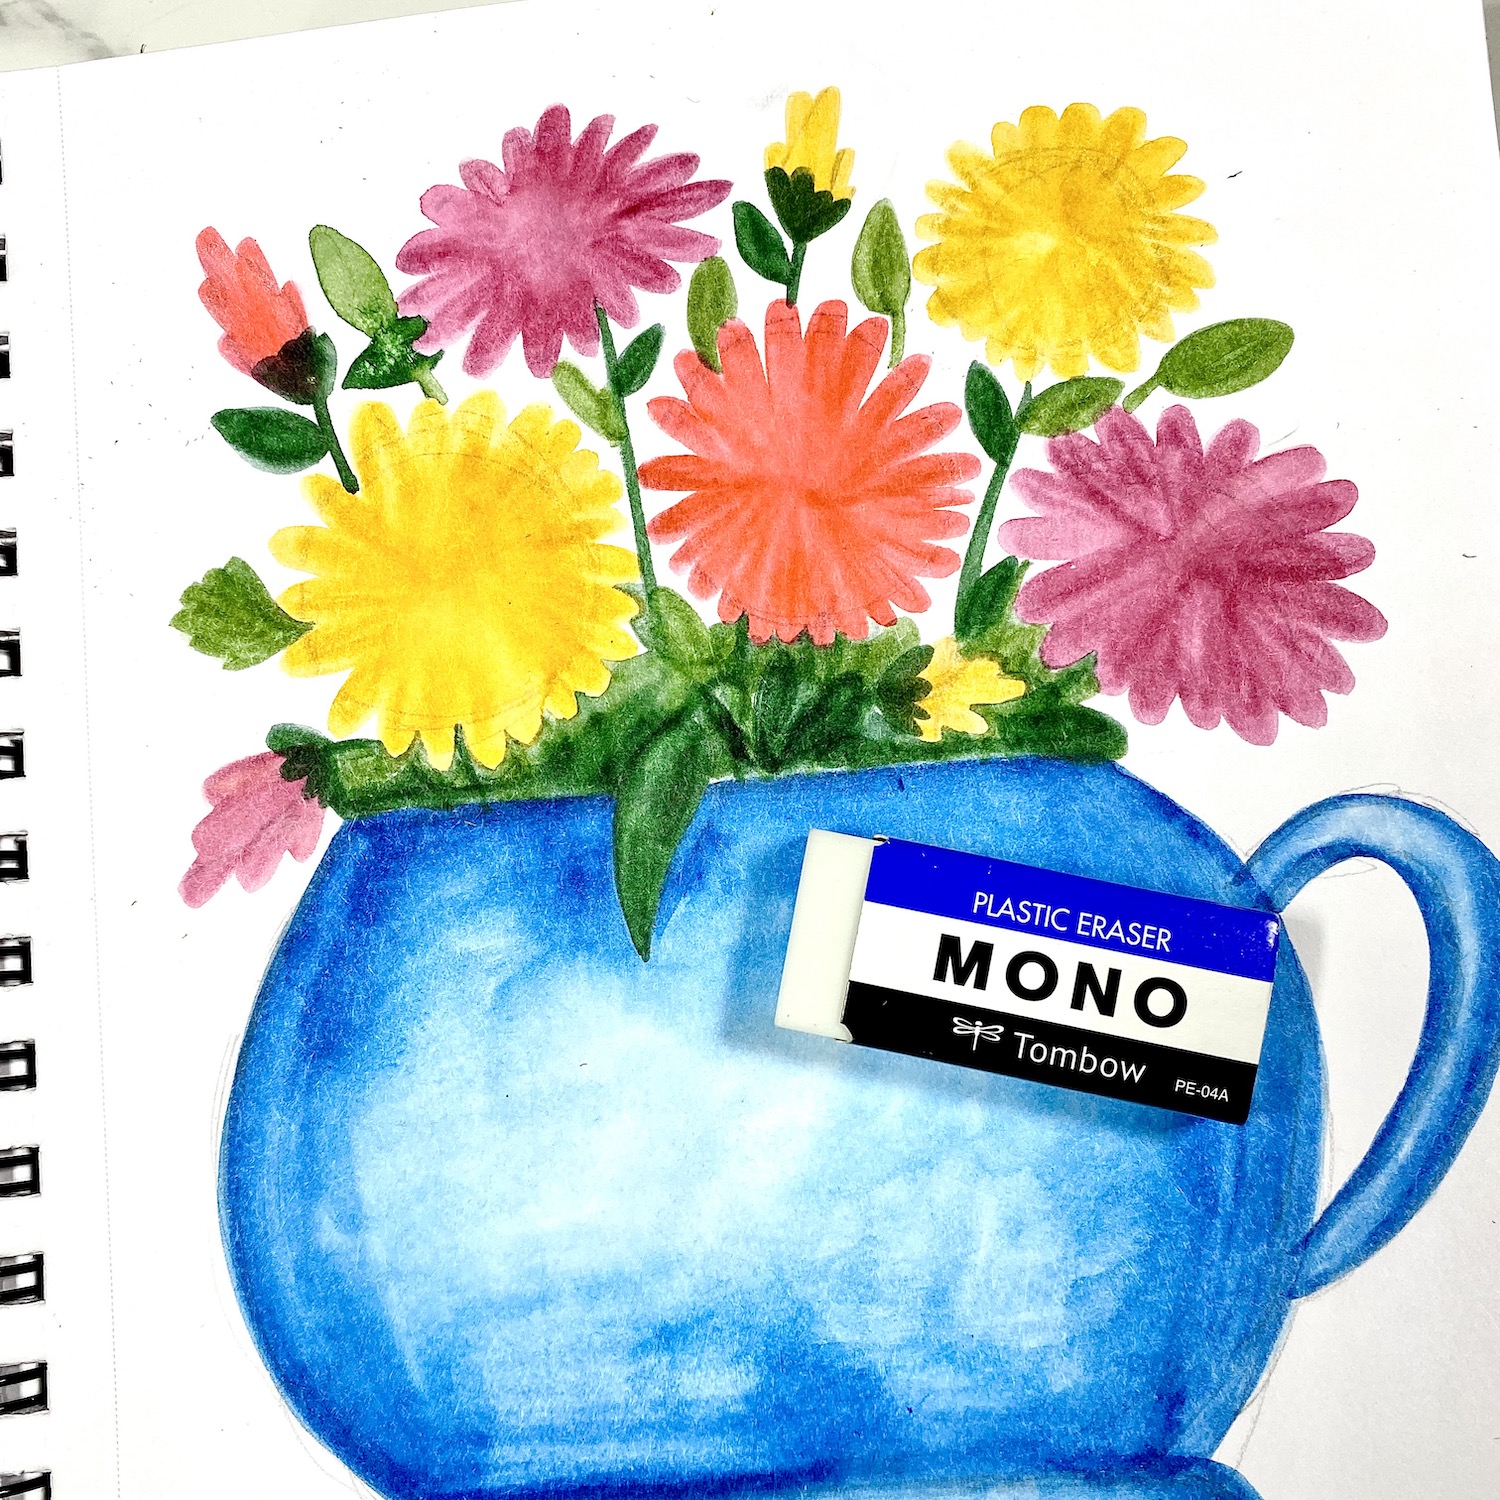
For this step, I took my Medium Water Brush and went over the flowers. I made sure not to use too much water since I wanted to keep the colors saturated and vibrant. After the flowers dried, I went over the leaves and blended the bottom to fill the gaps and give a fuller effect to the floral arrangement.
Step 7:
After everything fully dried, I erased the pencil marks using my MONO Eraser.
Step 8:
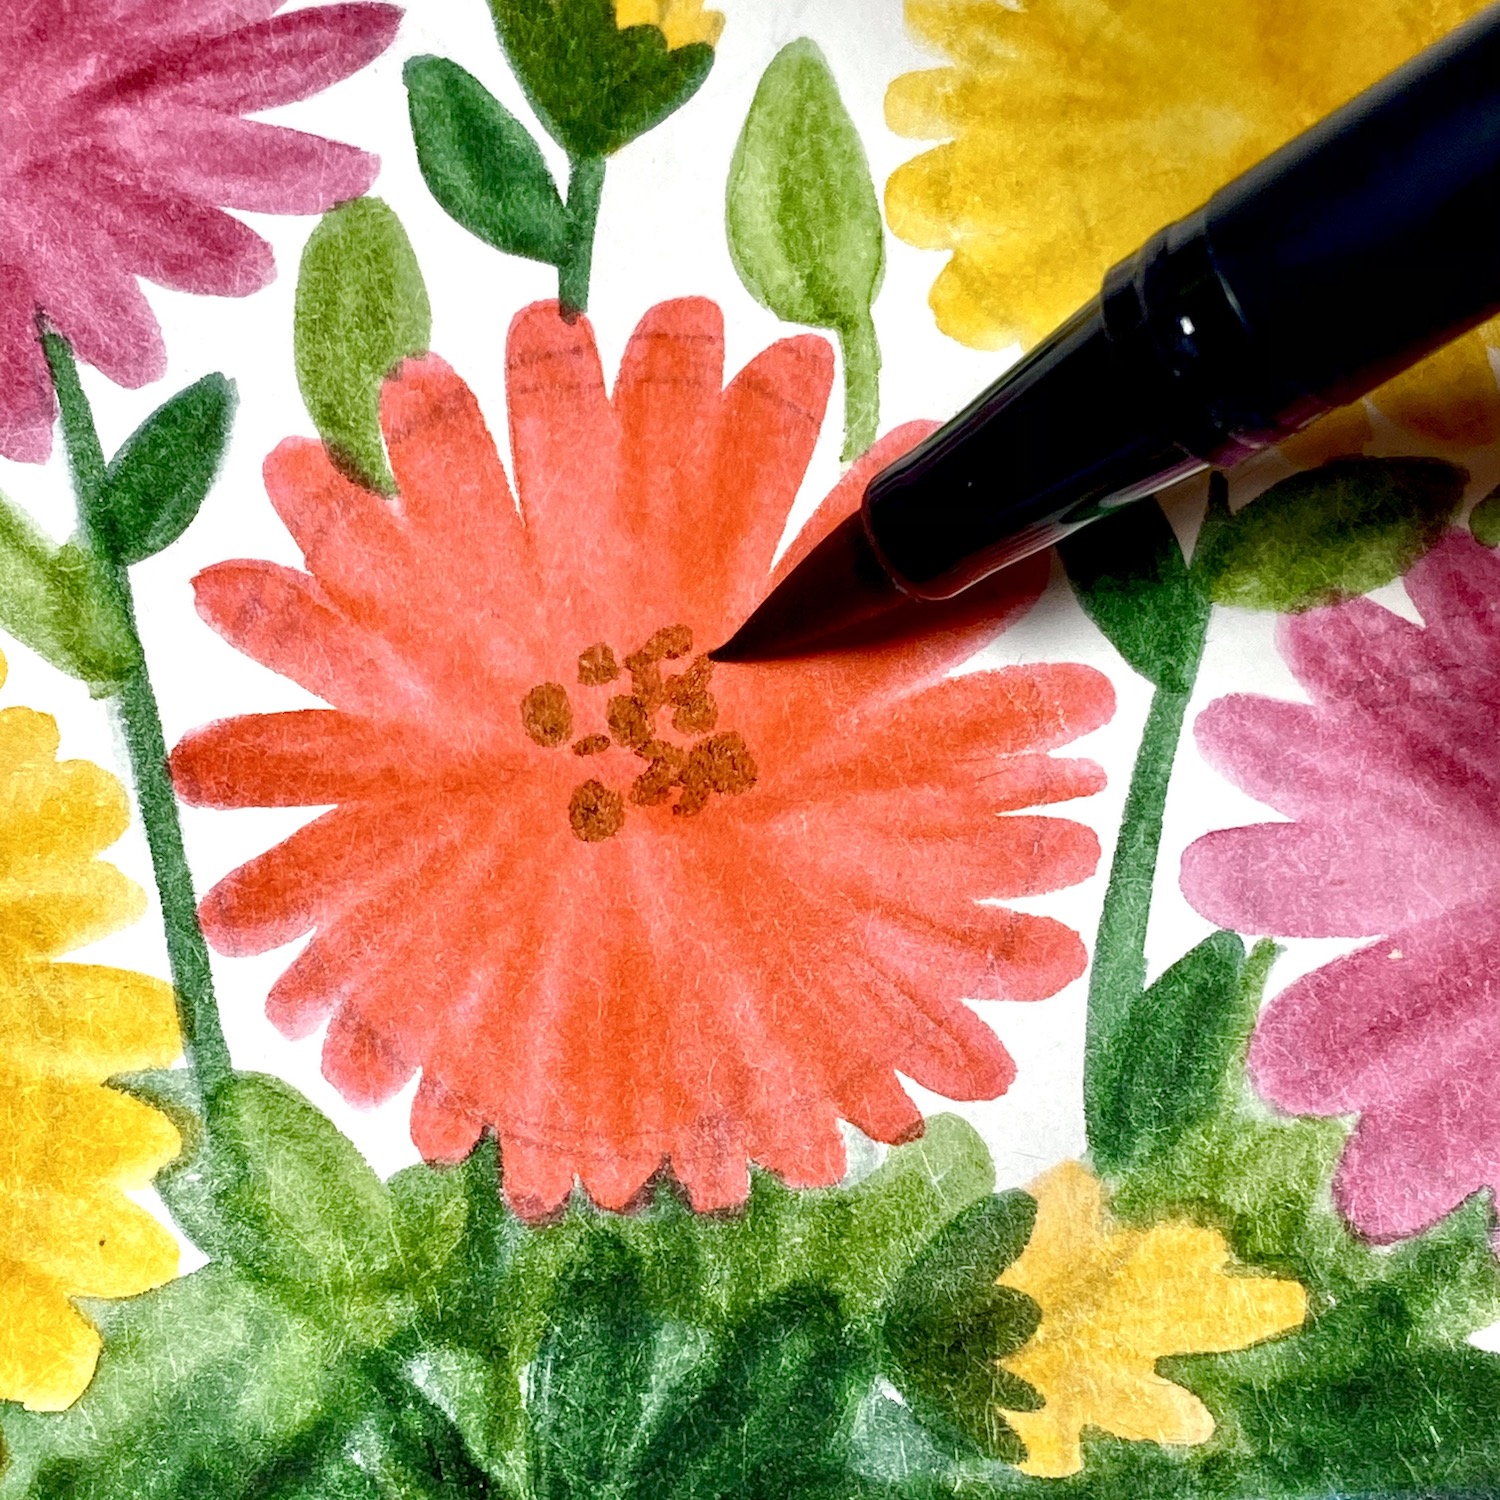
Then, I added small dots to the centers of the flowers using Dual Brush Pen 977. I used the shape of each flower as a guide for the shape of the dots. For the flowers that are shaped like circles, I added a cluster of dots in a circle. For the flowers that are shaped like ovals, the clusters were shaped like ovals. I didn’t add any details to the budding flowers since the petals cover the area where the center would be.
Step 9:
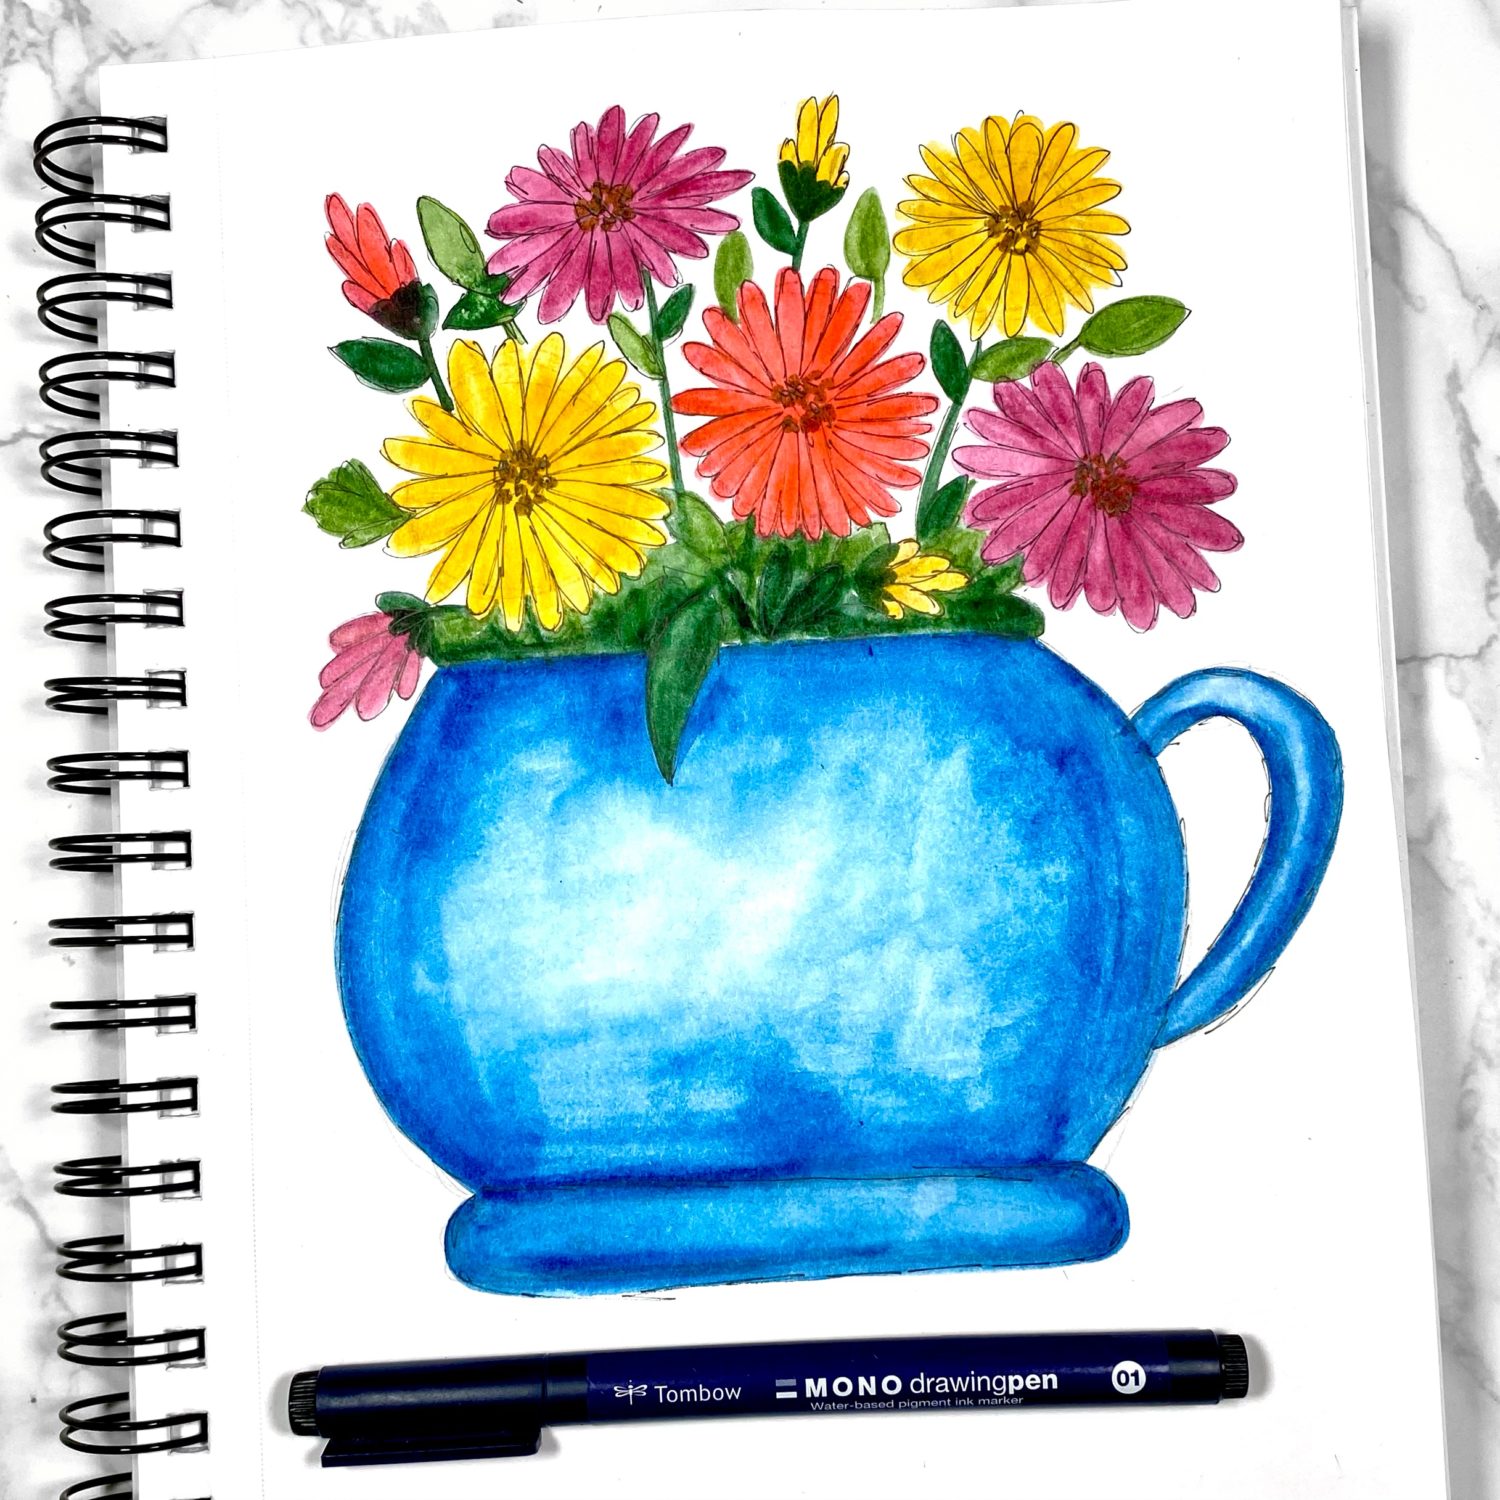
Finally, I used my MONO Drawing Pen 01 to roughly outline each flower petal, the leaves, and the vase. This step is optional. I prefer adding the outline because it adds some more detail and defines where each flower petal is.
Thanks for following along!
To learn more about Clementine Hunter’s life and art, click here.