Hey everyone, it’s Liz from @lizoncall! I love that handlettering is such a big trend right now! There are so many different and unique styles of handlettering that you can really find and develop your signature style. I love seeing all the different ways artists express themselves through their lettering styles.
When I first started out lettering, I would letter names all the time. Deciding what to actually letter was always a struggle for me in the beginning. My name and my kid’s names were always what I started with. So, I’ve been lettering these names for a long time.

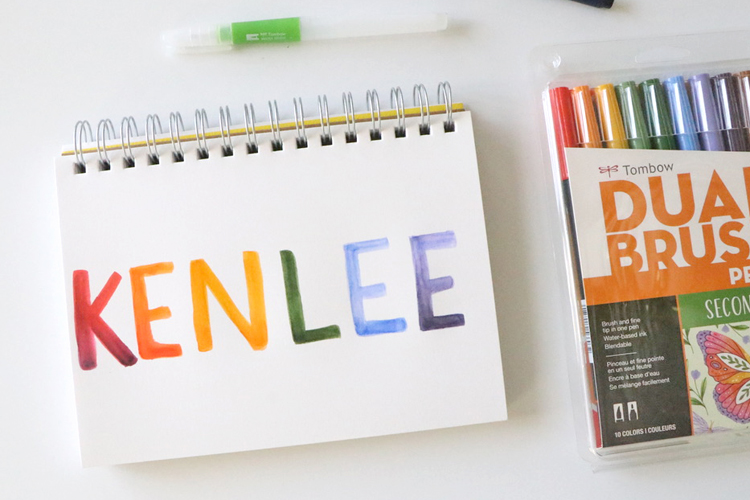
When I first saw this double-layer lettered name word art, I knew that I needed to write each of my kid’s names in this style. It is a great way to mix lettering styles and create some bright, bold, and beautiful word art.
I also love that I get to use some of my favorite Tombow materials to create this word art. If you want to practice some hand lettering using the Tombow Fudenosuke Brush Pens, you can check out these free lettering practice sheets.
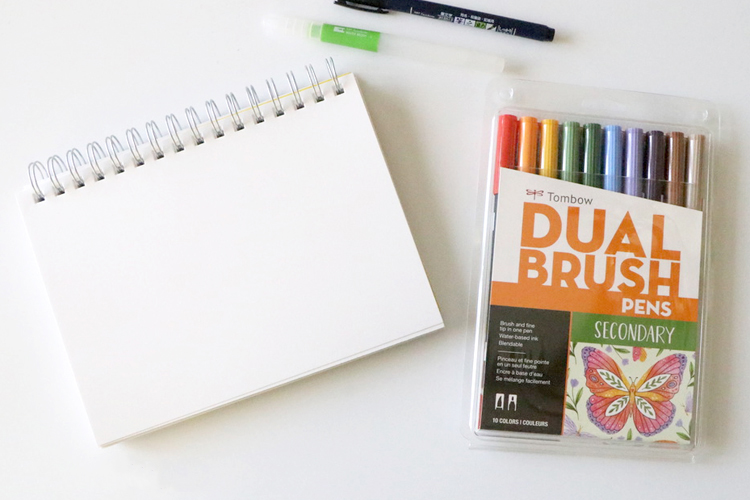
Supplies:
- Tombow Fudenosuke Brush Pen
- Tombow Dual Brush Pens
- Tombow Water Brush
- MONO Graph Pencil
- Watercolor or mixed media paper
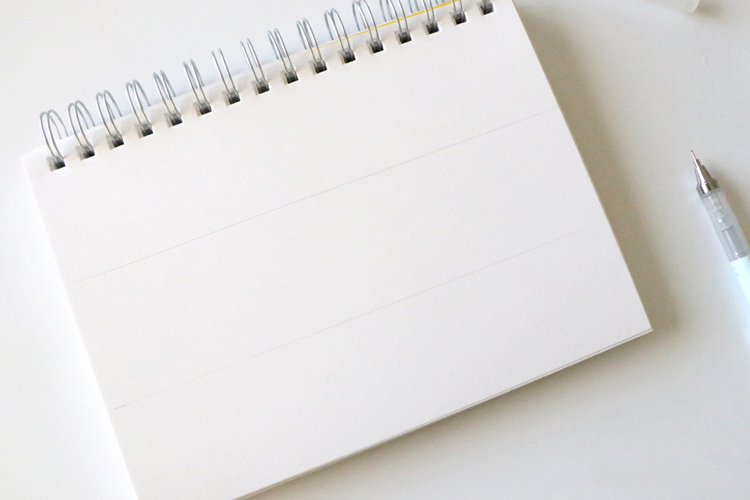
The first thing to do is to draw two parallel straight lines across your paper using the MONO Graph Mechanical Pencil. You can decide how much space to put between your two lines, which will result in the height of your letters.
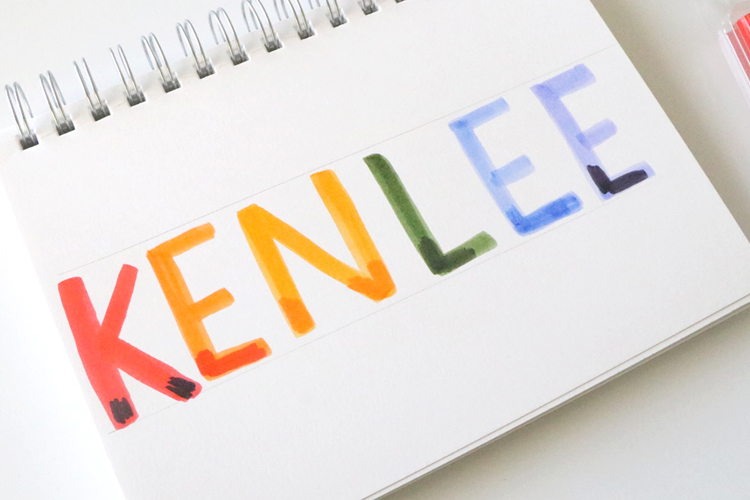
Using the Dual Brush Pens create thick block style letters for the bottom layer of your name word art. You can use any color palette of Dual Brush Pen you like. Use all one color or a variety of colors.
Once you get your first layer of color down, use a darker shade of the same color and add just a bit of that color to the bottoms of each of your letter. Again, you want to use Dual Brush Pens for this layering color technique. I like using the Dual Brush 10-Packs because they have such great color palettes.
You want to use the Dual Brush Pens because they are water-based, and you can create some great effects using water. Take the Tombow Water Brush and add some water to the bottoms of the letters where you added the darker colors. Keeping your brush wet but not dripping wet, pull the darker color into the lighter color of each letter.
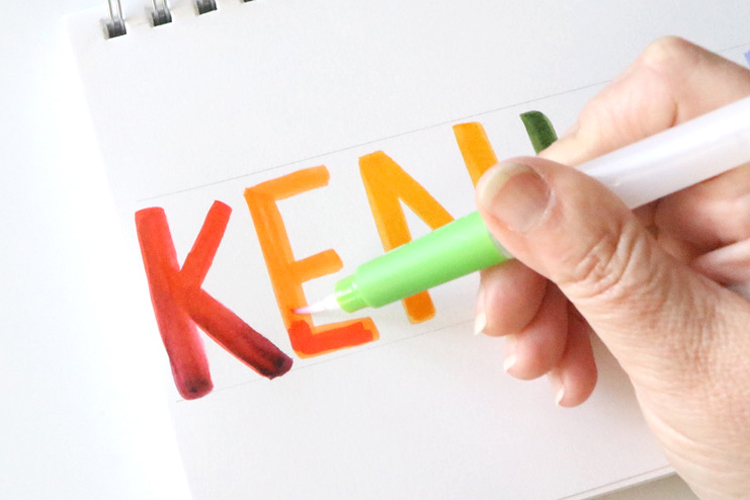
Make sure to wipe off the brush between each letter to keep the colors from spreading too much into another letter. When you are done with each of the letters, you will have a colorful and cool effect for the base layer of your word art.
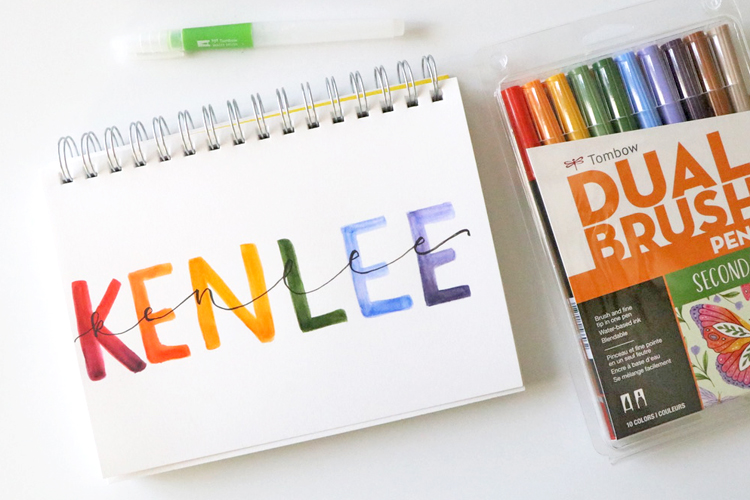
Let that layer dry before moving onto the next part. You will be using the Fudenosuke Brush Pen to add the name again, right on top of the one you just made for this layer. By creating long exit strokes, from one letter to the next, try adding your brush letter on top of the same letter in the block style.
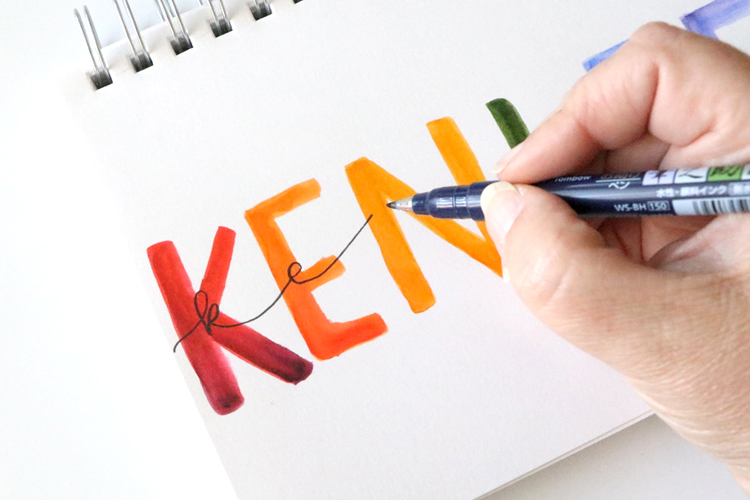
I try and center the brush letter as close as possible to the block letter, but sometimes it doesn’t work out perfectly, and that’s ok. It’ll look good even if it’s a bit off-center. Add a fancy entrance stroke to the first letter and an exit stroke to the last letter to finish it off.
This turned out so bright and fun. I did one for each of my kids. Now they are hanging in their rooms! Doing them on a smaller scale will make great labels, name-tags, or stickers.
What informative content! Useful and appropriate information too, Thank you.