Hi Tombow fans, I’m Jennie Garcia! I am going to show you an easy tutorial for a holiday felt banner.
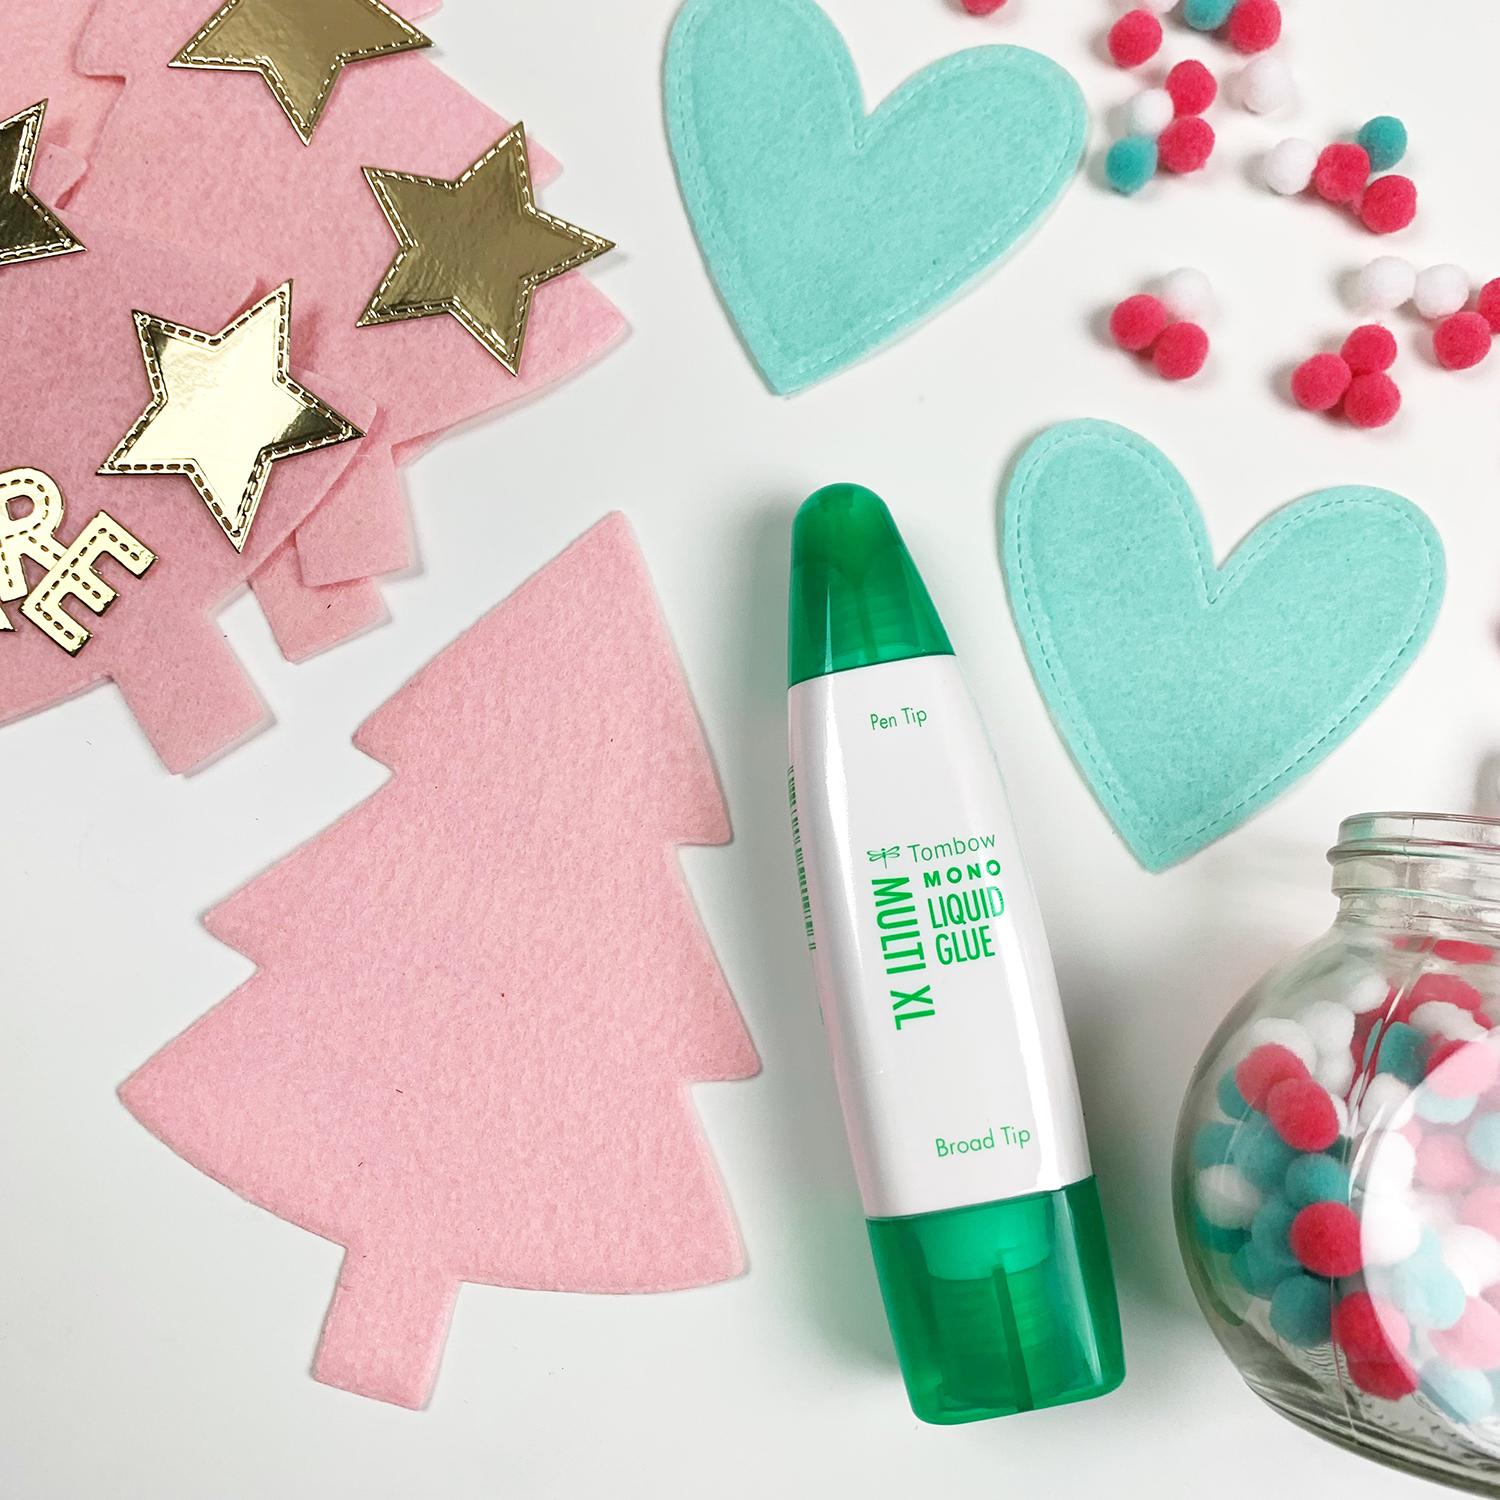
Supplies:
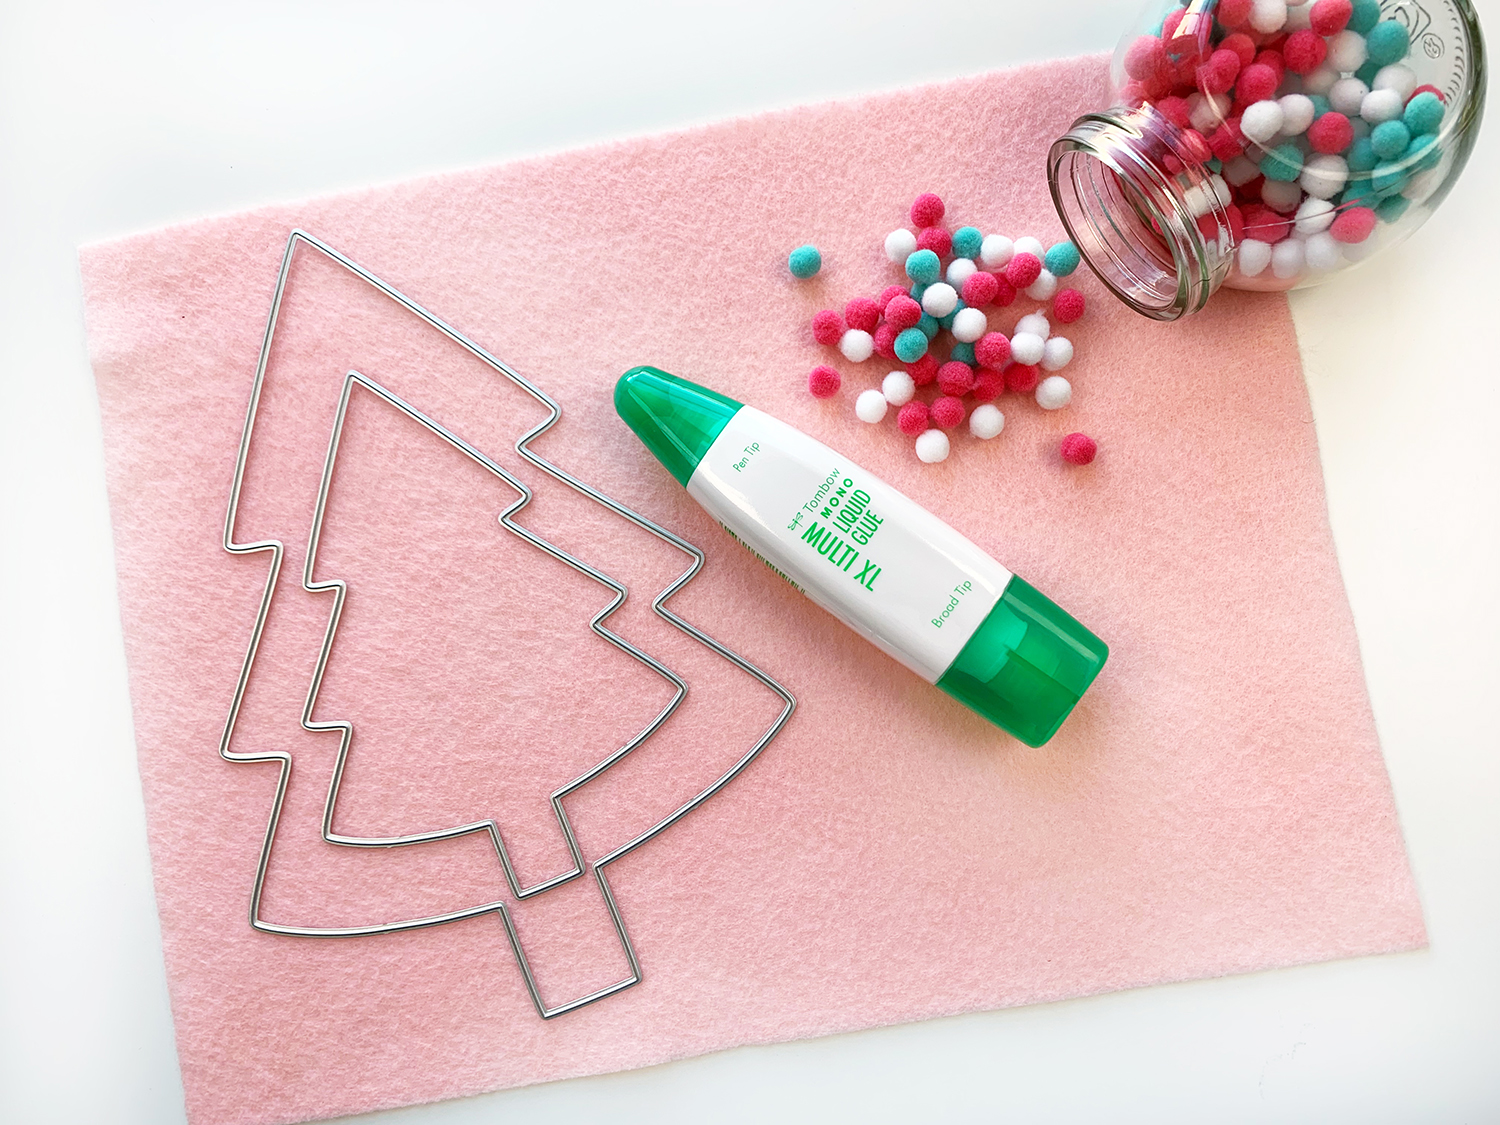
- Tombow MONO XL Liquid Glue
- Felt
- Pompoms
- Dies or scissors
Step One:
Use dies, a die cutting machine, or scissors to cut the tree shape. I also used dies to cut a heart and the letters of the word “Merry”. If you don’t own a die cutting machine, you can find shapes to print and cut online.
Step Two:
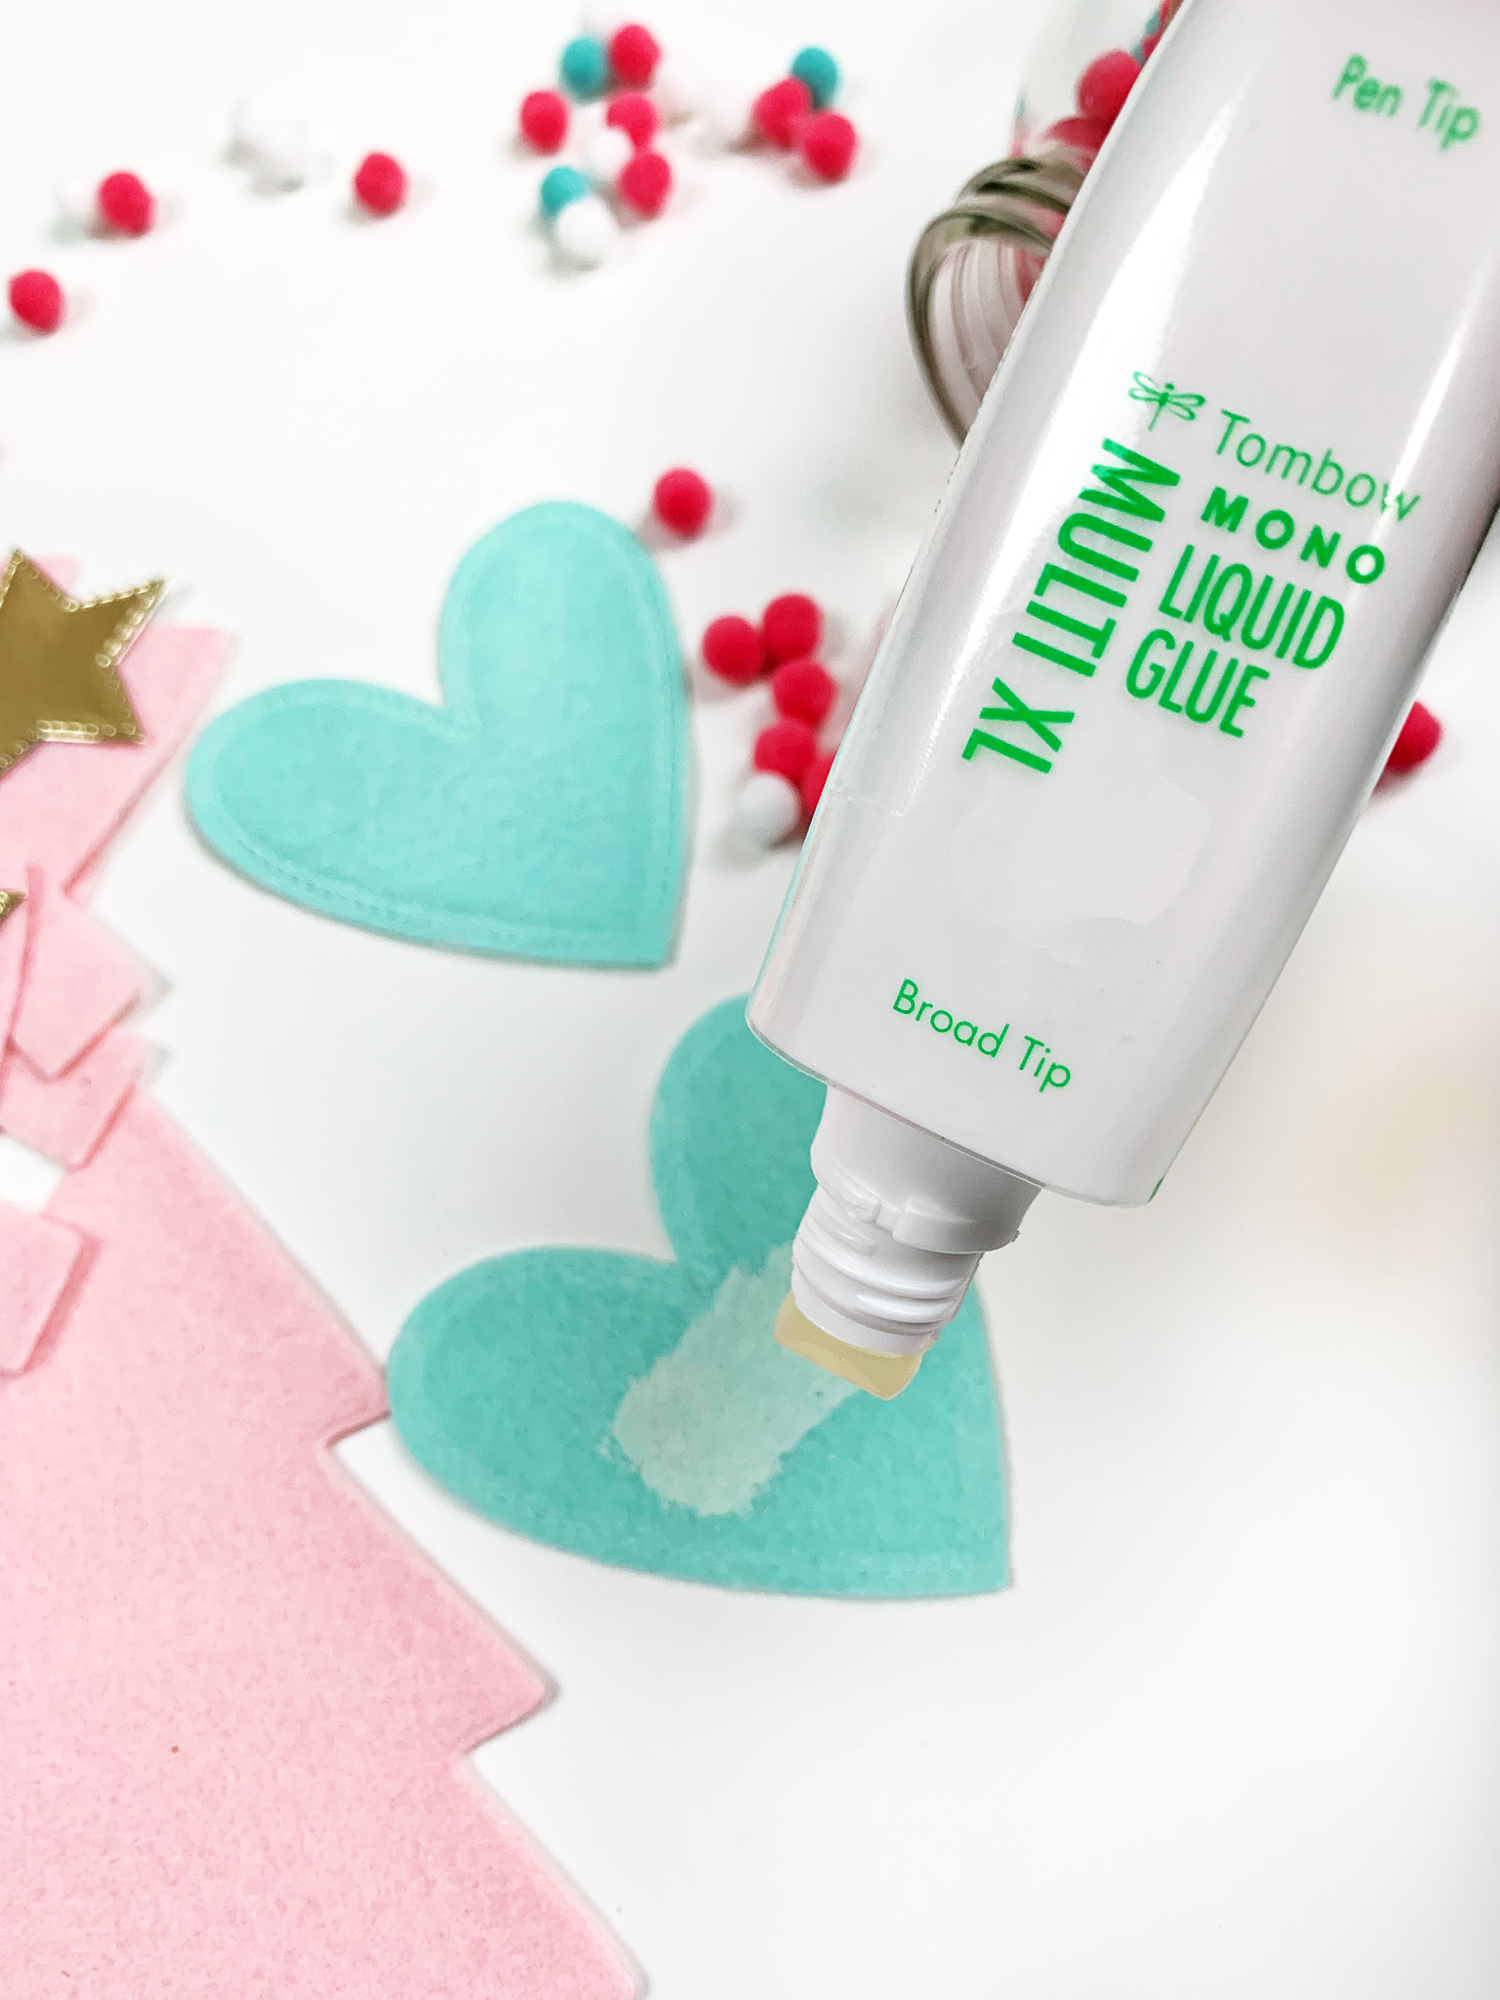
Use the broad tip of the Tombow MONO Multi XL Liquid Glue to apply a very light layer of glue to the heart. If you use too much glue, it will bleed through the felt. A little bit works! You can also use another shape like a circle, star, or a smaller tree.
Step Three:
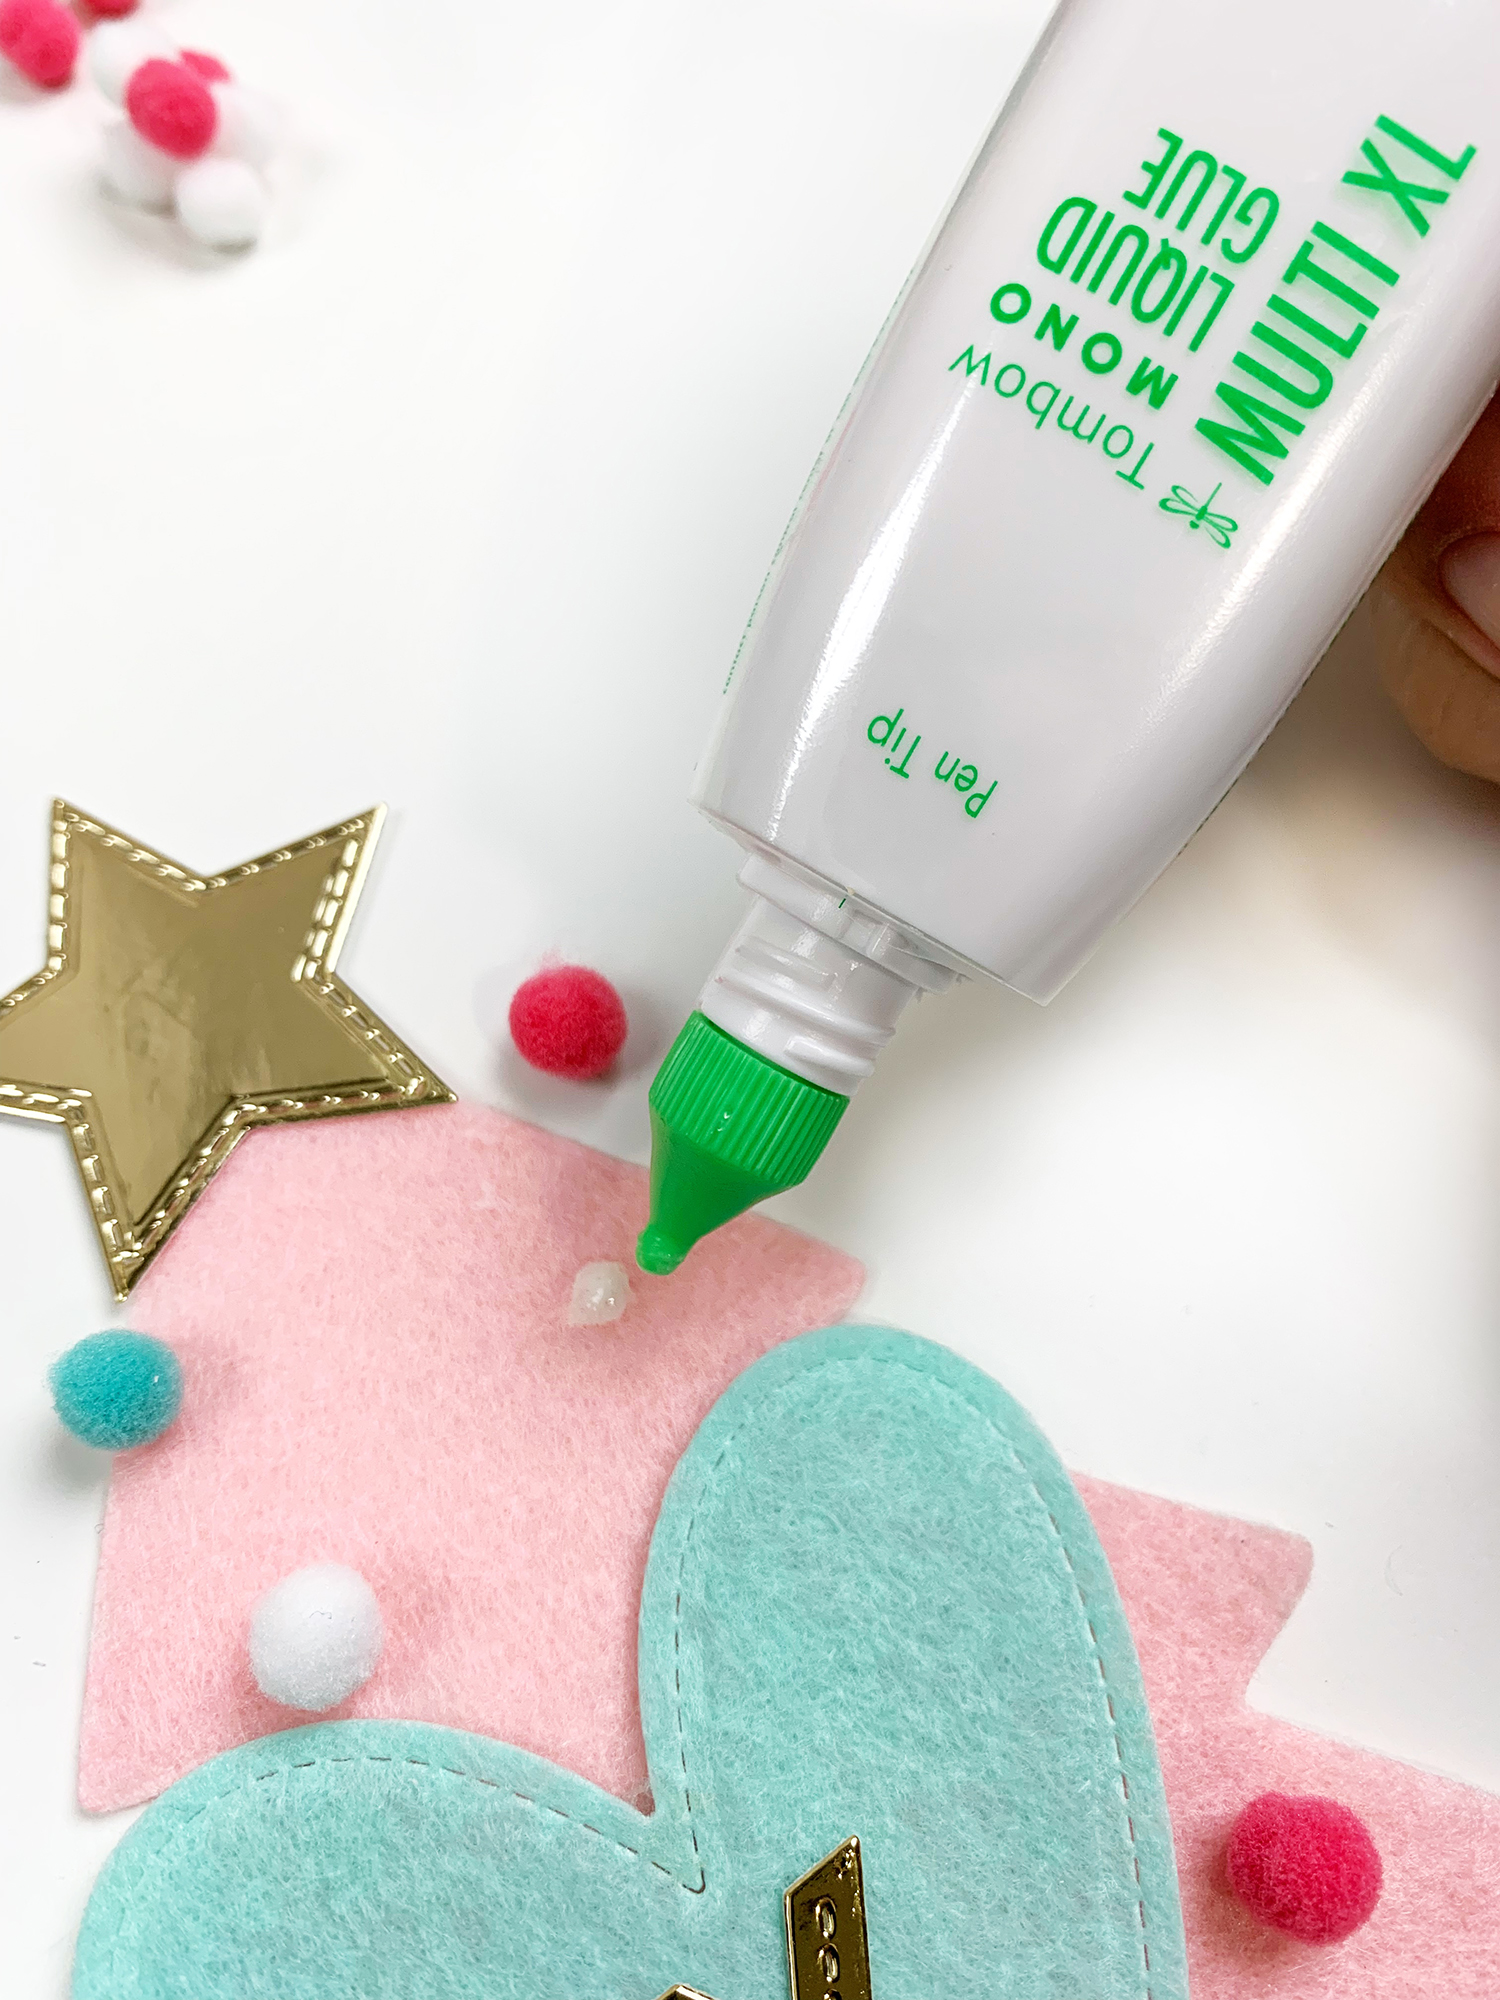
Use the fine tip of the Tombow MONO Multi XL Liquid Glue to glue a star at the top of a tree. Then, glue the letter on the heart. I cut these using gold foiled cardstock.
Step Four:
Use the fine tip of the Tombow MONO Multi XL Liquid Glue to glue the pompoms in the spaces around the star and the heart. You don’t need much. The texture of the felt makes it really easy to glue to other surfaces.
Step Five:
The last step is to add twine, yarn, or ribbon to connect them. Add a little bit of the MONO Multi XL Liquid Glue to glue the trim. Since the MONO Multi XL Liquid Glue dries tacky, add a piece of felt to cover the glue.
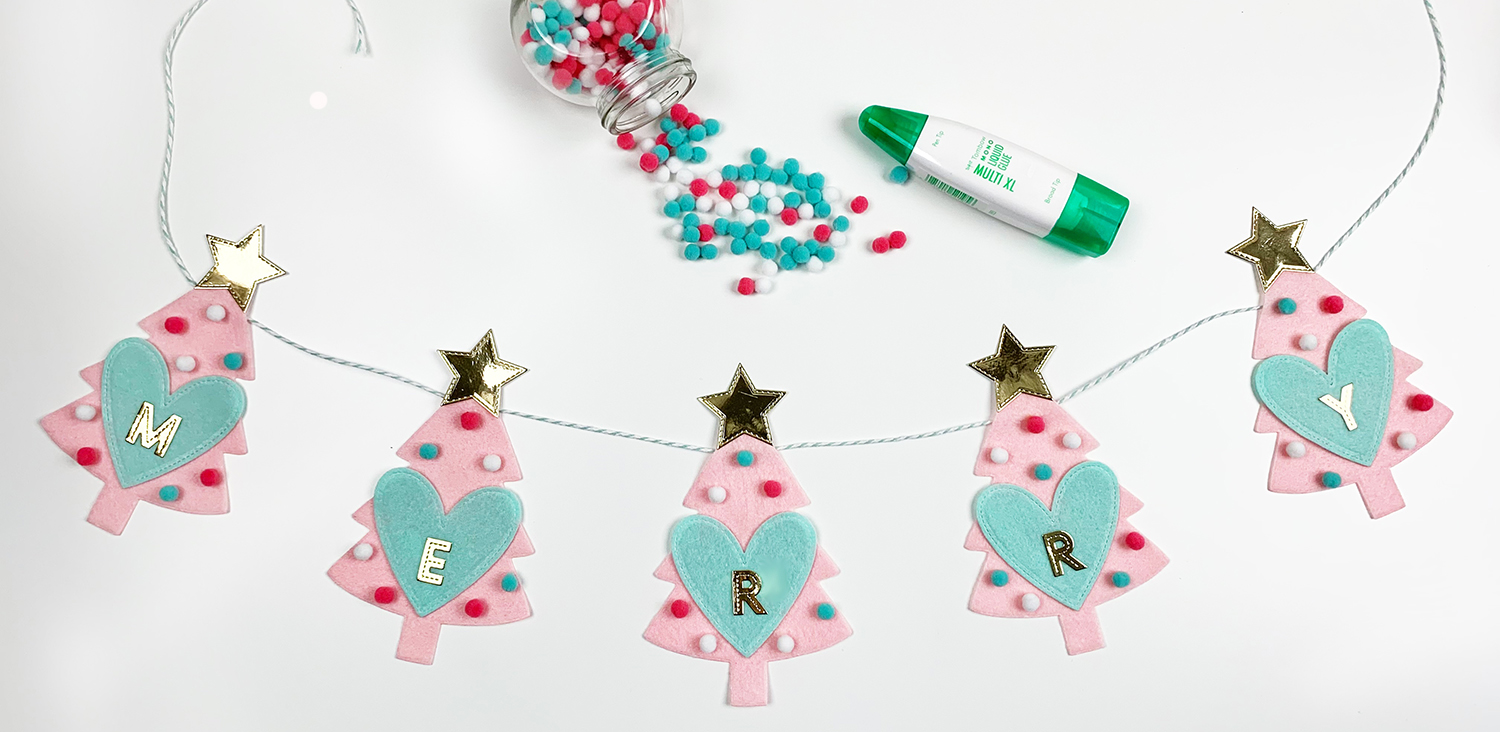
Instead of using a die to cut letters, you could use stickers. Add the MONO Multi XL Liquid Glue on the back to ensure they don’t come off. Also, instead of pompoms, you can use buttons, rhinestones, or beads. This project is so easy kids could make it!
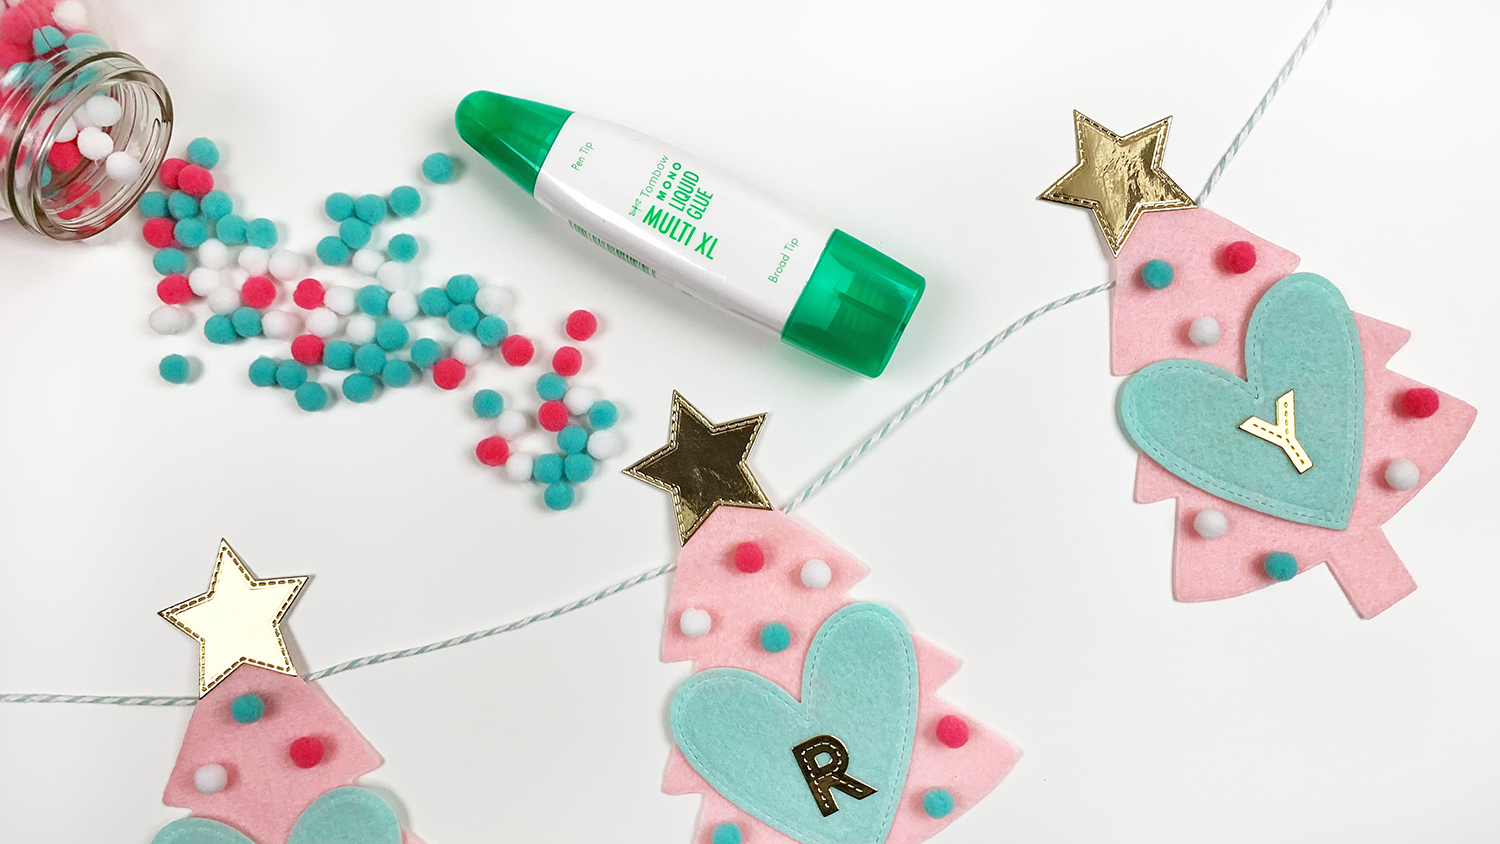
I hope you enjoyed this super easy felt banner!

Thanks for this post. I love it
Your banner is really beautiful! I like it!